
Adding Contacts
Overview 👥
CoachVantage encourages and supports the growth of your business. There's no limit to the number of contacts that you can add to your account, for all plans!
Here's how to add a contact:
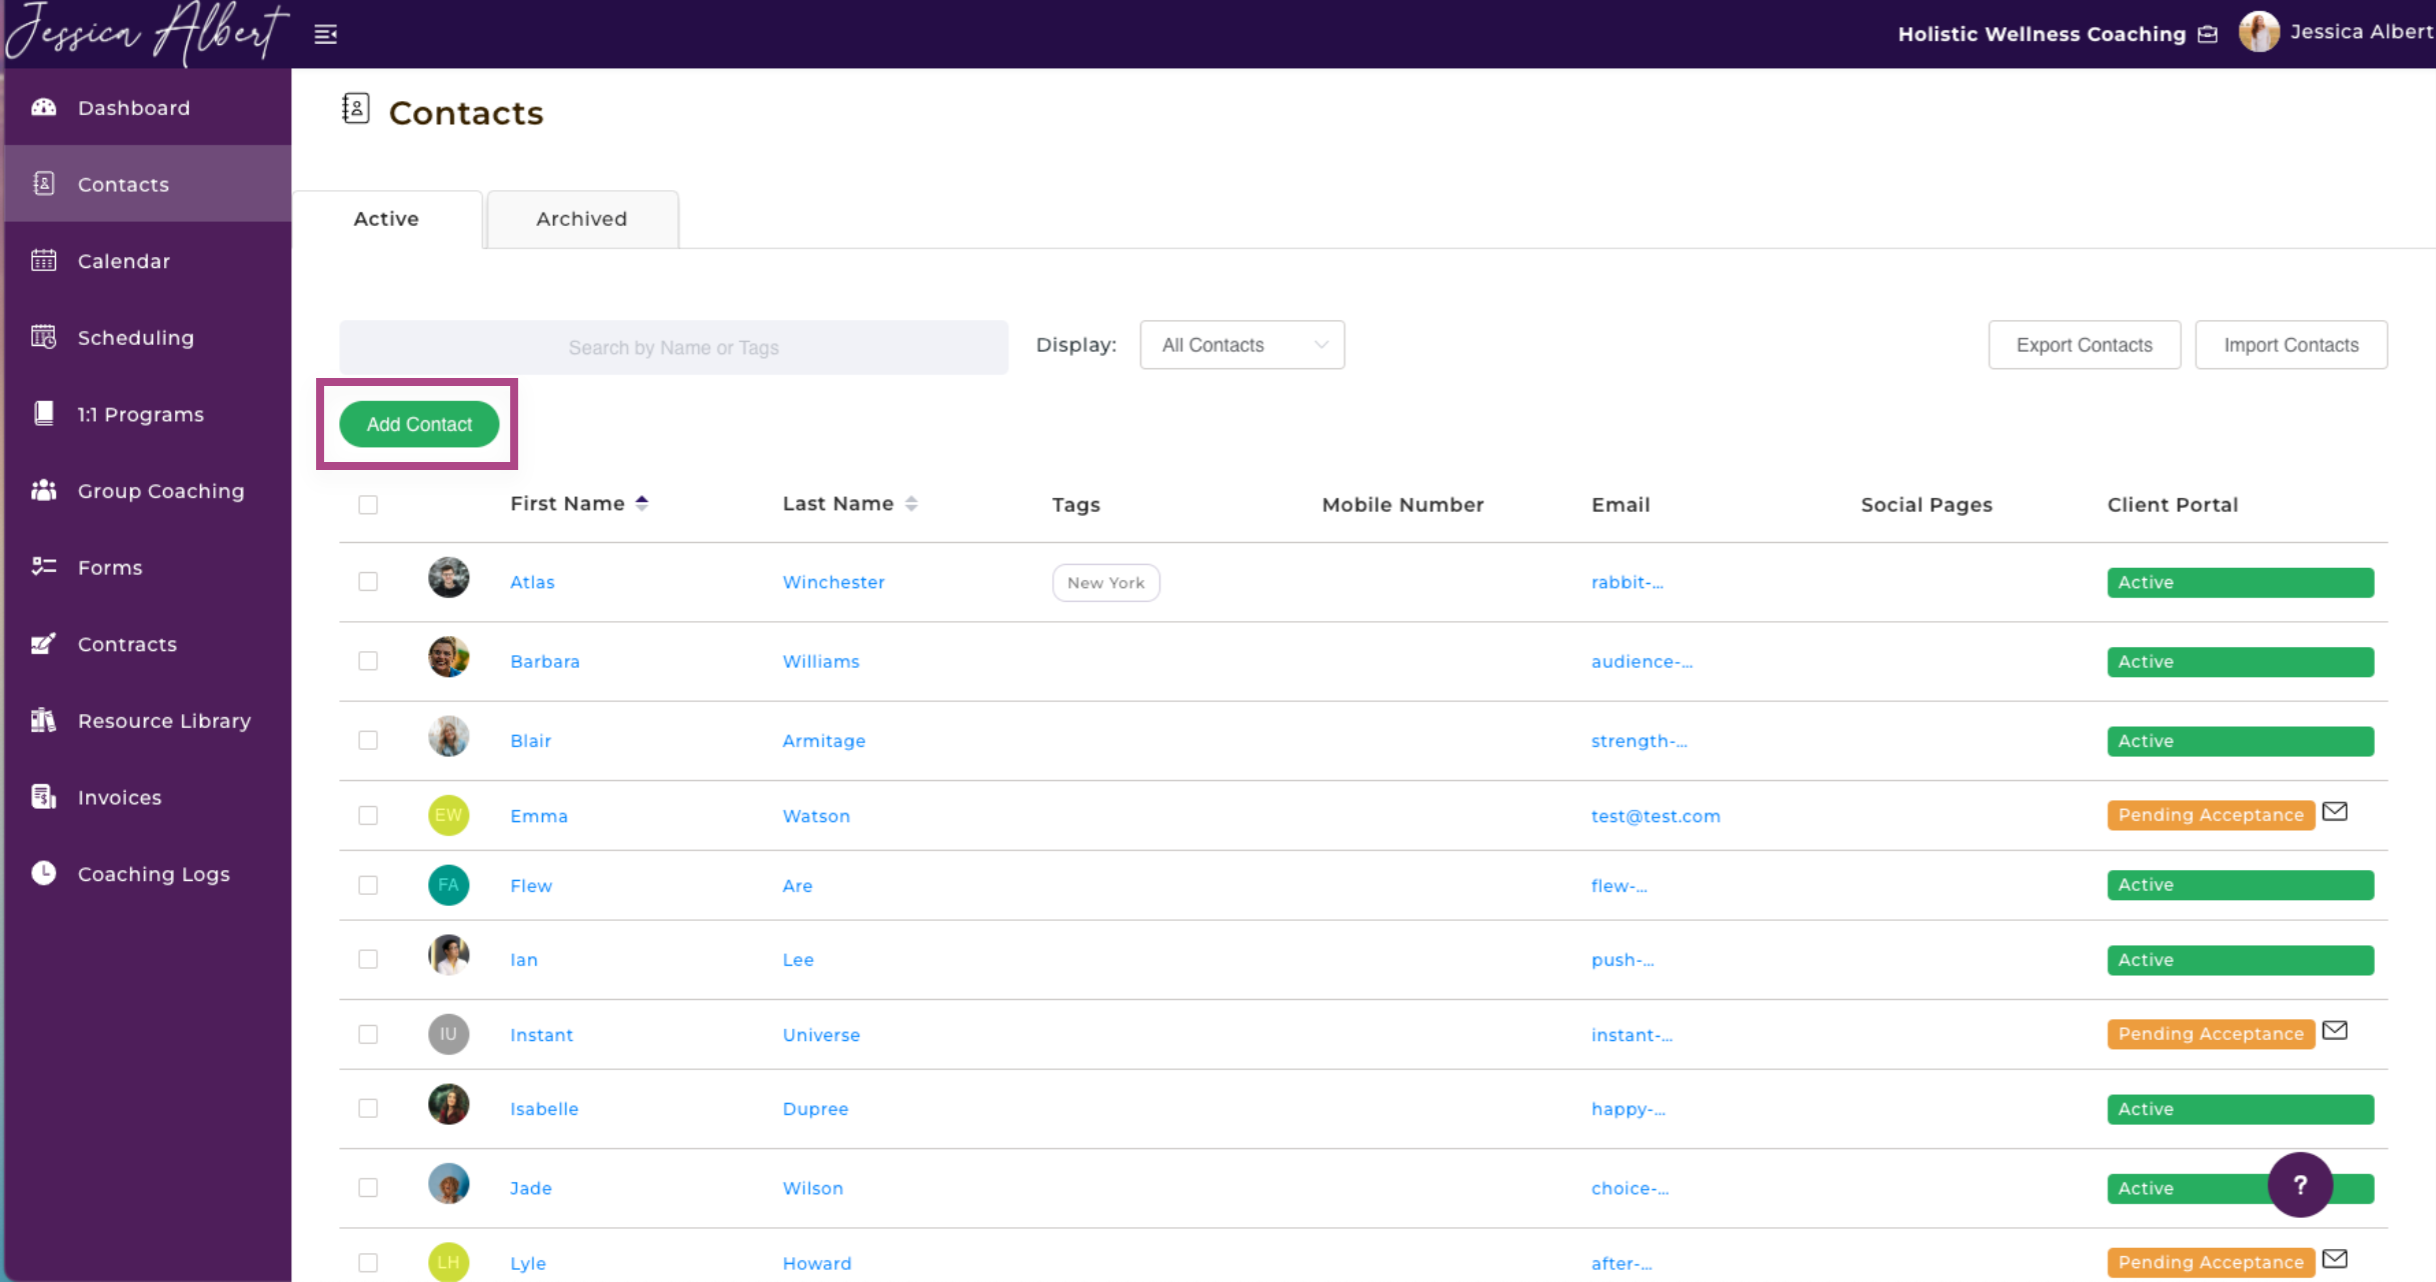
- Click the Contacts tab on the left menu.
- Click the Add Contact button and a window will pop up.
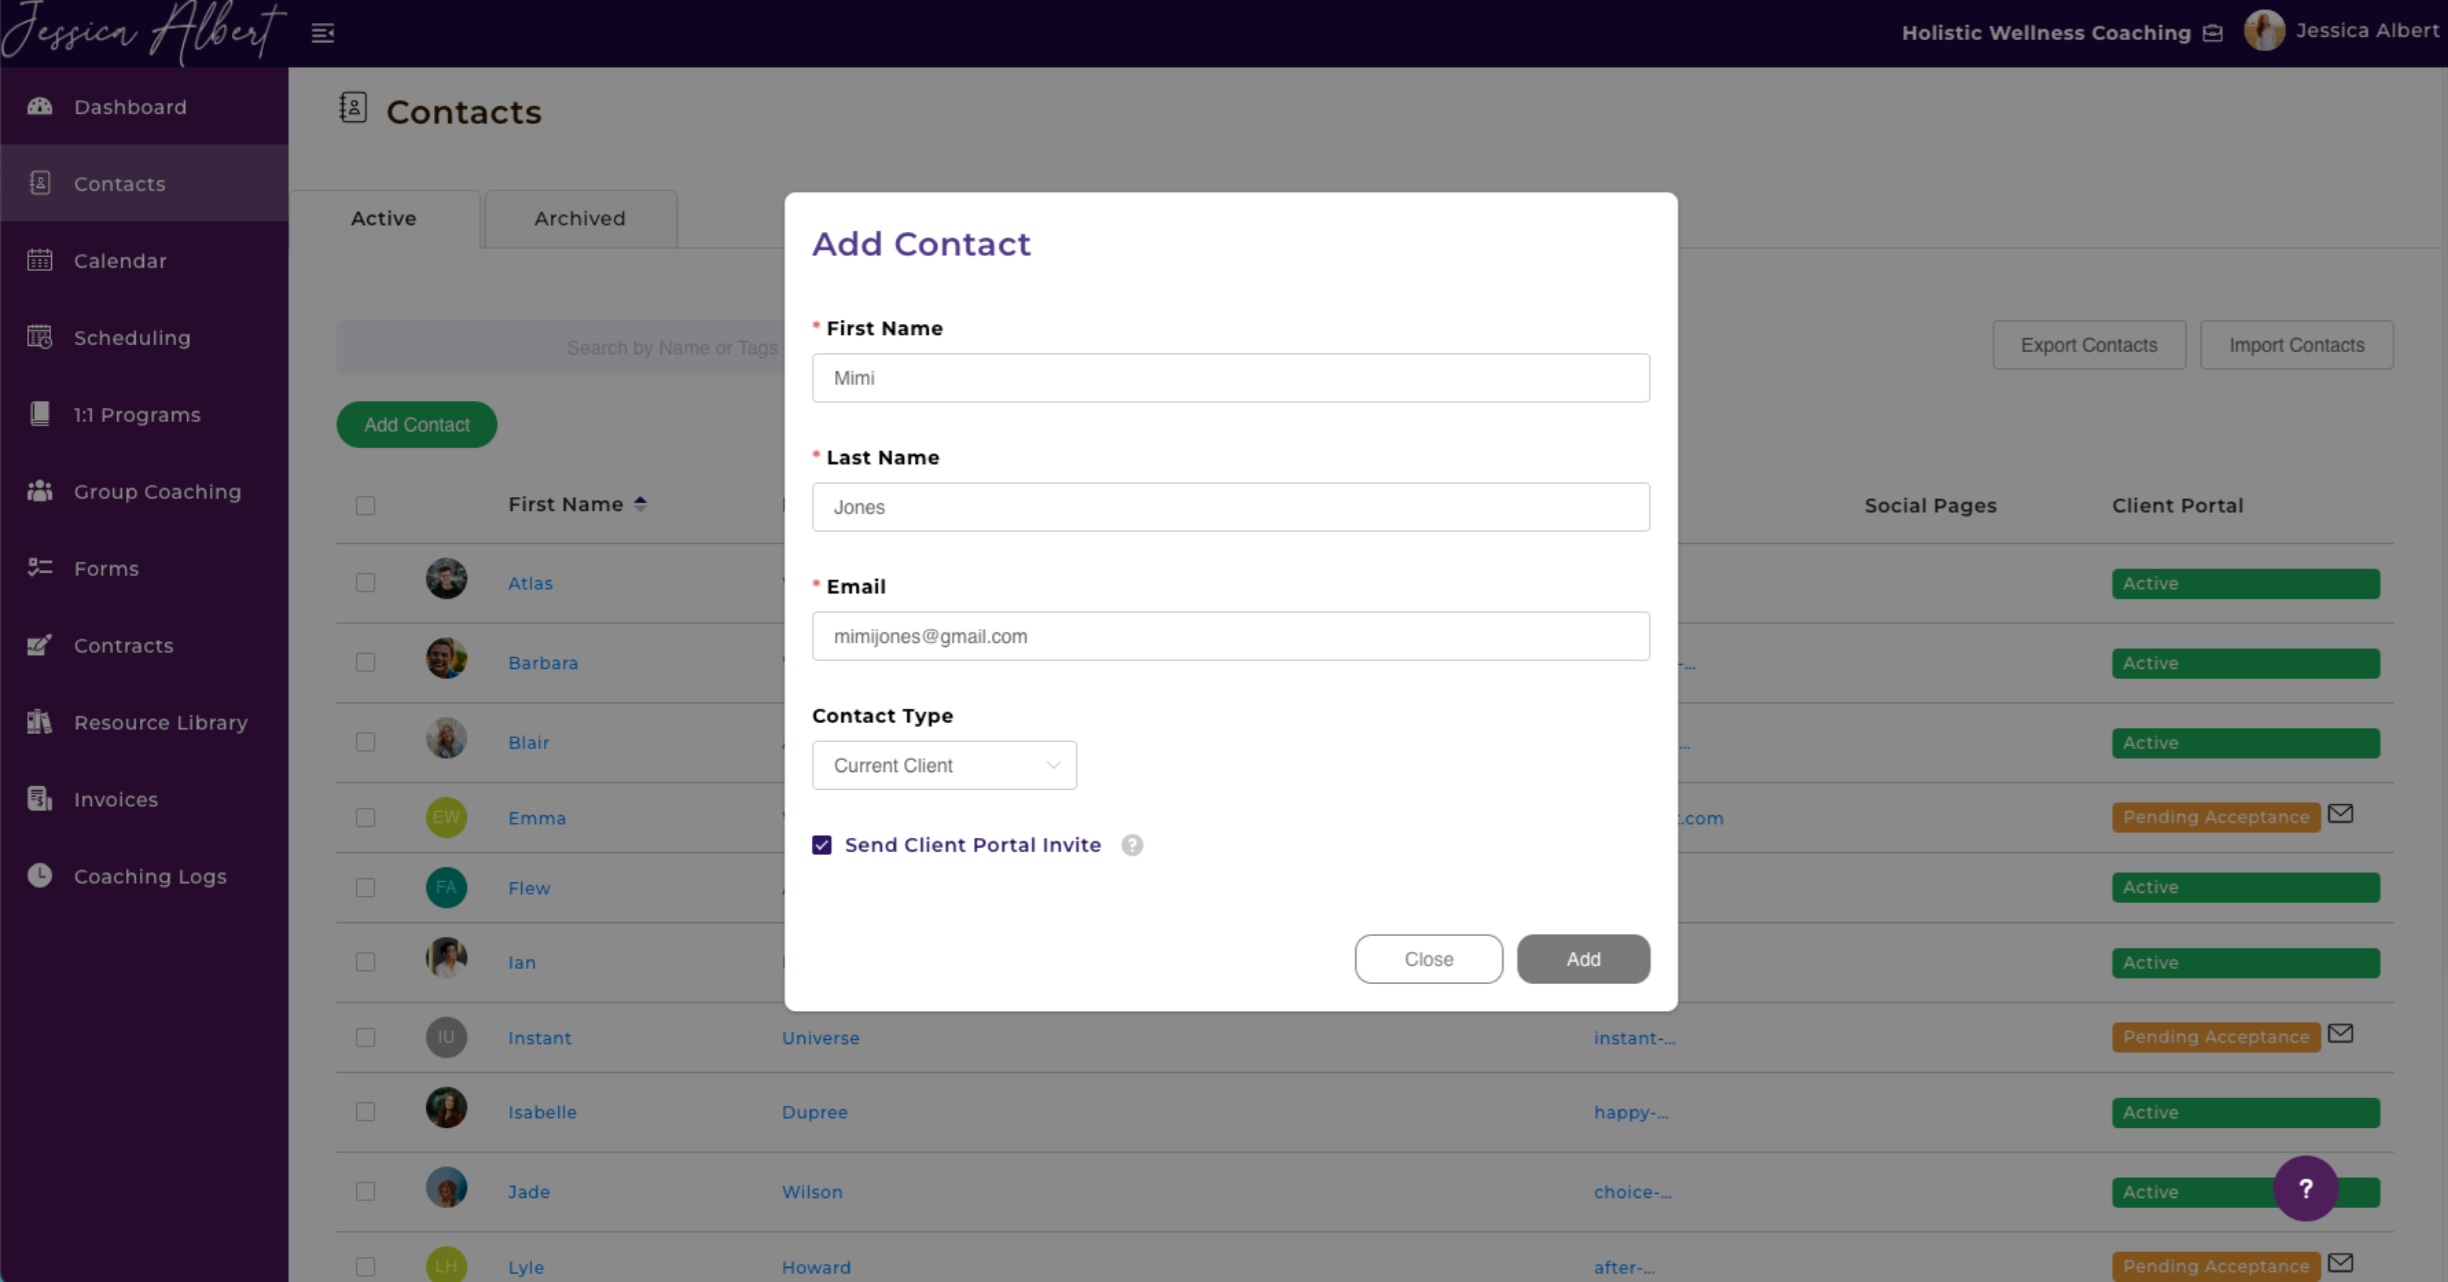
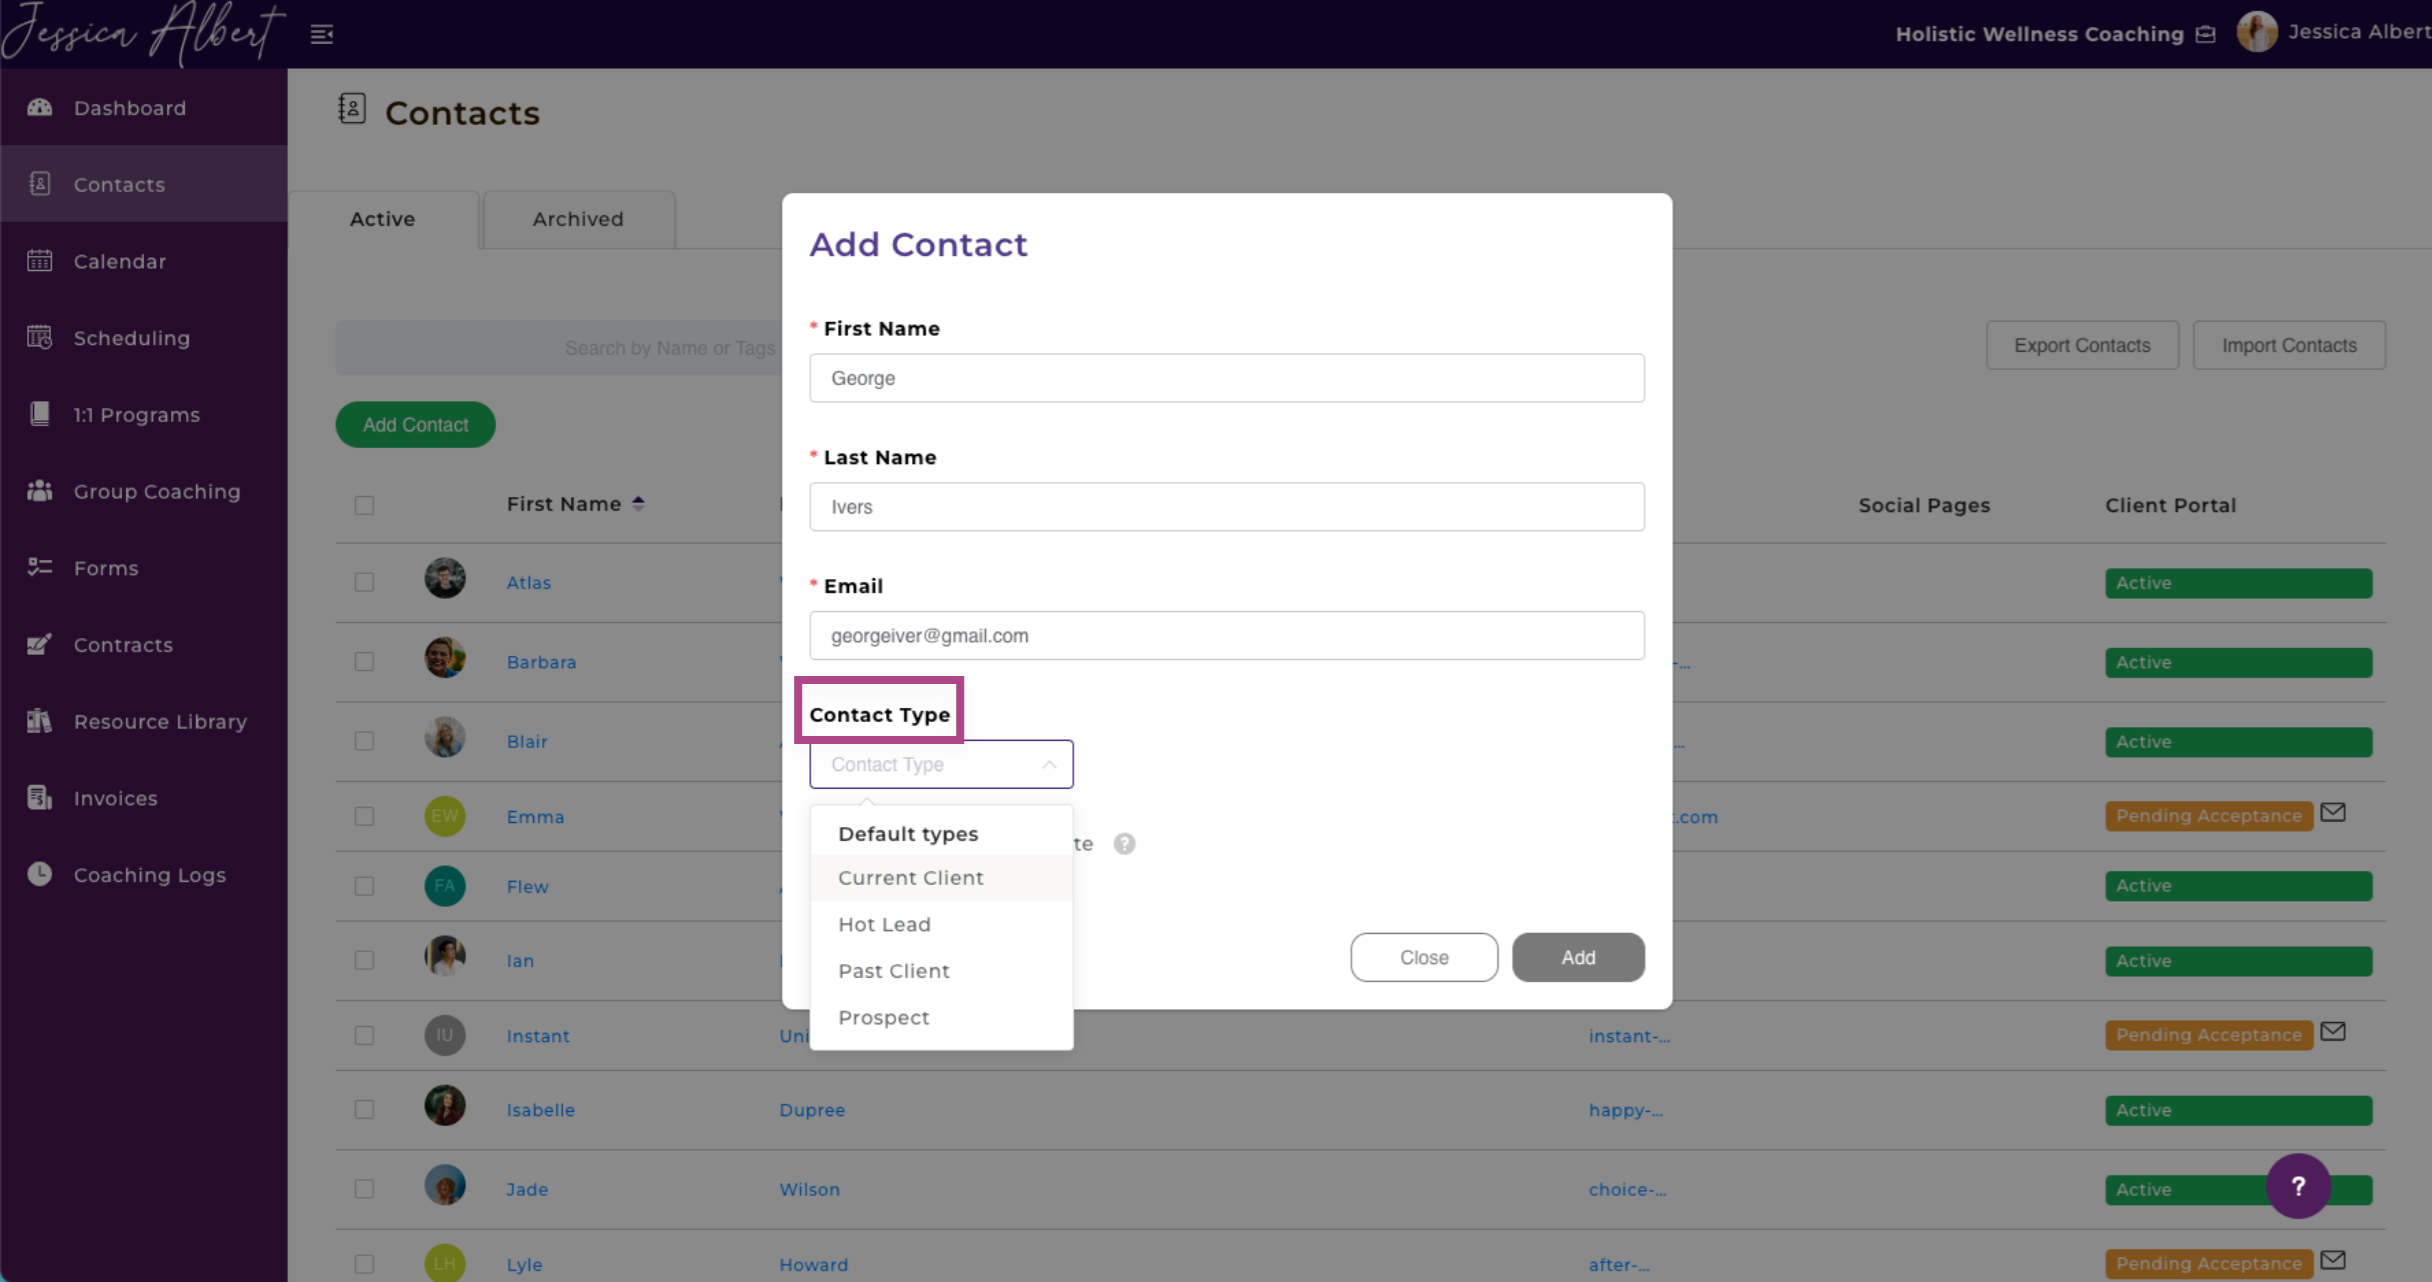
- Enter your Contact's First Name, Last Name, Email and choose the relevant contact type from the drop-down selector. There are 4 'Default Types' that you can select from: Current Client, Hot Lead, Past Client and Prospect. Alternatively, you can type in a custom contact type and then hit Enter. If you've previously saved a custom type for other contacts that you've added, those custom types will be displayed in the drop-down selector as Custom Types for you to select from.
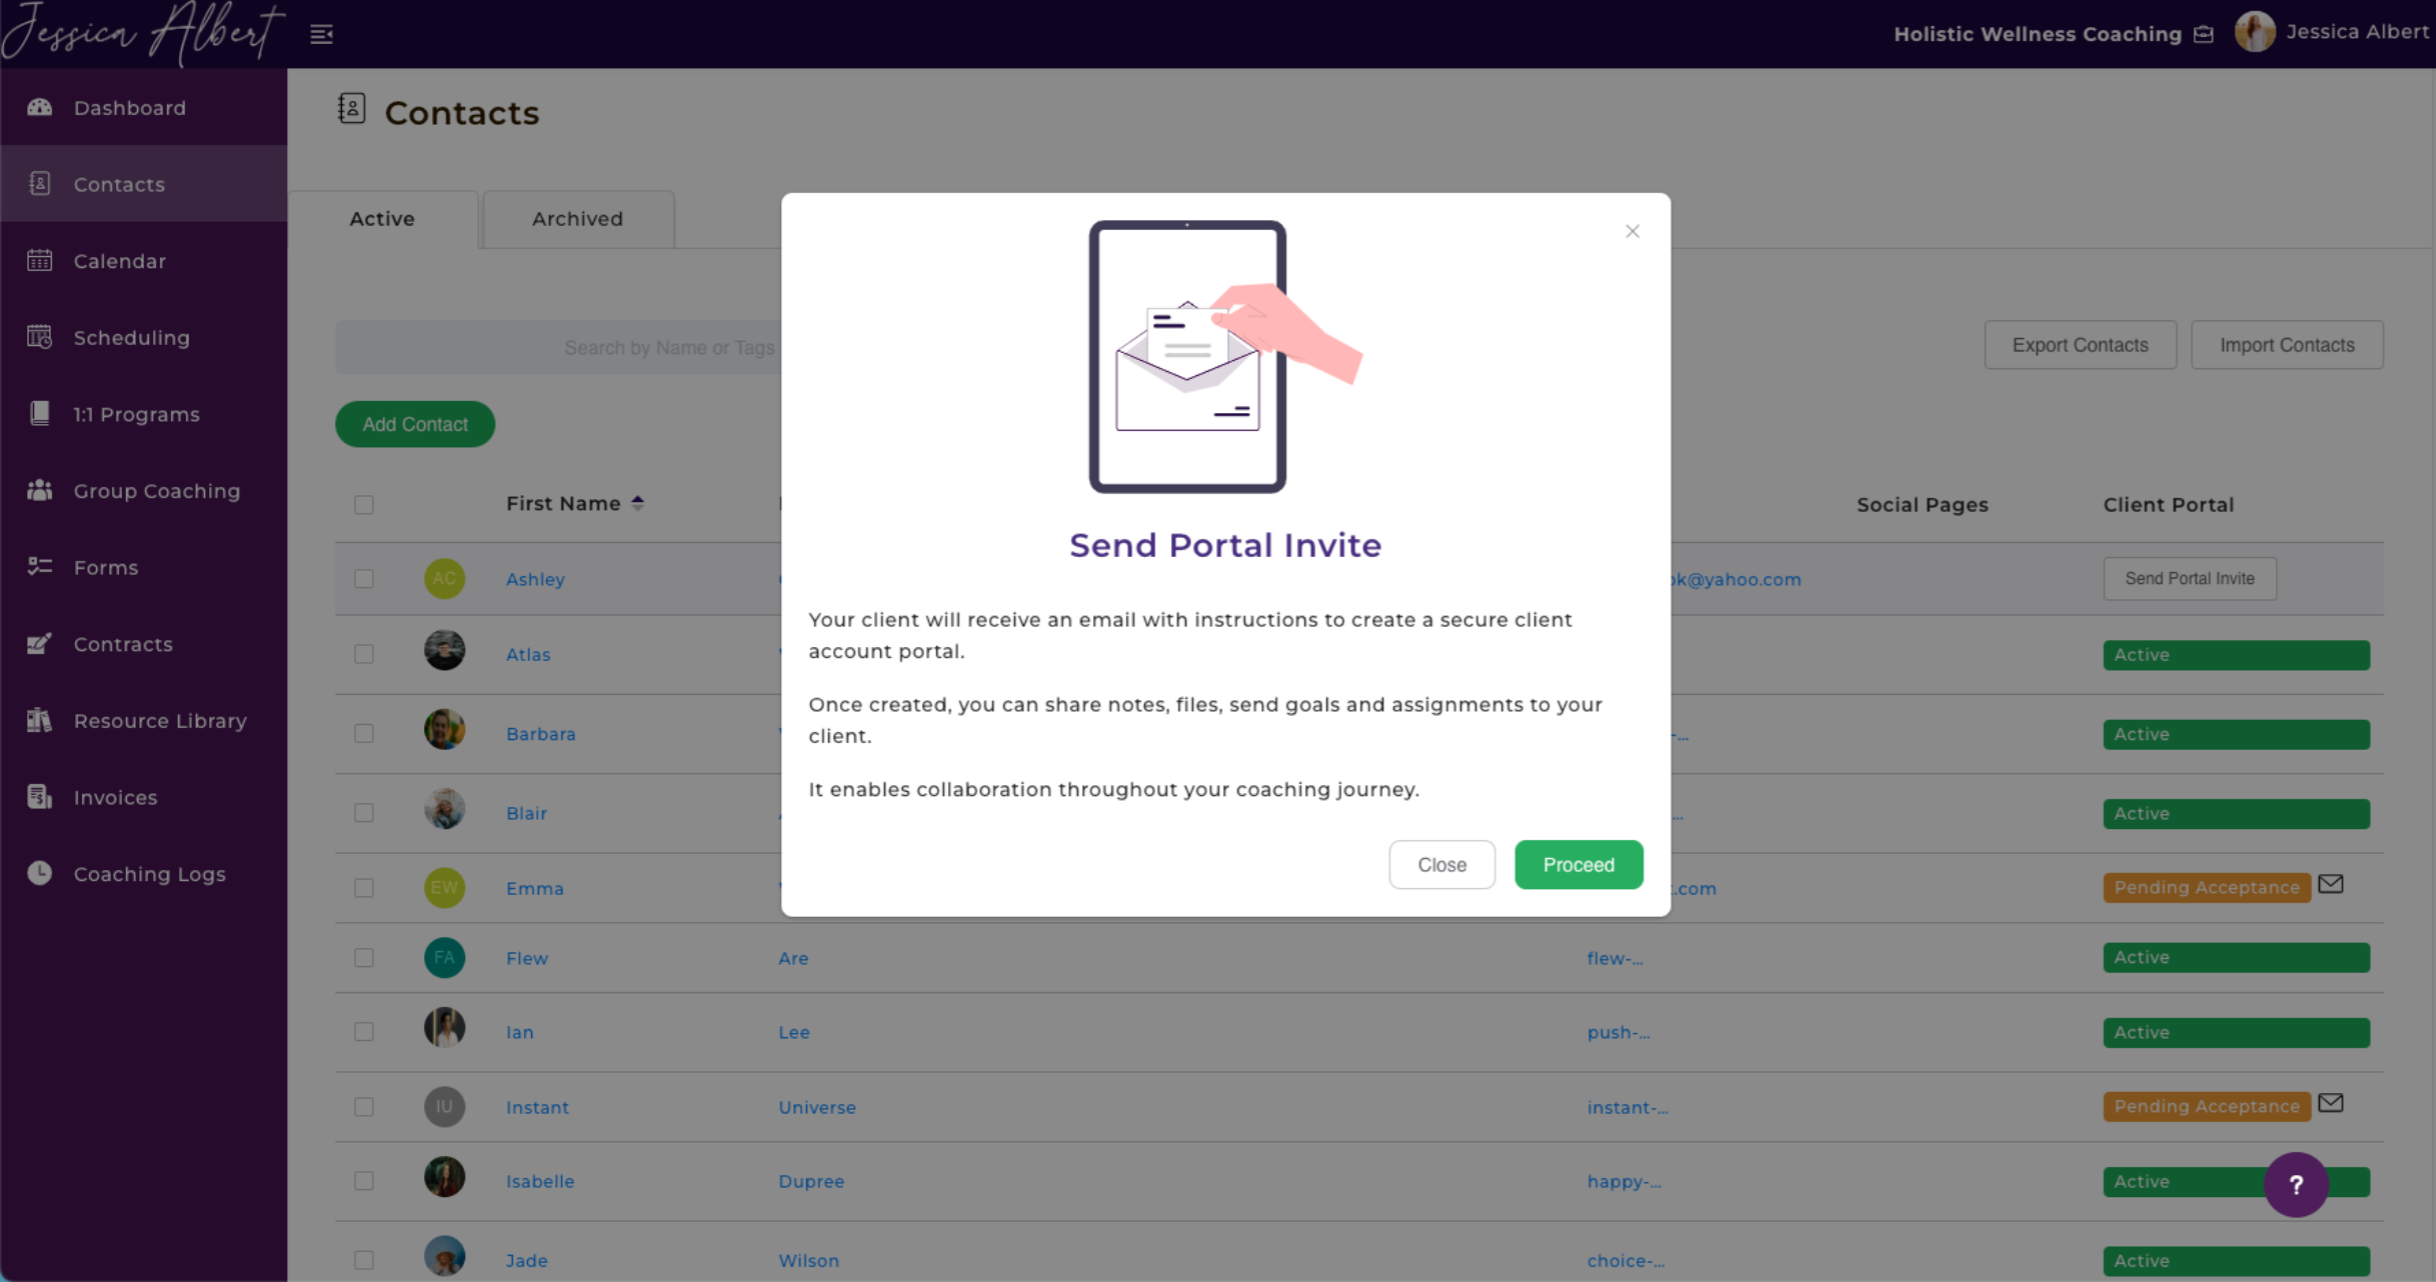
- Send Client Portal Invite. If you'd like CoachVantage to trigger an automated email to invite your client to sign up to a Client Portal, check the Send Client Portal Invite checkbox.
- Click Add to save the contact.
Contact Type 👩
CoachVantage functions as a simple CRM tool so you can choose to add more than just your current clients as contacts to your CoachVantage account. By default, there are 4 contact types that you can select from: "Current Client," "Hot Lead," "Past Client," and "Prospect."
Additionally, you can add your own custom contact type by clicking on the Contact Type bar, type in whatever you want, such as "Referral", etc, then hit Enter. The custom type that you have added will be saved for that contact. You will also be able to use it for other contacts as well, if you wish to, by selecting it from the Contact Type drop-down field.
Note: You will not be able to remove a custom contact type once you've added it.
Adding a contact type to a contact's profile is useful so that you can filter search for different categories of contacts on the Contacts main page.
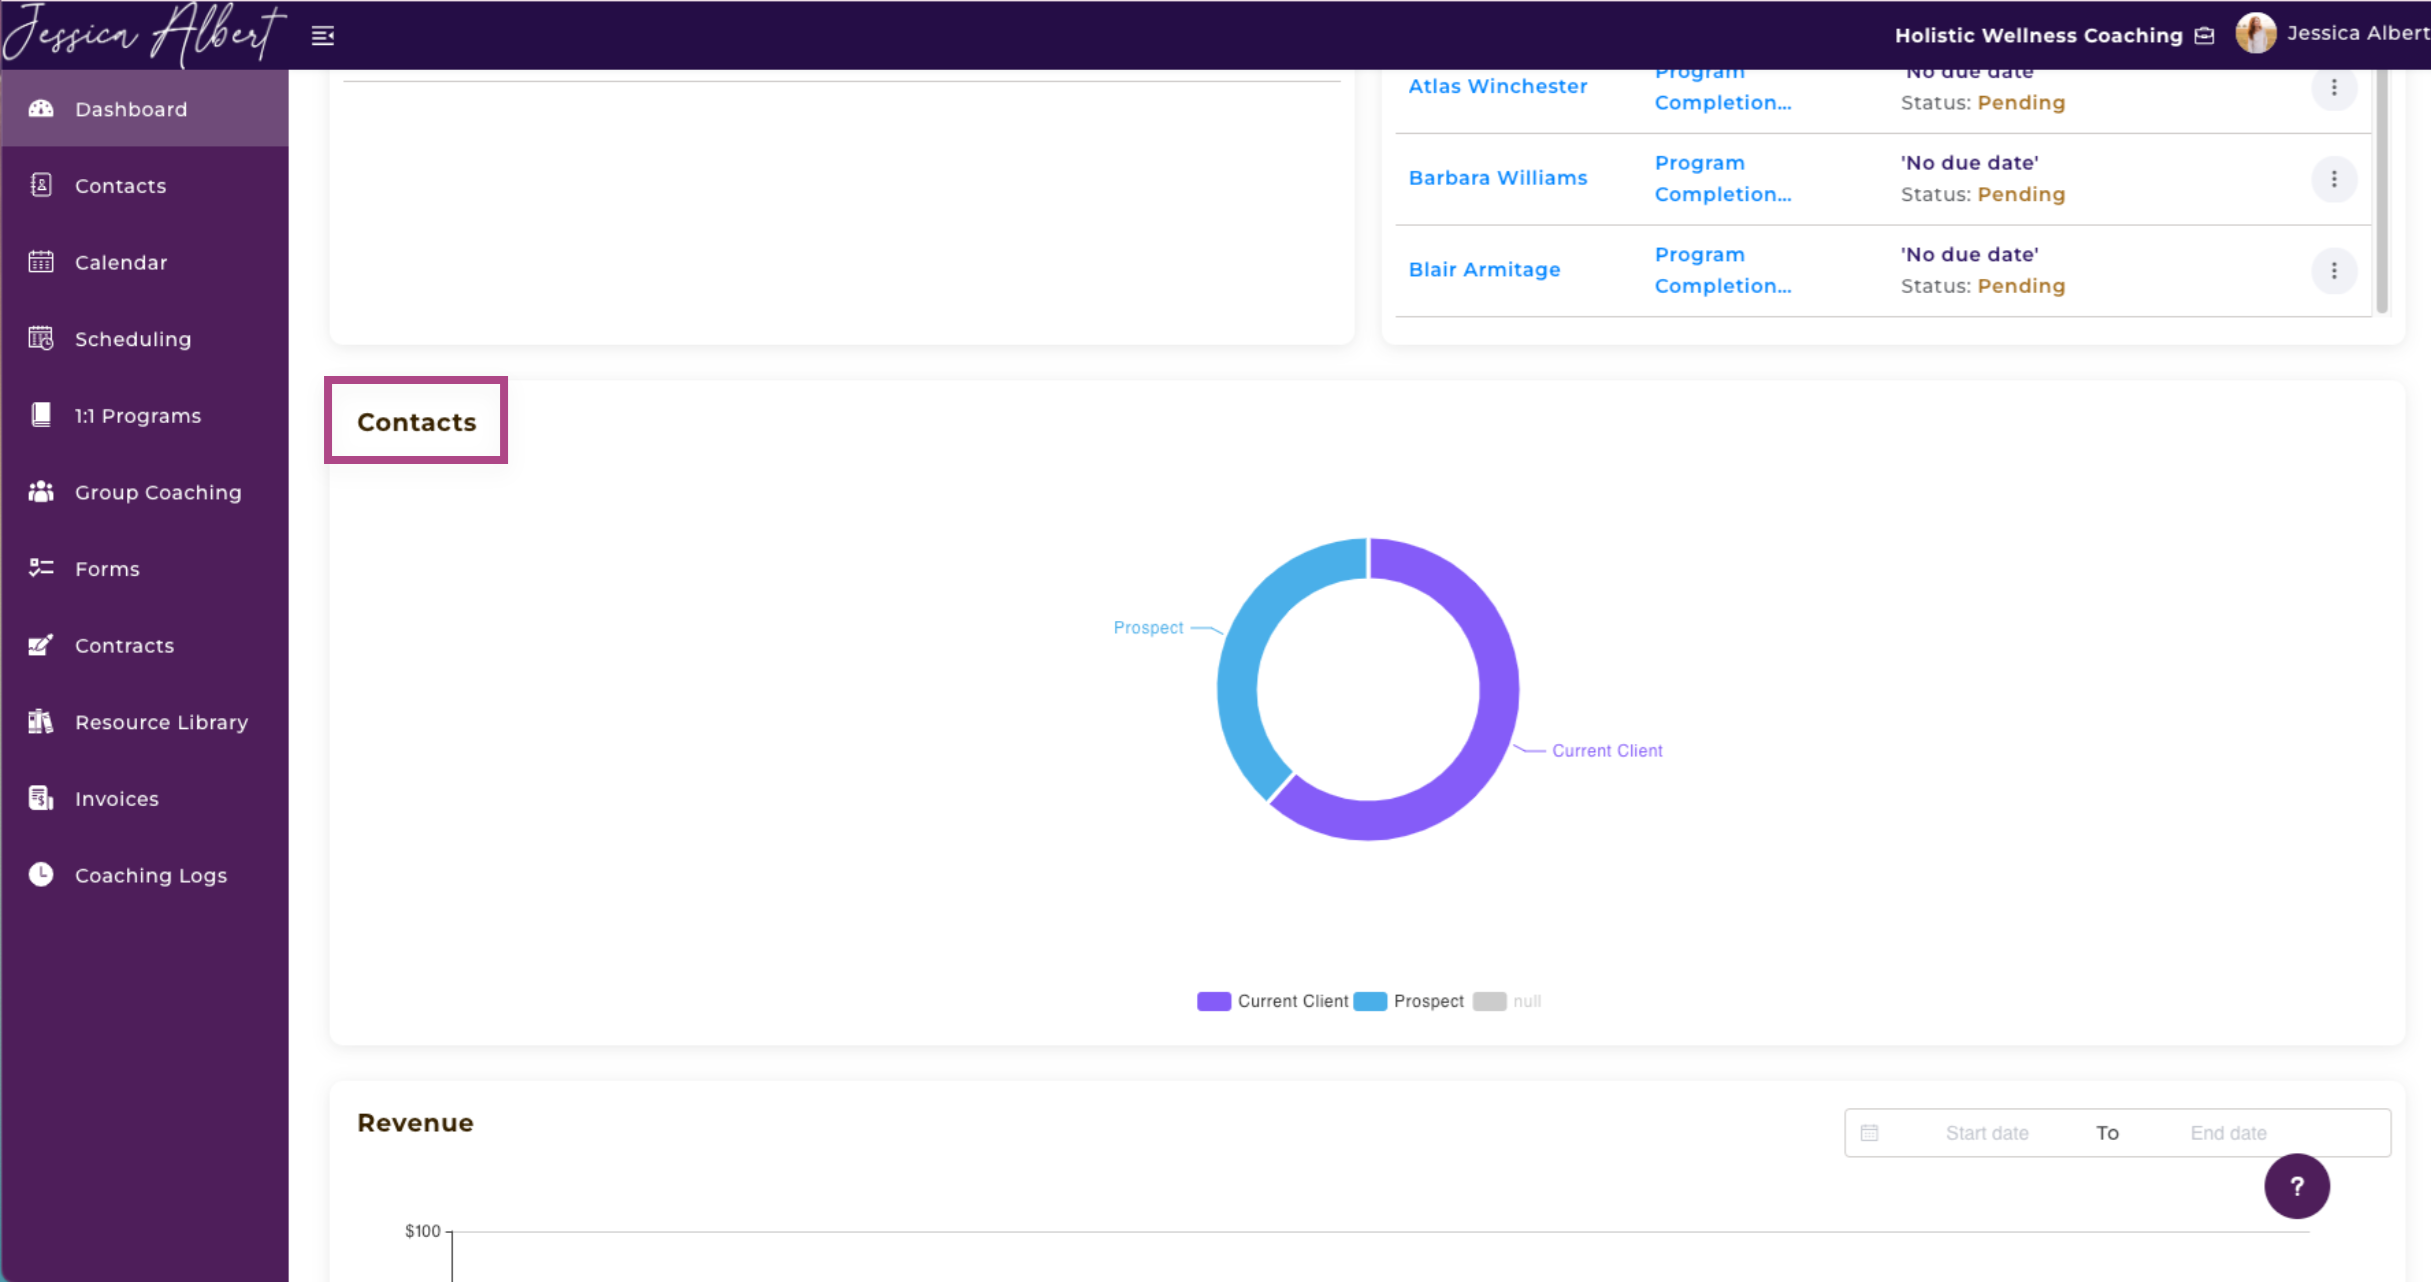
Your Dashboard also provides a donut chart showing the breakdown of your contacts by contact type.
Client Portal Invite ✉️
You can send a Client Portal Invite by checking the Send Client Portal Invite checkbox. Alternatively, leave the box unchecked if you don't wish to send a client portal email invite at this time. You can always send them the email invite later.
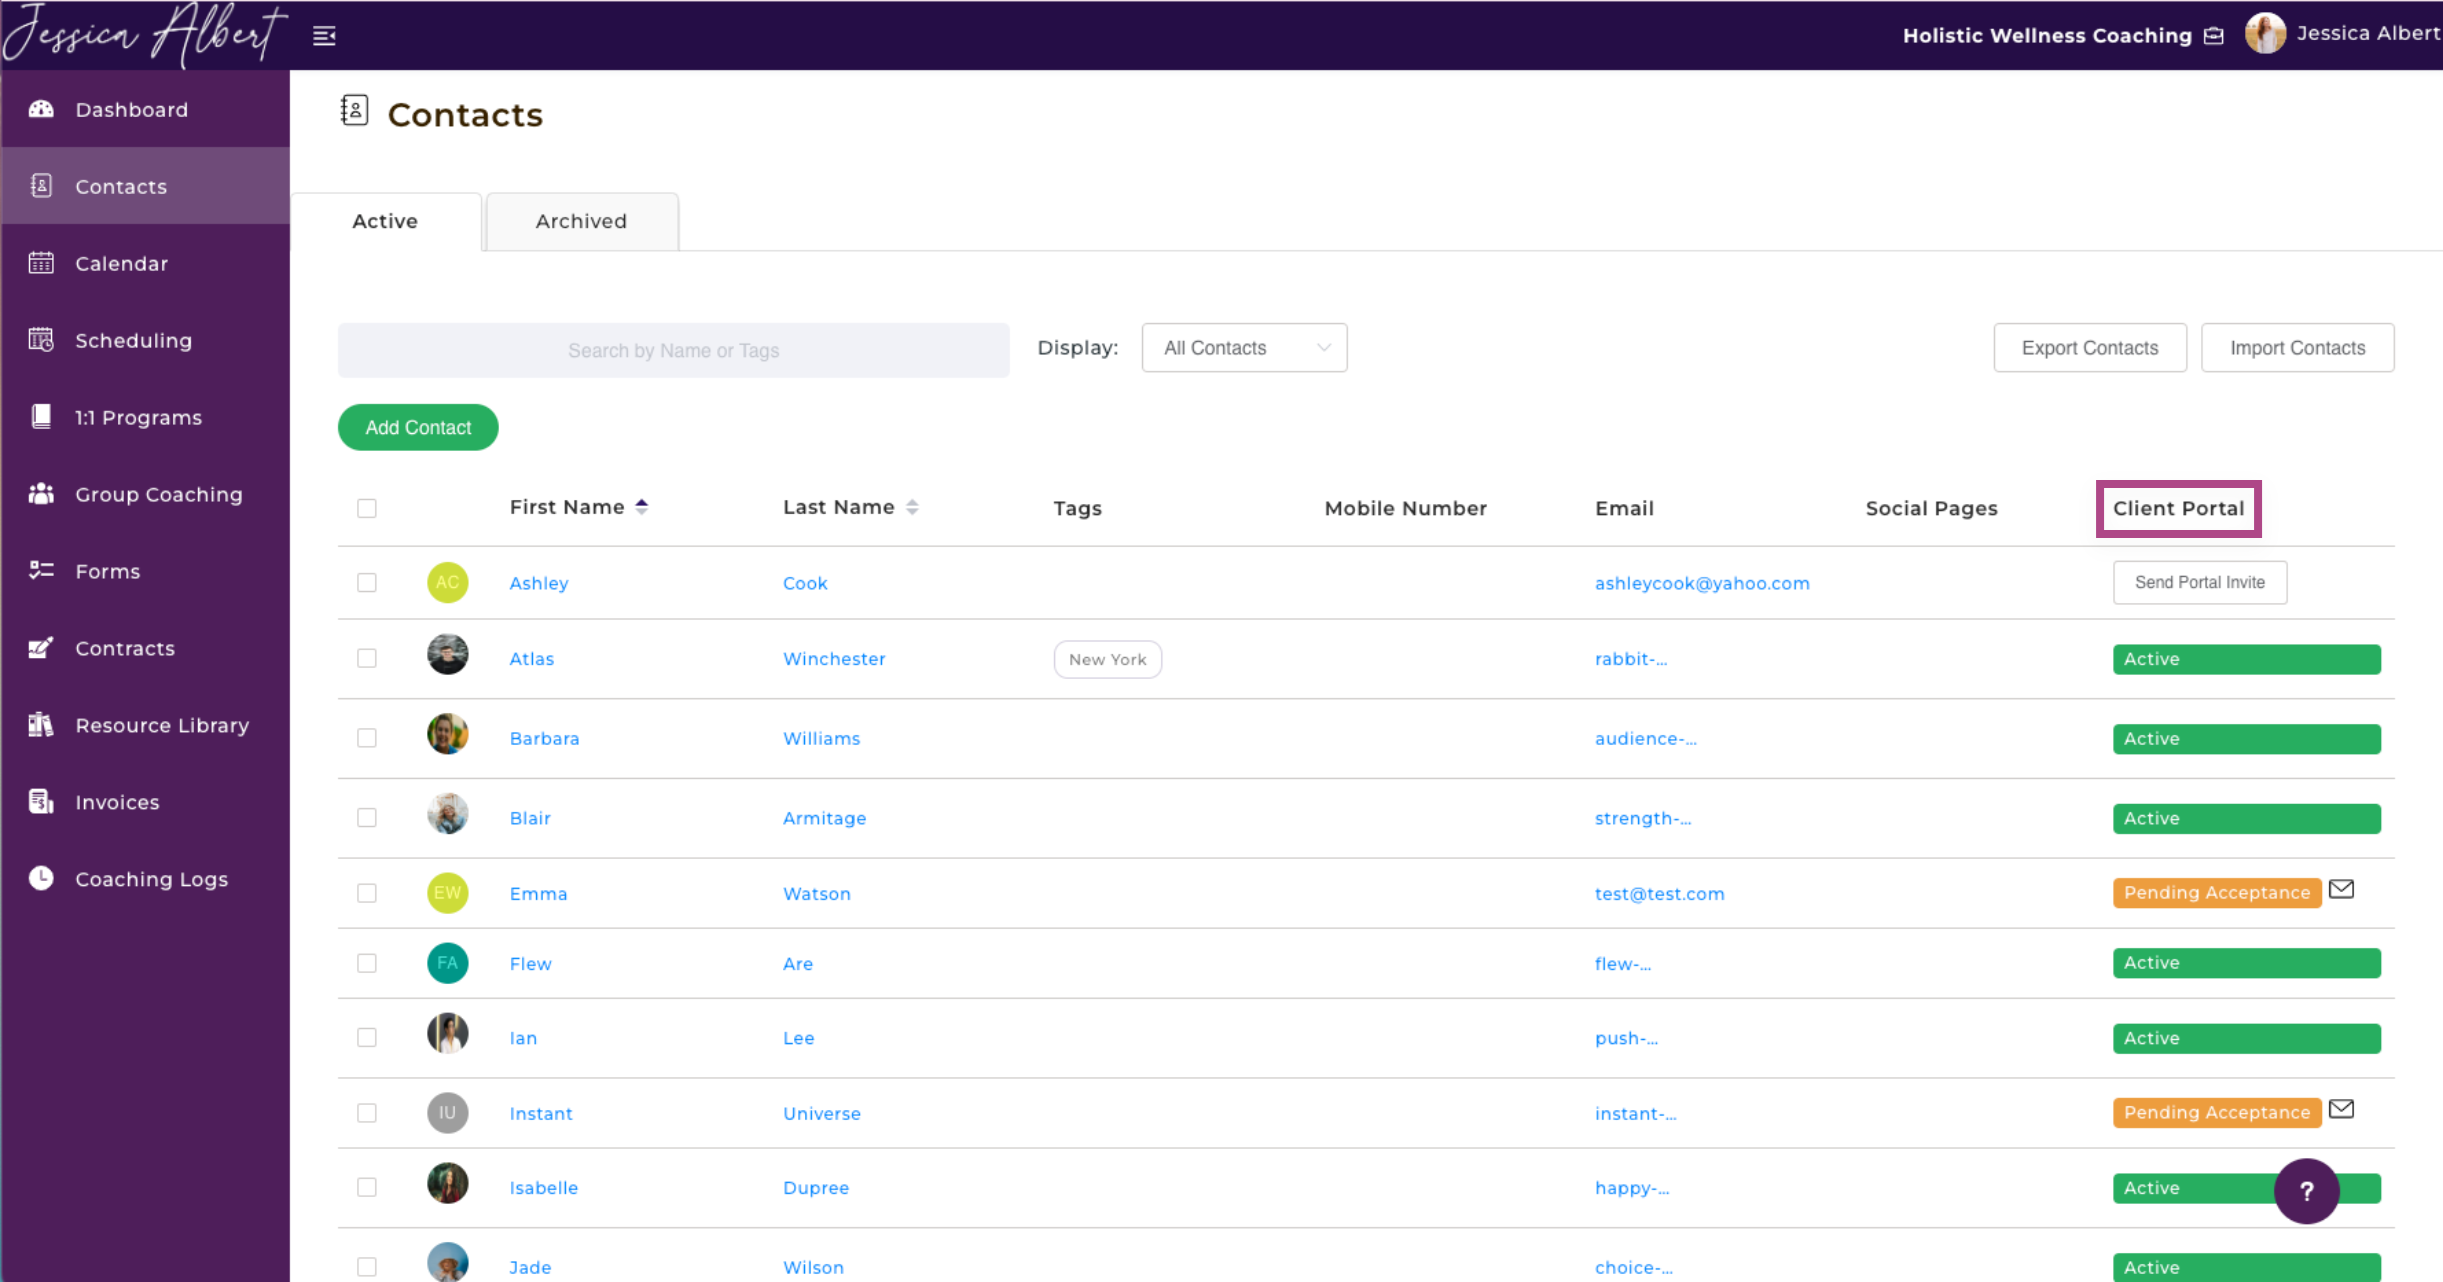
Lastly, select Add and the contact should now appear in your Contacts page, in the Active tab.
See also "Archived Contacts" article to learn how to archive a contact.
Importing Contacts 👨🦱
How to bulk import your existing contacts to CoachVantage
If you have a pre-existing list of contacts, we understand it may be tedious to apply the method described above to add contacts one at a time.
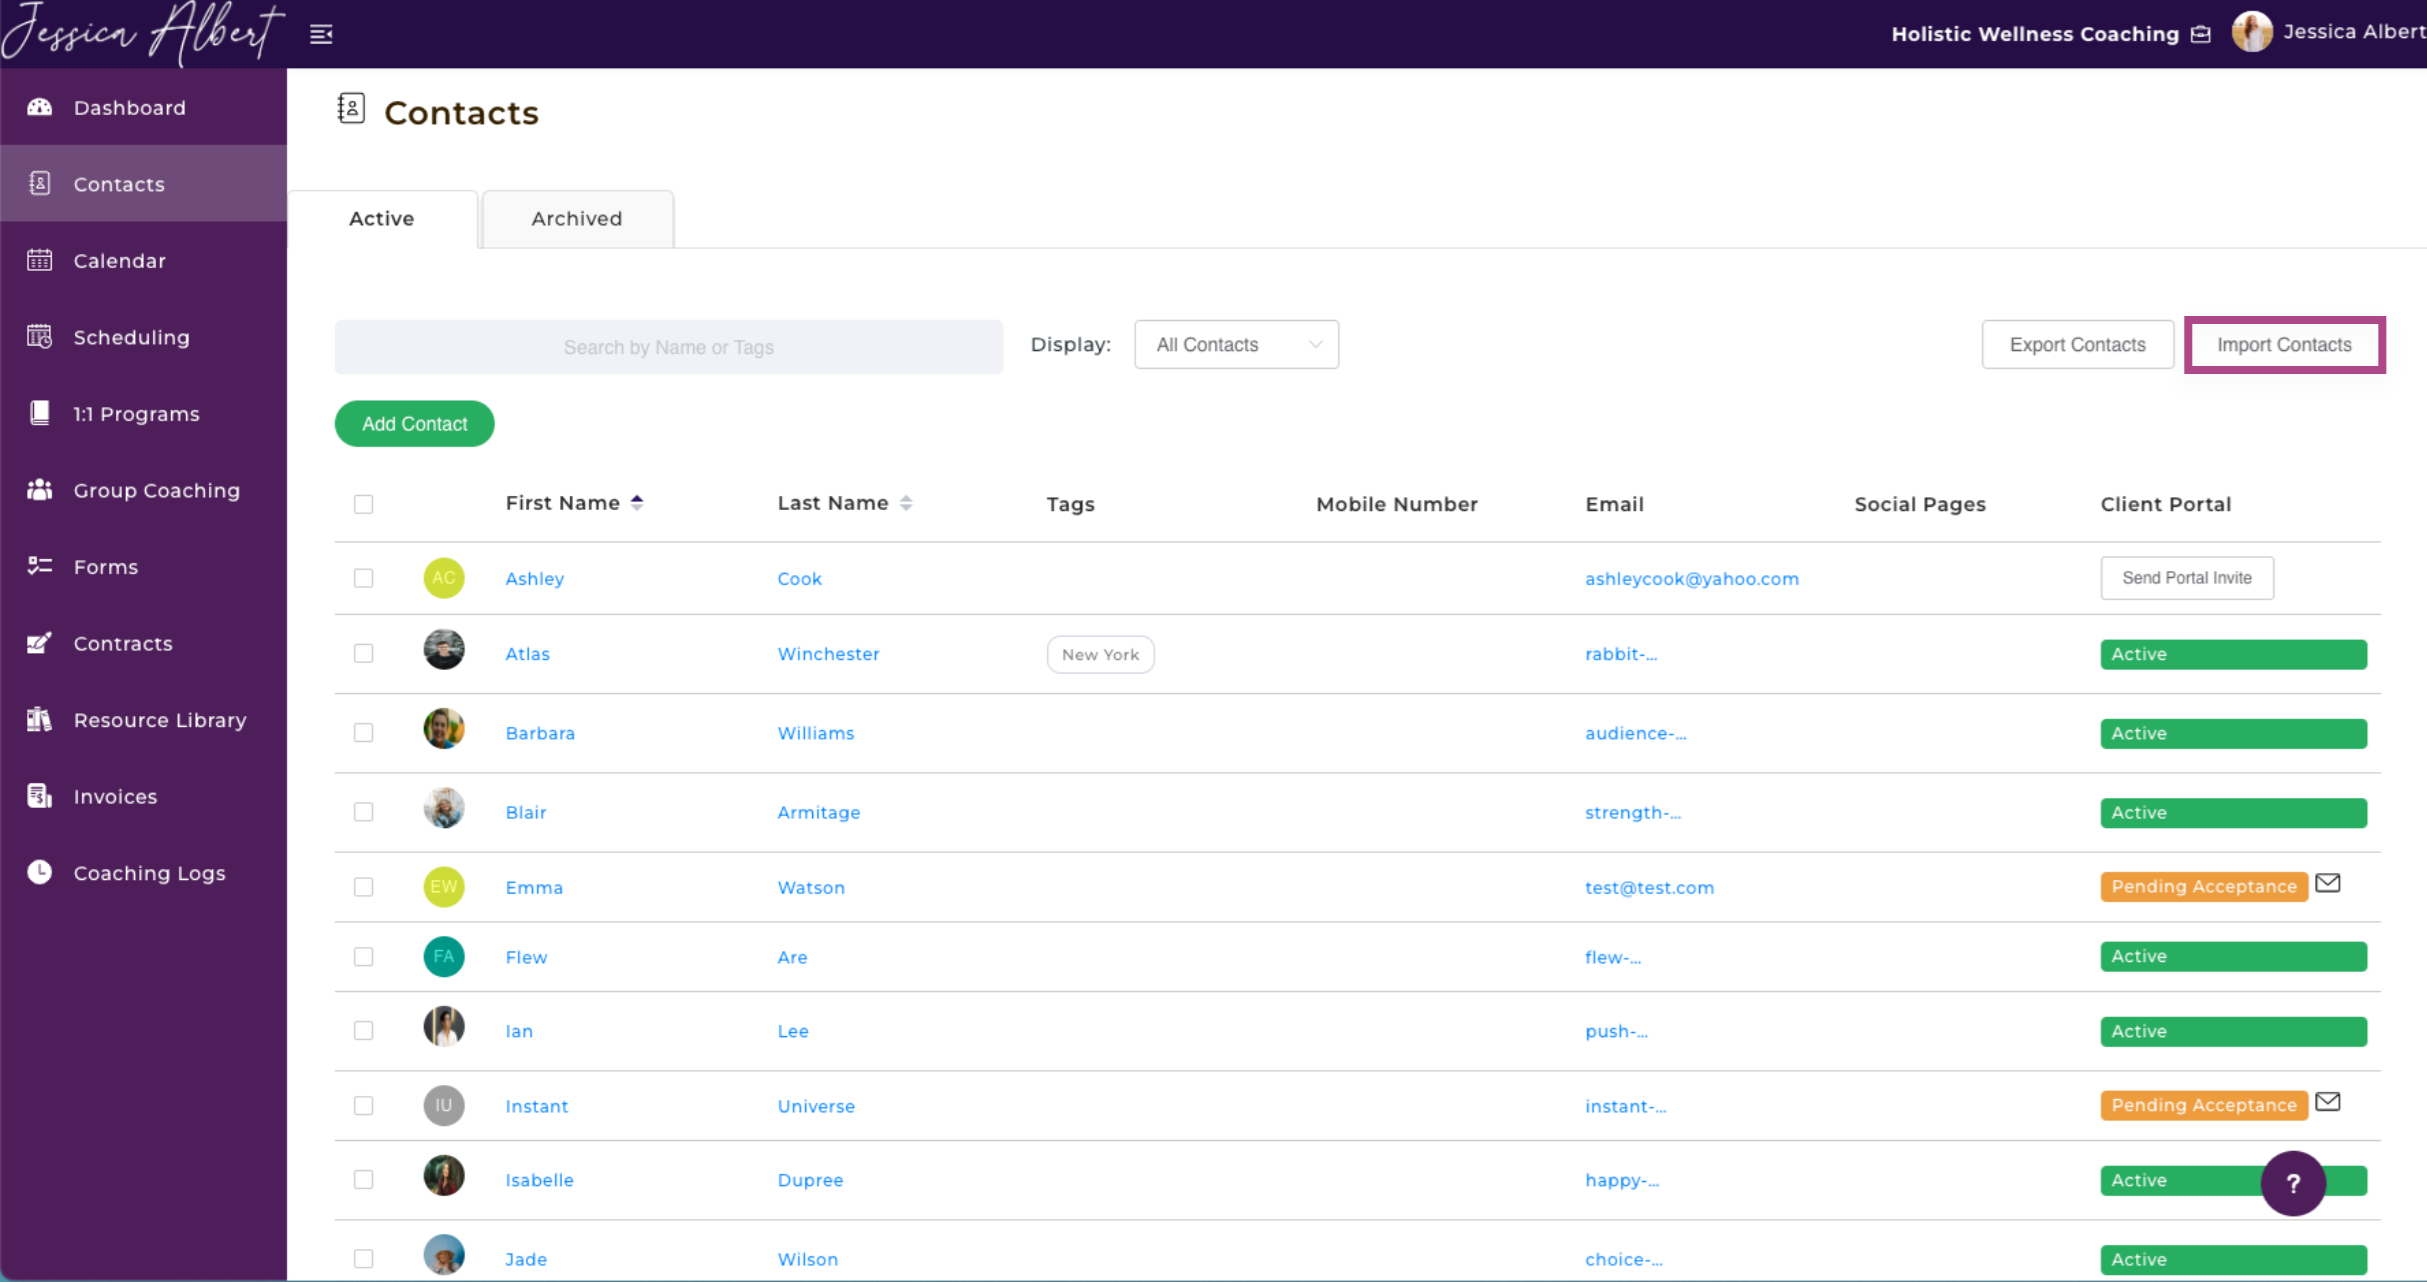
- To import your list, you can use the Import Contacts button to bulk upload your contacts.
- Click Import Contacts button.
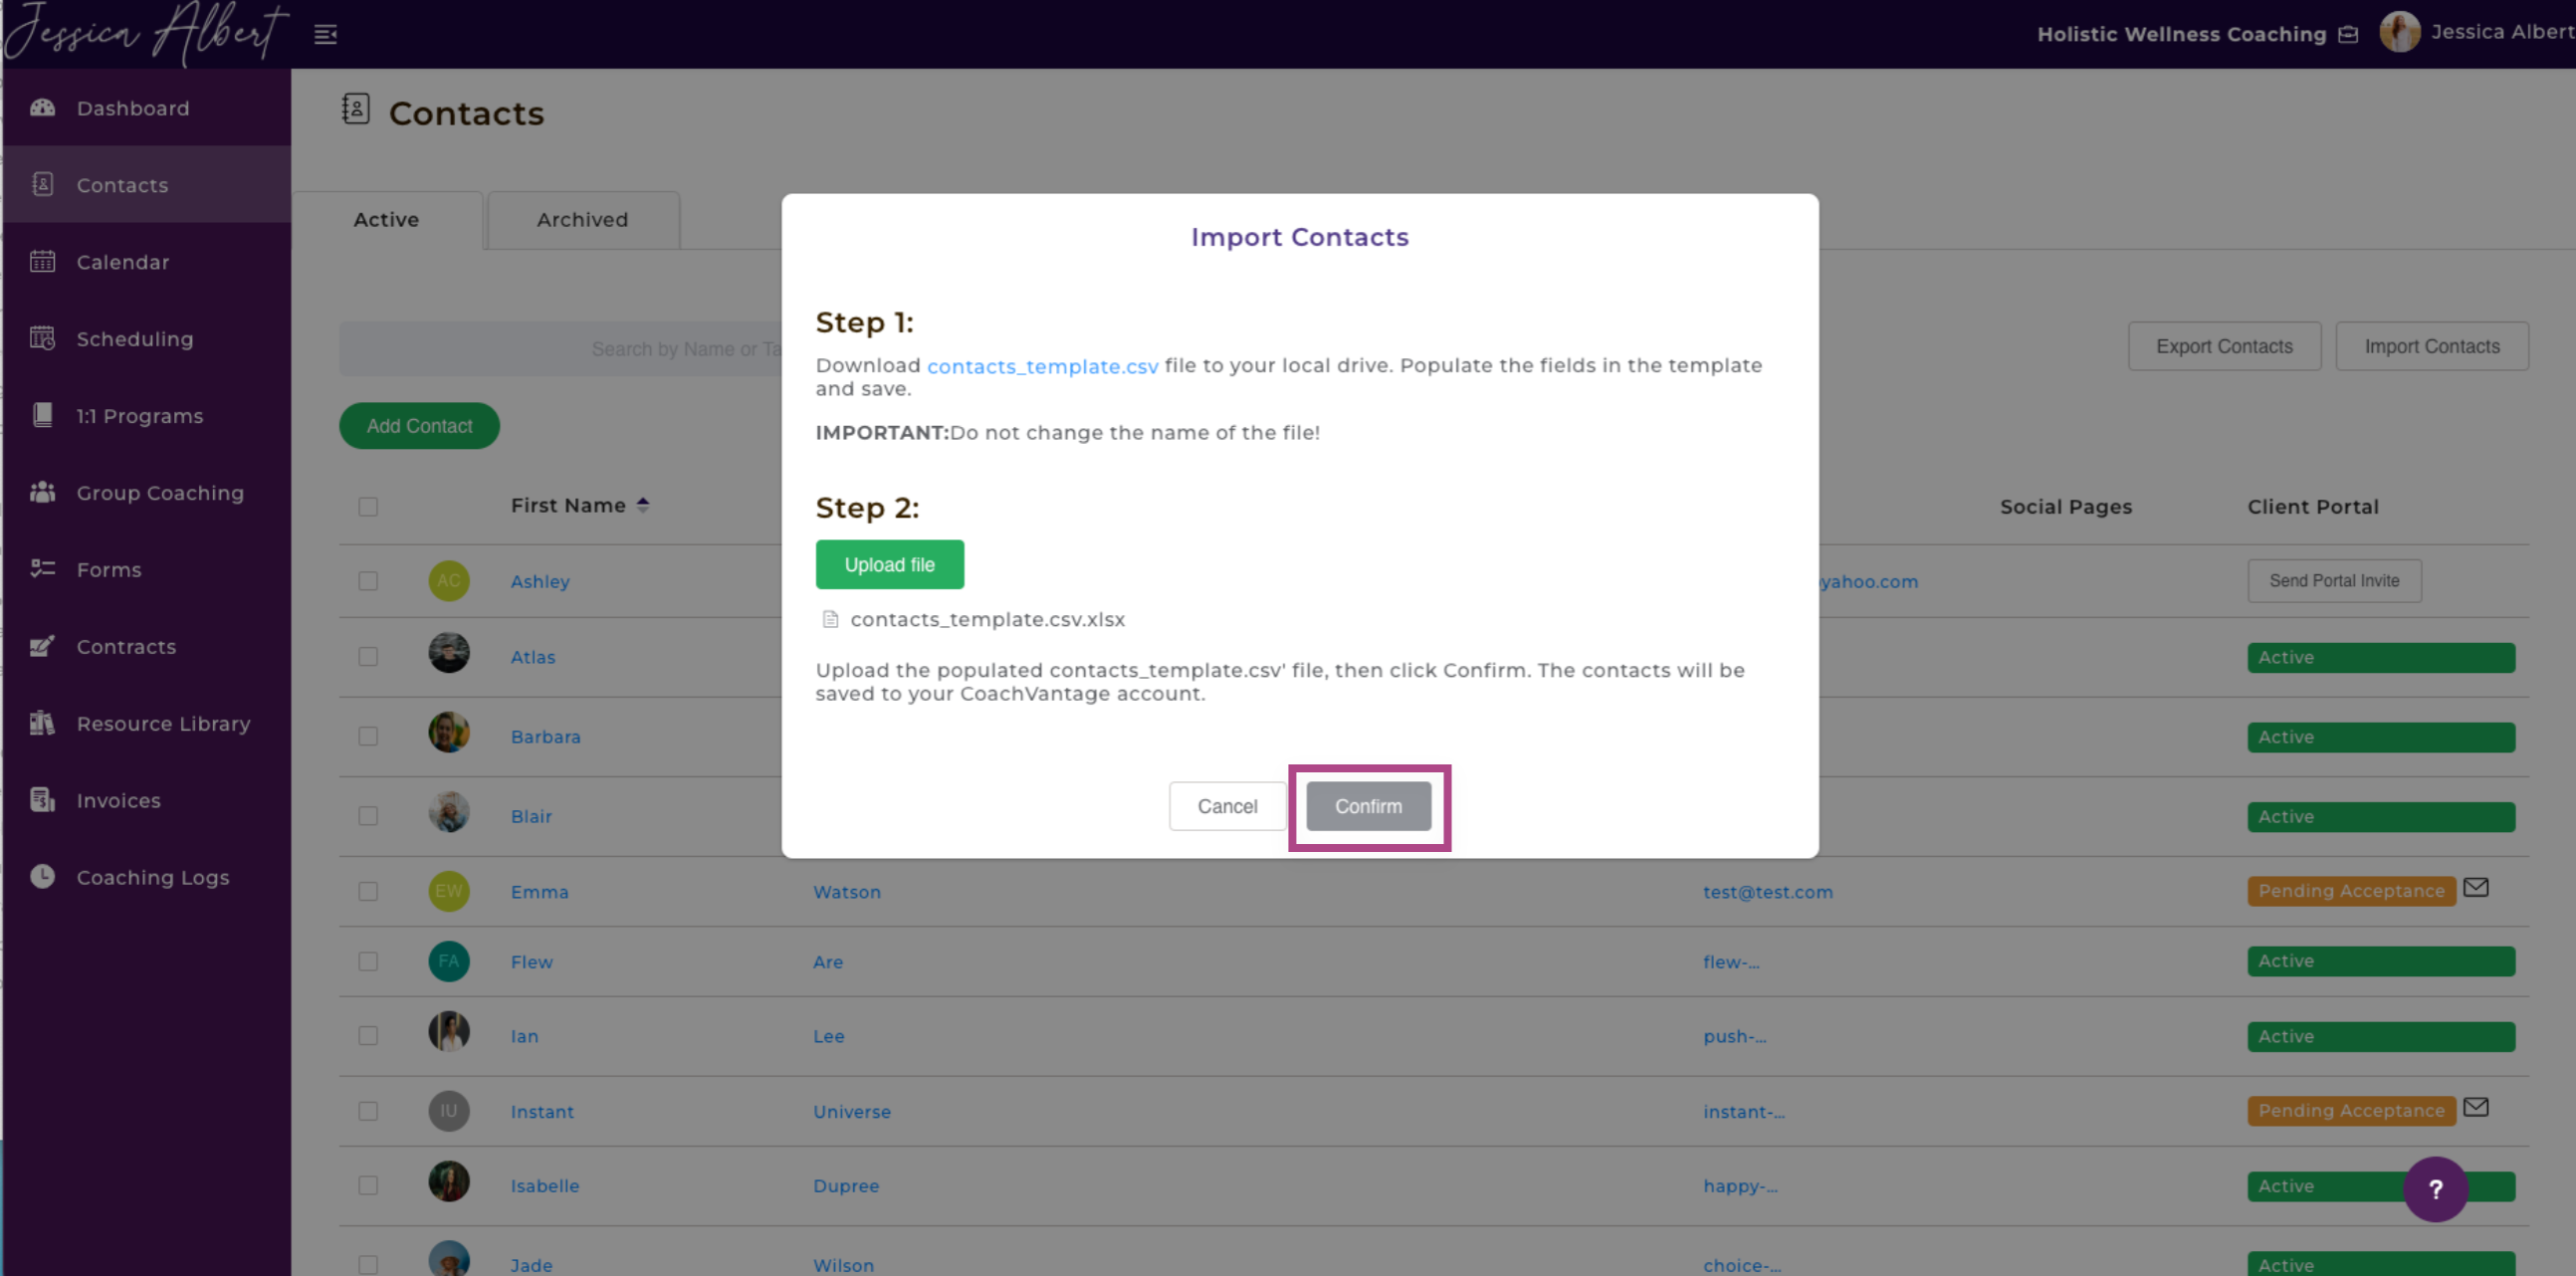
- A window opens up with instructions.
- Click on contacts_template.csv. This will download the file to your PC.
- Once the download is completed, open the file on your PC, then populate it with your contacts' details such as First Name, Last Name, Email, etc.
IMPORTANT: It is very important that you don't change the File Name or Header Names in the file.
- Remember to save the file to your PC once you're done.
- Click the Upload File button on the Import Contacts window in the CoachVantage application.
- Select the contacts_template.csv file that you had populated and saved to your PC.
Finally, click the Confirm button on the window.
Your Contacts should now be imported and saved to your account. 🎉
If you do not see it updated, check if you might have accidentally changed the file name or header names of the CSV file.