Forms Page Overview
Overview
Forms are a nifty way to get desired information from your clients. 📋
You can create and send as many forms as you wish.
You can send forms as Ad Hoc Forms (ie, without associating the form to a coaching program), or you can associate forms with a coaching program that your client is enrolled in (ie, to send forms as part of a coaching engagement activity / process).
Important: You can only send forms to clients with an Active Client Portal. Clients can access and respond to forms within the Client Portal only.
In addition to sending forms to clients, you can also create Intake Forms (or Questionnaires) that can be embedded into your Event Booking Page and Program Sign-Up Page. Refer to these articles for more information about how to embed a form in your Event Booking Page and Program Sign-Up Page.
In this article, we will cover:
1. Forms Page Overview 💫
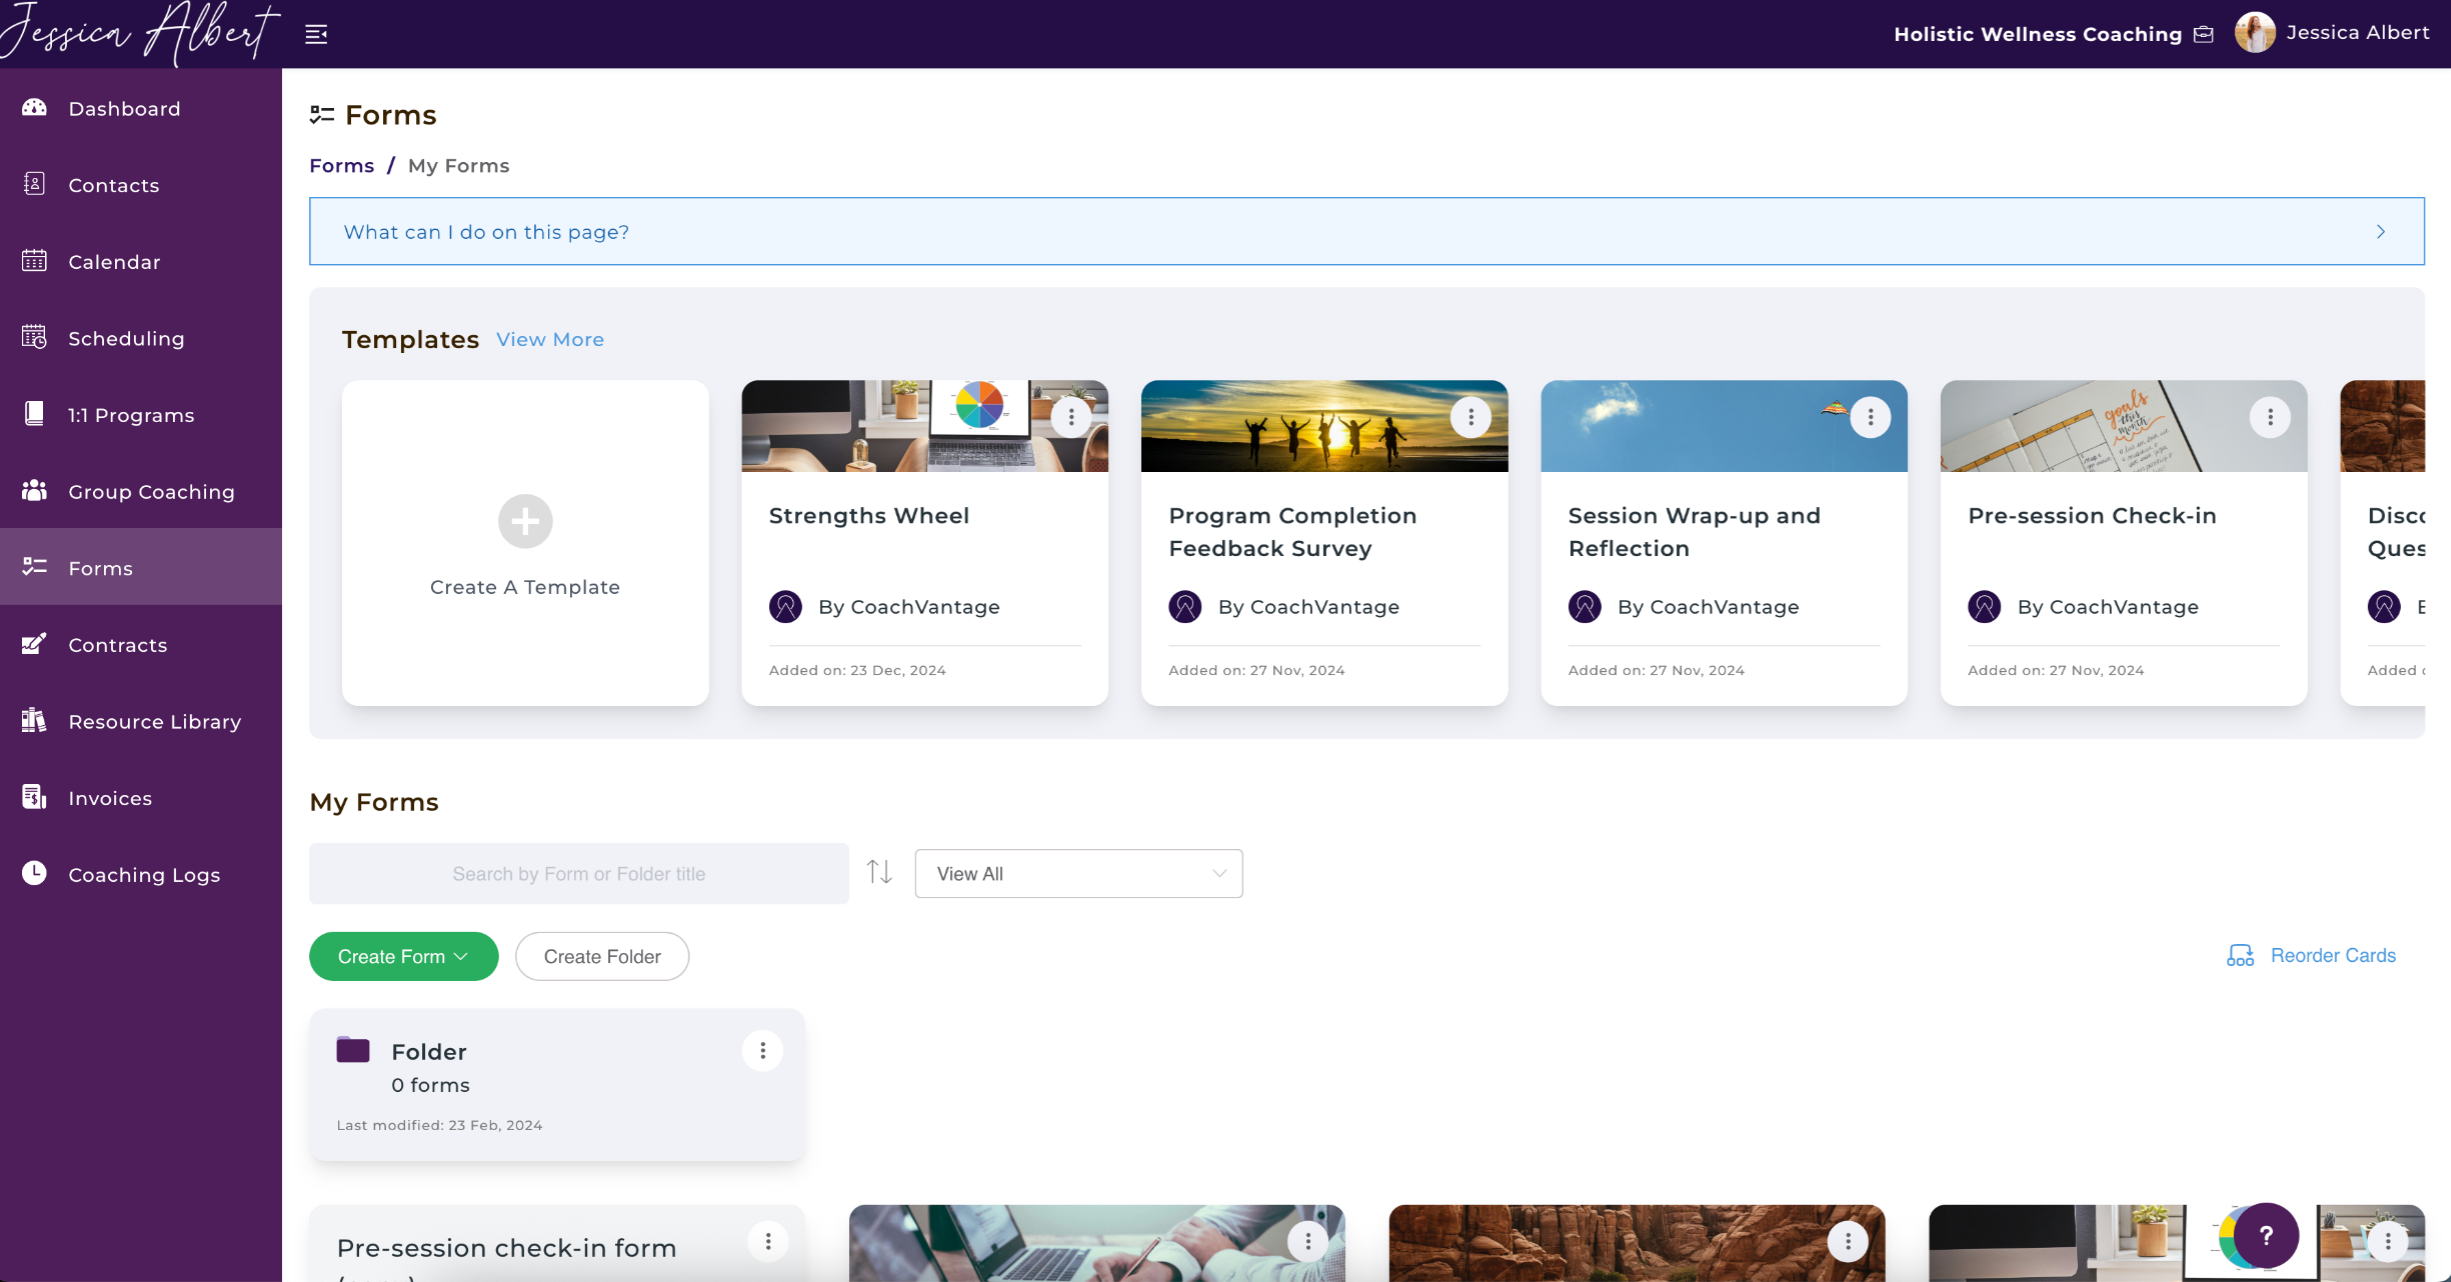
To get to the Forms Page, click Forms on the left menu.
You'll see:
1. Search Bar & Sort
You can use the search bar and type in the name of the files you're looking for.
Click on the Sort icon (up/down arrows) to sort your files by alphabetical order or the recency of the event.
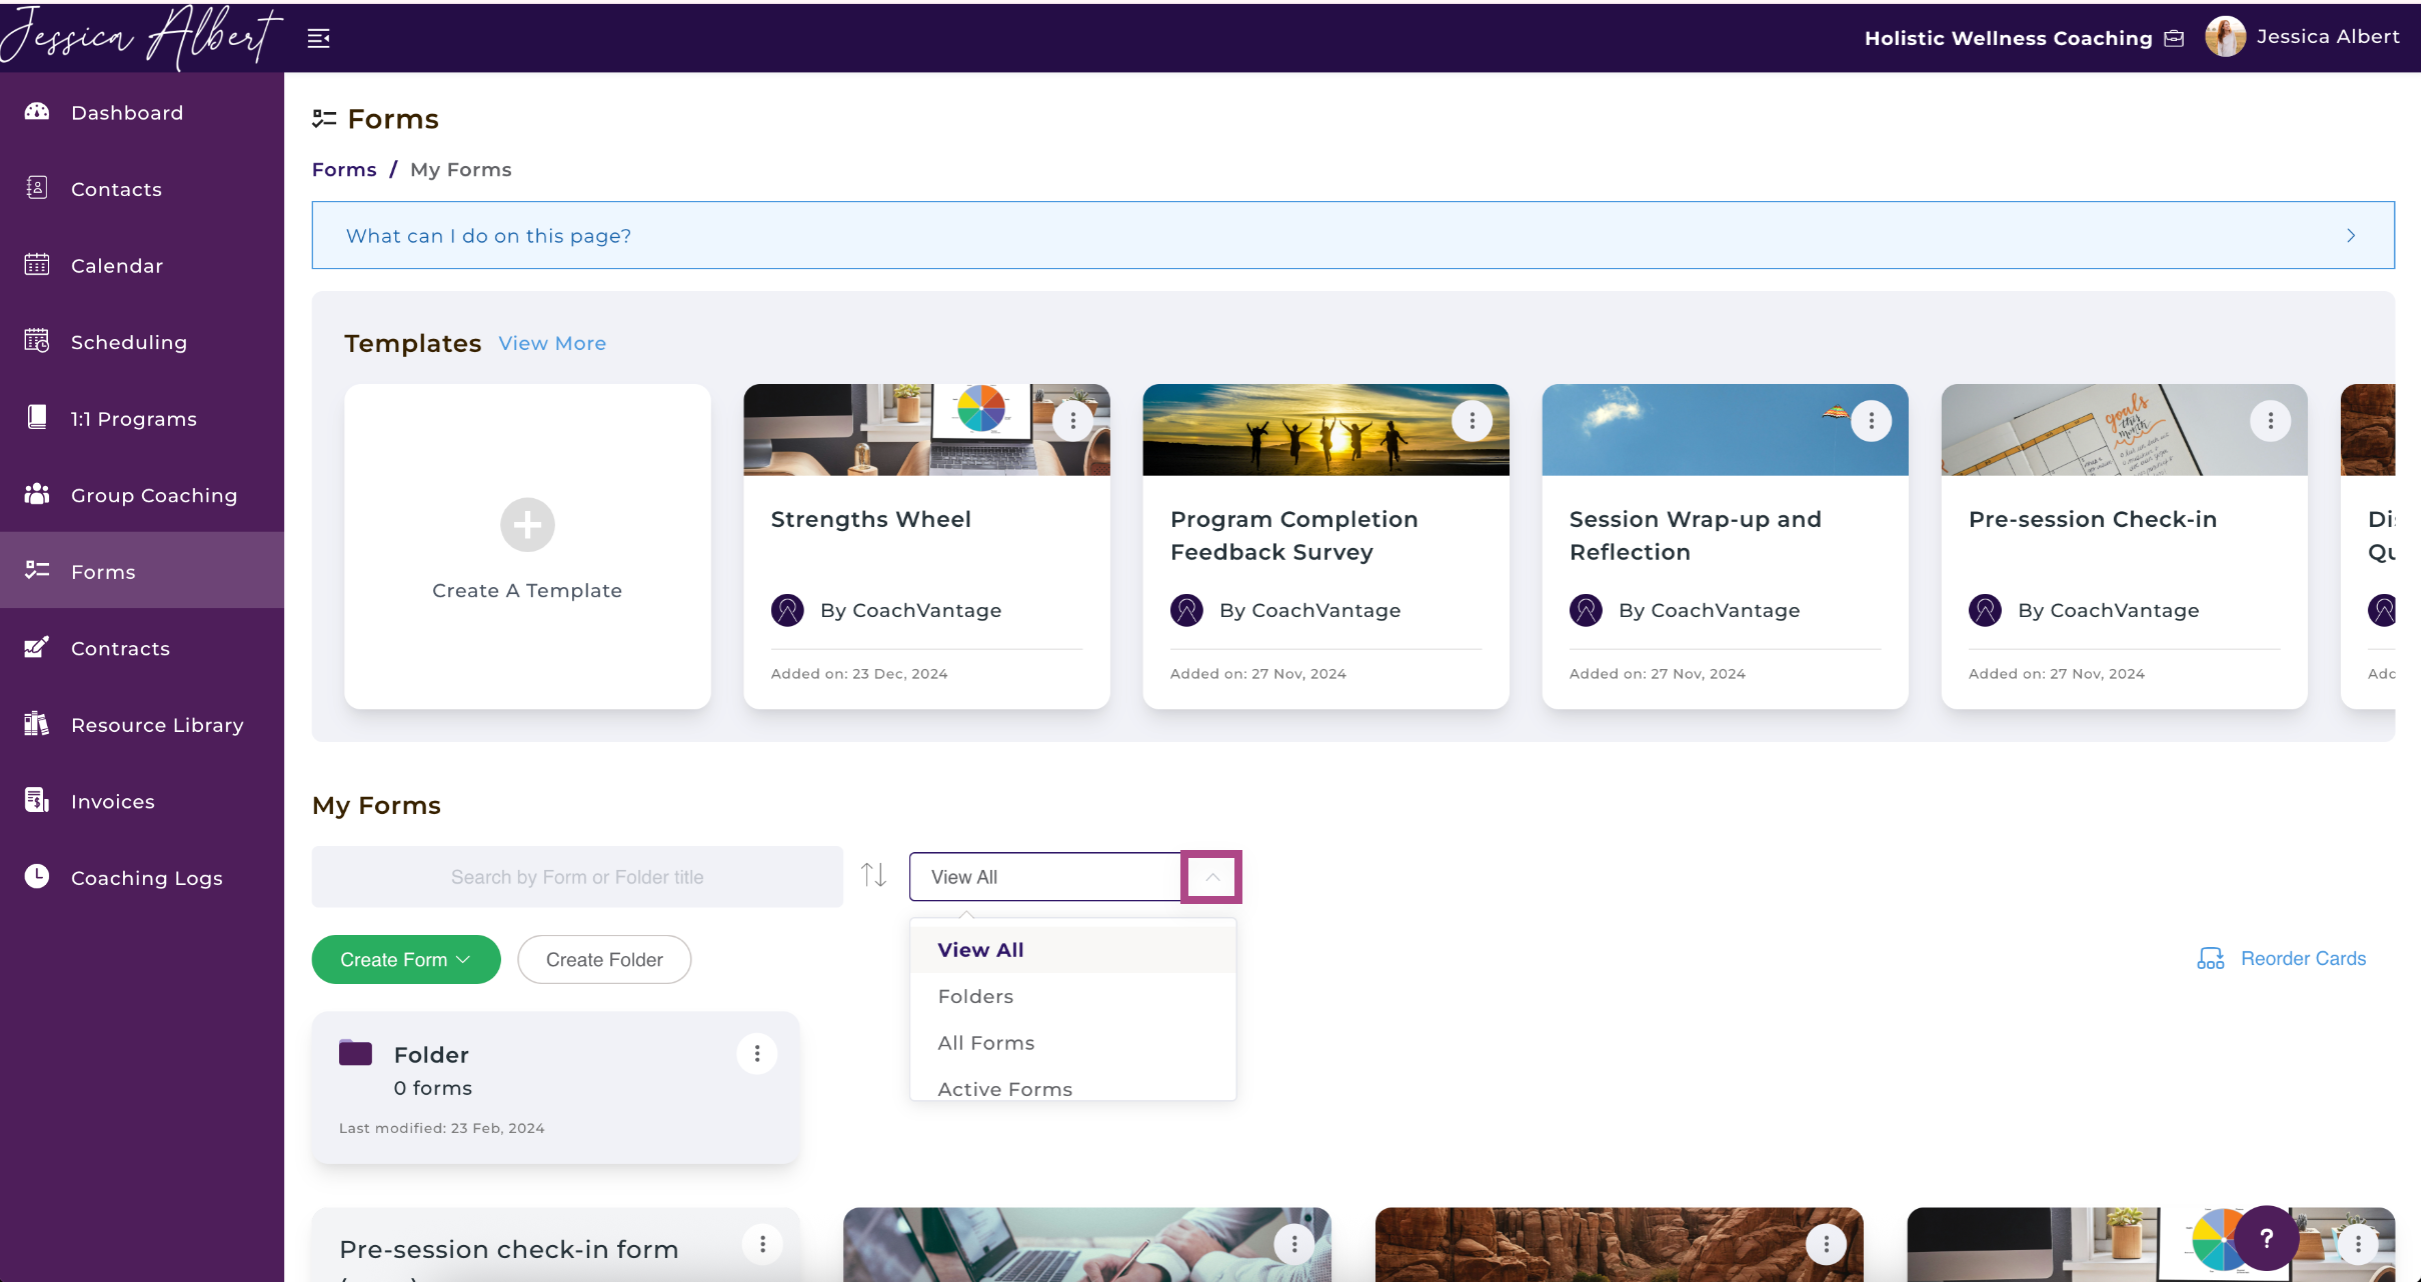
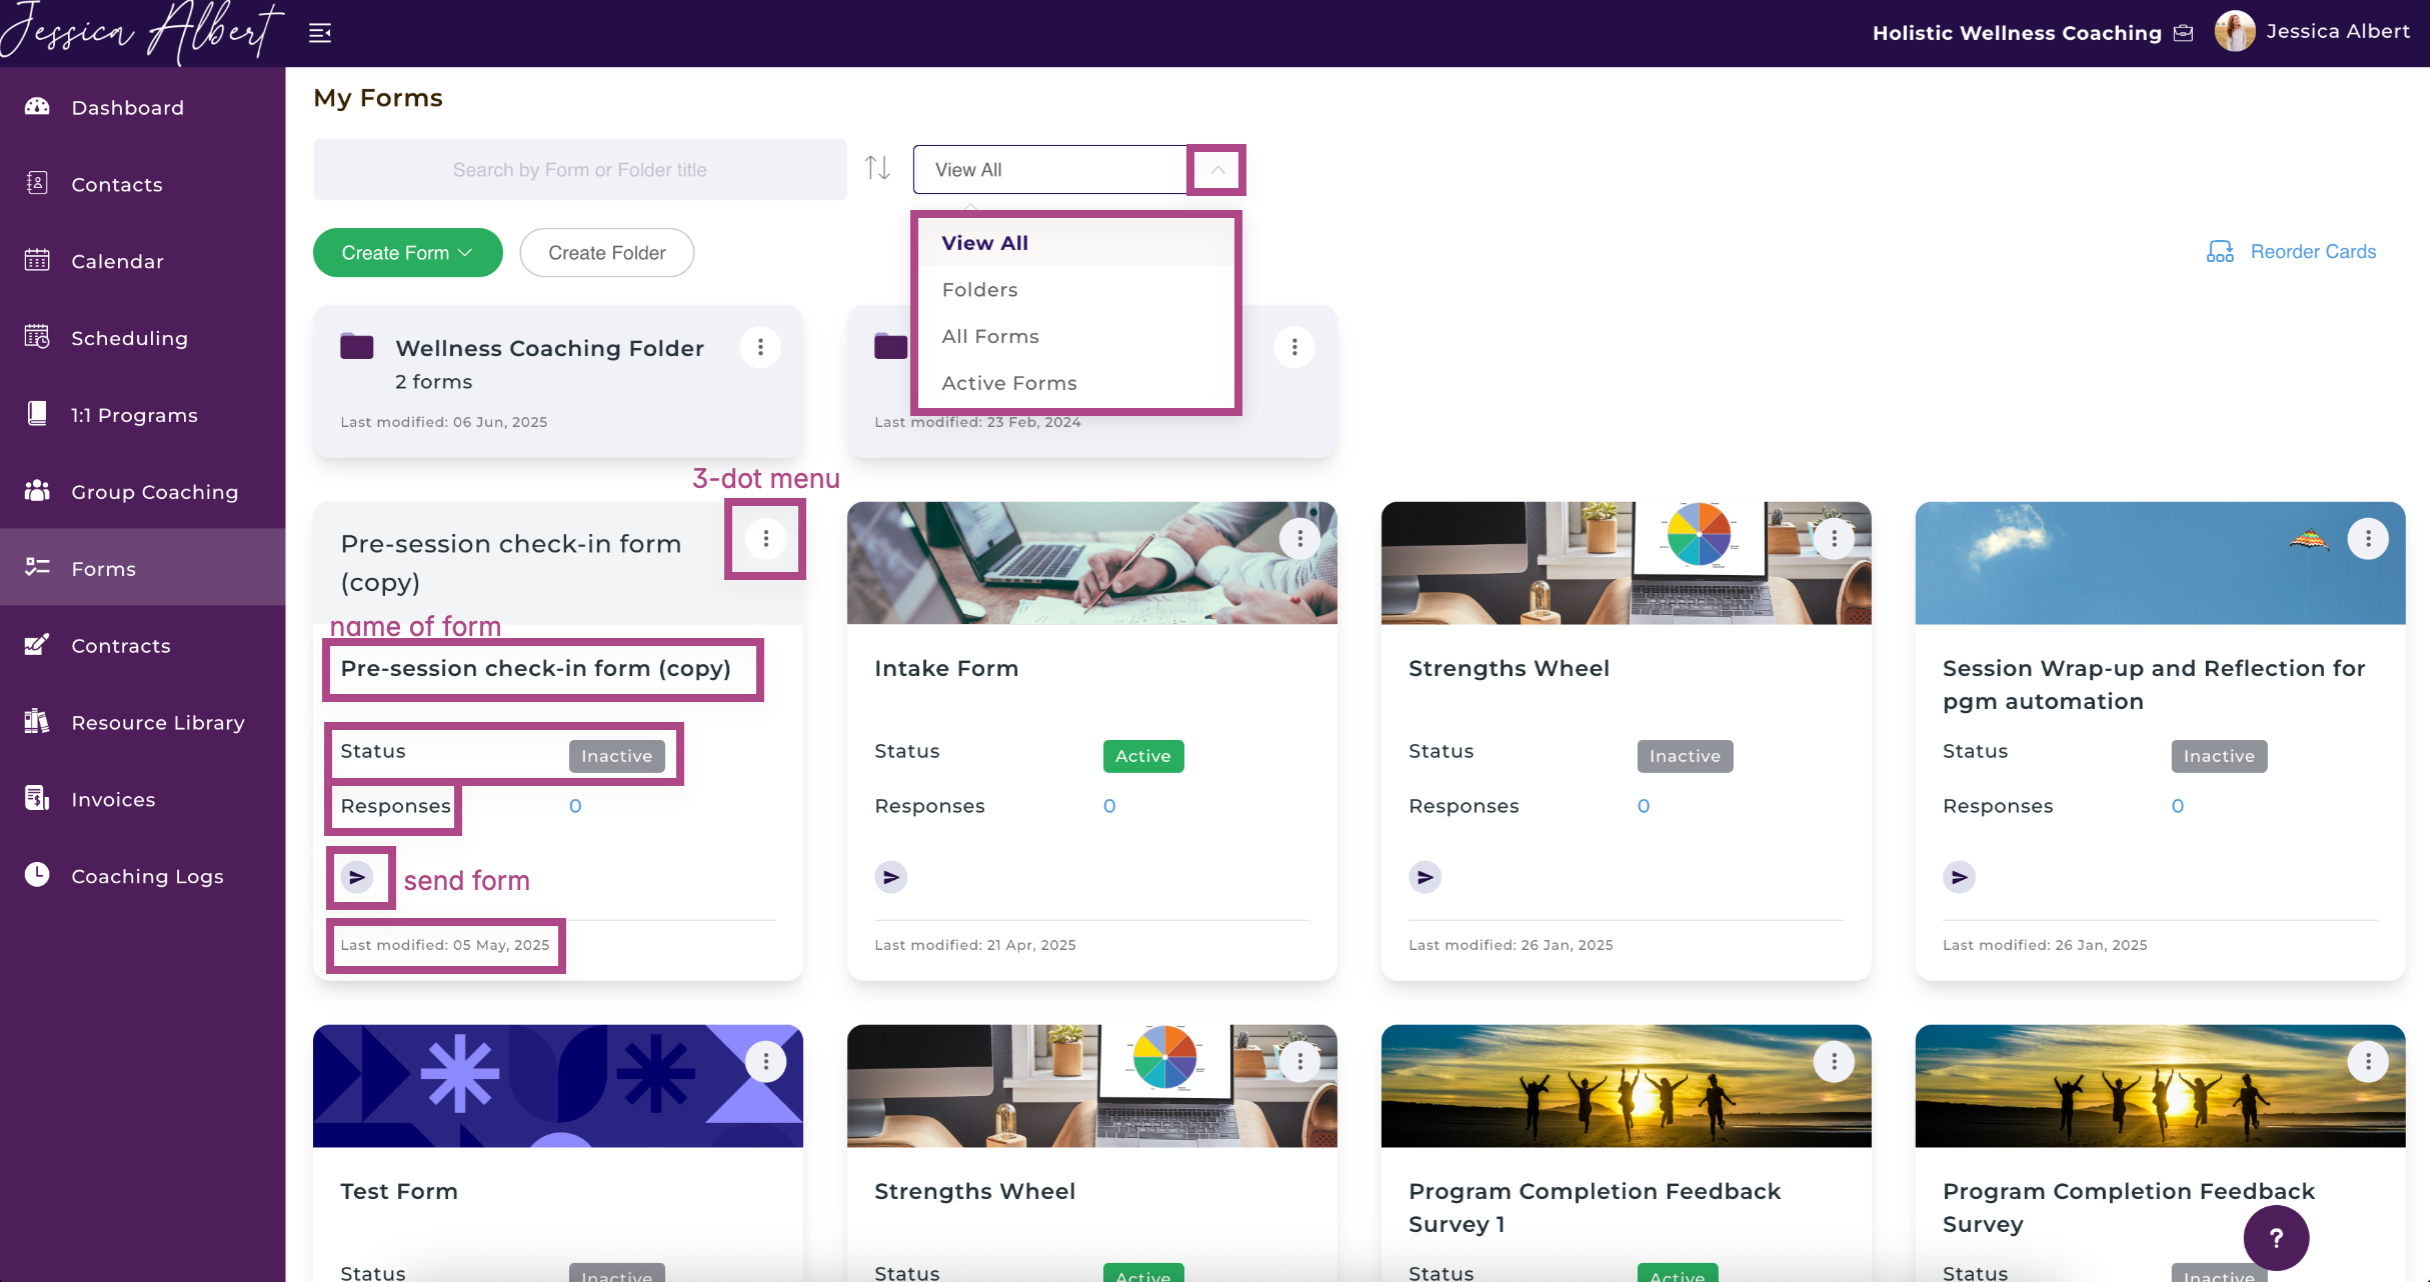
2. View All Dropdown
View your forms according to Folders, All Forms, or Active Forms by selecting the dropdown bar.
3. Create Forms
Click on the Create Forms button to create a new form.
Refer to the article How to Create A Form to learn how to create a form.
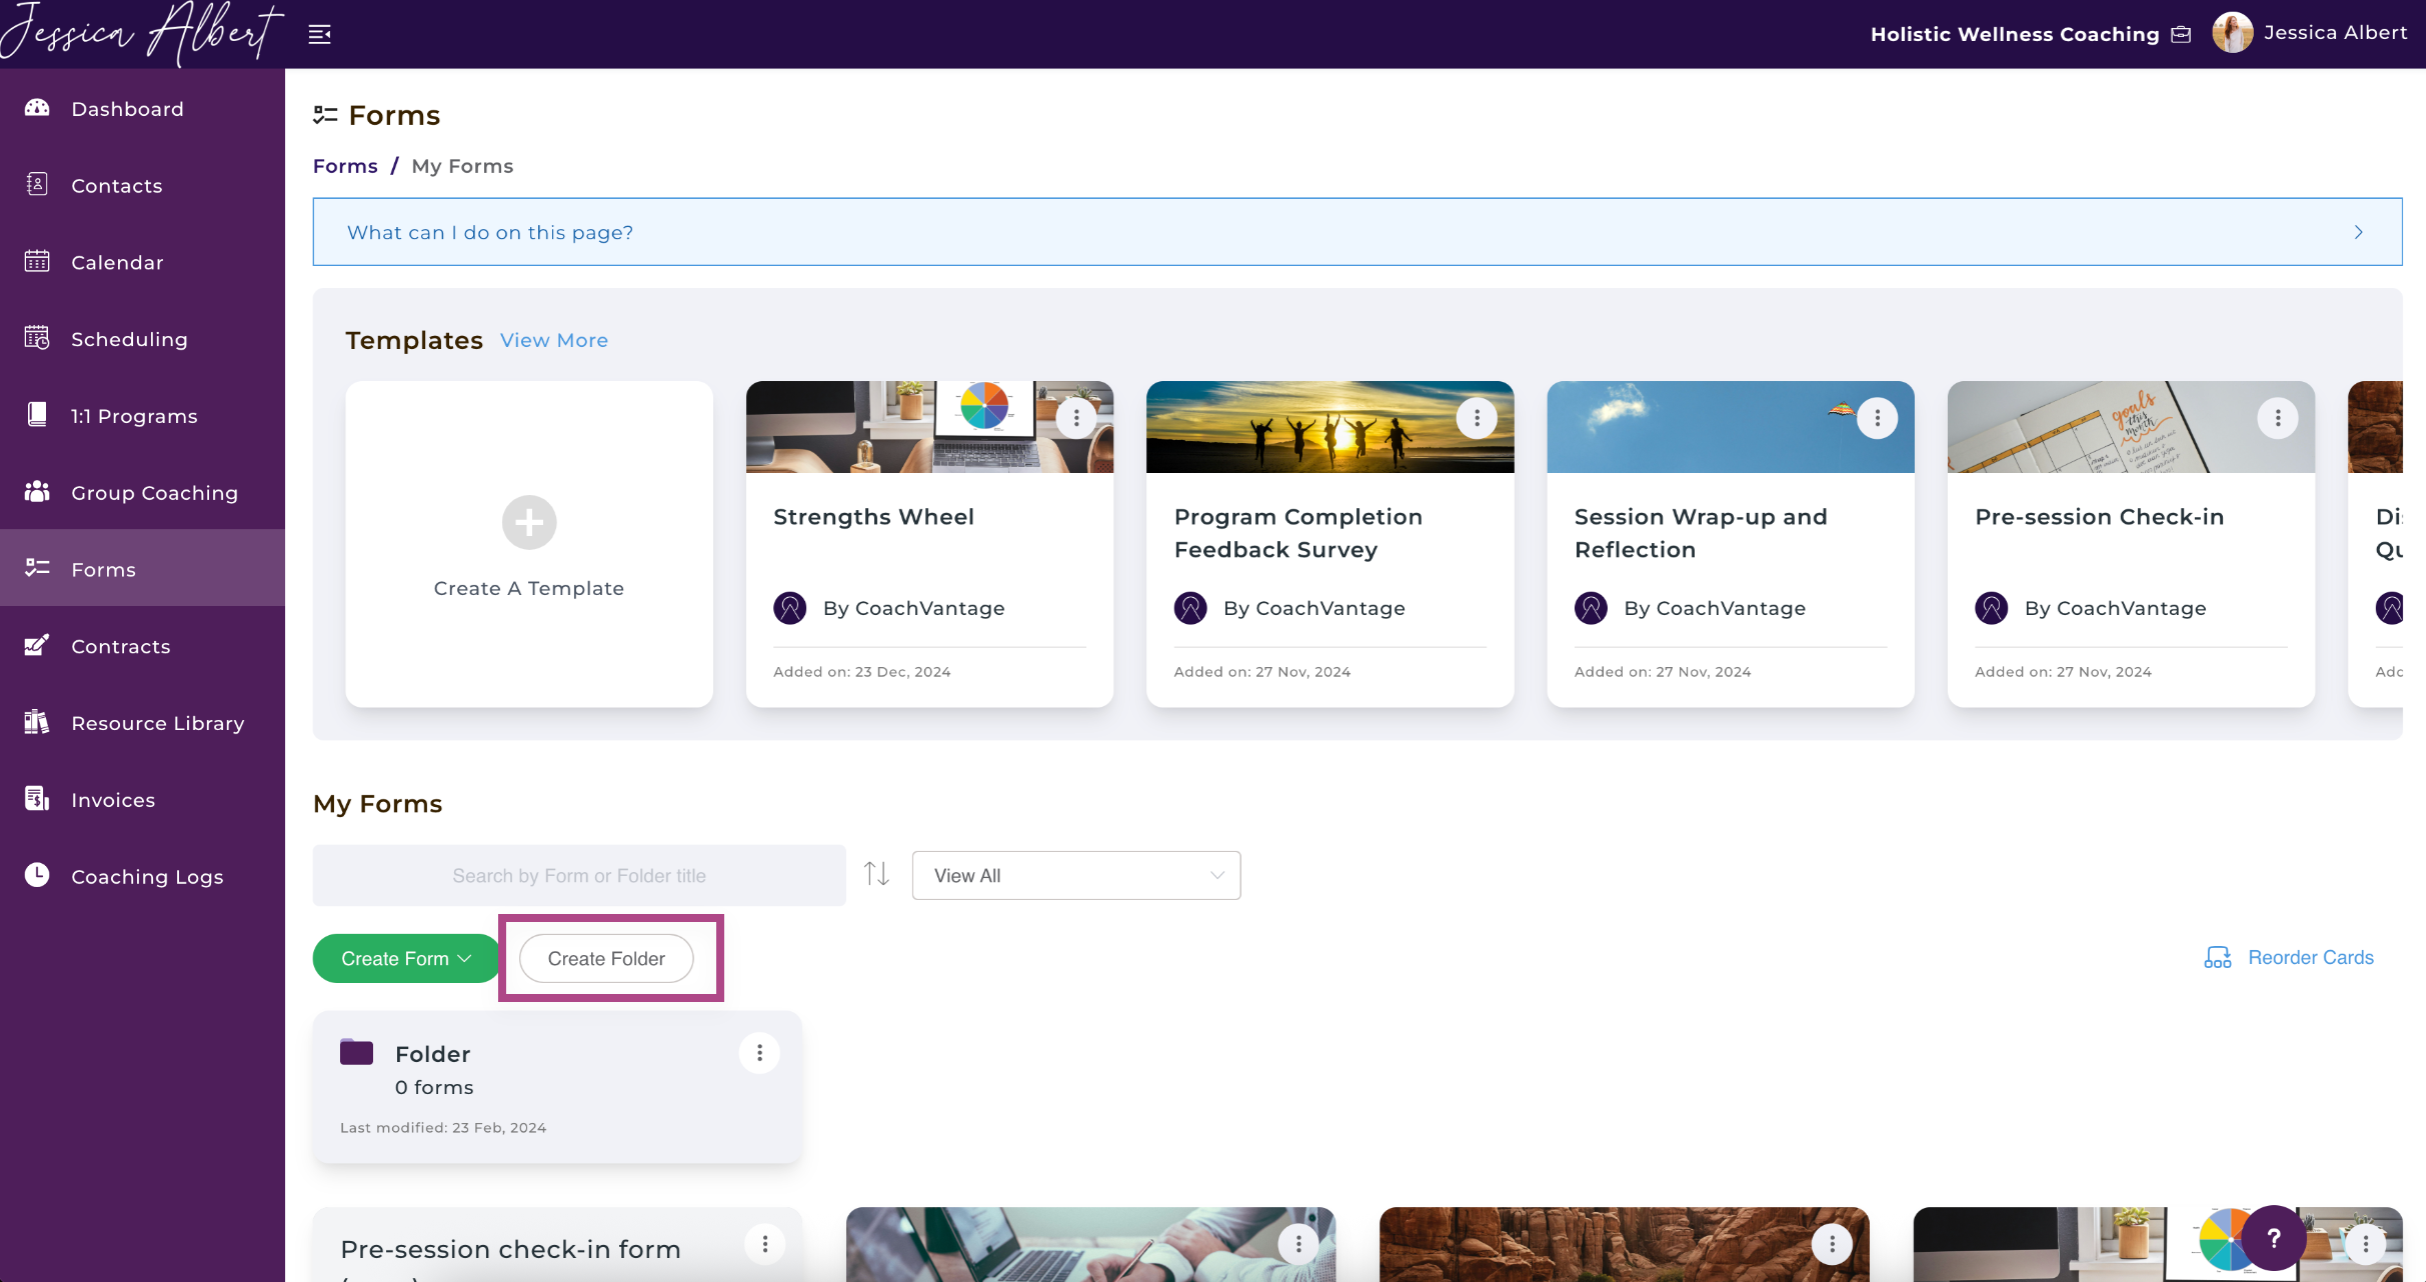
4. Create Folders
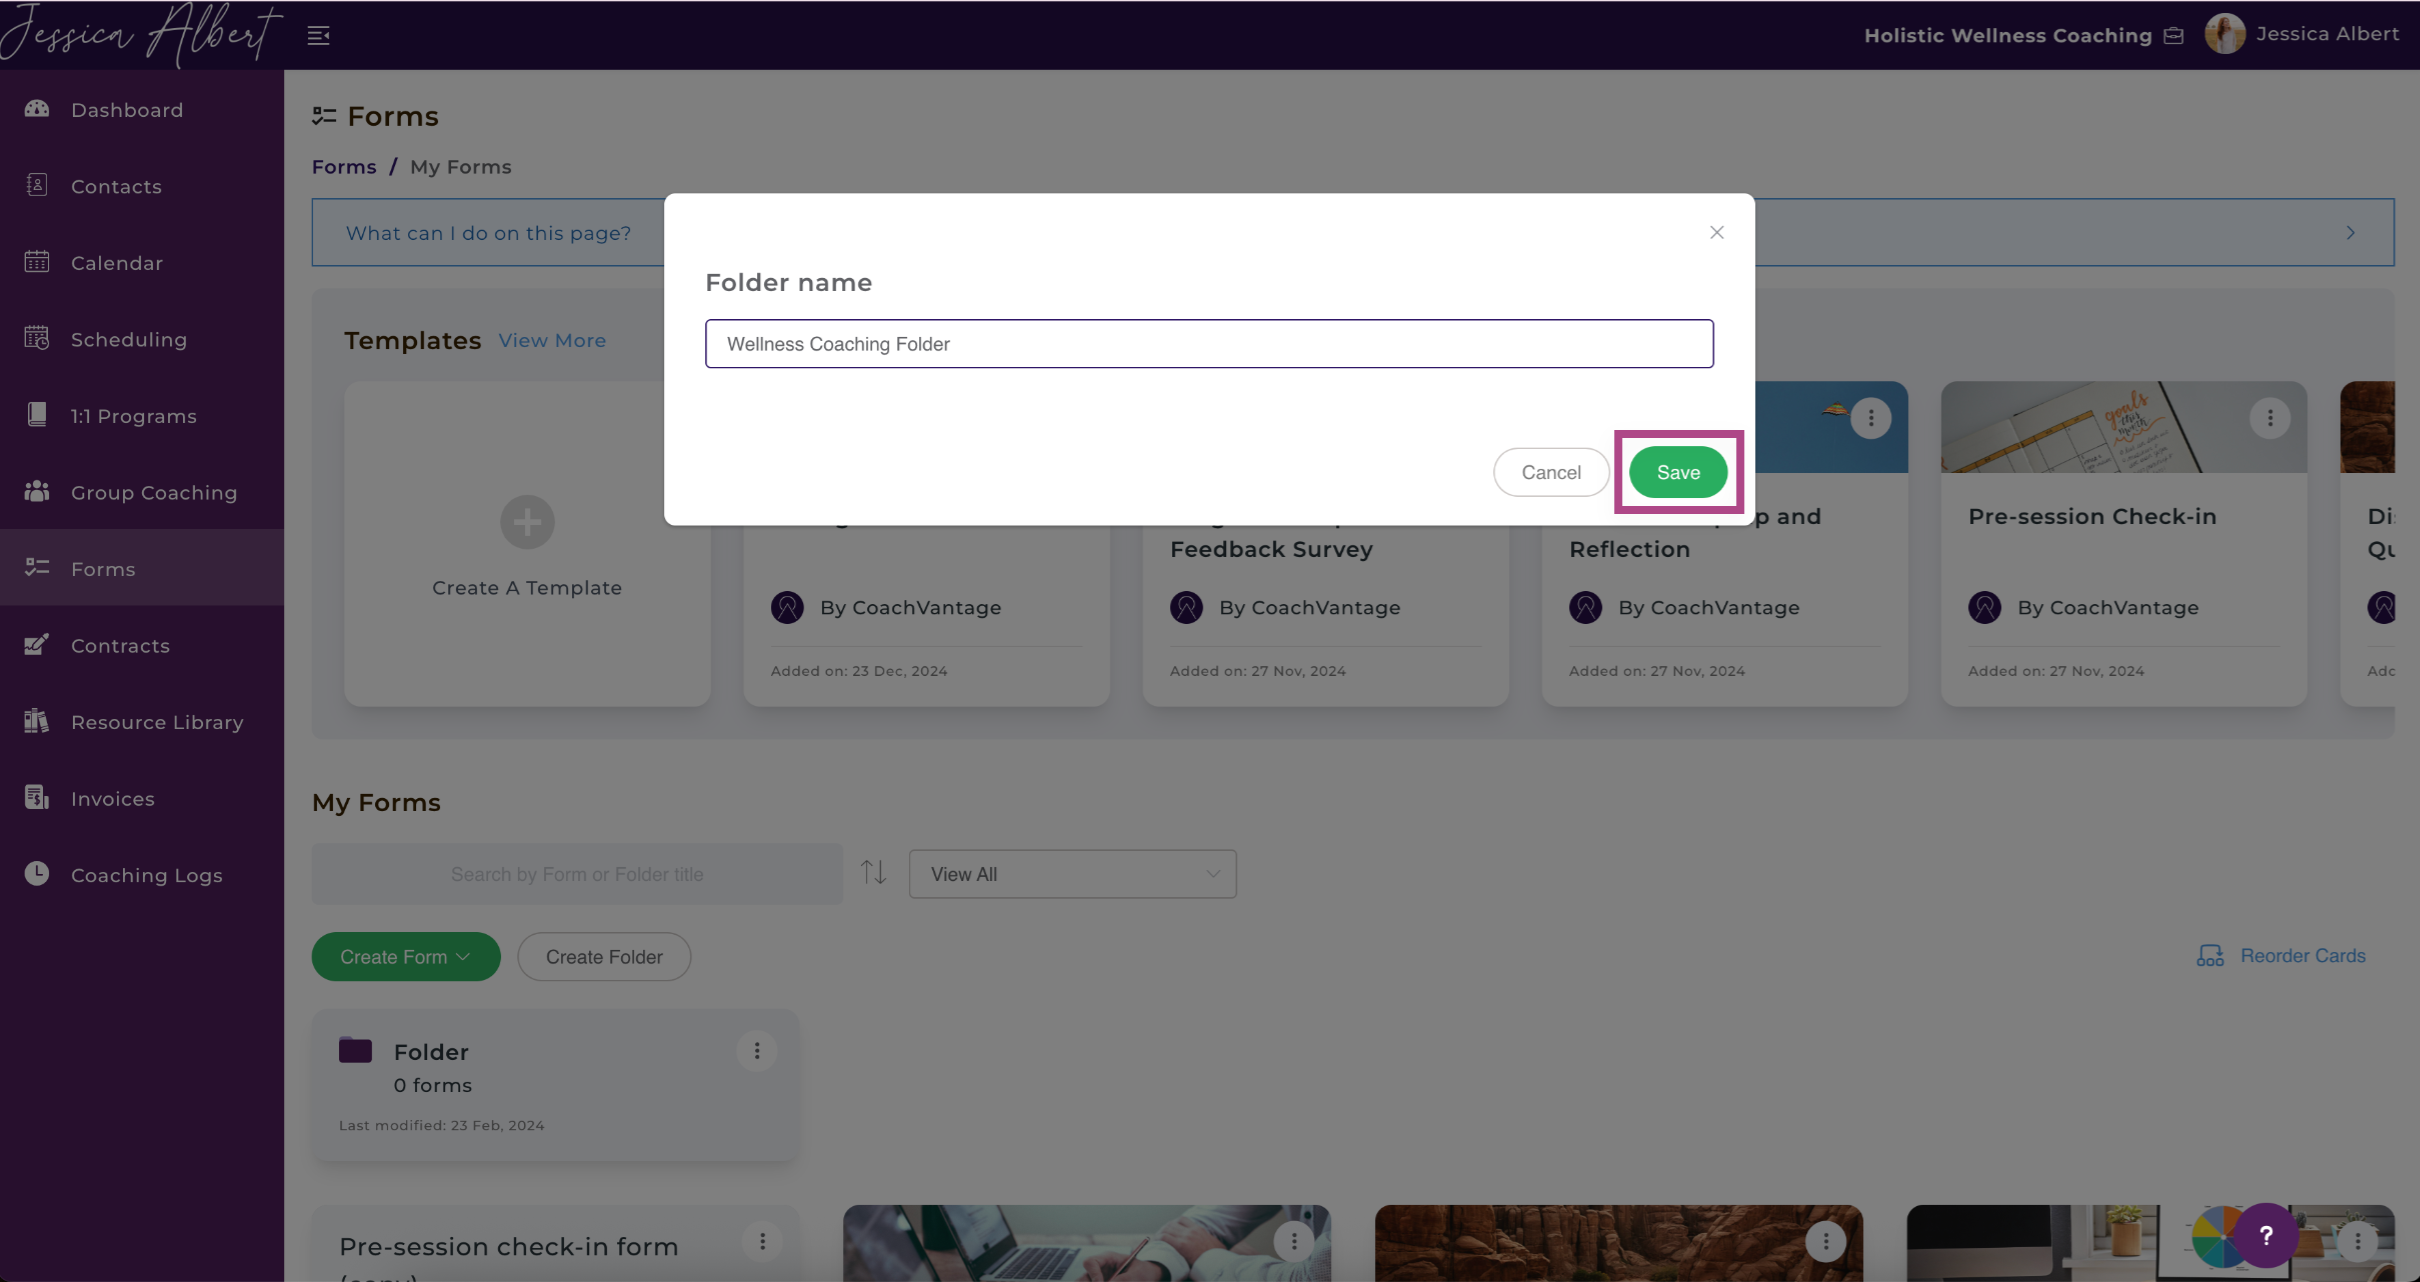
Folders can be created by using the Create Folder button. The Create Folder pop-up opens.
Tip: Folders are a great way to organize your forms. For example, you may want to create a folder for each coaching program that you've created, or create a folder for Intake Forms that you use in your events / programs sign-up pages, etc.
Type in the name for the folder and click Save. The folder is now created and displayed.
You can always edit the folder name later if you wish. Simply click on the 3-dot button and select Rename as shown below.
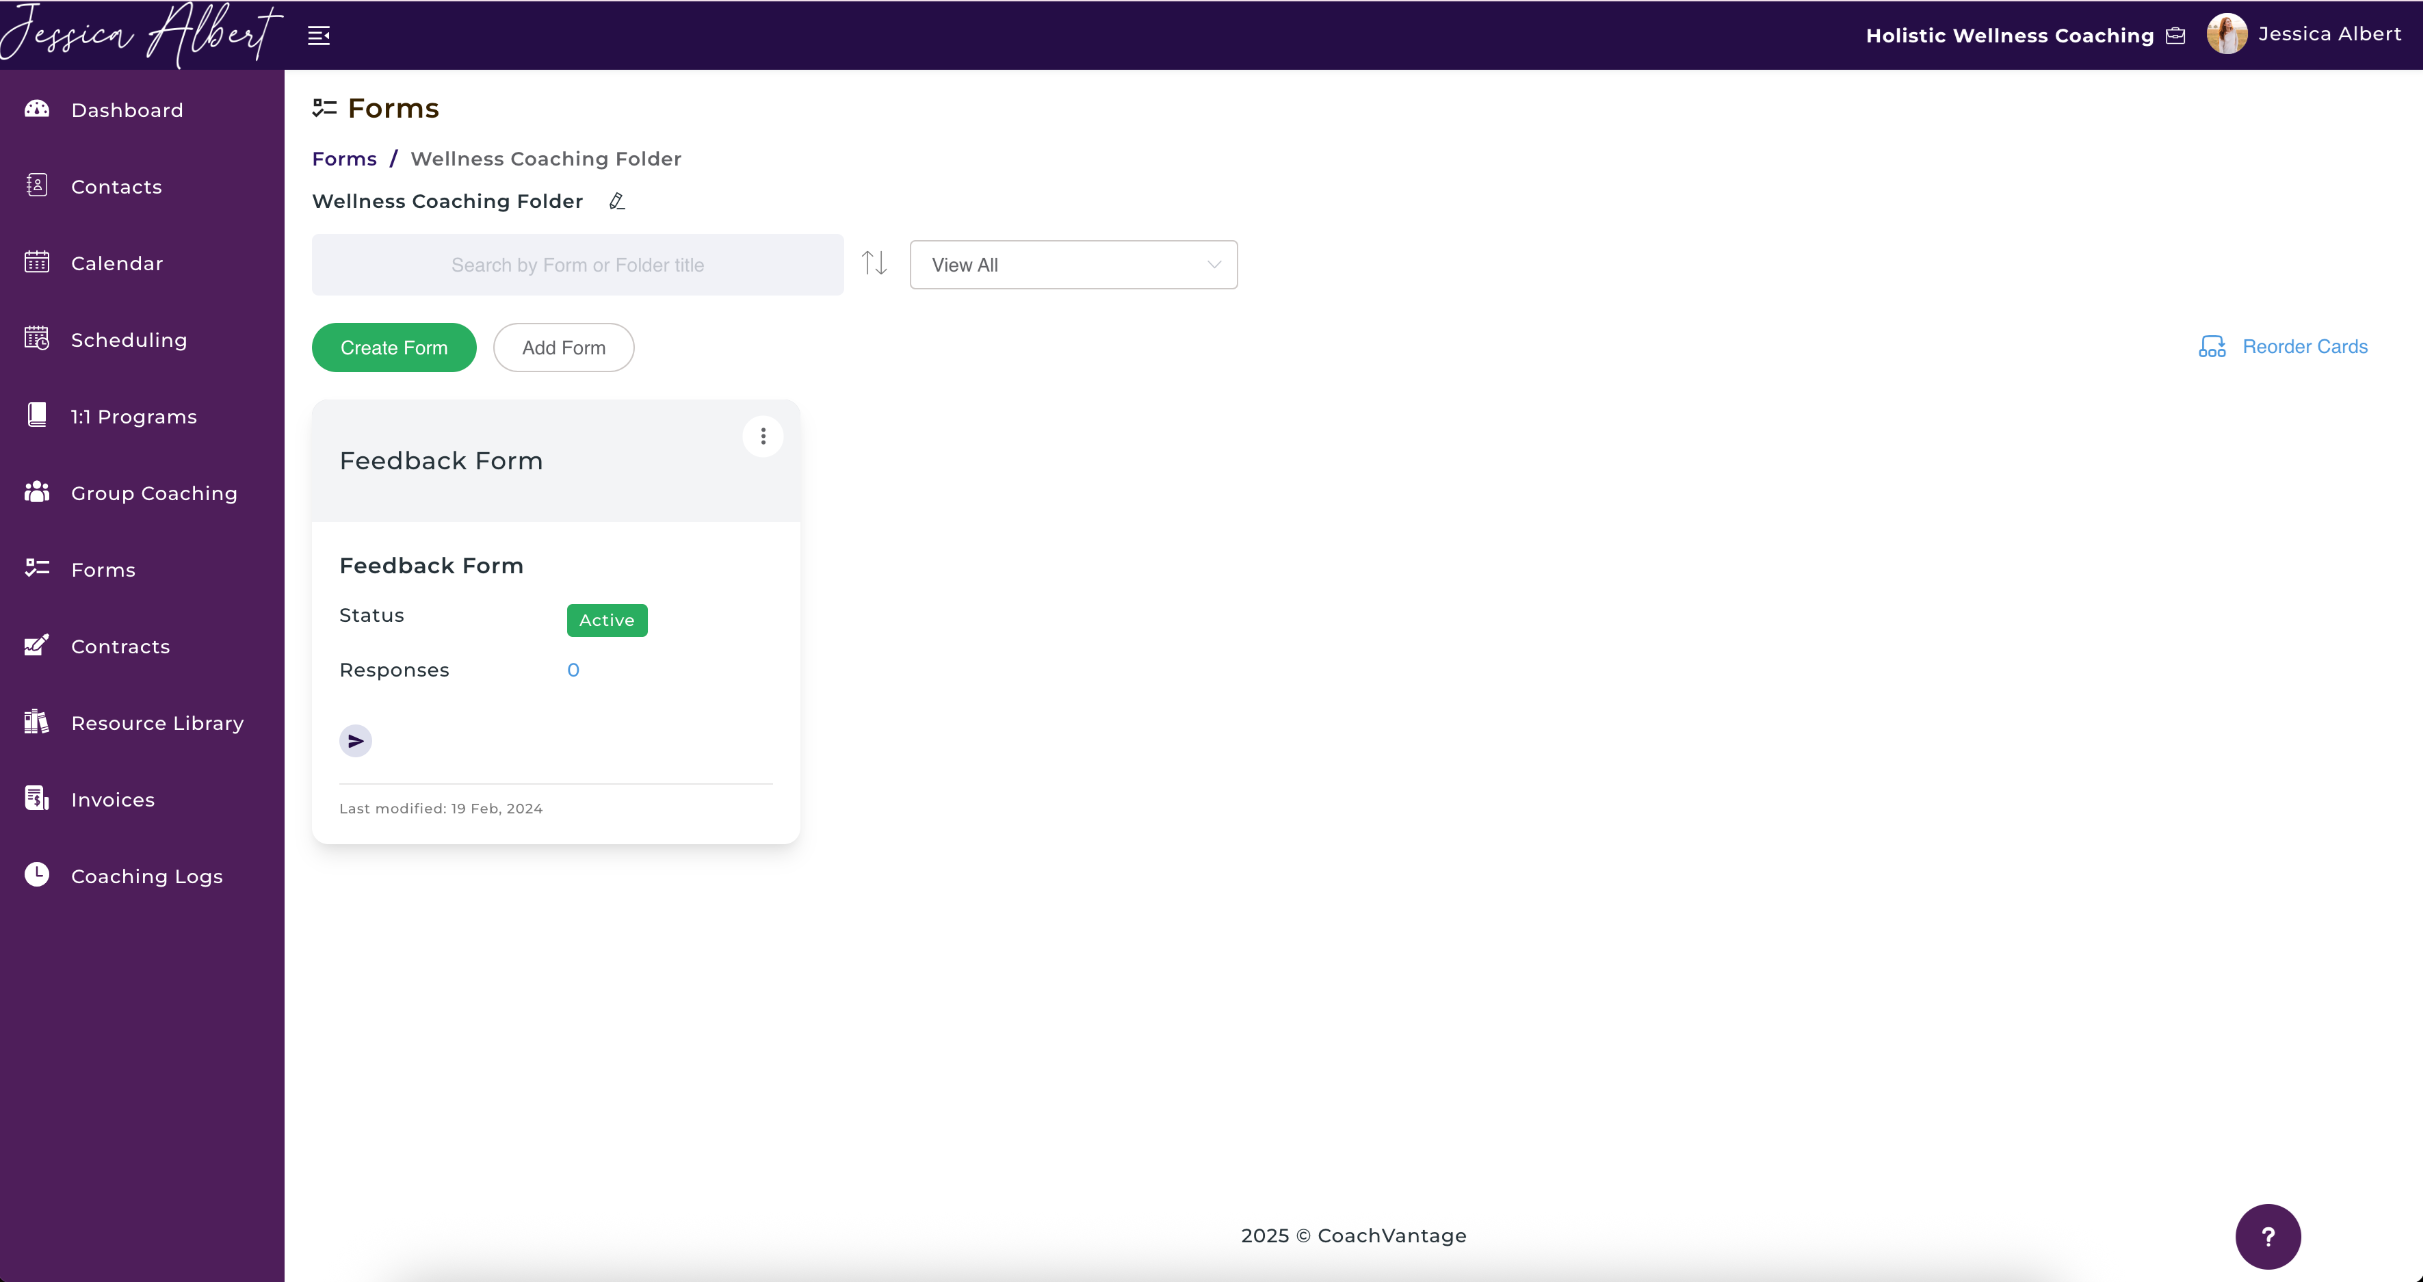
To see forms that are contained in folders, simply click on the folder name to display the contents.
5. List of Forms
On the your list of forms you'll be able to see Name of Form, Status, Responses, Send form, Last Modified, 3-dot button menu as shown below.
Manage Your Forms 📋
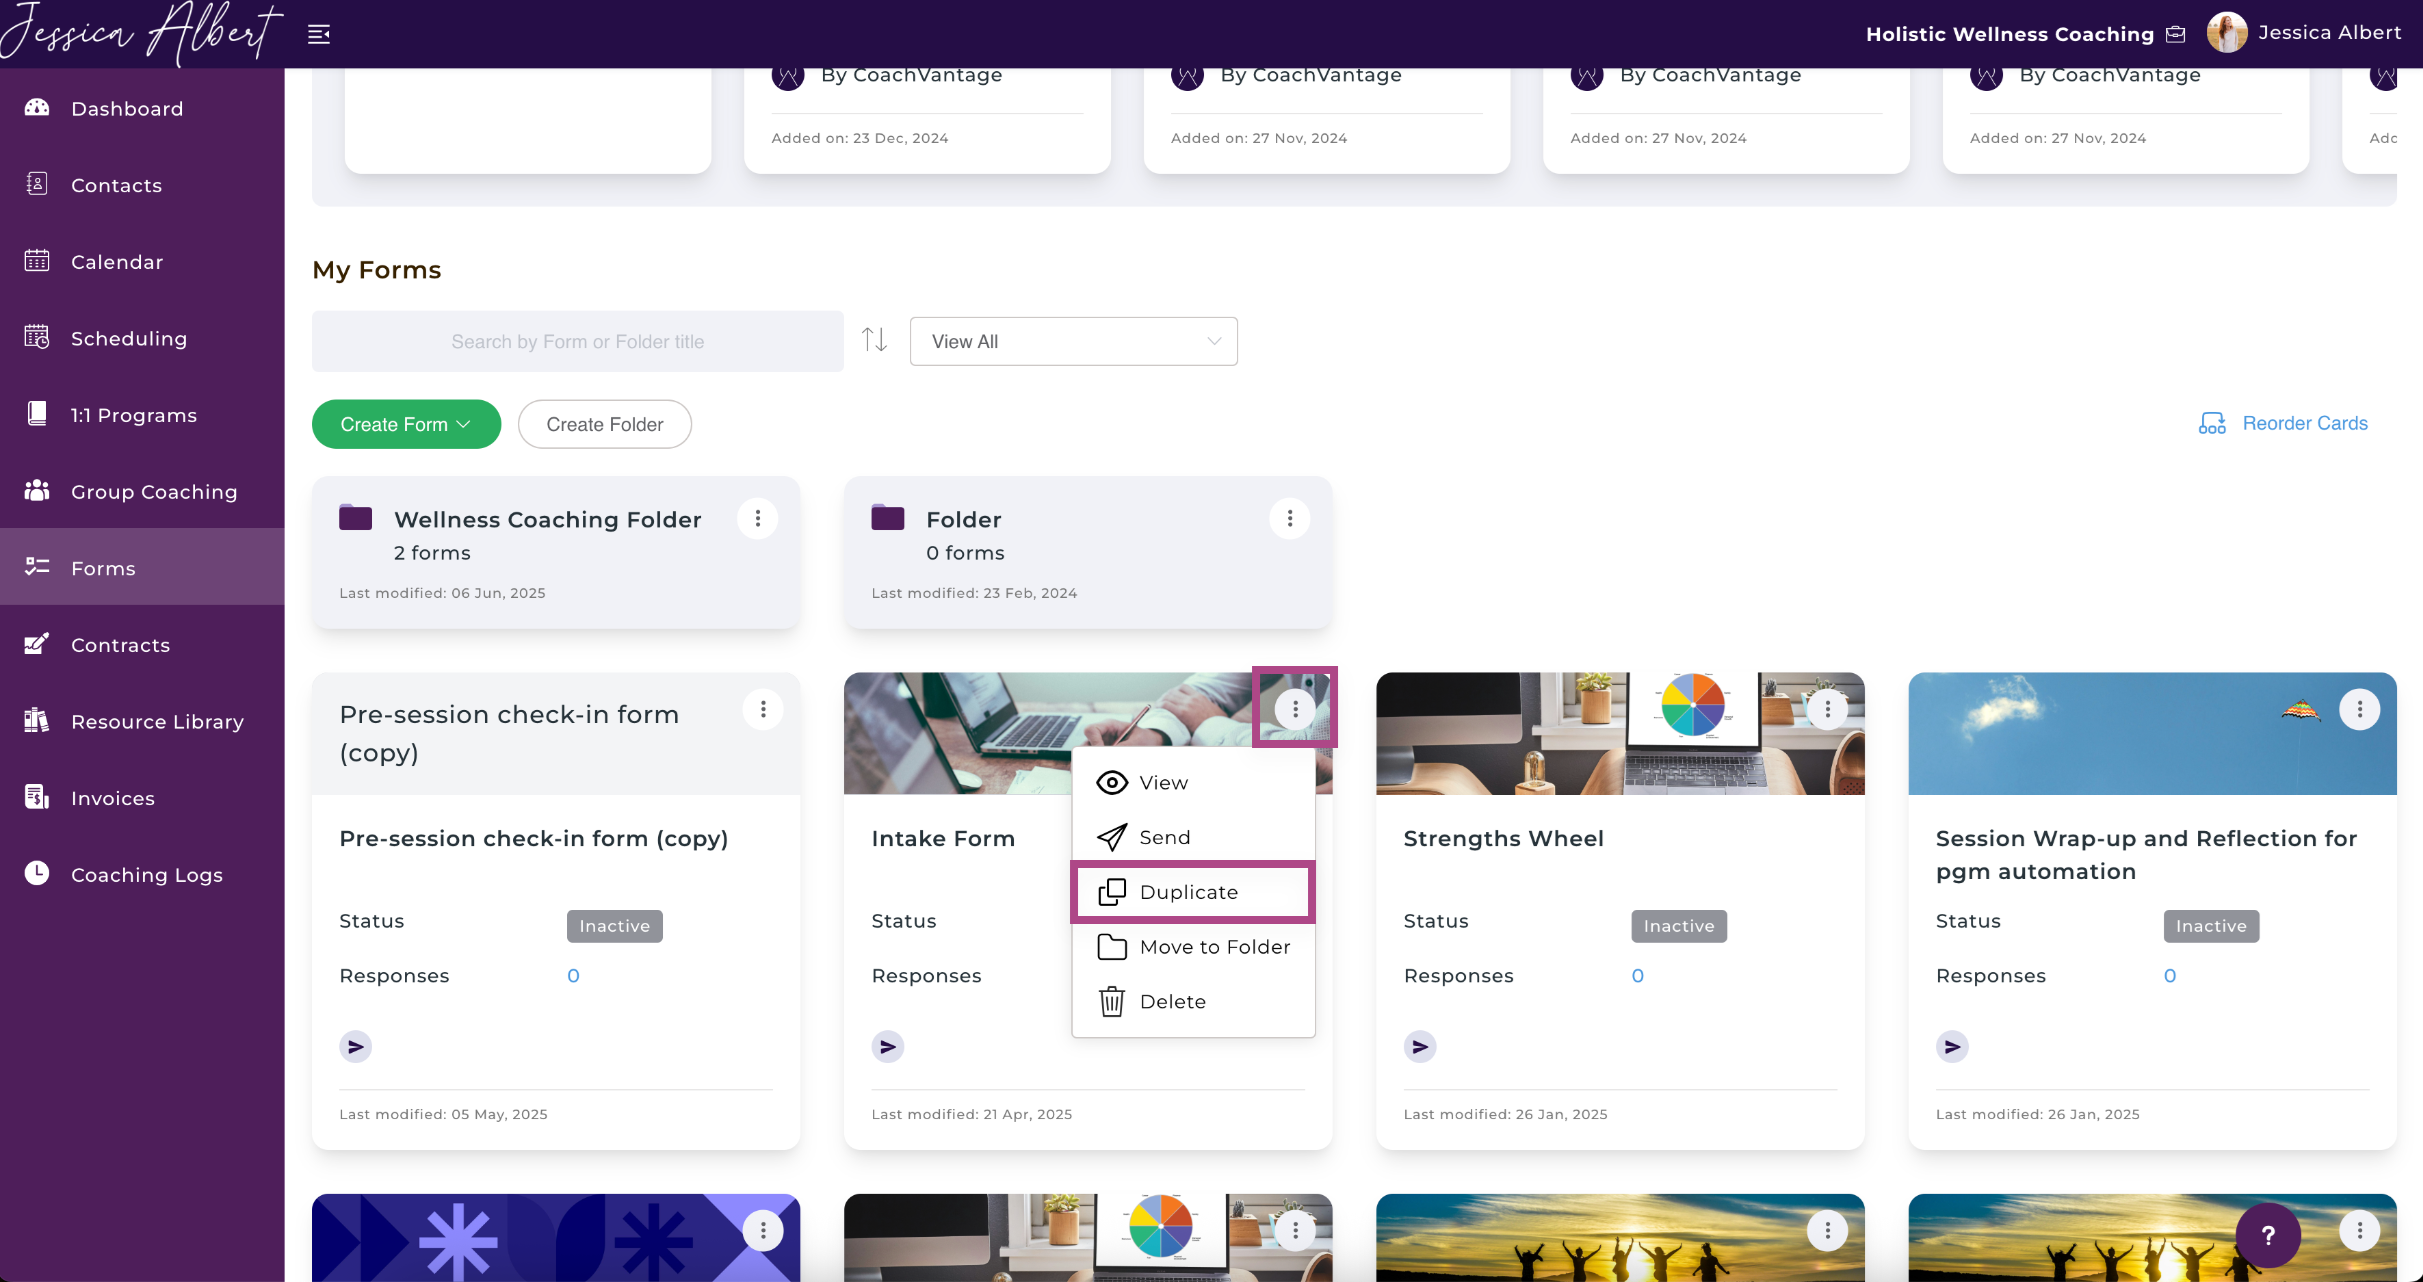
You can manage a form by clicking on the 3-dot button menu on the right side of the form as shown below.
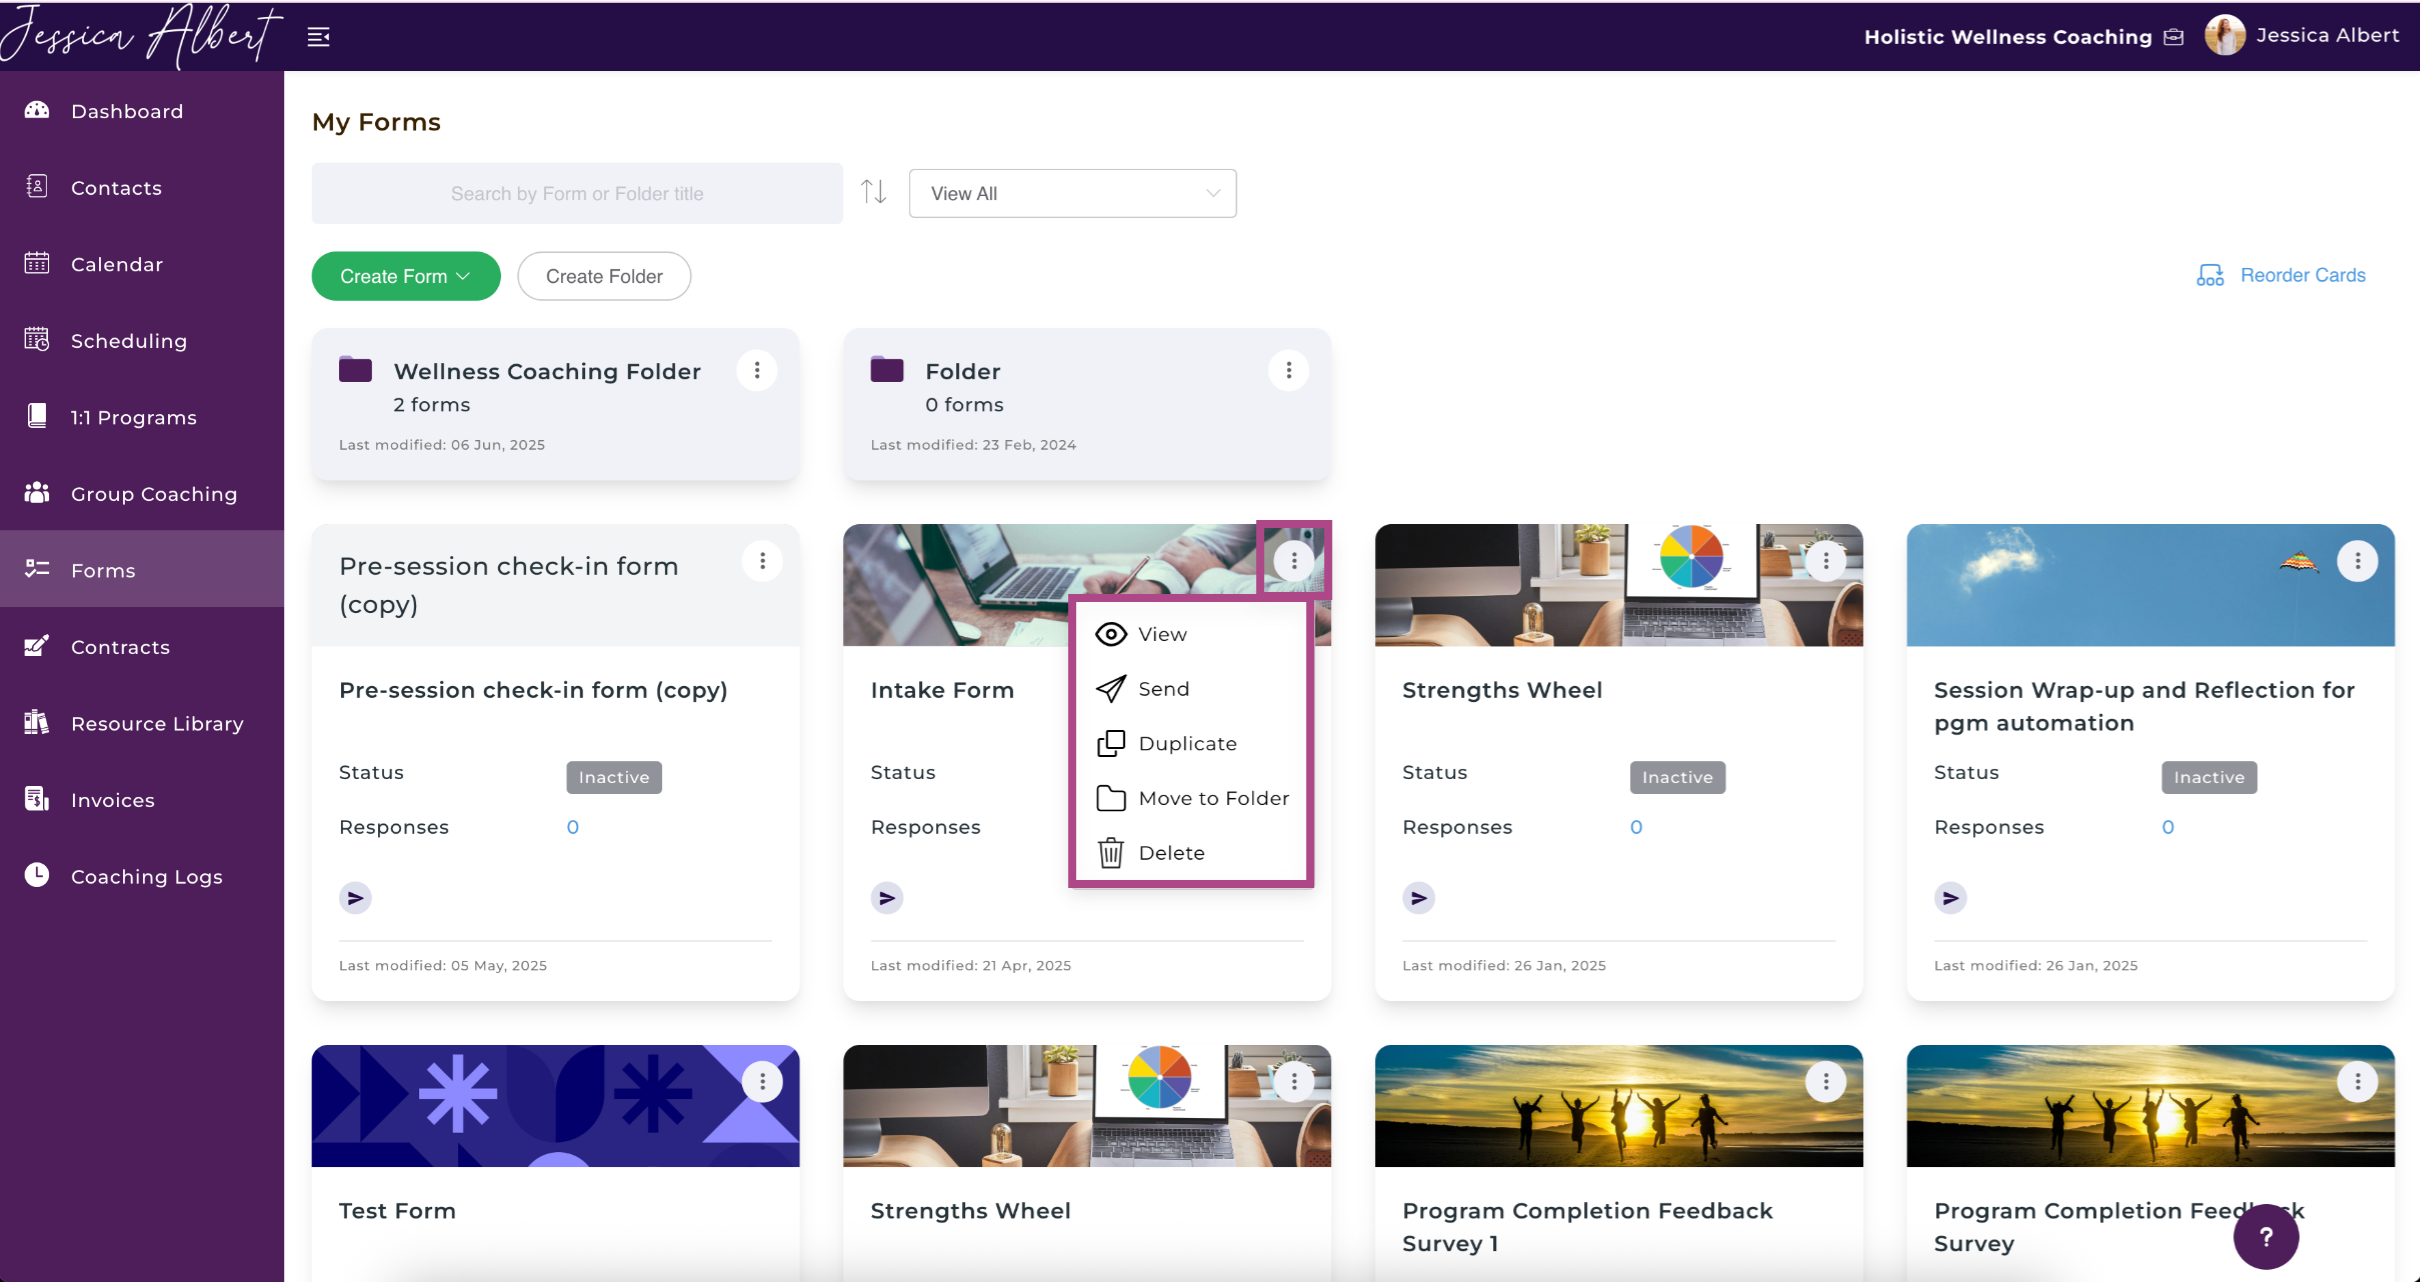
- Duplicate
You can duplicate existing forms.
Tip: This is useful if you would like to create a new form quickly by 'cloning' an existing form.
Click Duplicate and you will be redirected to the Edit Form page. A new form will be created with the form name having '(copy)' at the end of the name, thus indicating that it has been duplicated from the original form (see image below).
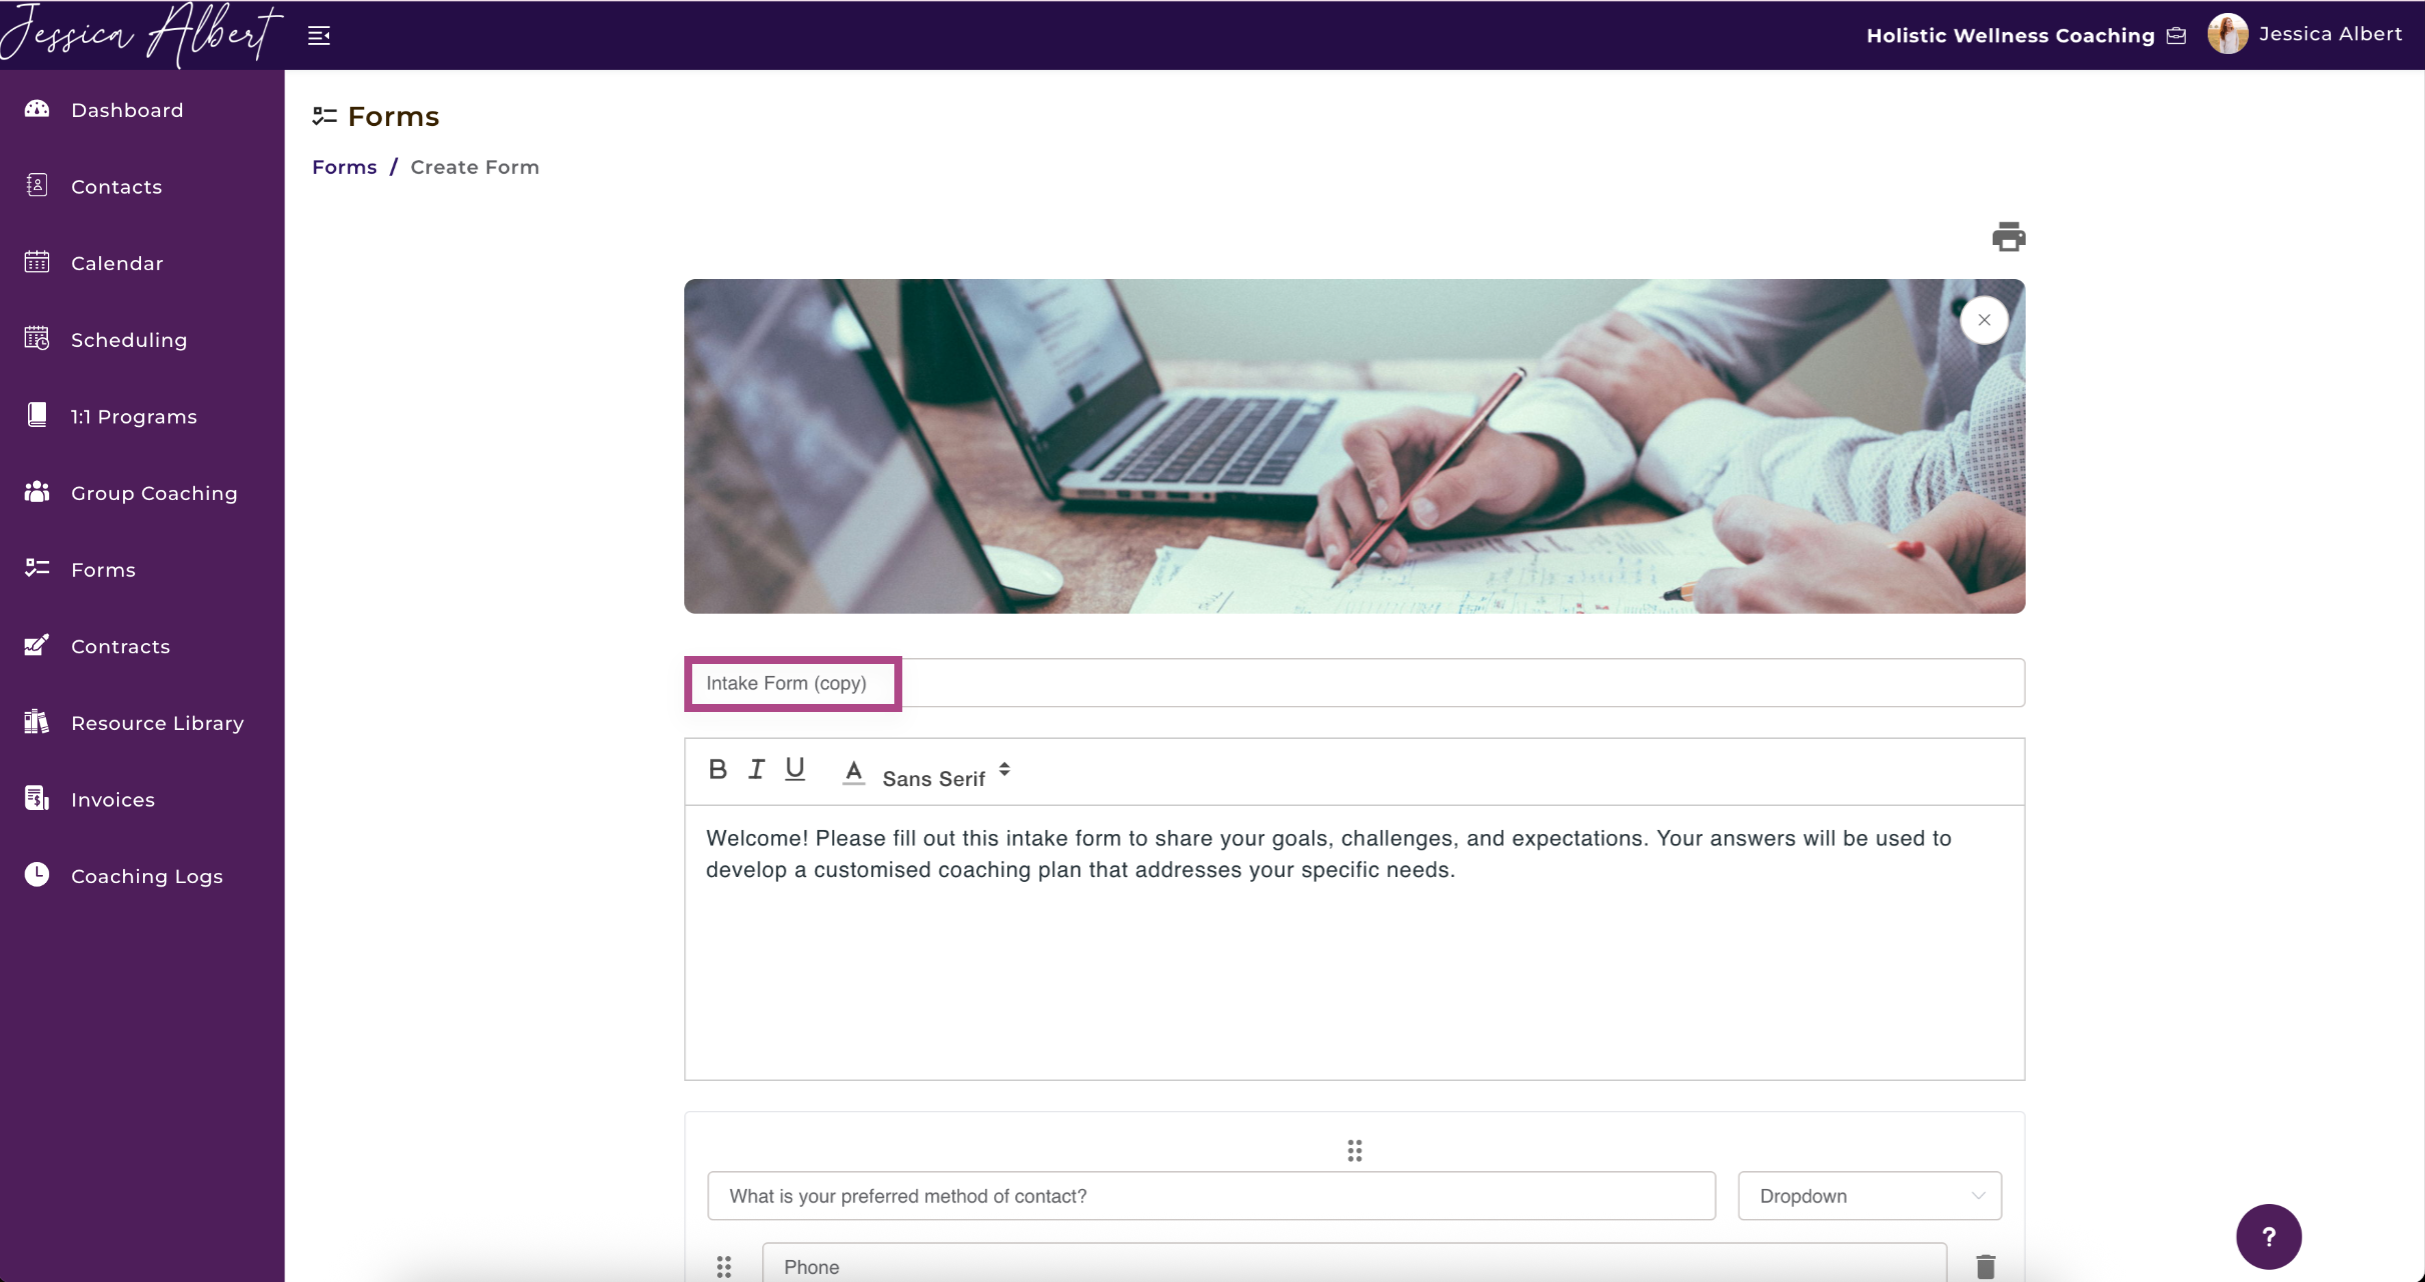
You will see that the duplicated form has been automatically populated with the questions and answer options of the original form.
You can now rename the duplicated form and add or edit the questions and answers as needed, then click Save to save the new form.
- Delete
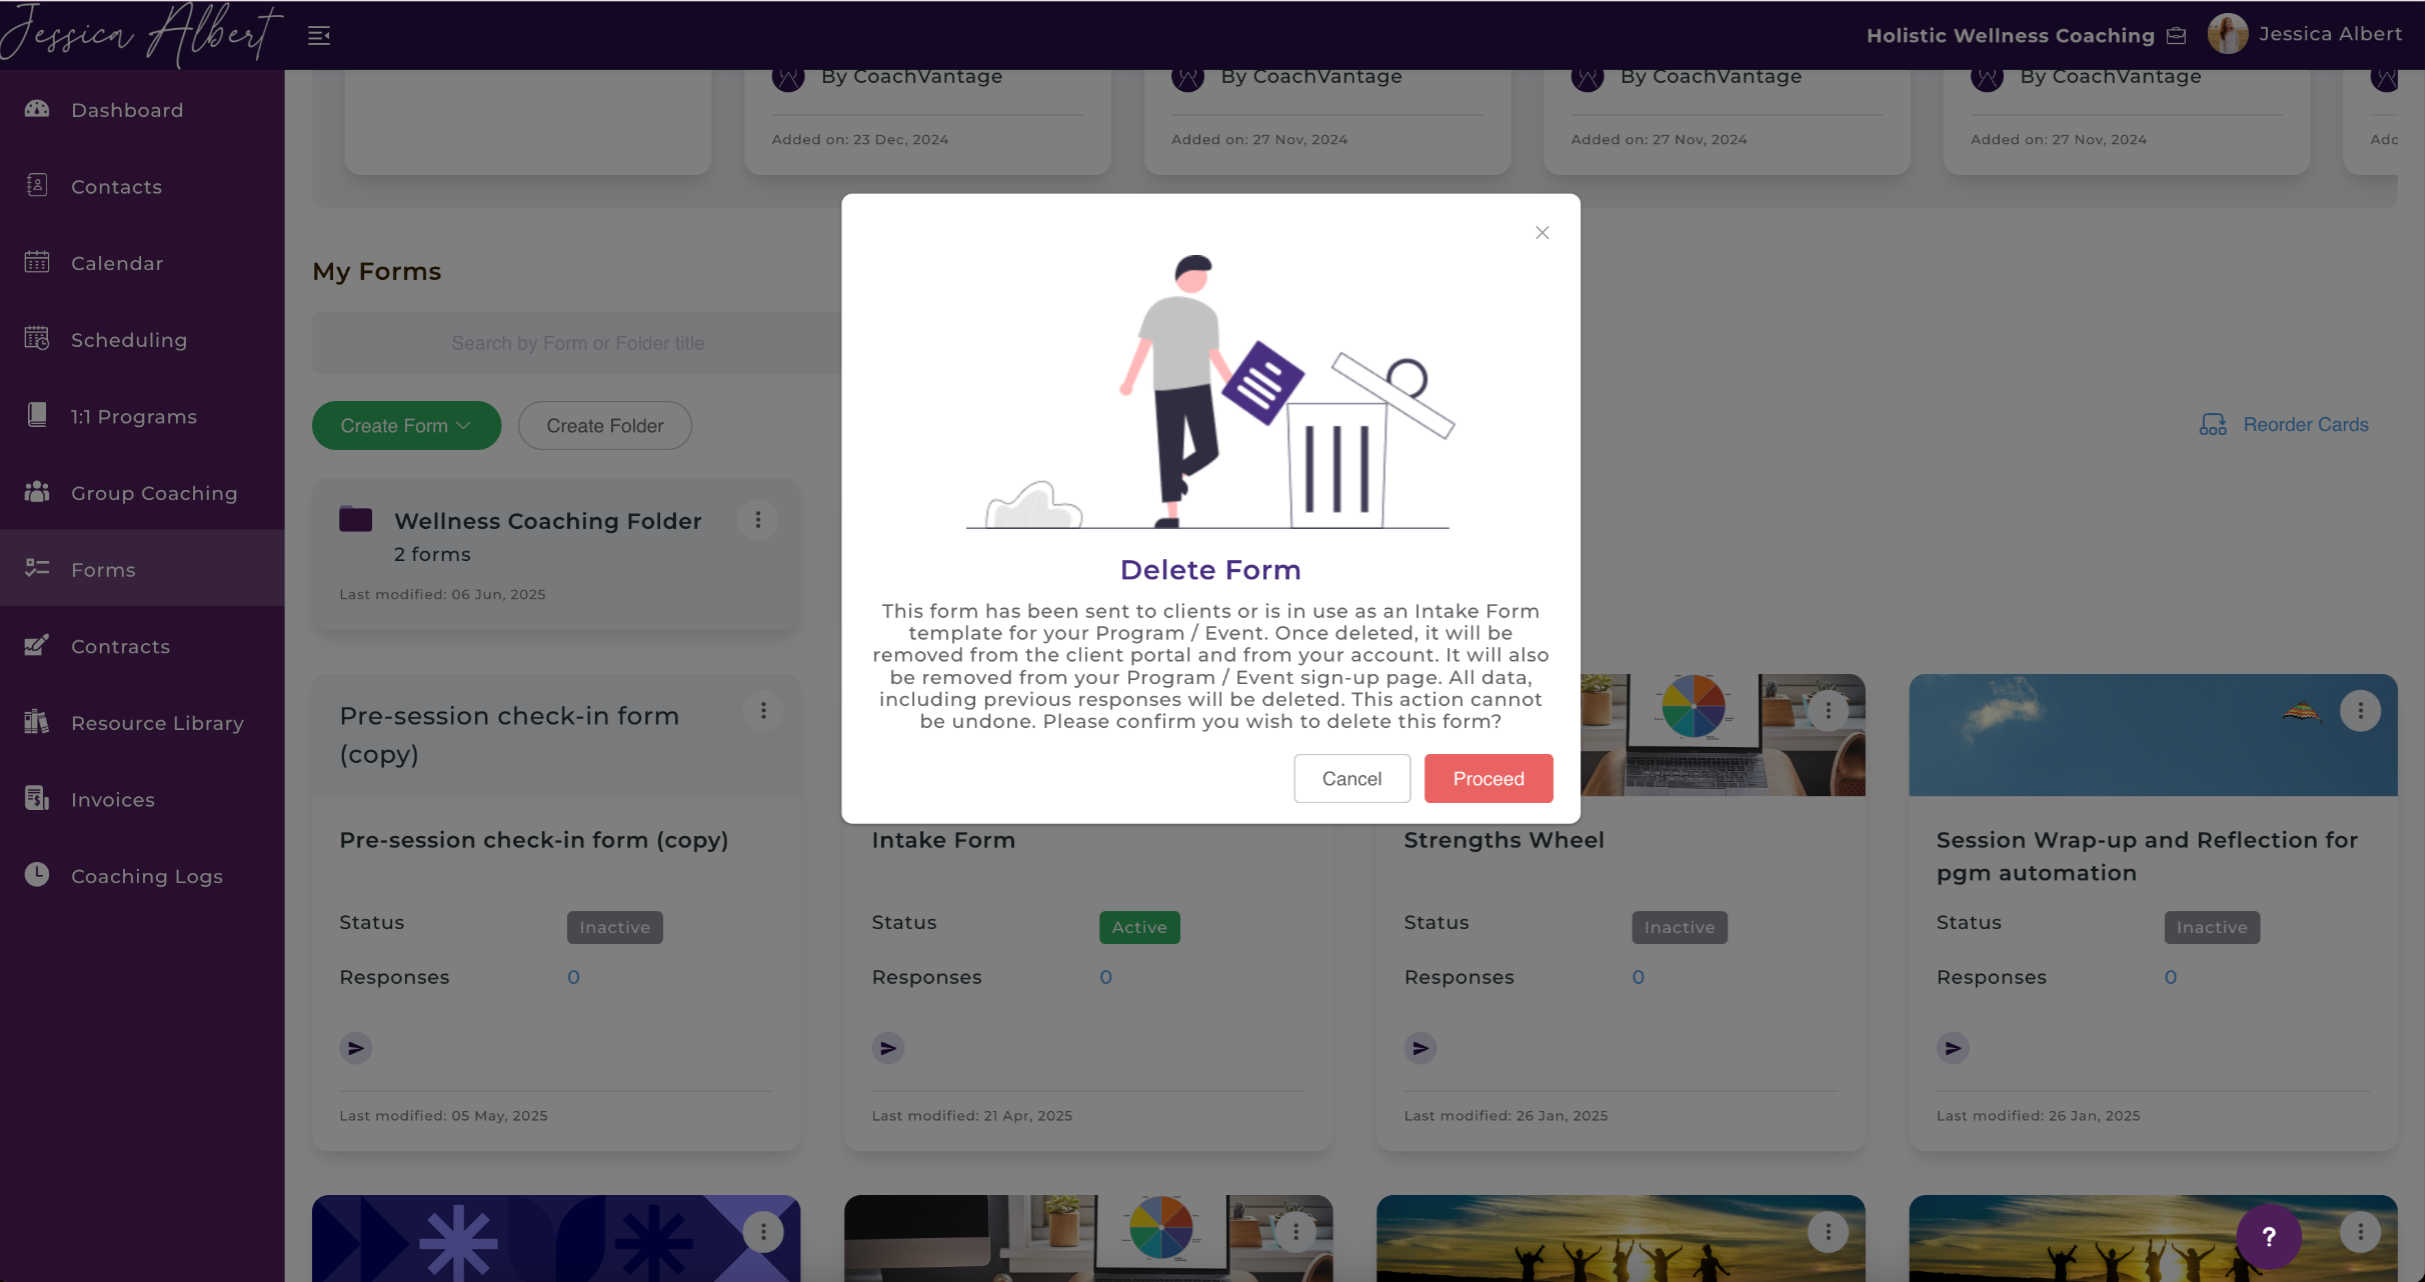
Depending on whether you have sent the form out to clients, you would receive a different pop-up message.
The warning pop-up below appears if the form has already been sent out to your contacts or has been used as an intake form for your events / programs.
Important: If you delete a form that has been sent and has responses from clients, you will lose access to the form responses as well. This data is not recoverable.

- Edit
Important:
You can edit forms only if the form has not been sent to contacts, or that is not used as an intake form for your events or programs.
You cannot edit forms that have already been sent or used as an intake form in your event booking page or program sign-up page.
The pop-up below appears if you try to edit a form that has already been sent out to your contacts or is in use as an intake form for your events or programs.

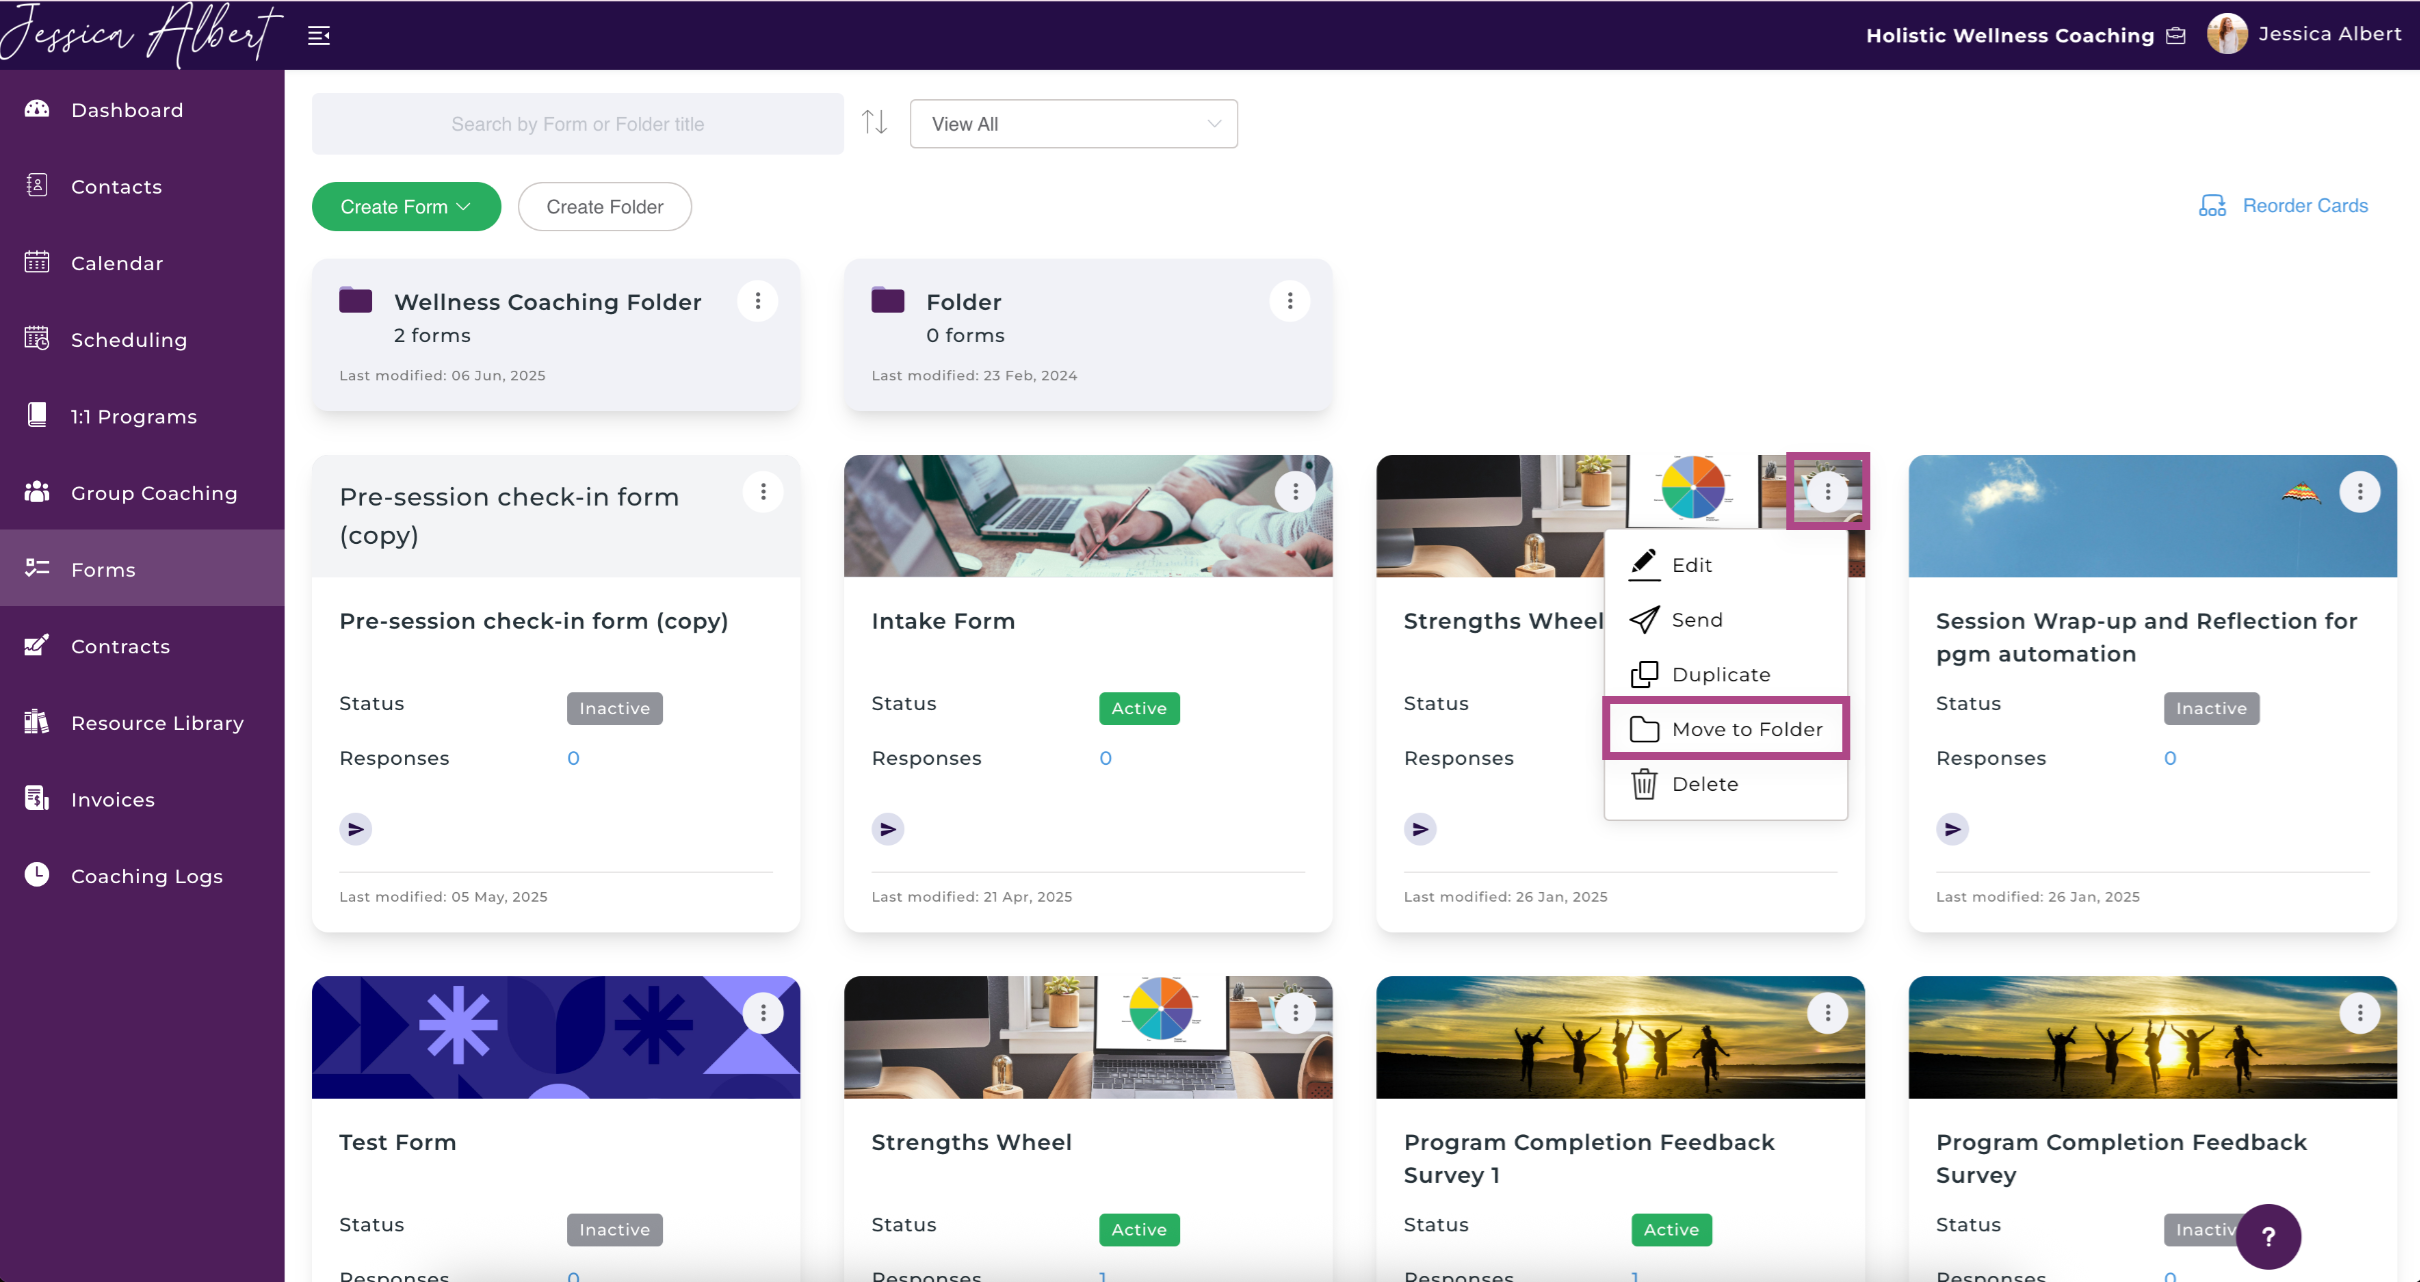
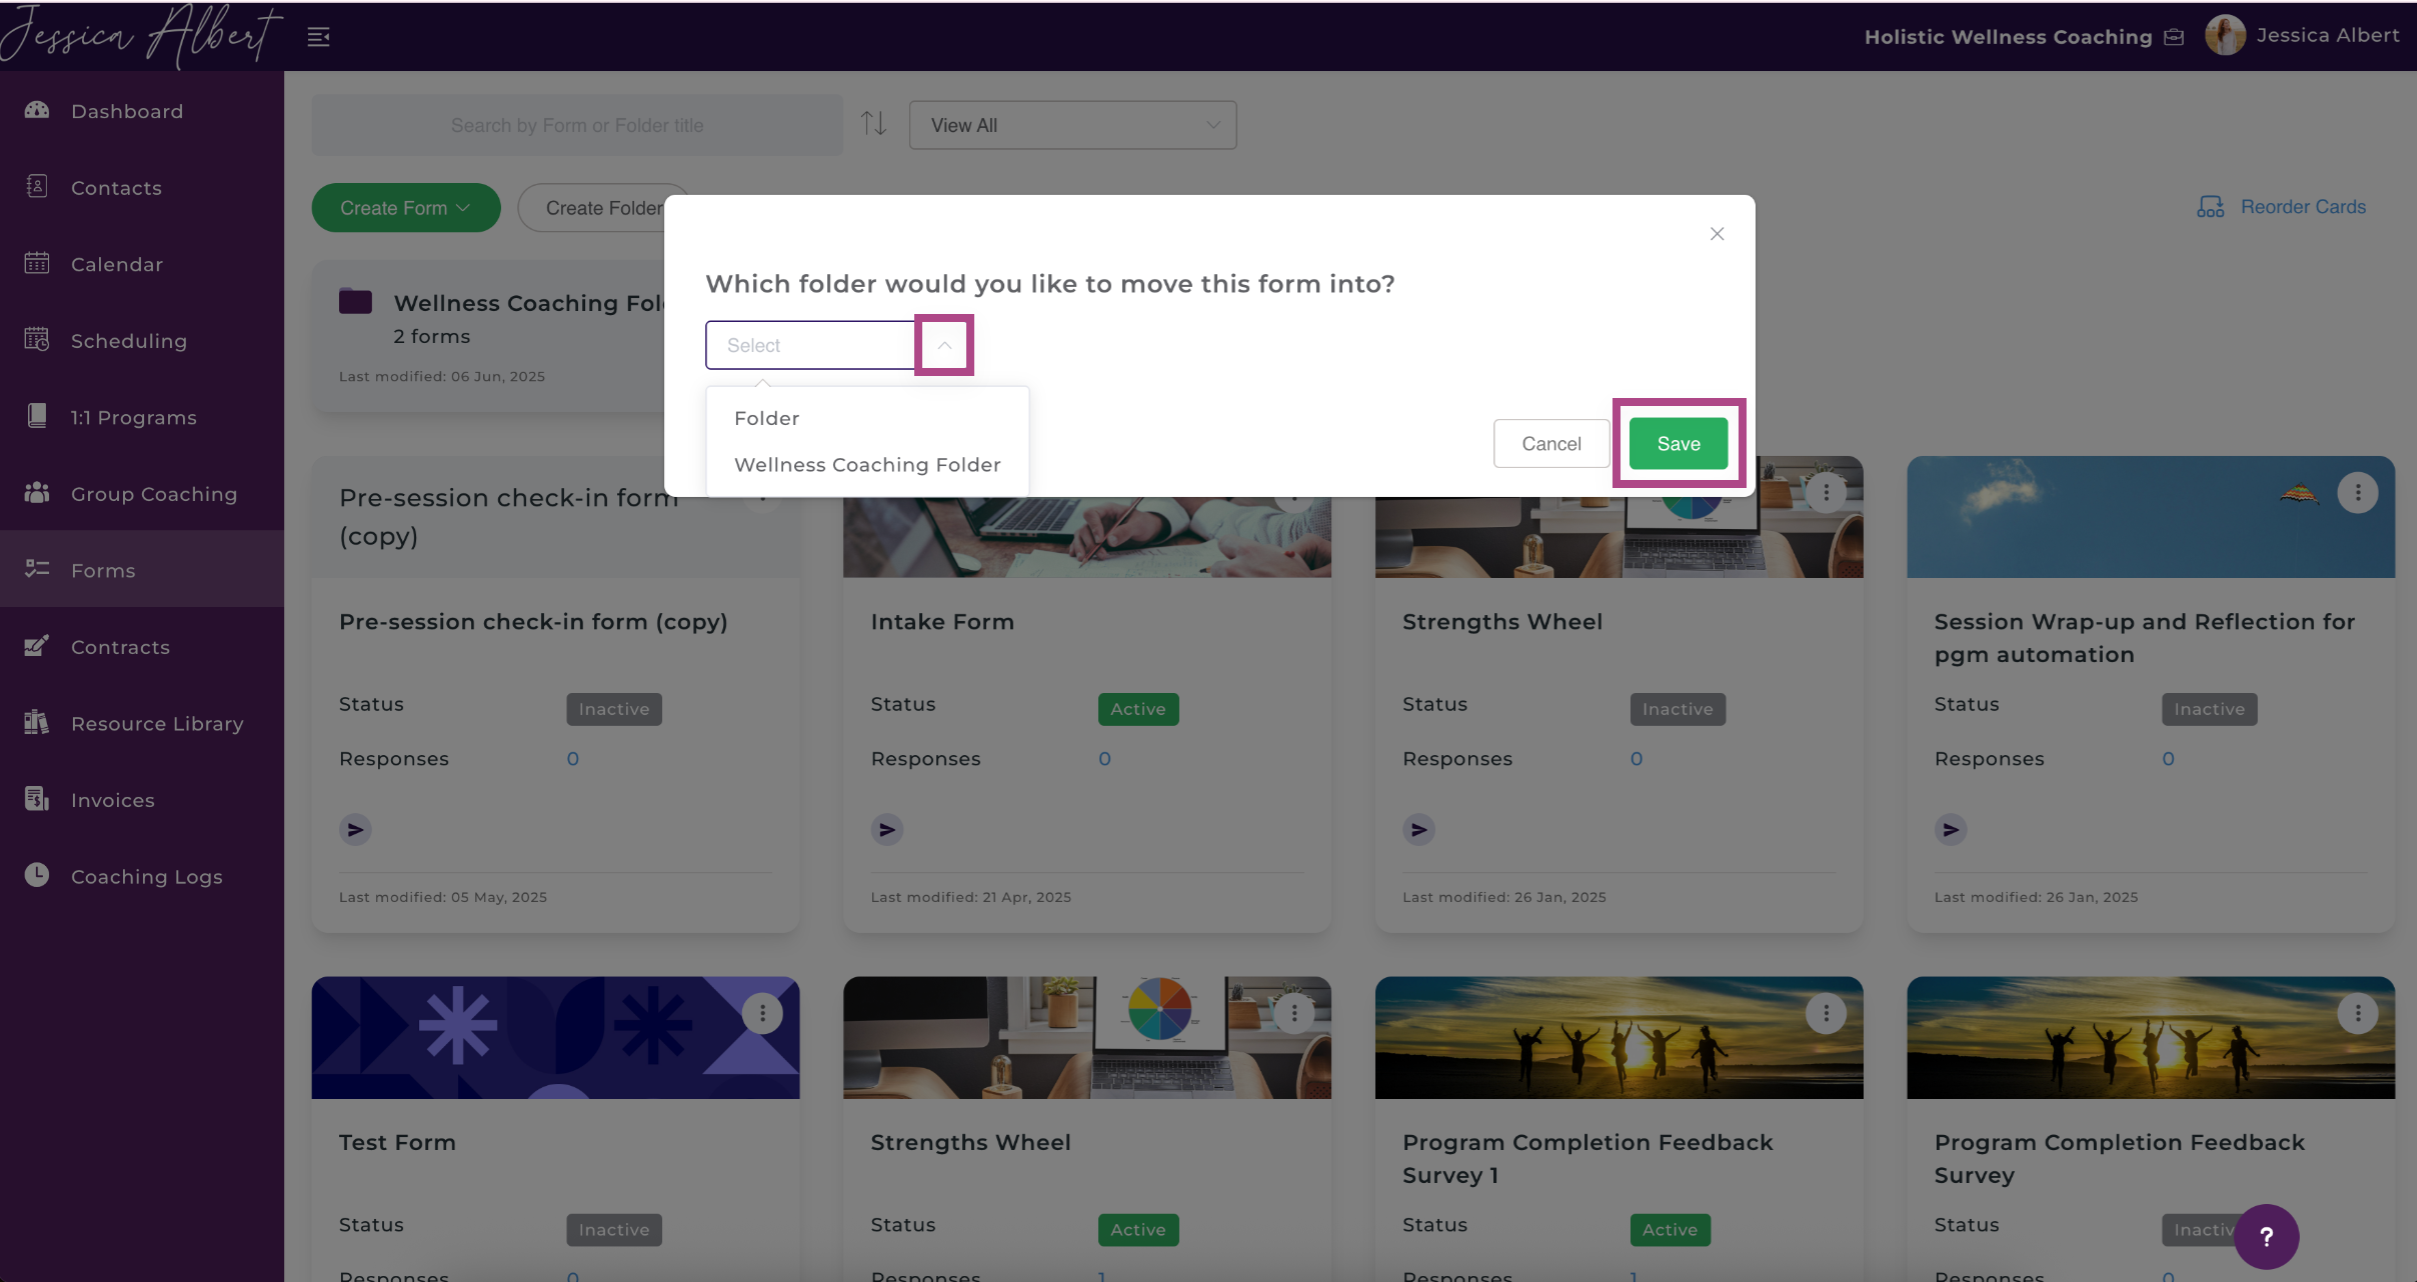
- Move to Folder
If you have created Folders to organize your forms, you can move forms to a desired folder.
The Move To Folder pop-up window opens. Select the Folder to which you want to move the forms to and click Move (see image below).
- Send
You will be redirected to the Send Form page. Read the section below for more information on how to send forms to clients.
2. Sending Forms to Clients 📧
Important: Forms can only be sent to clients with an active client portal. Clients will receive an email notification that a form has been sent and they will need to log in to the client portal in order to access and respond to the form.
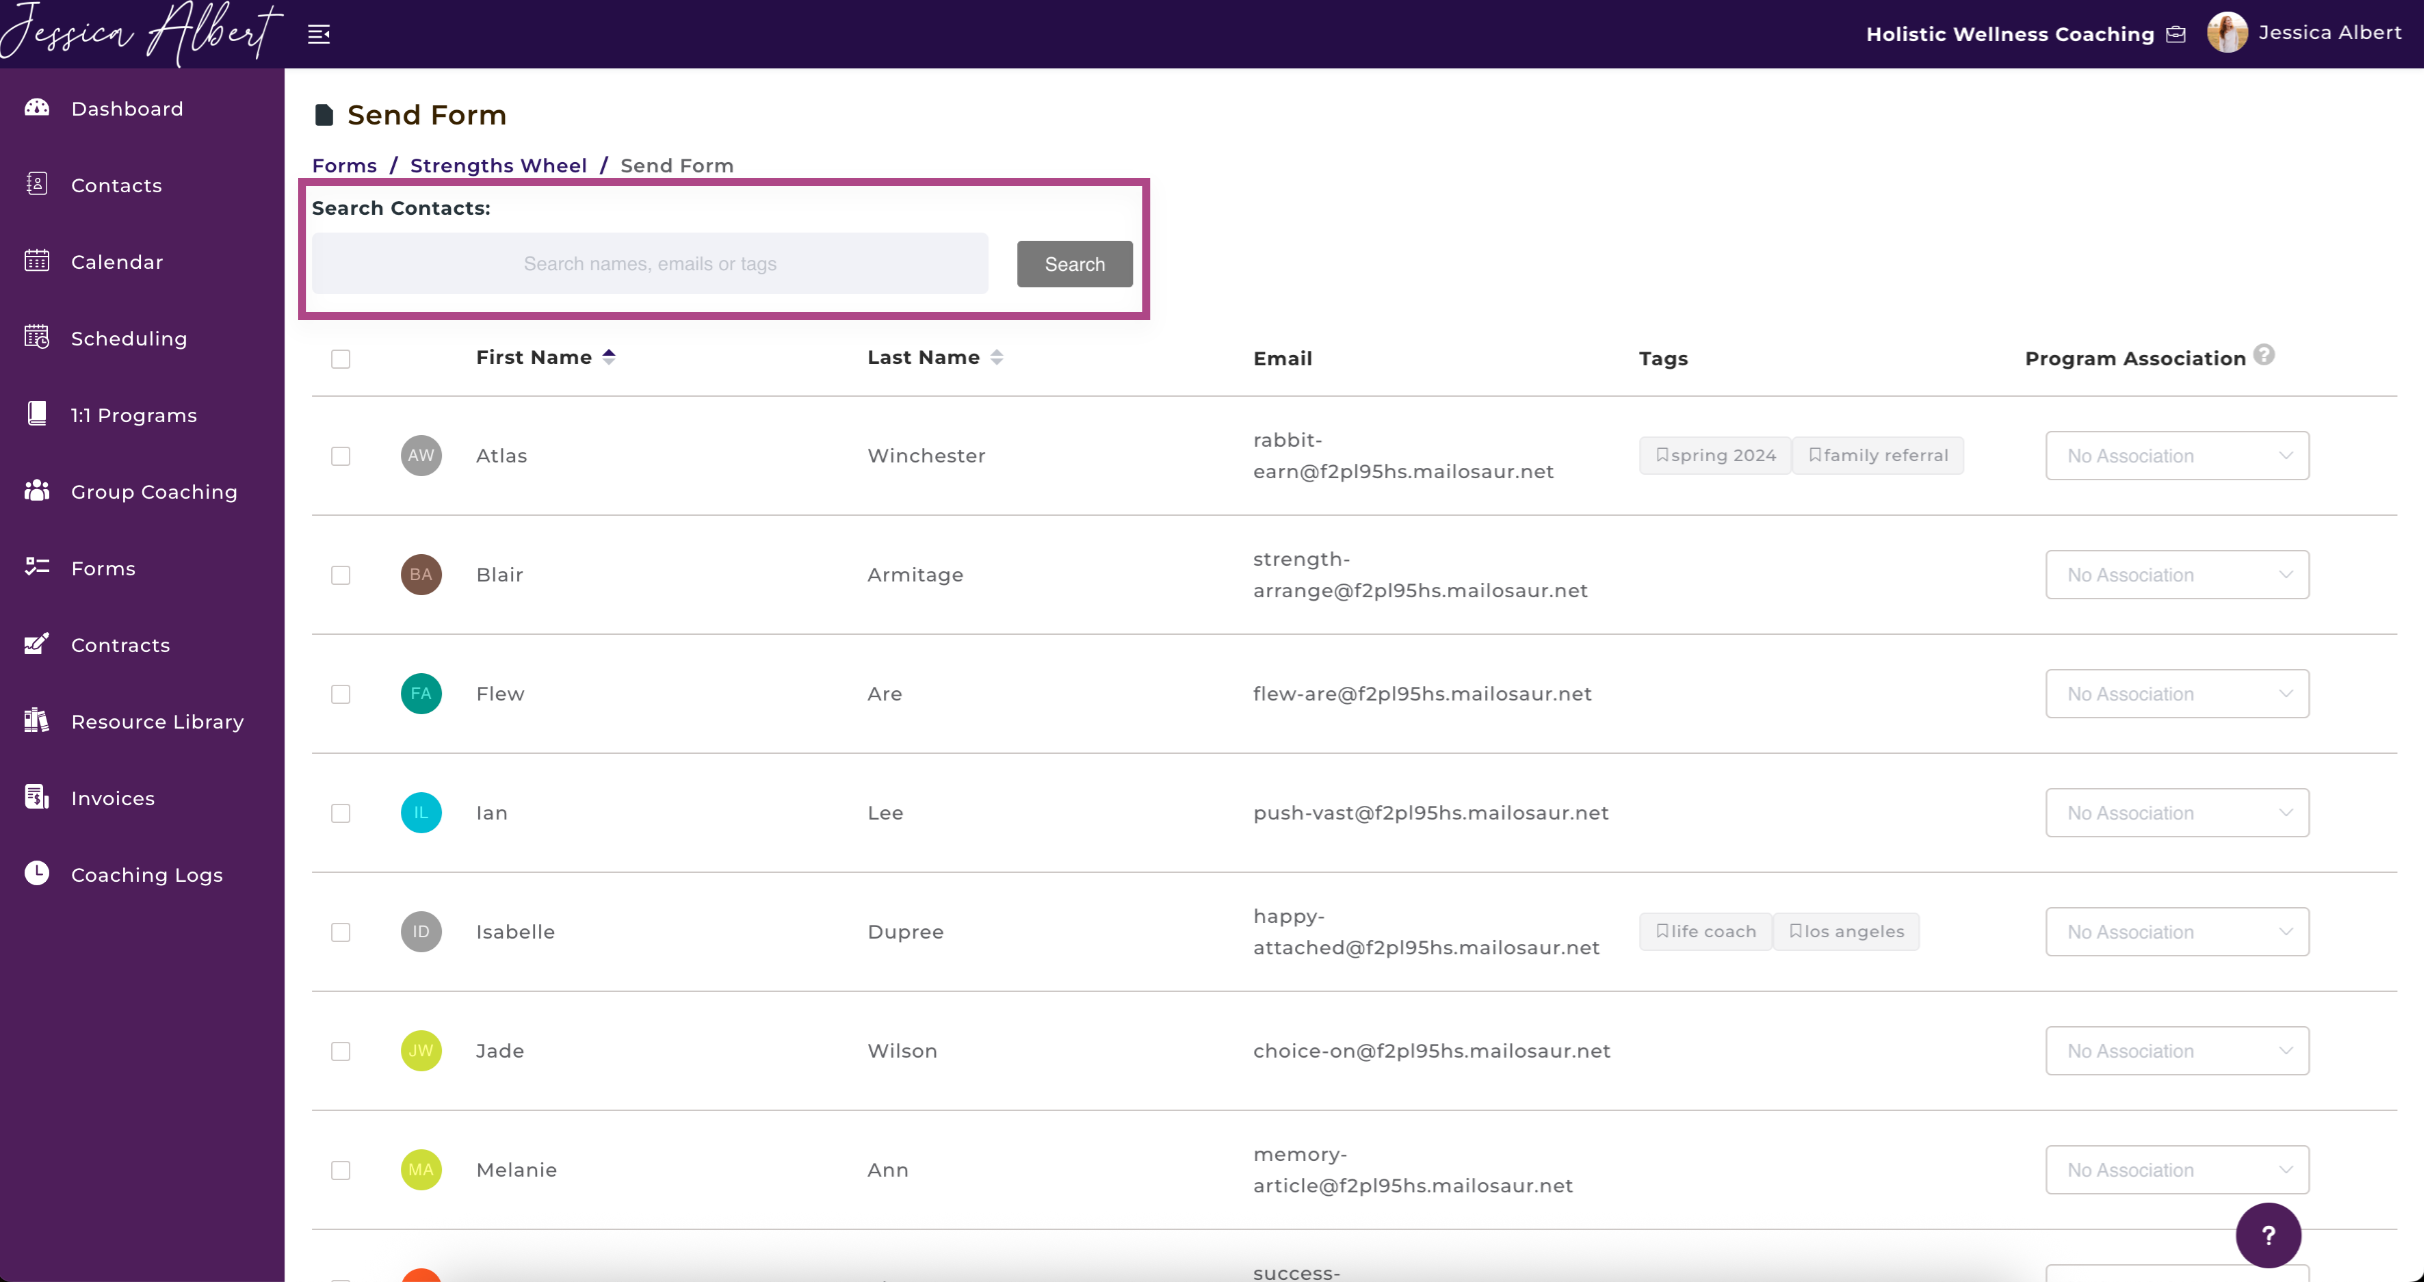
You can send forms from the Send Form page. To get there, you can either click on the Send Form icon or select from the 3-Dot Button Menu as shown below.

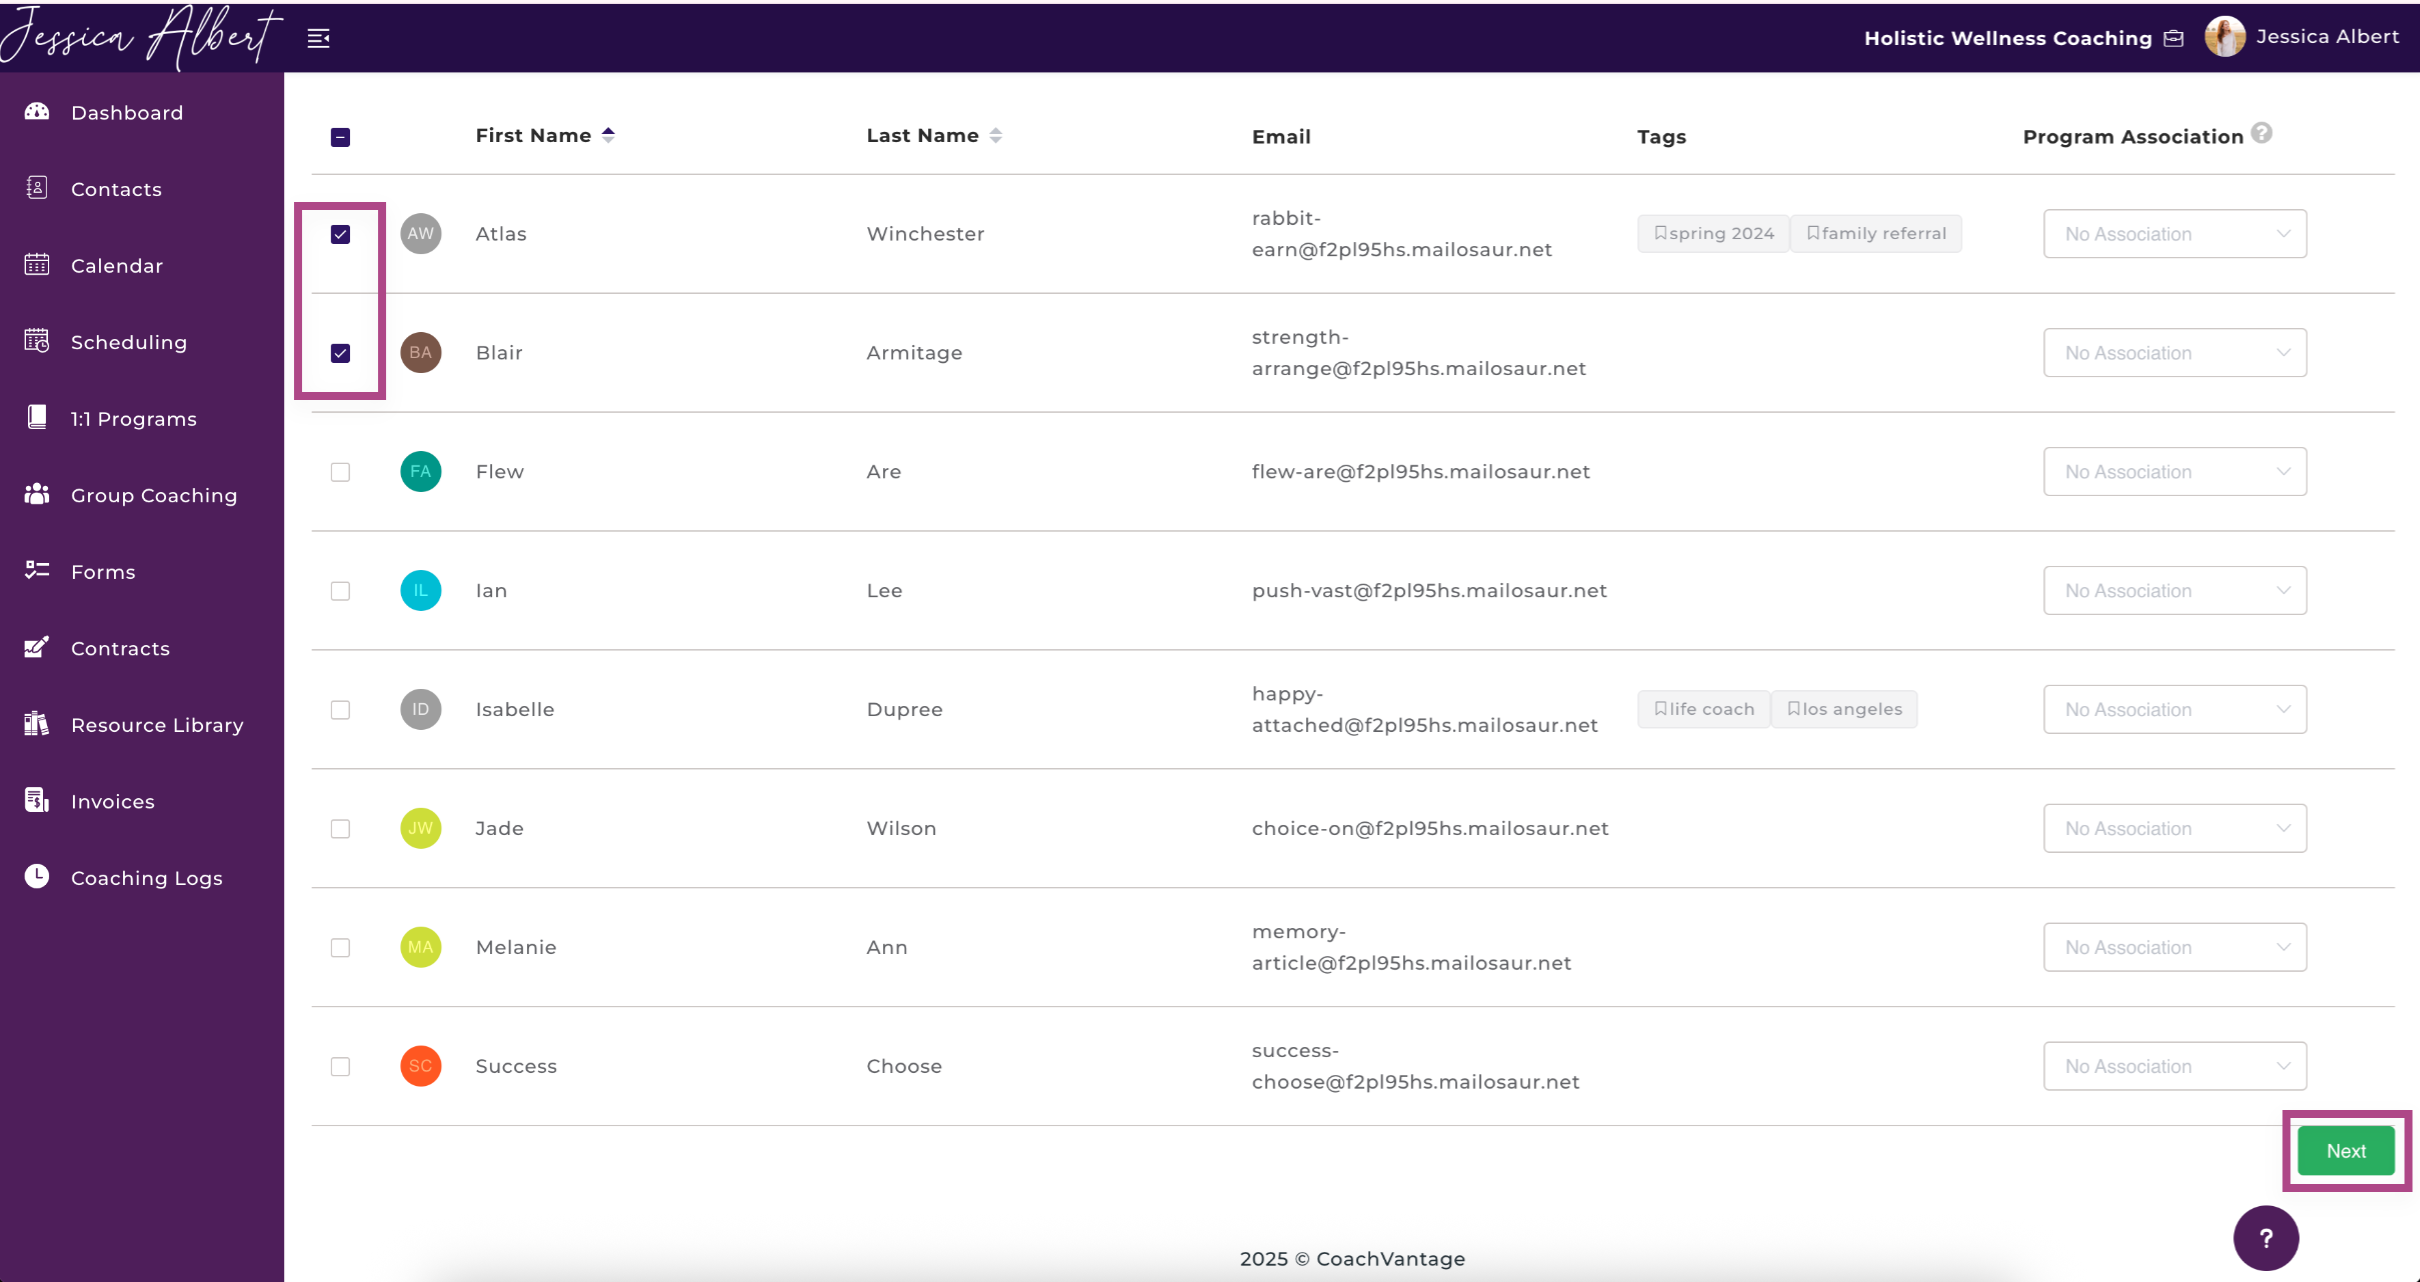
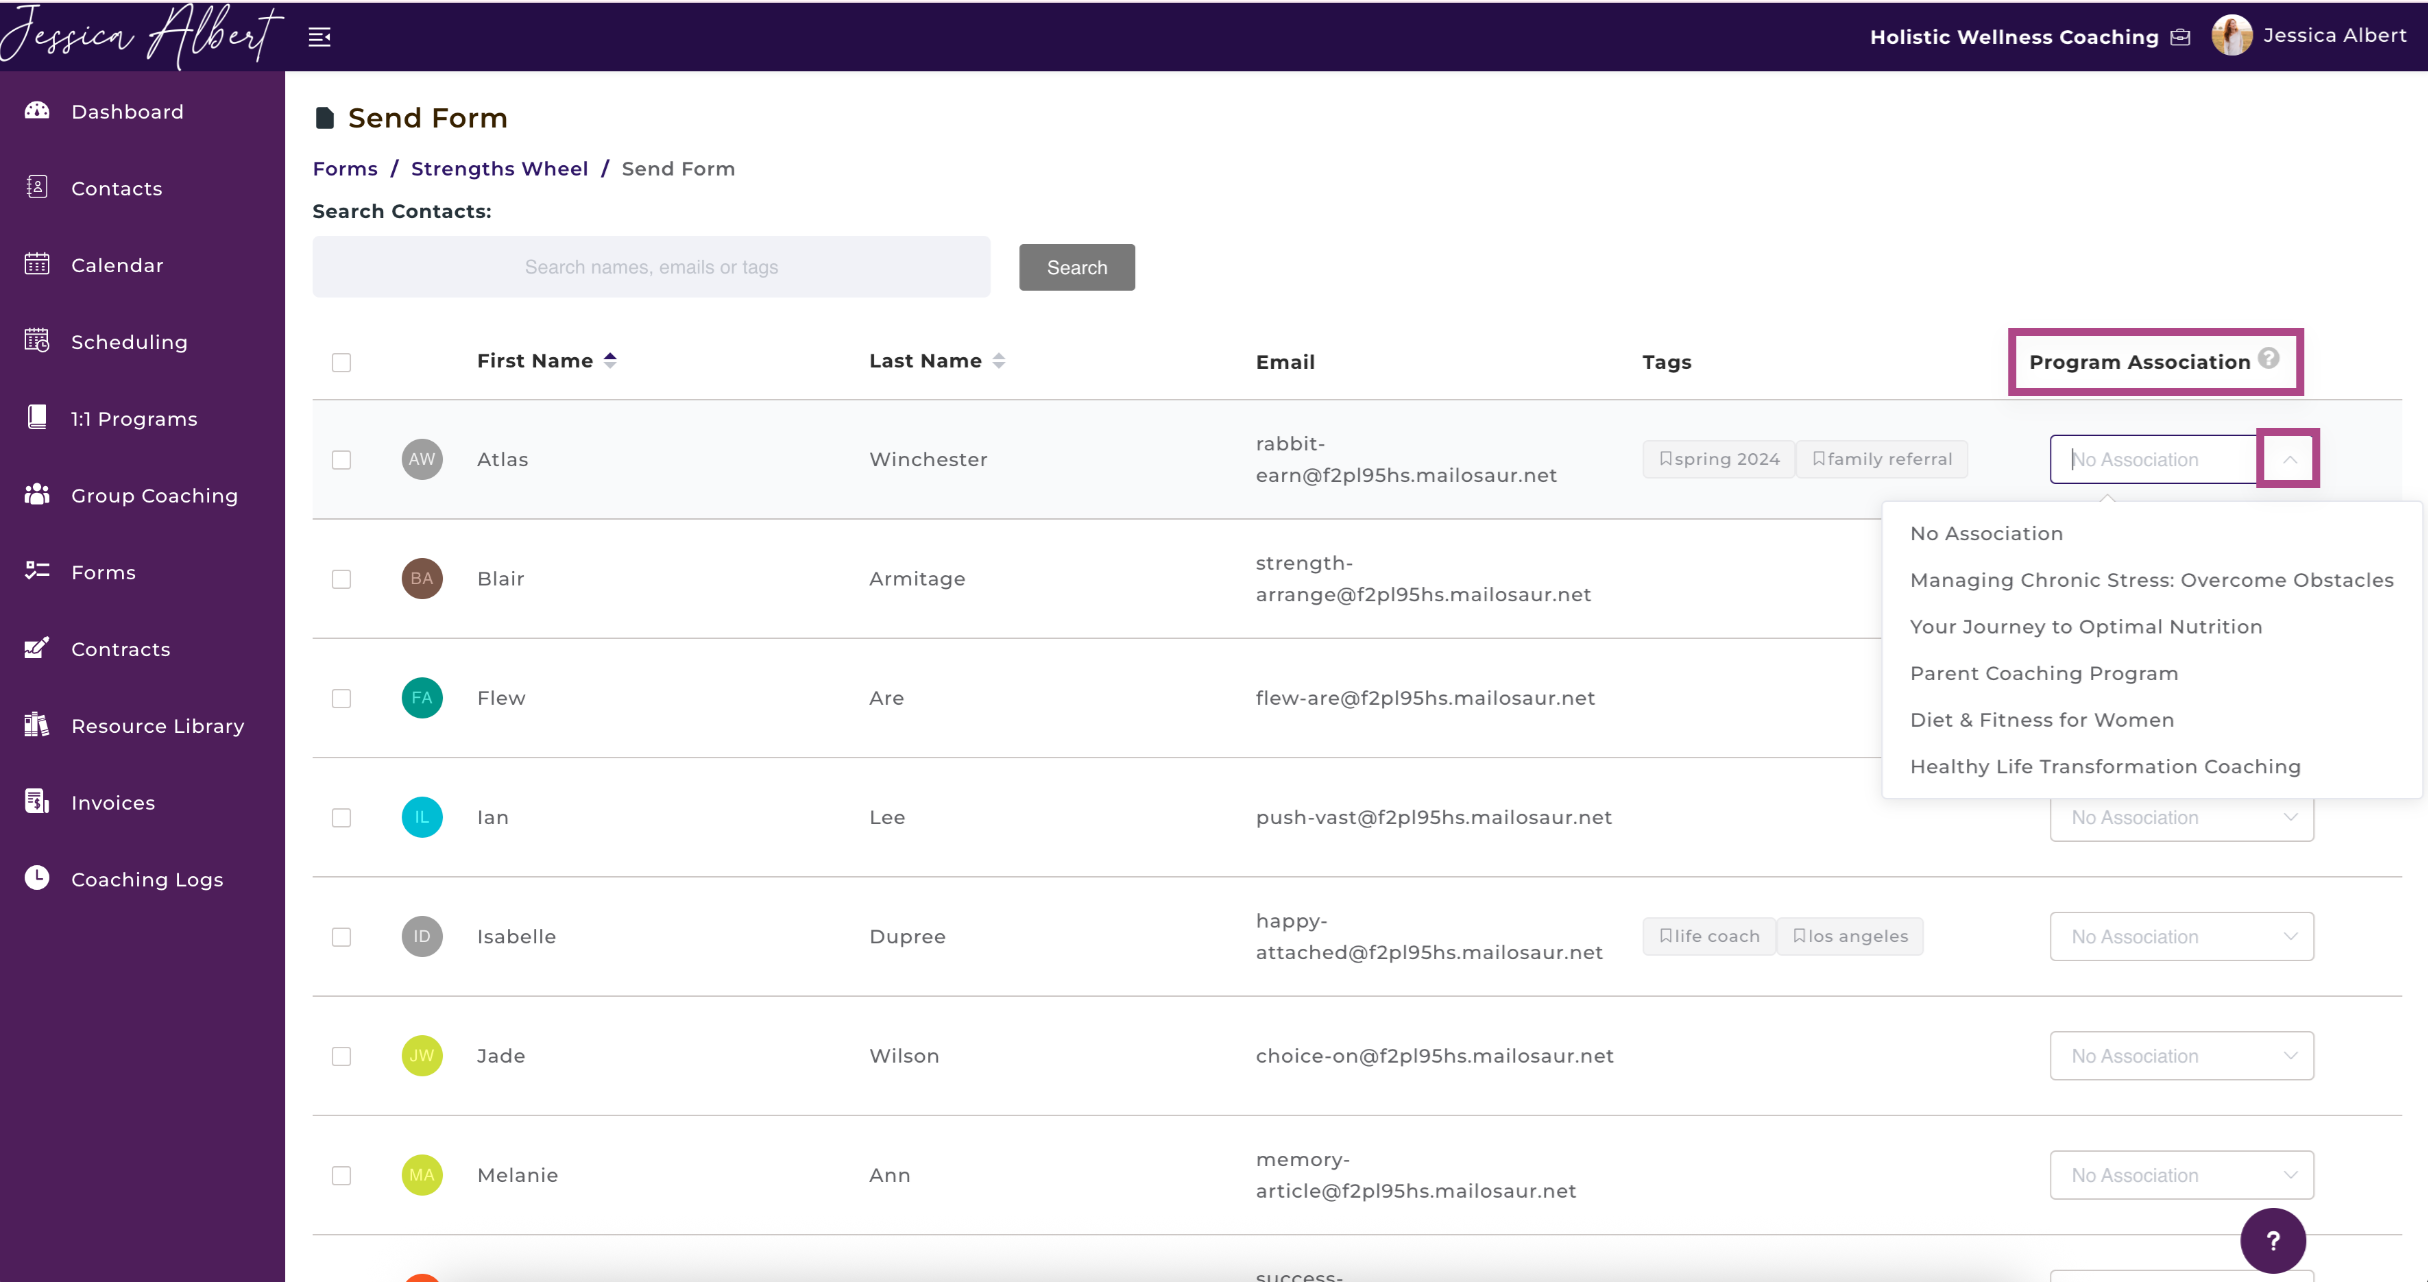
1. Select the contacts to send the form to - On the Send Form page, you would be able to select clients with active client portals by checking on the checkbox beside their name.
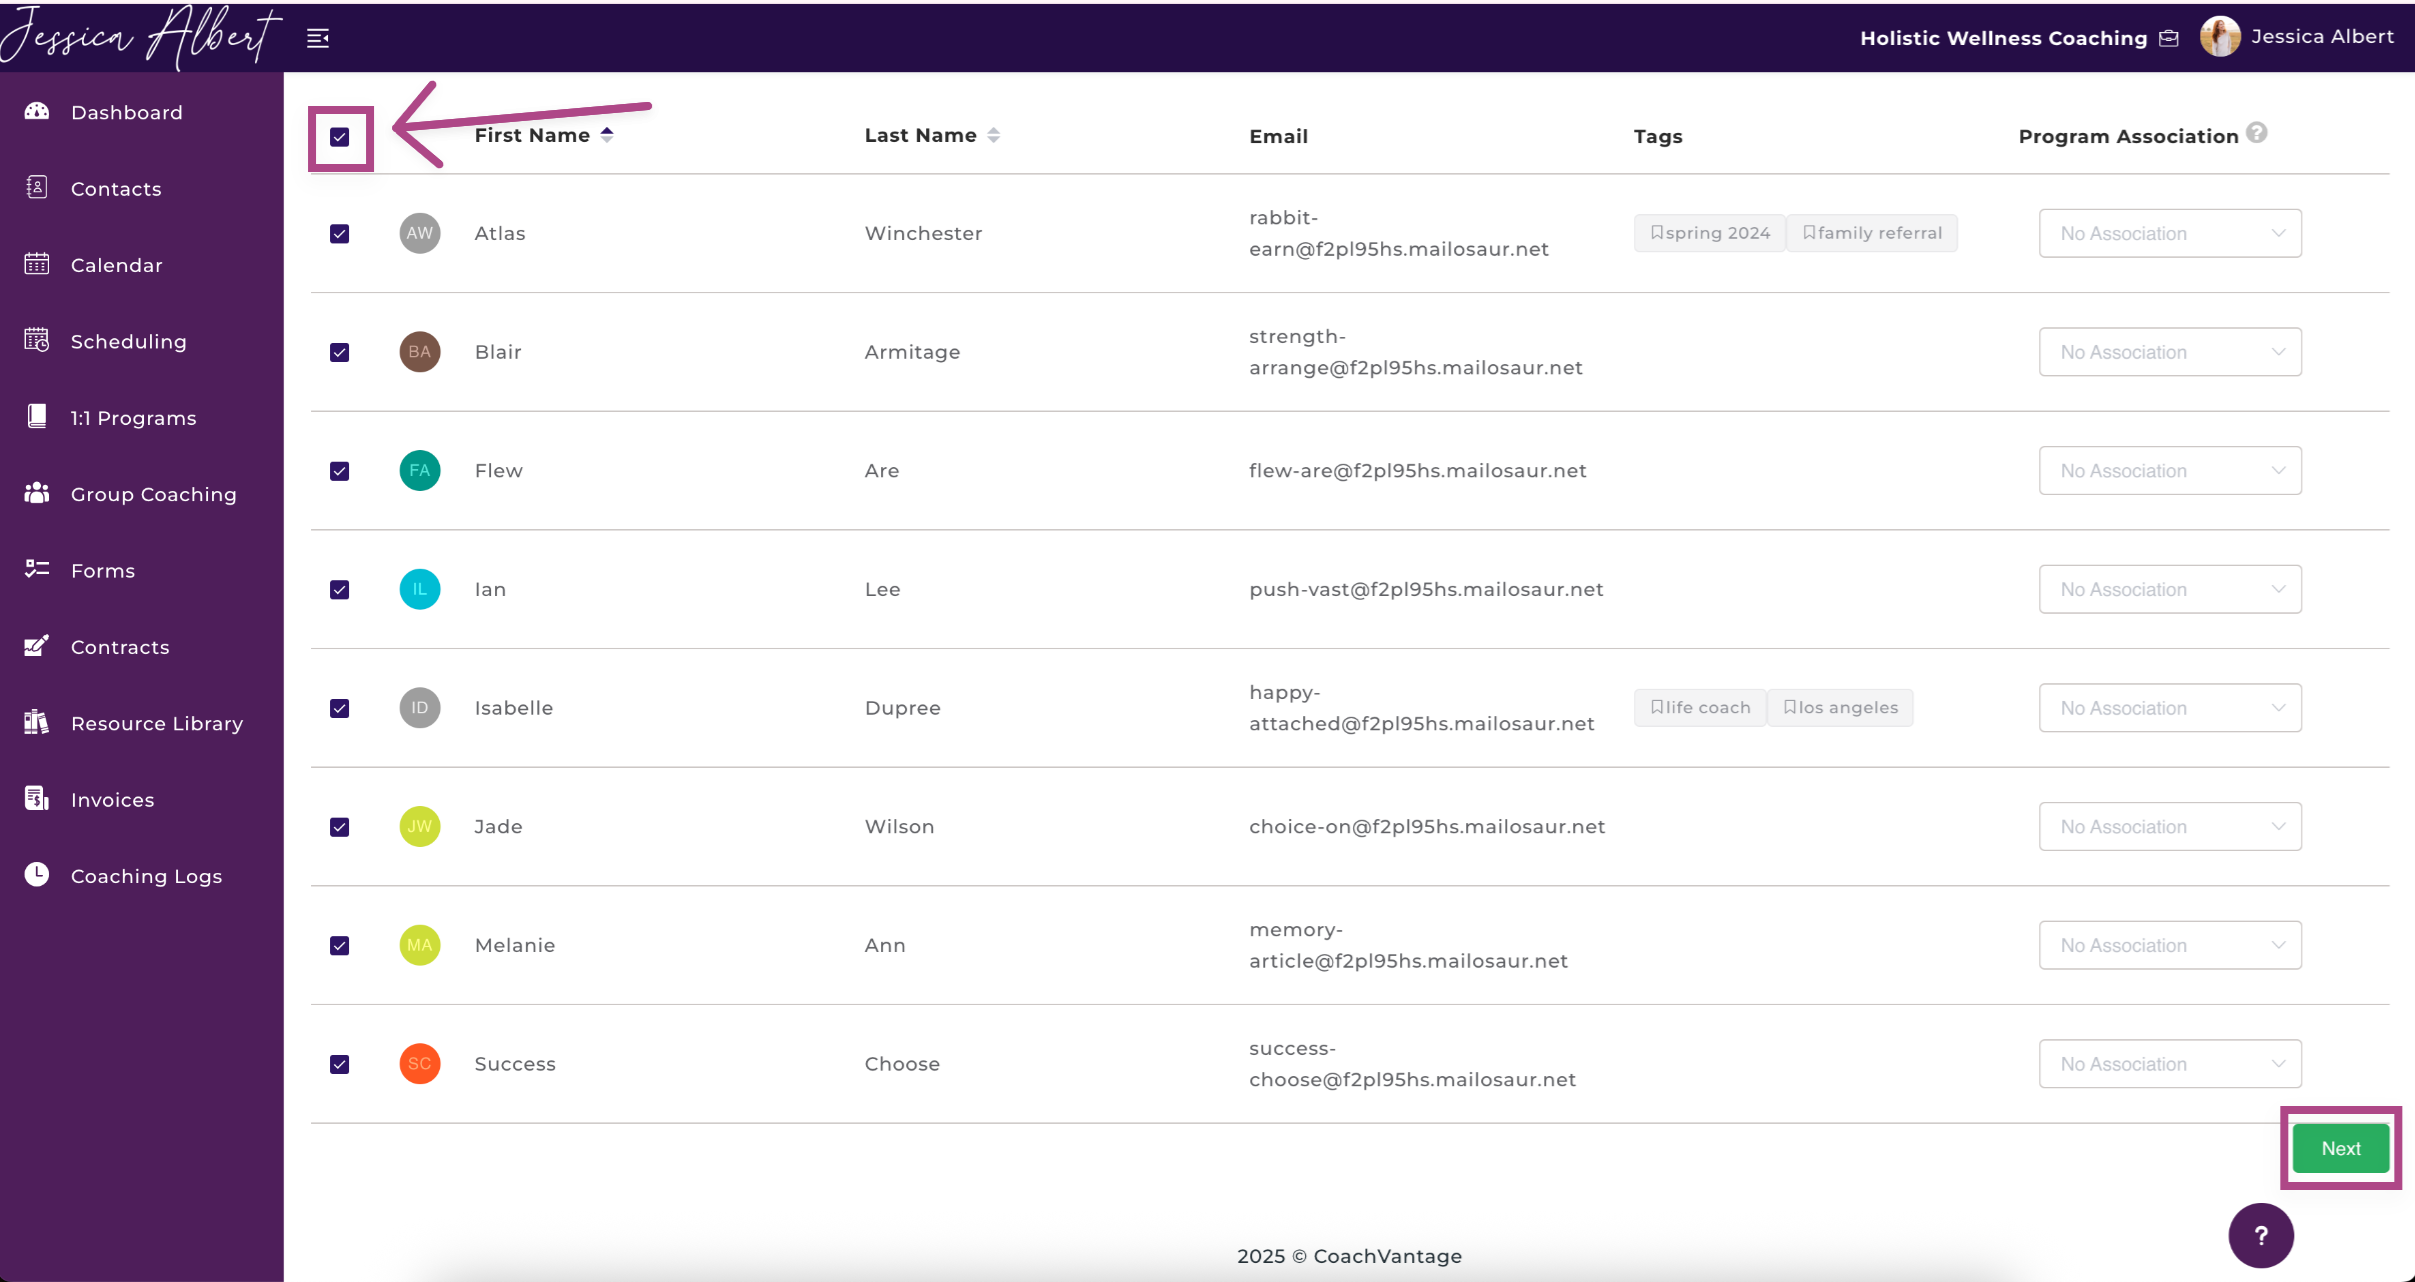
If you'd like to send the form to all clients in the list, click on the checkbox at the top of the list as show above.
Search contacts by entering their Name, Email or Tag in the Search Bar.
2. Program Association (or No Association)
- There are essentially two types of forms that can be sent to clients:
- Ad hoc forms (No program association)
- Forms associated with coaching programs
Note:
'Ad hoc' forms can be used, for example, to get generic feedback or surveys from your clients about anything that's not necessarily related to a coaching program.
You can also send forms that are related to a coaching program that your client is enrolled in. For example, a pre-session check-in form or a post-session takeaway form.
CoachVantage makes it easy for you to send either ad hoc forms or forms that are associated with a coaching program.
To Send An Ad Hoc Form - In the dropdown selector in the Program Association column (see image below), you will see No Association option. Select this in order to send an ad hoc form to your clients.
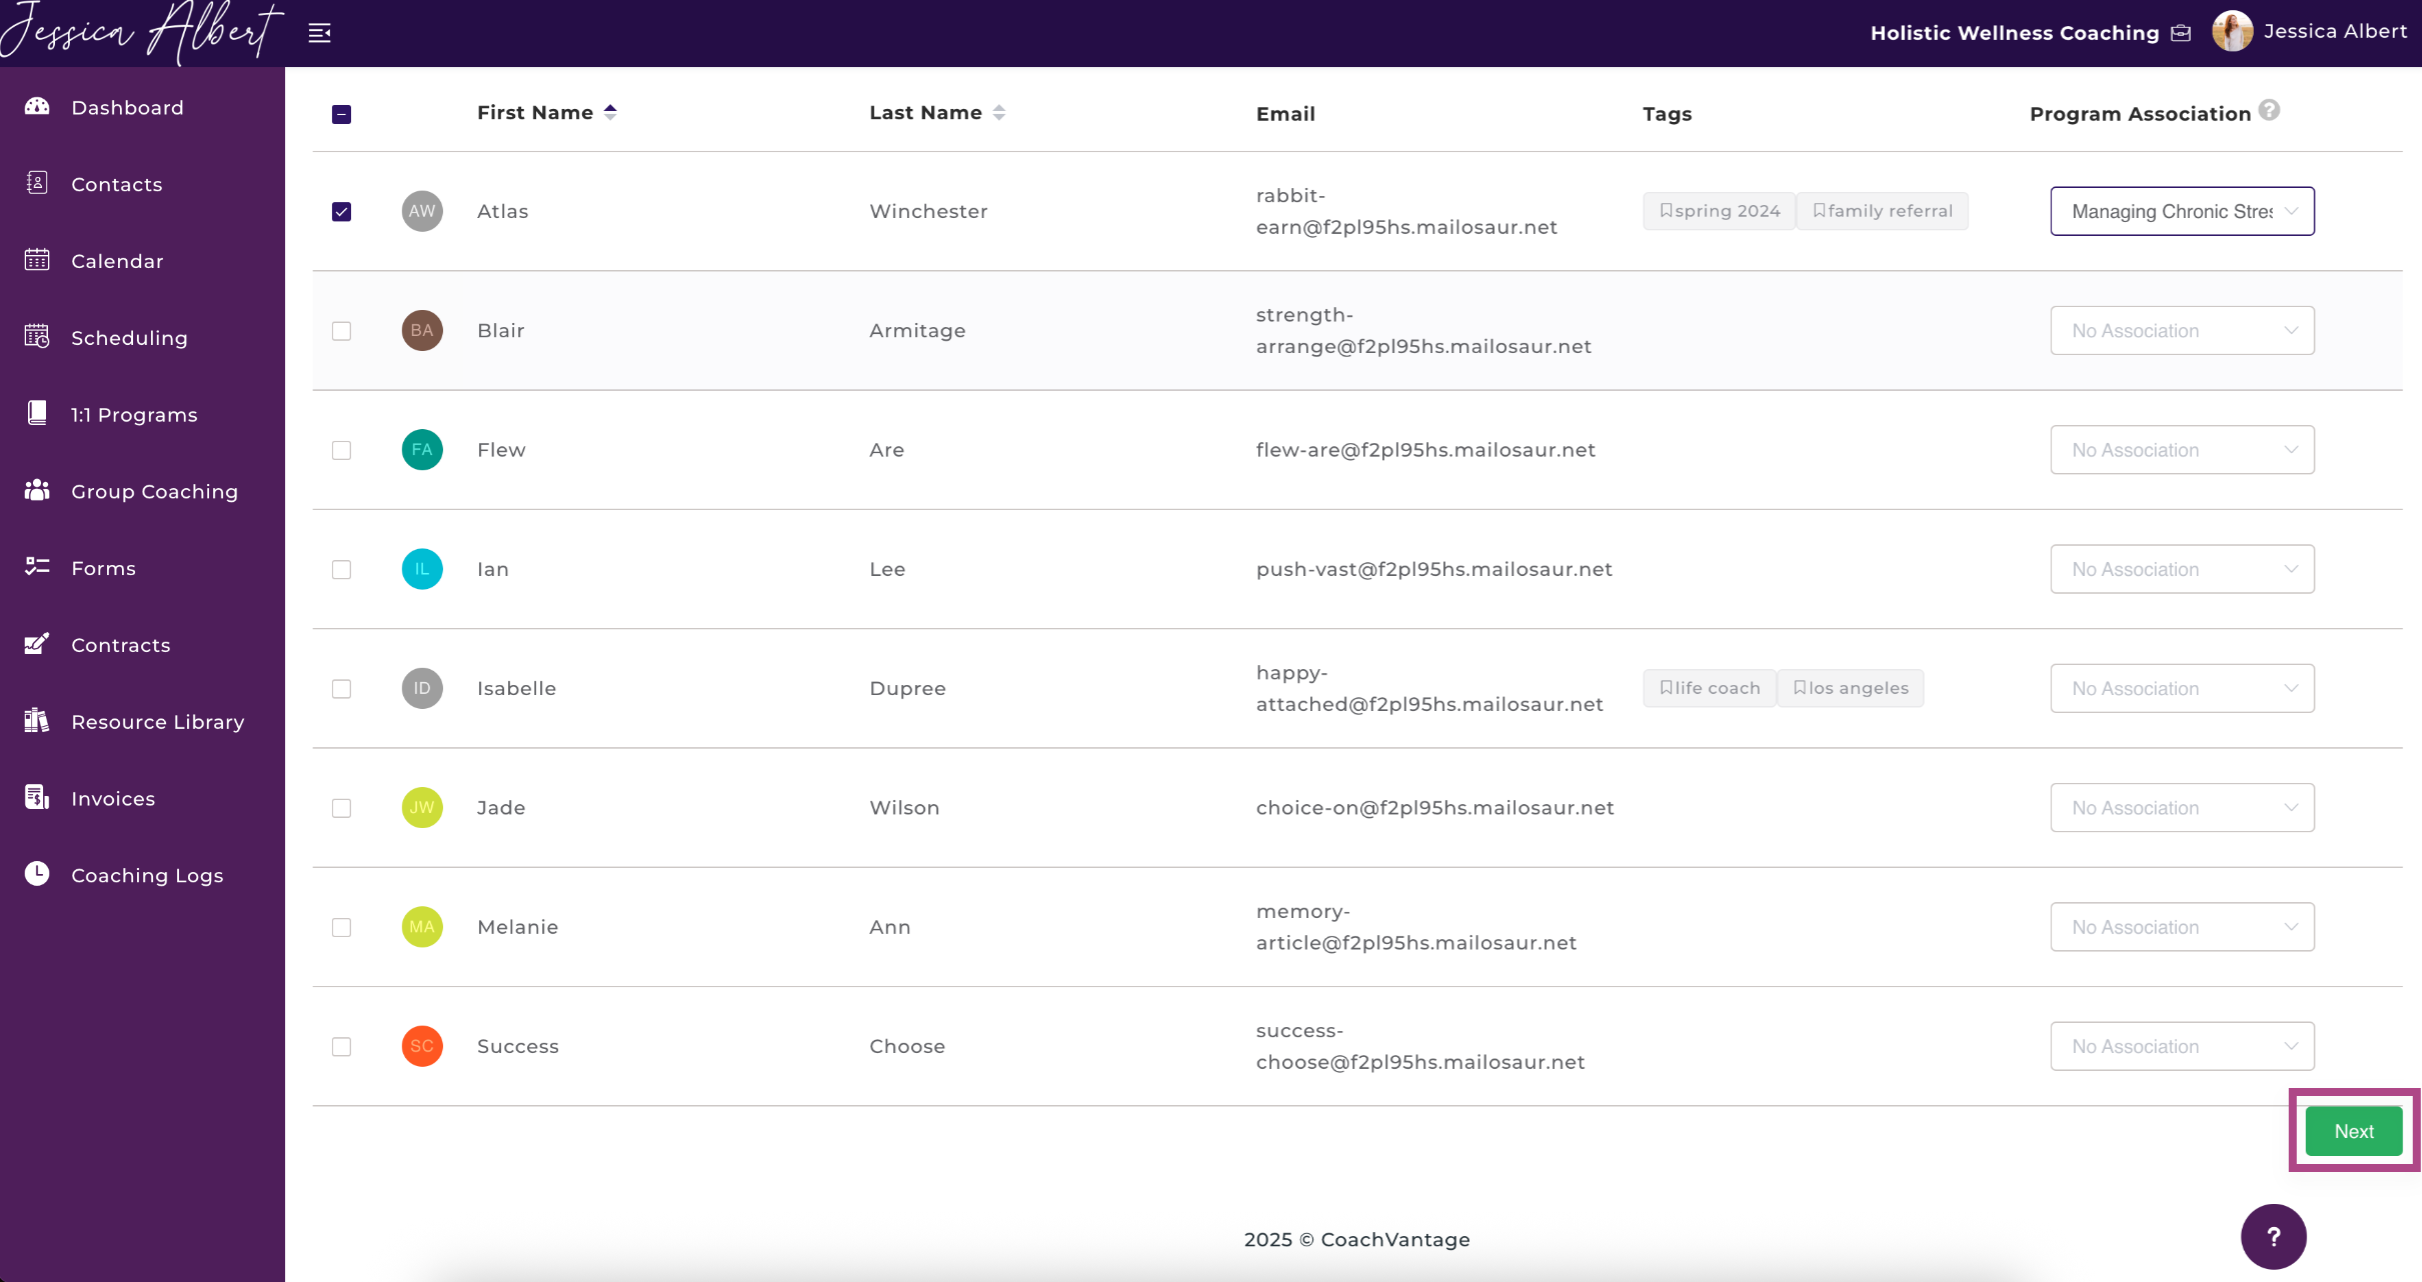
To Send A Form Associated with a Program - In the dropdown selector in the Program Association column (see image below), you will see the specific coaching program(s) that a client is enrolled in. Select the desired coaching program name in order to send a form that's associated with that program.
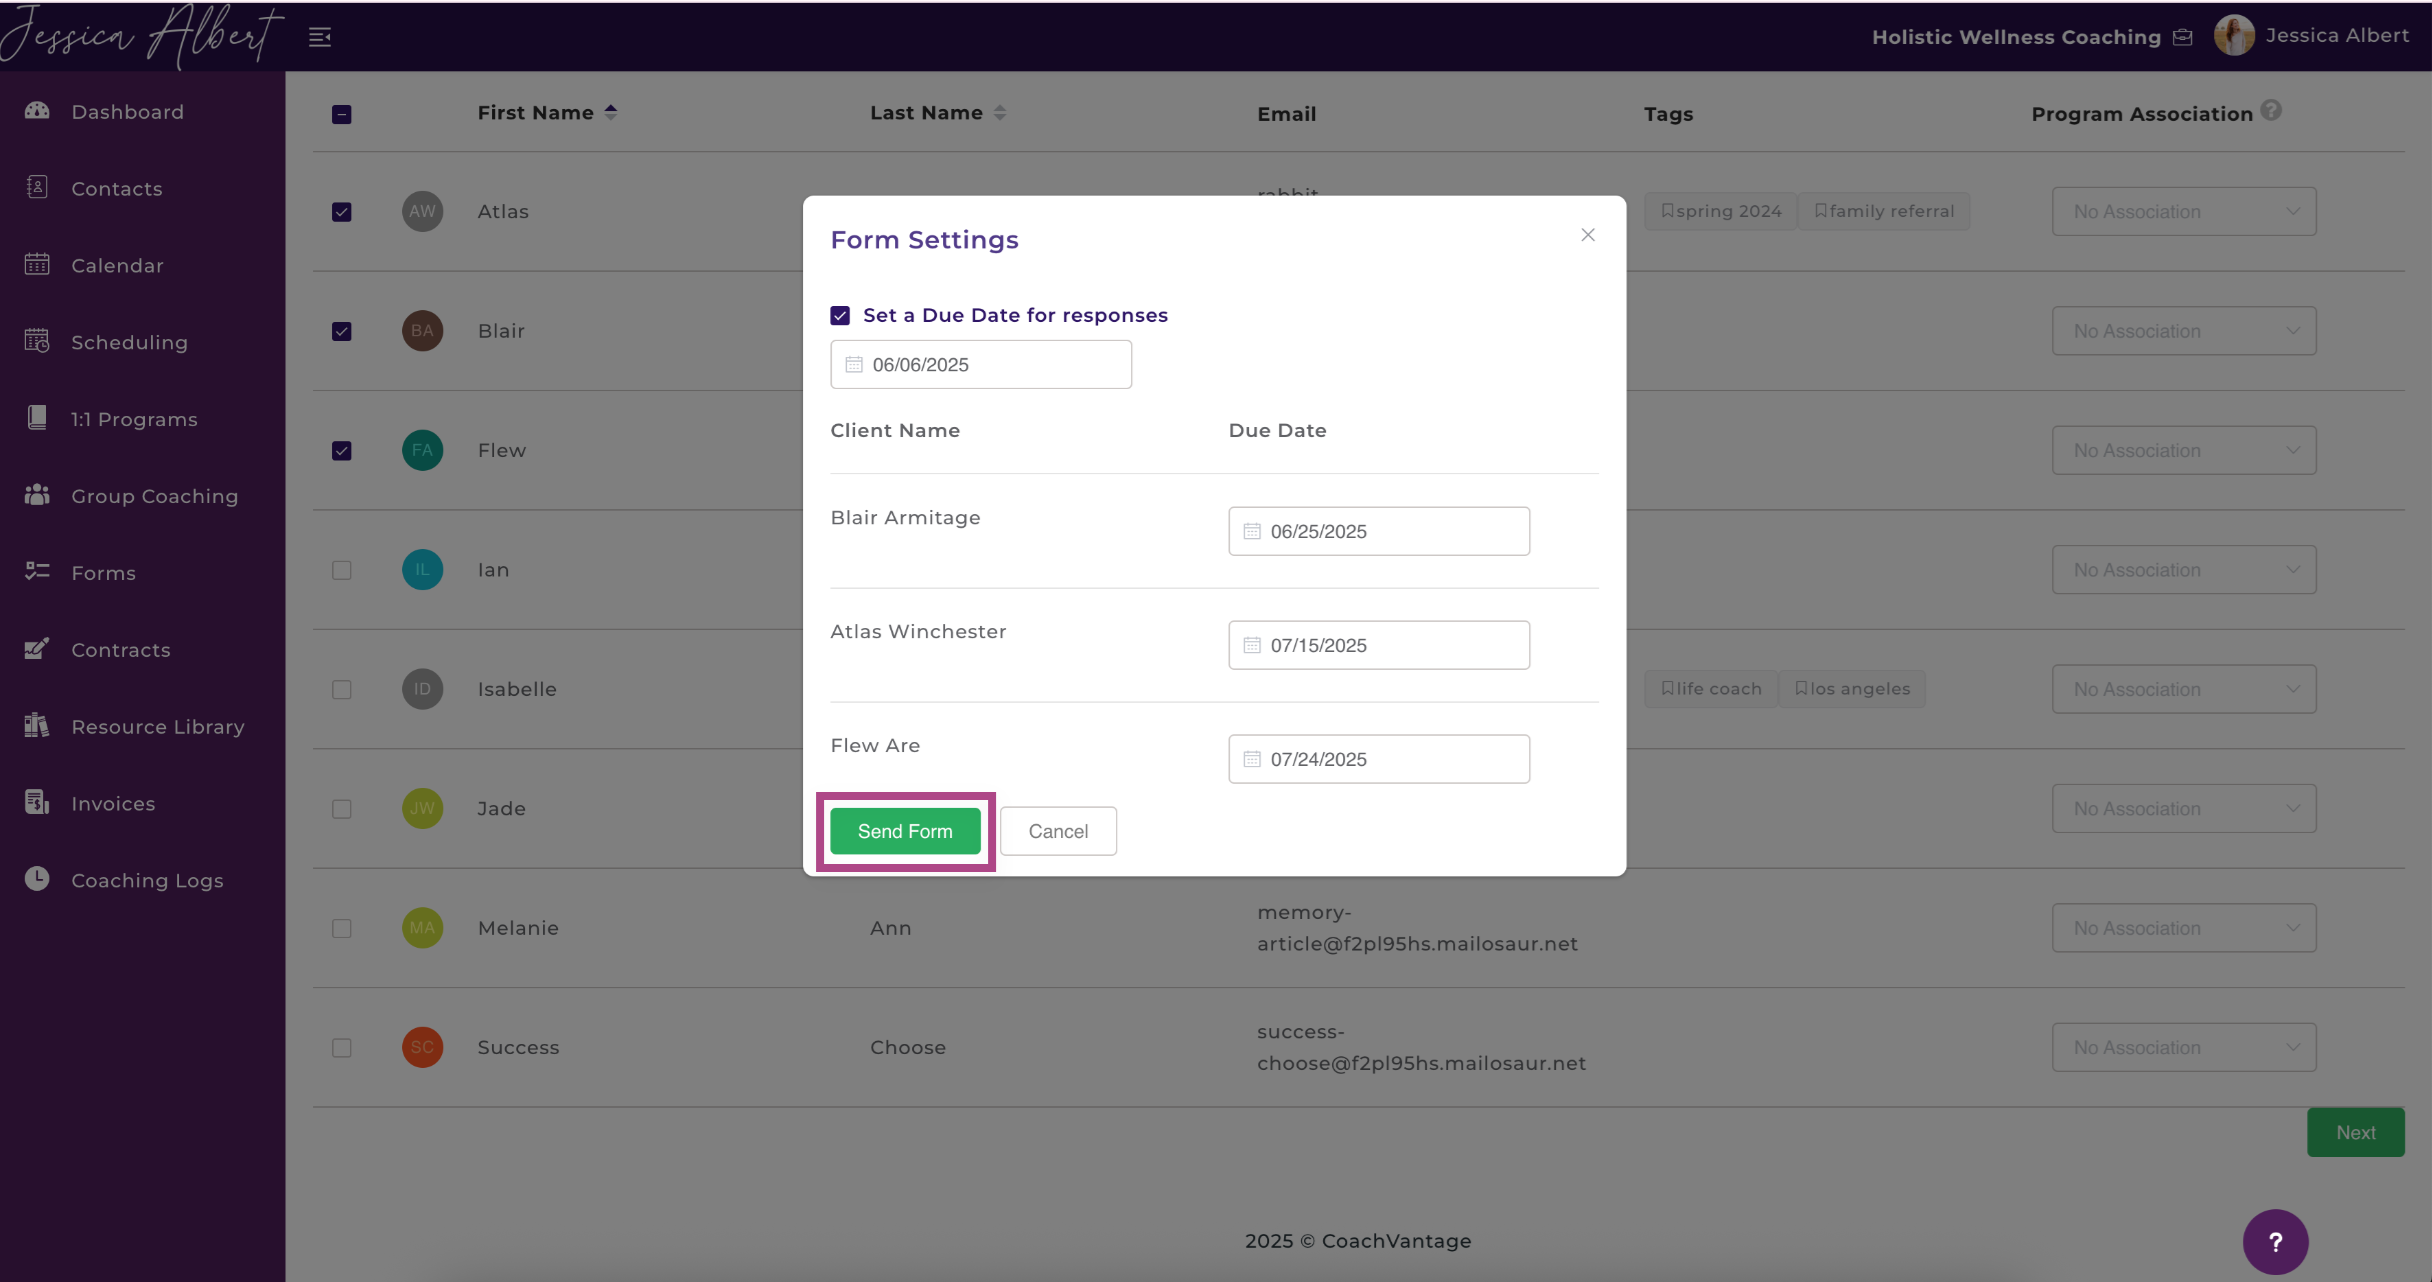
3. Click Next to open the Form Setting Window.
4. Select Due Date - You can select the Set a Due Date for Responses checkbox to set the same due date for all the selected clients.
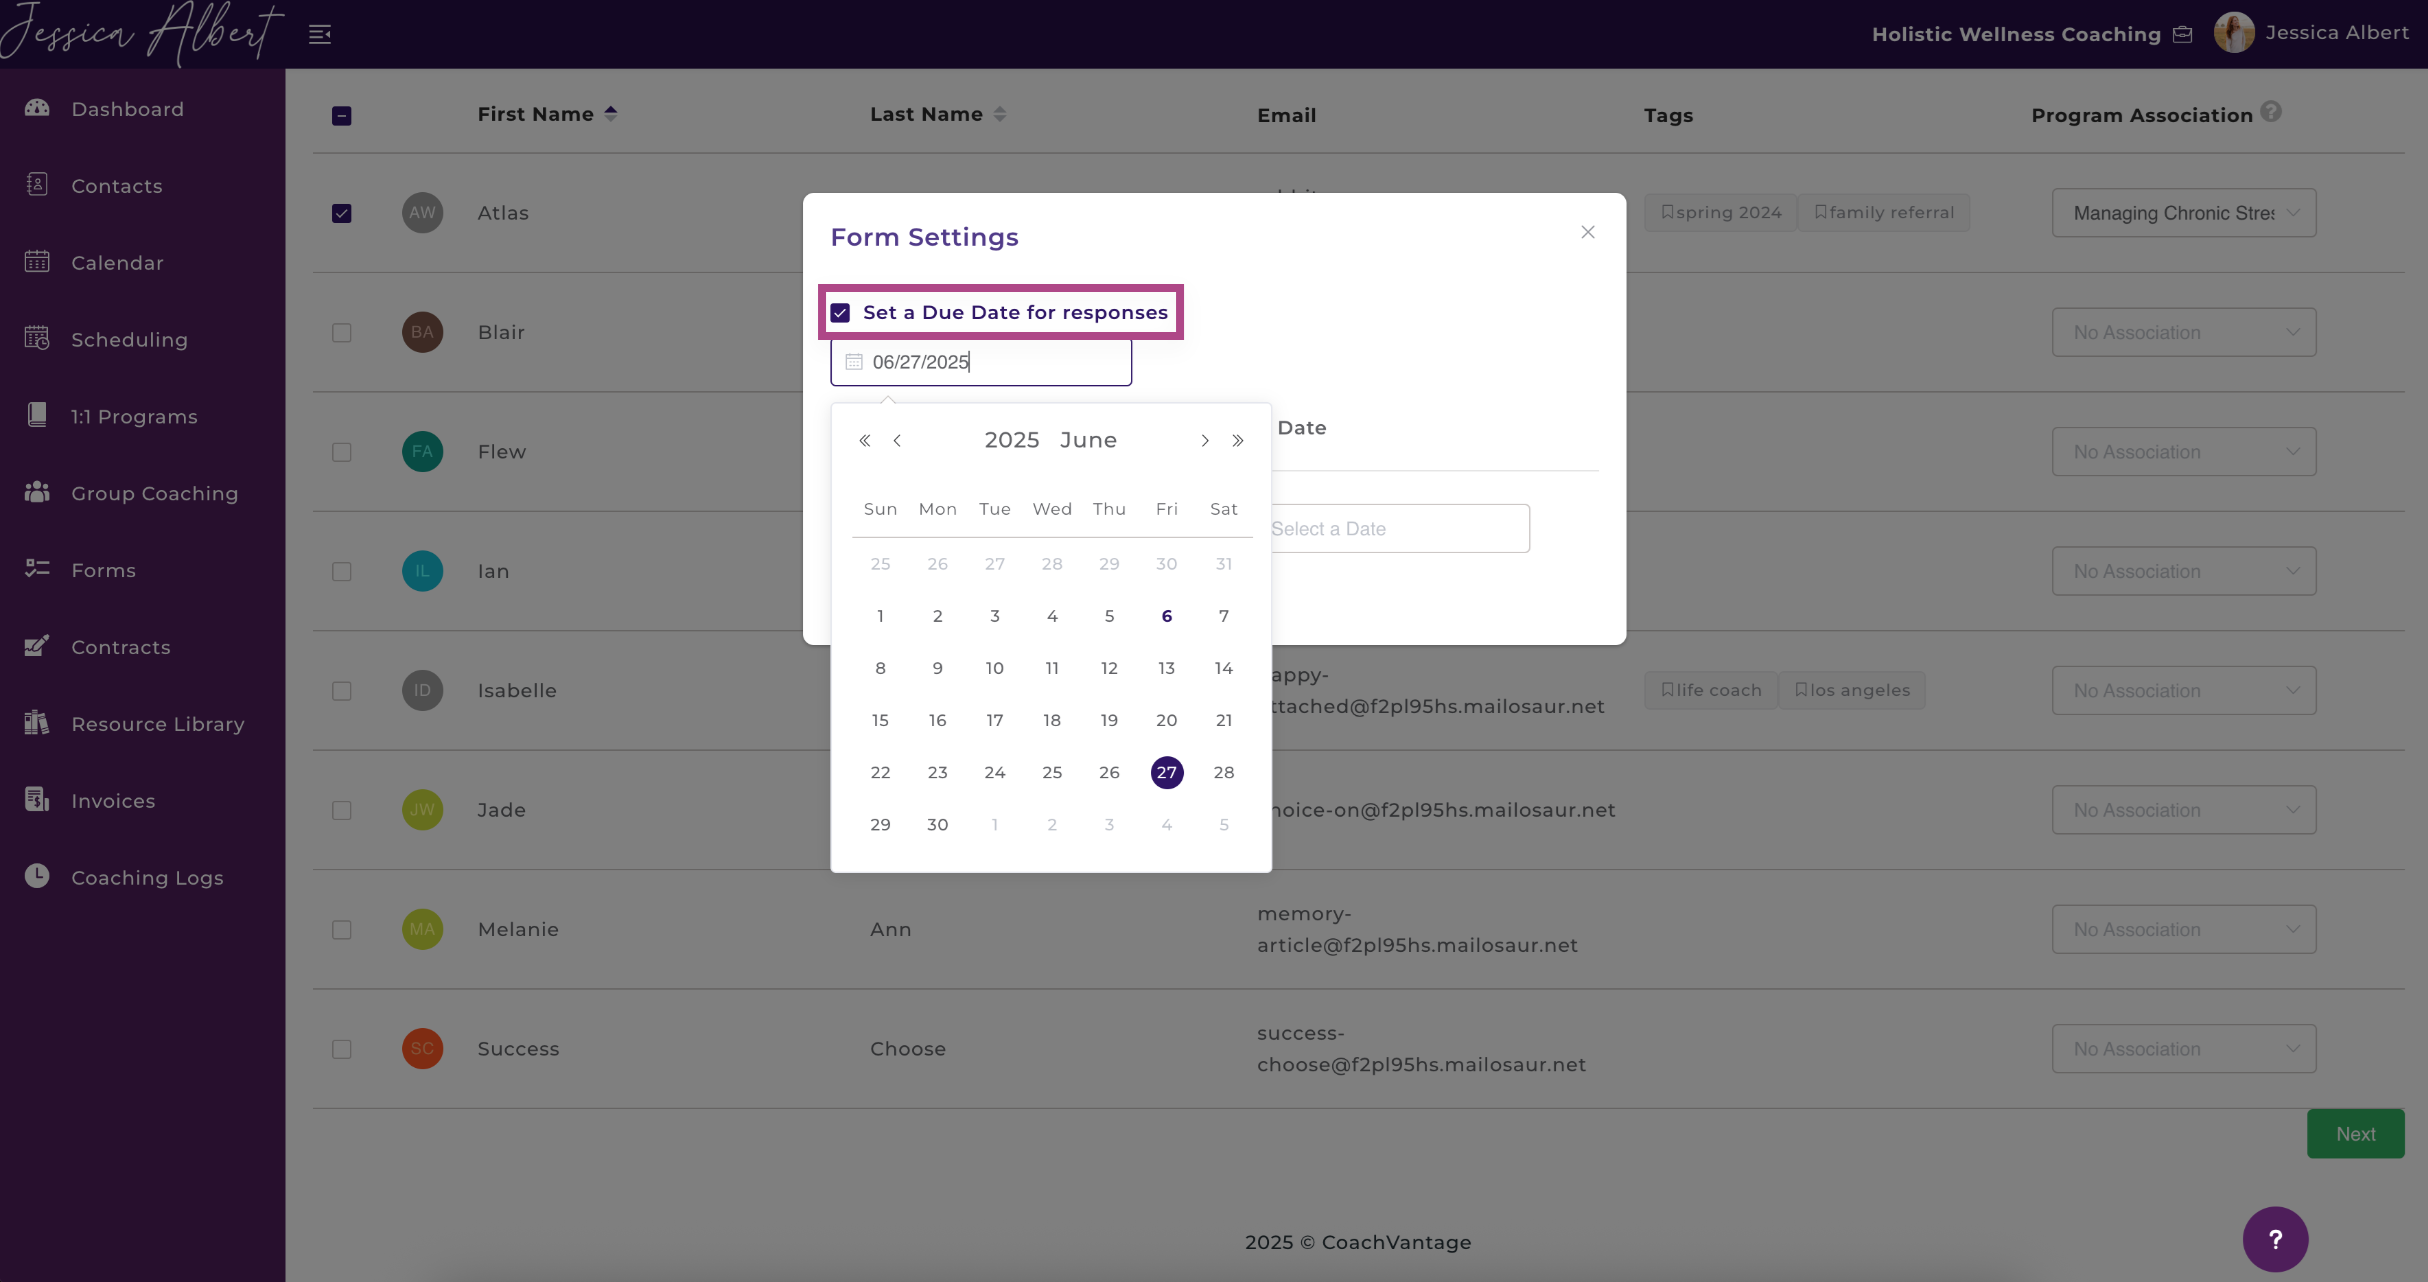
Or choose different due dates for each contact, individually.
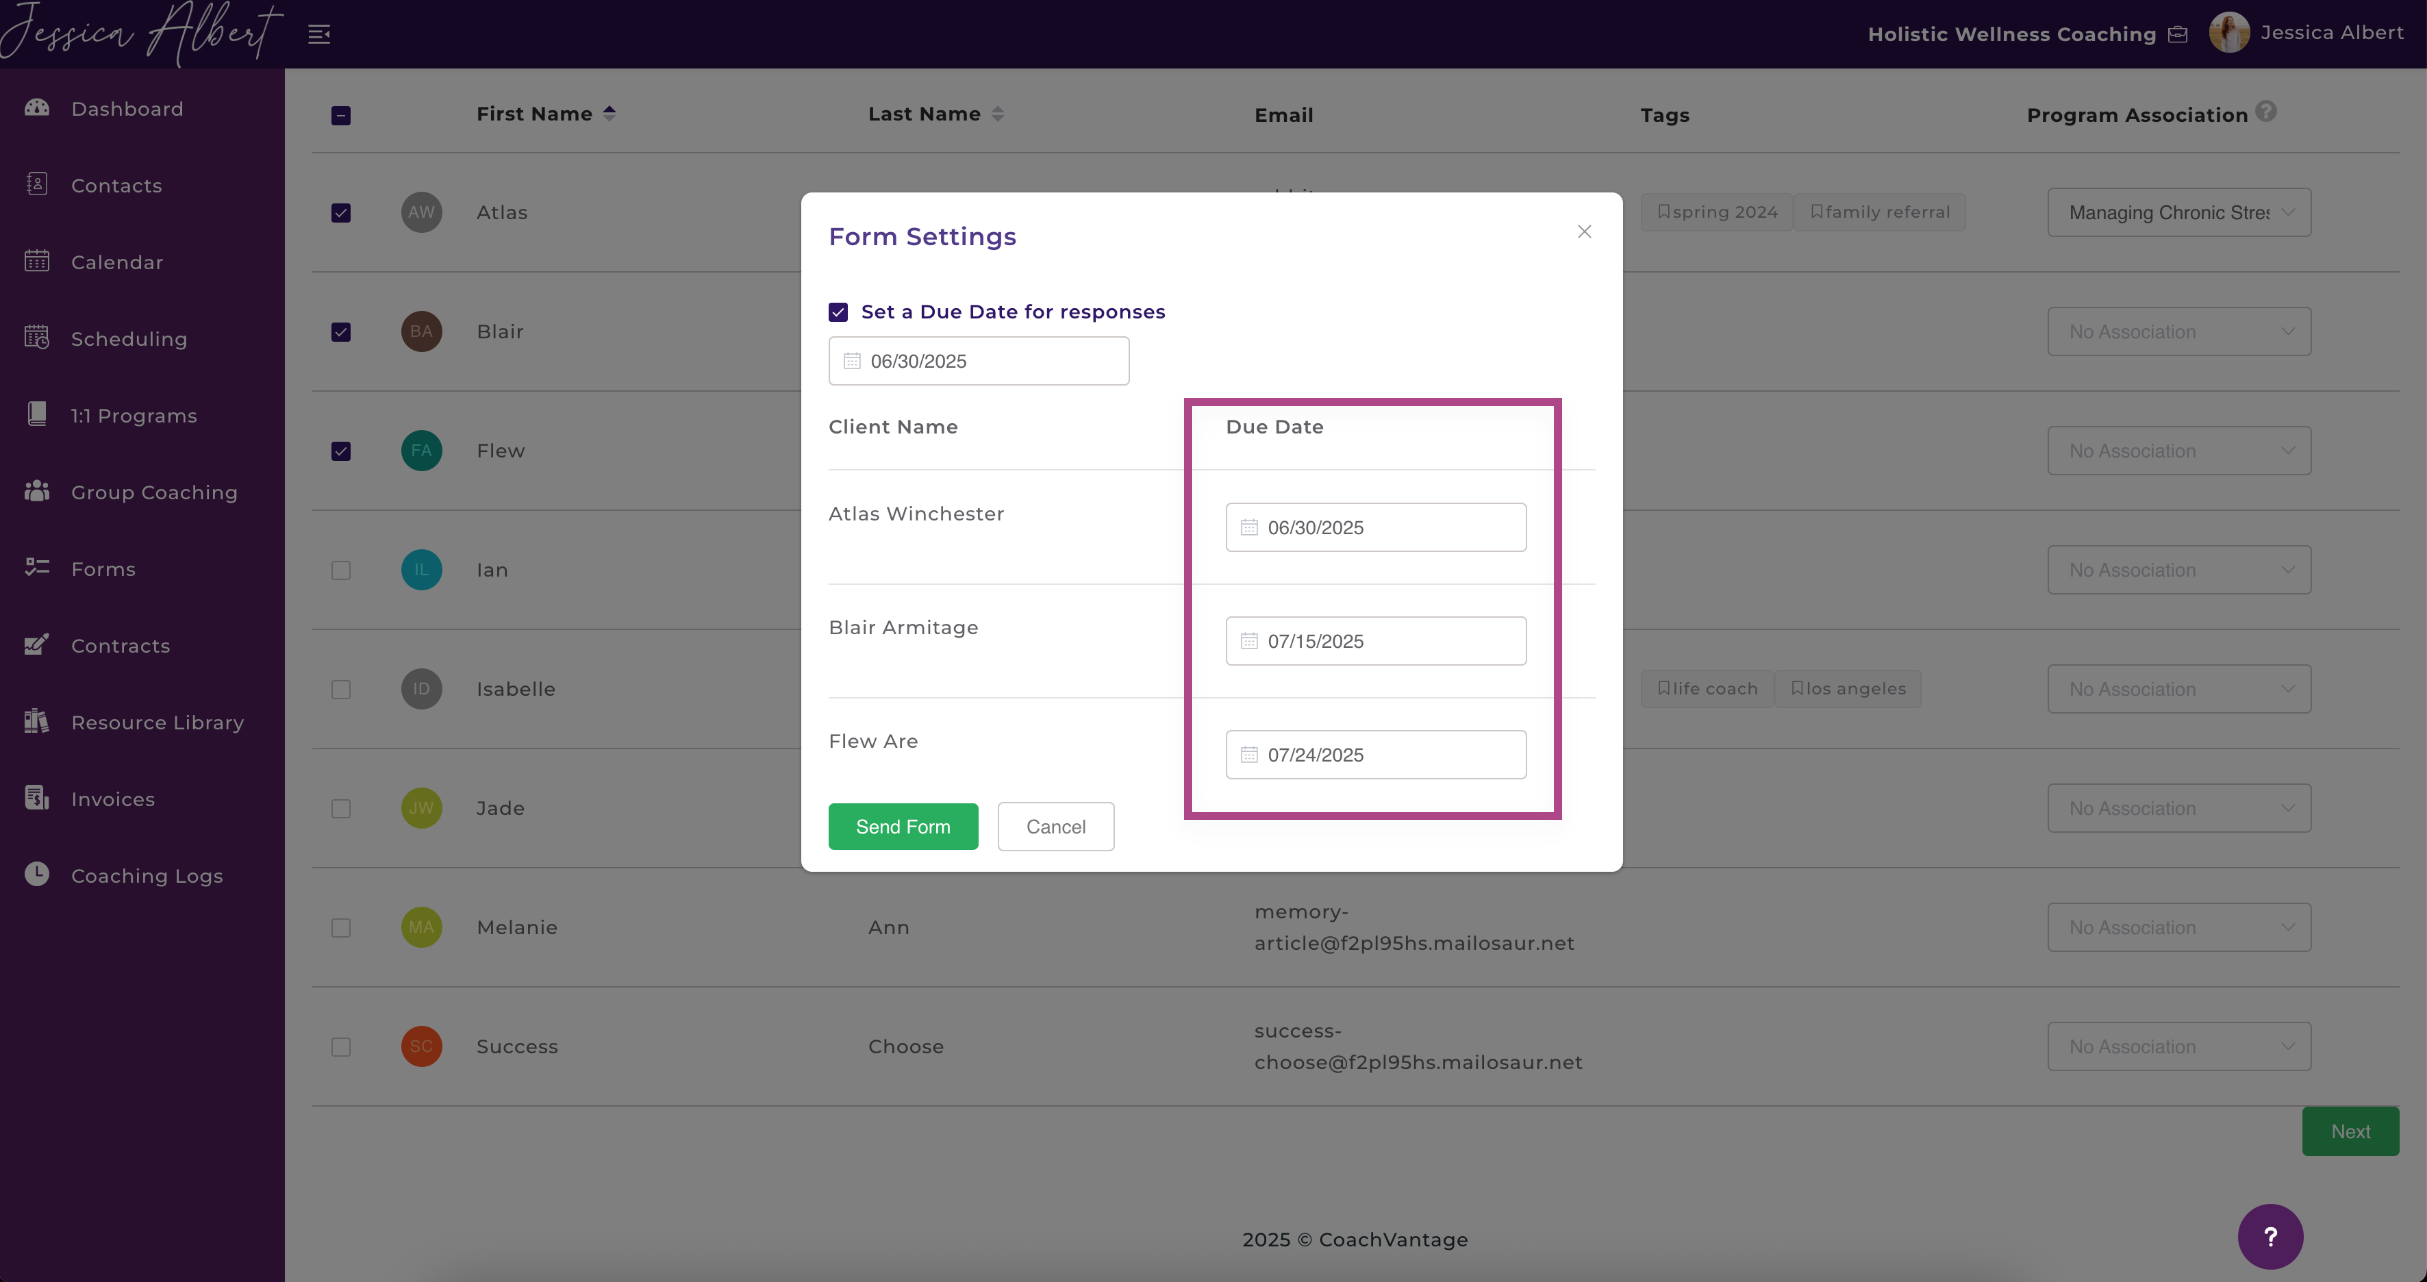
5. Finally select Send Form to finish the process and send the form.
3. Form Responses from Clients 🗣️
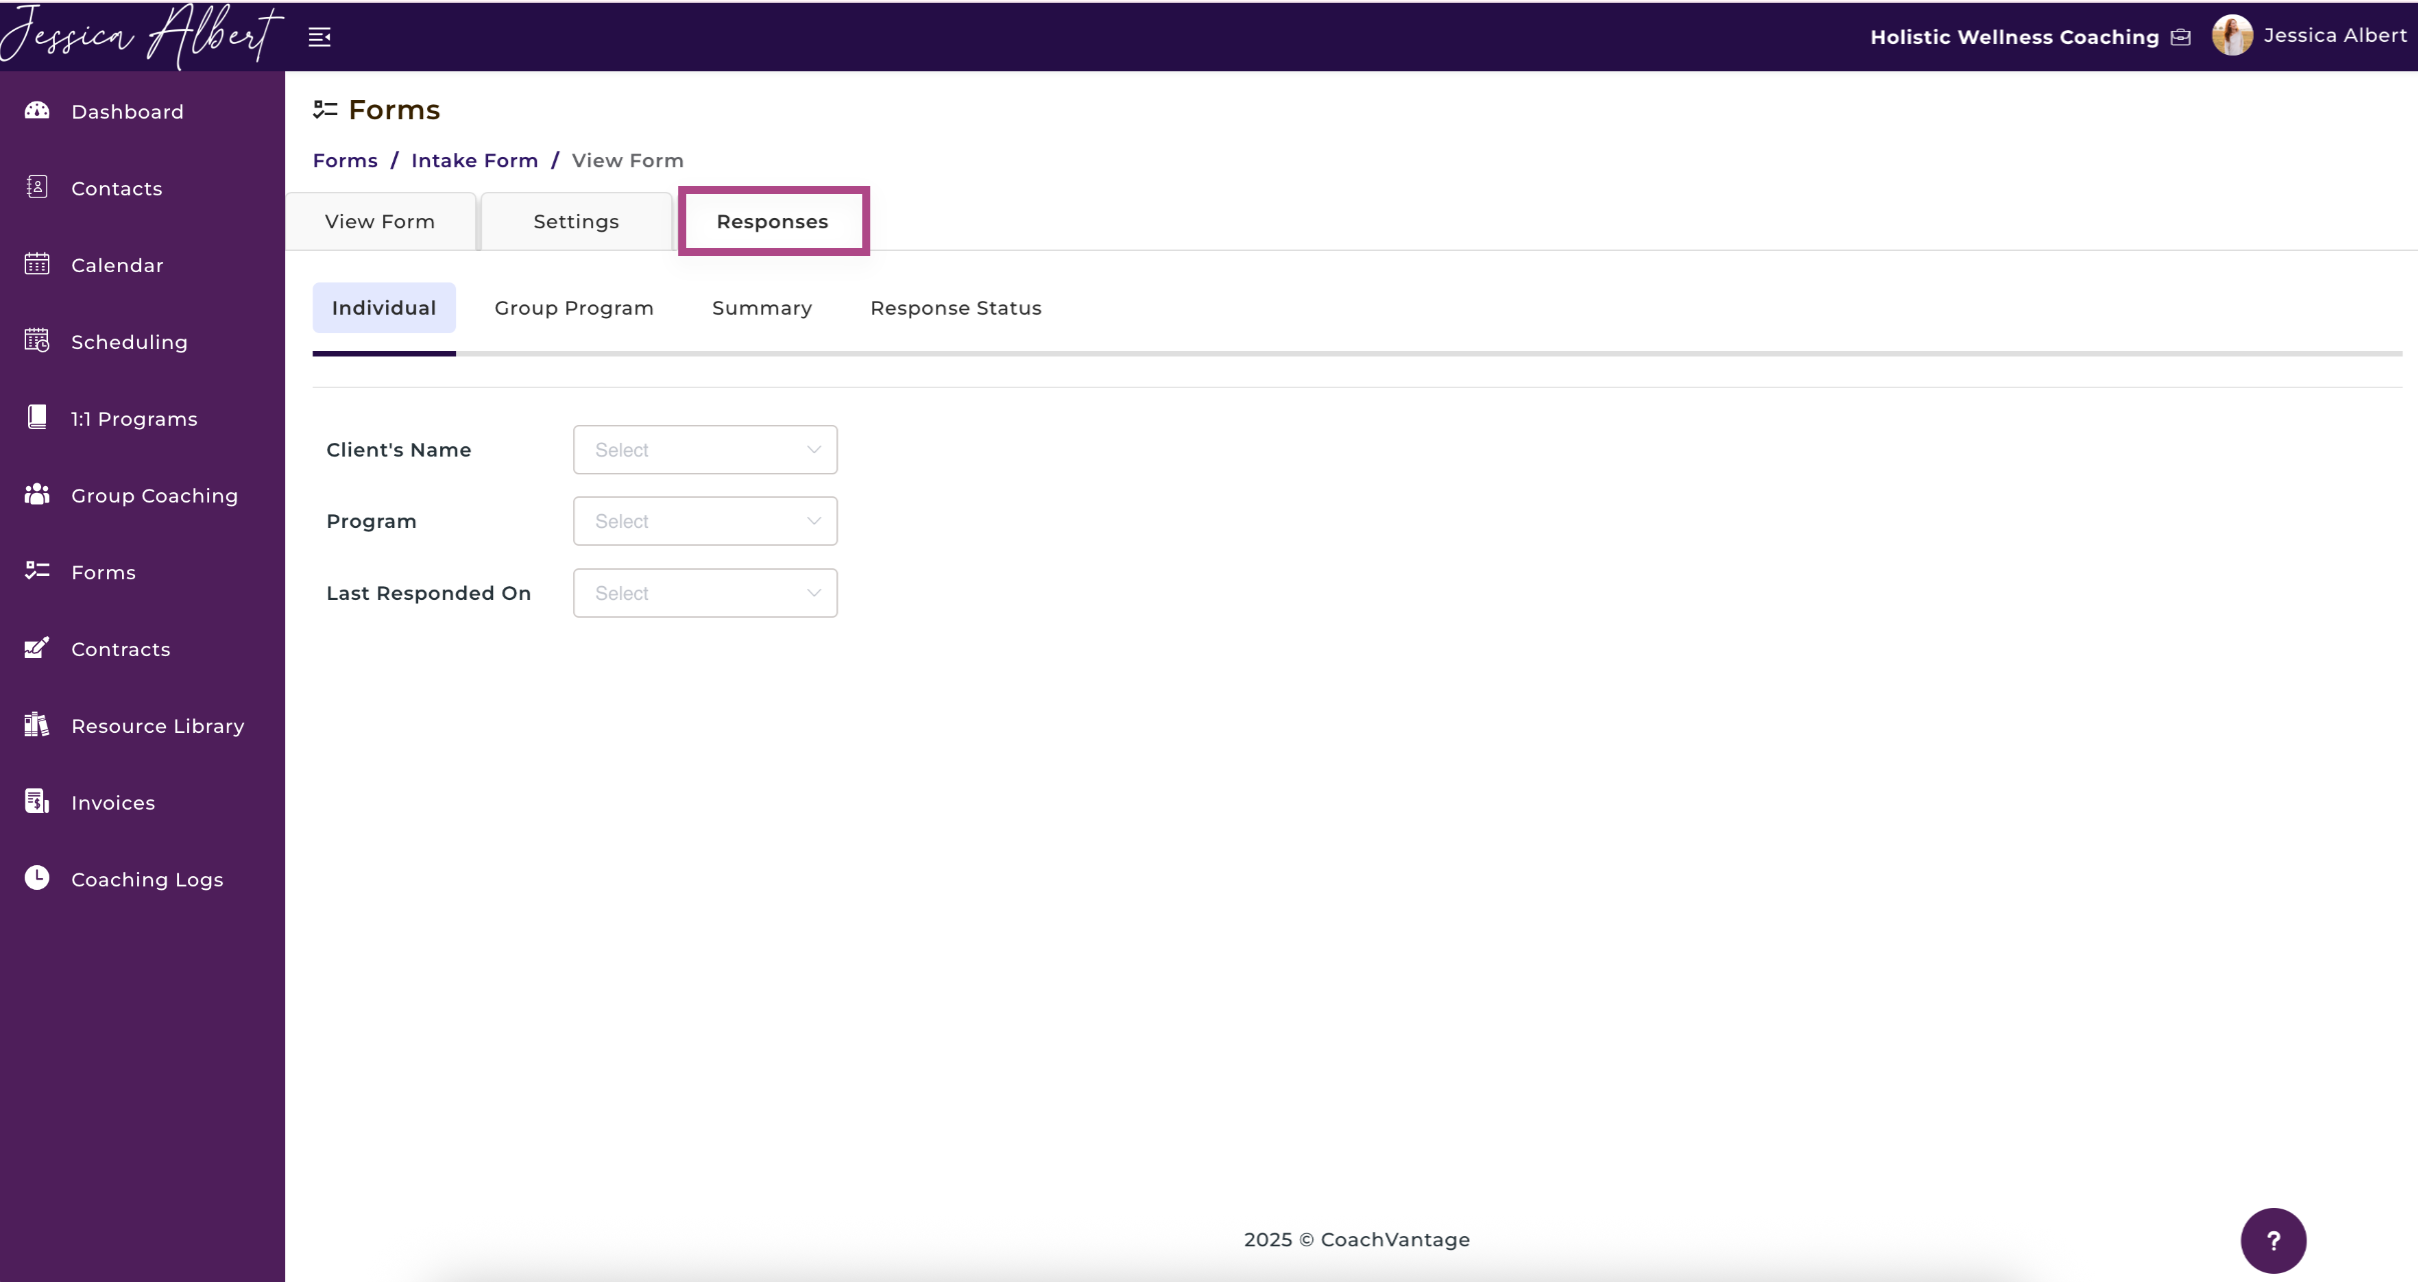
On each form card, the number of responses received is indicated under Responses. Click on the number to view the form responses.

You'll then be redirected to the Responses page as shown below.
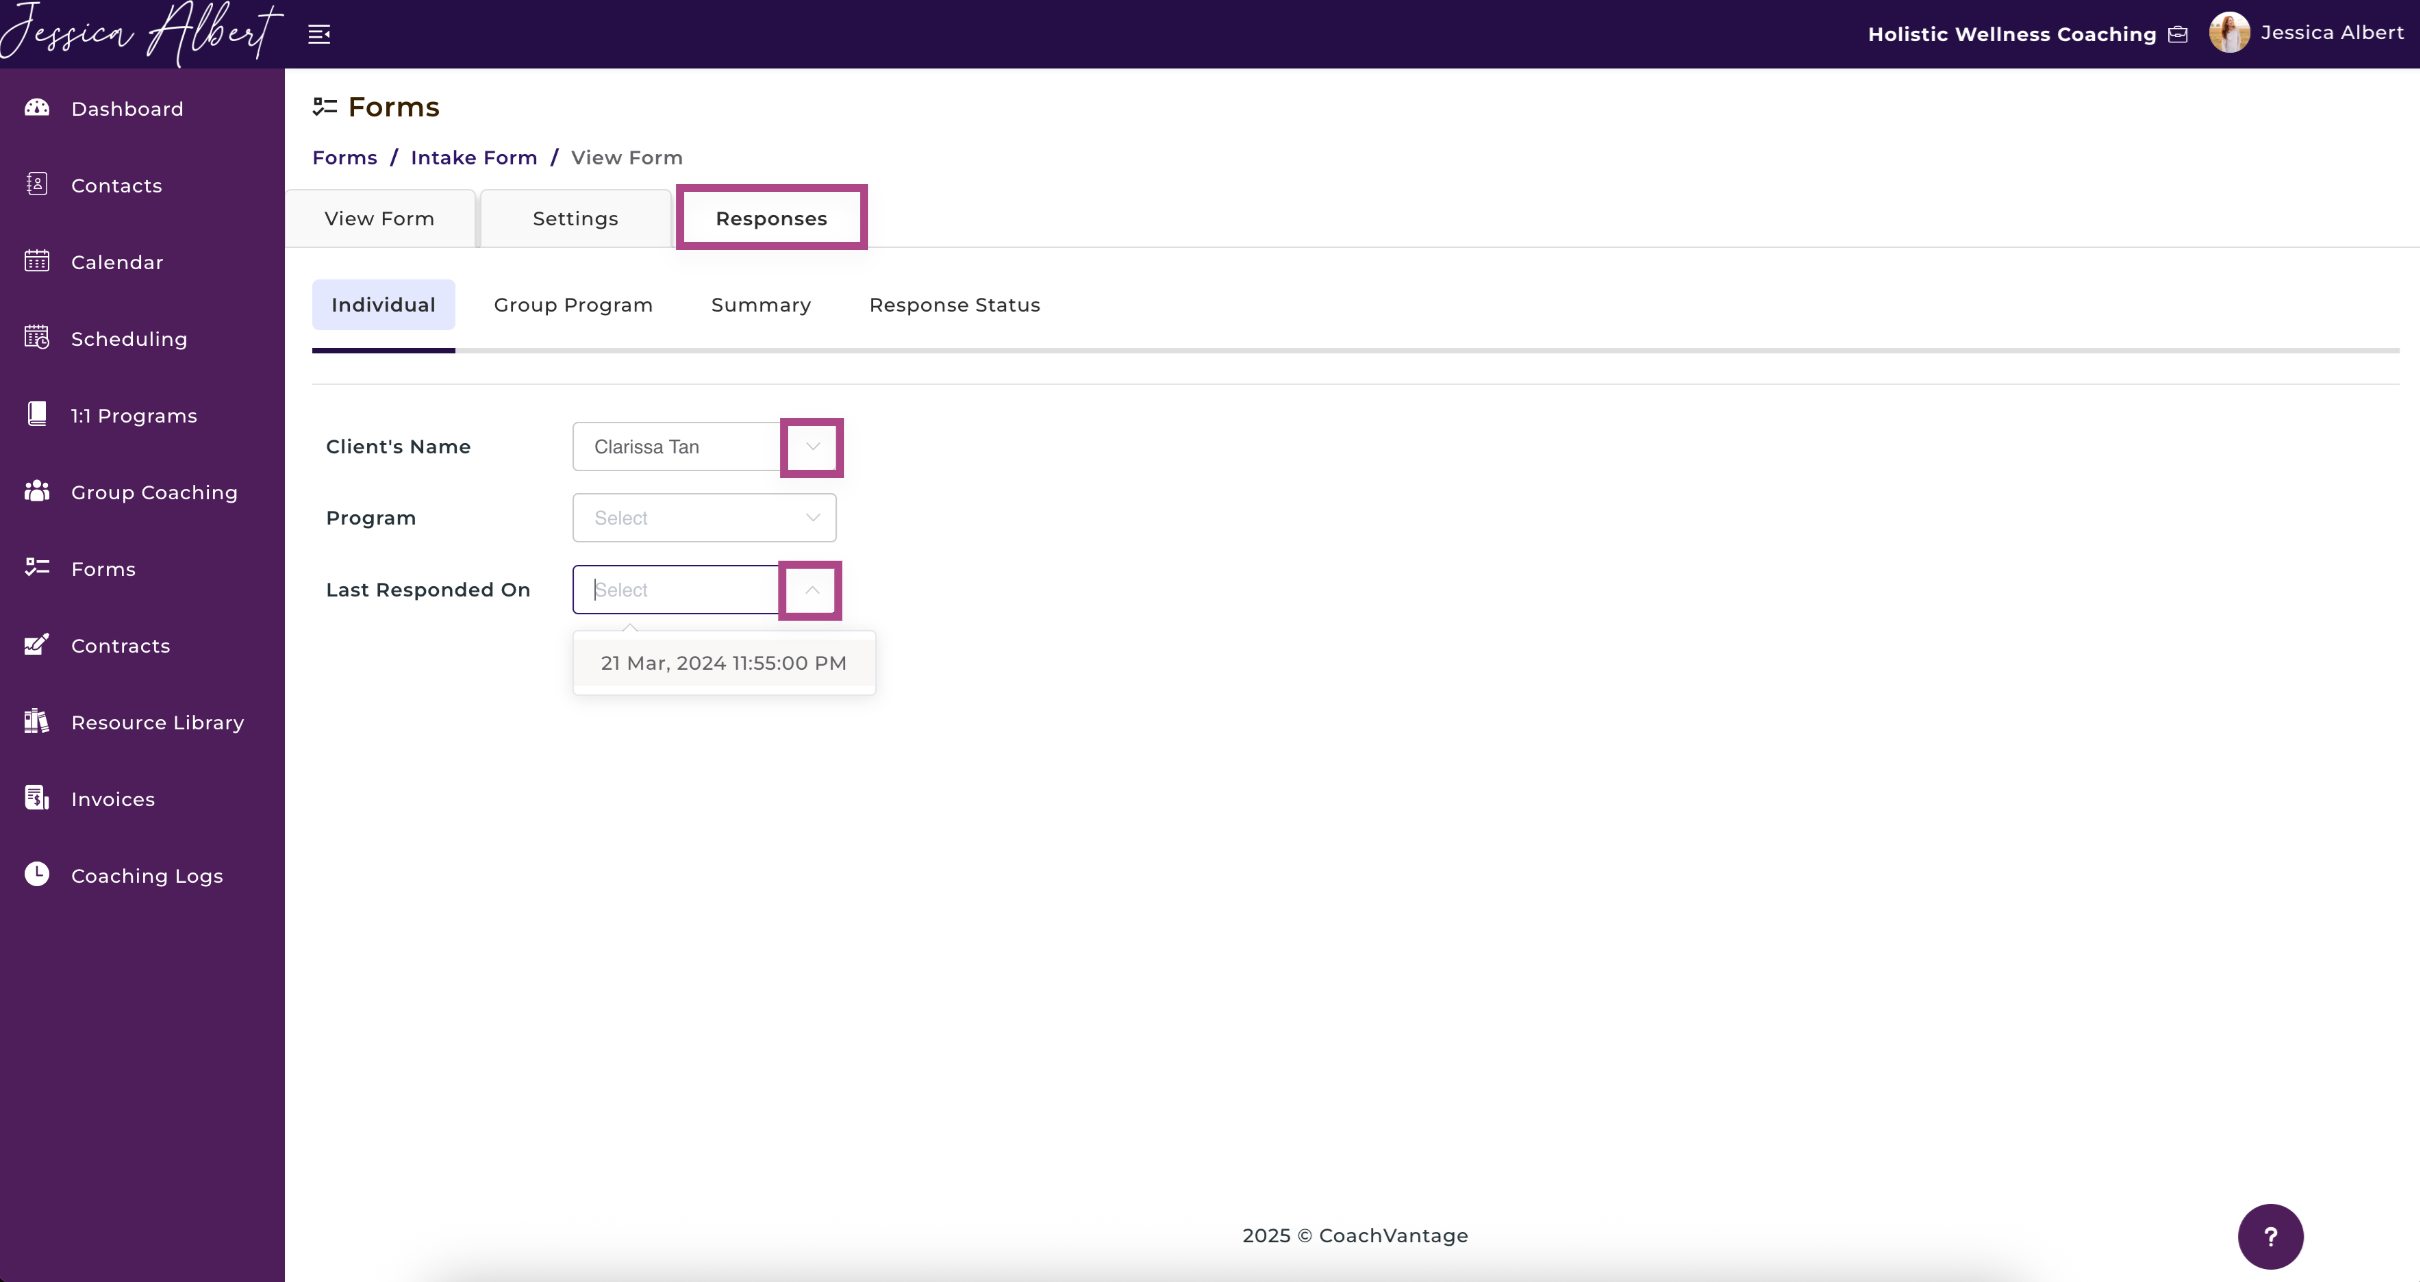
To view individual responses, select the Client's Name, Program and Last Responded on from the dropdown as shown below.
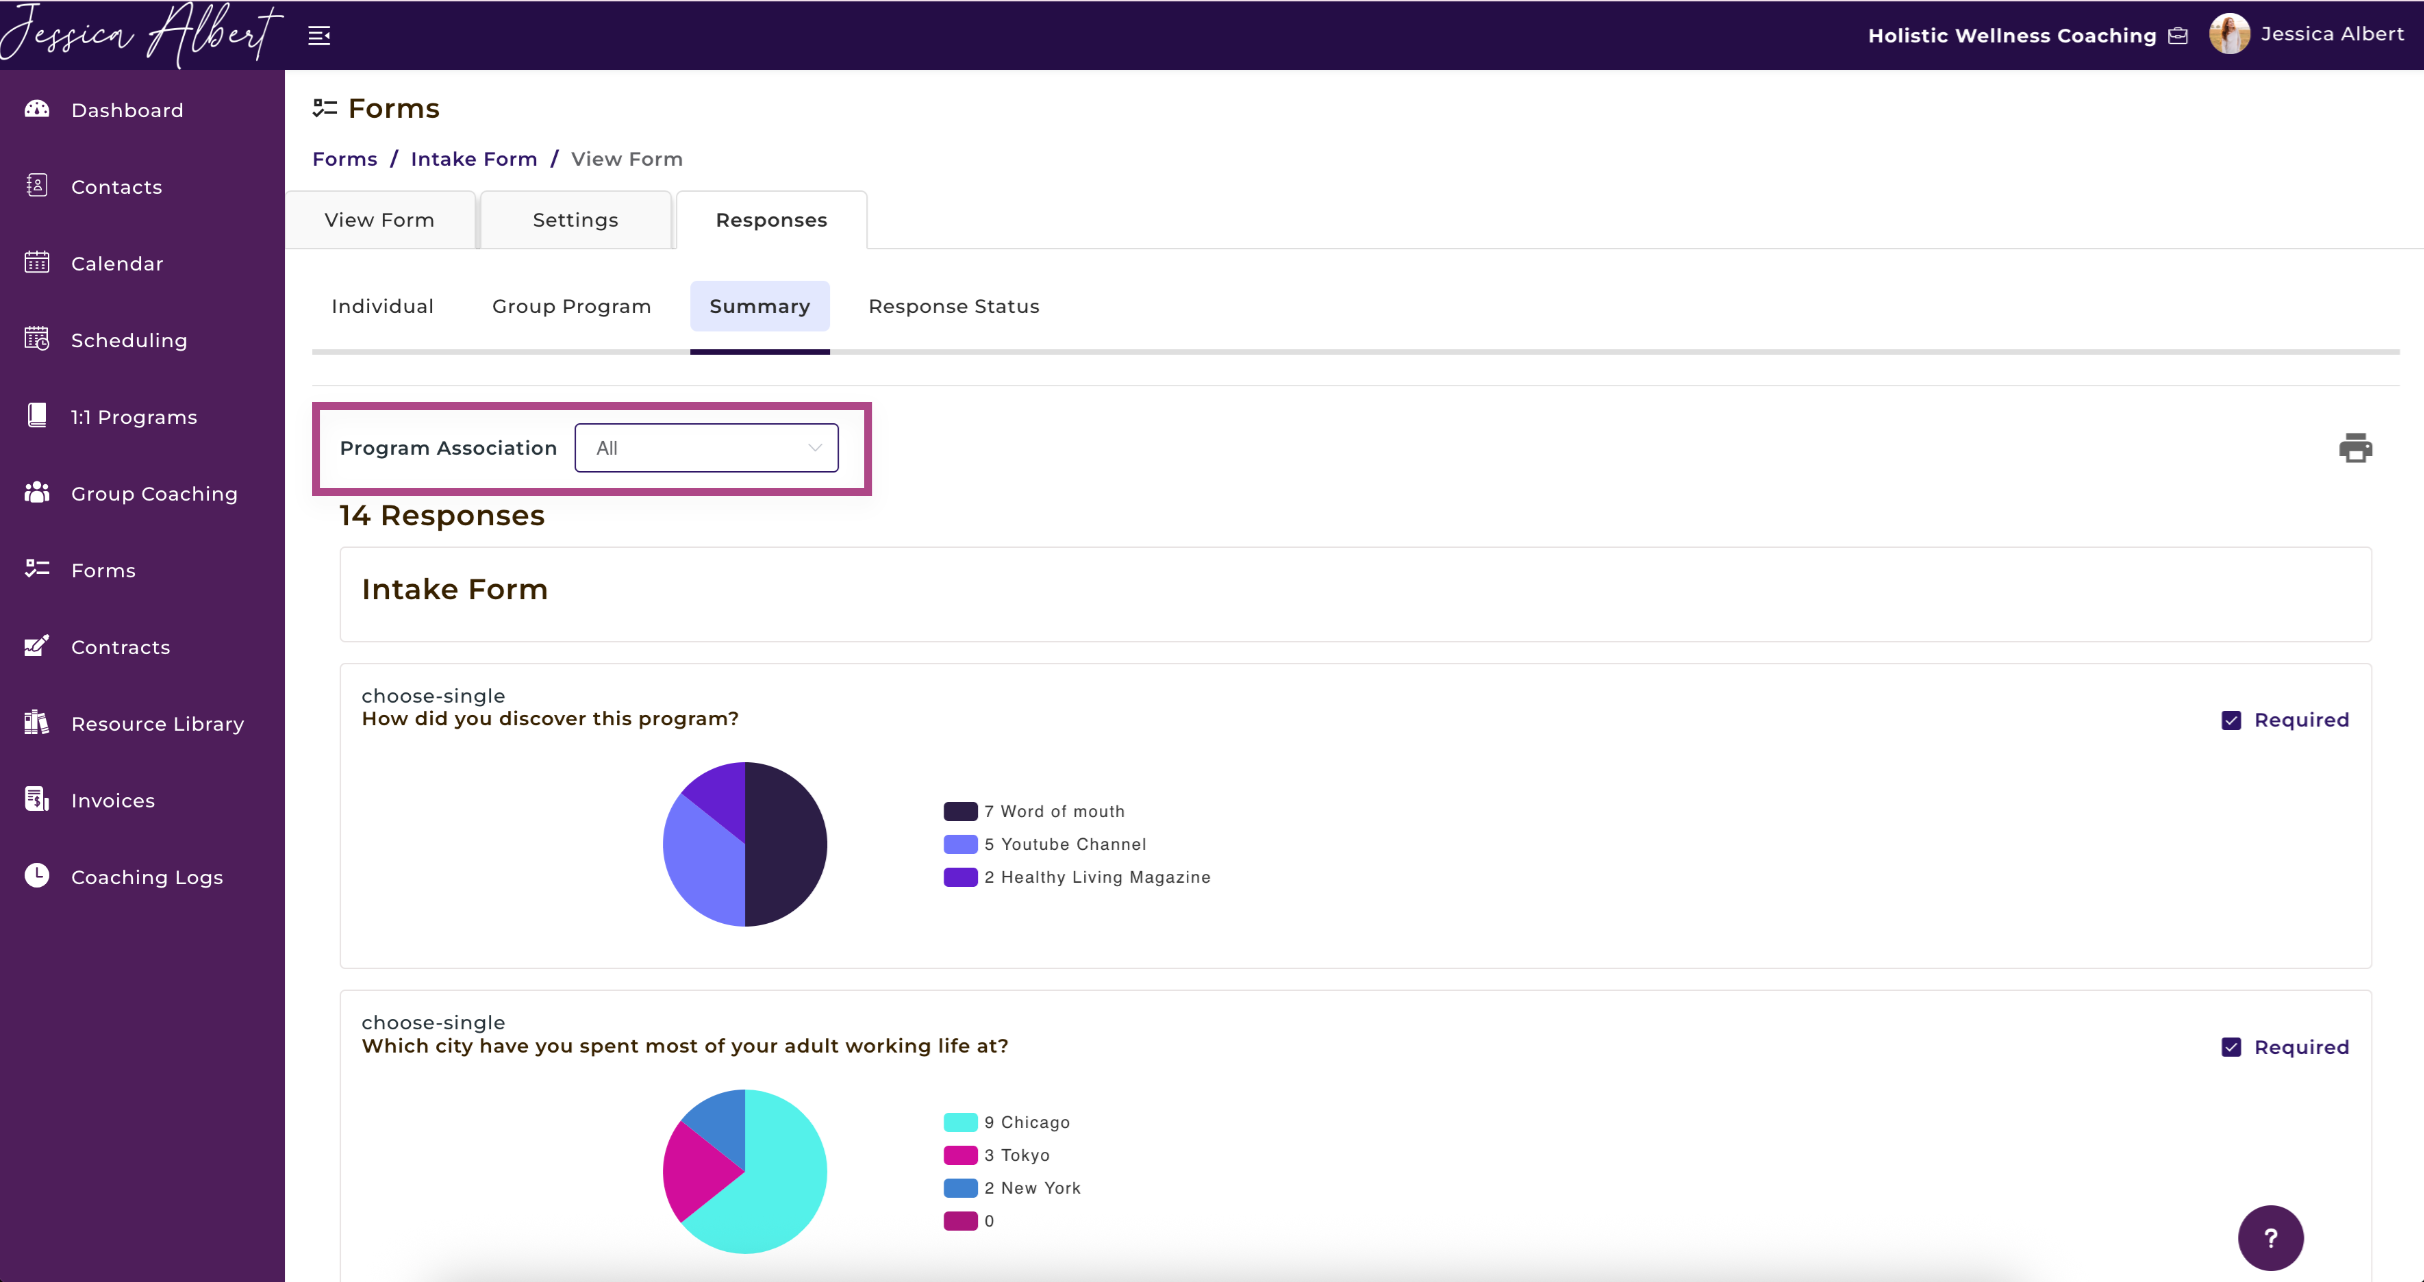
You can also view a Summary of all responses. This presents the data in an aggregated view, including pie charts and bar graphs.
View all responses for a specific coaching program by using the dropdown selector as shown below. You can also select No Association to view the aggregated responses of ad hoc forms.
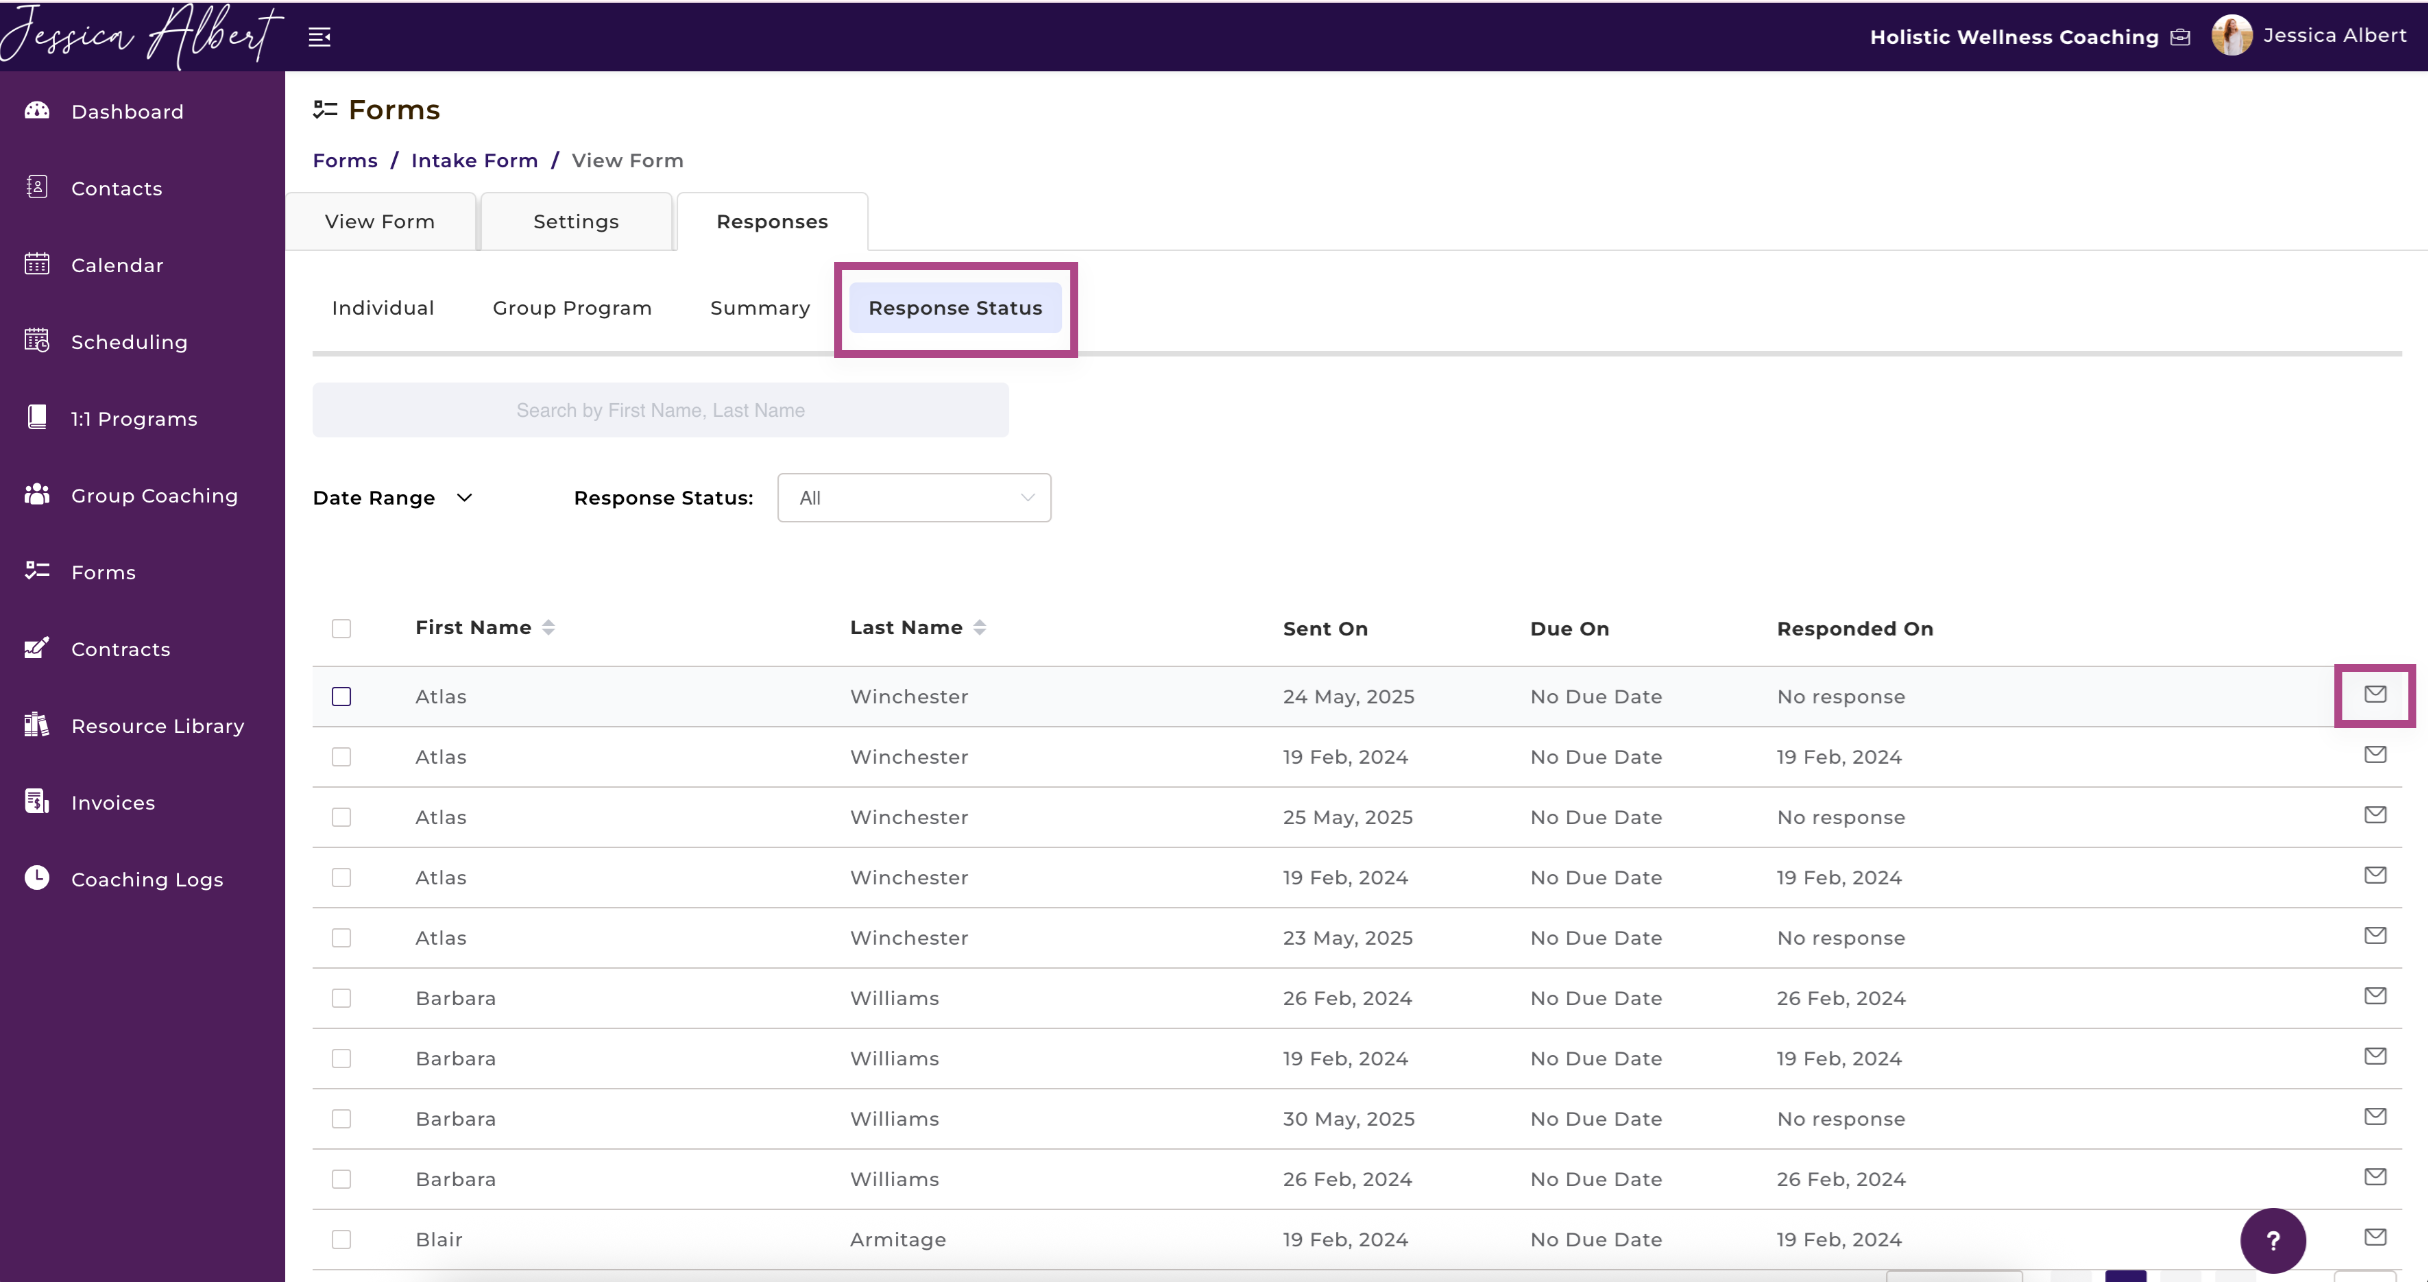
Check the Response Status tab to see which of your clients have responded or have yet to respond to the form.
You can send them a reminder to provide their response, by clicking on the Mail Icon. ✉️