Resource Library - Files & Templates
Resource Library Overview 📚
The Resource Library is your one-stop-shop where all frequently used files, folders, videos, images, etc, for your business and coaching engagements can be uploaded and stored. It's also where you can create Note Templates to use during your coaching engagements.
The Resource Library helps you to manage your coaching business files and documents in one place - CoachVantage - instead of searching through a stack of files on your PC or cloud storage tools.
When you upload documents to your Resource Library, you'll be able to easily view or retrieve important business documents anytime you need to. Your documents are stored securely in the CoachVantage 'cloud' servers, so you never lose them!
Should you need to share documents with your clients, you can easily do so from the Resource Library. Rather than sending emails with file attachments to clients, you can simply share documents with clients right from your Resource Library. Clients can access documents that you have shared with them from the Client Portal.
Note: In CoachVantage, there are different methods of sharing files with your clients, depending on your needs. Refer to this article on How To Share Files With Clients to learn more.
Tip: If you would like to share files with a client for a specific coaching program, refer to this article: Programs On Individual Contact Record Page.
IMPORTANT: You can only share files with clients if they have an active client portal.
Note: Your clients also have access to their own Resource Library in the client portal. They, too, can upload files in their Resource Library. They can upload files for their own reference and they can also share files with you.
To get to the Resource Library Page, click Resource Library on the left menu.
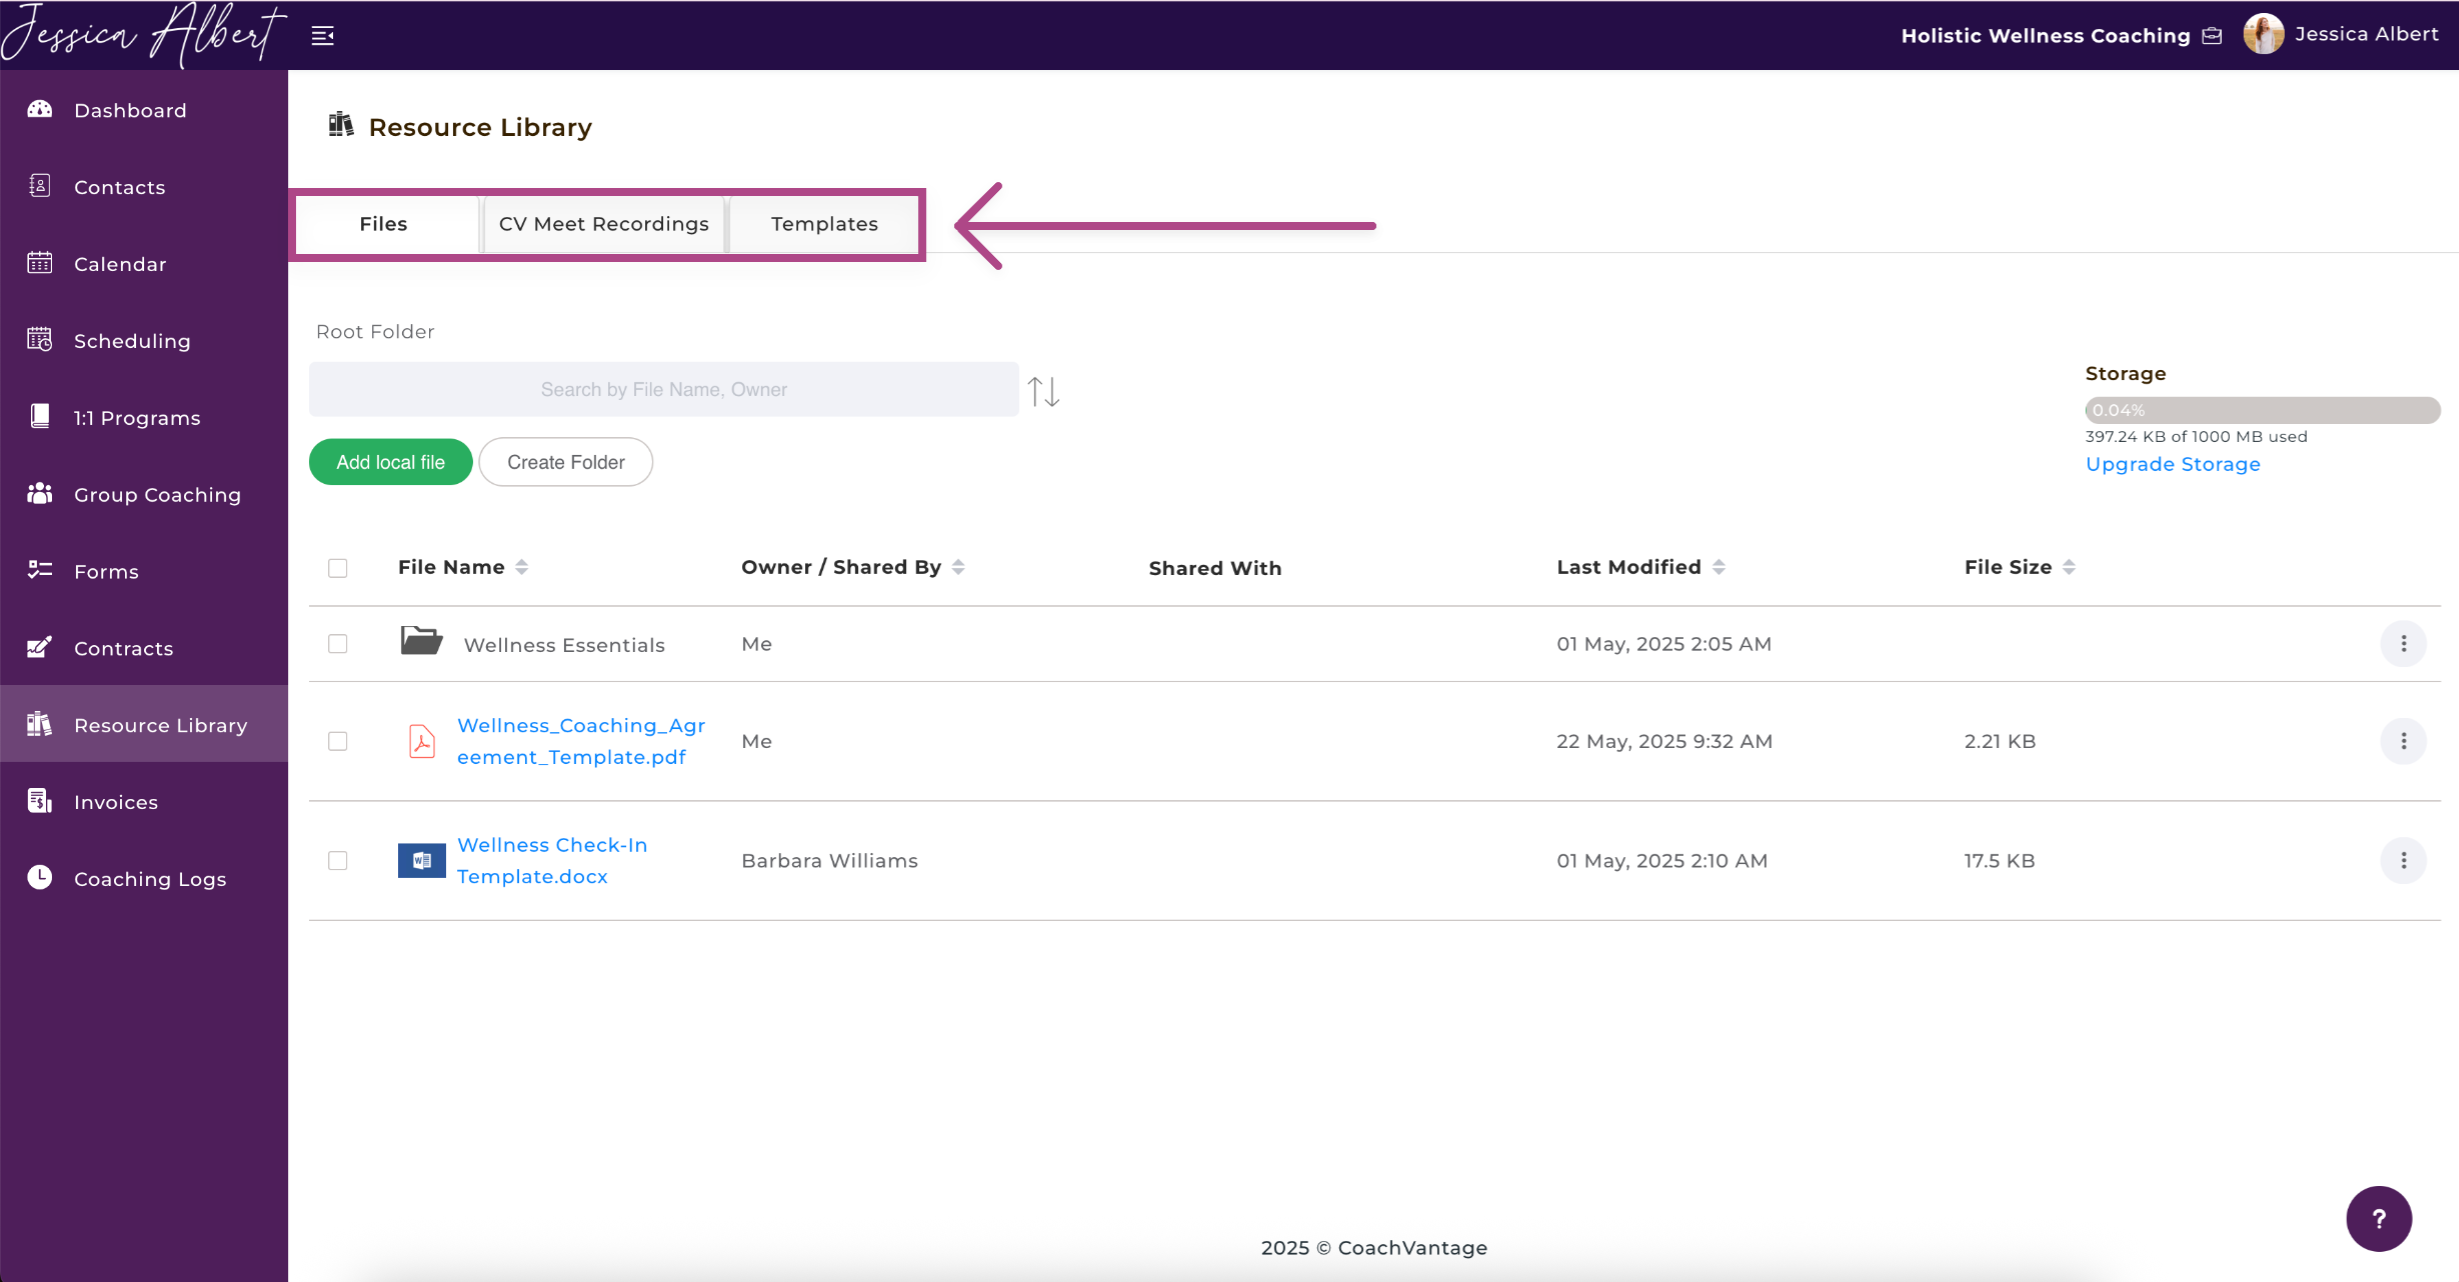
On the Resource Library Page, you'll see the following 3 tabs:
Files 🗂️
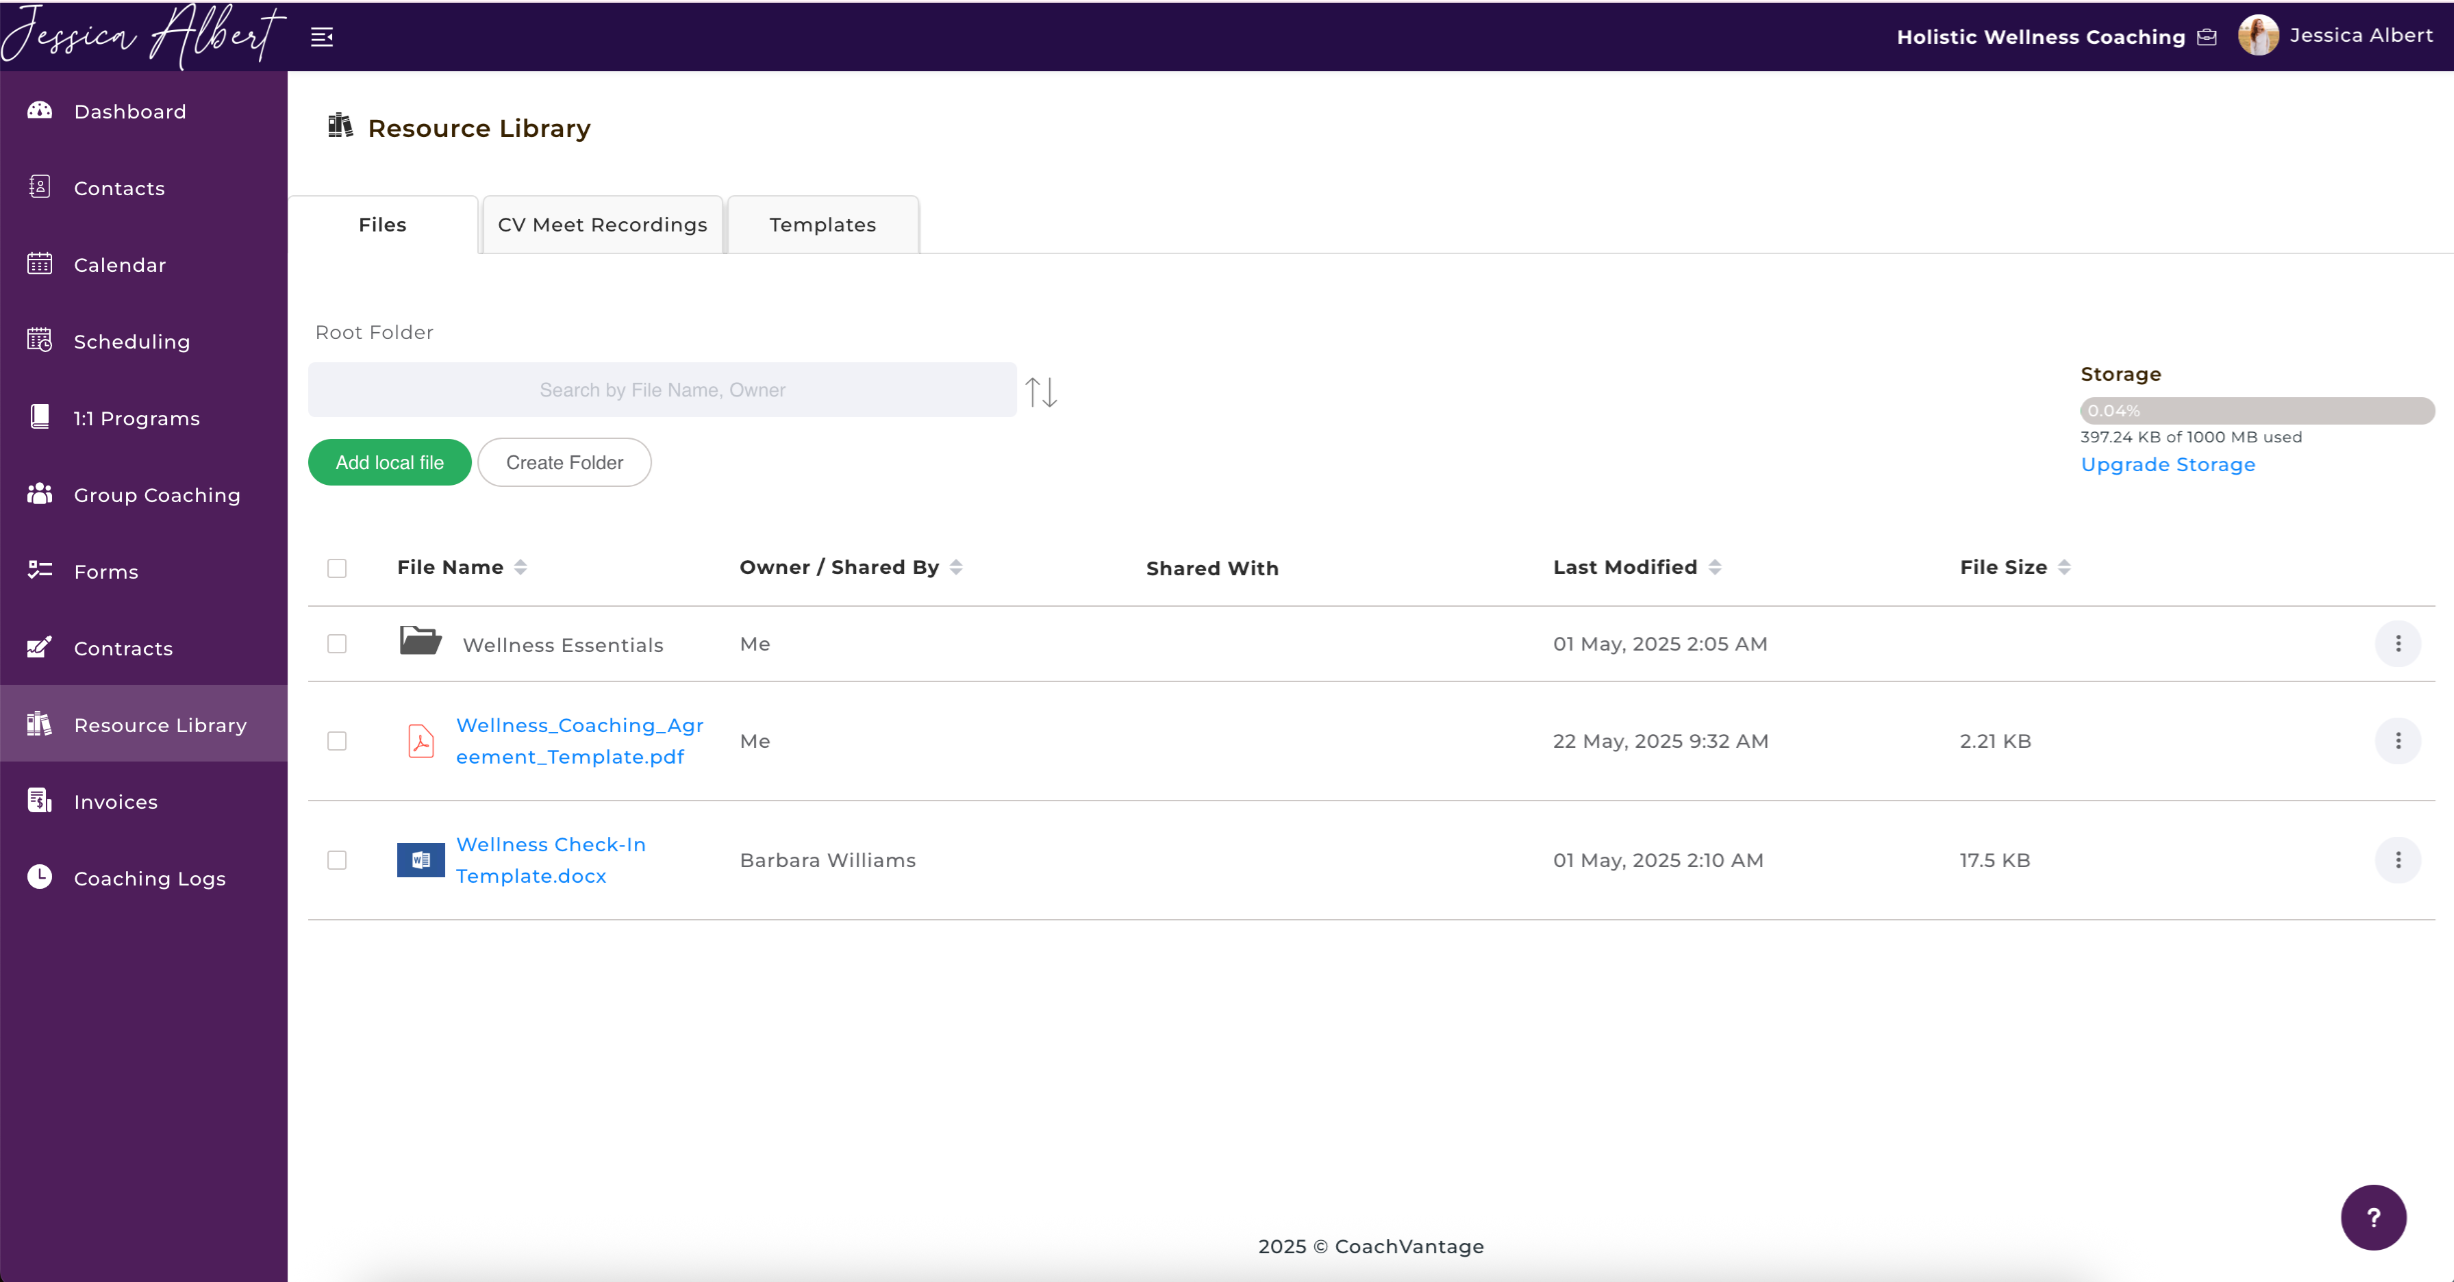
The Resource Library is your secure online data repository within your CoachVantage account. It's where you can upload files and documents for your business and coaching needs.
Files that you upload can be for your reference only, or they can be shared with clients. It's easy to share files with clients from the Resource Library. Clients can easily access shared files from the client portal.
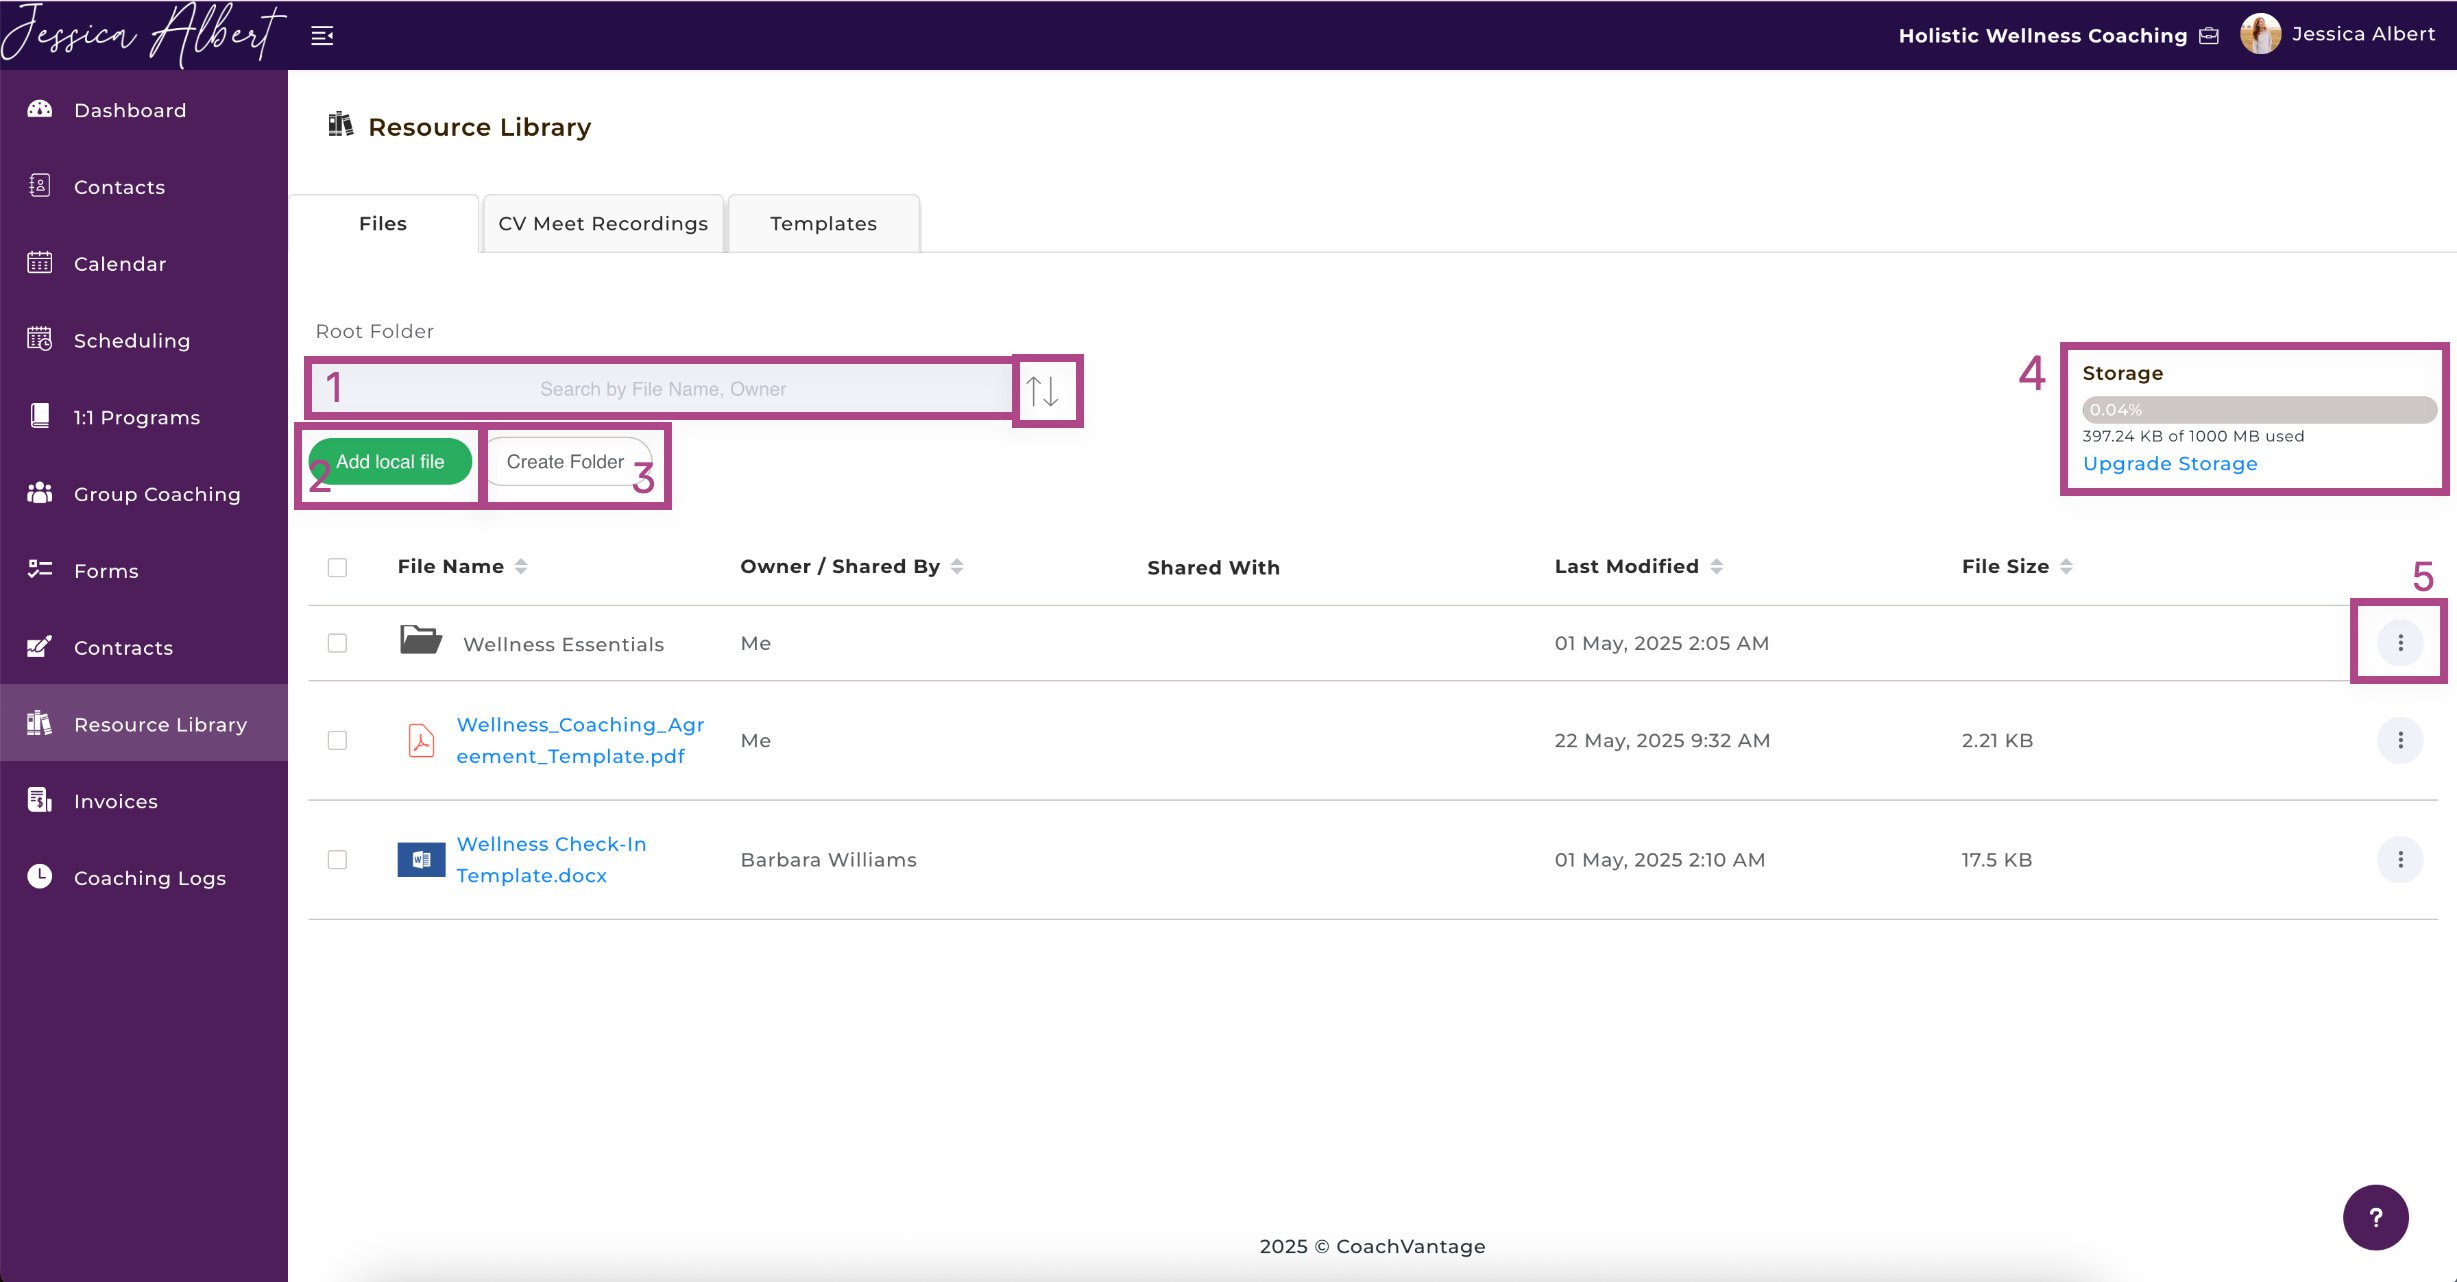
1. Search Bar & Sort Icon 🔎
You can use the search bar and type in the name of the files you're looking for.
Click on the Sort Icon (up/down arrows) to sort your files by alphabetical order or the recency of the event.
2. Add File
Files can be uploaded to the Resource Library using the Add Local File button. Files can be anything from Word documents and .pdfs and .xlsx files, to images (.png, .jpg, .gif, etc.), audio and video files (.mp4, .wav, etc).
Clicking on the Add Local File button opens the drag & drop any files window (also known as the Upload Widget).
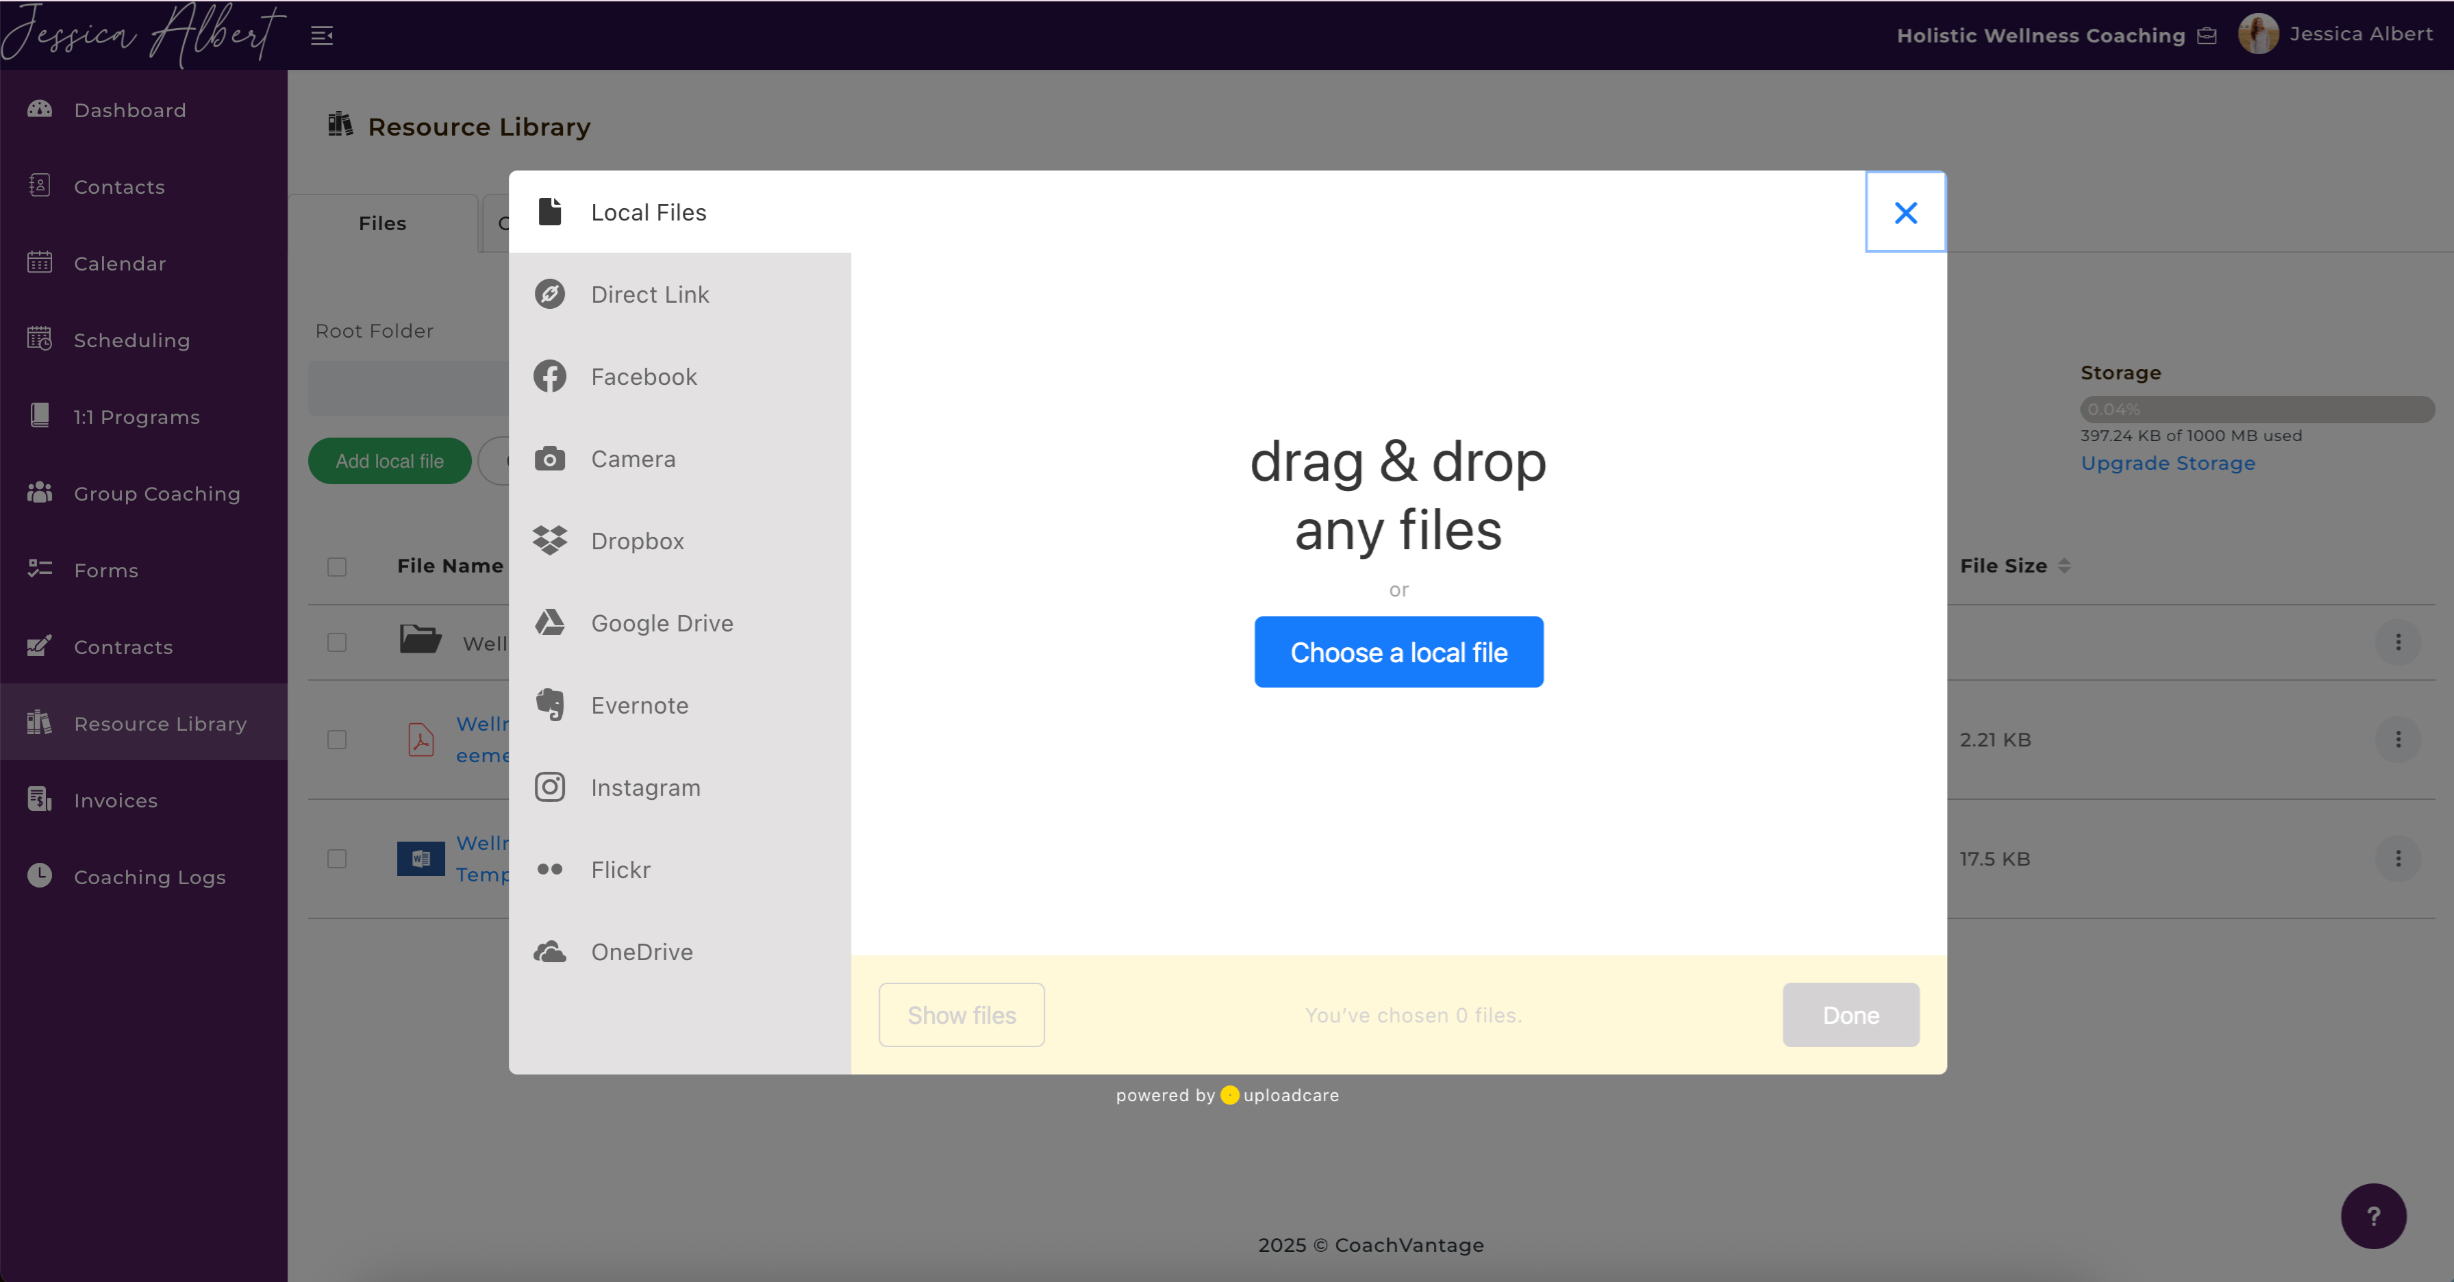
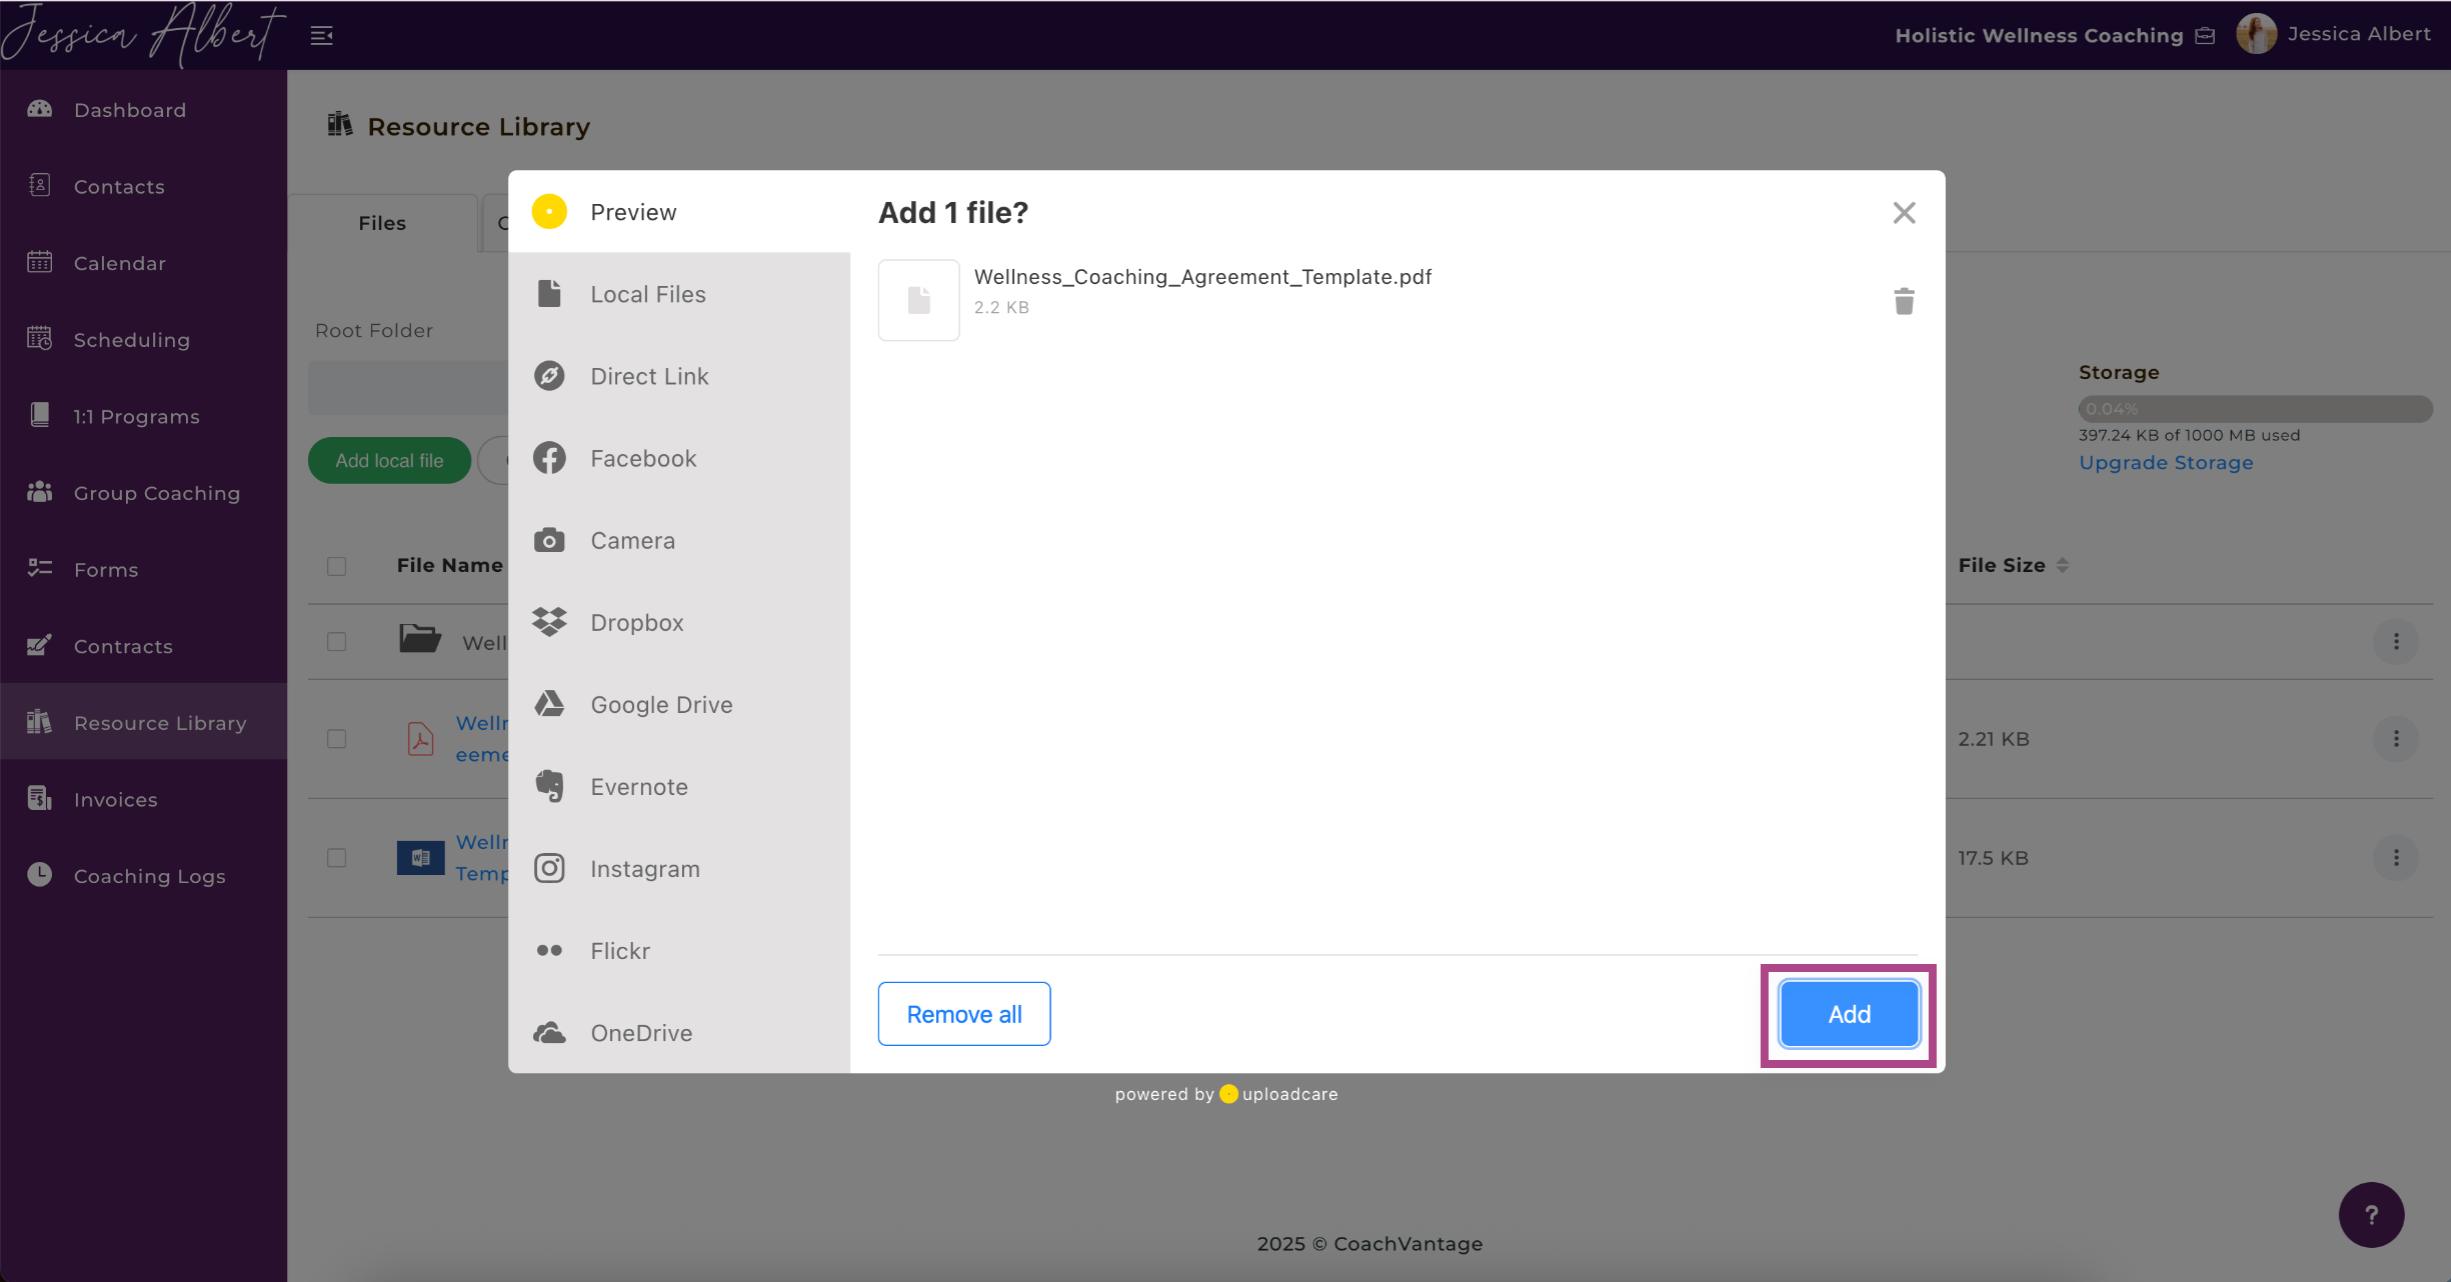
Select the files from the external source of your choice, wait for the file to complete uploading, then click the Add button to upload the file to your Resource Library.
Tip: You can also select several files and upload all of them simultaneously.
3. Create Folder
Folders can be created by using the Create Folder button. The Create Folder pop-up opens.
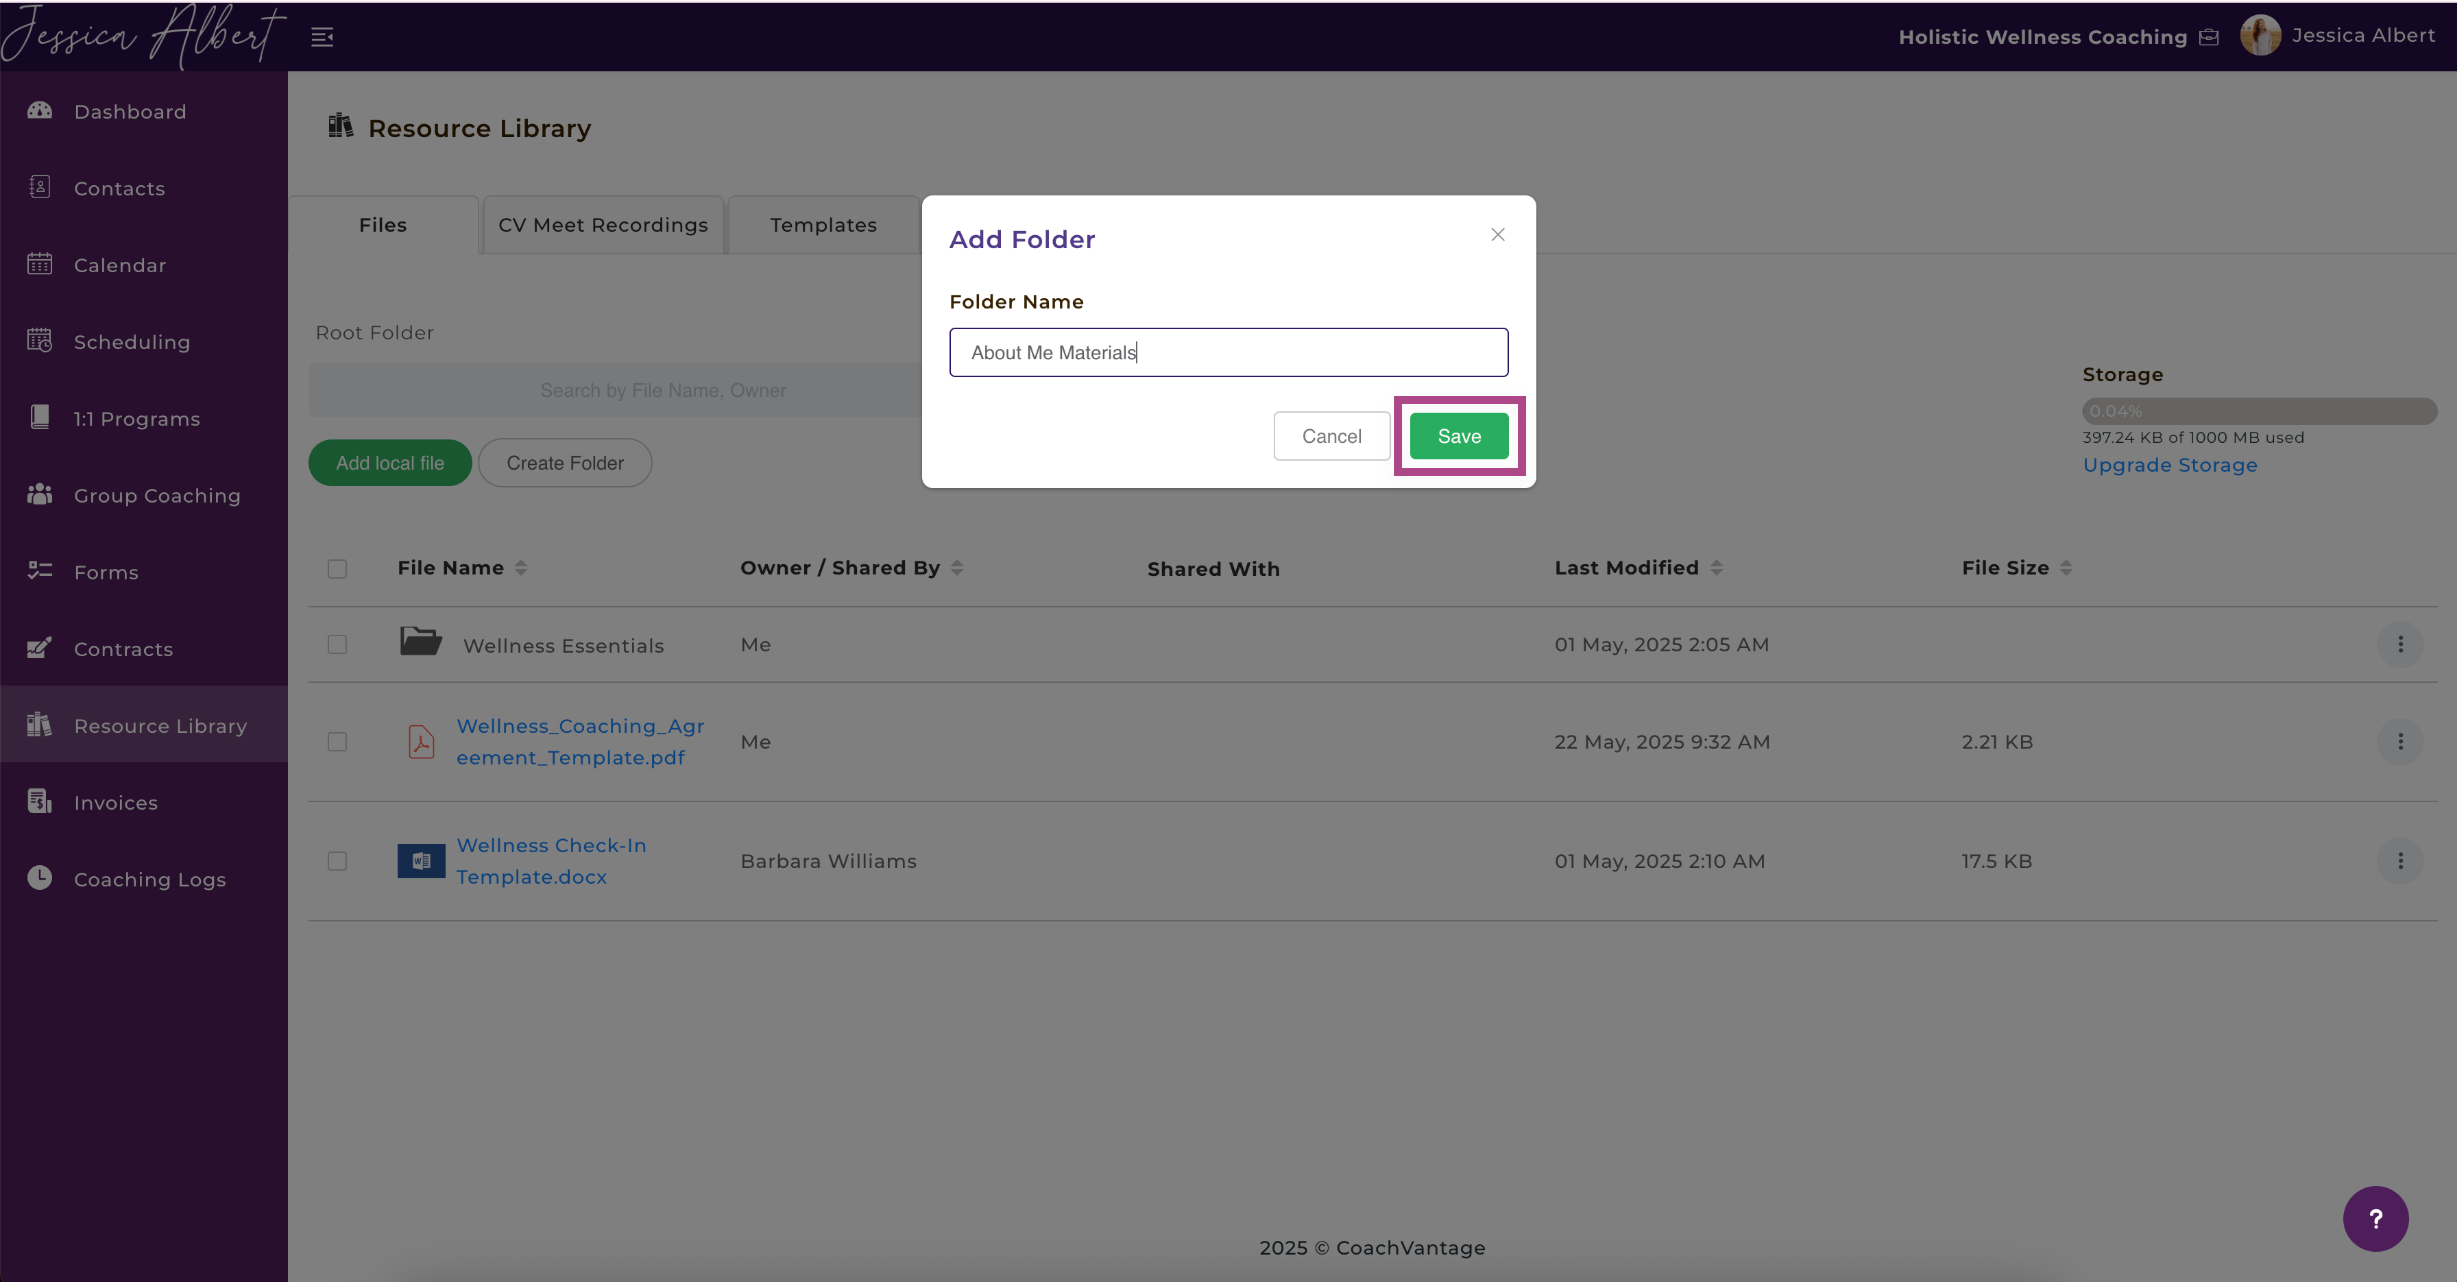
Type in the name of the folder and click Save.
The folder is now created and displayed with a File icon (see image below).
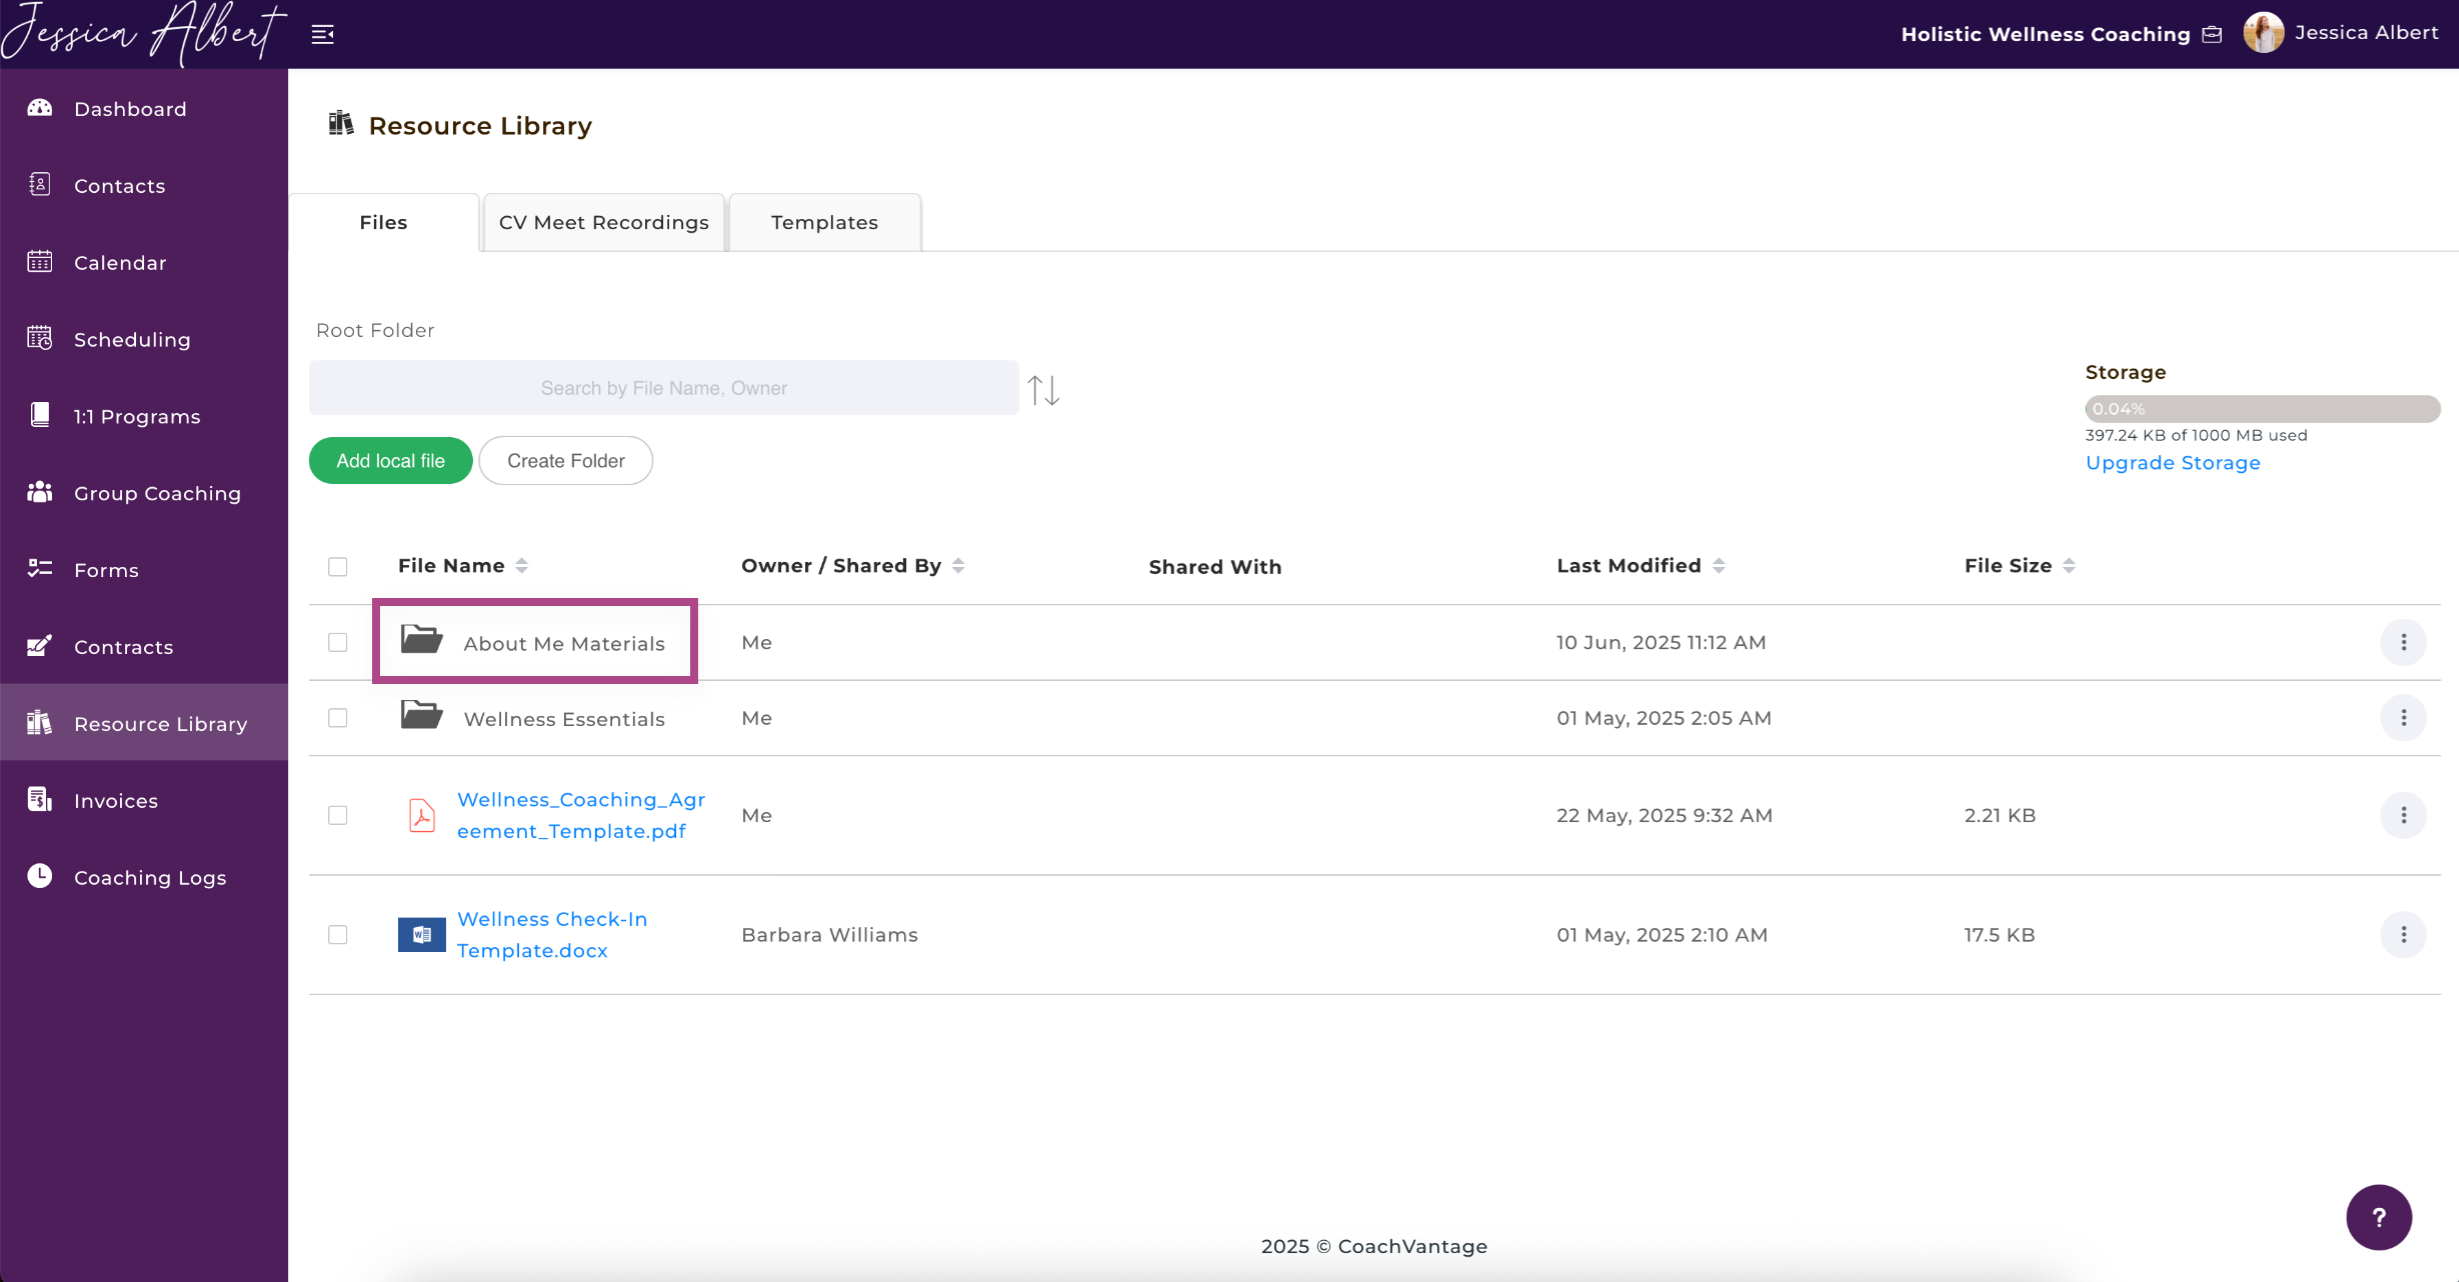
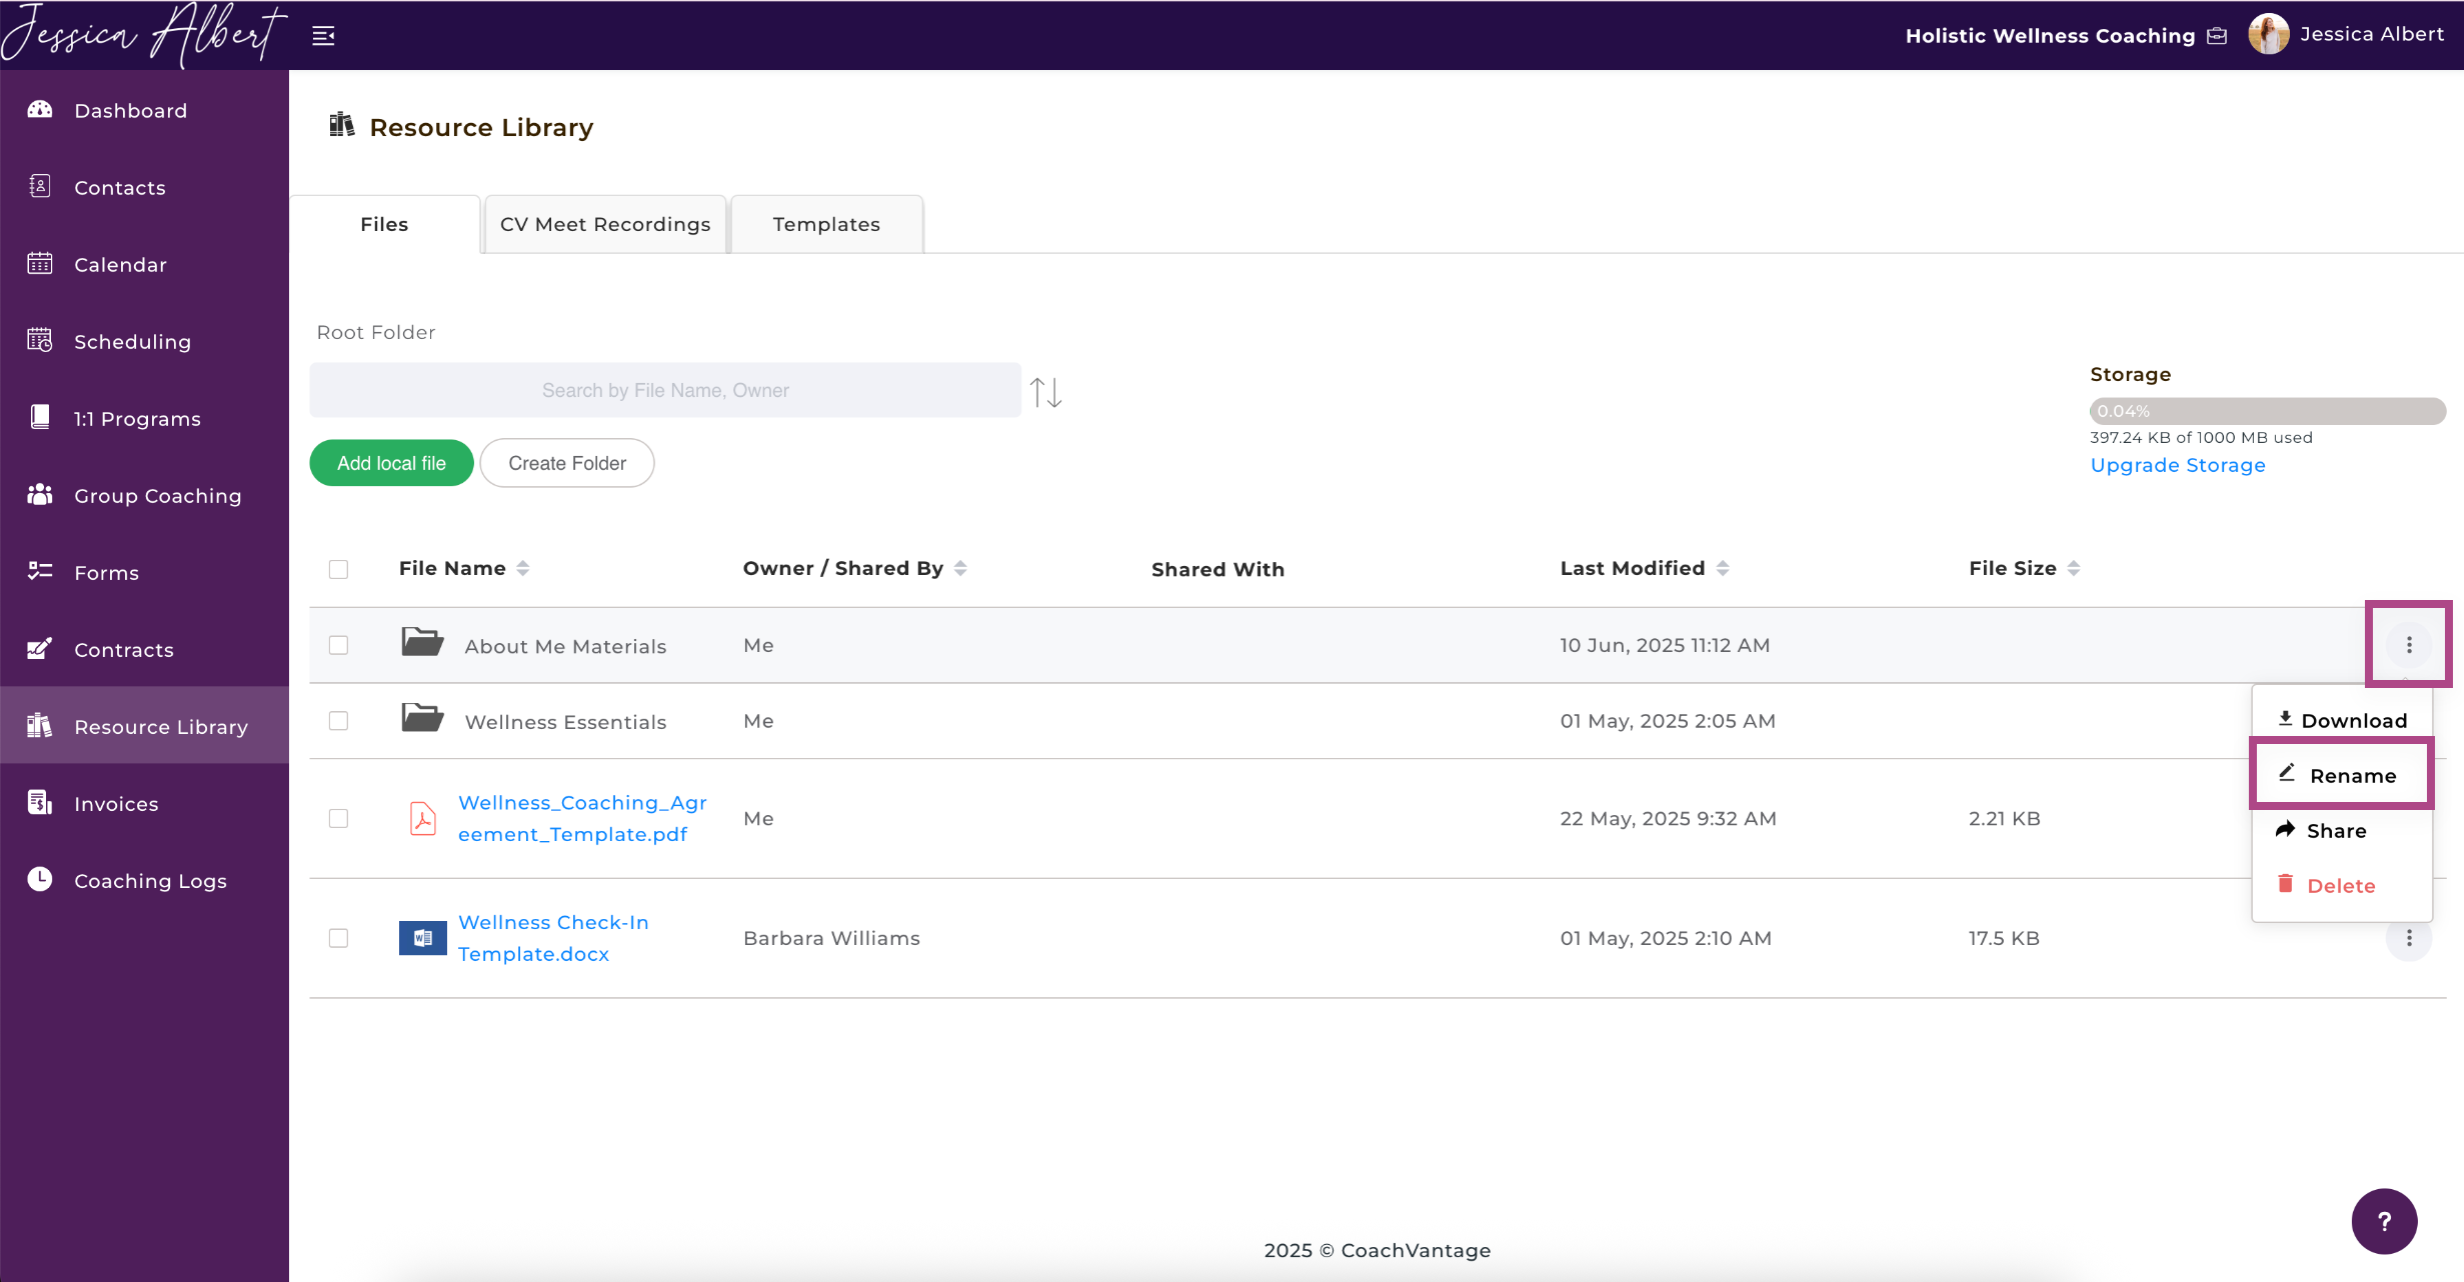
You can always edit the folder name later if you wish. Simply click on the 3-dot button and select Rename.
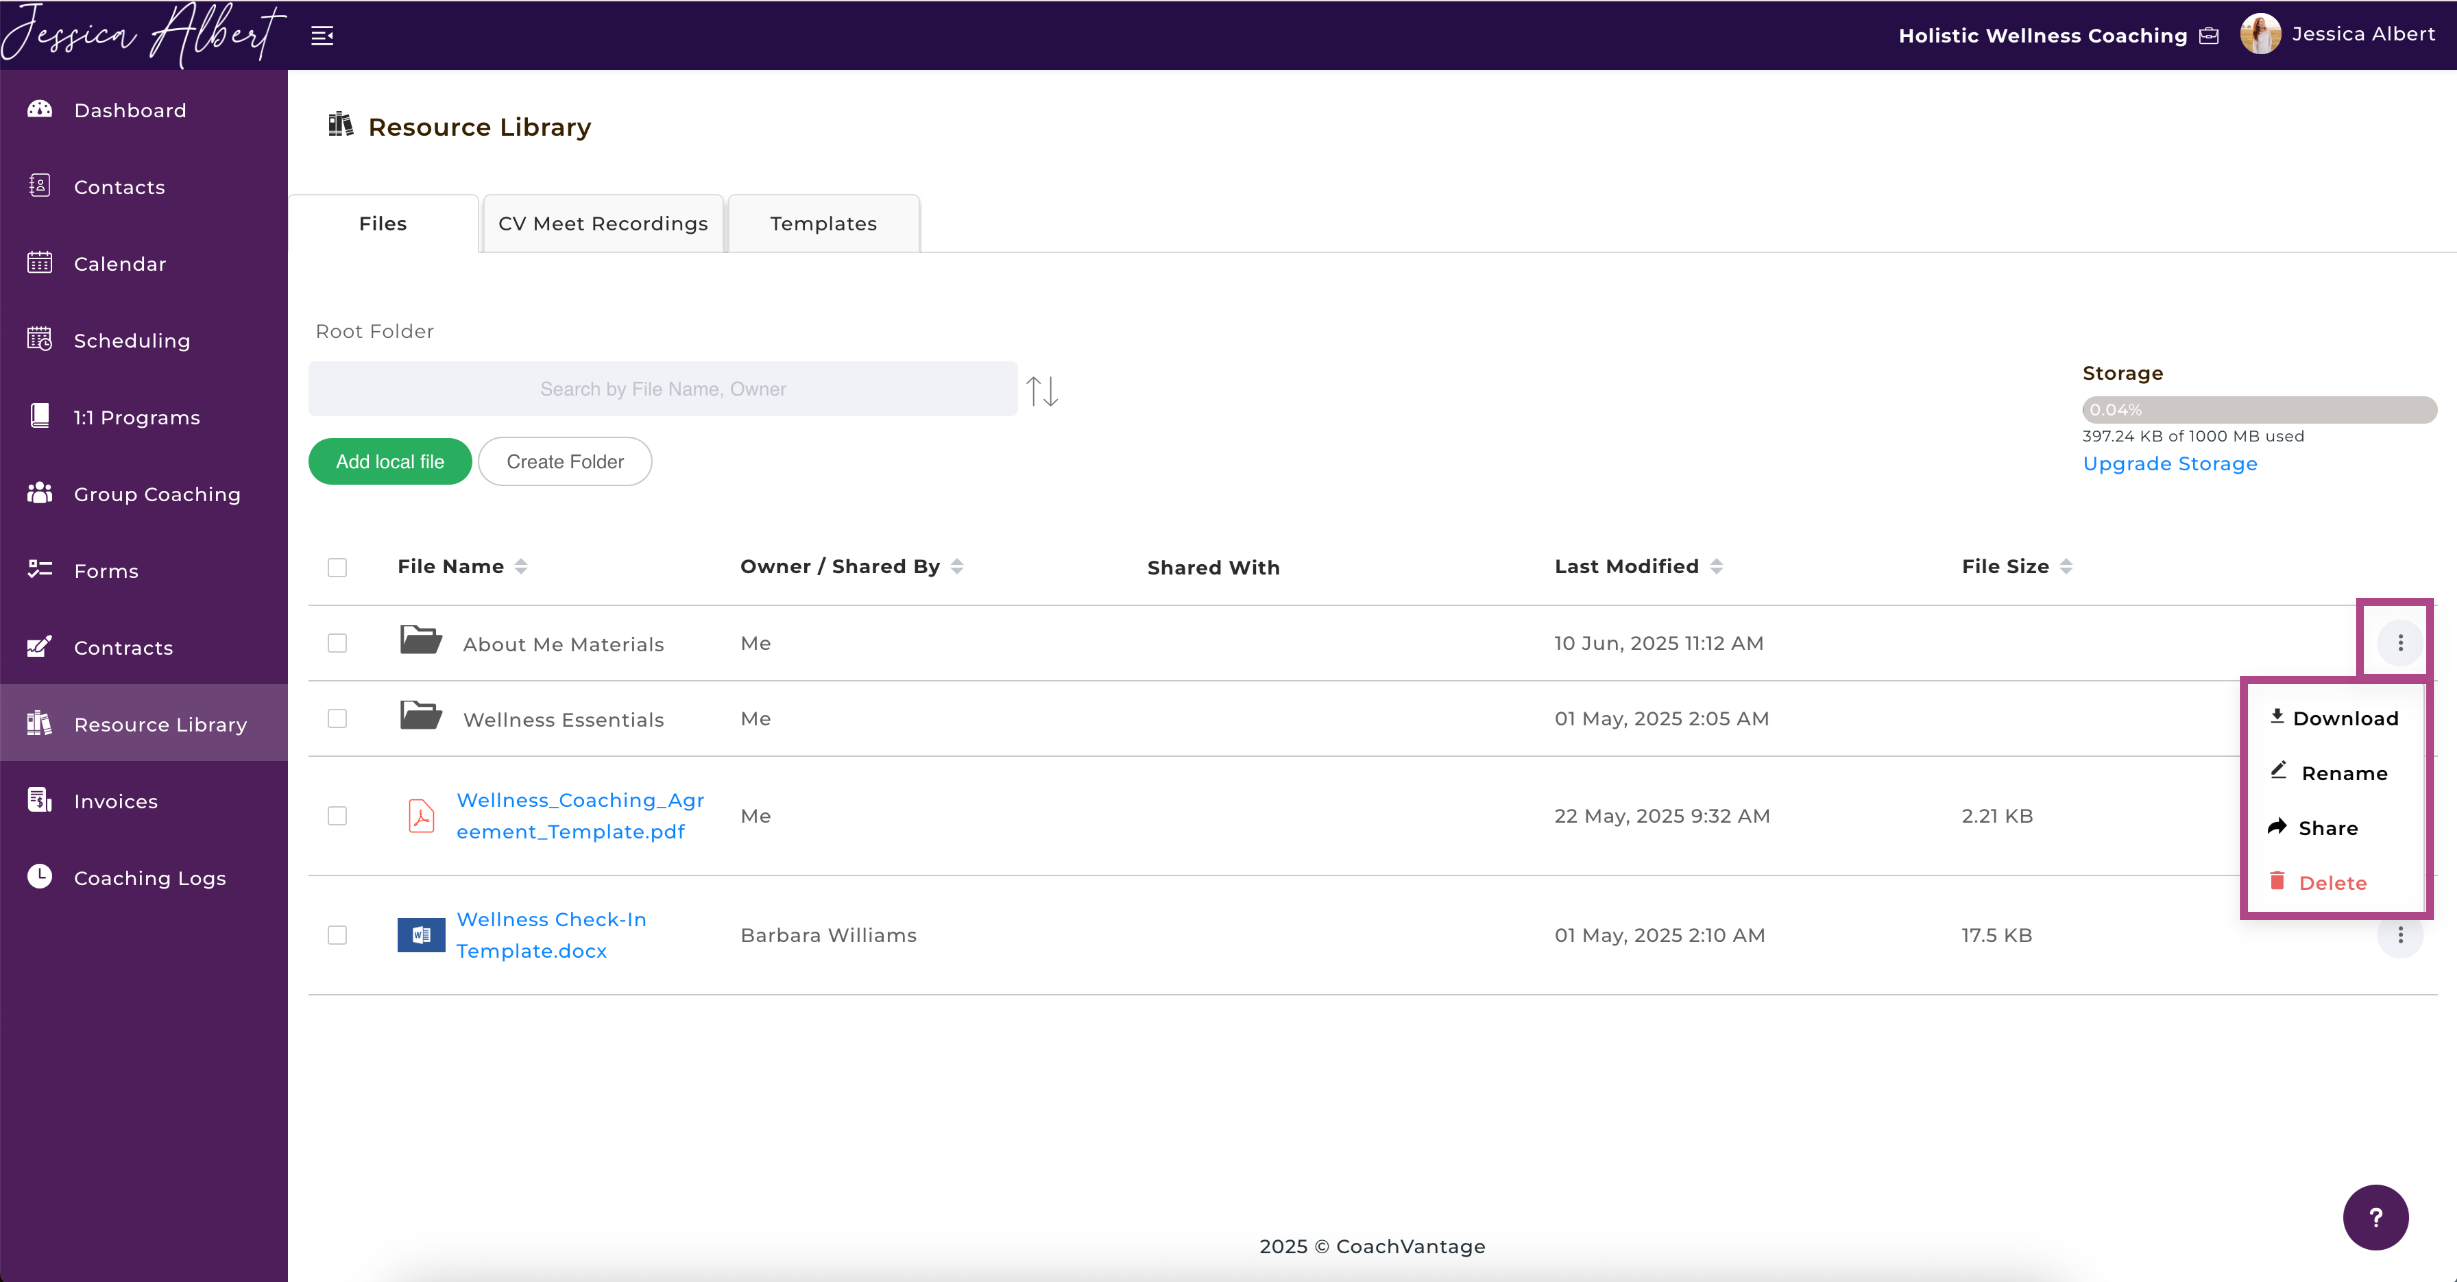
To see files that are contained in folders, you must click on the folder to display the contents. Files contained in a Folder can also be individually downloaded, renamed, moved, previewed, shared or deleted by clicking the button menu on the right side of the file name.
Note: Once a Folder has been created, you can add a Sub-Folder to it, if you wish. Only one (1) sub-folder can be added to a main folder.
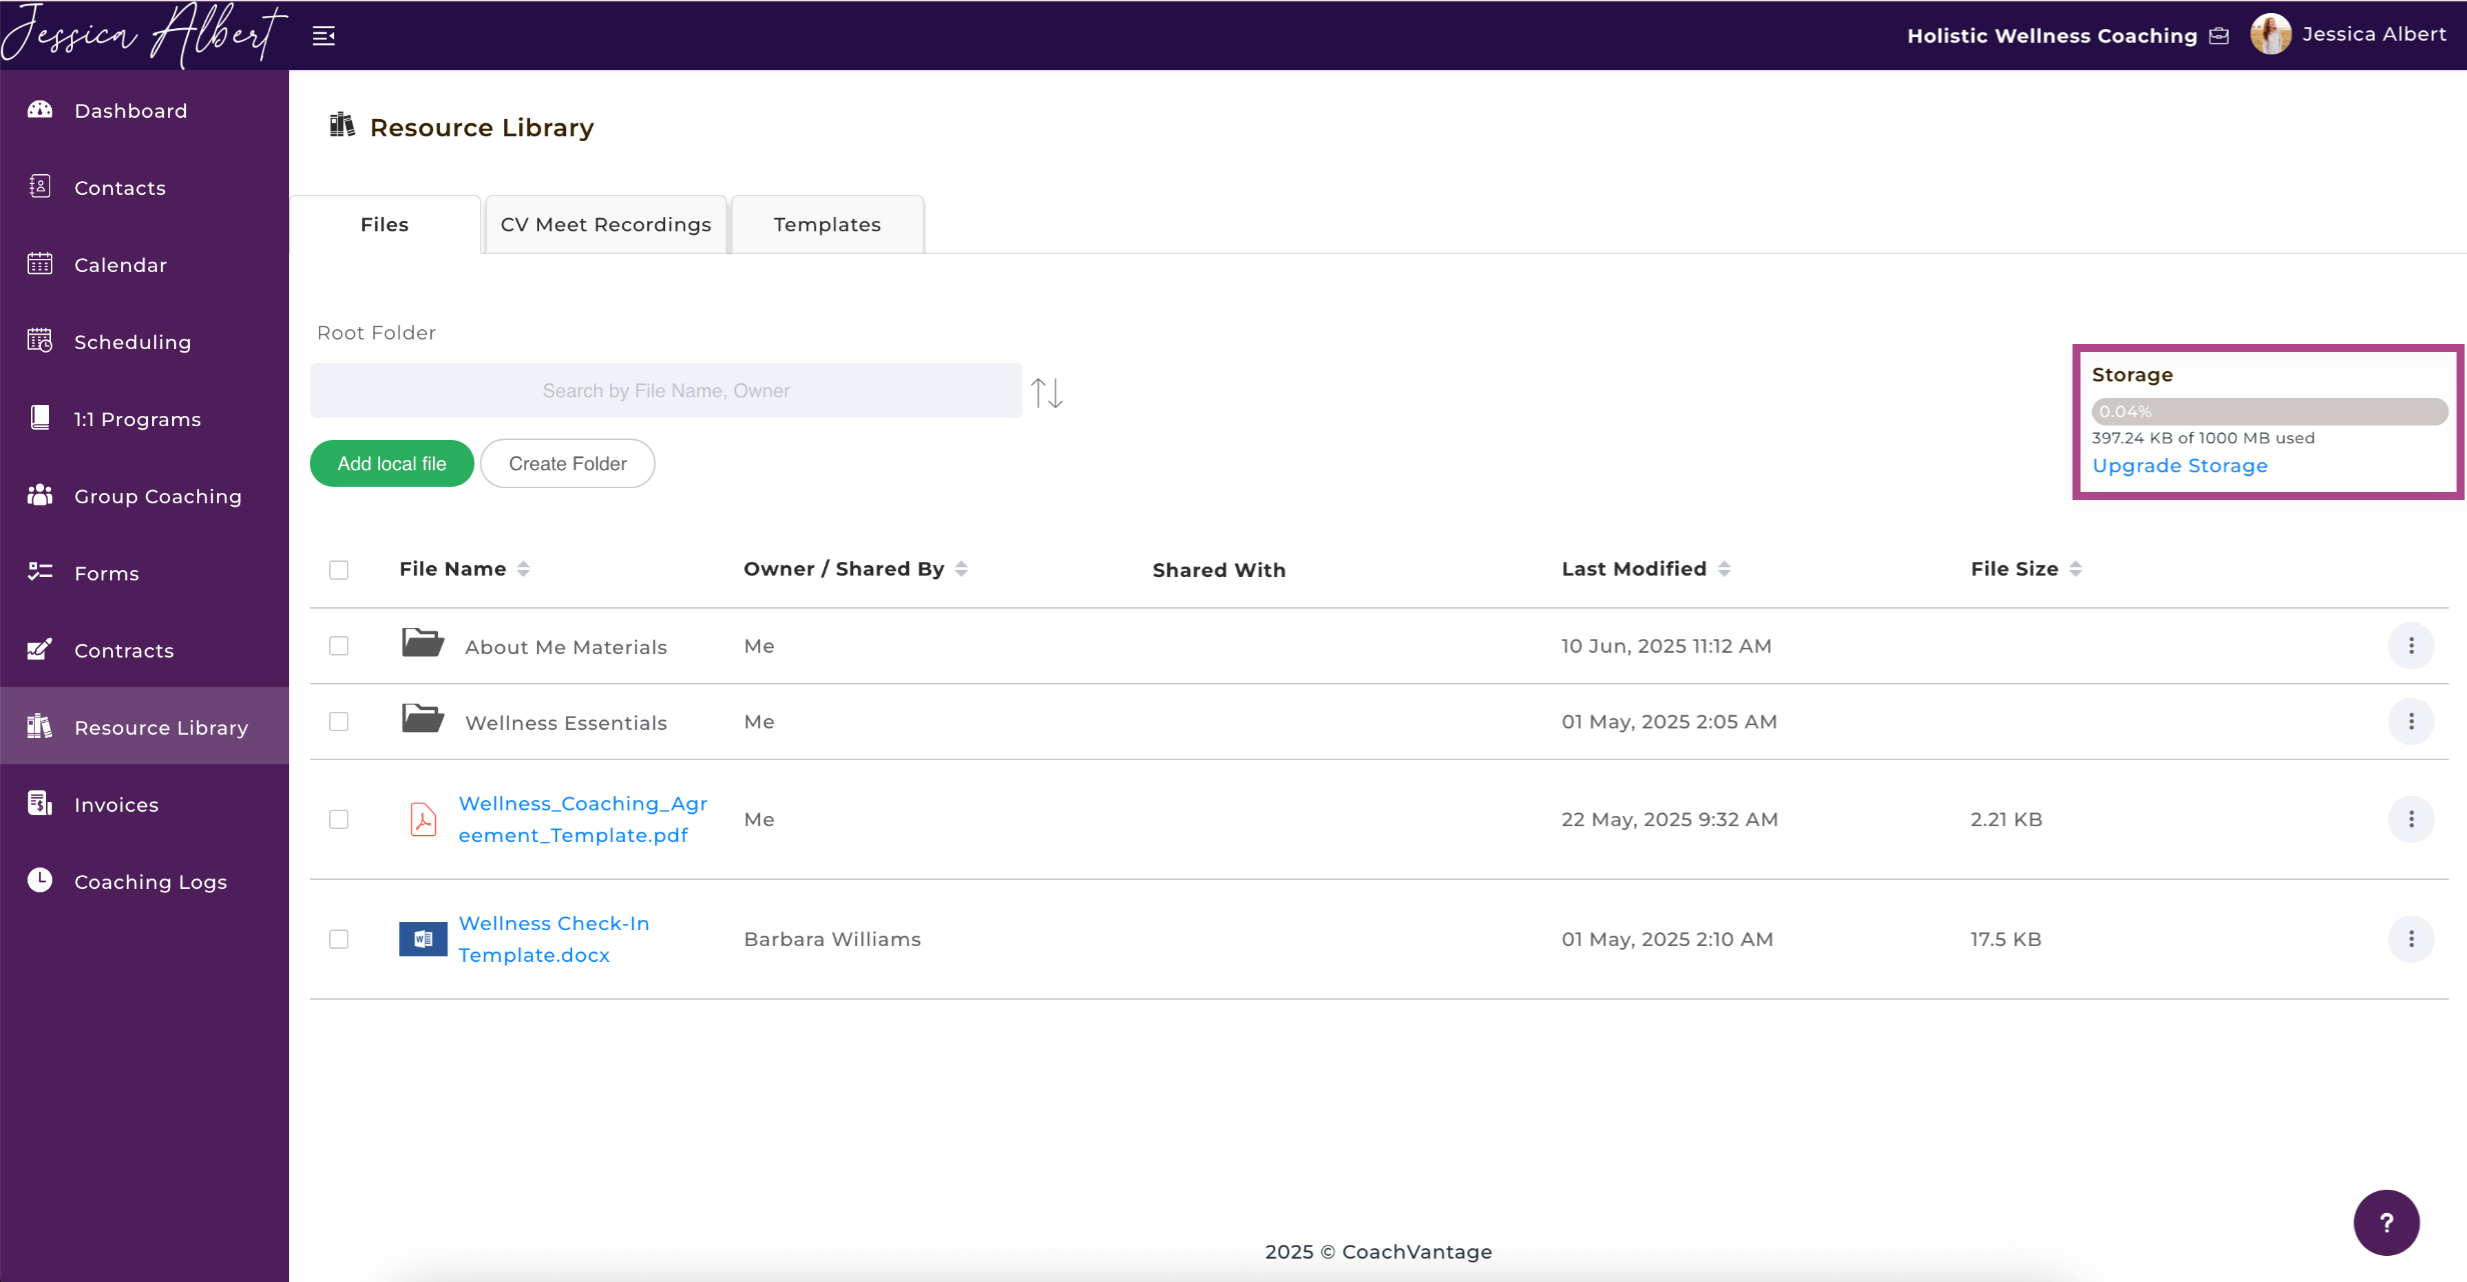
4. Storage
The Storage indicator tells you how much data storage your files and documents are consuming. Any documents that are uploaded by your clients in the Client Portal are also counted towards your data storage. Note: Your clients are not charged for data storage.
Note: Your account comes with free data storage according to your plan type:
Clarity Plan: 500 MB
Aha Plan: 1 GB
If you need more data storage, click the Upgrade Storage link below the indicator to open the My Subscription page where you can purchase additional storage.
5. Manage Files
- Download 📥
You can download files directly to your device. You can download an individual file by clicking on the 3-dot button and selecting Download.
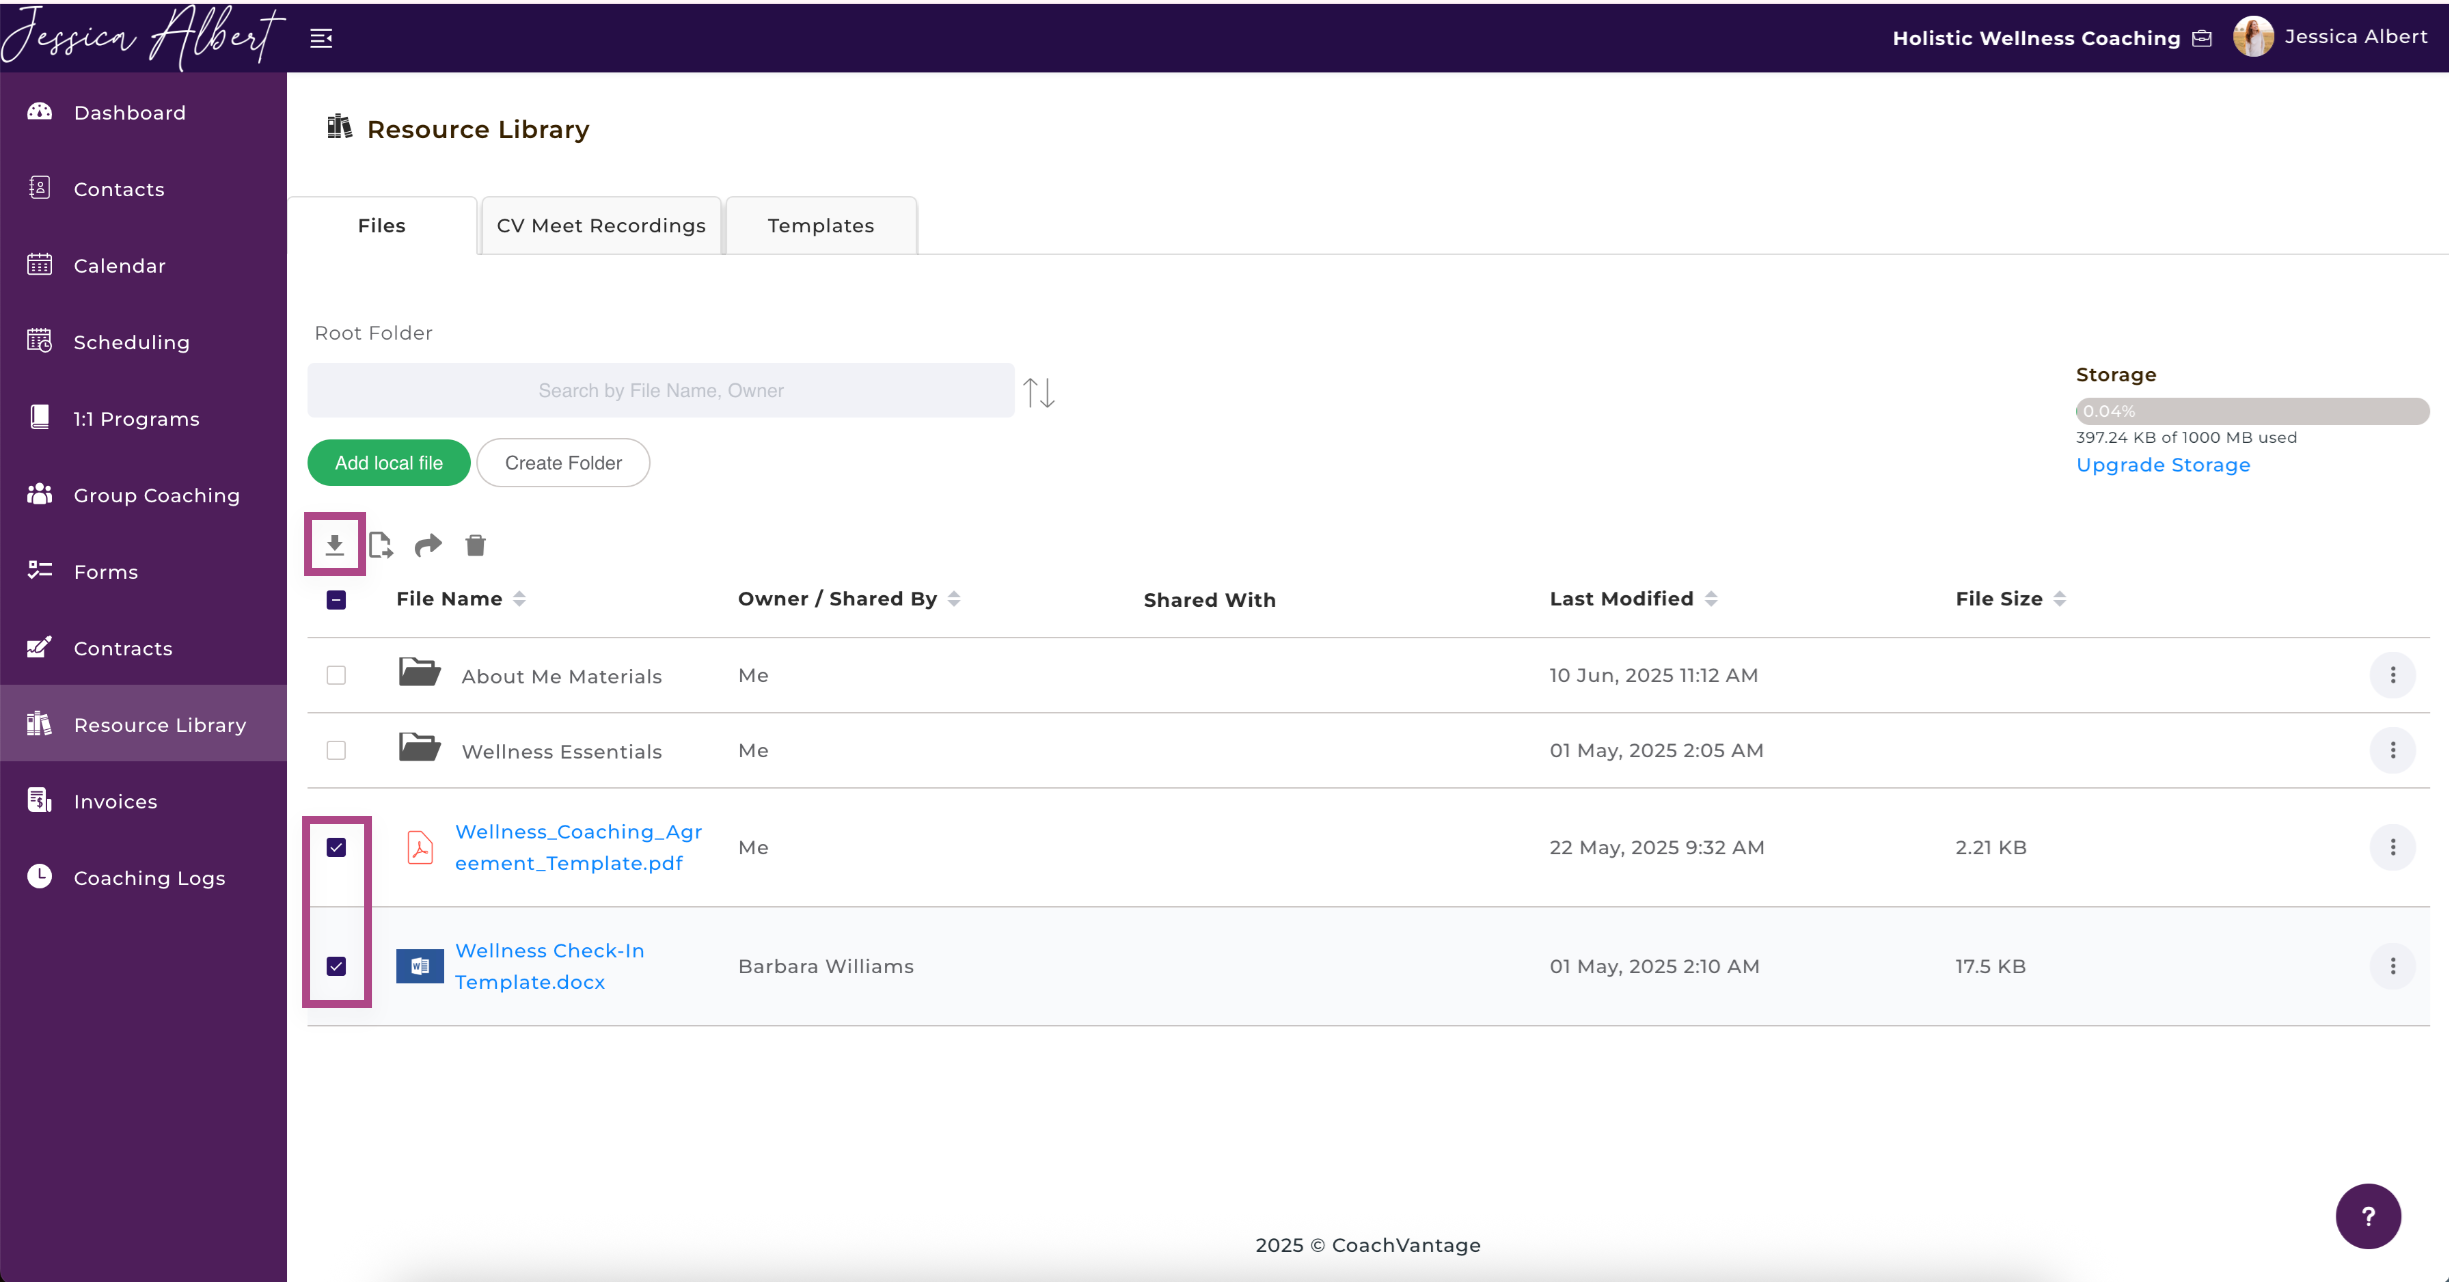
Or, you can download multiple files simultaneously by selecting the checkbox next to each file name, then click on the Download icon.
- Rename
Edit the name of your file by selecting the Rename option (pencil icon).
- Move To
Once you have created a Folder, files can be moved into specific folders by checking the box next to the file name and then clicking the Move To button.
The Move To Folder pop-up window opens. Select the Folder to which you want to move the files to and click Move.

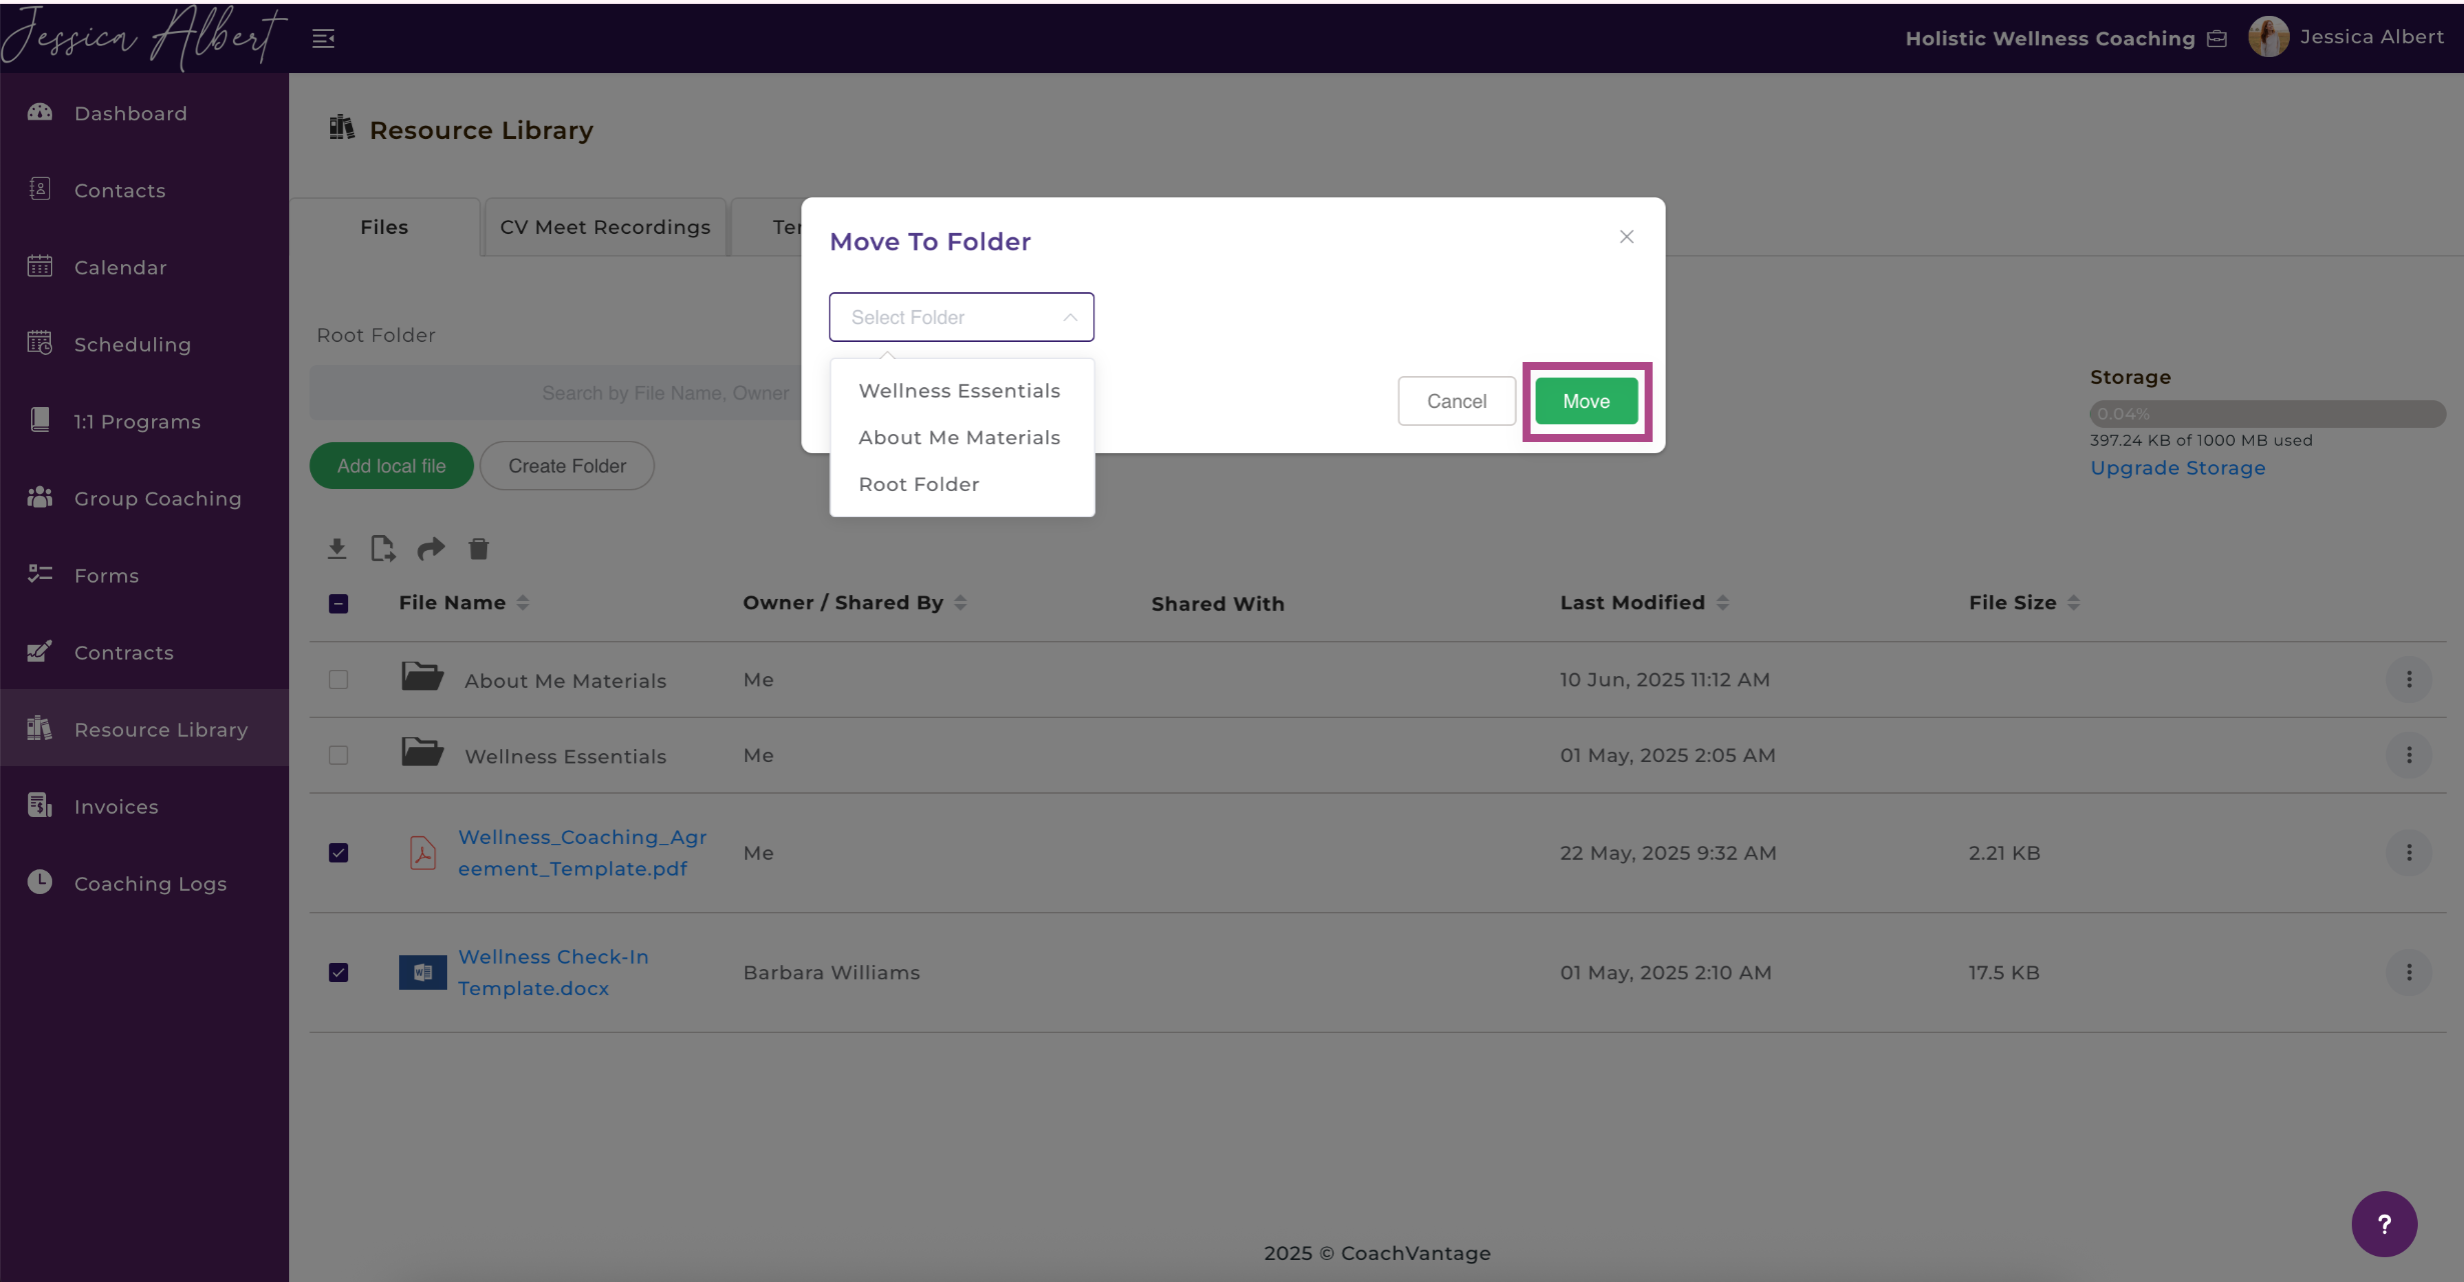
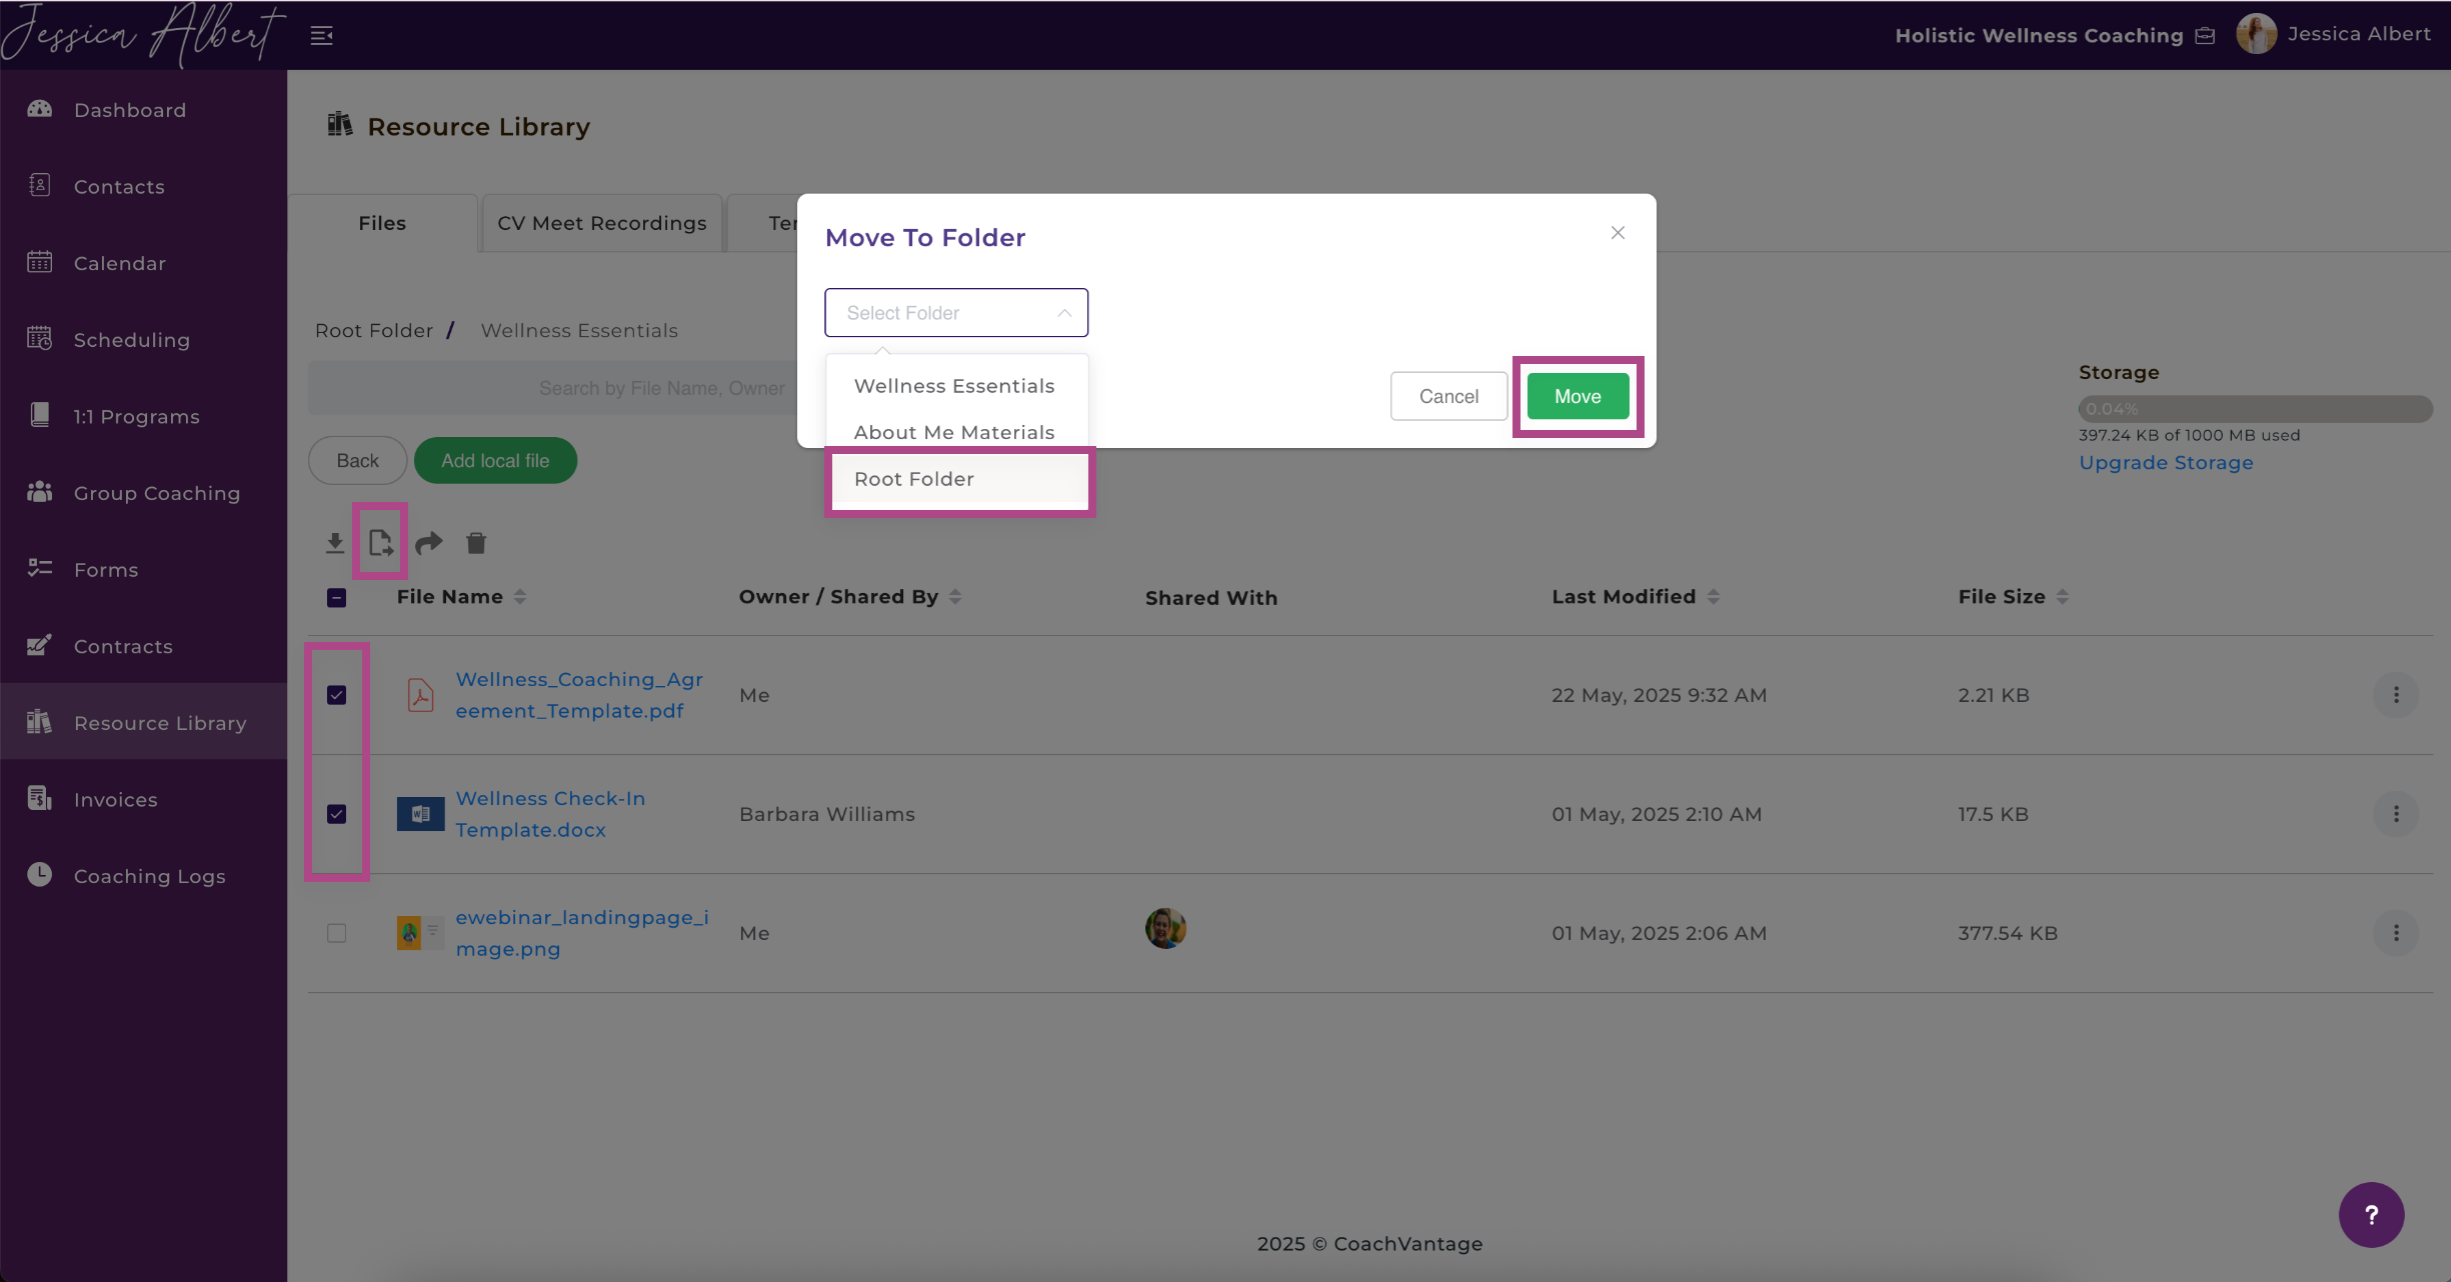
Note: If you would like to move a file out of a folder and back to the Root, select Root Folder from the drop down selector.
Move multiple files at once by selecting the checkbox next to the desired files, before clicking on the the Move Button (see image below).
- Preview
Preview allows you to view the contents of the file without downloading it to your device. A new browser tab opens that displays the file contents.
- Share
As a Coach, you can select to Share files or entire folders with clients.
You can share files with individual clients or multiple clients by checking the box next to the file or folder name and then clicking on Share With icon (see image below).

The Share Resource pop-up window opens. Next, select the clients you wish to share the file with (see image below).
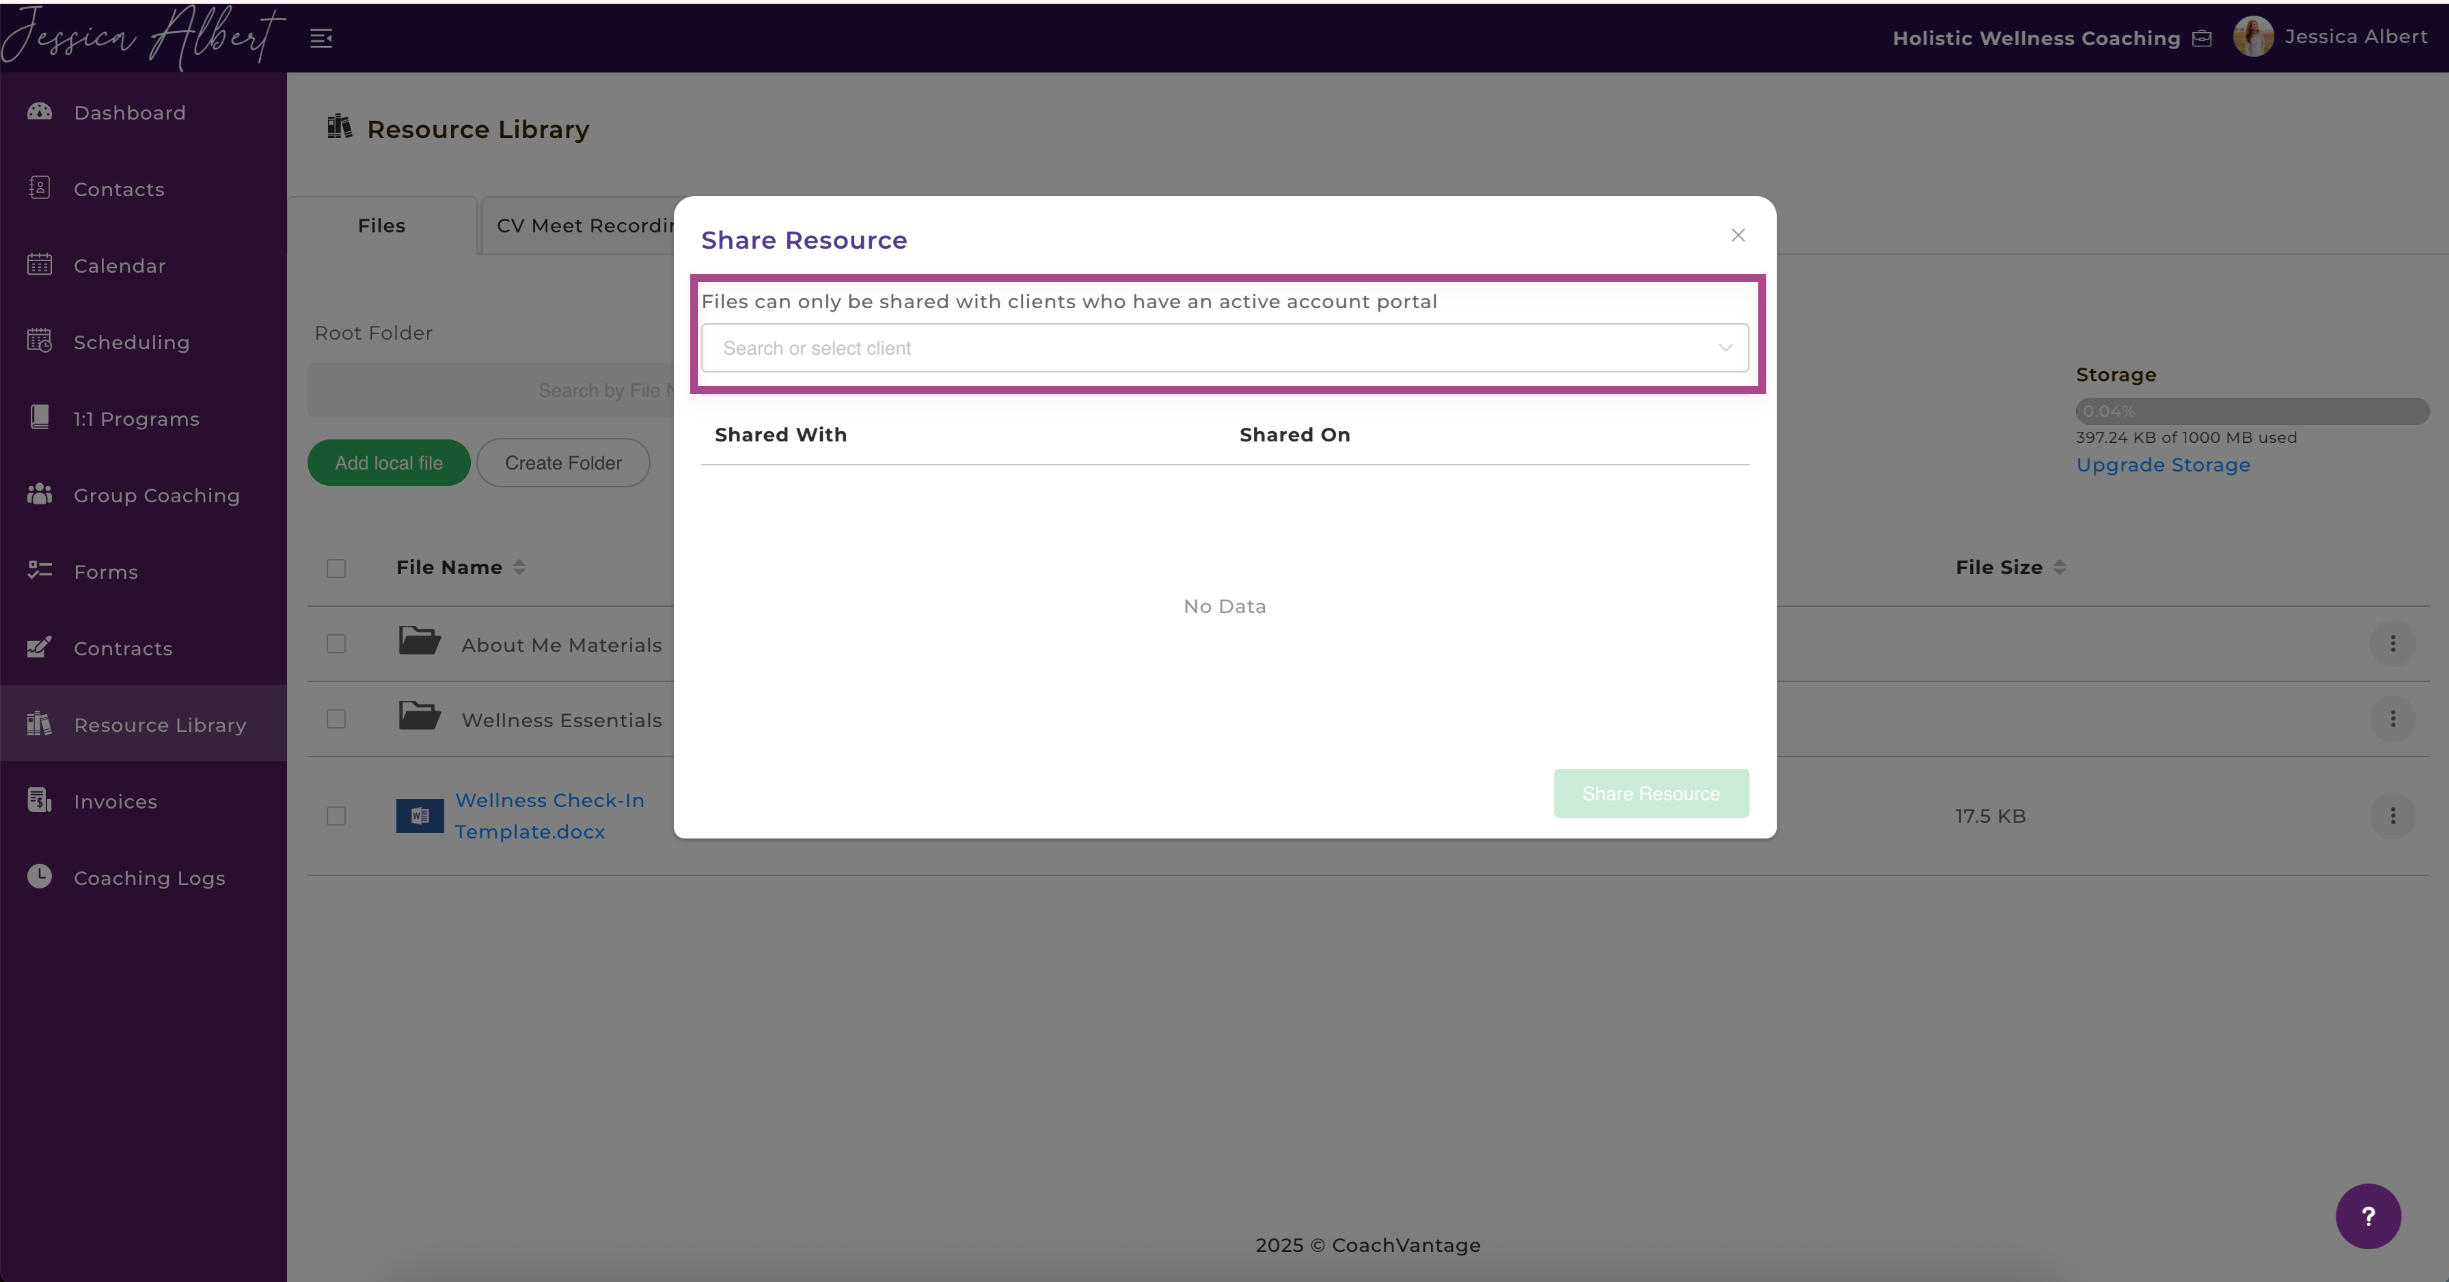
Important: Files can only be shared with clients who have an active client portal. Clients can access shared files in their Client Portal > Resource Library page.
Once you have shared a file with you clients, their profile avatar or initials will be displayed in the Shared With column (see image below).
Tip: Hover over the profile image to view the name of the client.

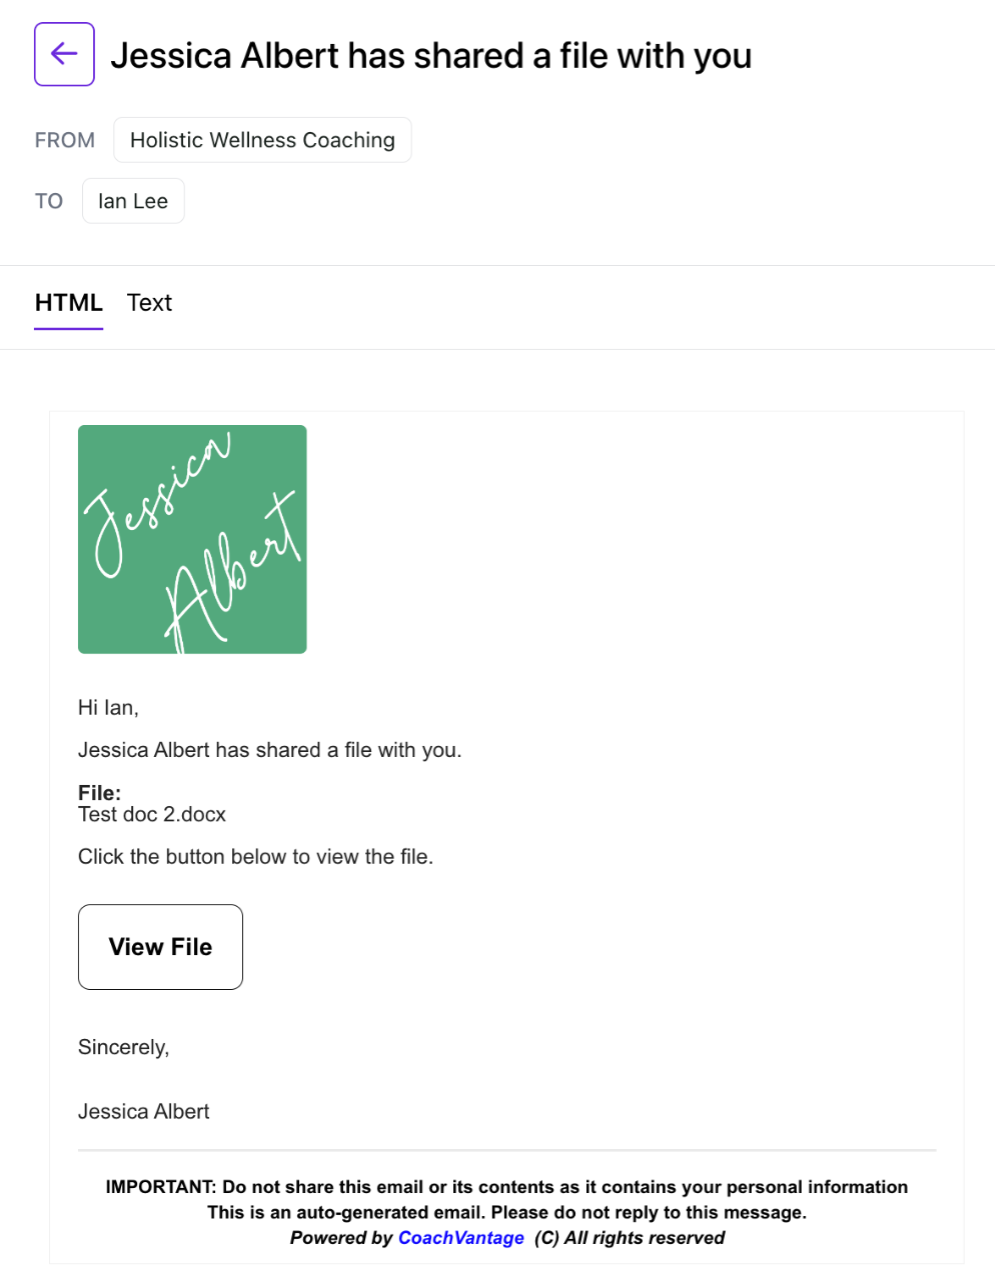
Note: Whenever you share files with clients, CoachVantage will send an automated email to notify them that you've shared a file.
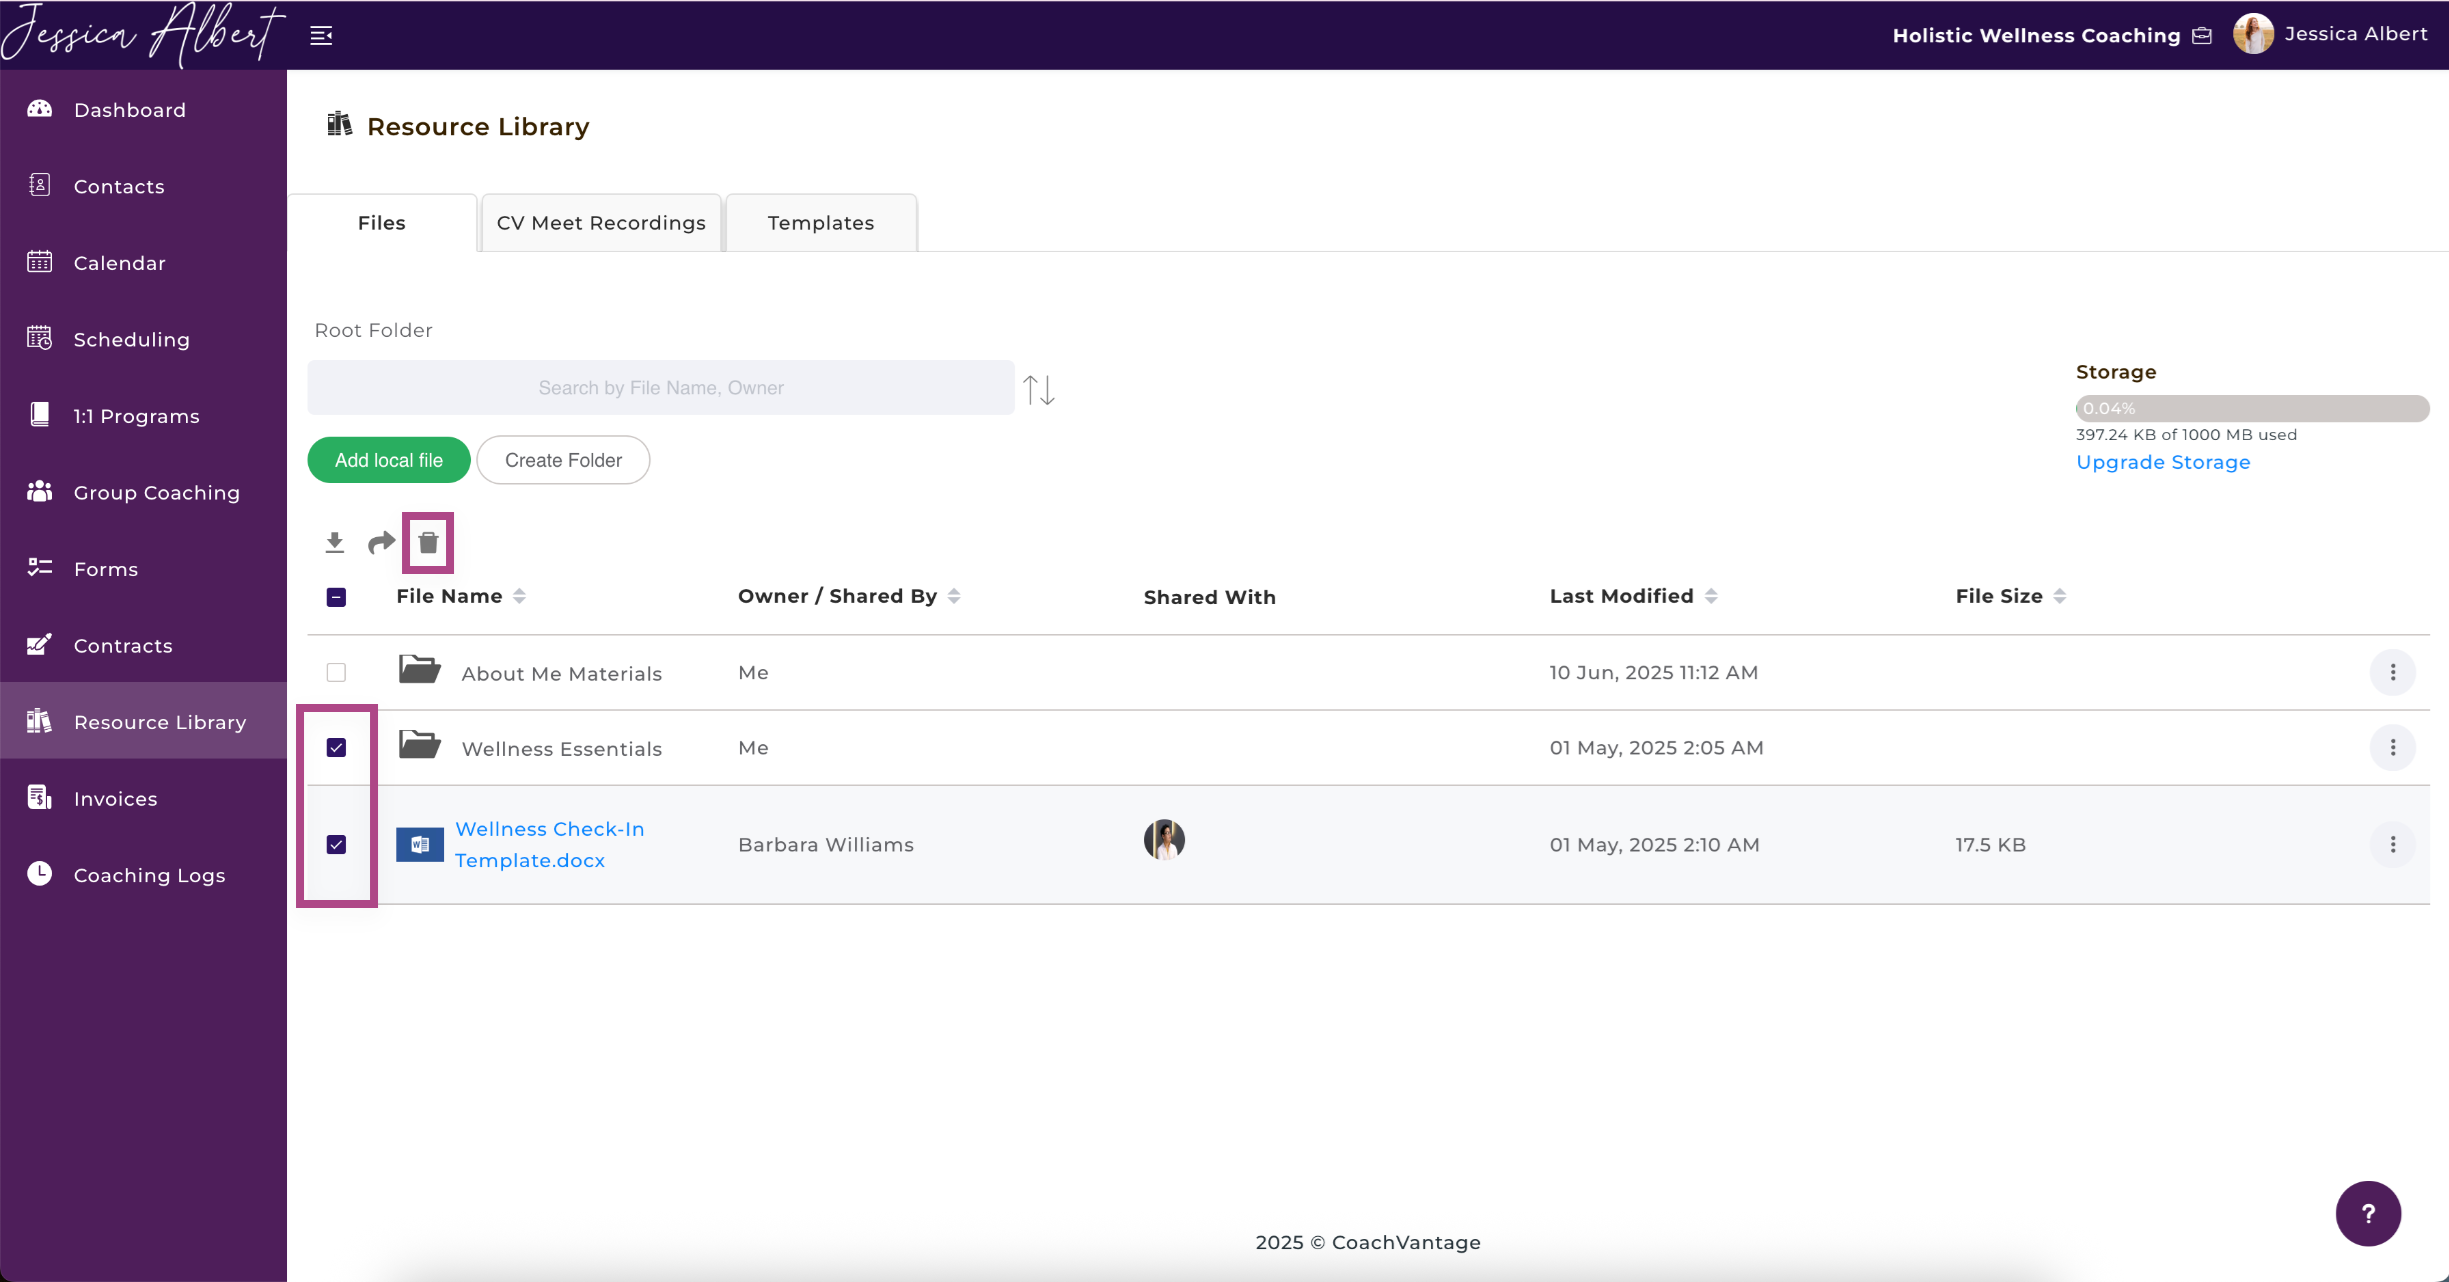
- Delete 🗑️
Files and entire Folders can be removed from the Resource Library by checking the boxes next to the file or folder name and then clicking the Delete button (see image below).
IMPORTANT: Removing files and folders from your Resource Library is permanent and cannot be undone!
When you remove a file or folder from your Resource Library, it will also be removed from the Client Portal of any client that you may have shared the file/folder with.
CV Meet Recordings 🎥
CV Meet is our native digital and audio communication tool that comes with your CoachVantage account.
CV Meet Benefits 💡
- Save Time - Instead of using a platform such as Zoom to record meetings where you then are required to go to the Zoom application to retrieve the recordings, with CV Meet you have access to your call recordings right from within your account. Plus, you'll be able to share your meeting recordings more easily with your clients with 2 simple clicks.
- Improve Meeting Organization - Gain access to your meeting recordings right from within your account. Obtain the ability to share your meeting recordings with one or multiple contacts.
- Simplify Your Business - Make life easier by having CoachVantage be the 1 and only software you need to run your business.
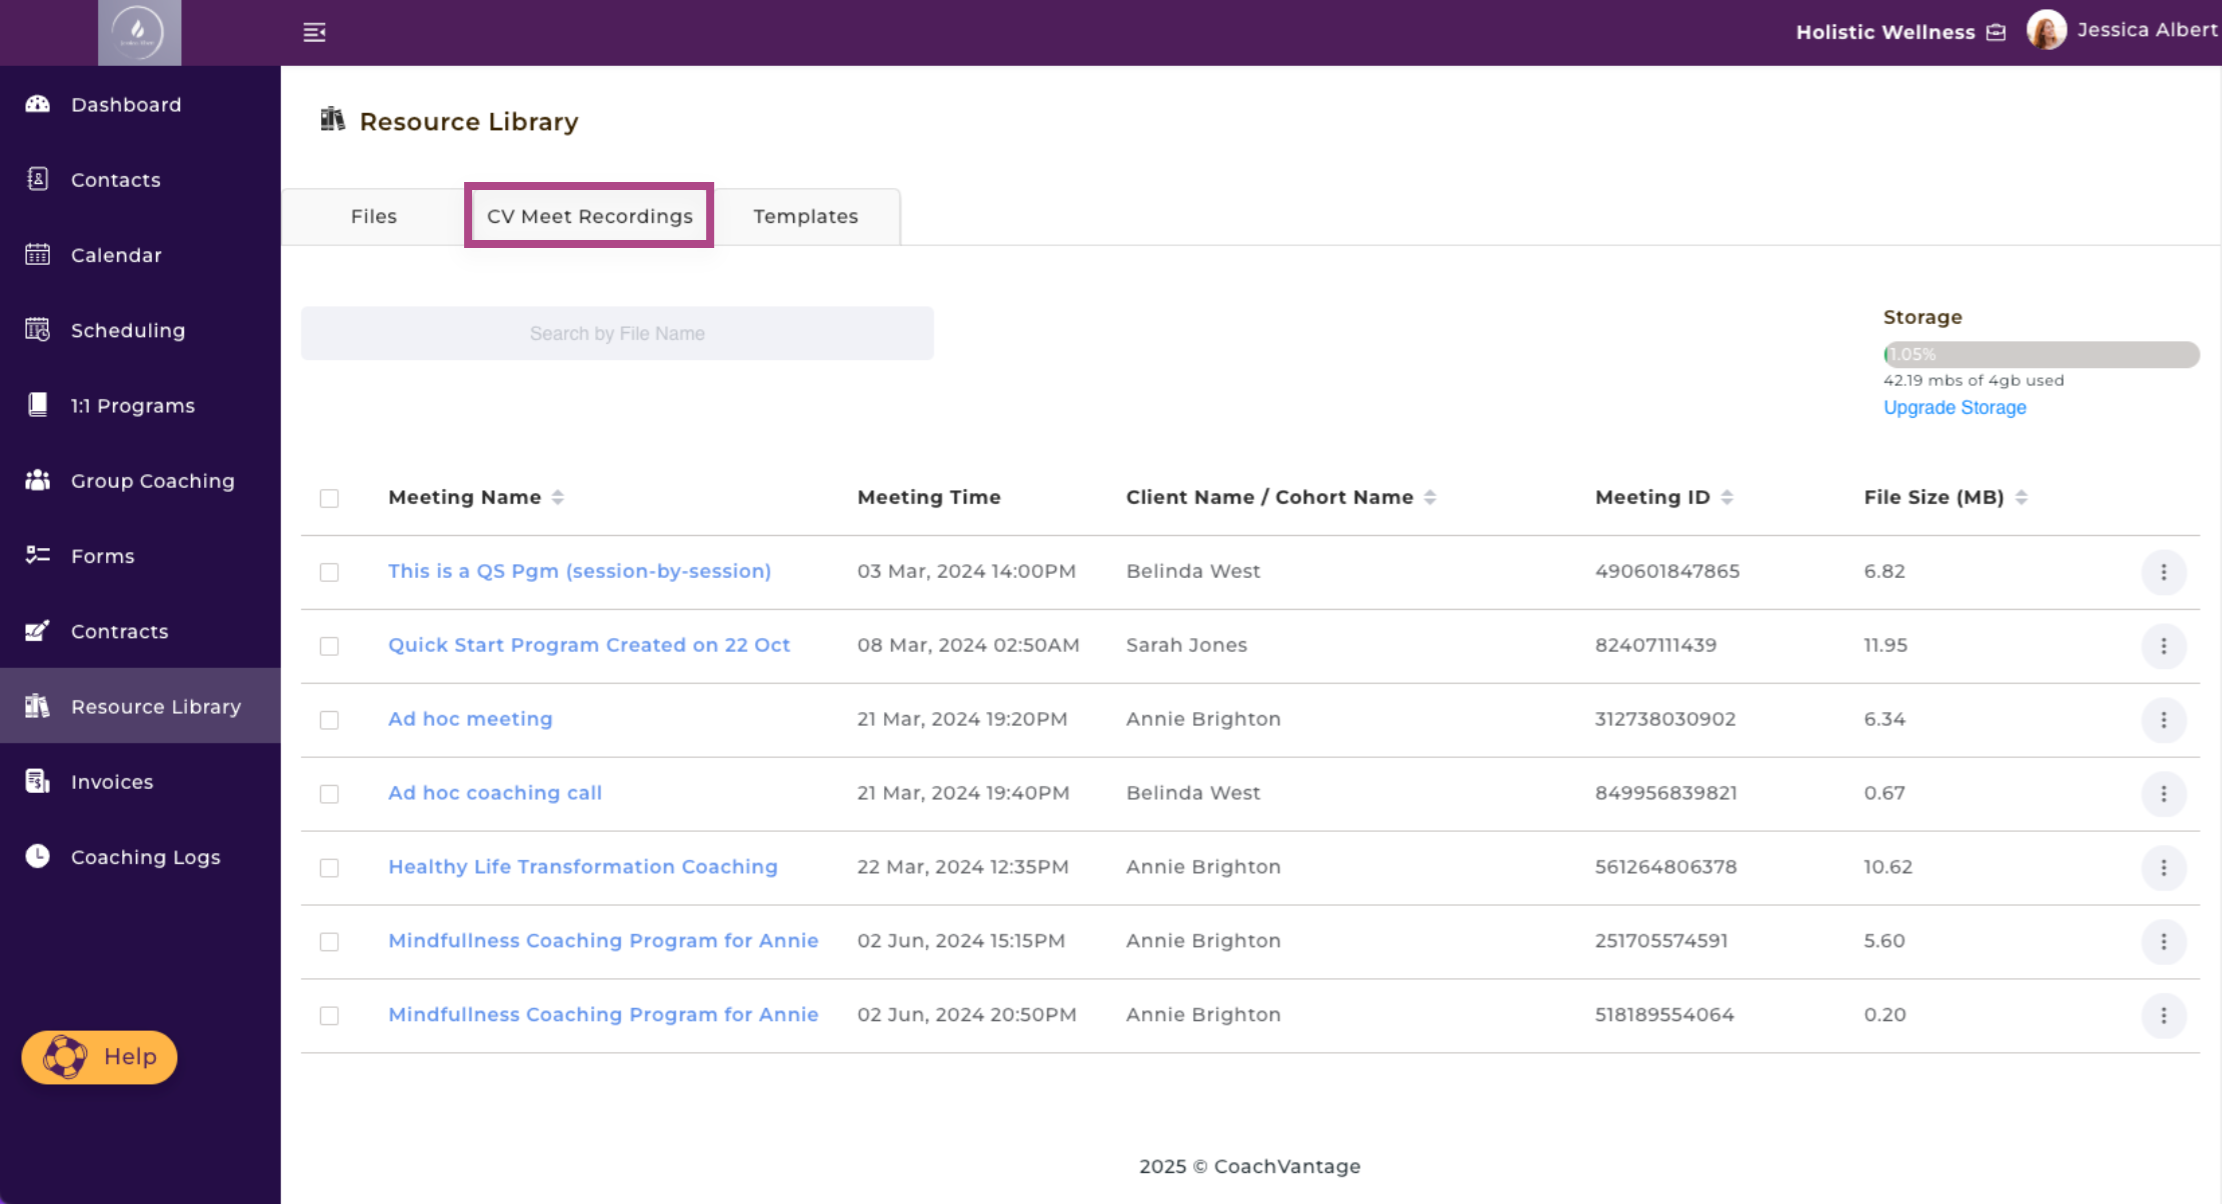
In the CV Meet folder in your Resource Library, you can:
- Access Your Recorded Meeting Videos
- Share Recorded Meetings with 1 or Multiple Contacts
- Playback Recorded Meeting
Refer to the CV Meet (Native Video) - Feature Overview article to learn more about how to schedule a meeting using CV Meet and how to add additional CV Meet hours.
Templates 📓
The Templates tab can be used to save templates for your Notes (i.e. coaching session notes).
Note: At the moment, CoachVantage supports templates for Notes only, however, we're working hard to support other template types, and we will let you know as soon as we do!
Click on the Templates tab and you will see:
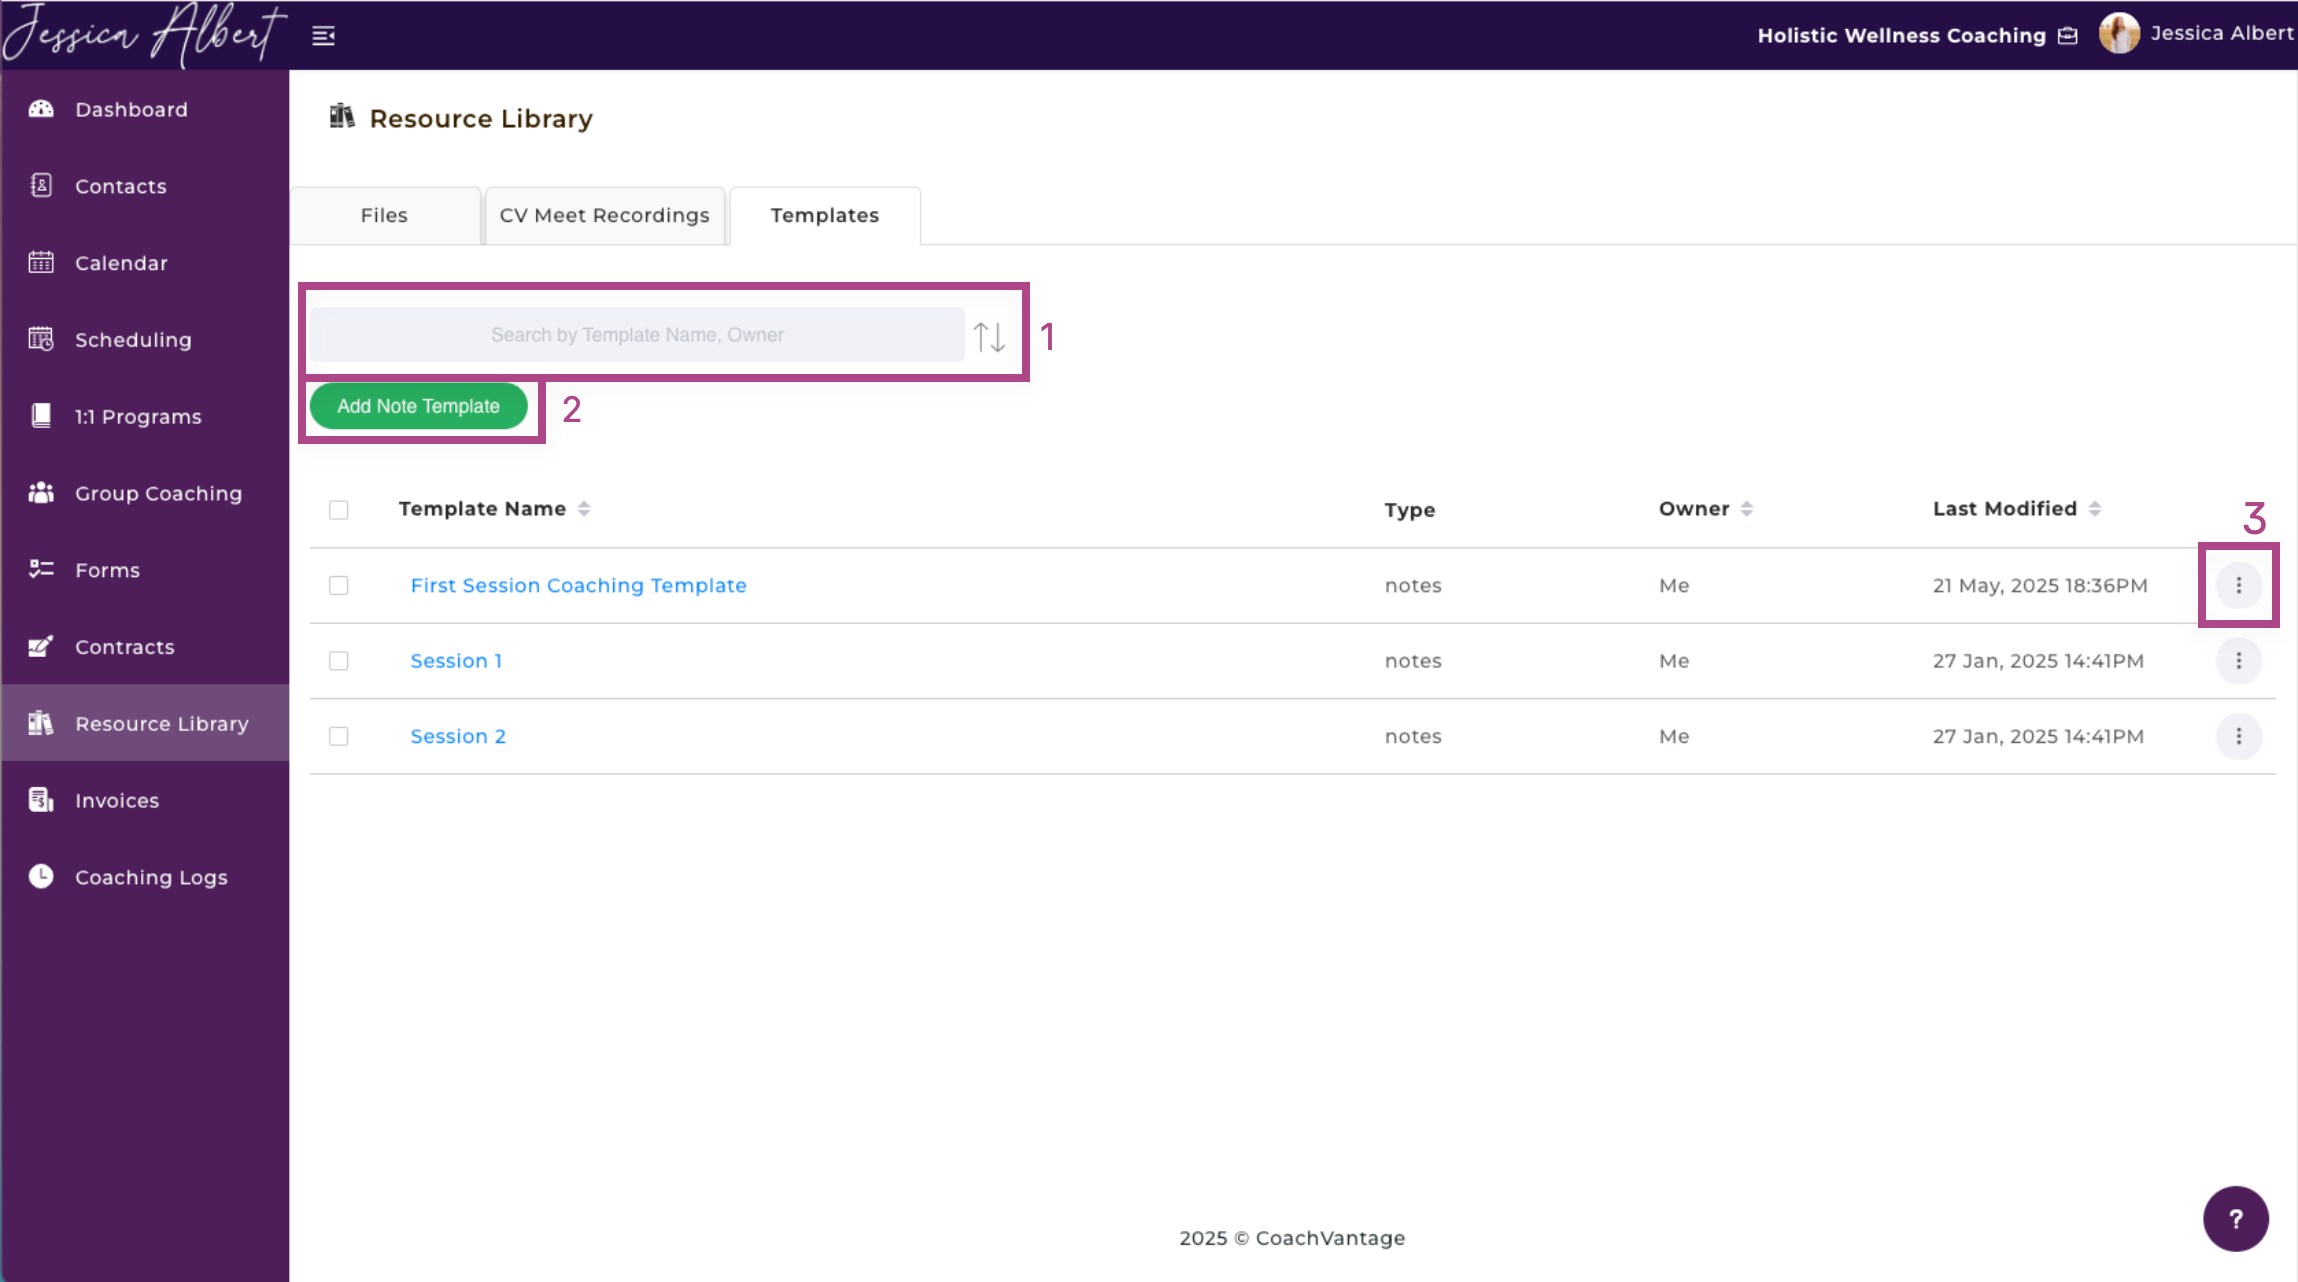
1. Search Bar & Sort Icon
Use the search bar and type in the name of the files you're looking for.
Click on the Sort icon (up/down arrows) to sort your files by alphabetical order or the recency of the event.
2. Add Note Template
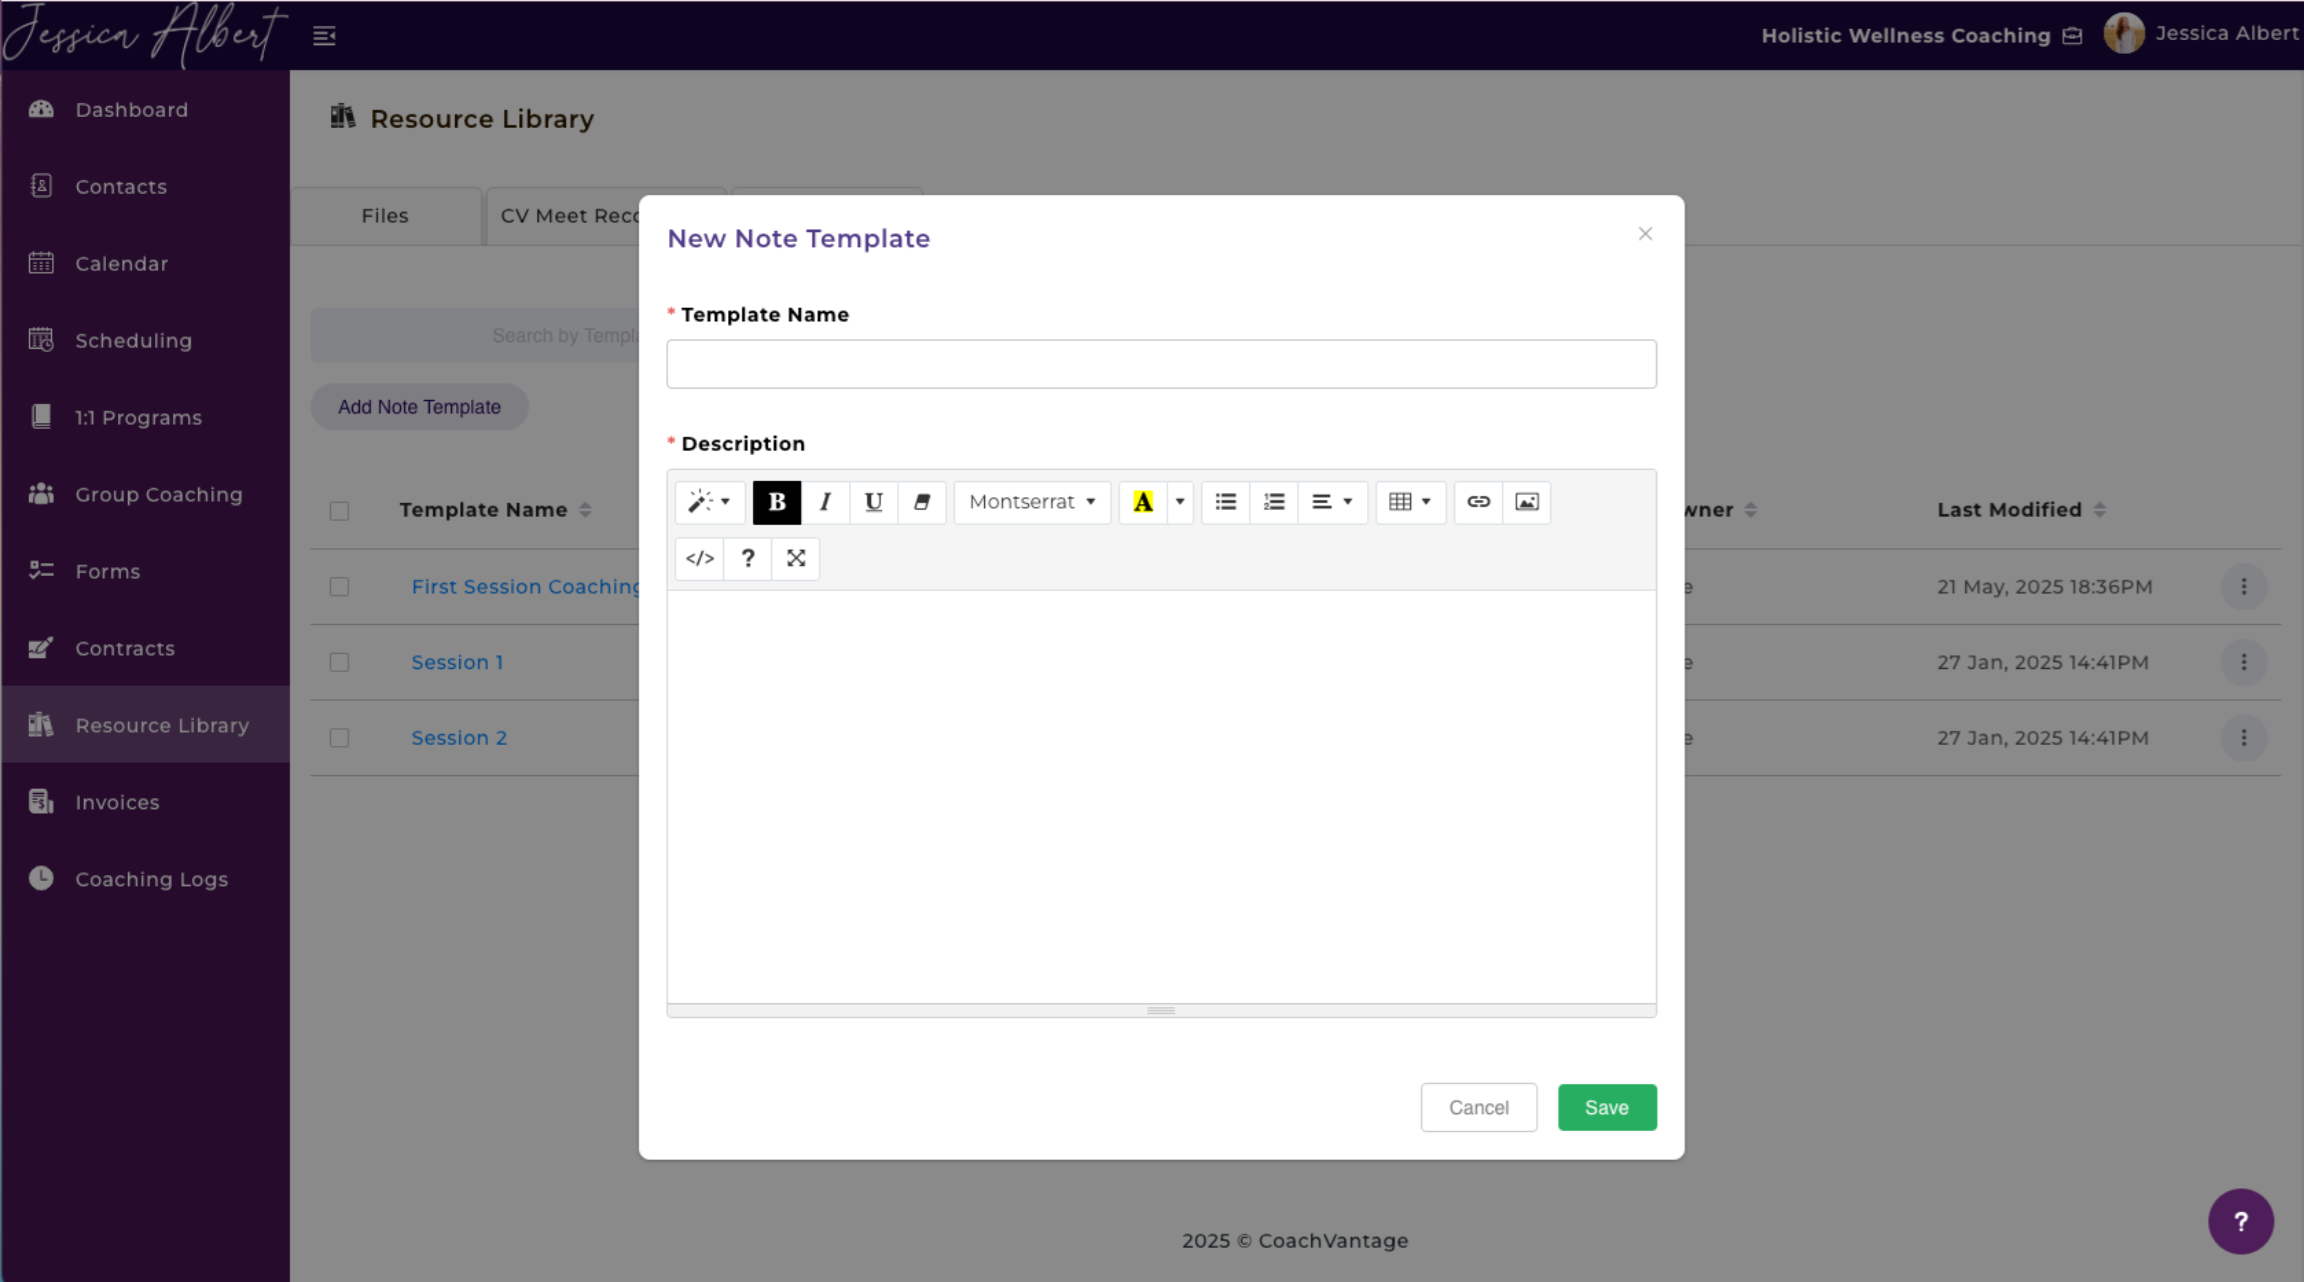
Clicking on the Add Note Template button opens a window to create your note template.
The Template Name is a required field where you can give your template a descriptive name.
Then, use the Description text editor field to create your note template (see image below).
Tip: As a coach, you may have a standard format for note taking. For example, using header text, tables, sections, etc. The Notes Template feature enables you to create this and then use it whenever you are taking session notes.
Refer to the article on Notes on the Individual Contact Record Page to see how you can use a note template for this purpose.
3. Manage Templates
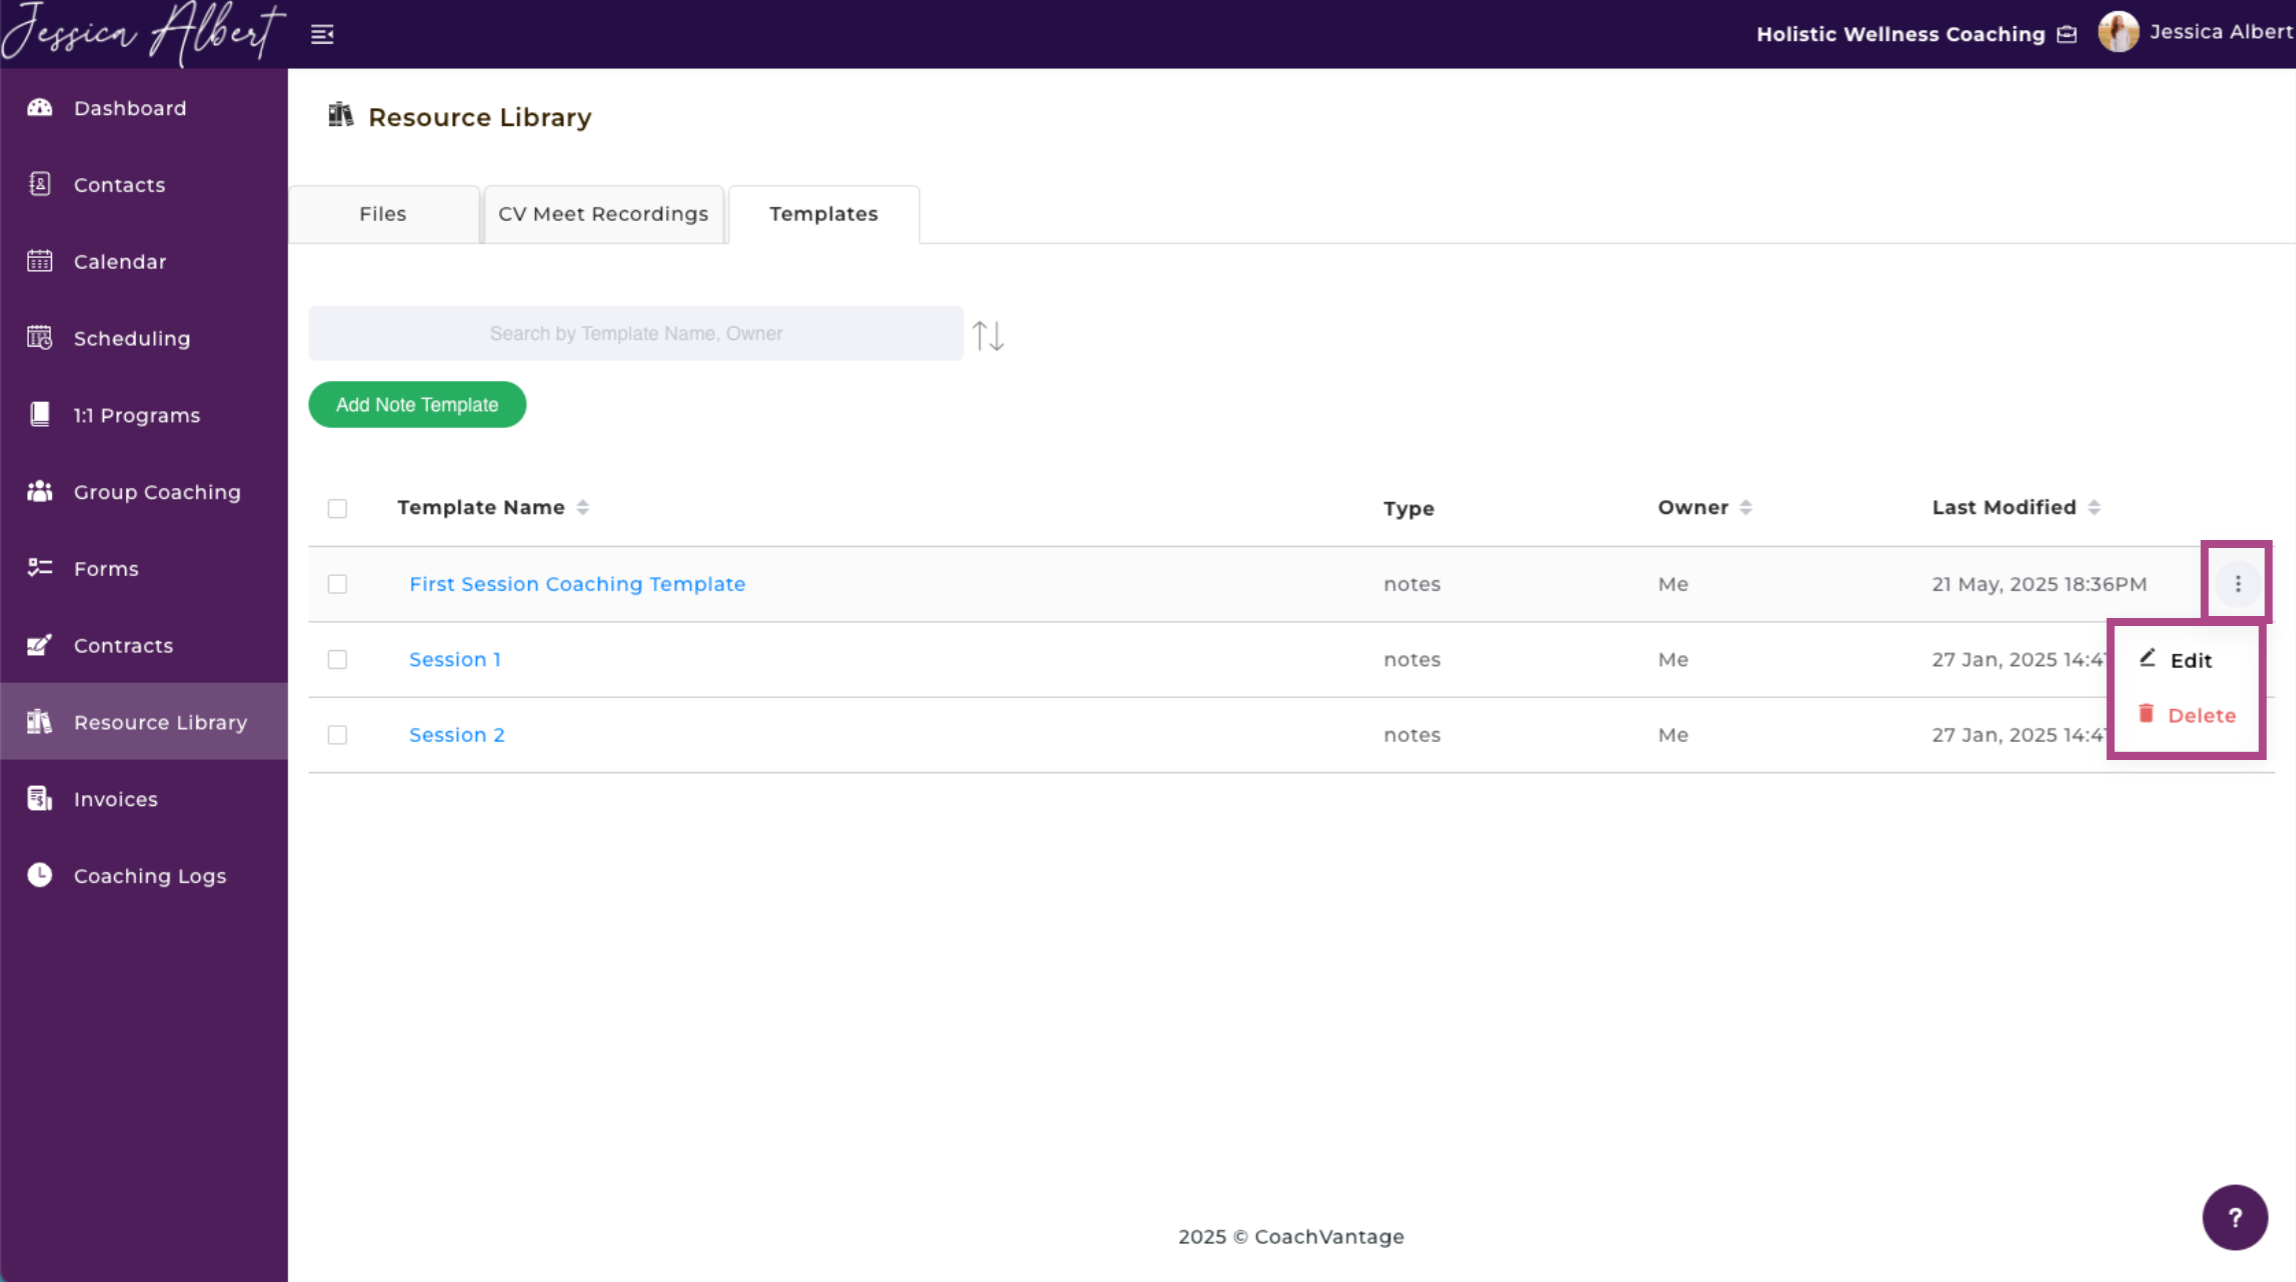
- Edit Template
- Click the 3-dot button menu and select Edit to make changes to your template or change the template name.
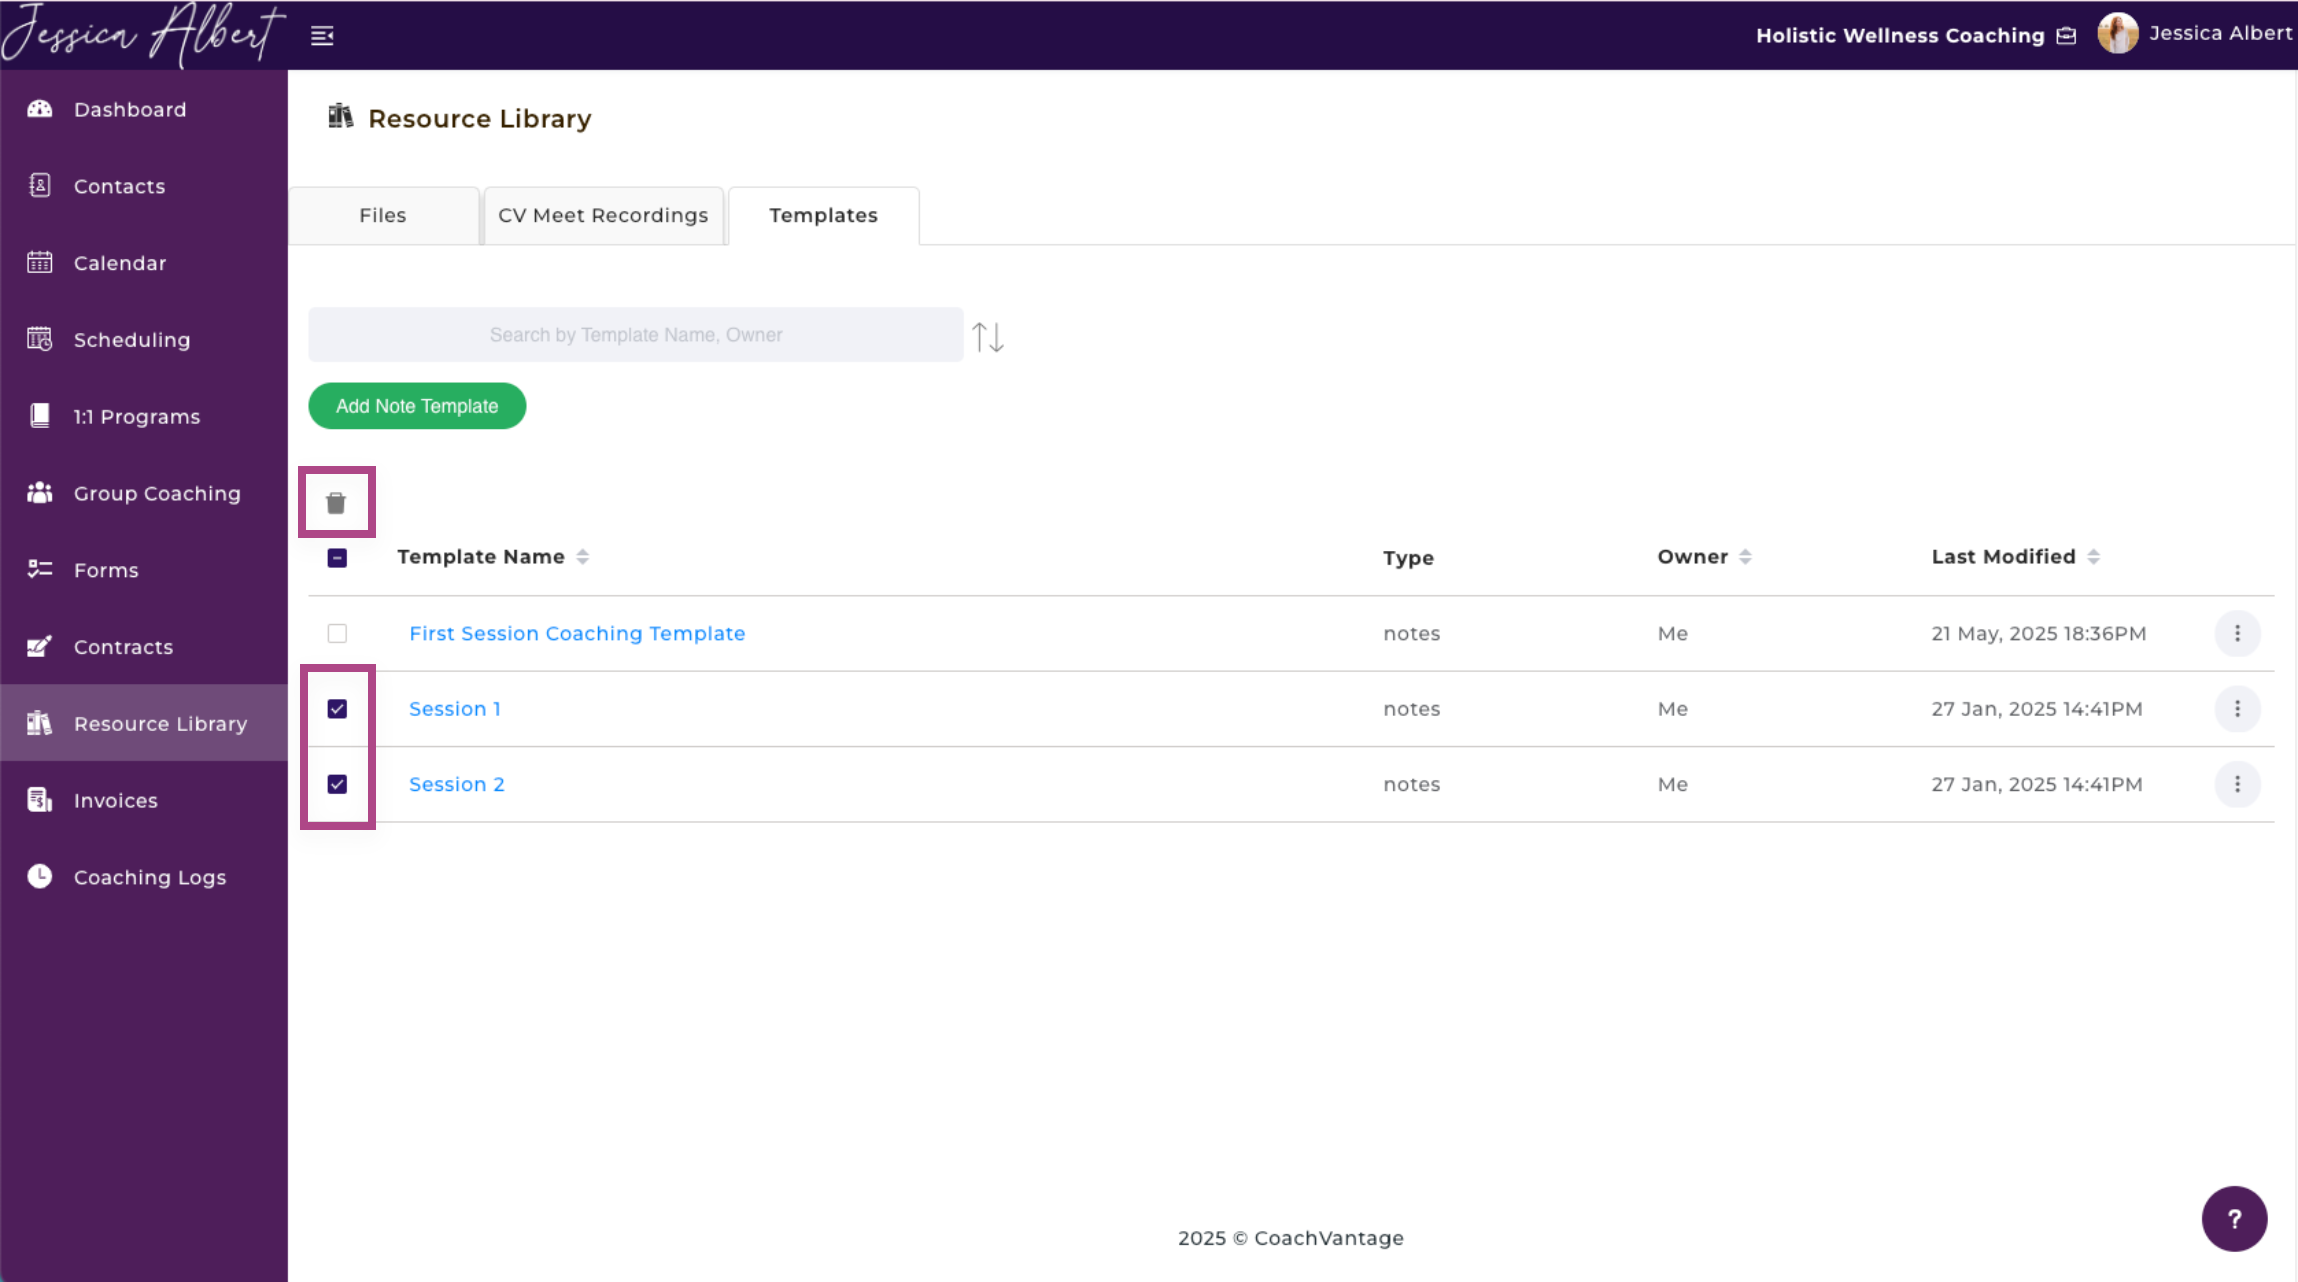
- Delete Template
- Templates can be removed from the Resource Library by checking the boxes next to the template name and then clicking the Delete button. This will delete the template permanently and cannot be undone.