
Appointment and Calendar Settings
Overview 📆
To access your appointment and calendar settings, click on your name on the top right corner of the top menu bar and select My Settings.
Appointment and calendar settings allow you to configure various aspects of scheduling rules and limits, as described below.
Availability Types Setting 🕰️
The Availability Types setting provides you with flexibility to set up your availability schedule the way you want, for clients to choose available time slots from your booking page to book an appointment with you.
You must create at least one availability type before clients can book appointments with you from your booking page.
After you've created your availability types, you will be able to apply it to the scheduling setting for coaching programs and/or events that you create in your CoachVantage account.
To learn more about how to create availability types, click here.
Appointment Daily Limit Setting ⌛️
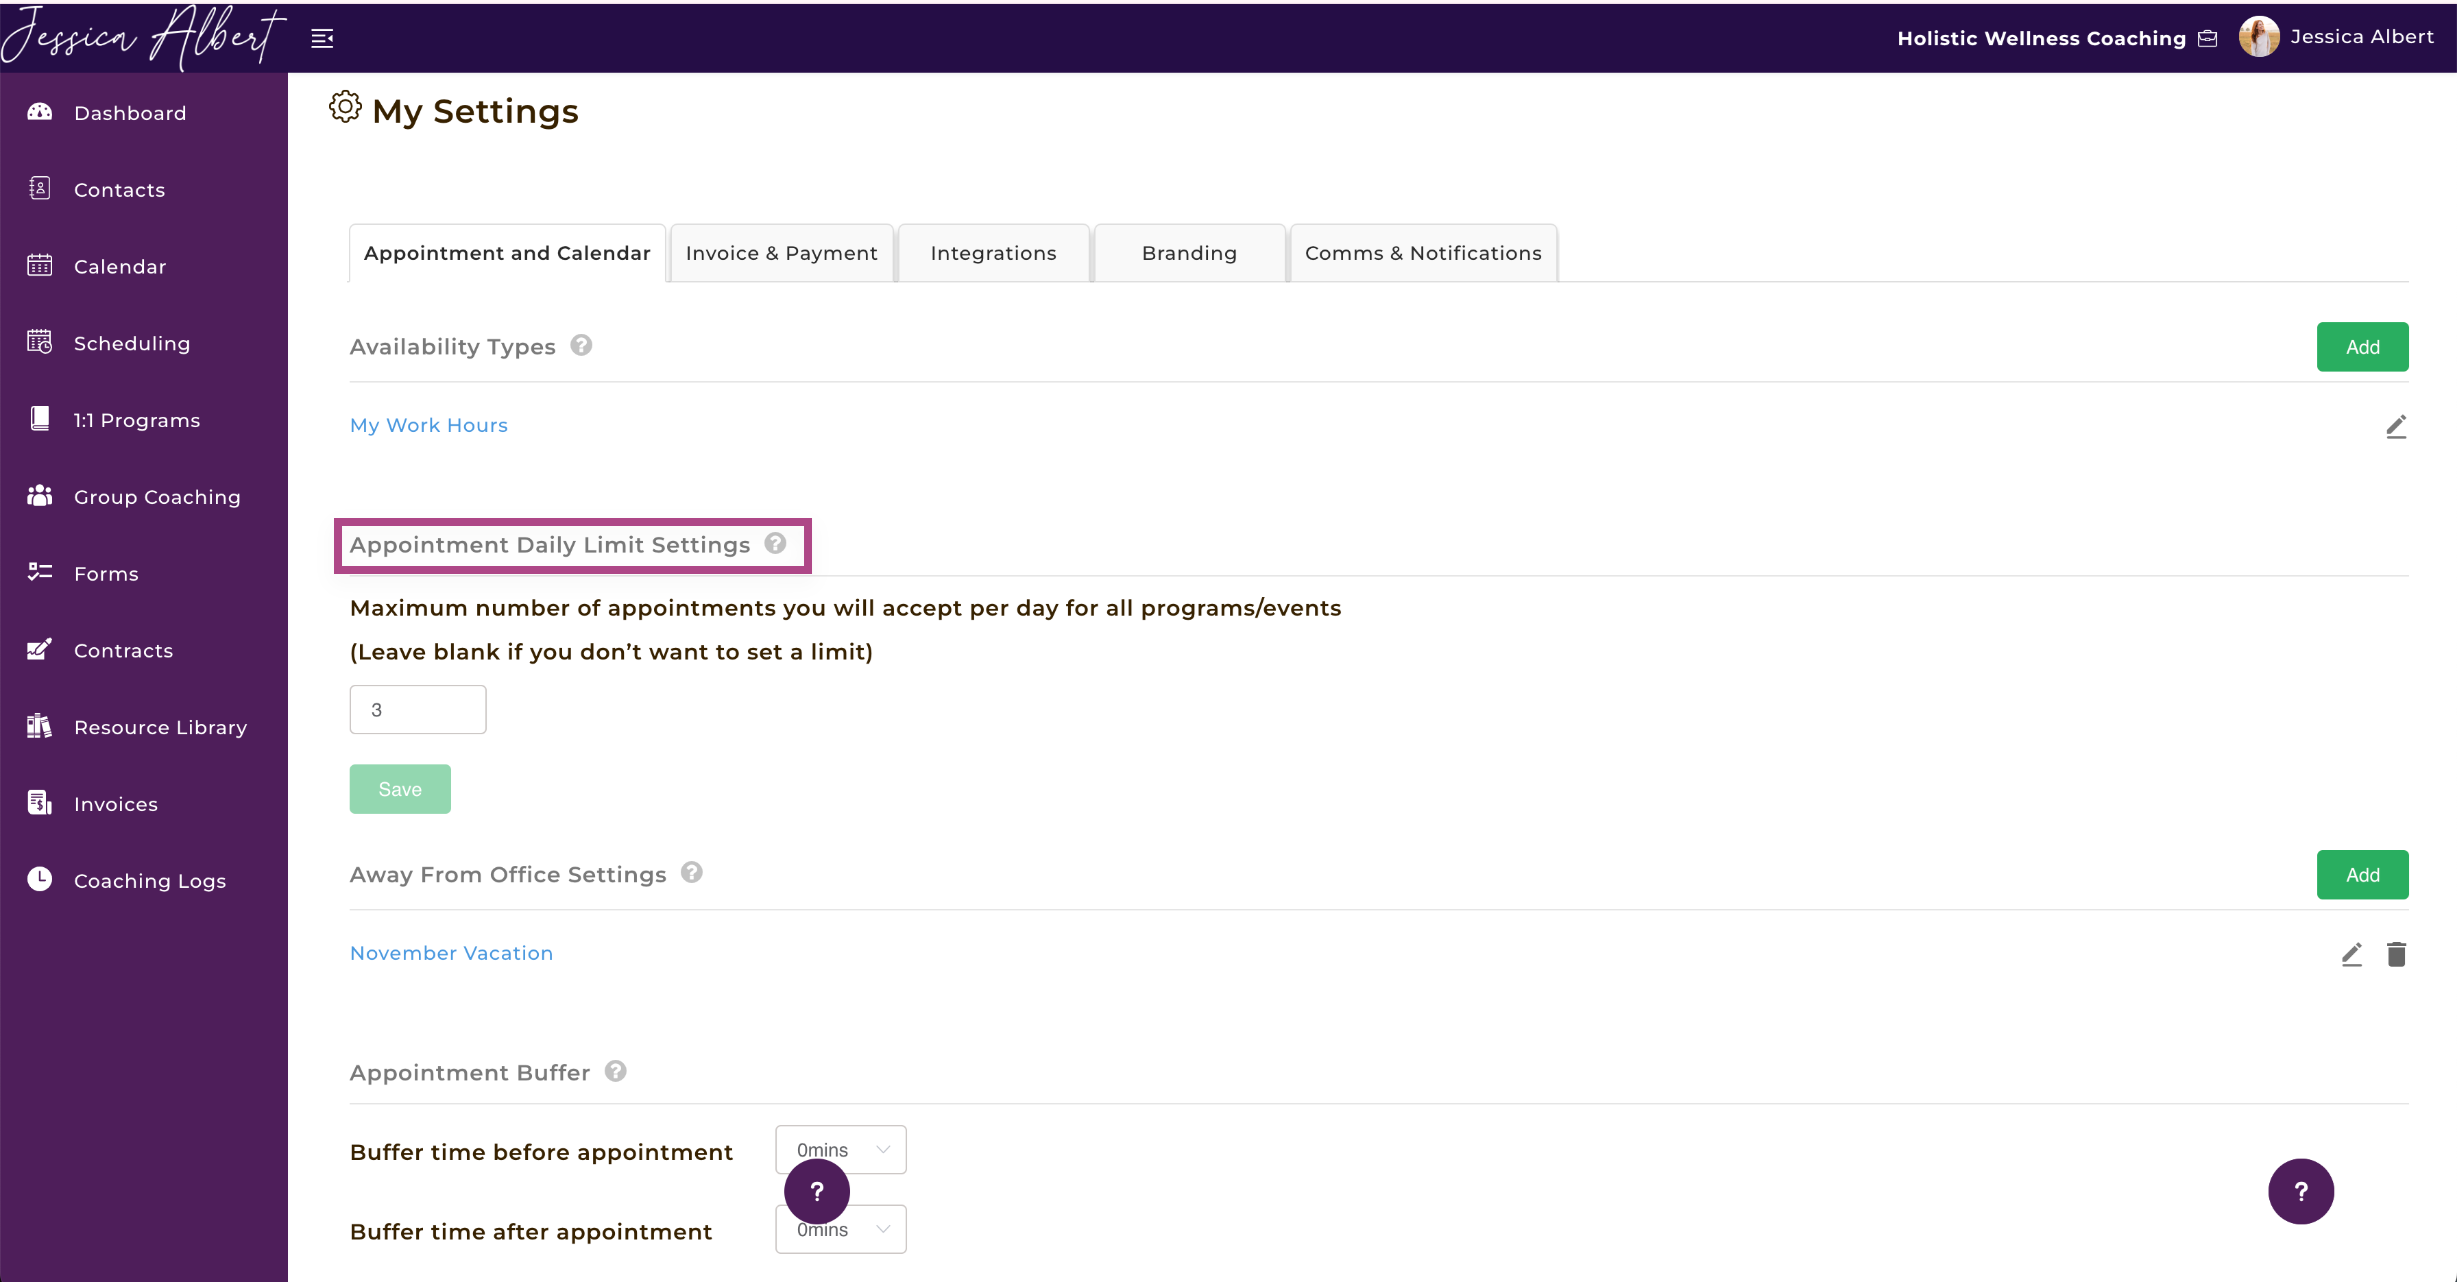
The appointment daily limit setting lets you set a limit on the number of appointments you will accept per day.
When your appointment daily limit is reached, no further client appointments or bookings can be made for that day.
CoachVantage will automatically disable further bookings from being made for that day (i.e. no availability slots will be displayed on your booking page for that day).
This setting is a 'global' setting that takes precedence over the booking limits that you may have configured for individual programs or events.
For example, if you wish to limit the number of appointments you will accept in a day to just 3, simply type in 3 in the field.
If you do not wish to set a limit, simply leave the field blank.
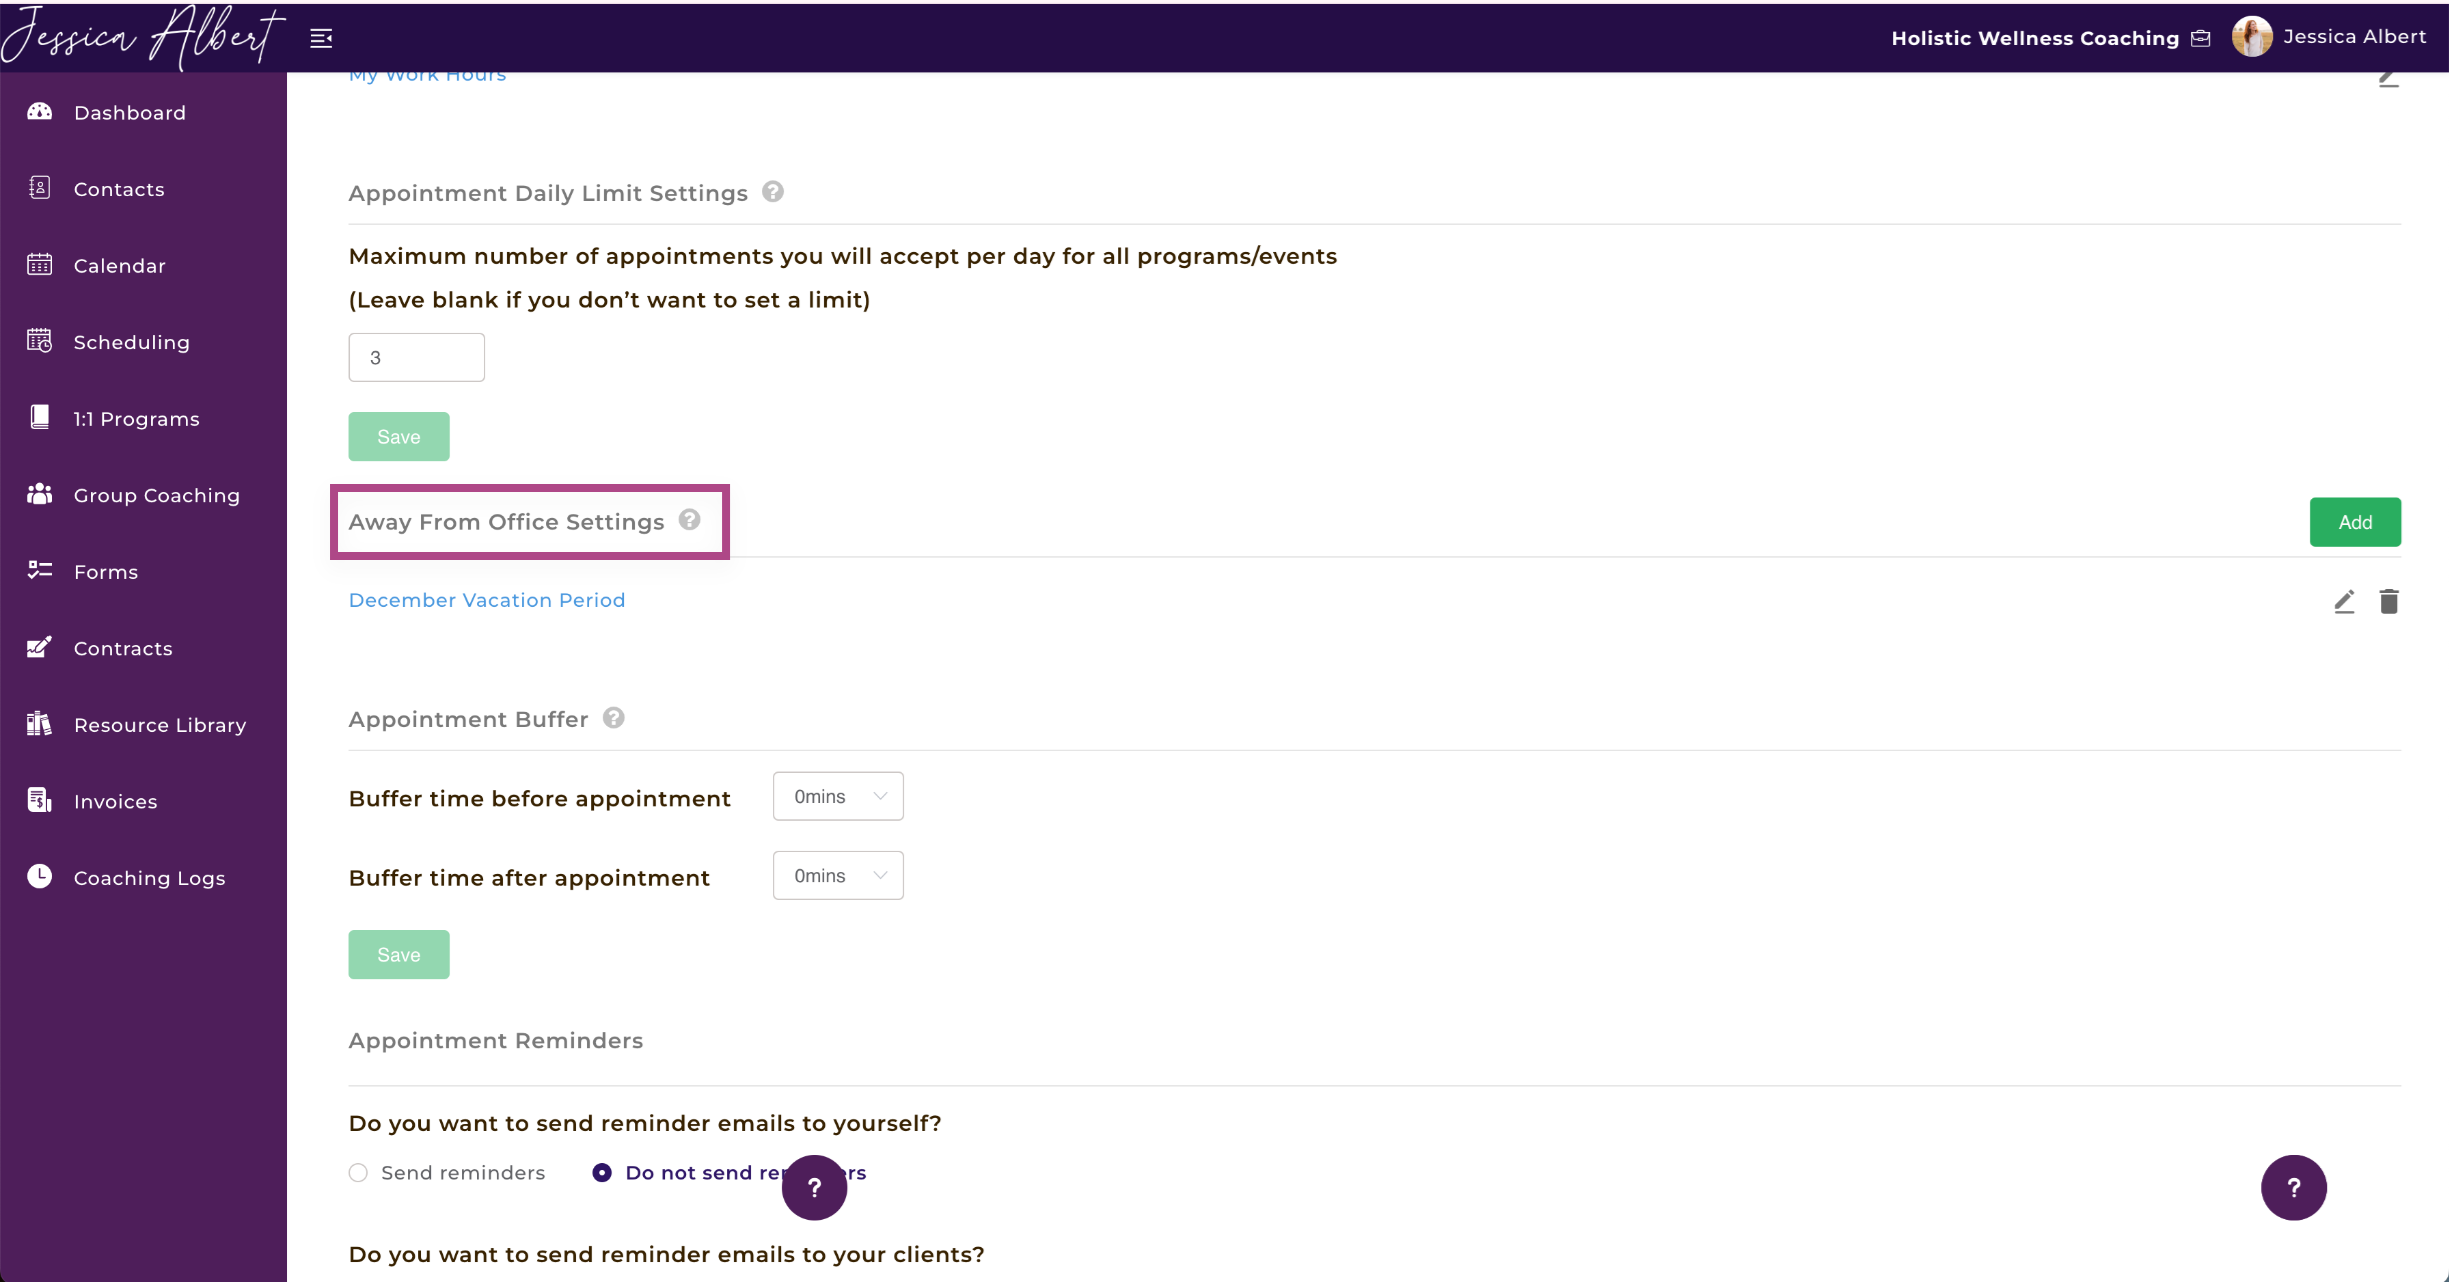
Away From Office Setting 🌴
The Away From Office setting allows you to specify when you are away from office and do not wish to be available for clients to book appointments with you.
For example, if you set up 1 - 15 December as Away From Office, your booking page will not display any available time slots for that duration. Therefore, no client bookings will be possible for any of your programs or events.
Follow these steps to add an away from office entry to your calendar:
- Click on the Add button.
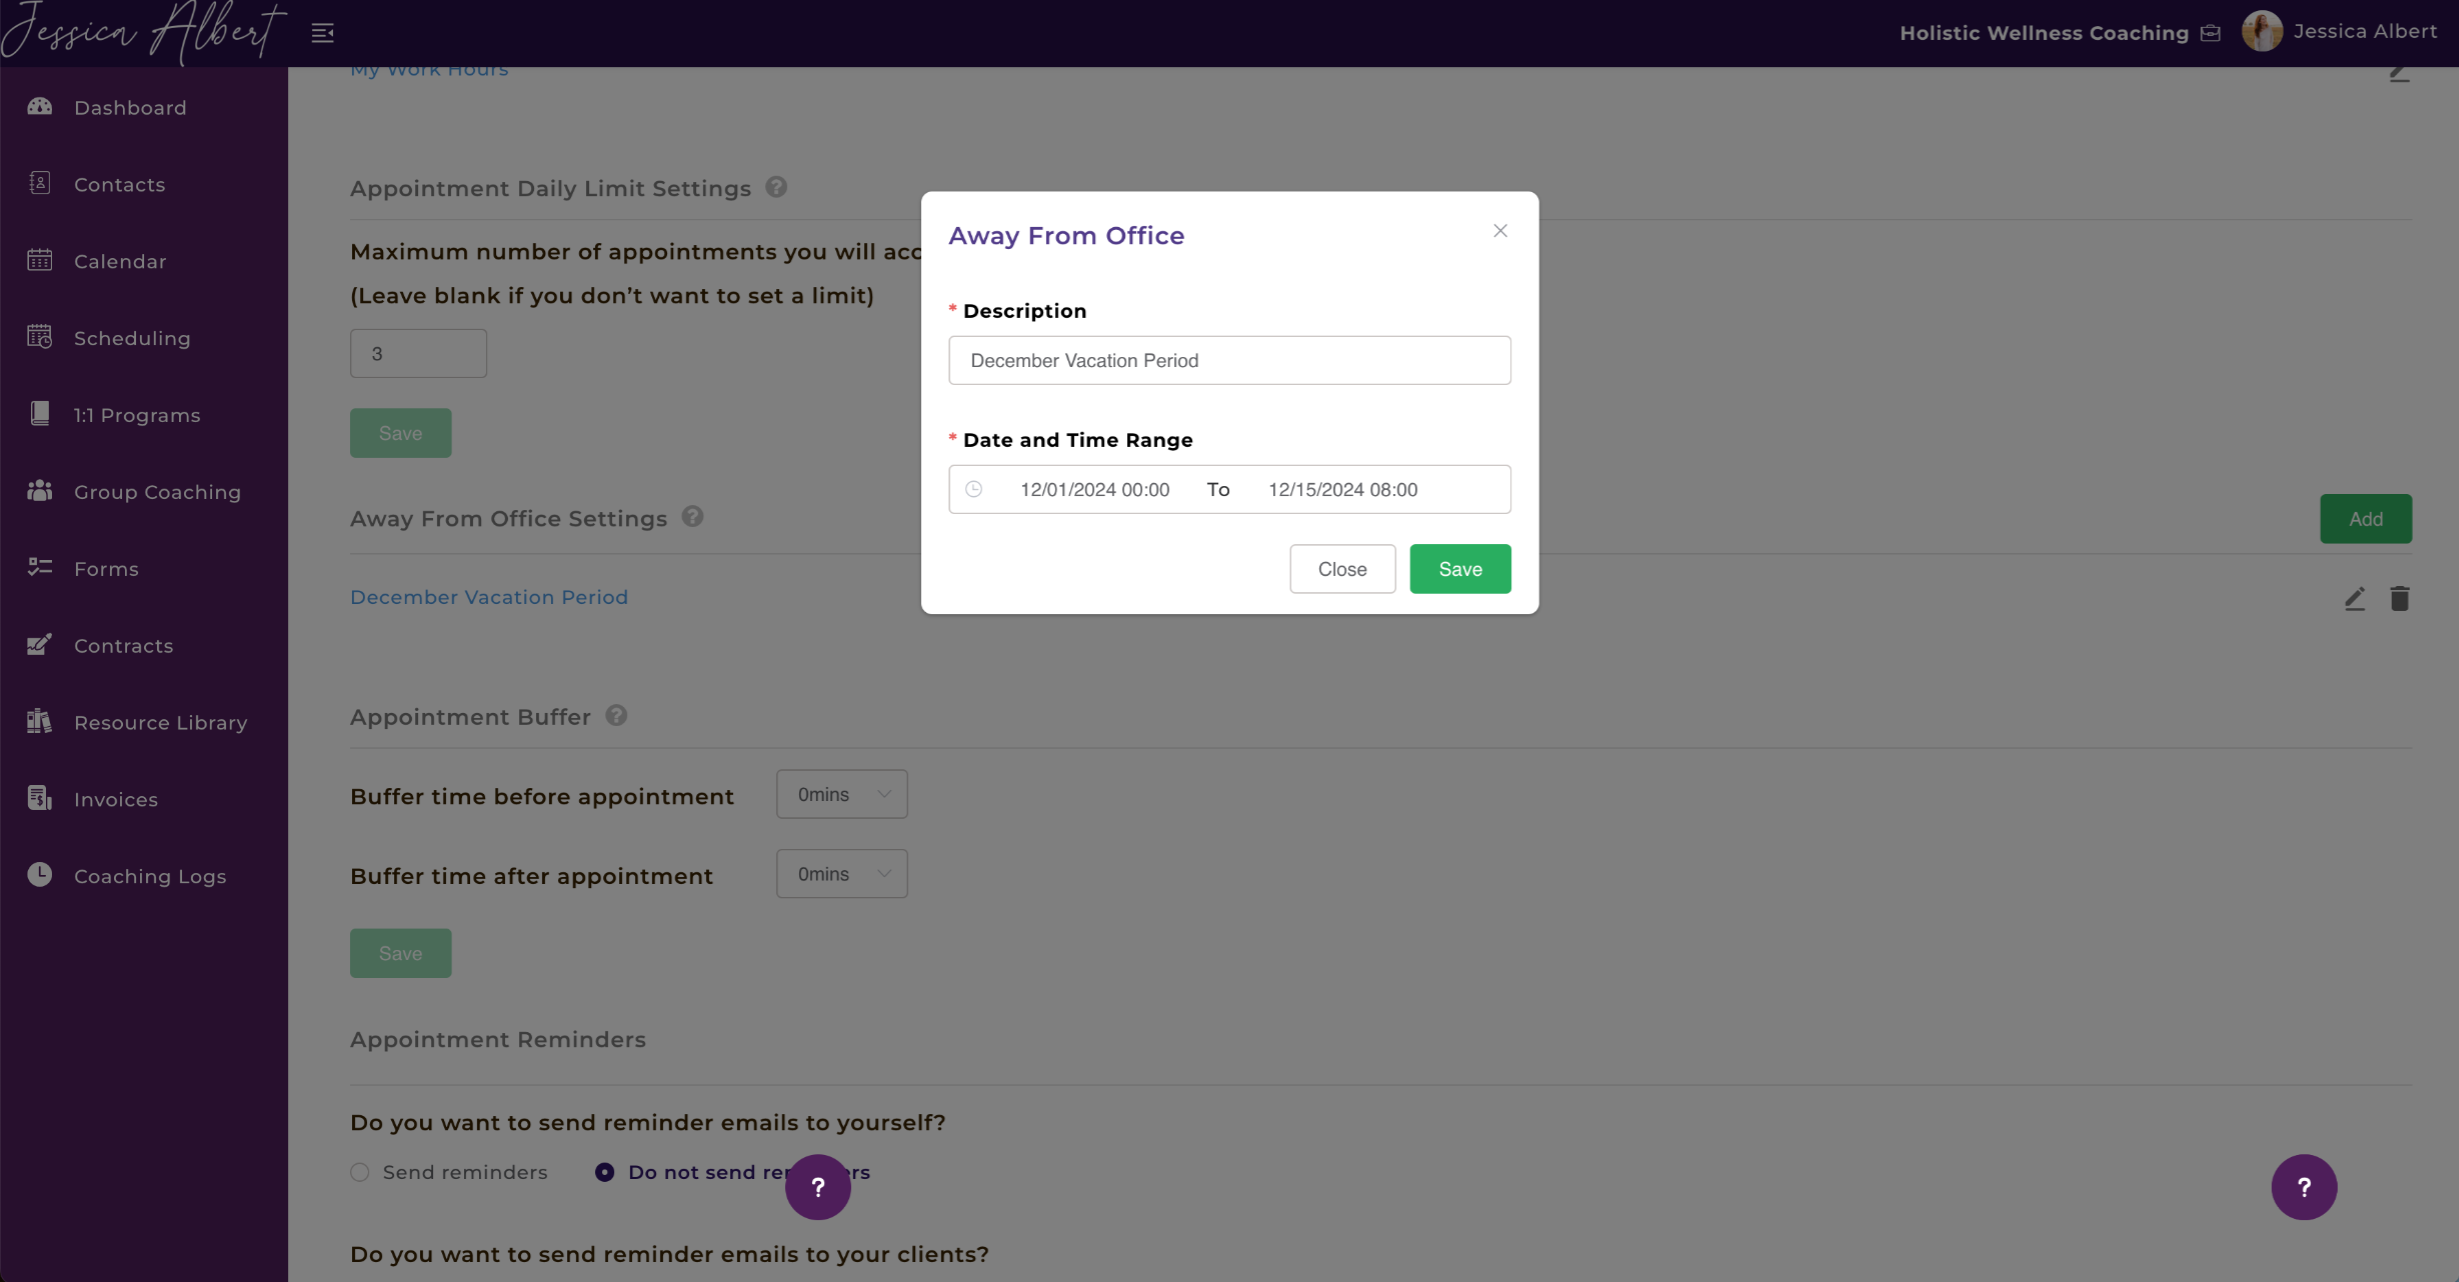
- The Away From Office window opens up.
- Enter a descriptive label in the Description field (for ex "December Vacation Period").
- Click in the Date and Time Range field to select the start date / start time and the end date / end time of your away from office setting.
- Click Save.
Once you have saved your away from office setting, you will see on your Calendar page that a ribbon labelled Away From Office - Description has been added to the calendar. This provides you with a visual cue on your calendar.
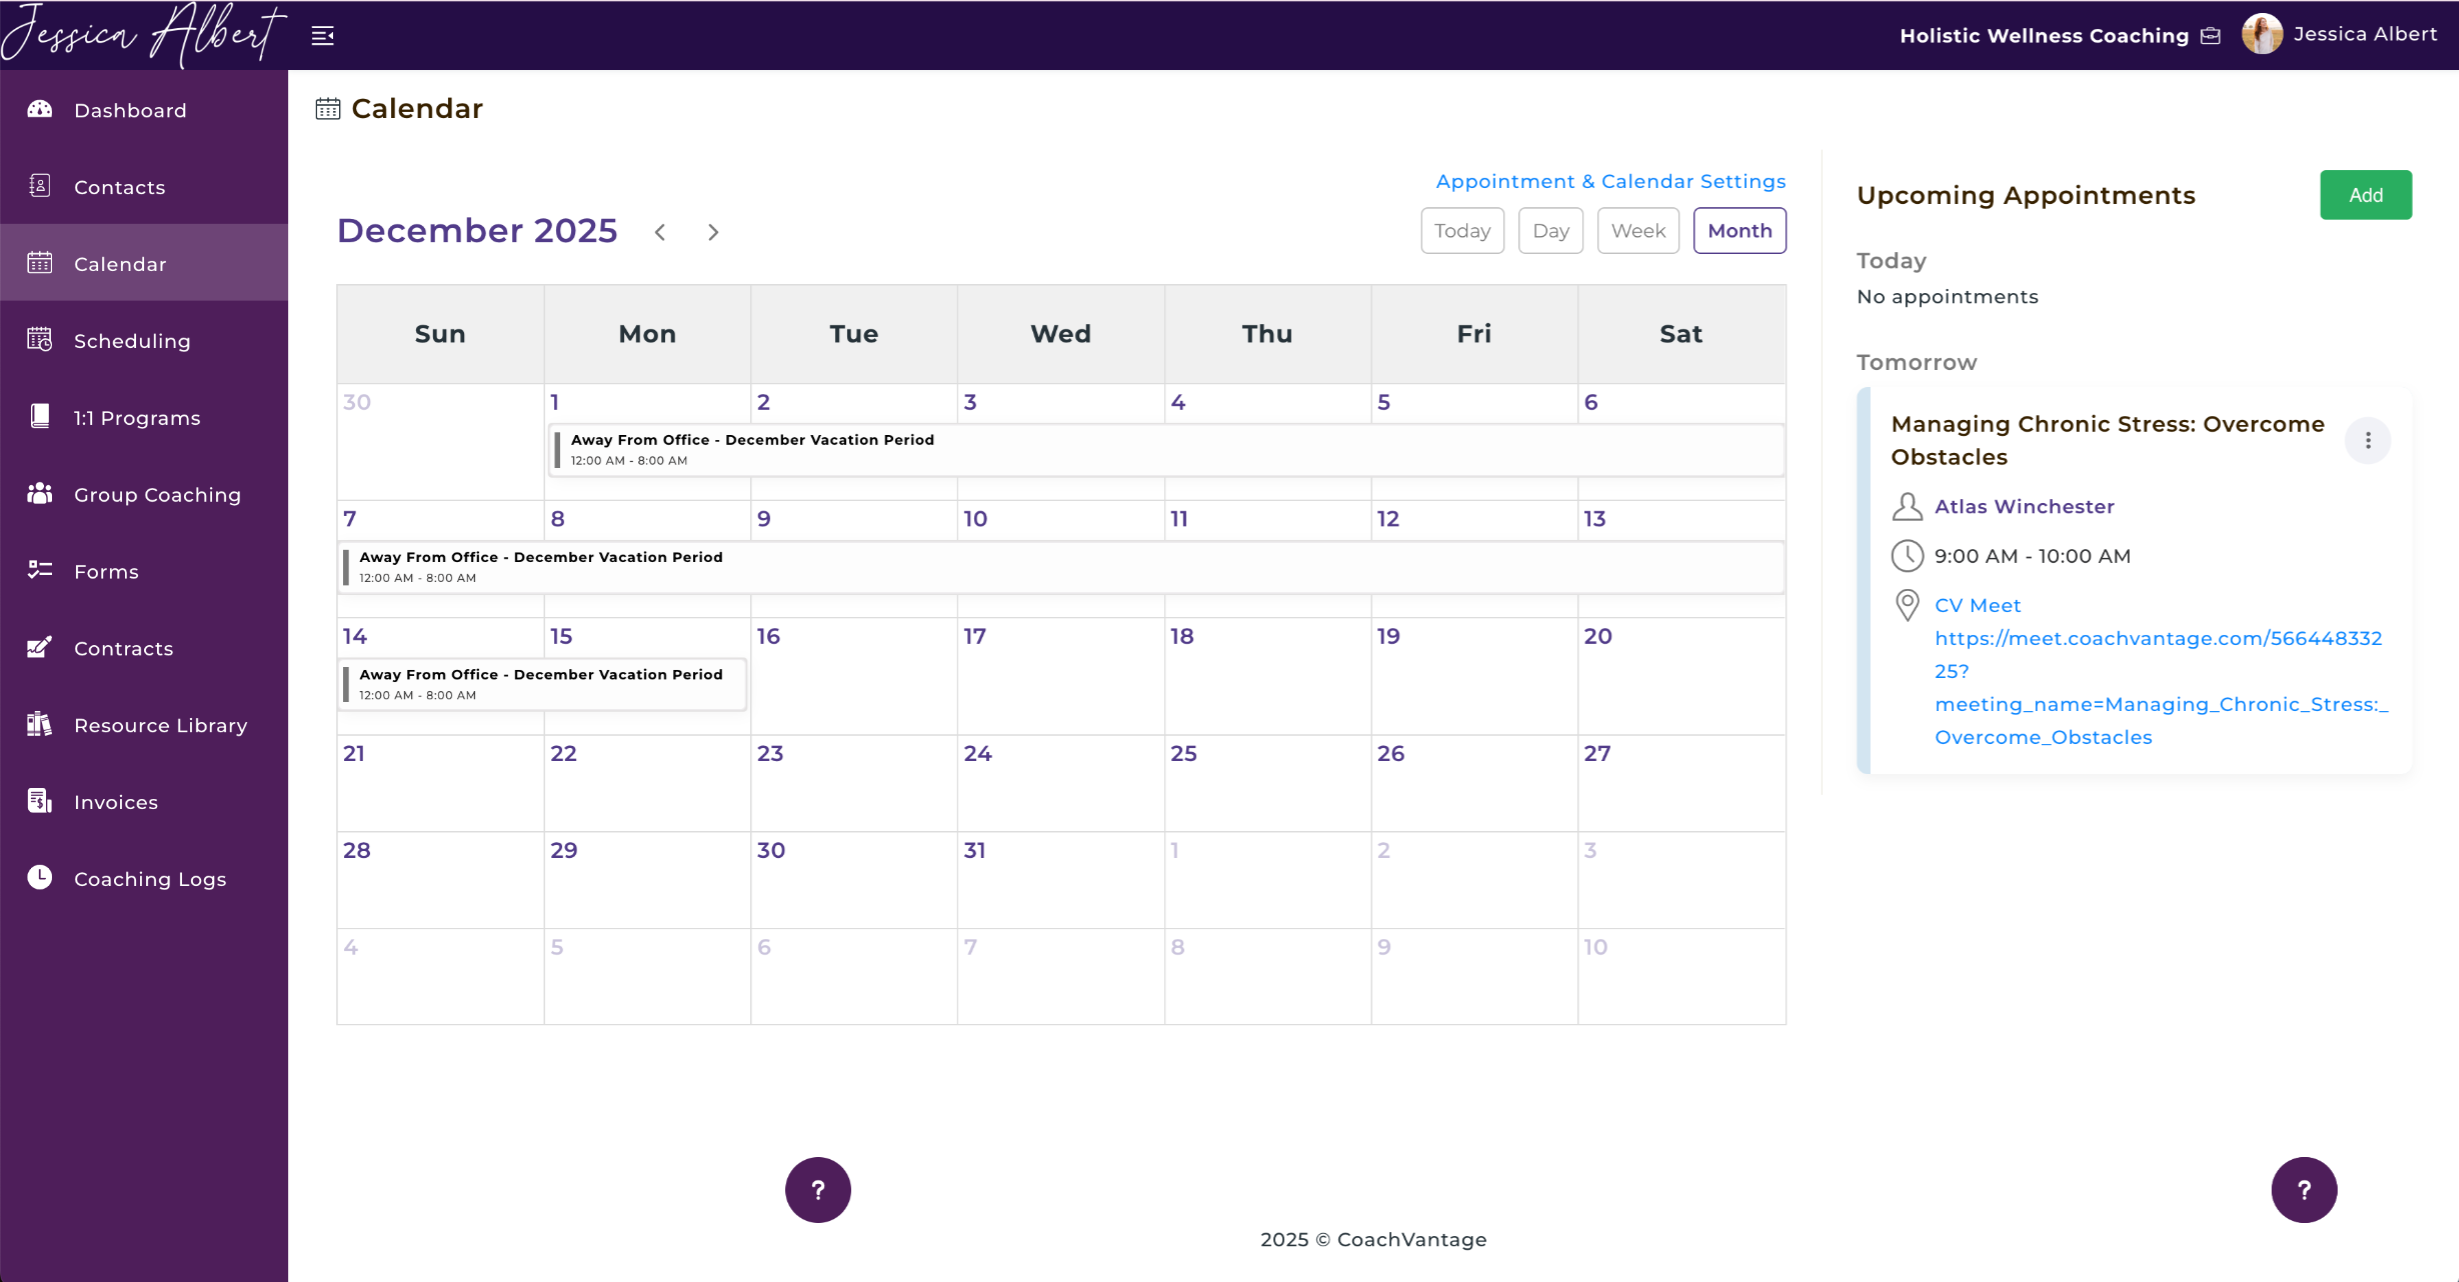
This setting is very useful when you are on vacation or for national holidays, if you don't wish to accept any client bookings for those days.
Appointment Buffer Setting ⌚️
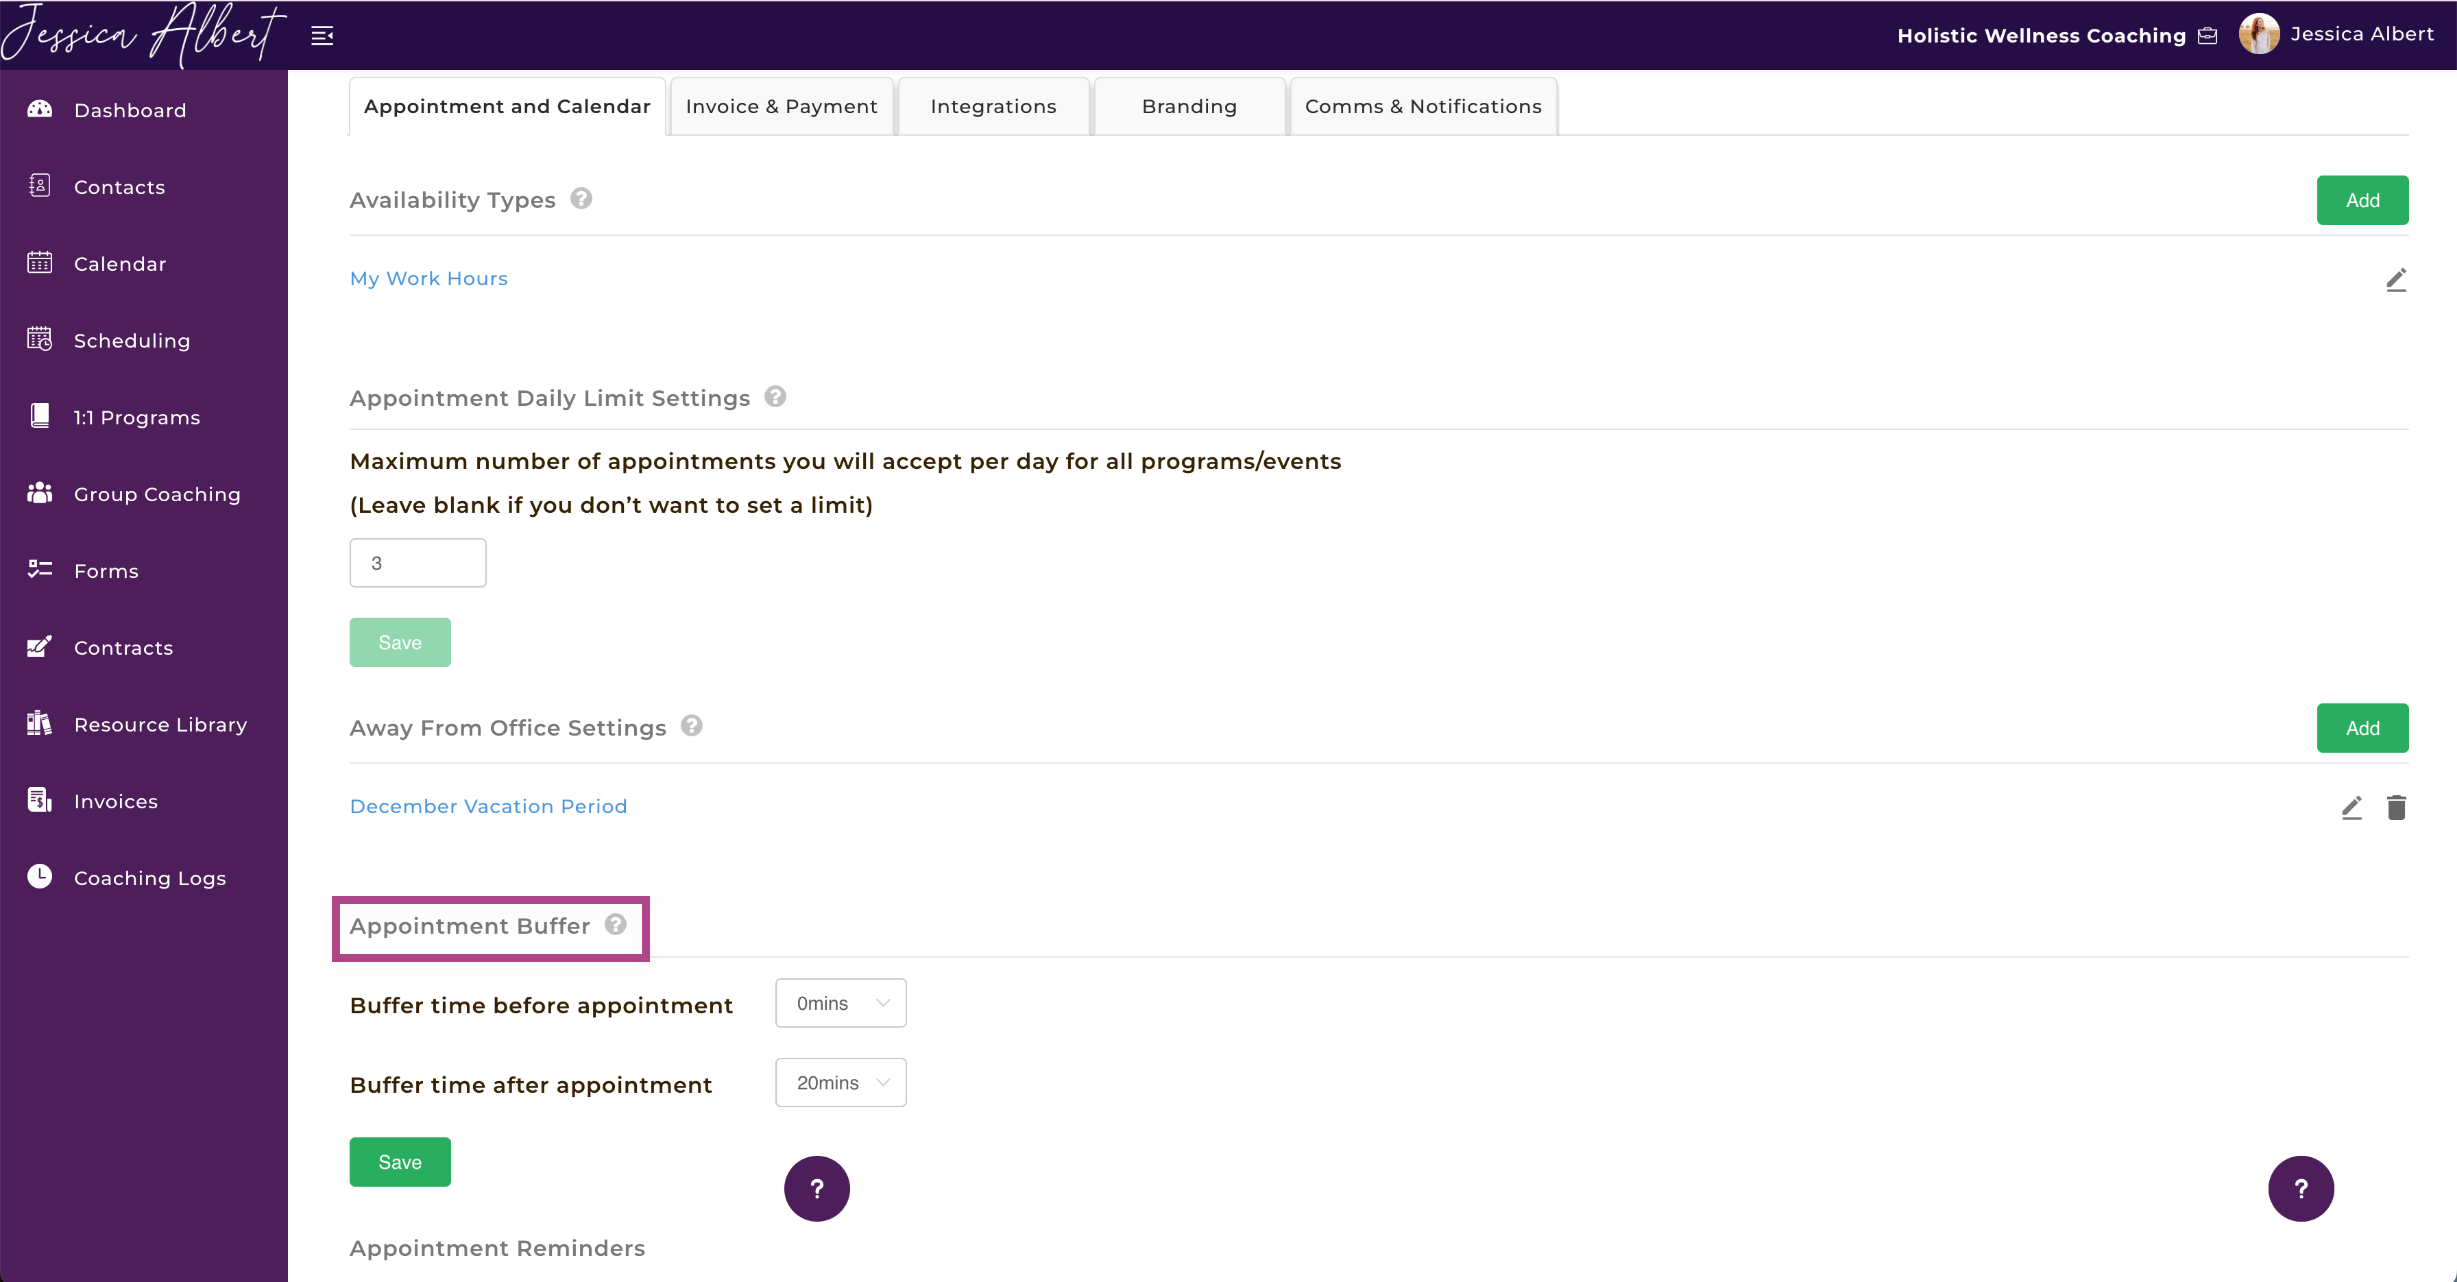
Appointment Buffers enable you to have time-padding for meeting over-runs or preparation time before meetings.
For example, if you set up a buffer time of 20 mins after a meeting, then your online booking page will display the next available time slot as 20 mins after the preceding appointment's end time.
Note: Buffer times work in conjunction with other scheduling settings, such as the Show Availability in Increments Of setting.
Let's say that you have an appointment in your calendar that ends at 3pm and you have set up your availability from 9am to 5pm, with availability increments of 15 mins (i.e. 9am, 9:15am, 9:30am....4:30pm, 4:45pm, etc).
When your booking page is viewed, your clients will see your next available time slot as 3:30pm instead of 3:15pm because of the effect of the buffer time setting of 20 mins after a meeting.
Note: Buffer times are not shown on your calendar and will not be synced to your external calendar. Only the actual meeting duration is reflected on your calendar page in CoachVantage and synced to your external calendar.
Appointment Reminders Setting 🔔
You can configure automated email appointment reminders to be sent to yourself and to your clients.
Simply check the Send Reminders button and then select how often you want reminders to be sent. Reminders can be sent 2 days before, 1 day before, and 1 hour before an appointment.
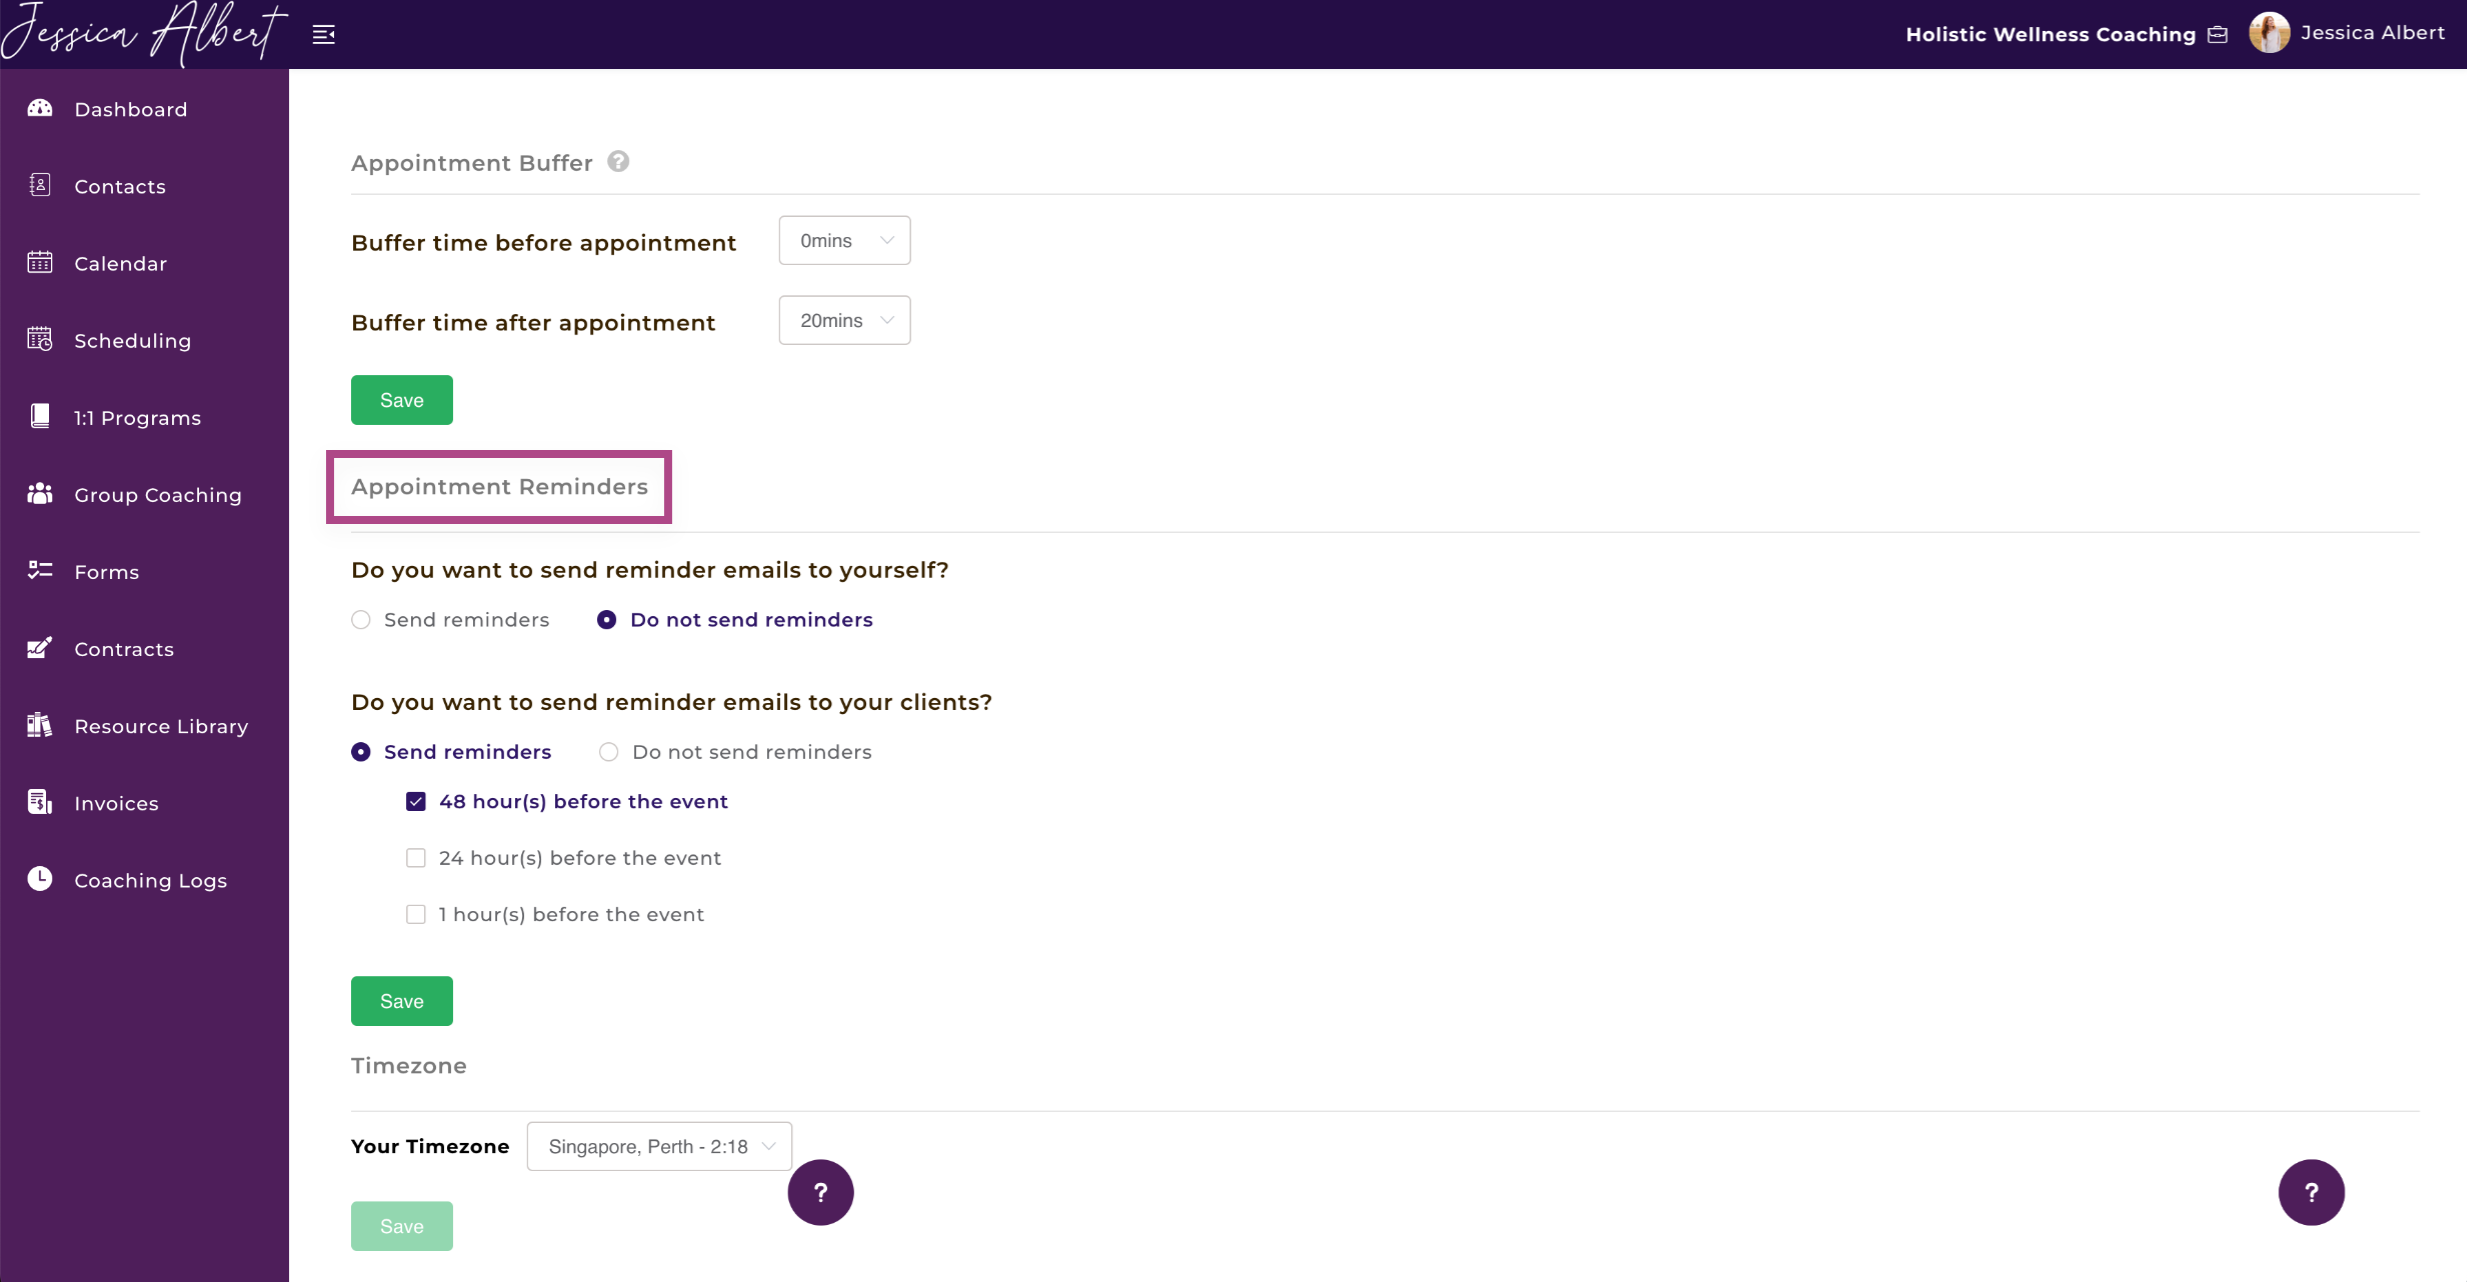
Time Zone Setting 🕒
IMPORTANT: It is imperative that you set up the time zone setting based on the time zone where you are located. All appointment dates and times in your account are displayed according to your time zone setting.
Select your time zone using the drop-down menu, or type in your city in the field and it will dynamically display the city you search for.
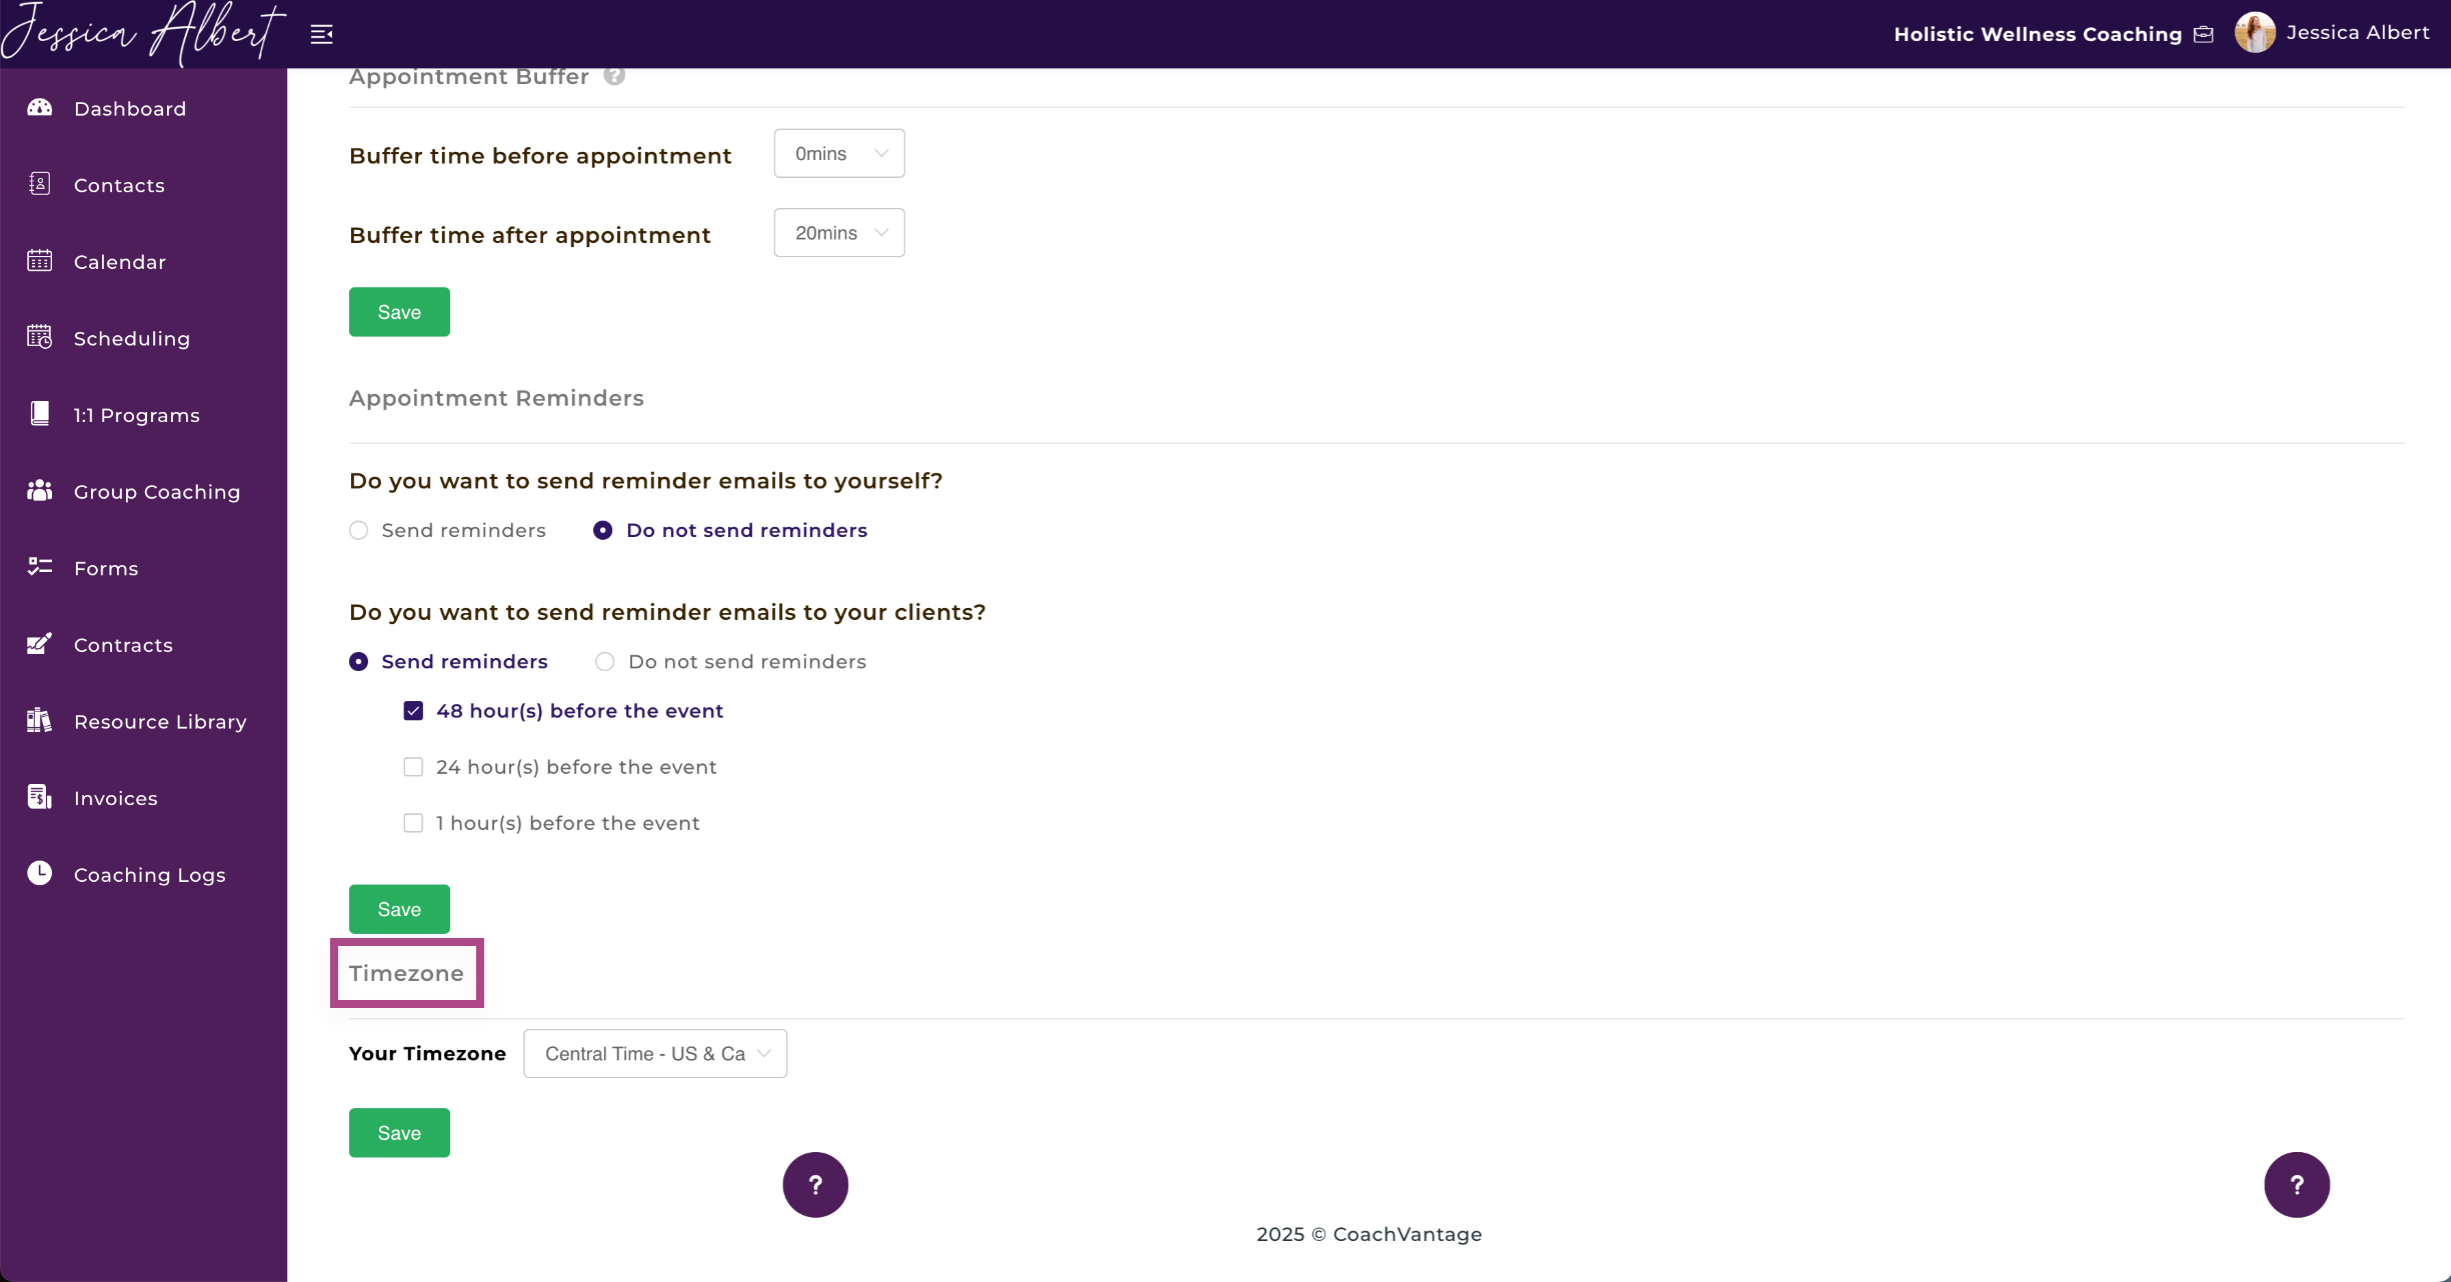
IMPORTANT: You can change your time zone depending on your location. For example, if you are traveling or have relocated to a different city, be sure to update your time zone setting (go to My Settings > Appointment & Calendar tab). CoachVantage will automatically update all existing meeting times to your new time zone setting.
Note: When you change your time zone setting, the day/times that you have configured for your Availability Types WILL NOT CHANGE. These will remain as originally configured. This logic is premised on the basis that your working hours will not change irrespective of where you are located.
For example, if you have configured your available days/hours for an Availability Type as Mondays to Fridays from 9am to 5pm when you were in London time zone (GMT) and you subsequently change your time zone setting to Pacific Time zone (GMT -8), your availability type will remain as Monday's to Friday's 9am to 5pm (instead of Mondays to Thursdays 1am to 9am).
Note: Your clients are also able to set their time zone in the client portal. Appointments that you create with clients will be converted automatically to their time zone in the client portal as well as in the email notifications that they receive.