How to Send Contracts
Overview
CoachVantage allows you to send a contract to a client for electronic signature from two locations:
Option #1: Contracts Page 🤝
If you send a contract from the Contracts page, you will complete these 4 steps:
- Select Document
- Select Client
- Edit Document
- Preview and Send
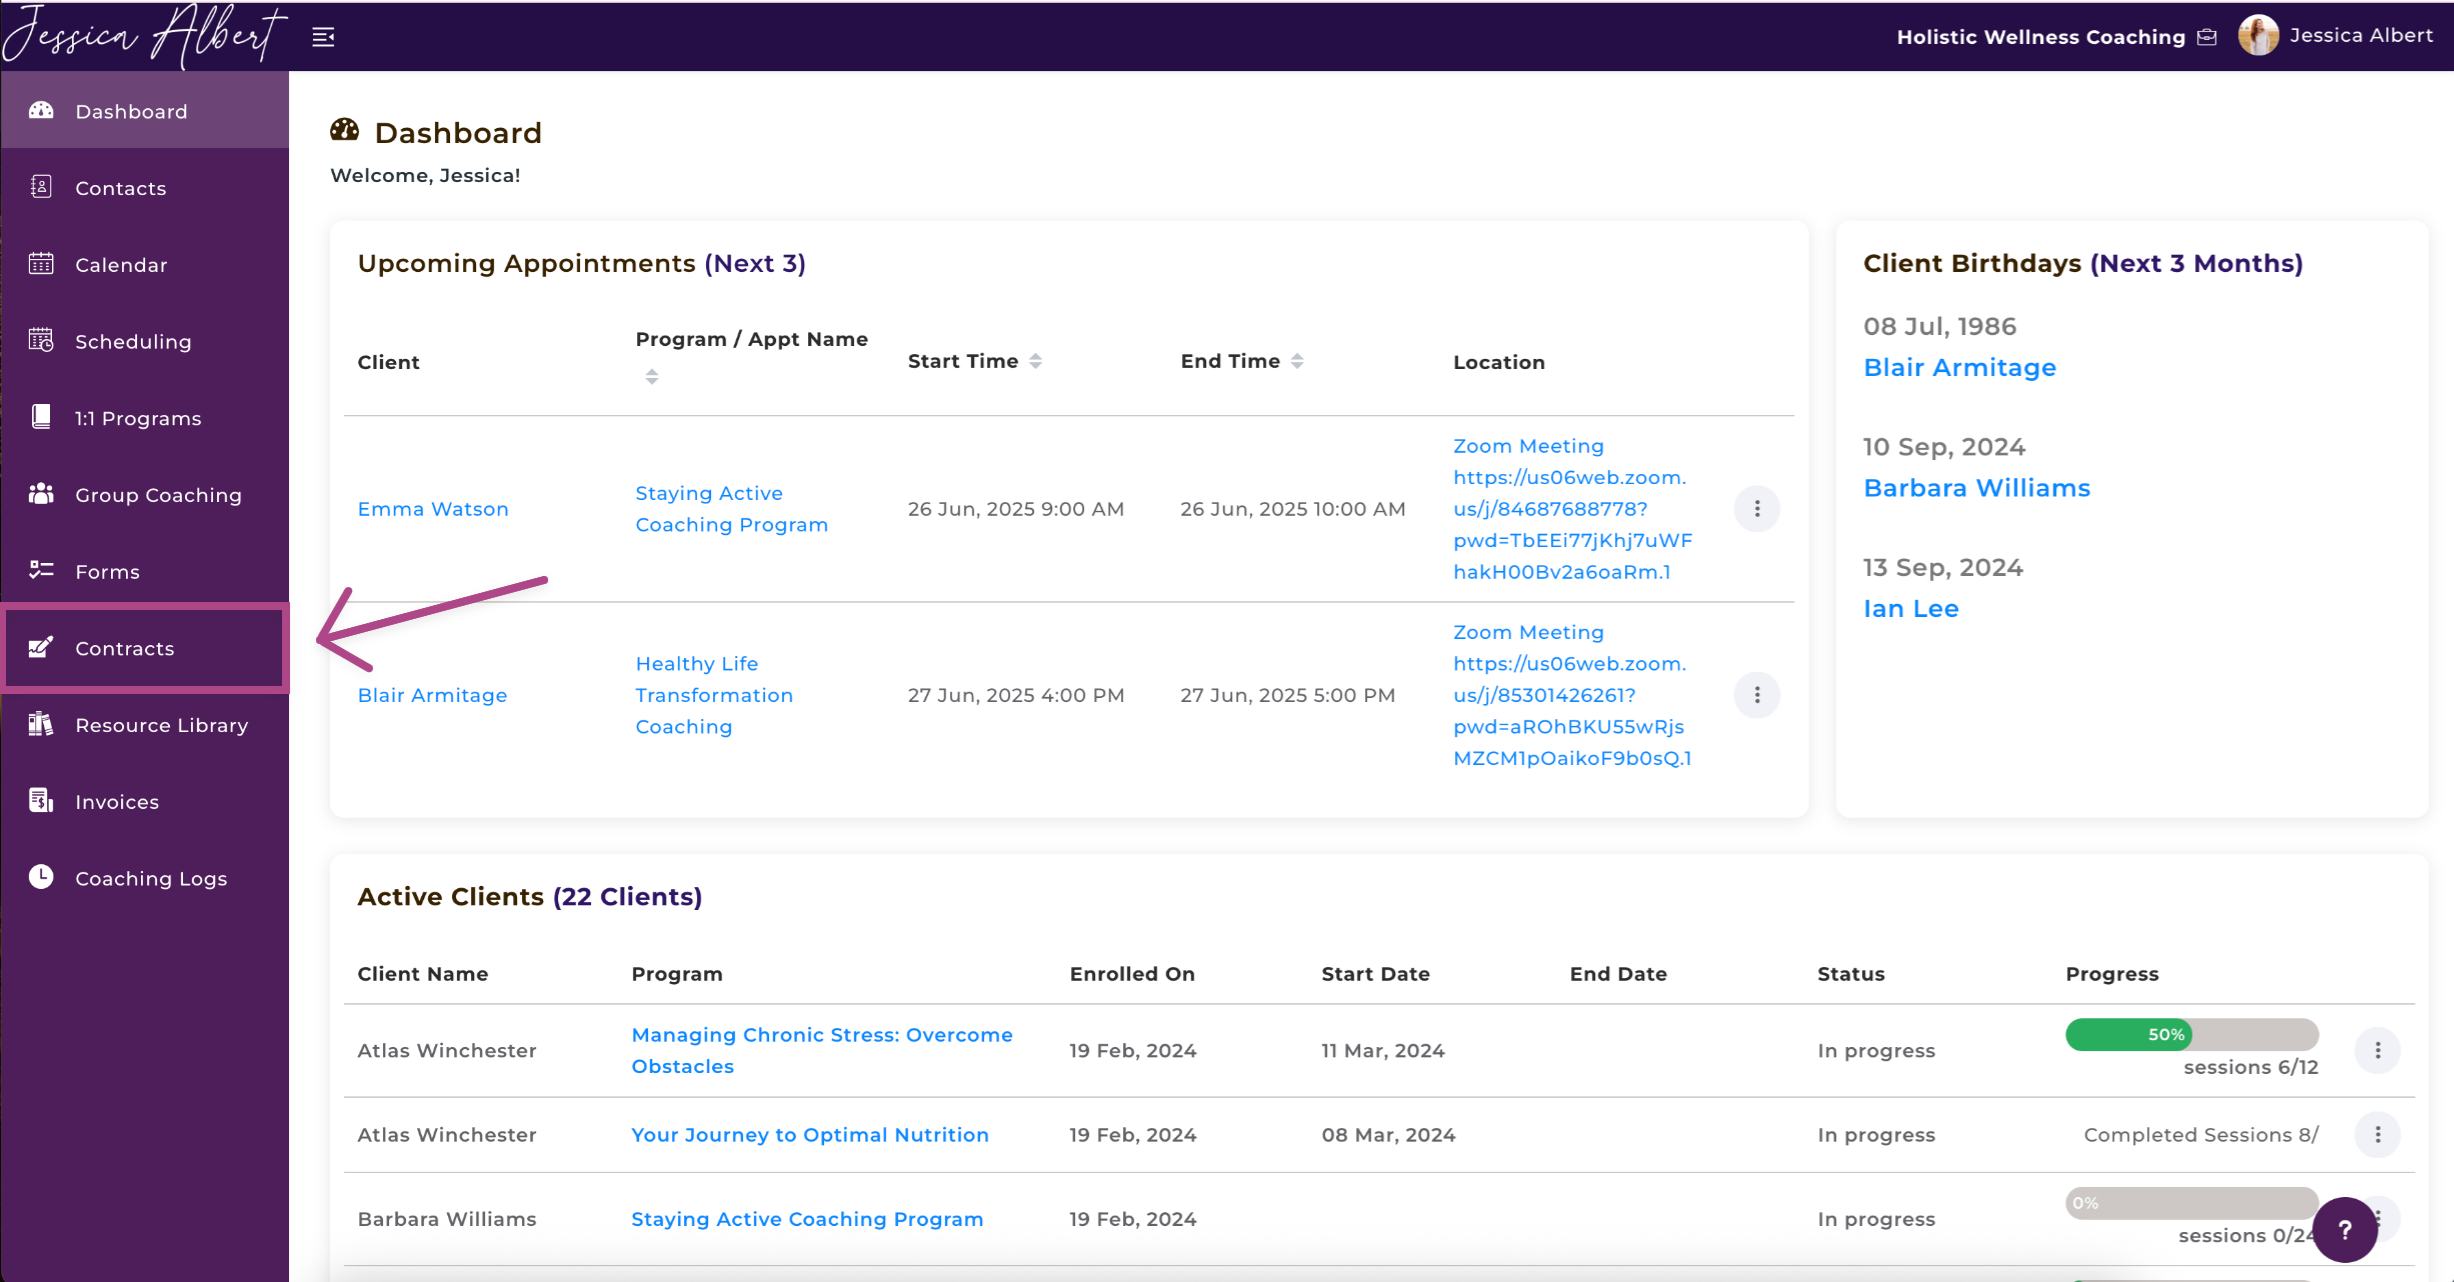
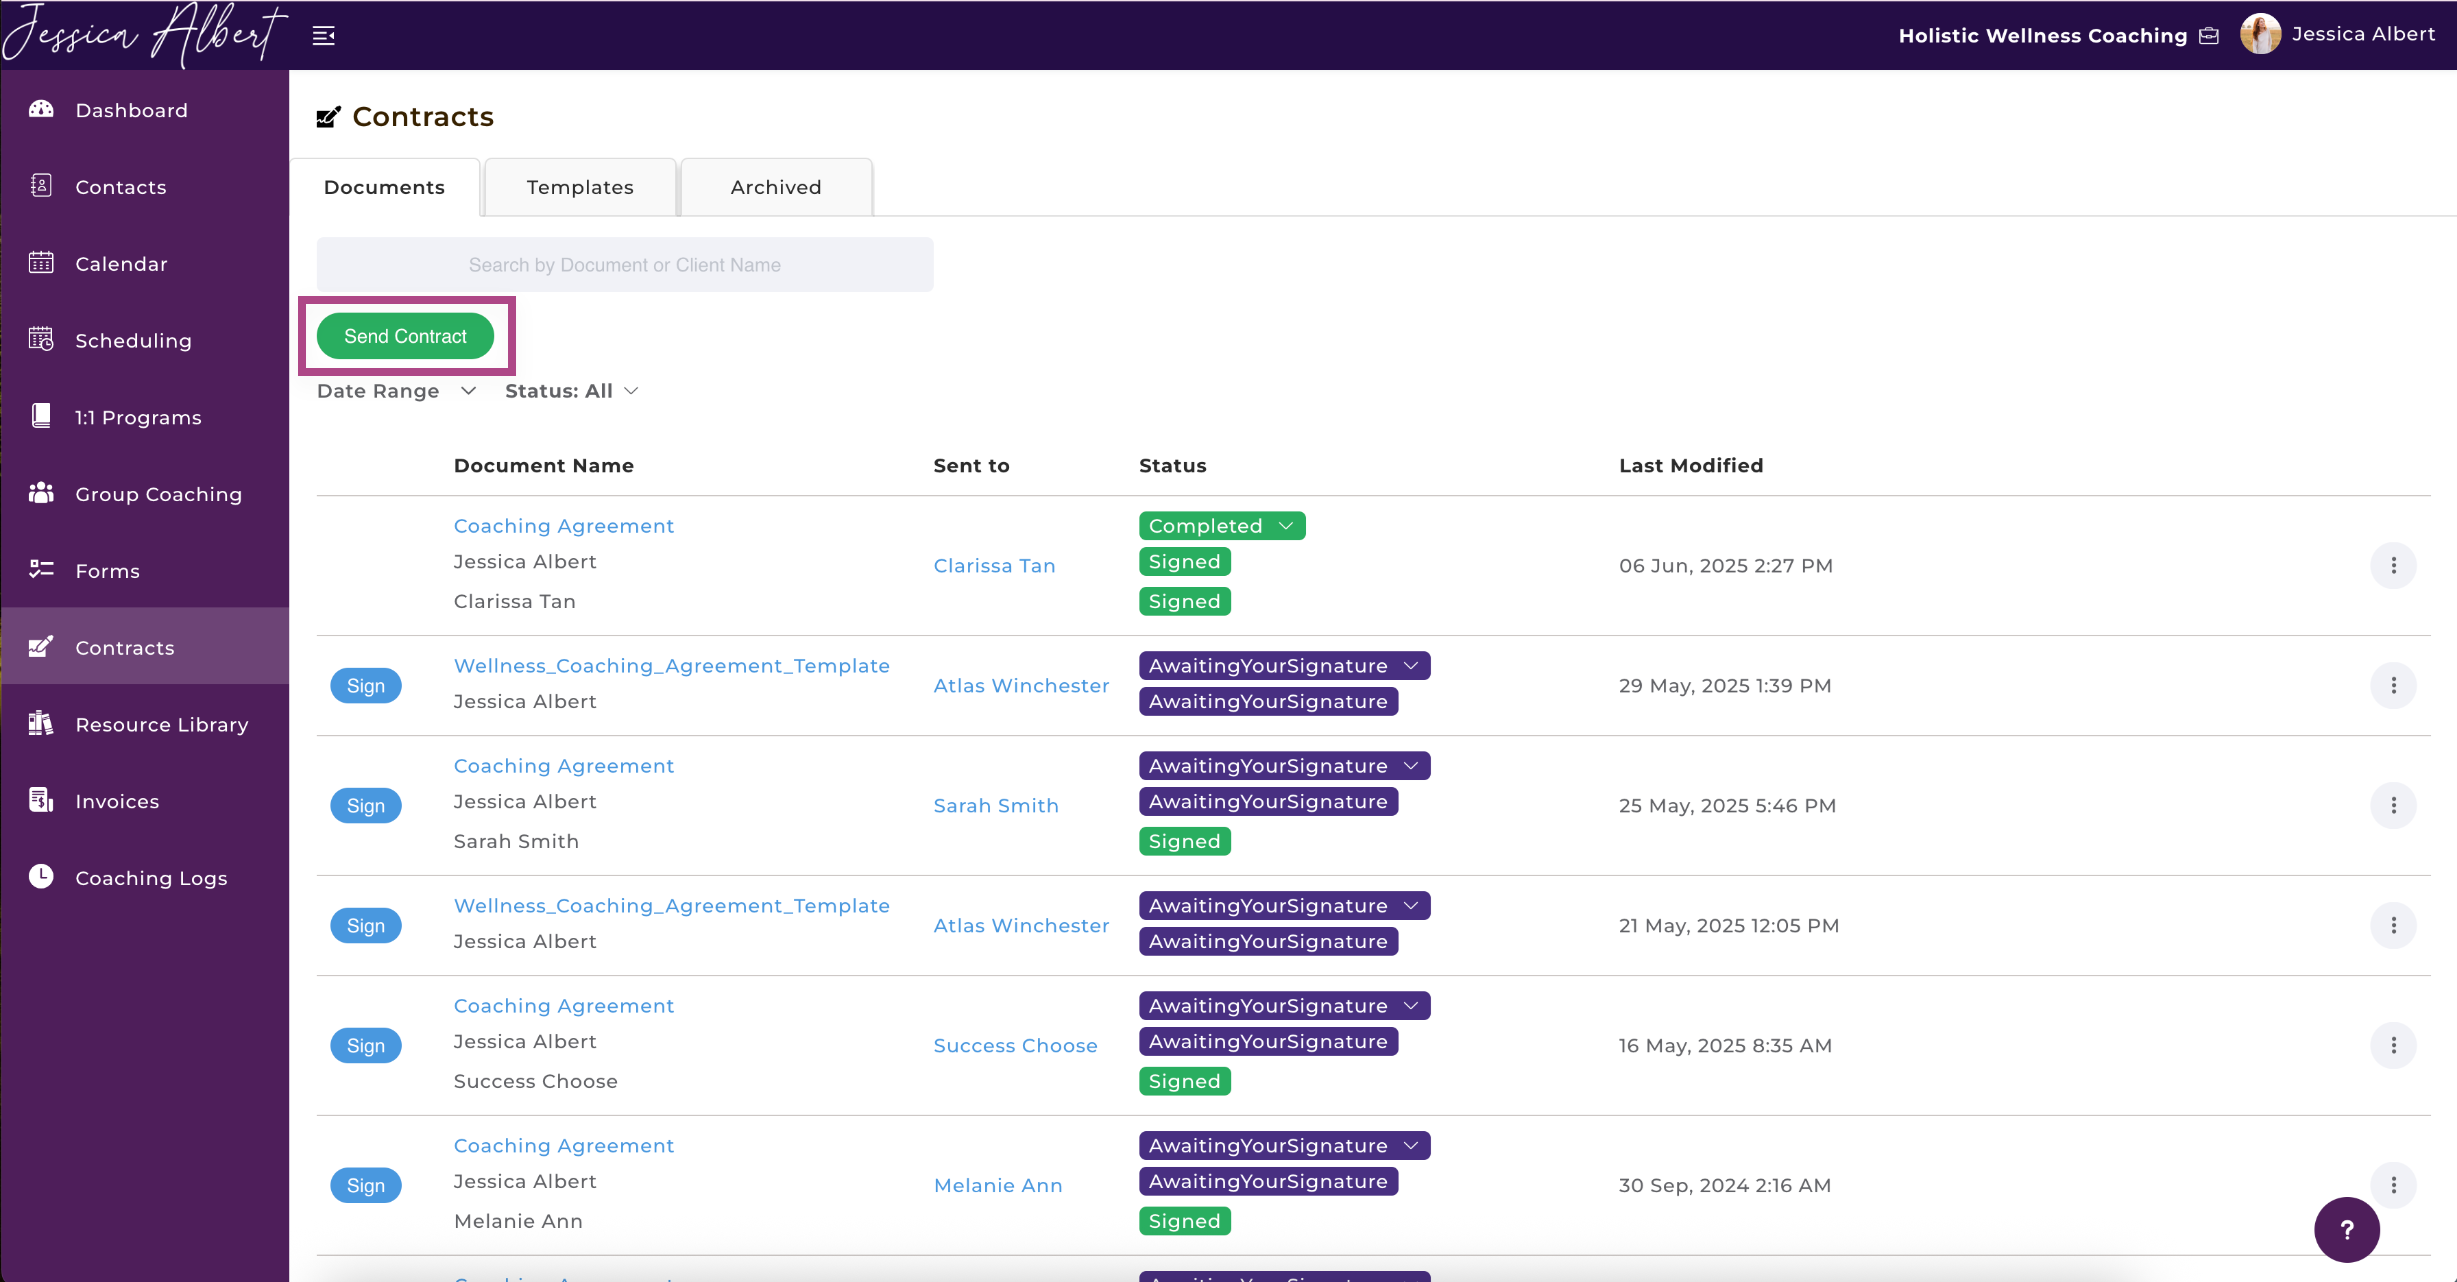
To begin, select Contracts from the left-hand menu, then click Send Contract.
Step 1: Select Document
Choose one of the following options:
- Upload Document: Upload a contract from your device or Resource Library.
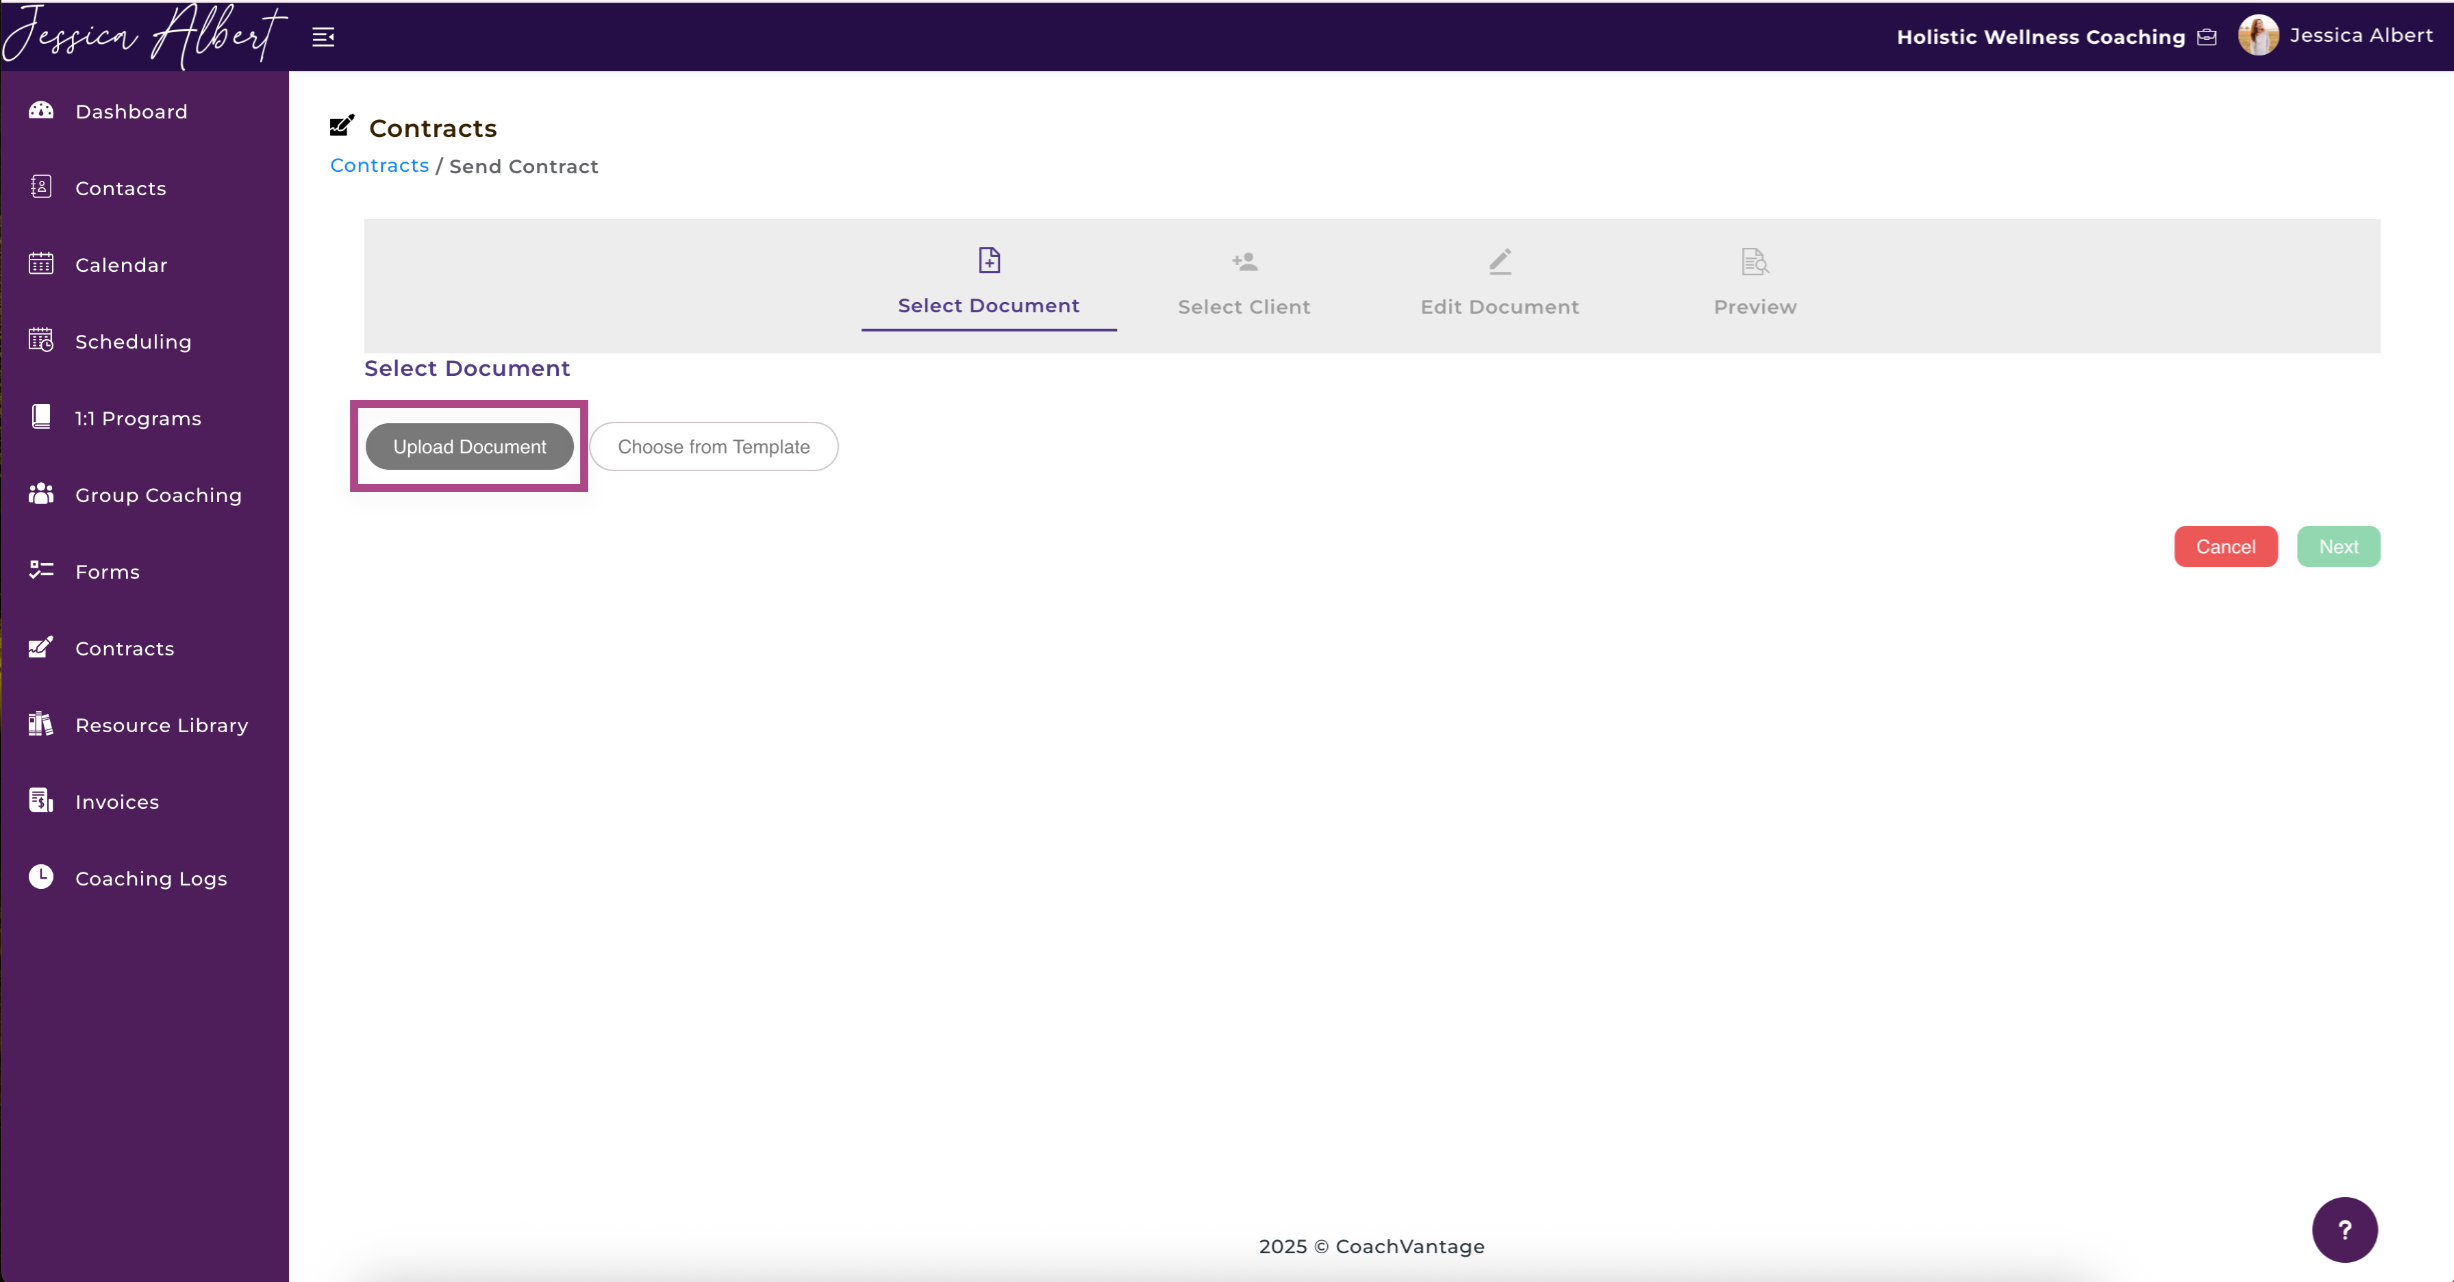
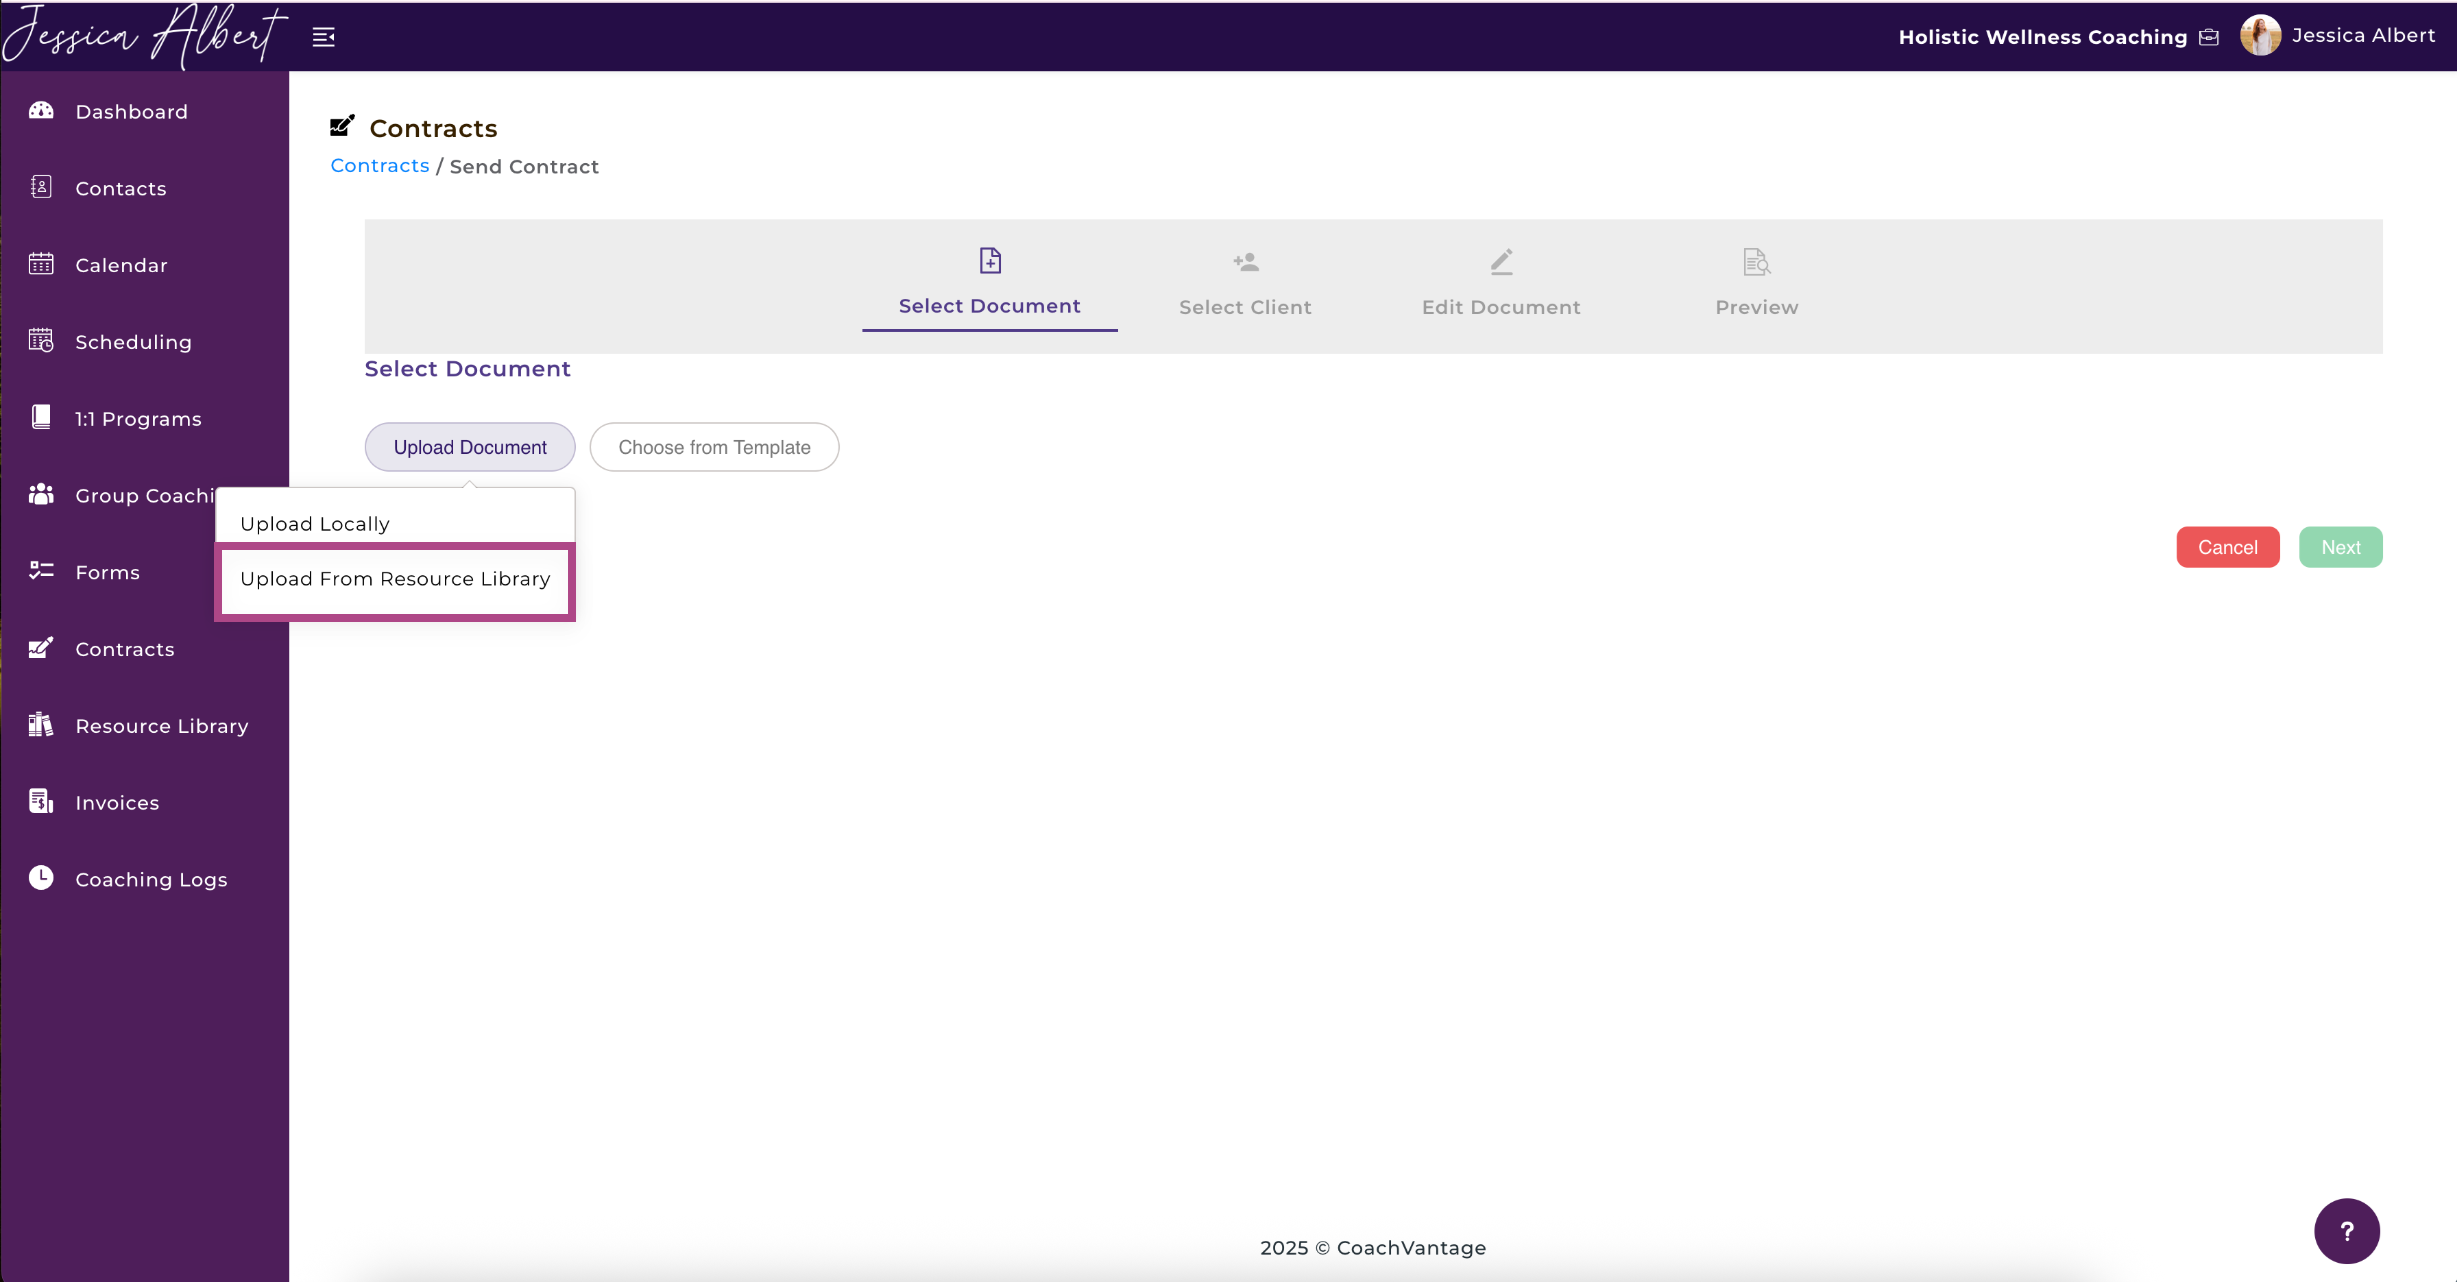
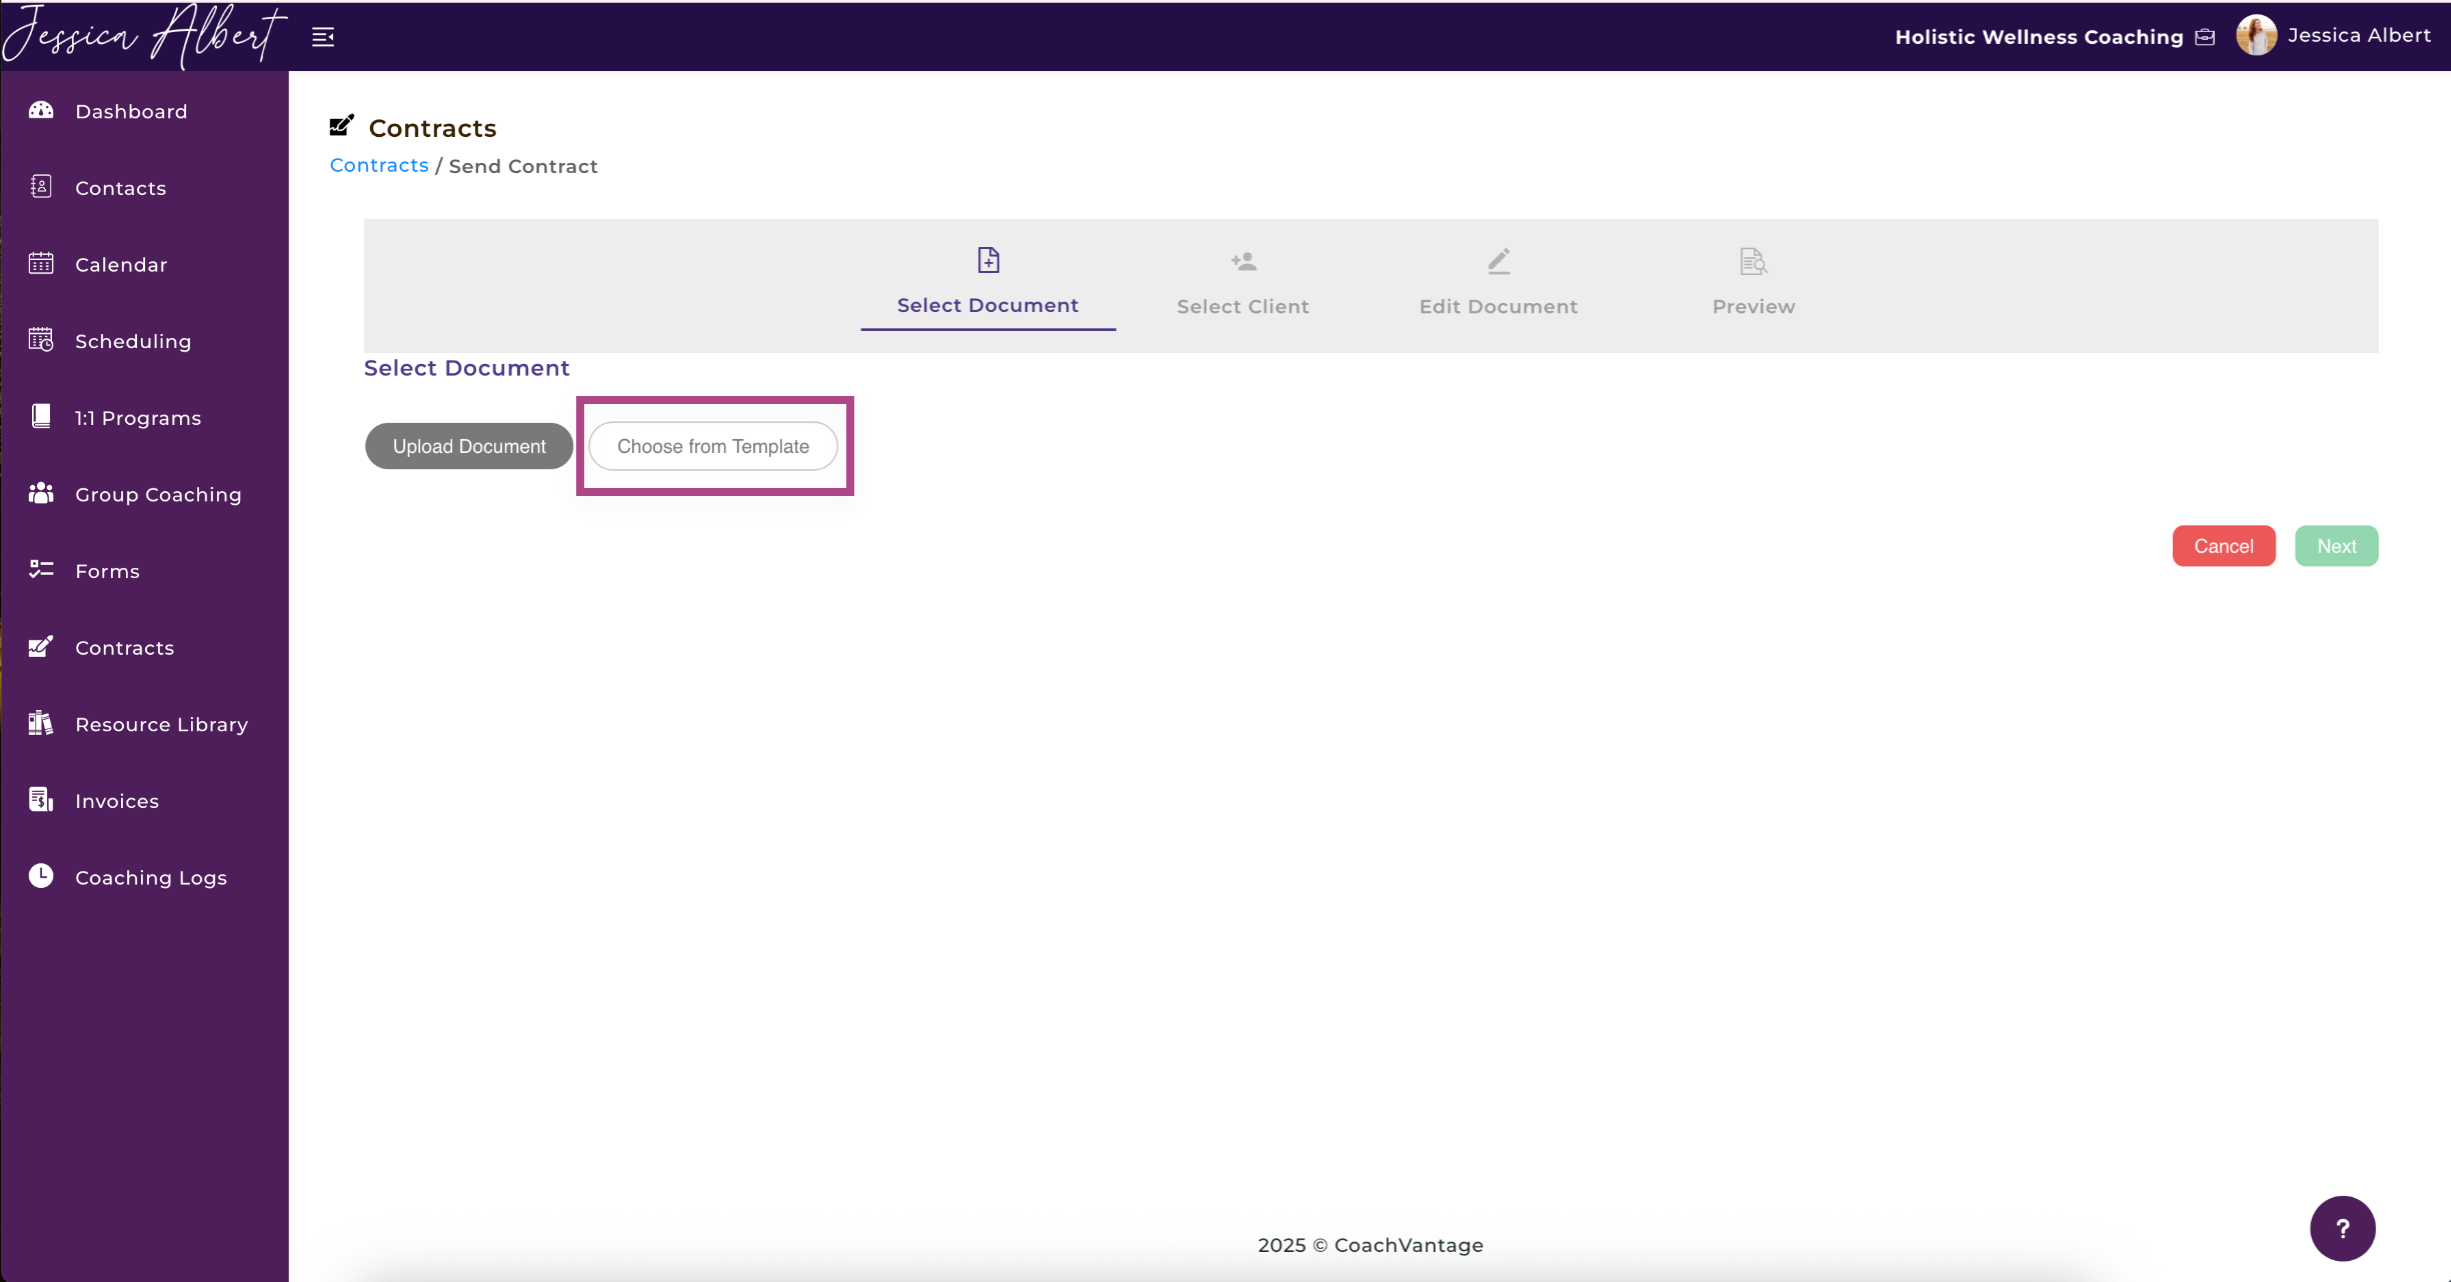
- Choose from Template: Select a contract template you previously created in CoachVantage.
If you click the Choose From Template button, you can select a template that you have already created.
Important: Contracts uploaded to CoachVantage must be PDF files. Microsoft Word documents (.doc or .docx) and other file types are not supported.
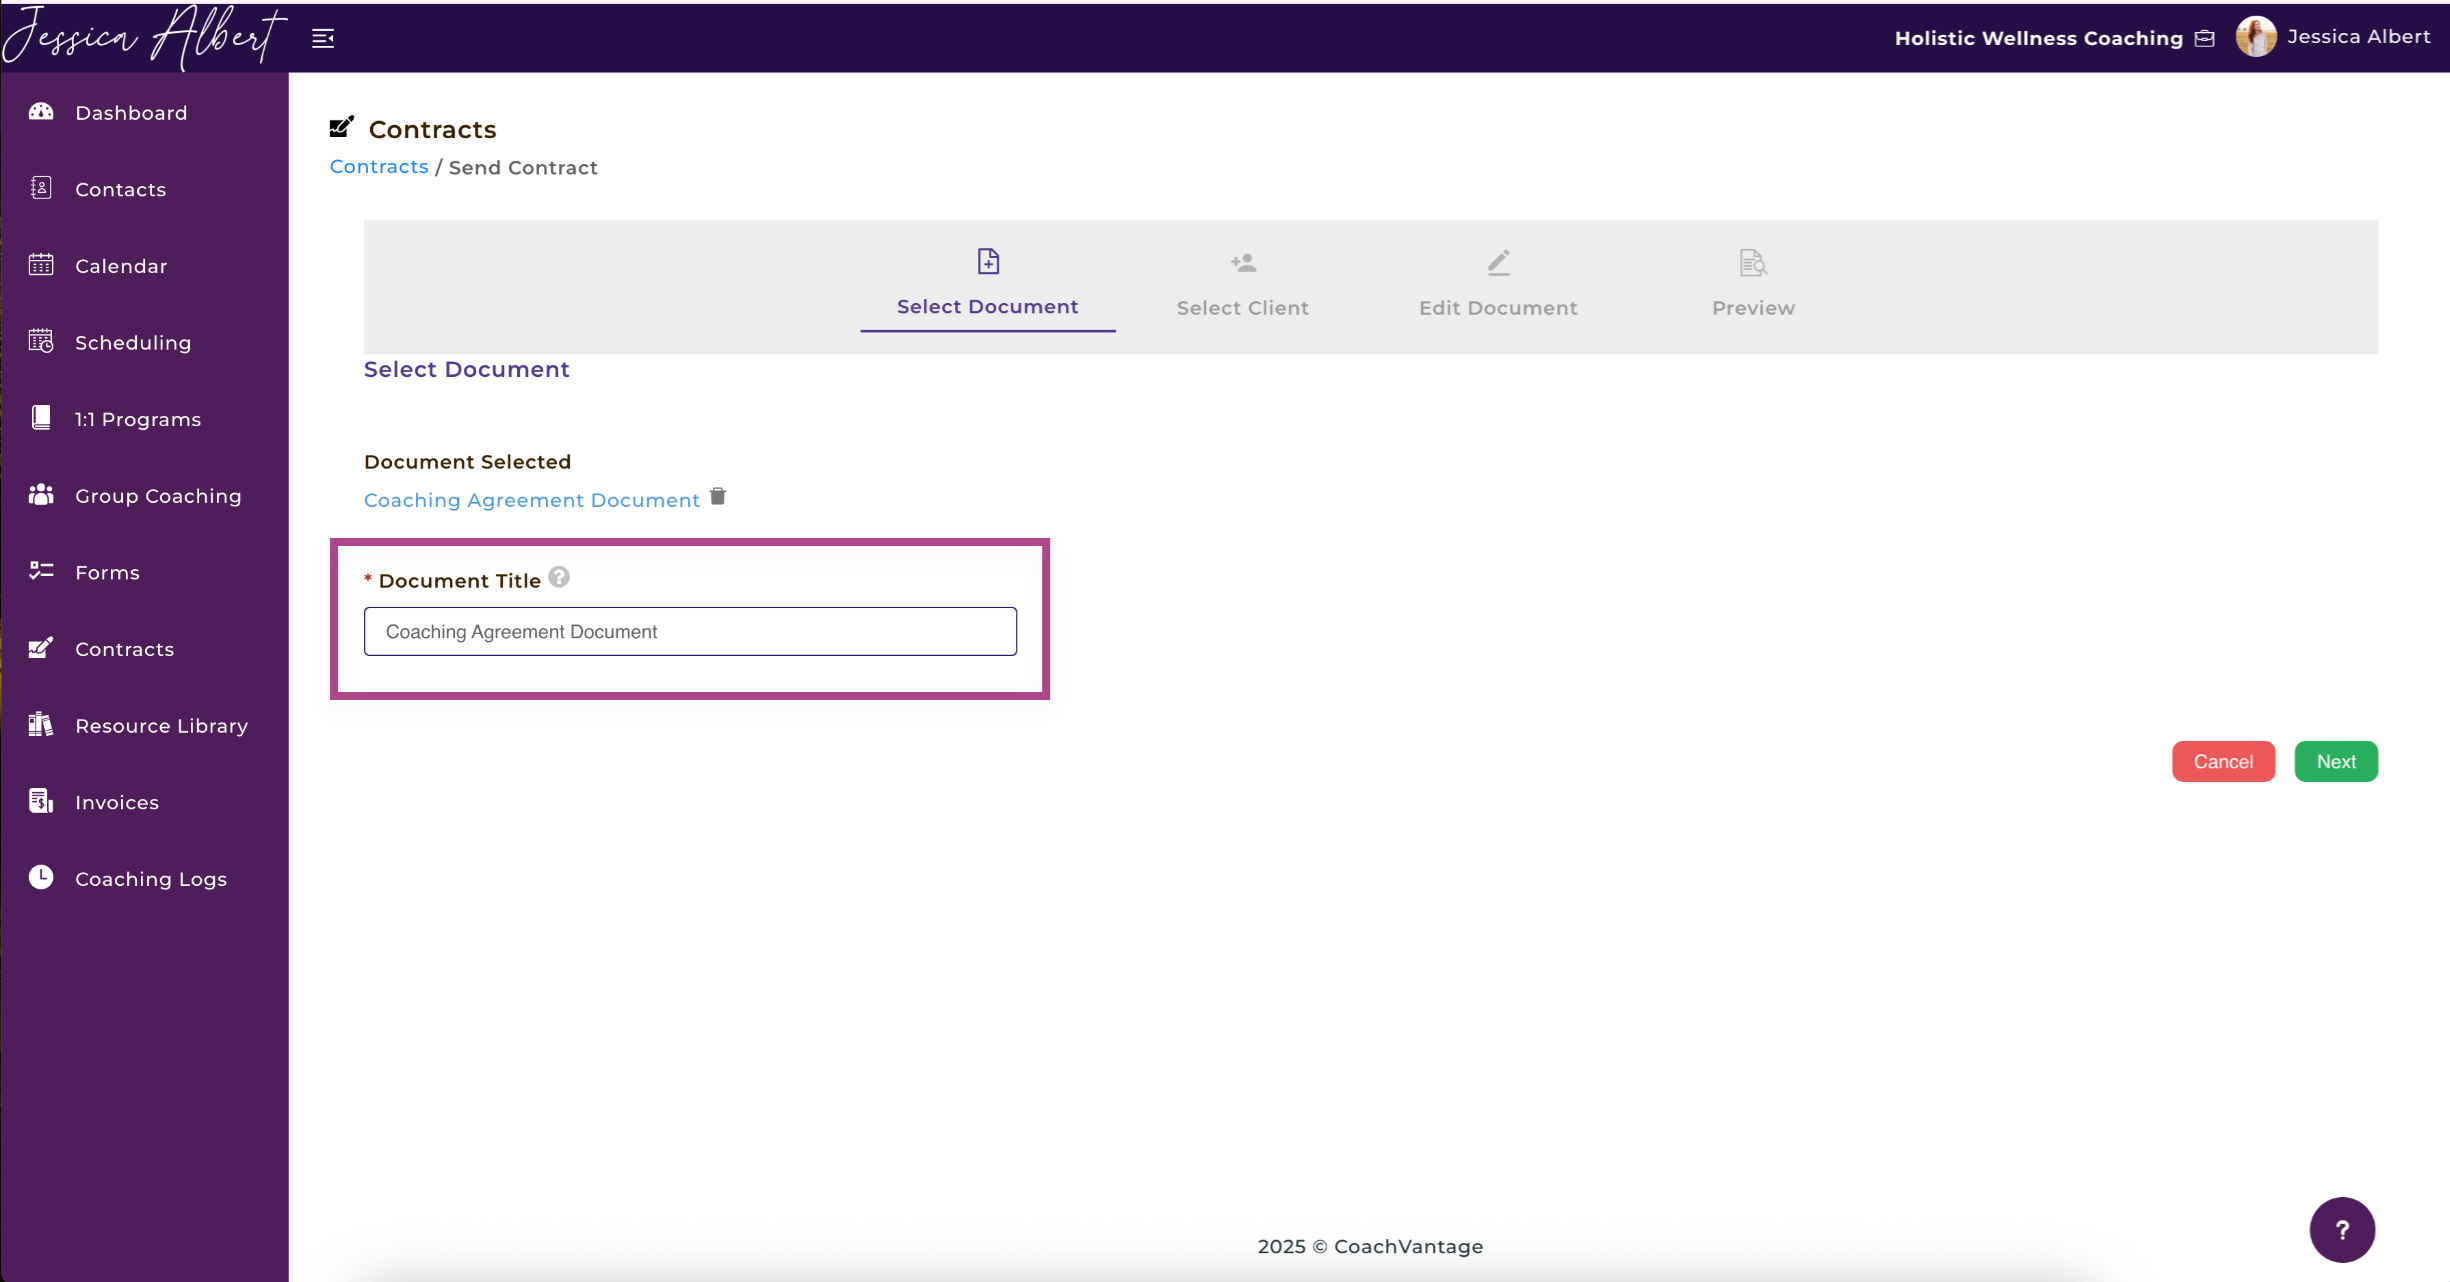
Enter a descriptive Document Title, then click Next.
Tip: Choose a title that clearly identifies the contract for your client. For example: Coaching Agreement for John Smith.
Step 2: Select Client 👩
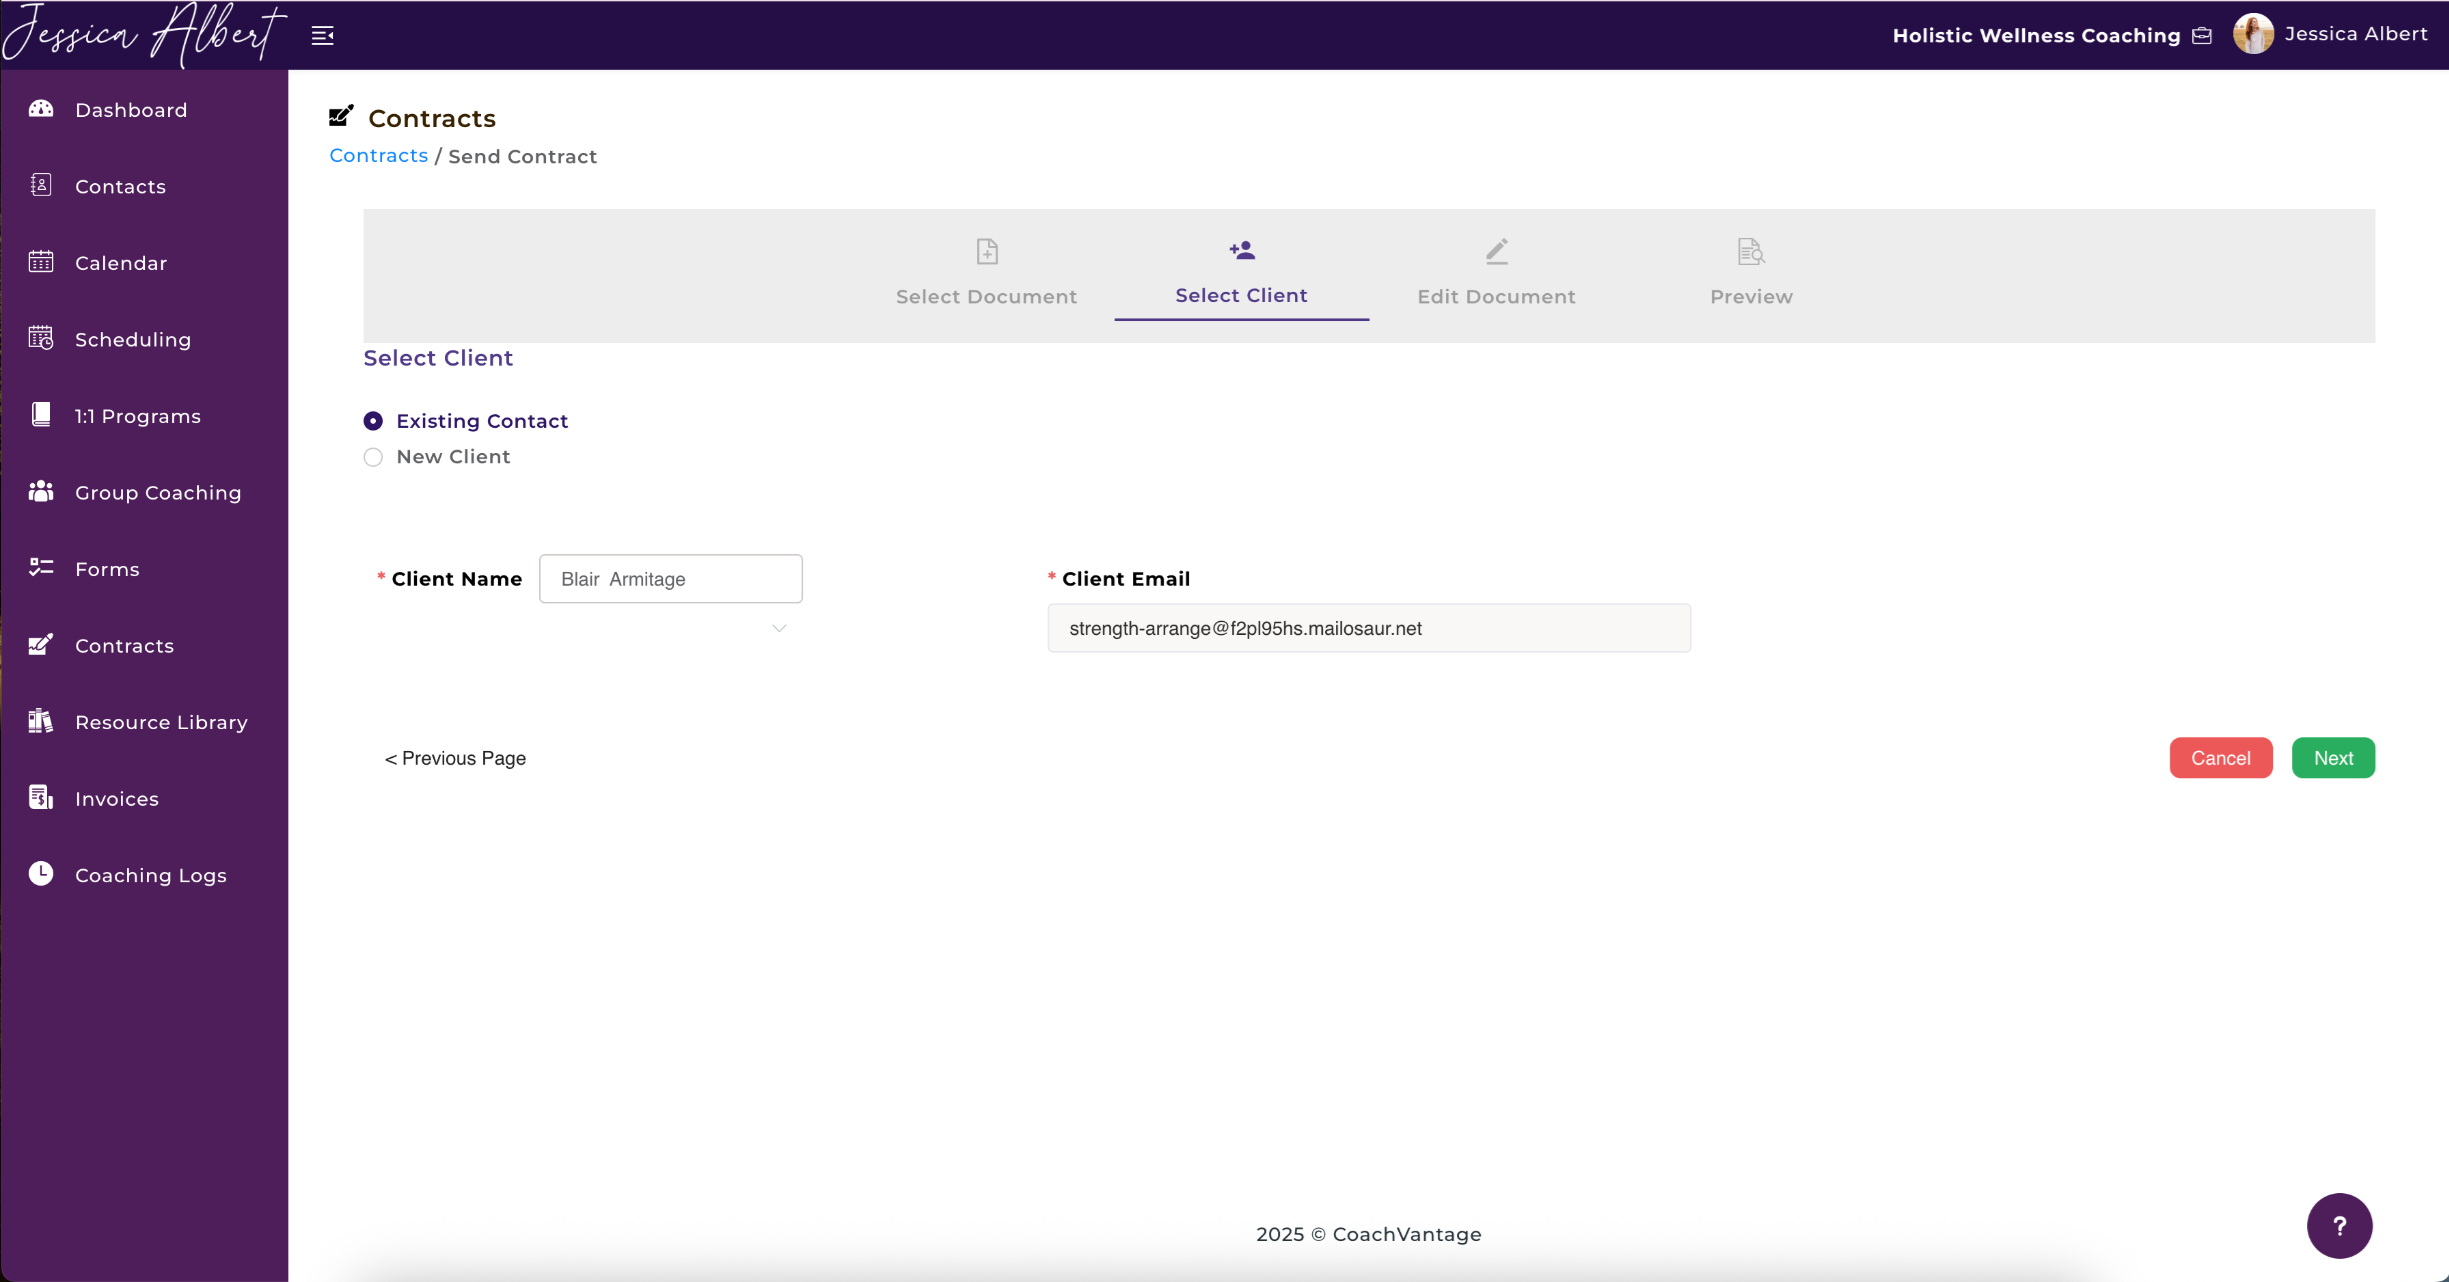
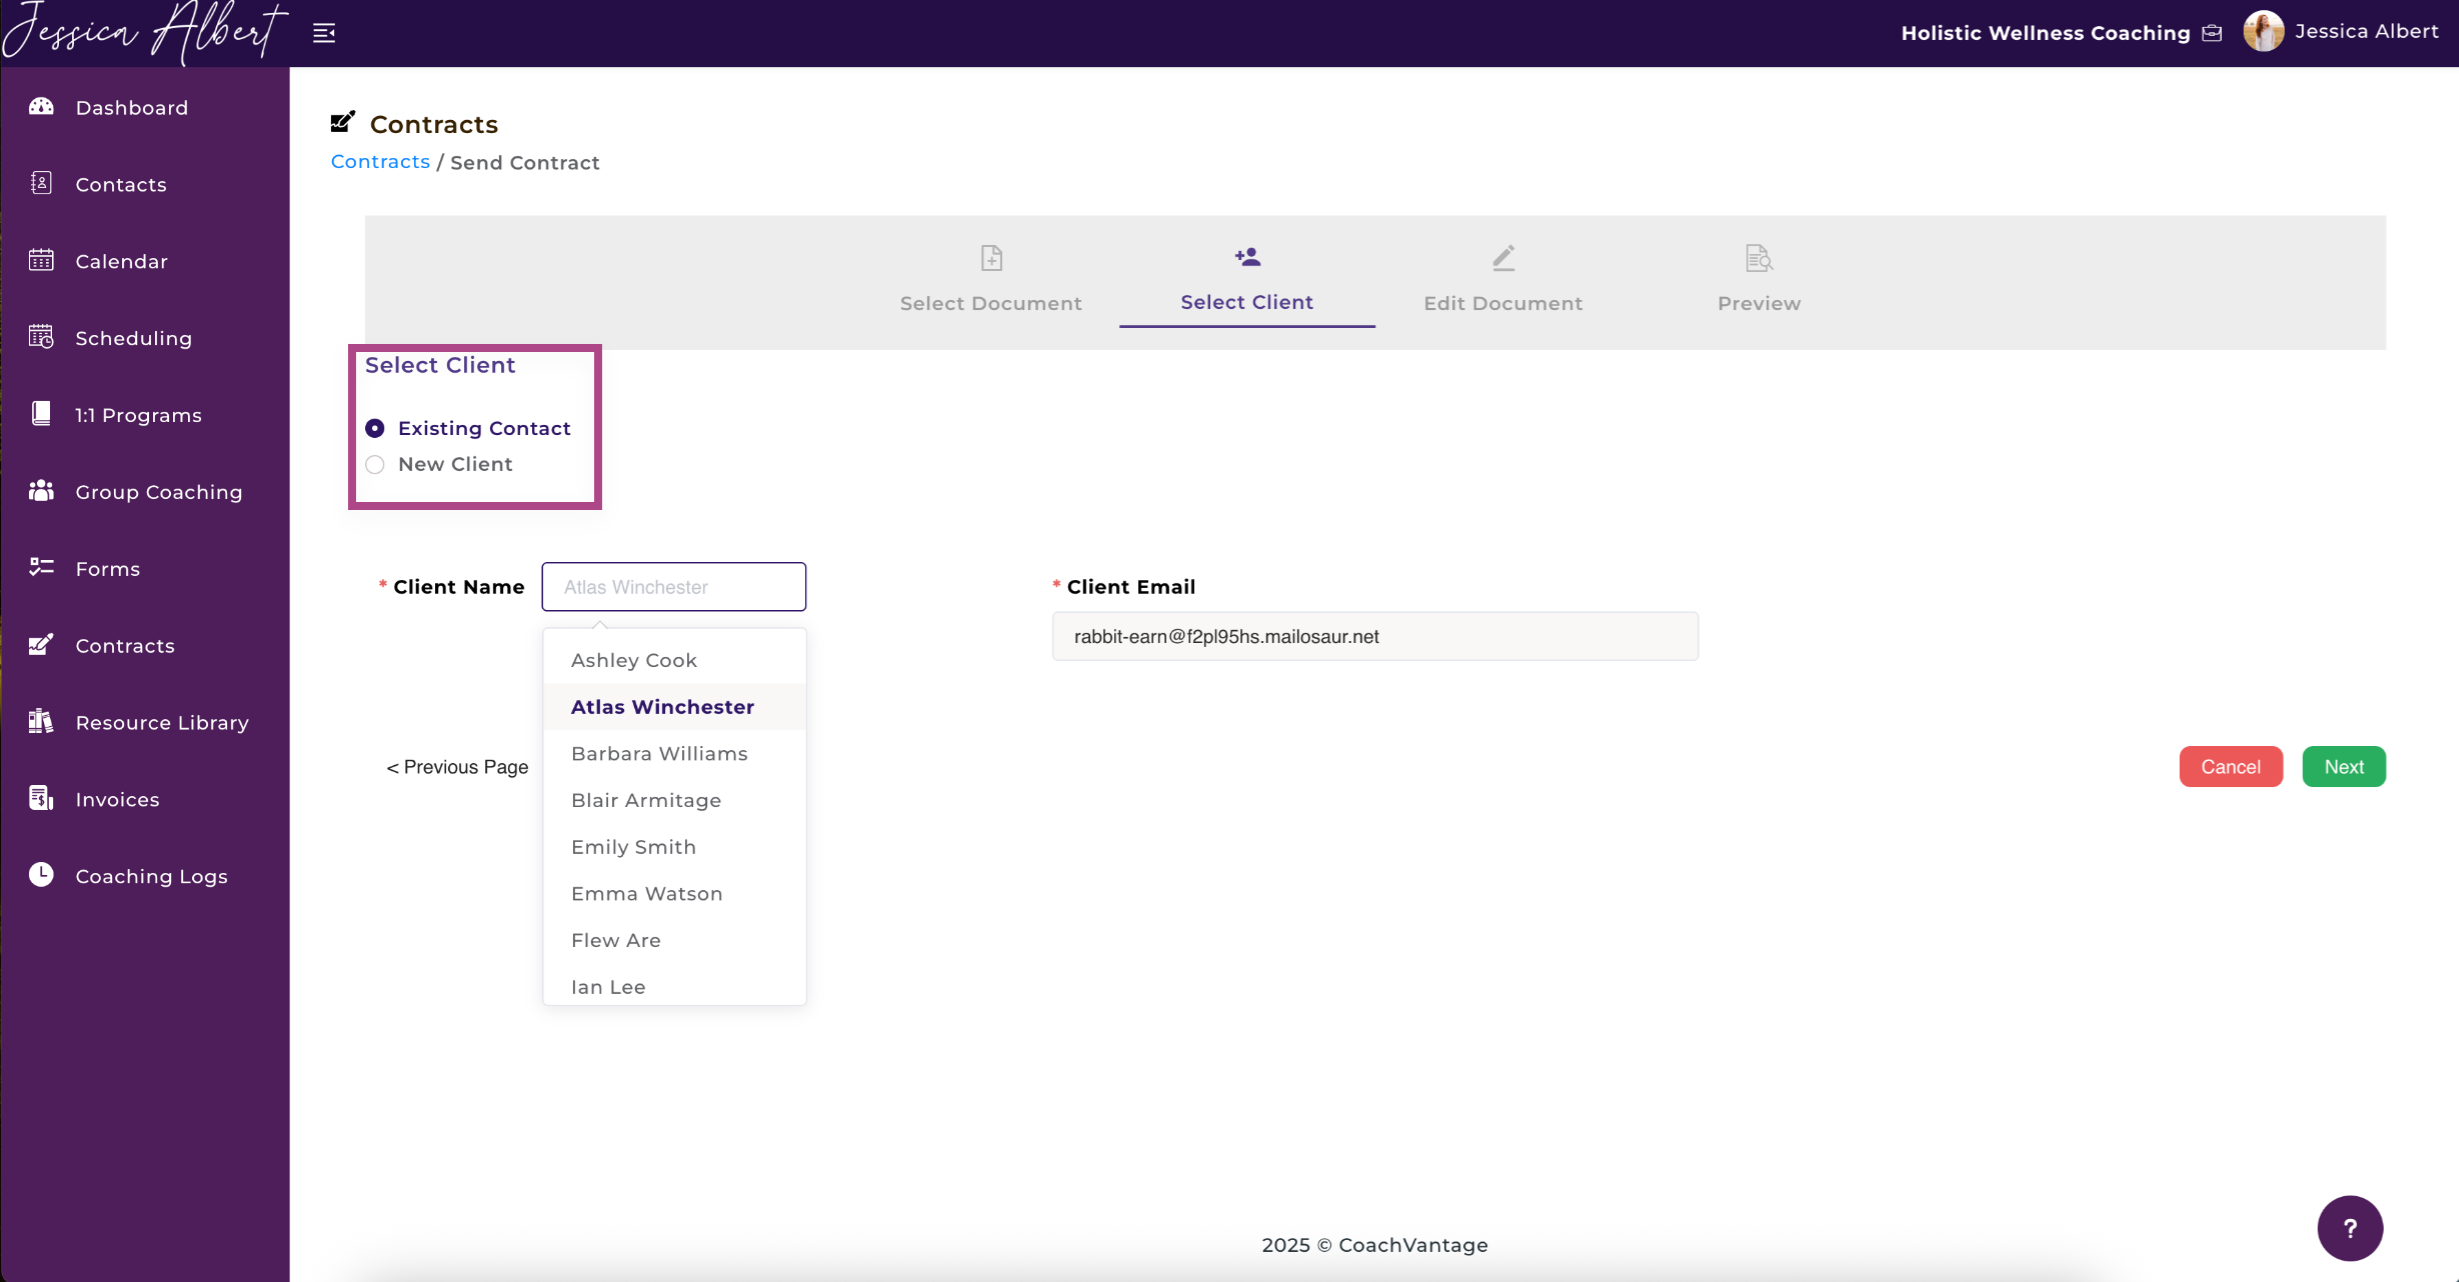
Choose whether you want to send the contract to:
- An existing client
- A new client
Enter or select the client’s information, then continue to the next step.
Step 3: Edit Document
Drag and drop the fields you want to add to the contract:
- Signature
- Full Name
- Text
- Date
- Checkbox
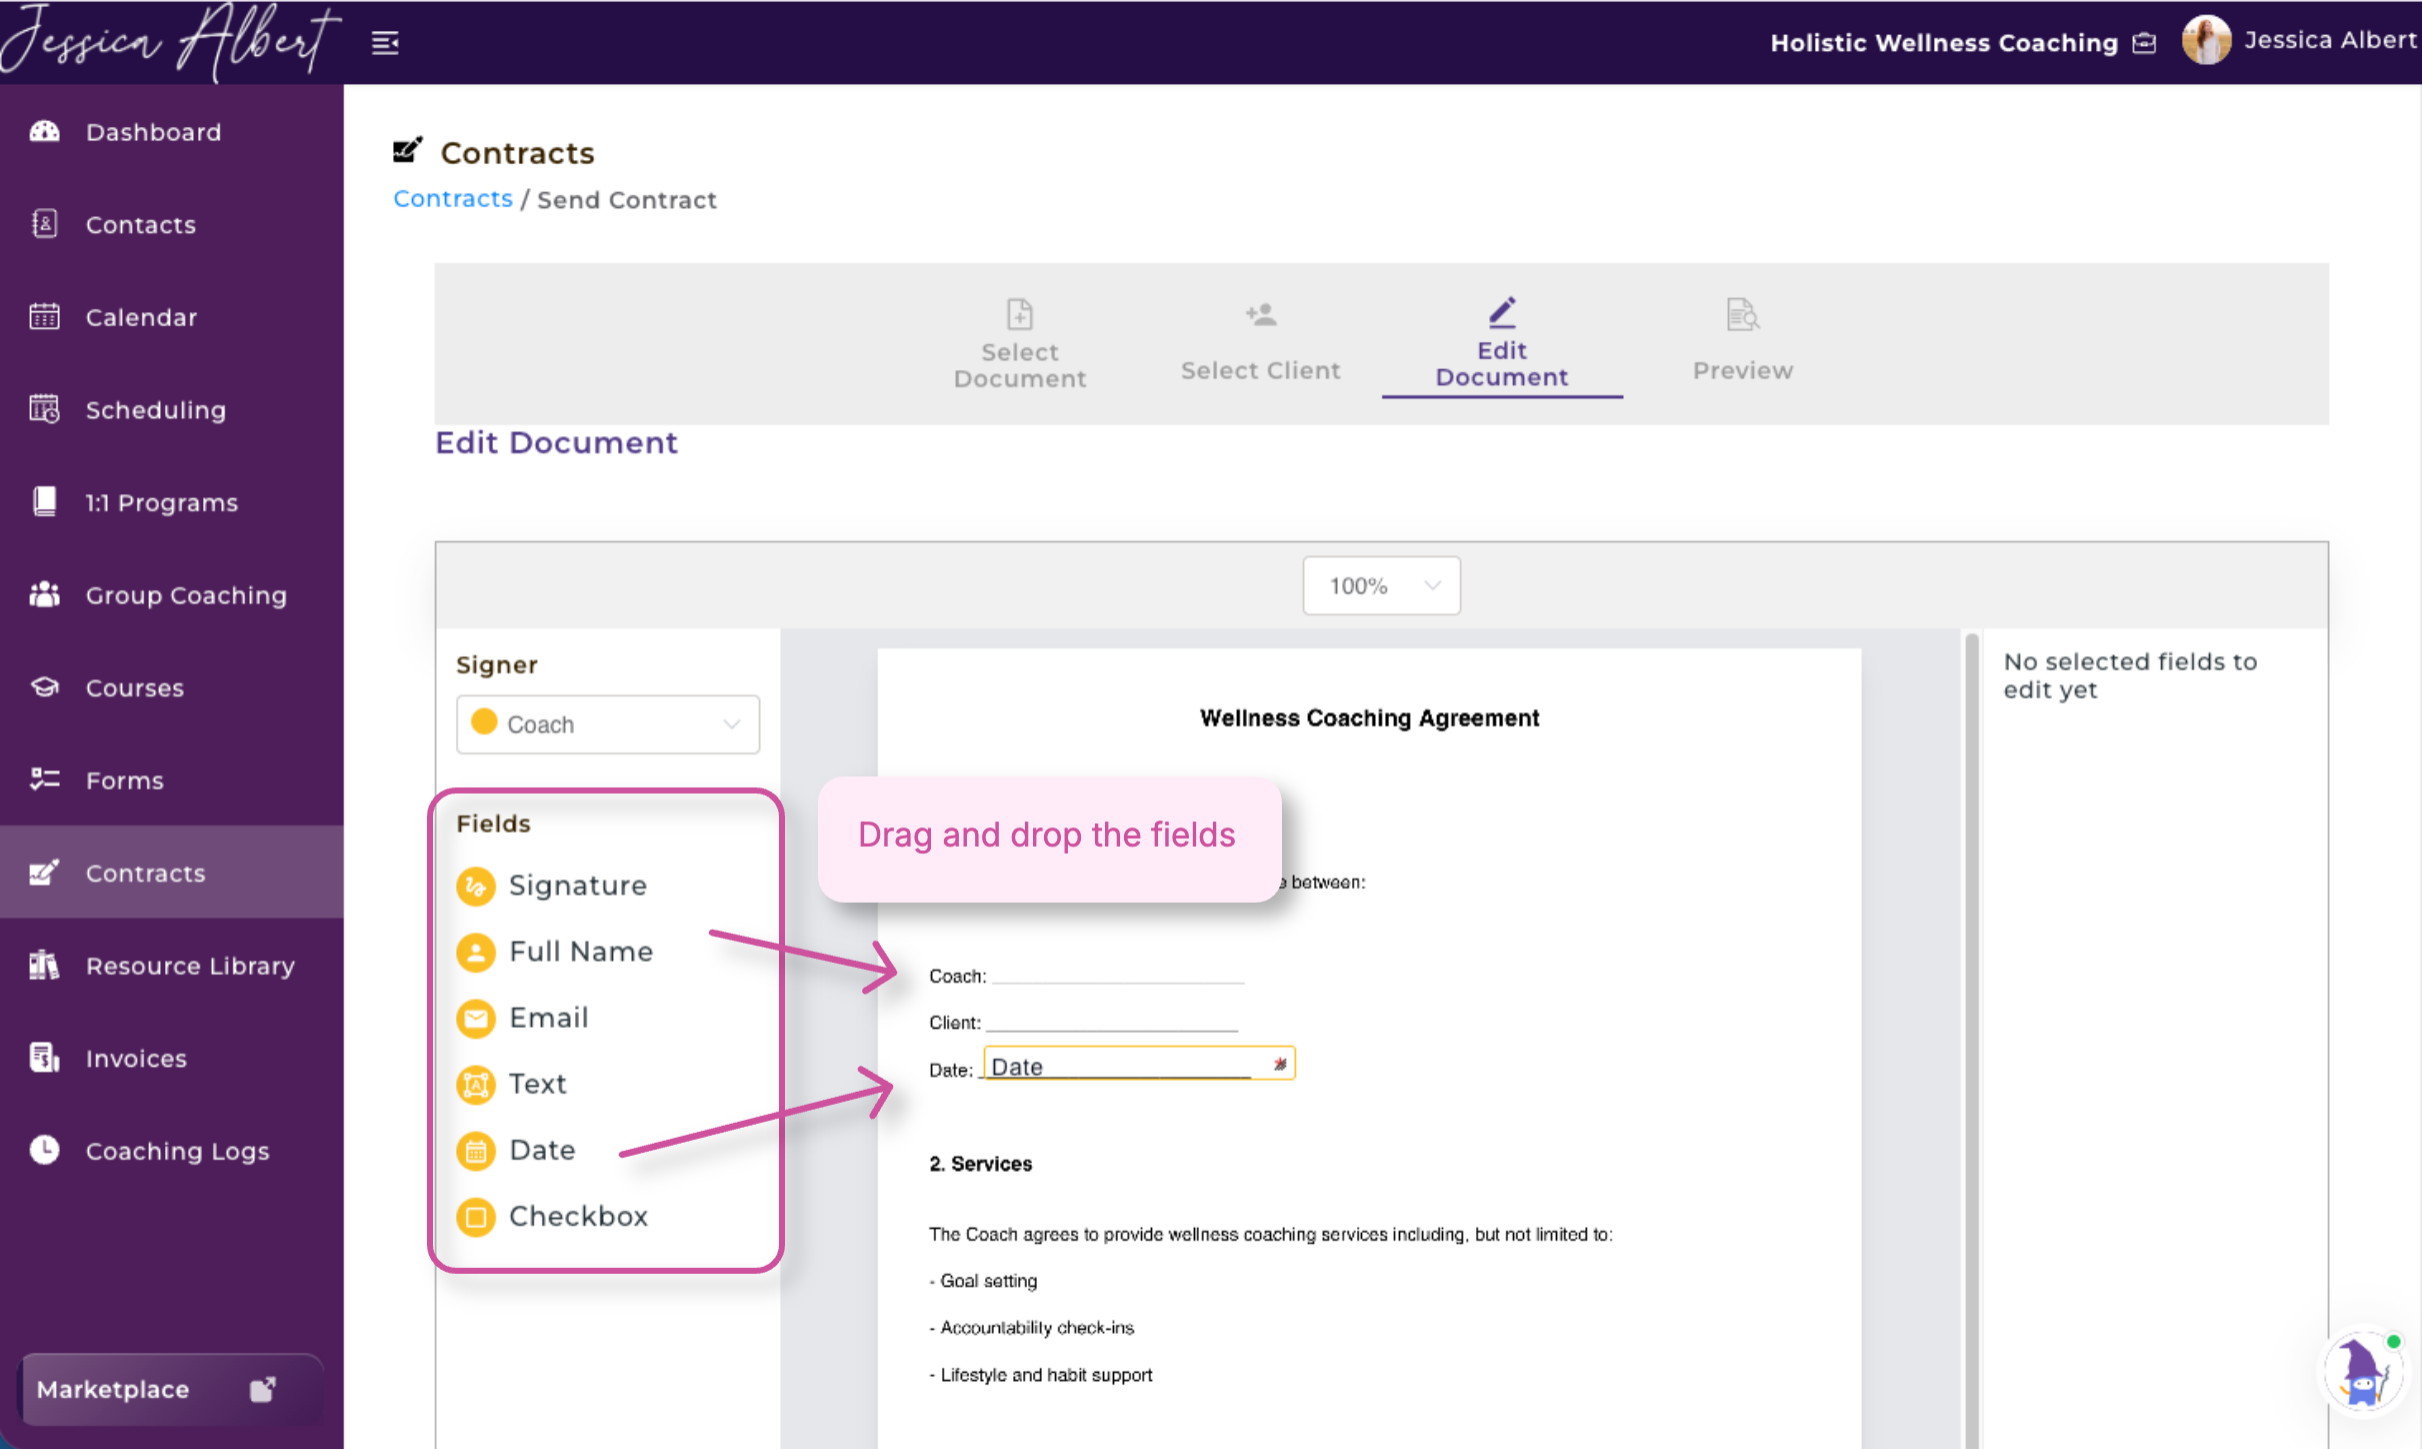
You only need to add the fields required for your contract.
To remove a field, double-click the field’s outline and select Delete.
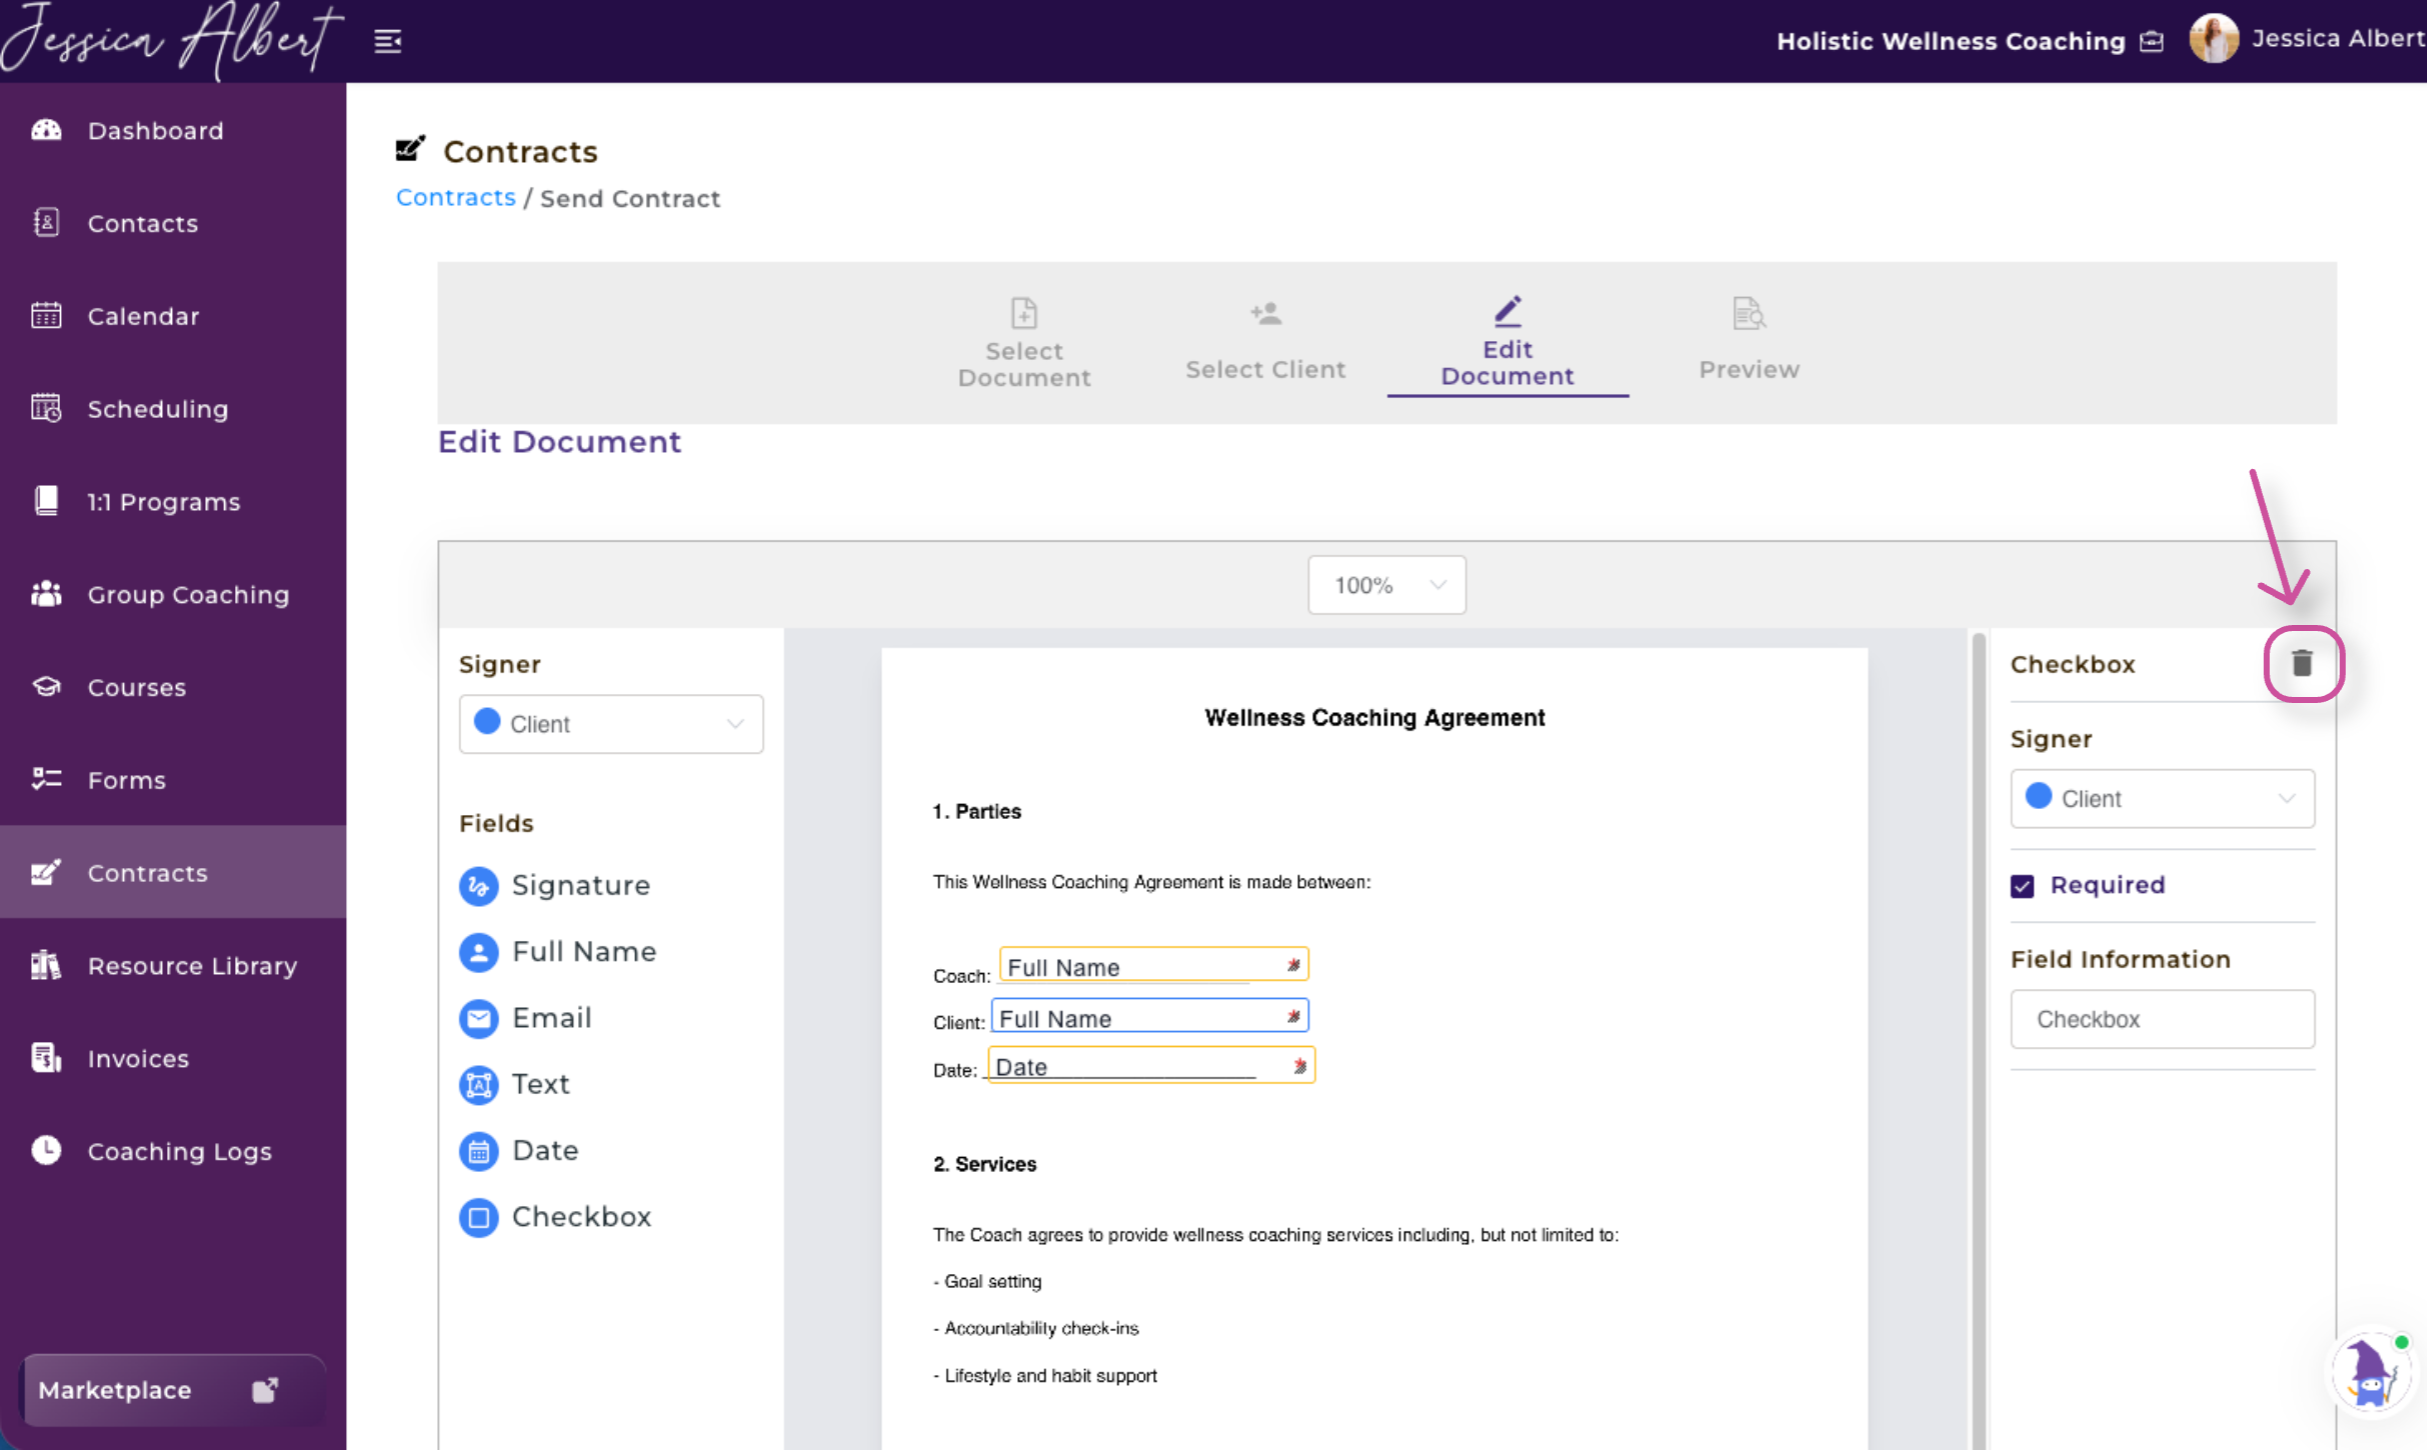
For each field, you can configure the following settings:
- Signer: Choose whether the field should be completed by the coach or the client.
- Field Information: Add instructions explaining how the field should be completed. The signer will be able to view these instructions.
- Required: Choose whether the signer must complete the field before submitting the contract.
Important: Make sure each field is assigned to the correct signer before sending the contract.
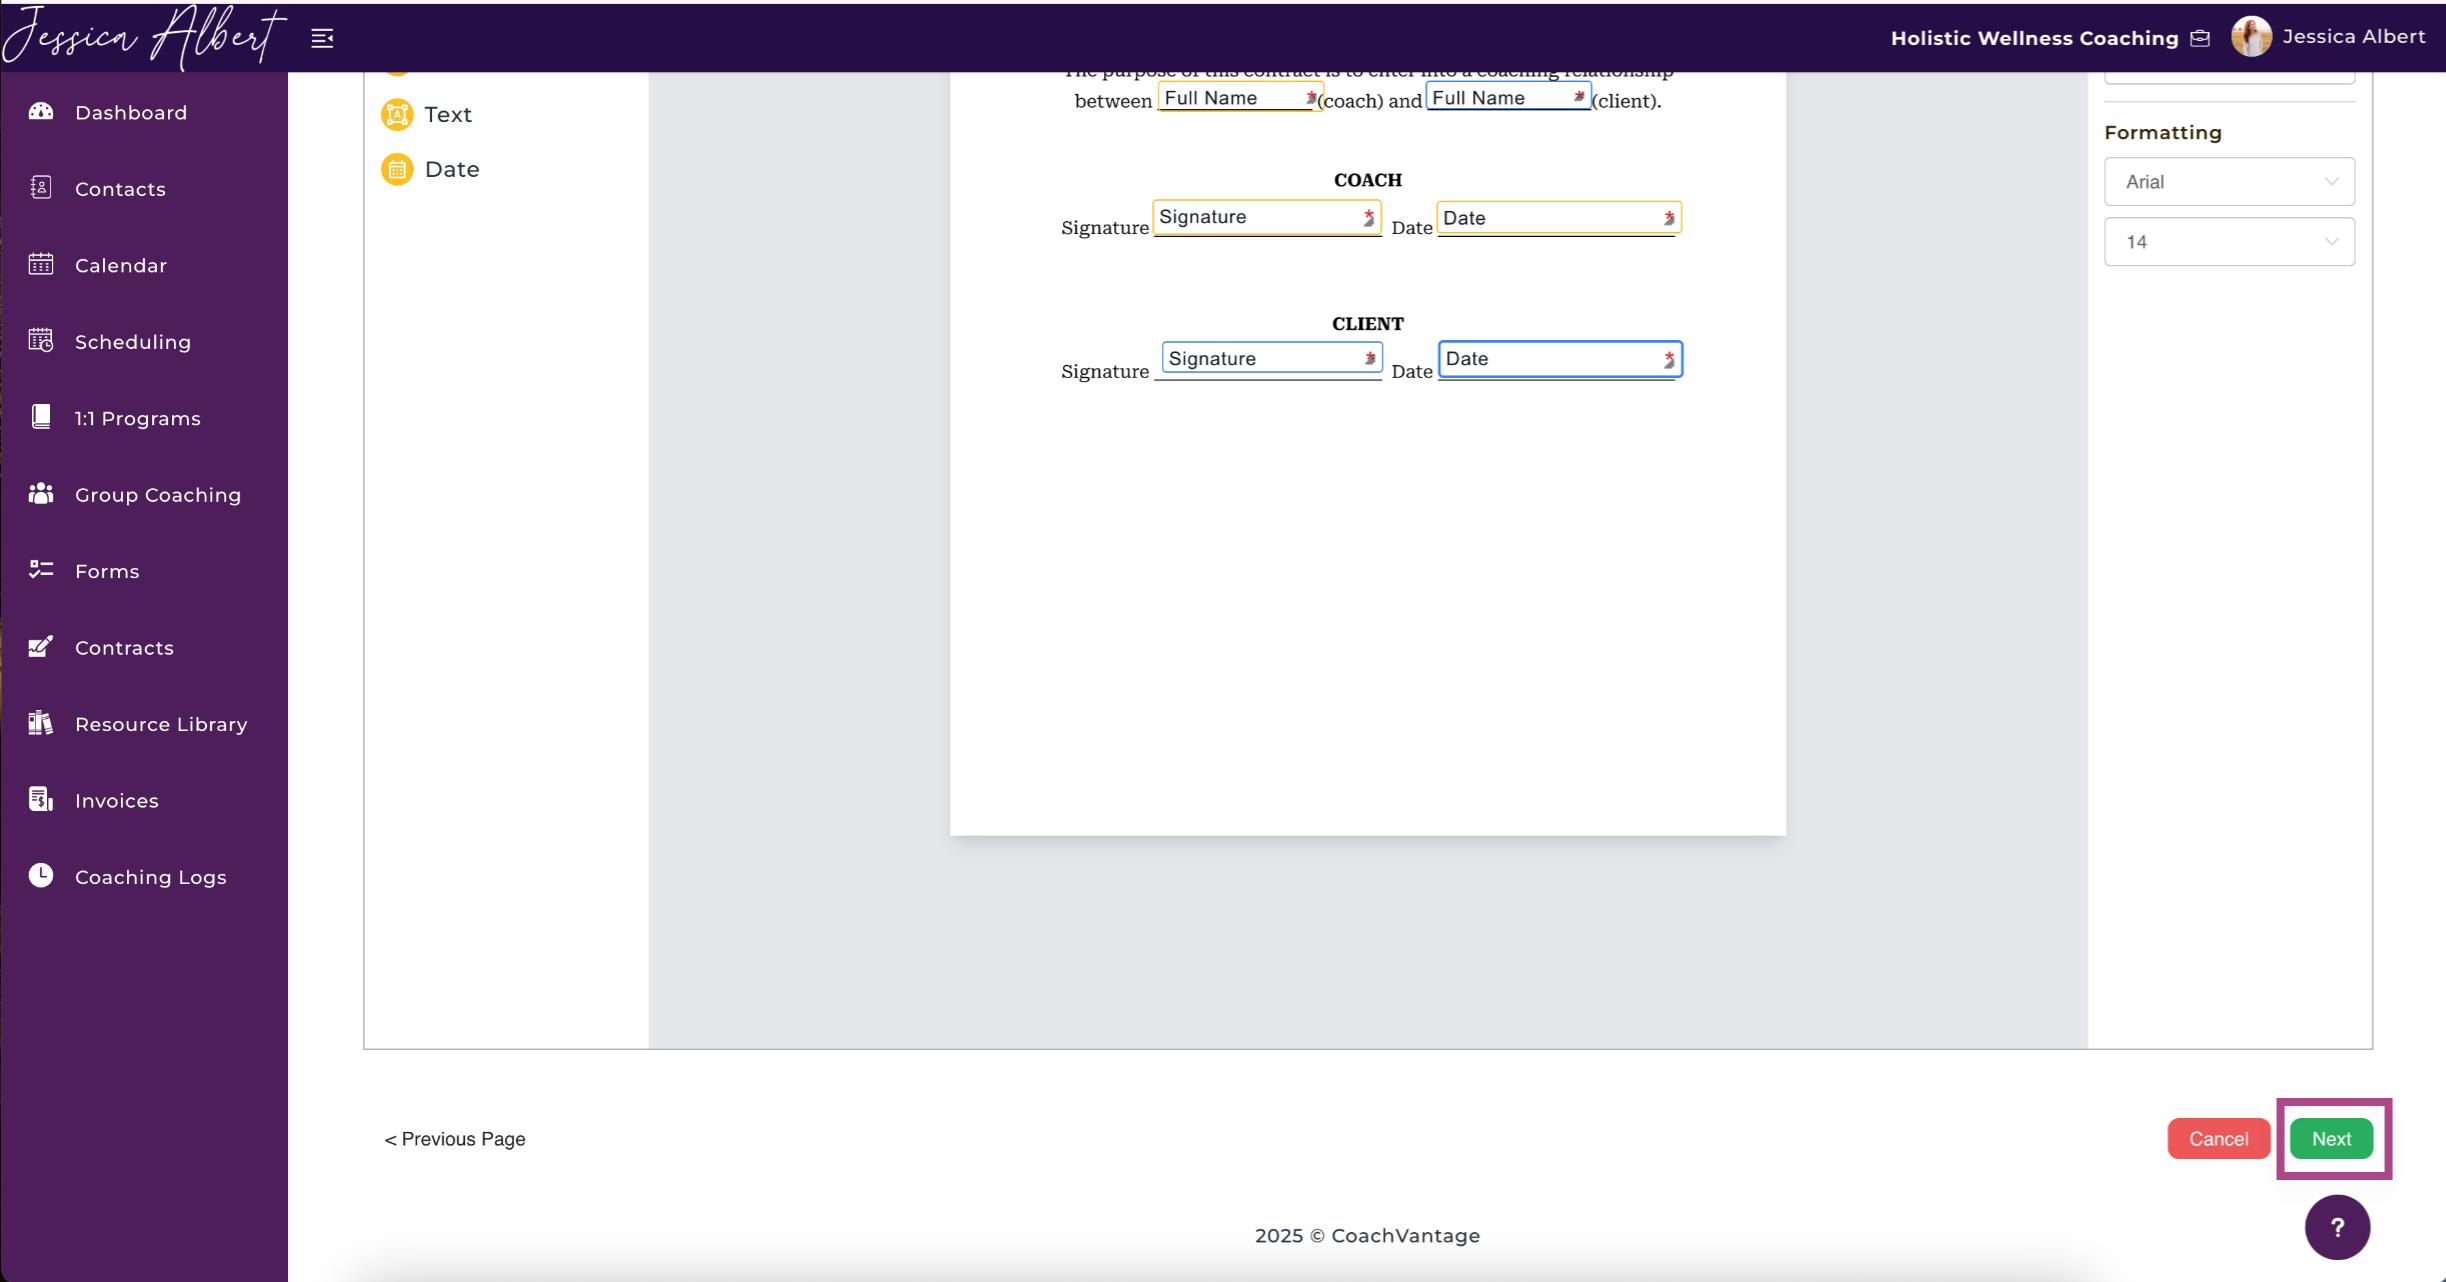
Step 4: Preview and Send ✉️
Review the contract to confirm that:
- All fields are positioned correctly.
- Each field is assigned to the correct signer.
- All necessary fields are marked as required.
- The client’s information is correct.
When everything looks correct, click Send.
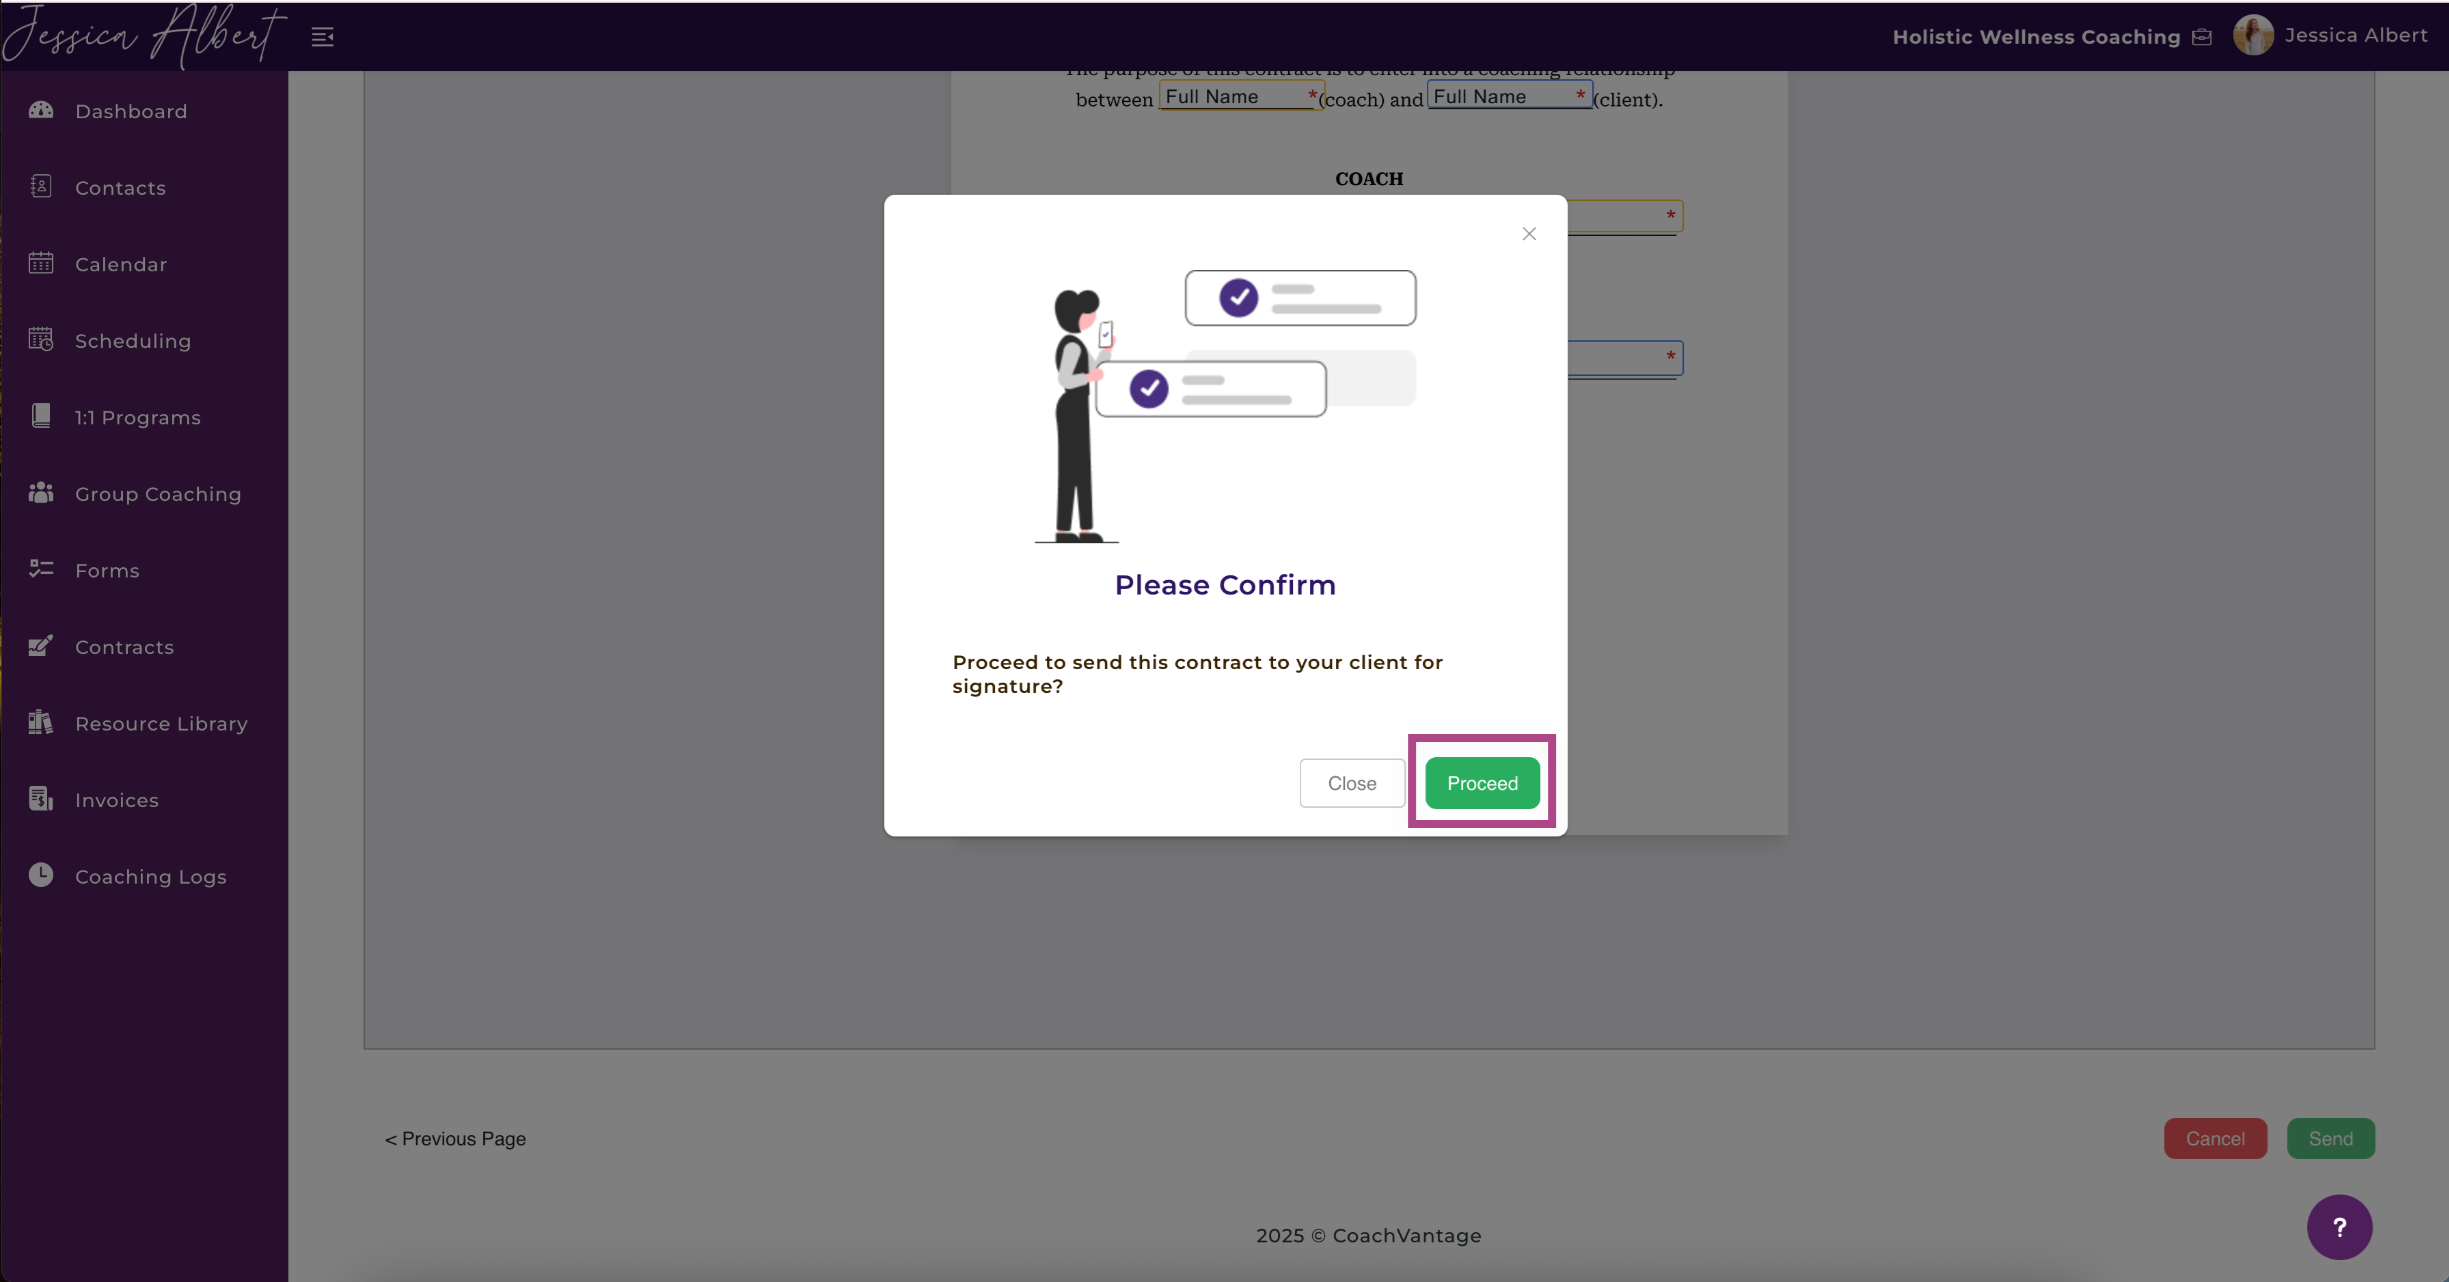
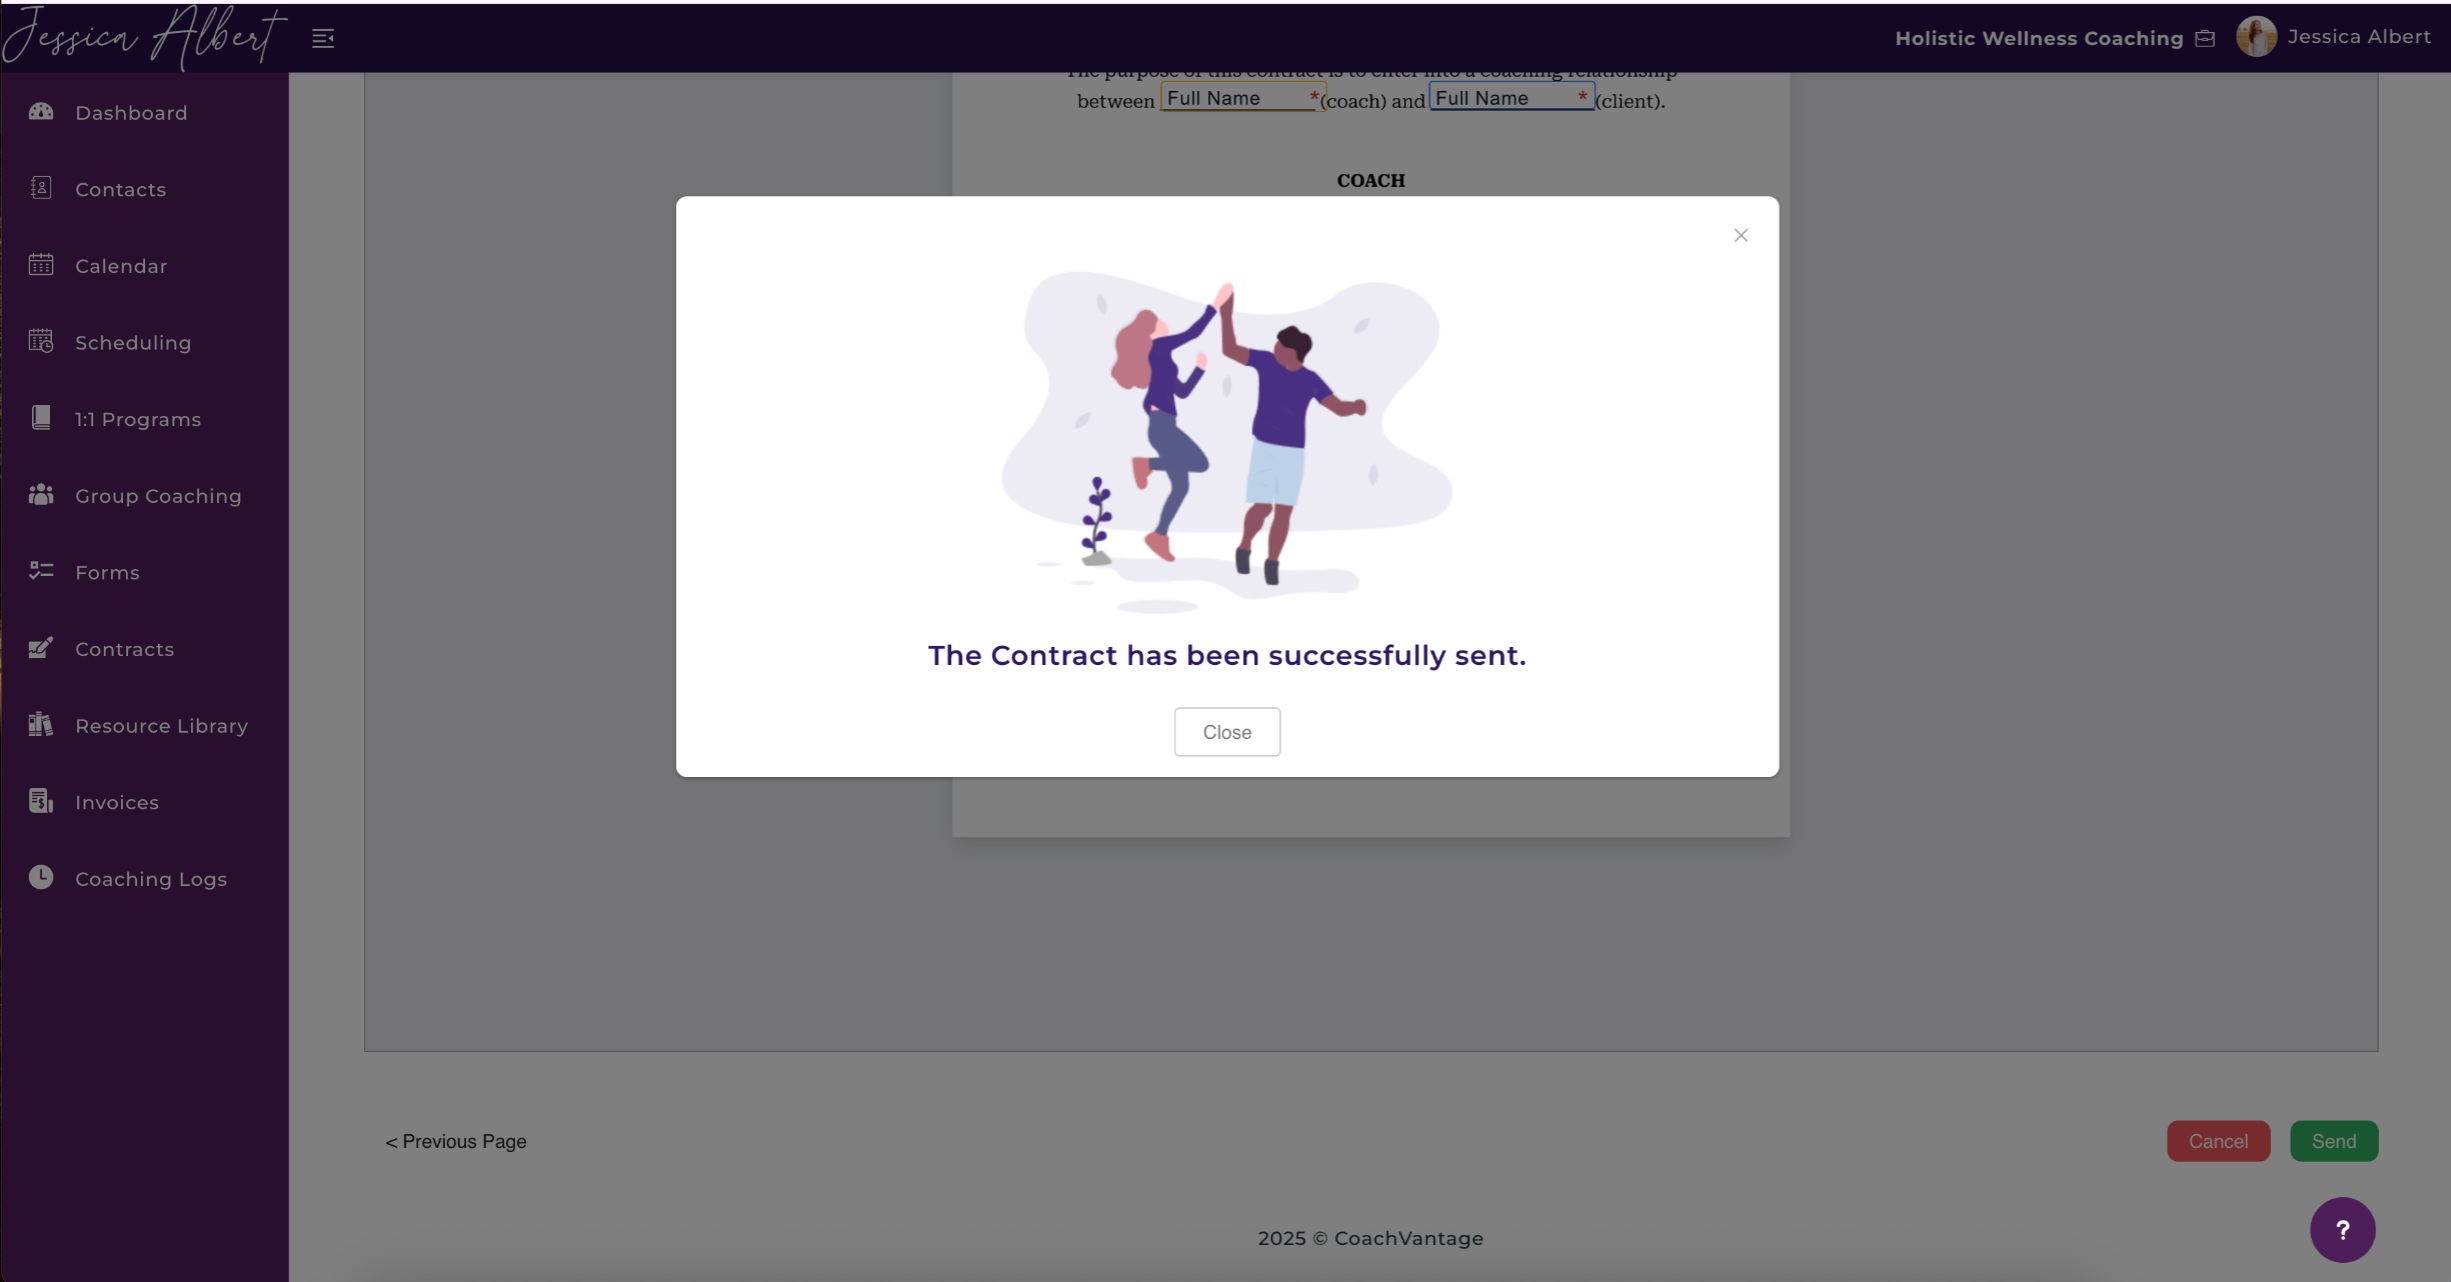
Click Proceed to confirm that you want to send the contract. A confirmation message will appear when the contract has been sent successfully.
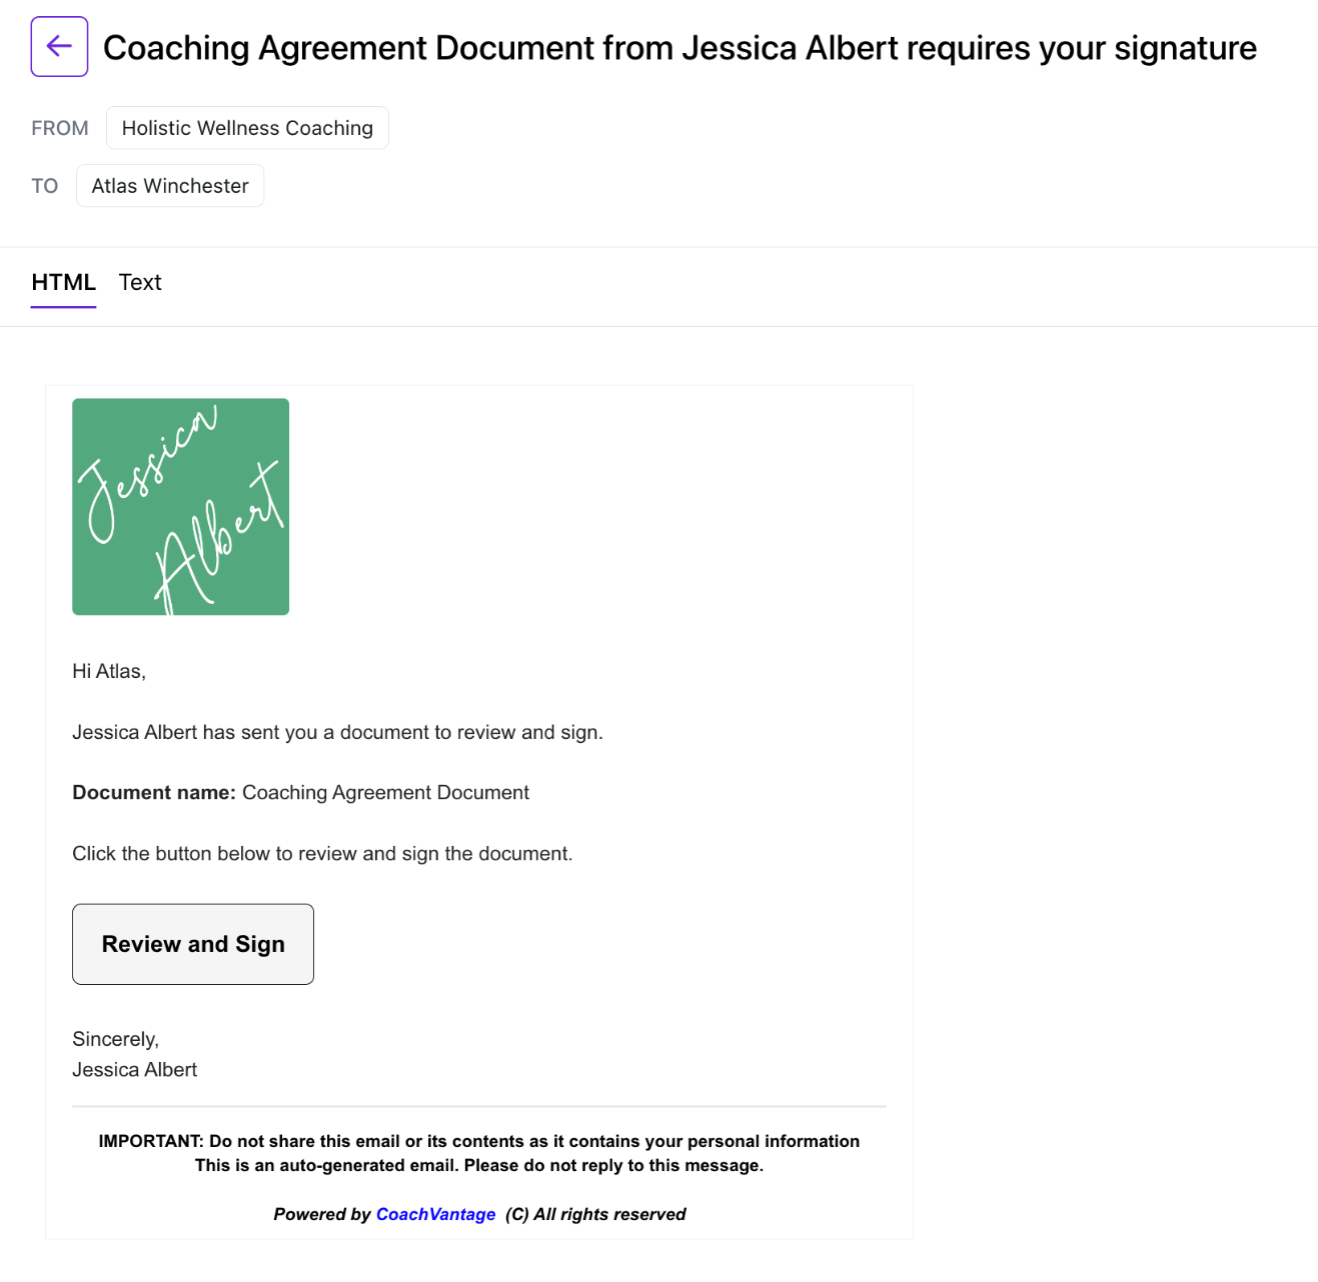
CoachVantage will automatically email your client to let them know that a contract is ready for their signature.
To see the signing process from the client’s perspective, refer to How Clients E-Sign Contracts.
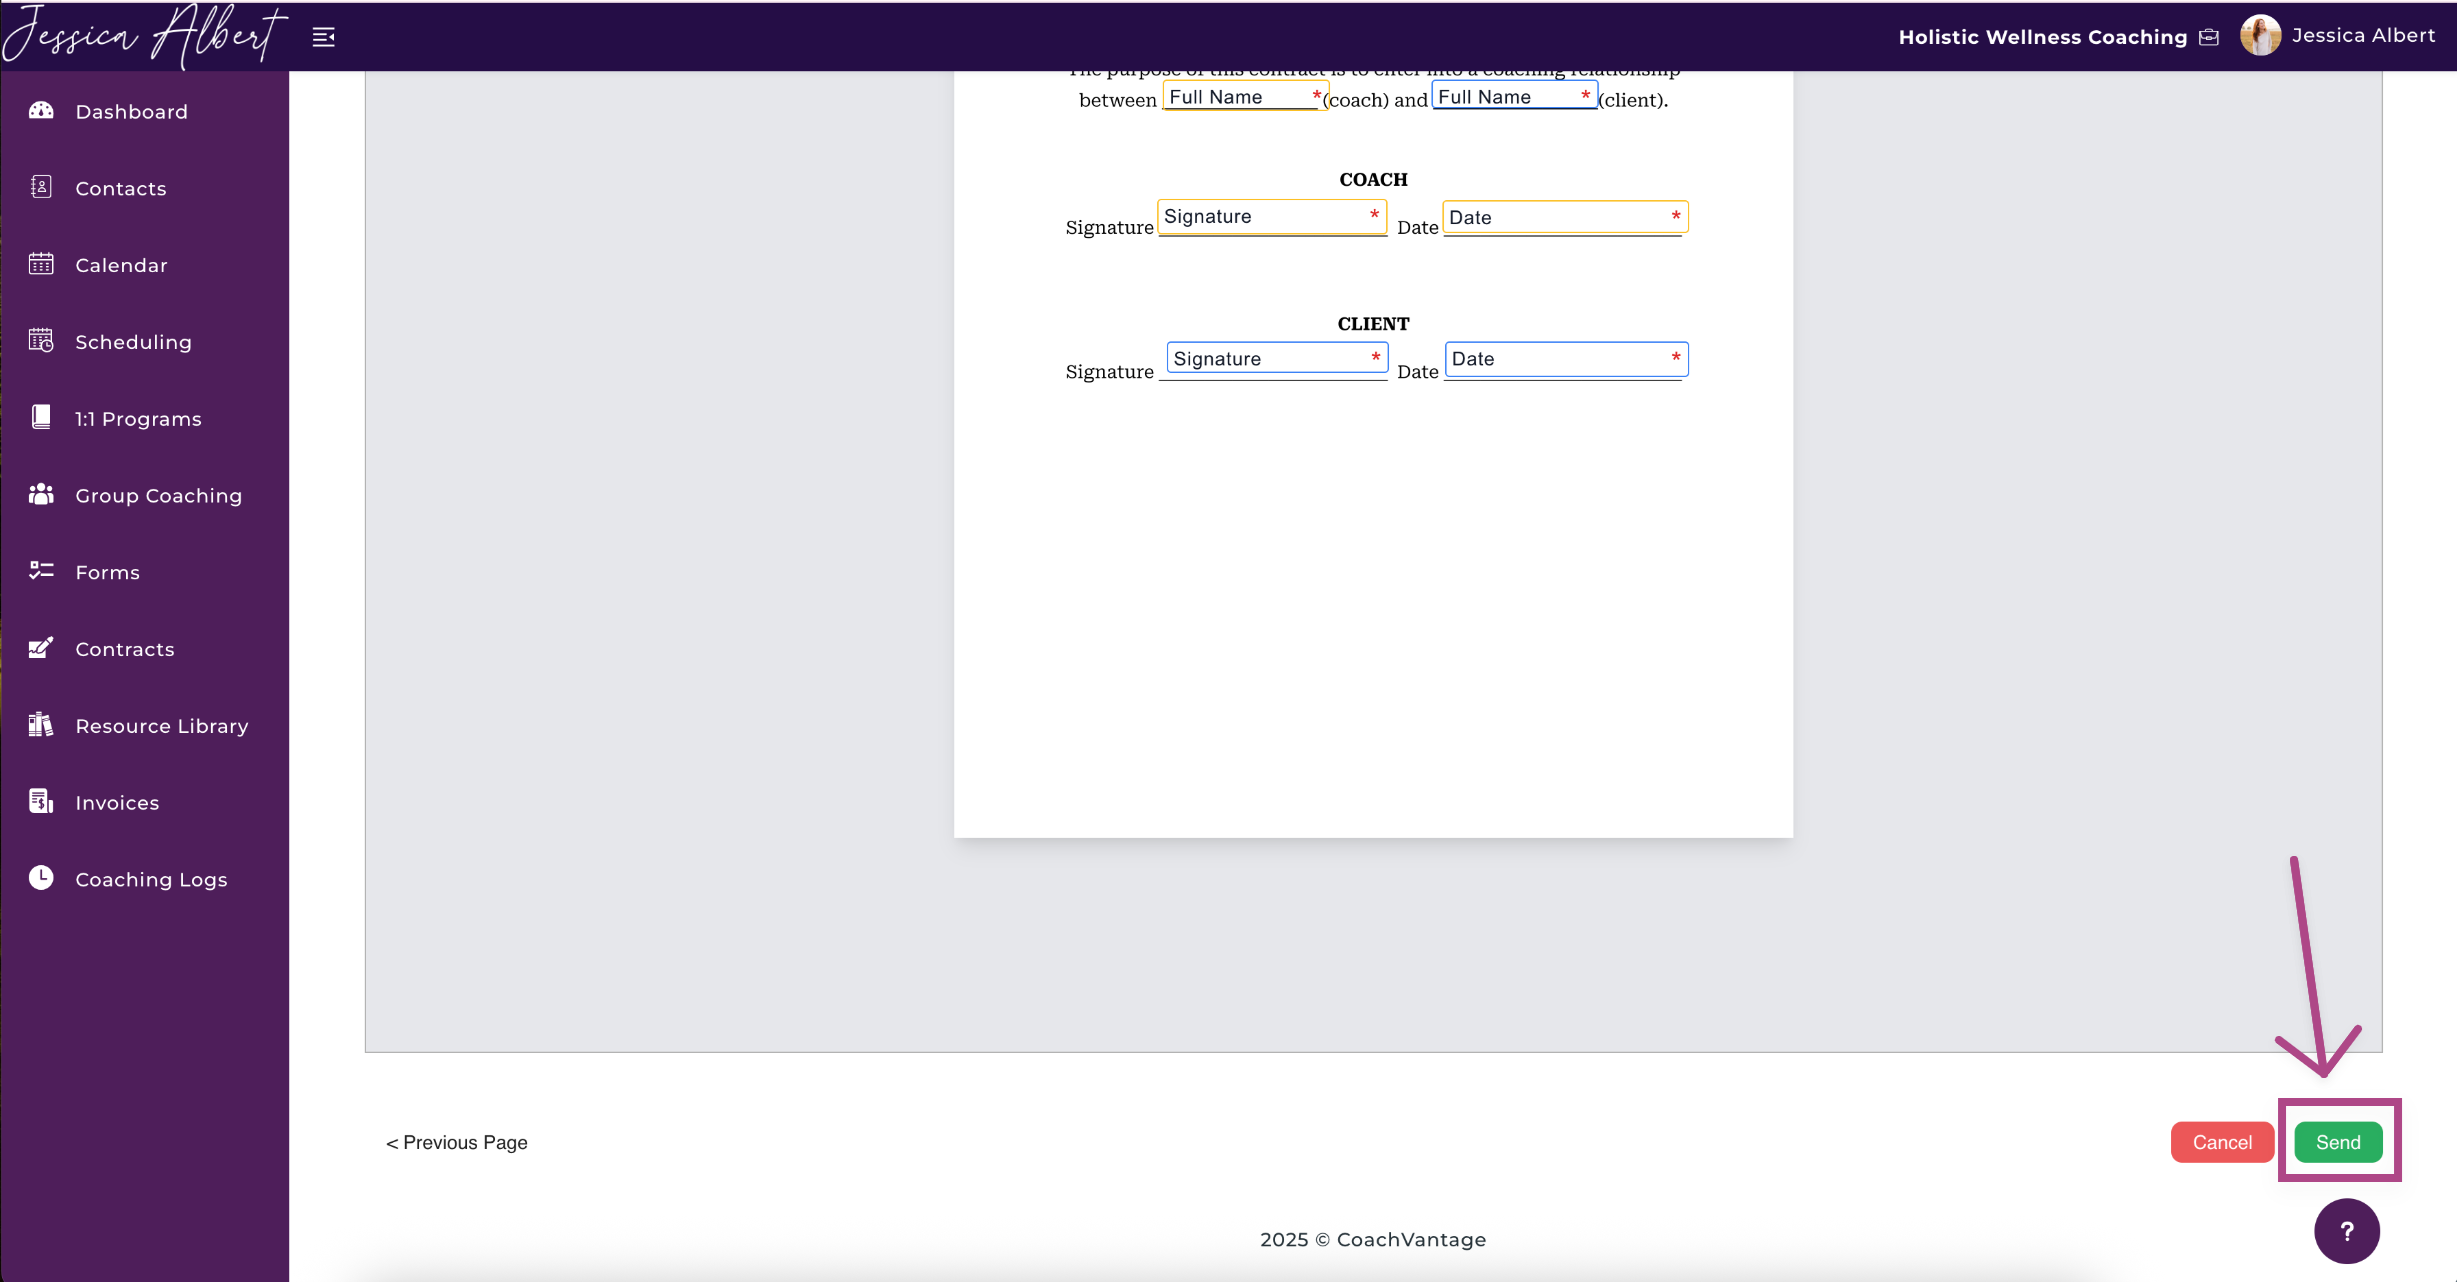
Confirm that you would like to send the contract by clicking Proceed.
A pop-up window will appear stating that the contract has been successfully sent.
9. CoachVantage will send an automated email to notify your client that you've sent a contract for them to sign.
The email looks like this:
For more details on how clients can e-sign a contract, refer to this article: "How Clients E-Sign Contracts."
Option 2: Send a Contract from an Individual Contact Record 🧑
You can also send a contract directly from an individual contact record.
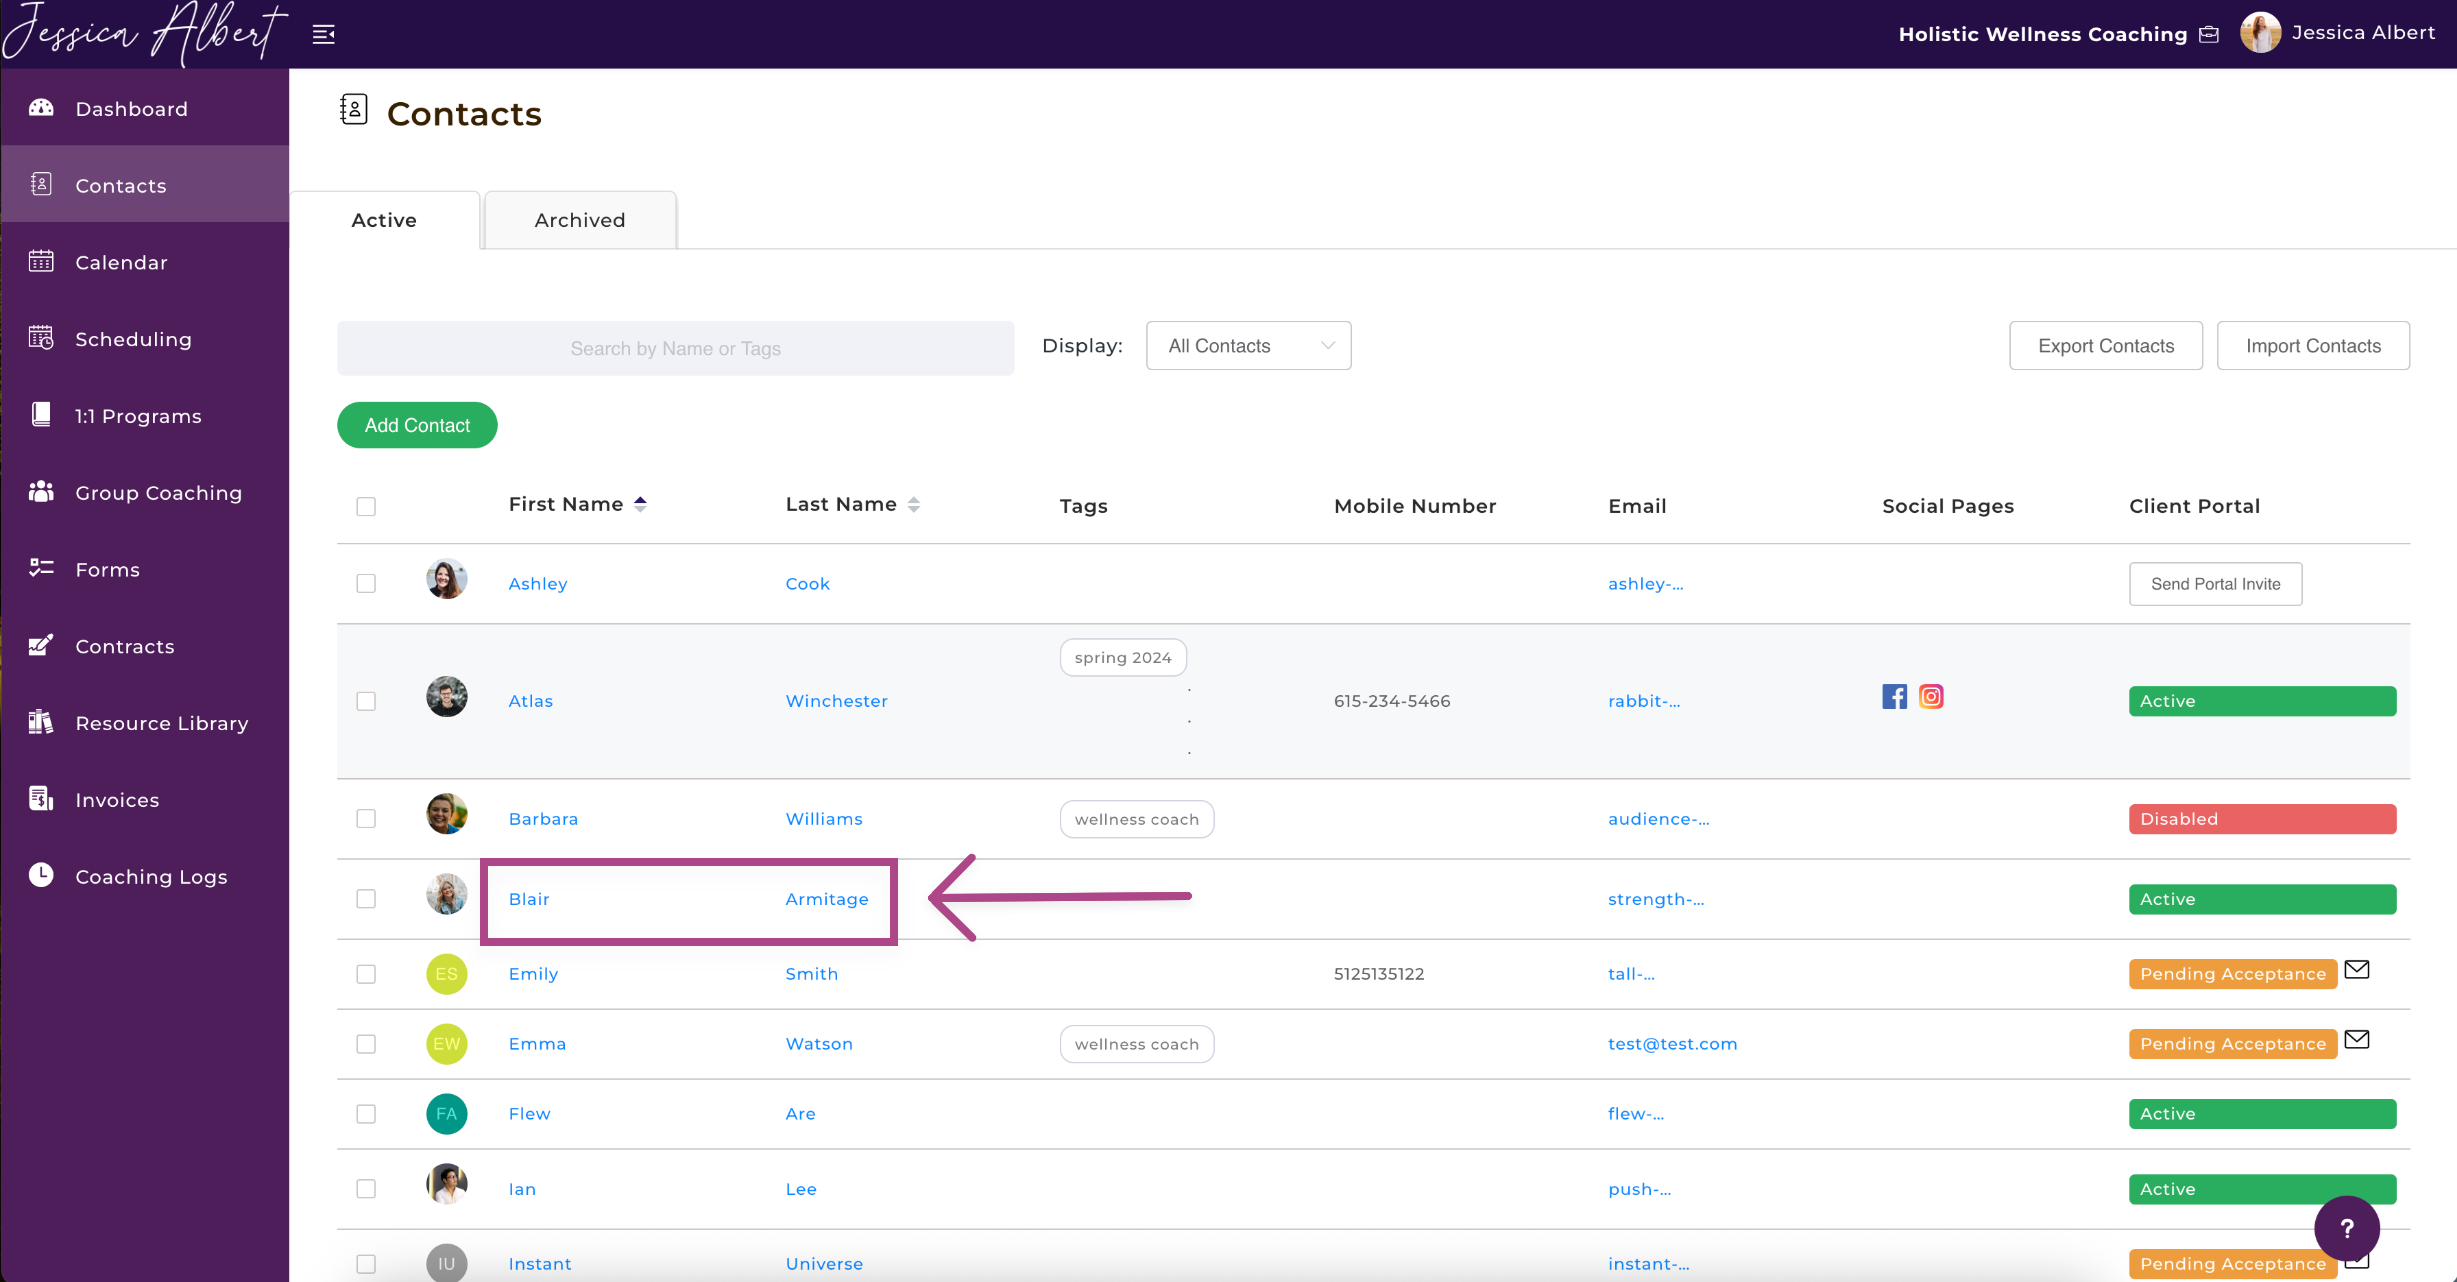
- Select Contacts from the left-hand menu.
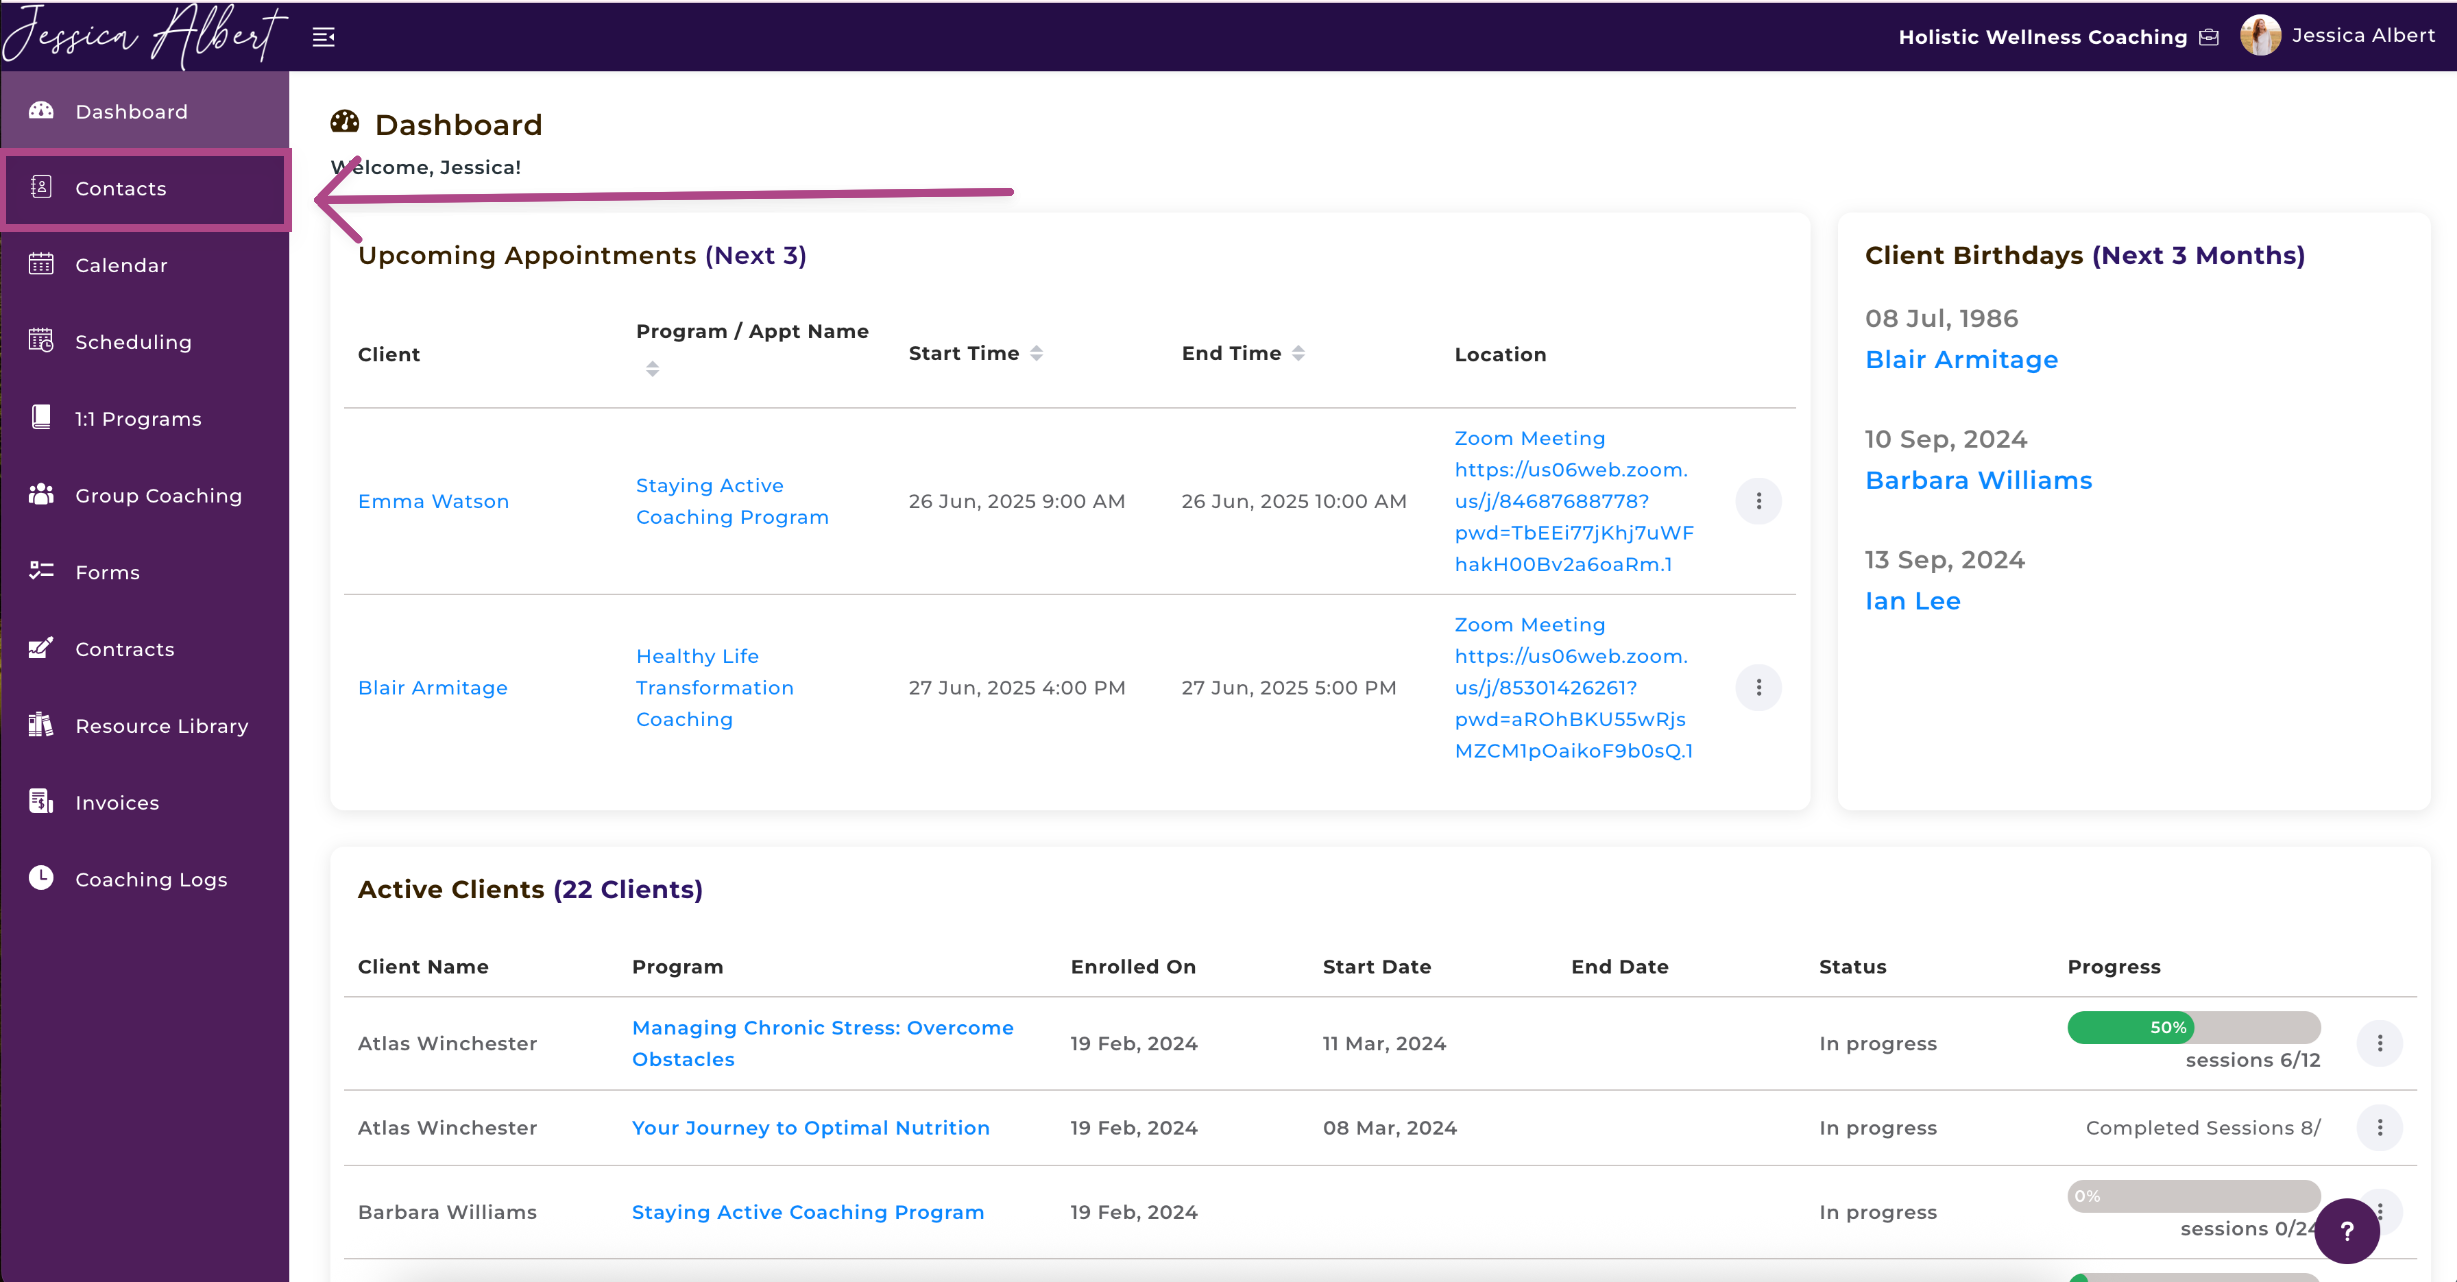
2. Select the client to open their individual contact record.
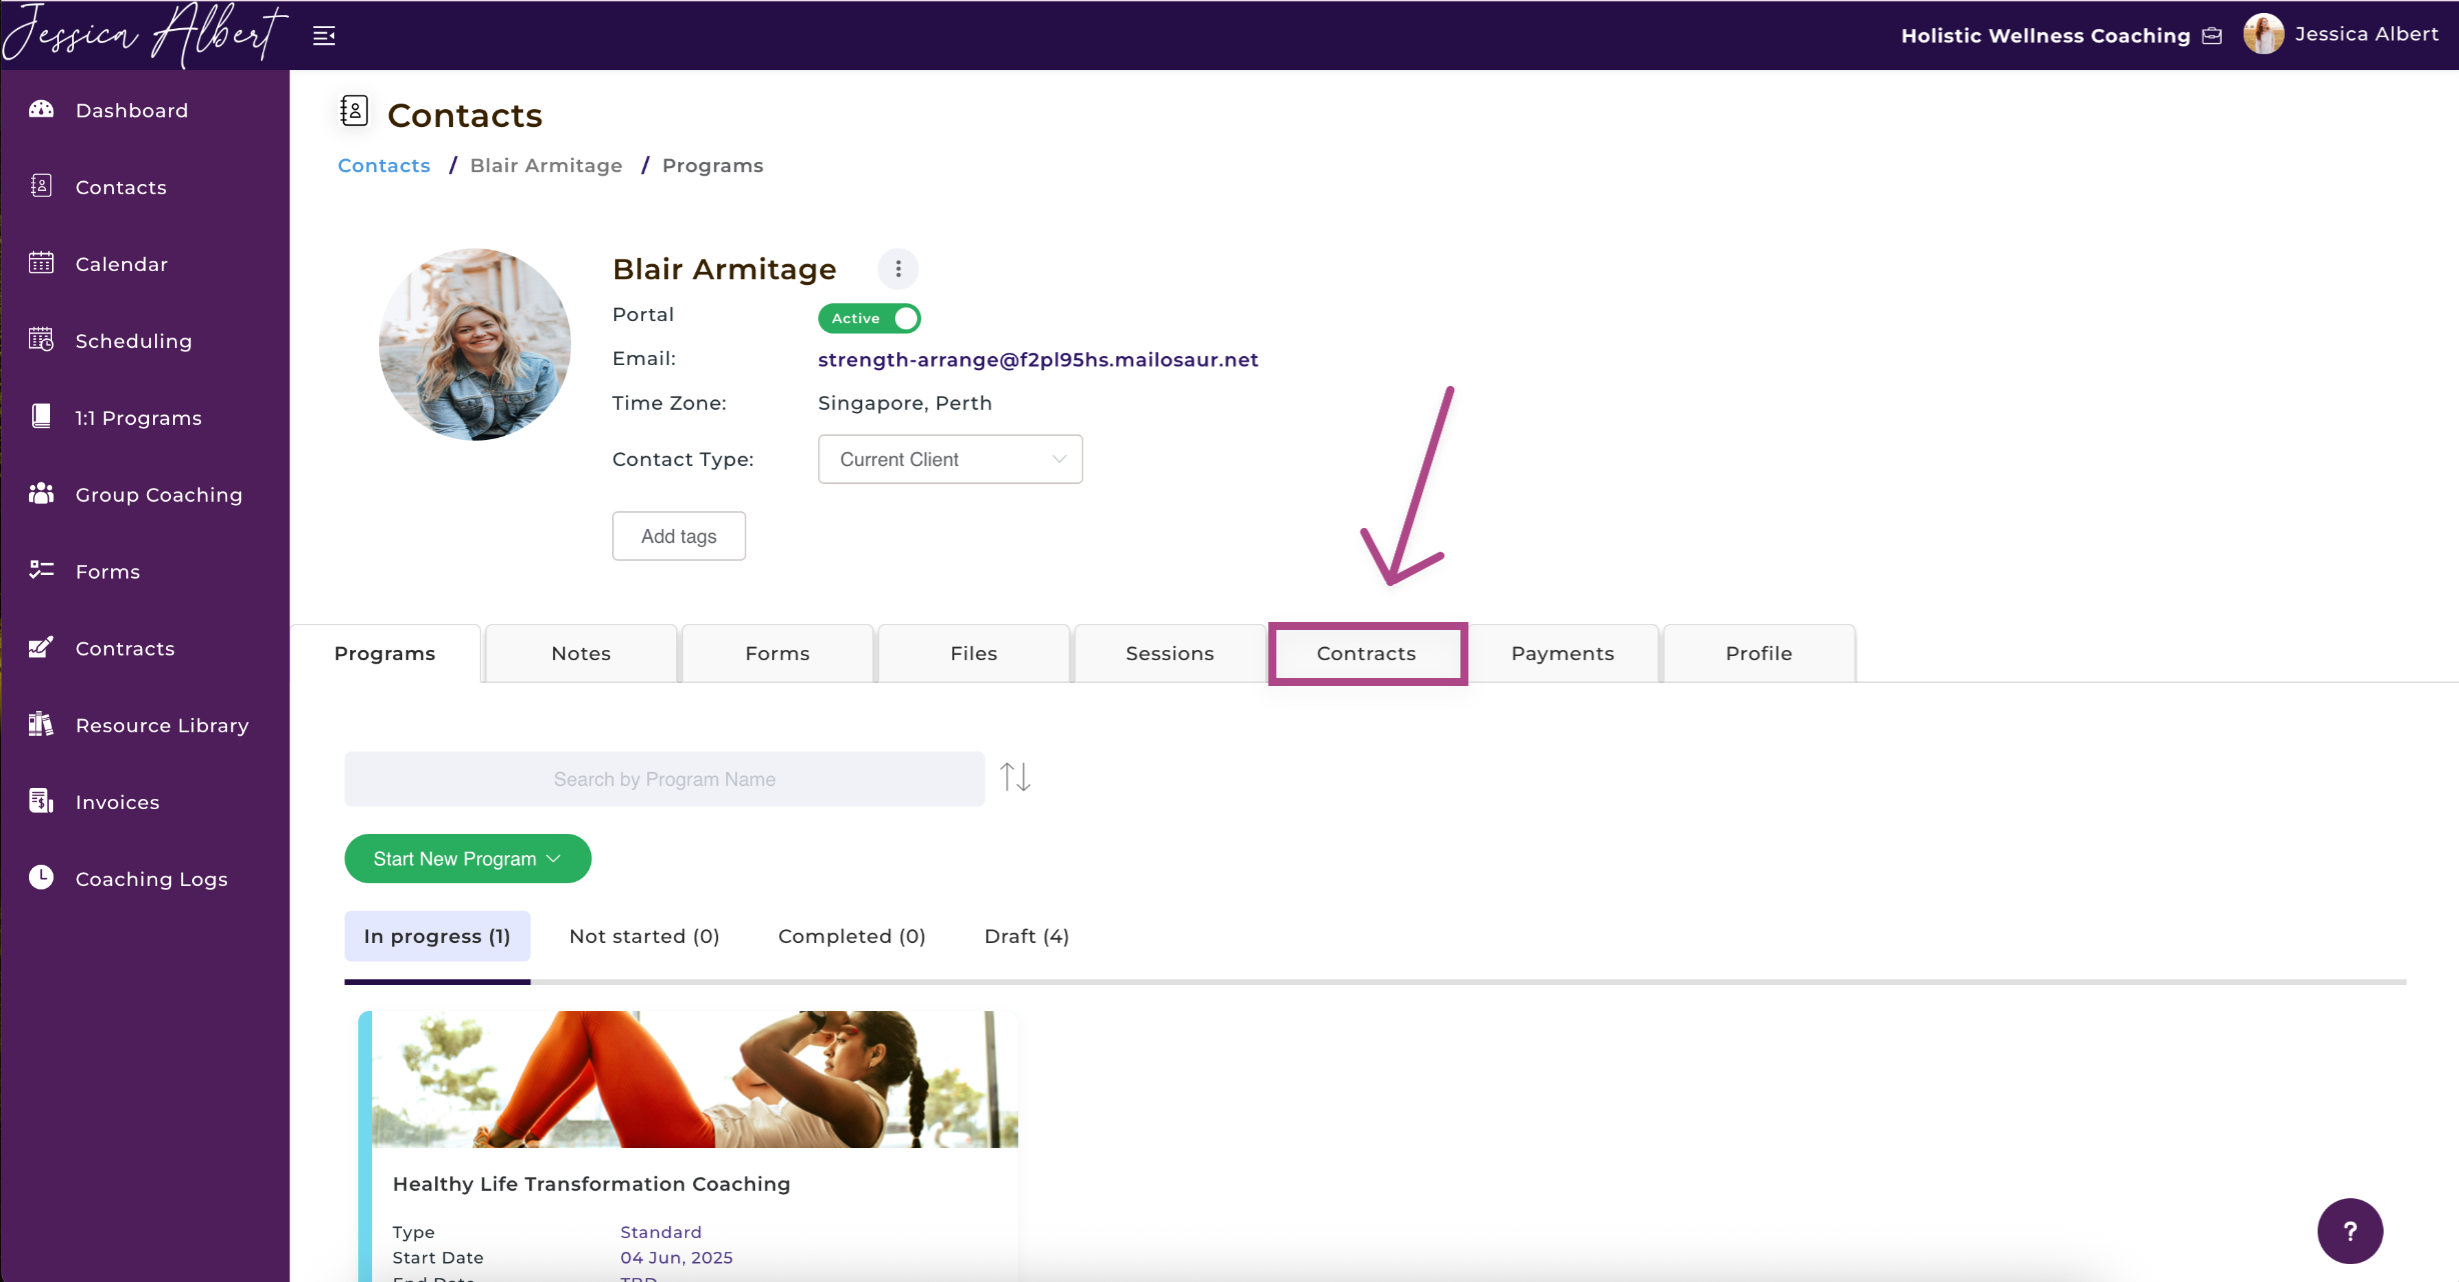
3. Navigate to the Contracts section.
4. Click Send Contract. 📧
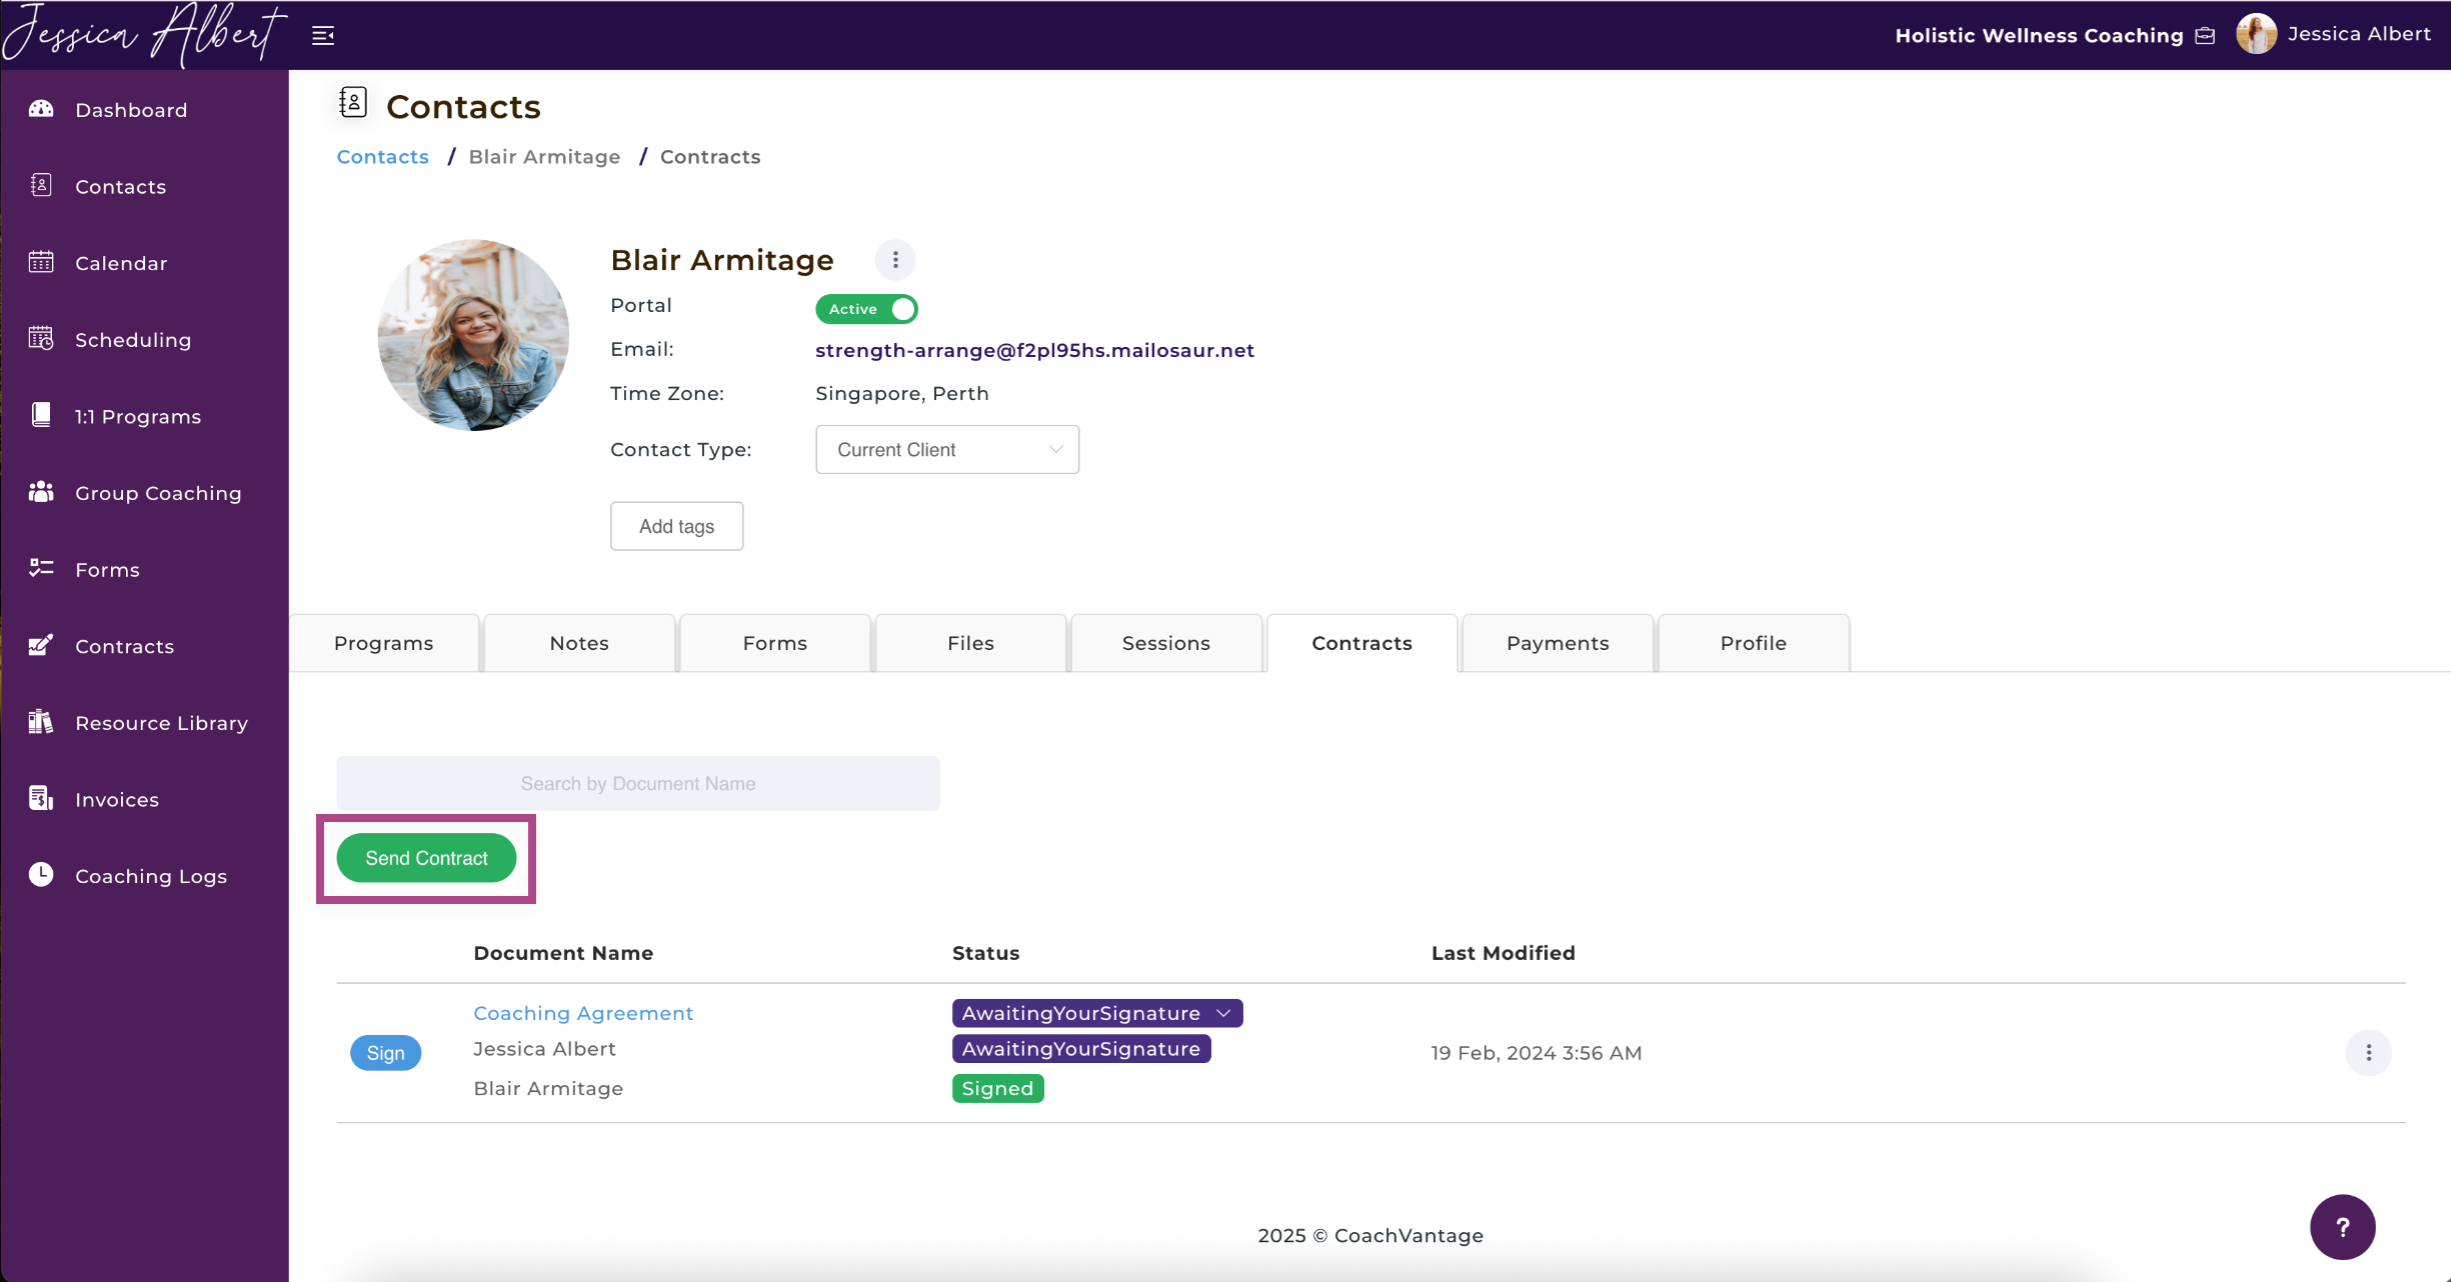
2. The process of sending a contract is similar to the steps mentioned above. However, under Select Client, you will see that the client's name has already been auto-populated.