How to Use the Resource Library in the Client Portal
Upload files, share them with your Coach and access files that your Coach has shared with you
Overview 📚
The Resource Library in your Client Portal allows you to upload your files and documents.
You can keep these files private (i.e. for your own reference only), or you can choose to share files with your Coach. You can also access files that your Coach has shared with you.
There are 2 ways that your Coach can share files / resources with you:
- If your Coach shares files that are not associated with a Coaching Program, you will receive these files in your Resource Library.
- If your Coach shares files as part of a Coaching Program, these files will be accessible from the Coaching Program Management page > Resources. Refer to this article How to Access Coaching Program Resources for more details.
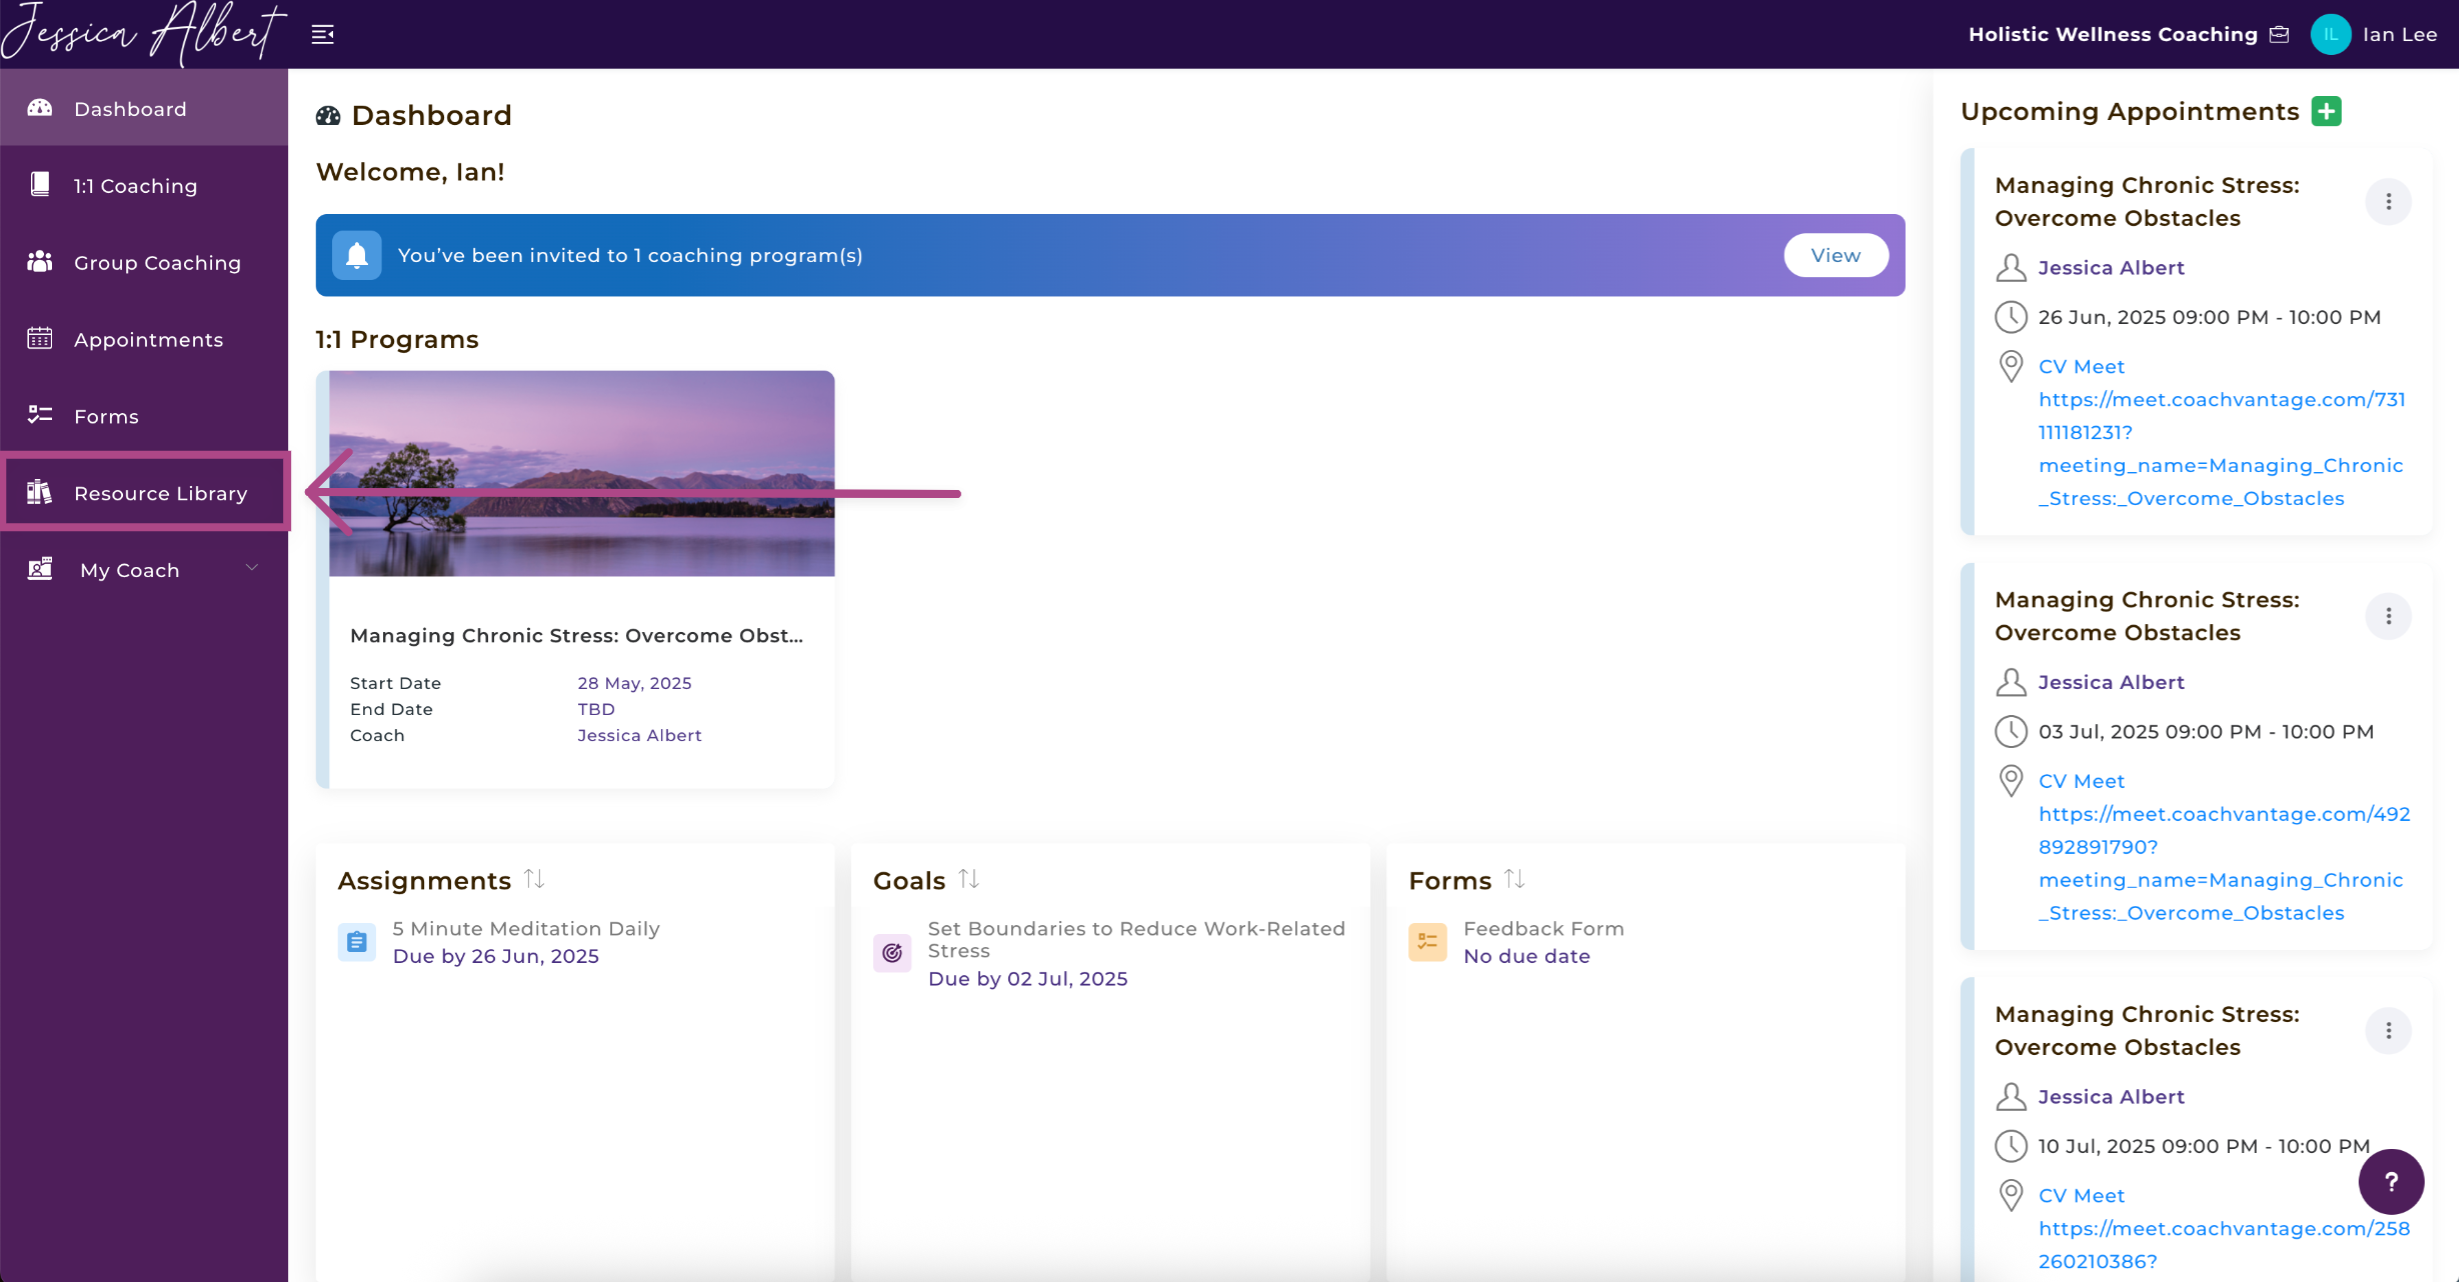
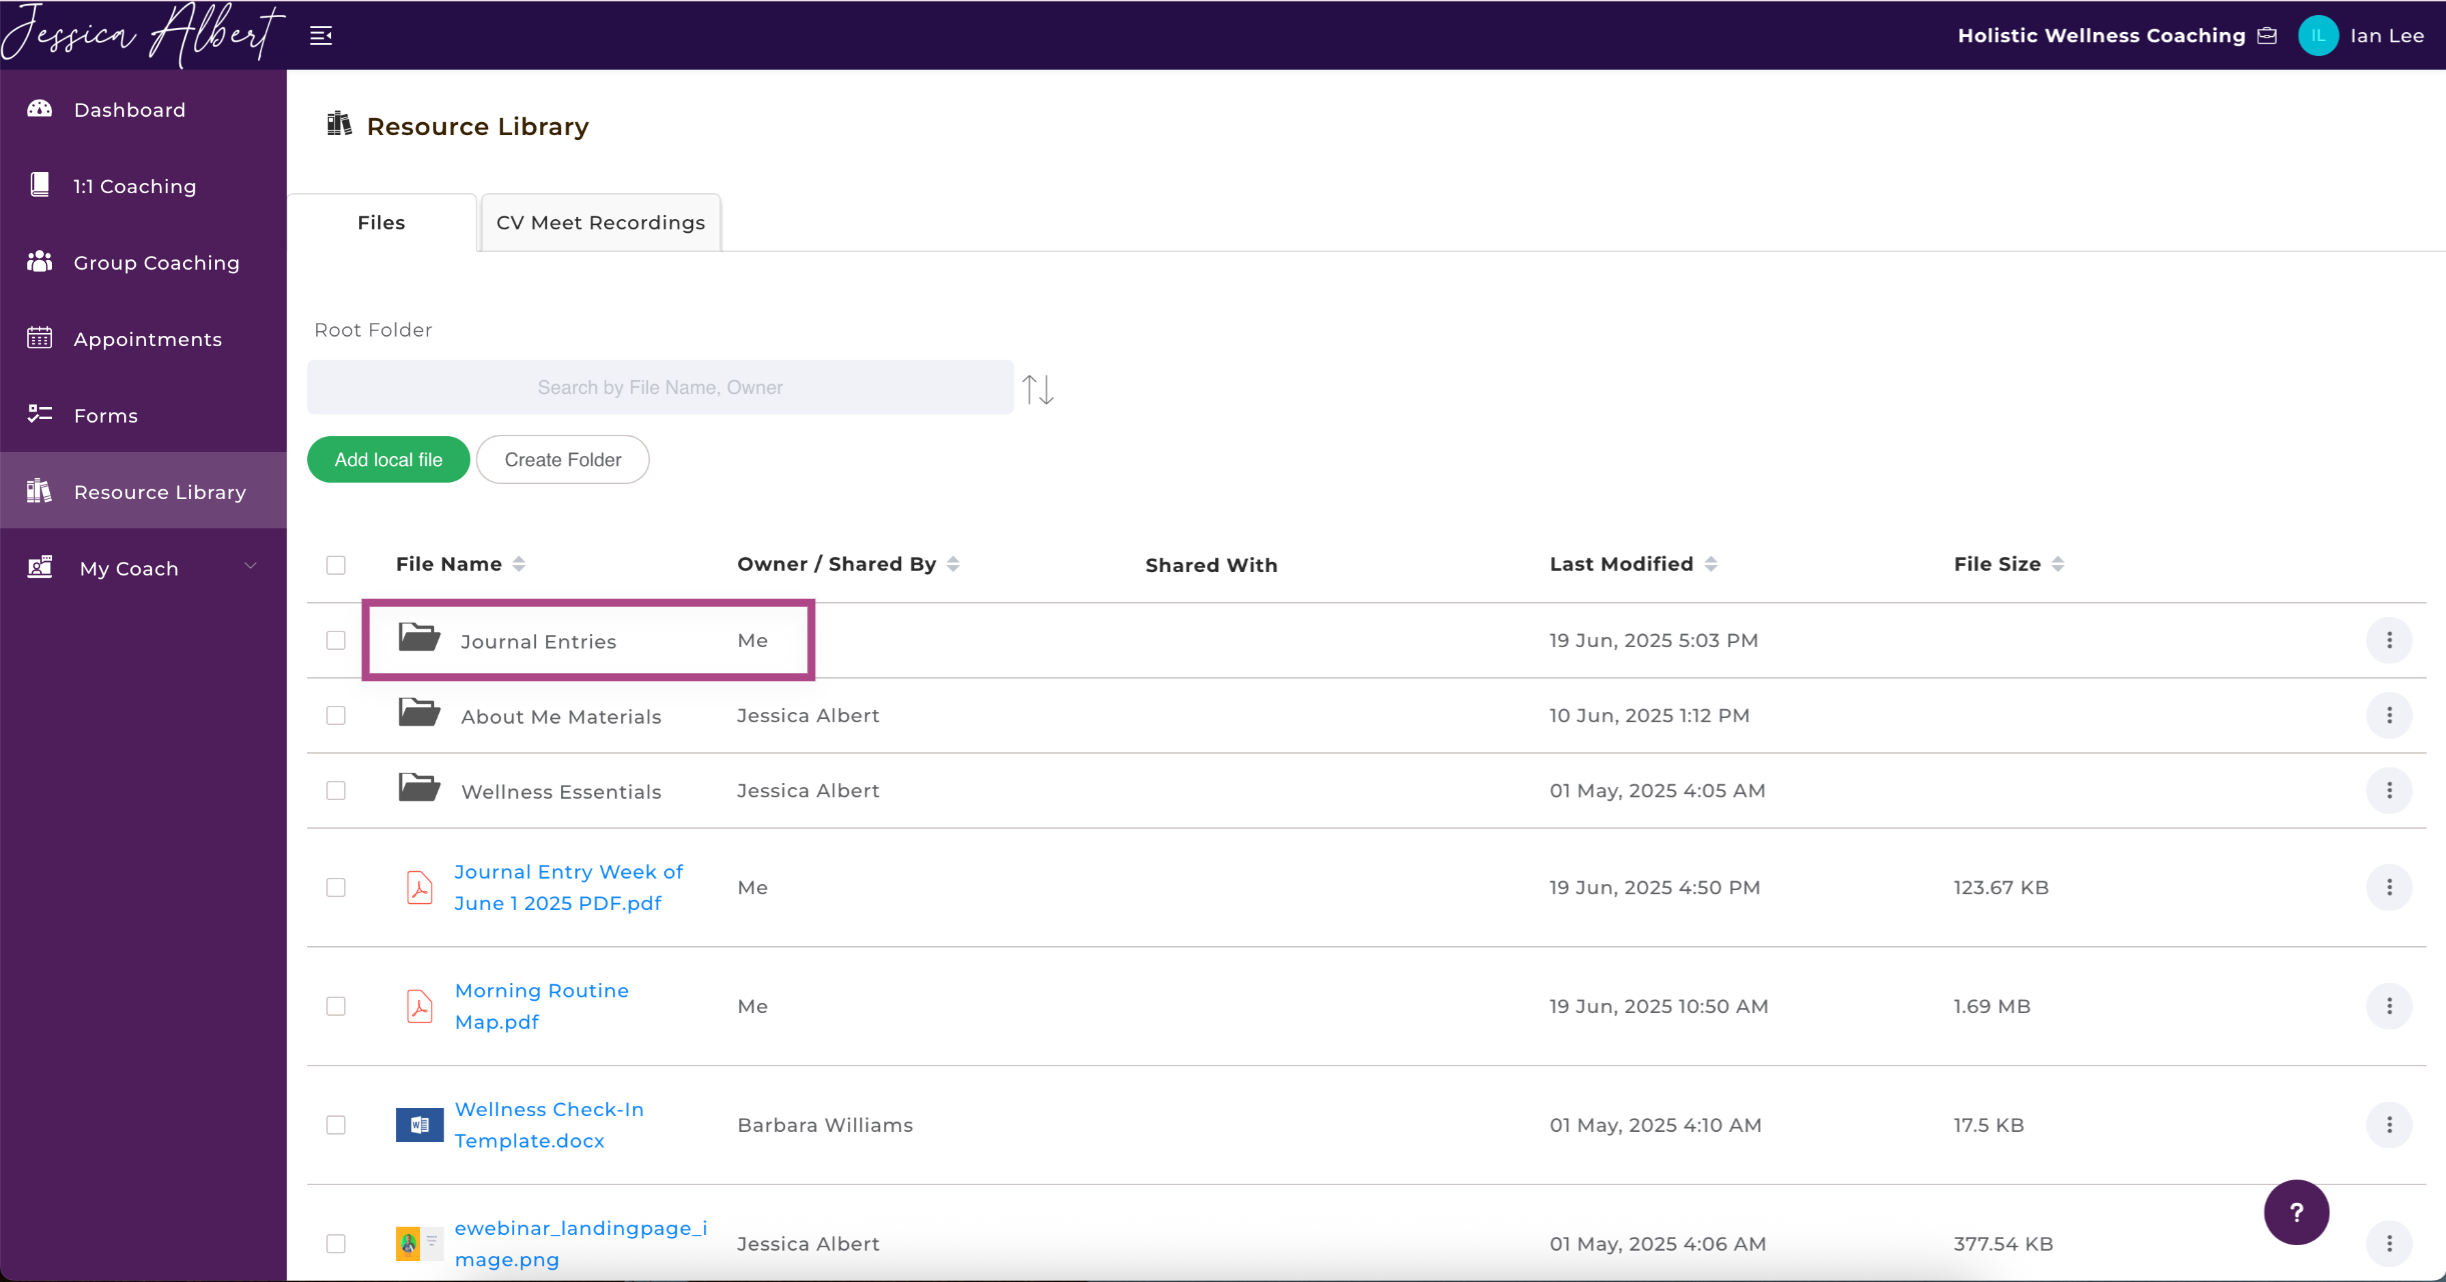
Click Resource Library on the left menu:
To Upload a File
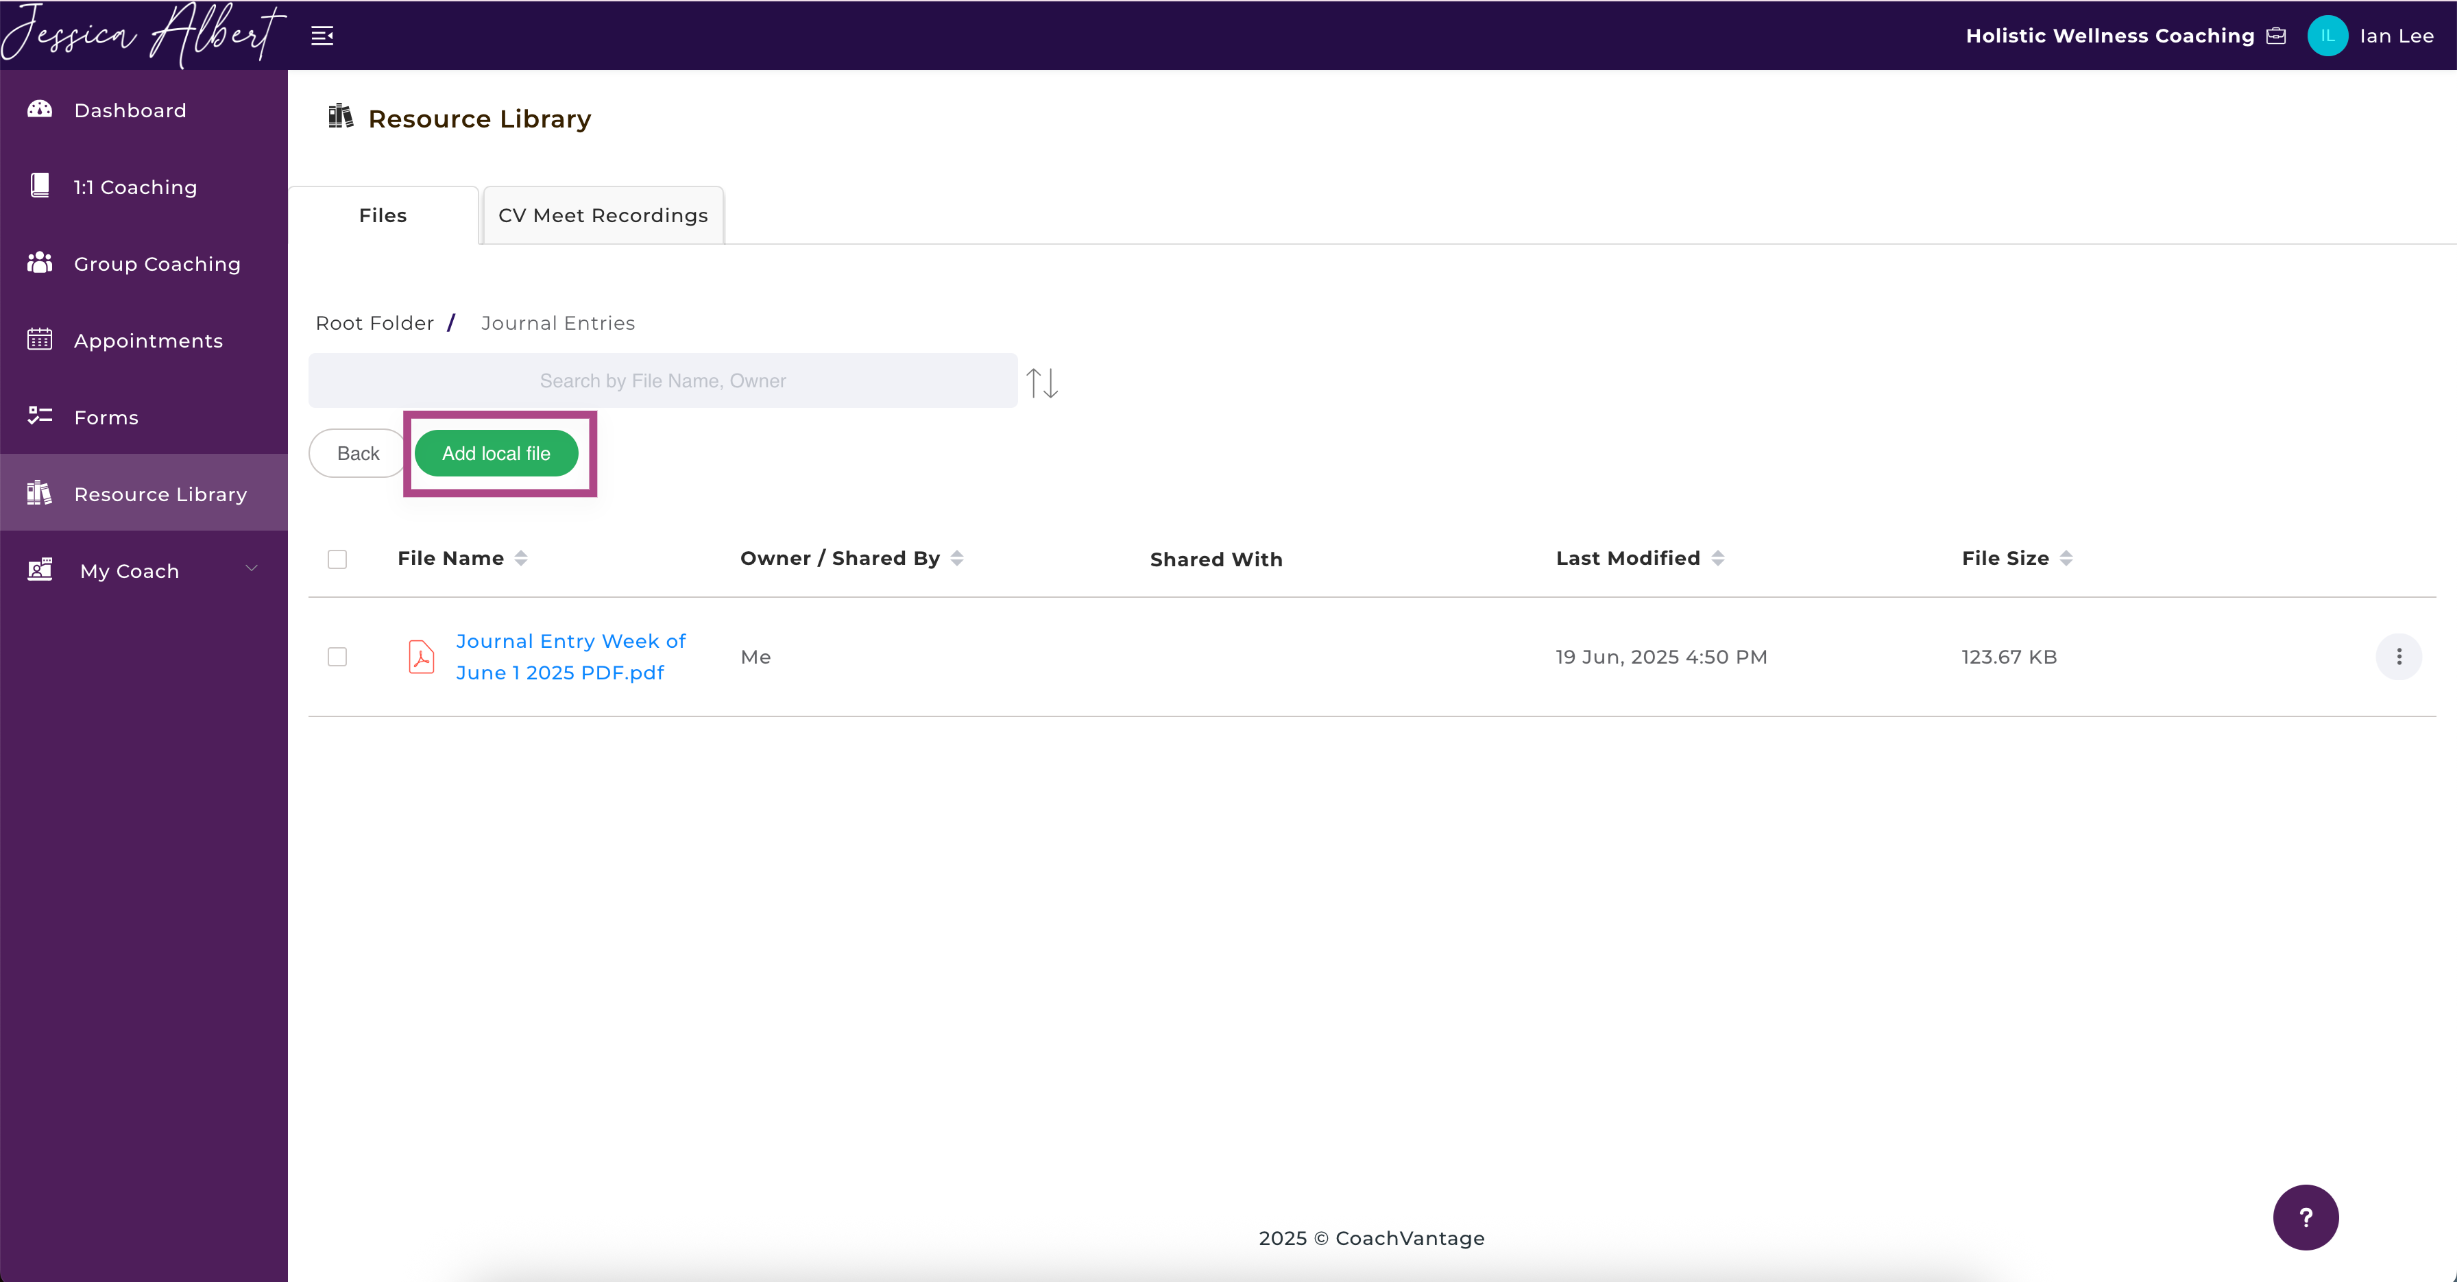
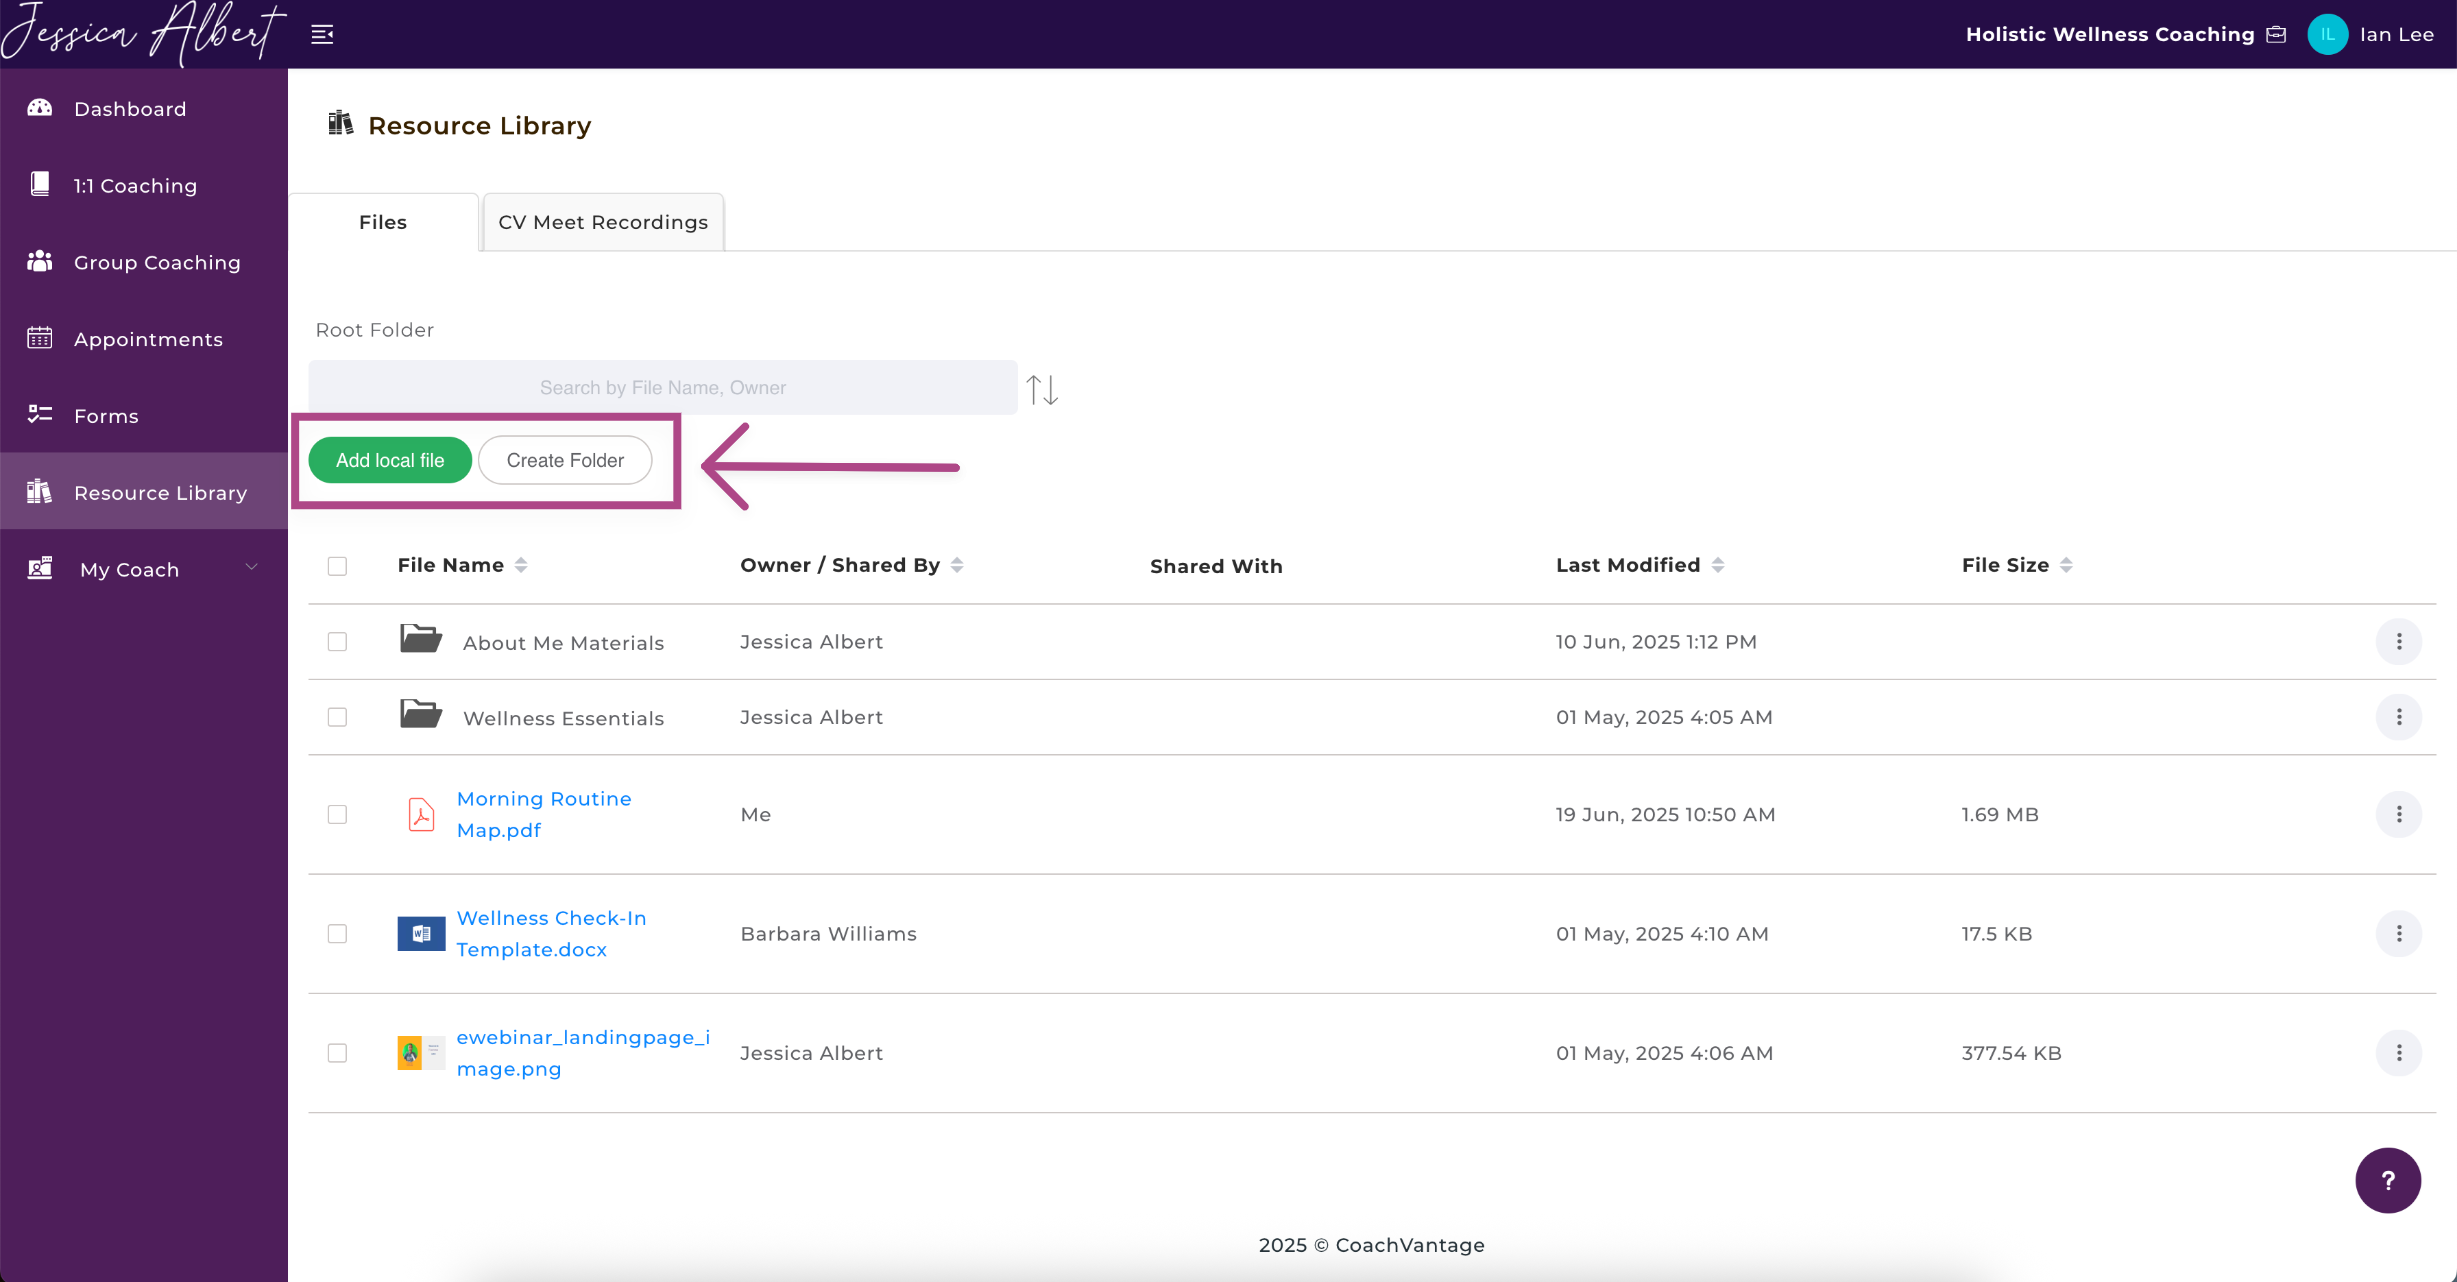
- Click on Add Local File.
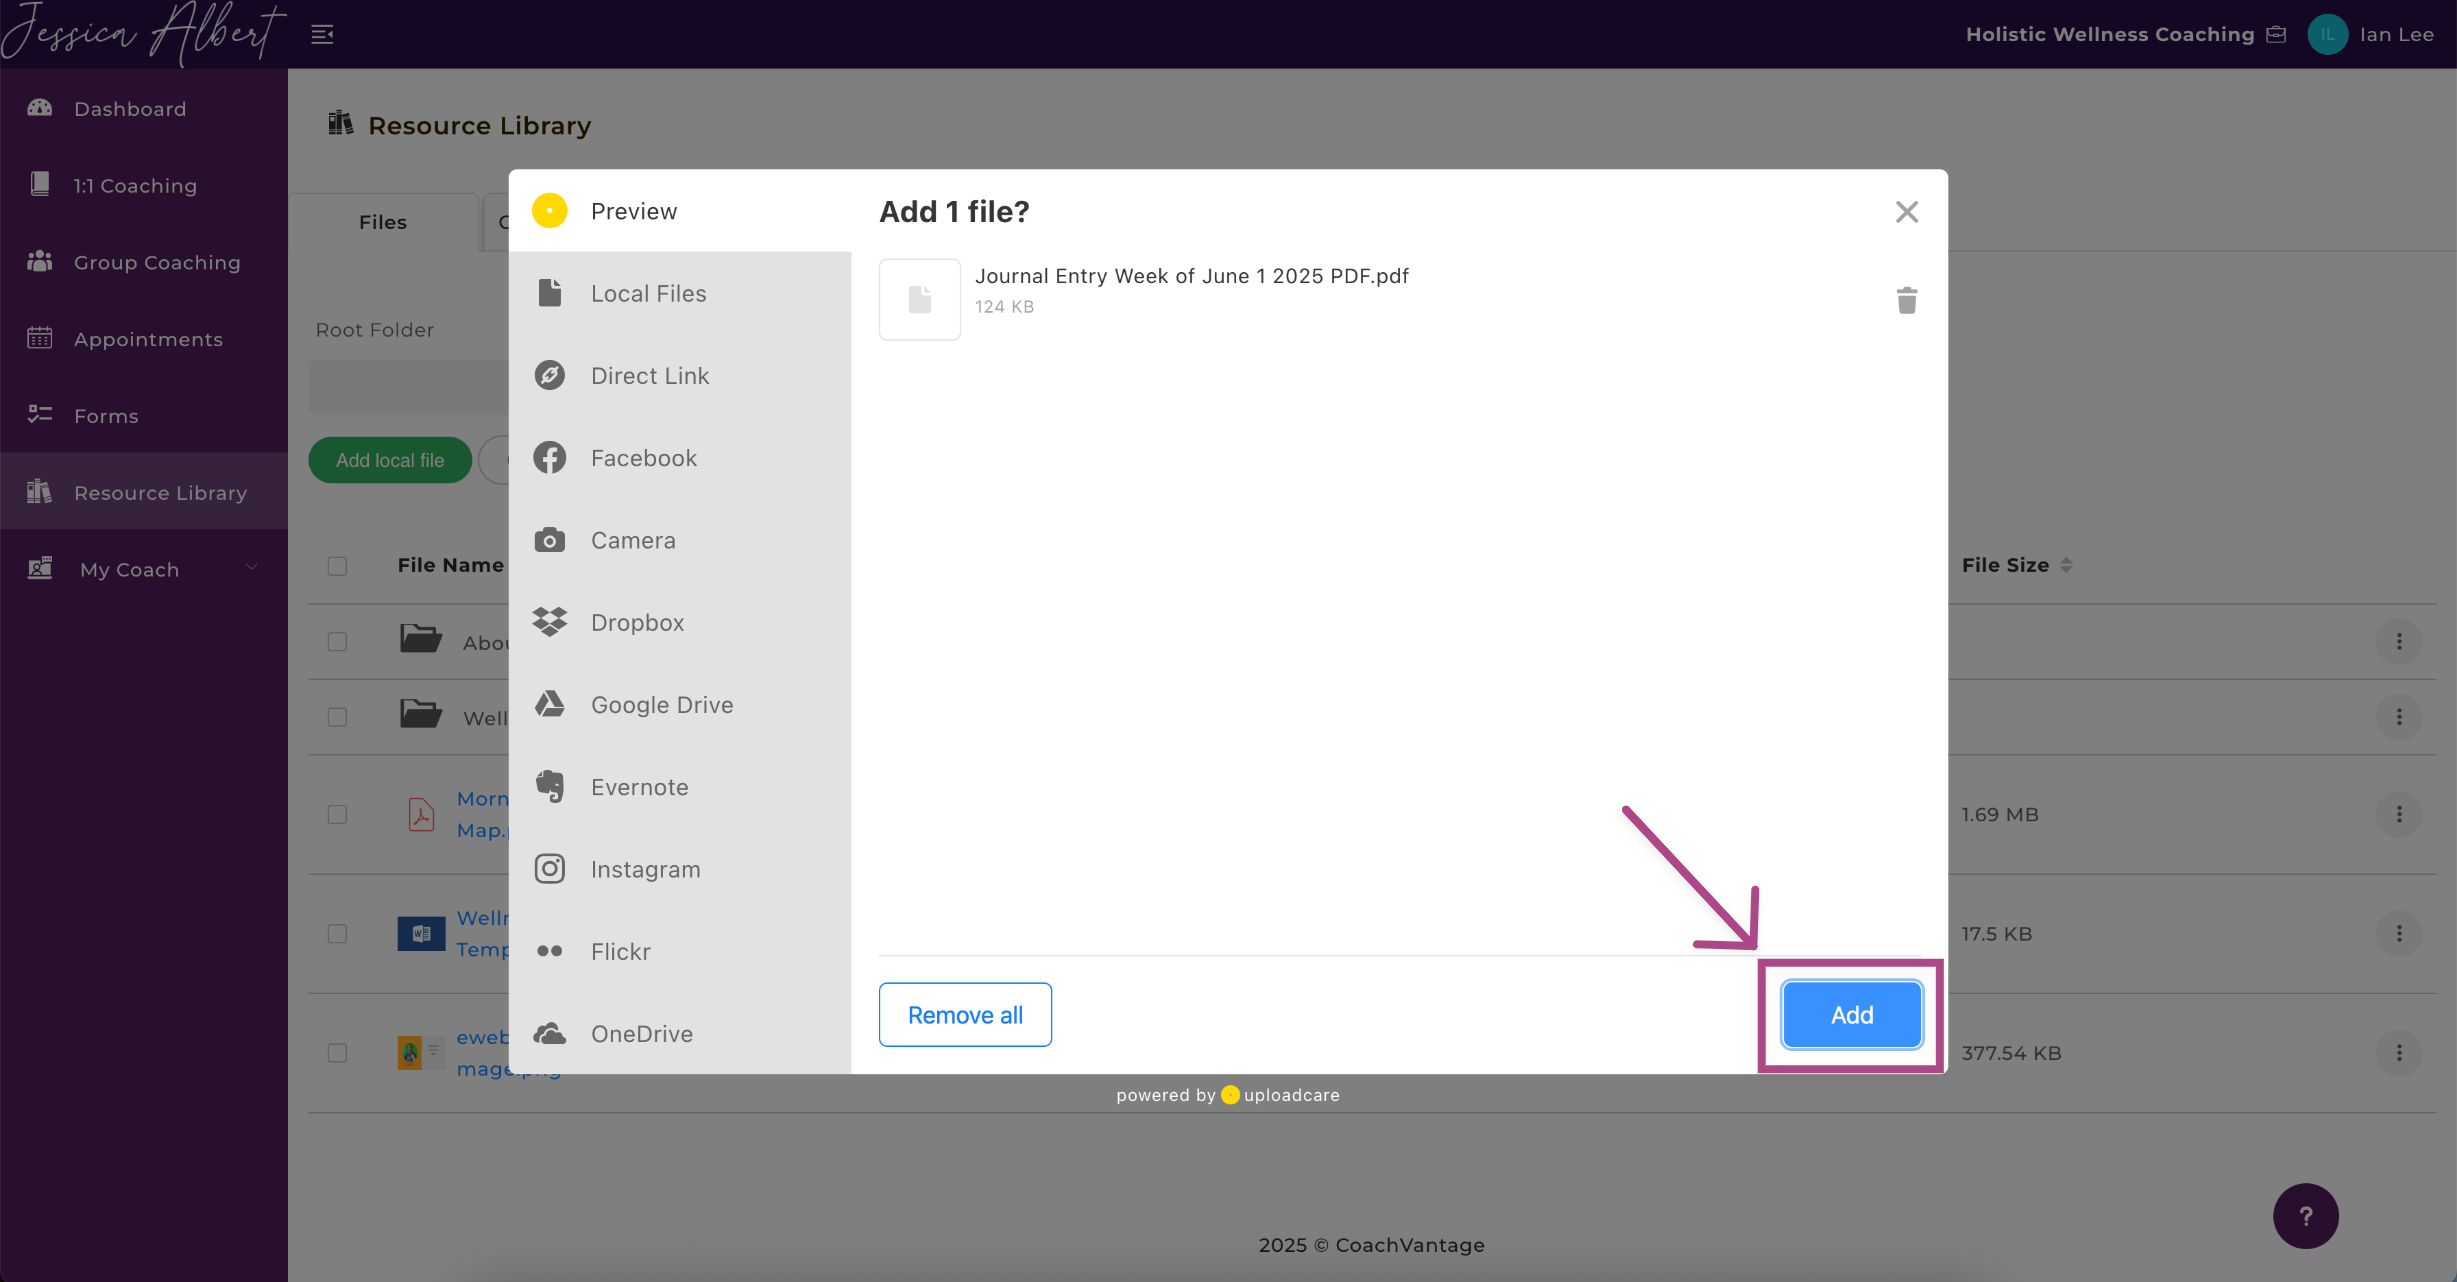
- Upload your files.
- Click on Add.
- Your files will be uploaded now.
To Share A File With Your Coach 📨
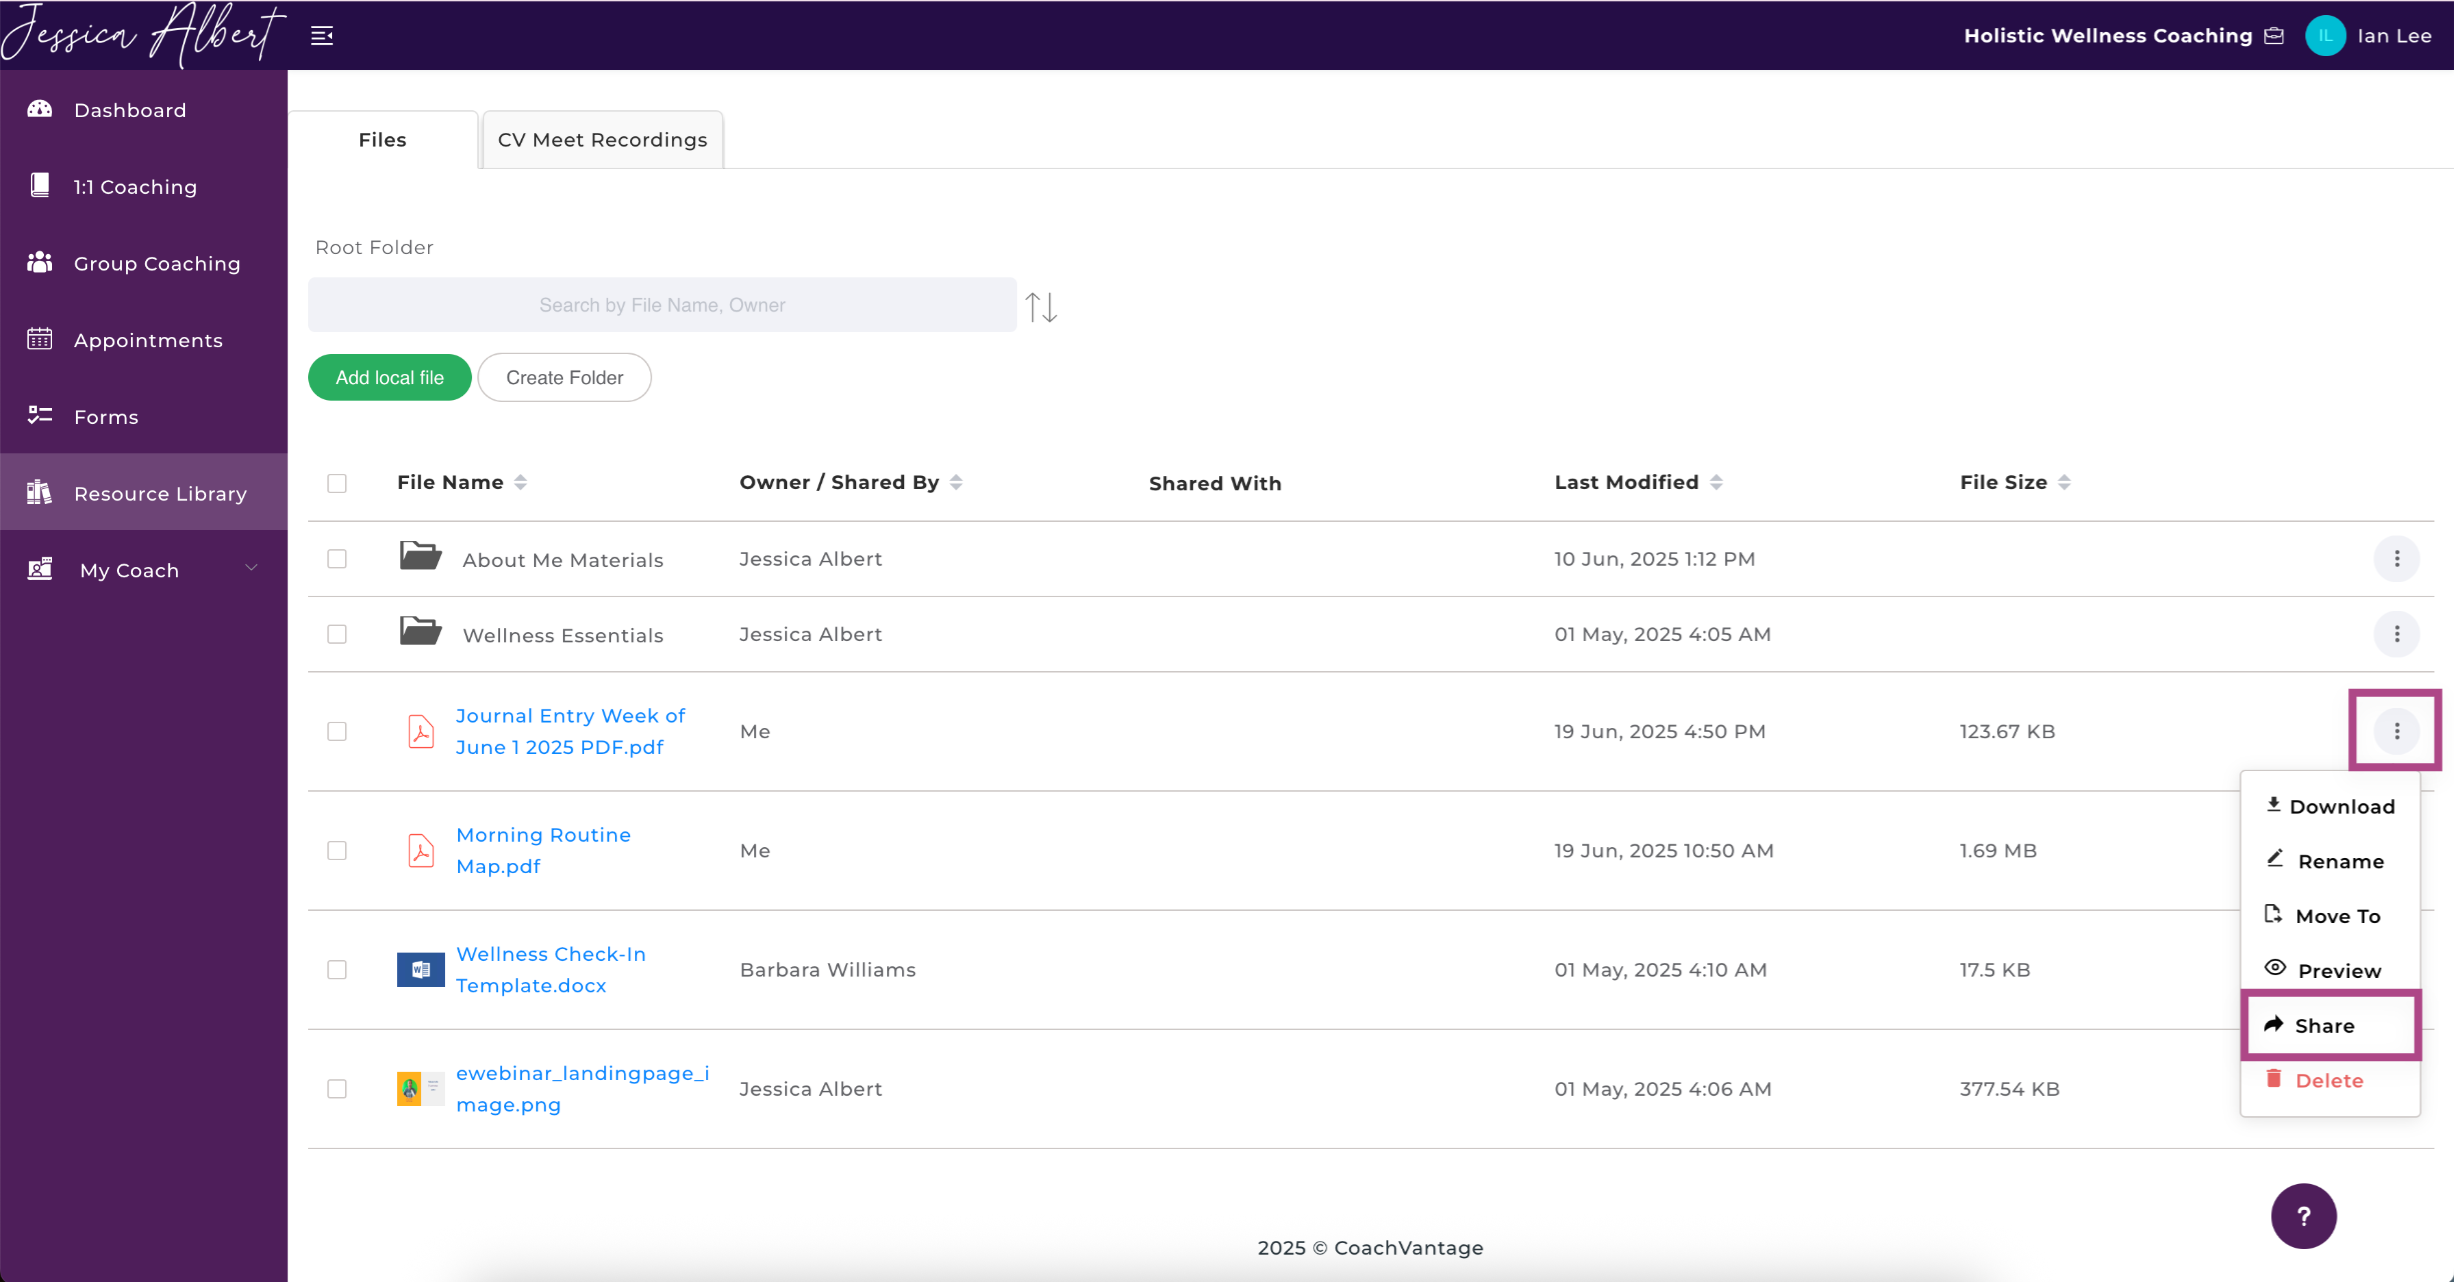
- Click on the 3-dot button menu on the right.
- Click on Share.
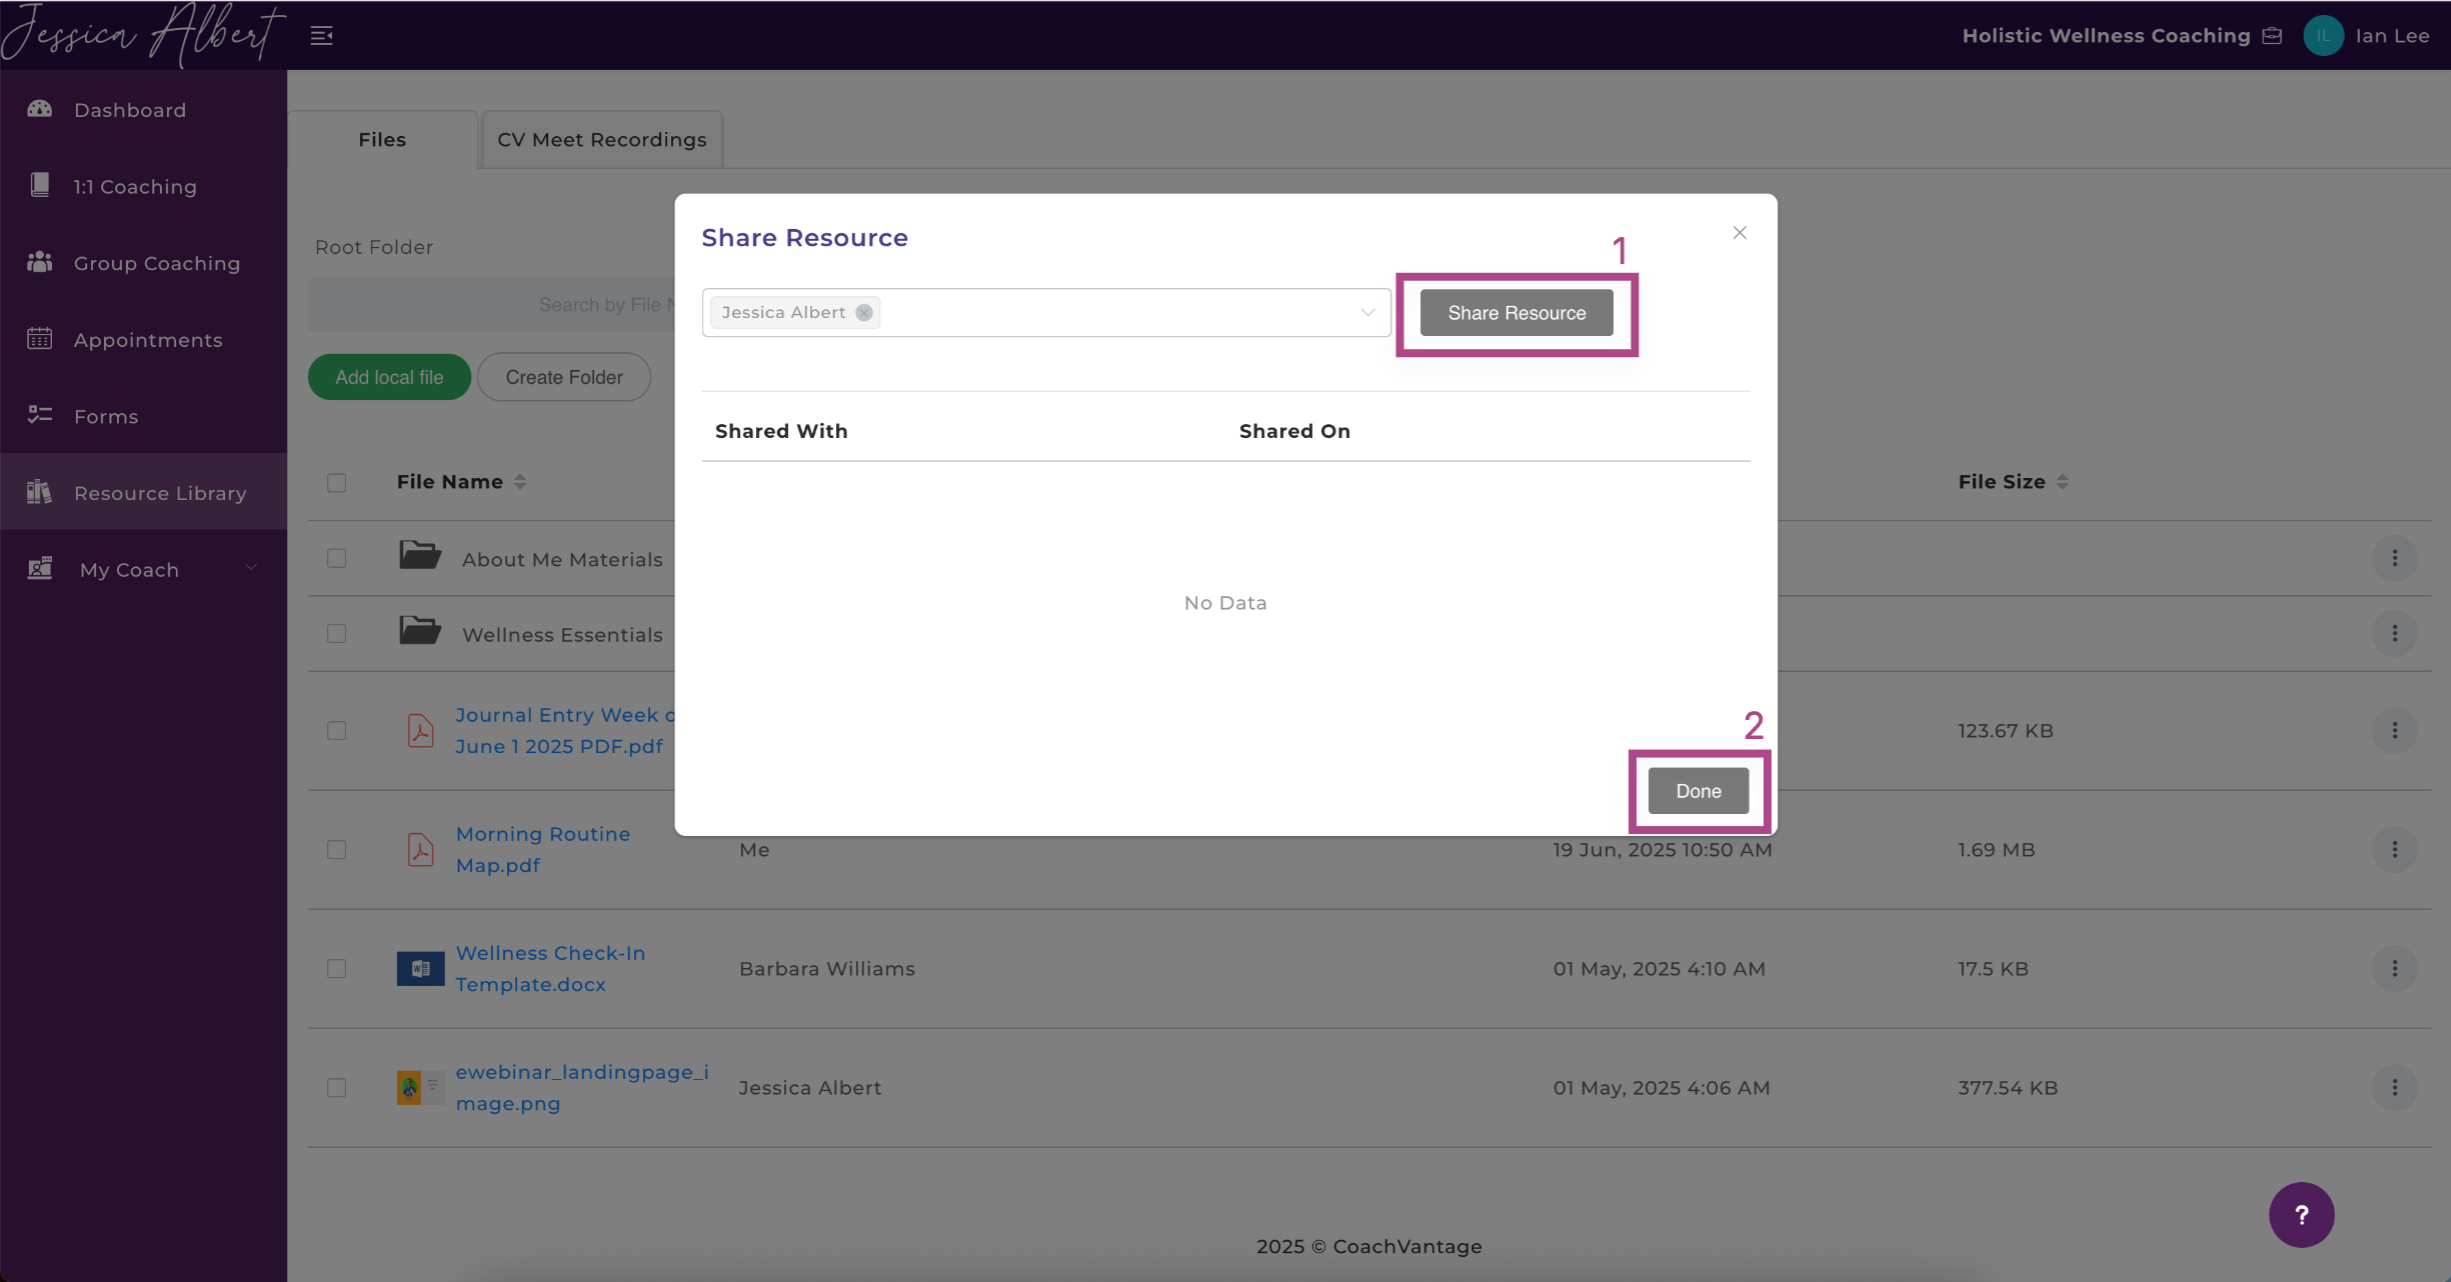
- Select the Coach you want to share it with. You can select multiple if you have more than one coach you would like to share it with.
- Click on Share Resource then click Done.
- Your file is now shared with your Coach, as shown in the Shared With column of the table:
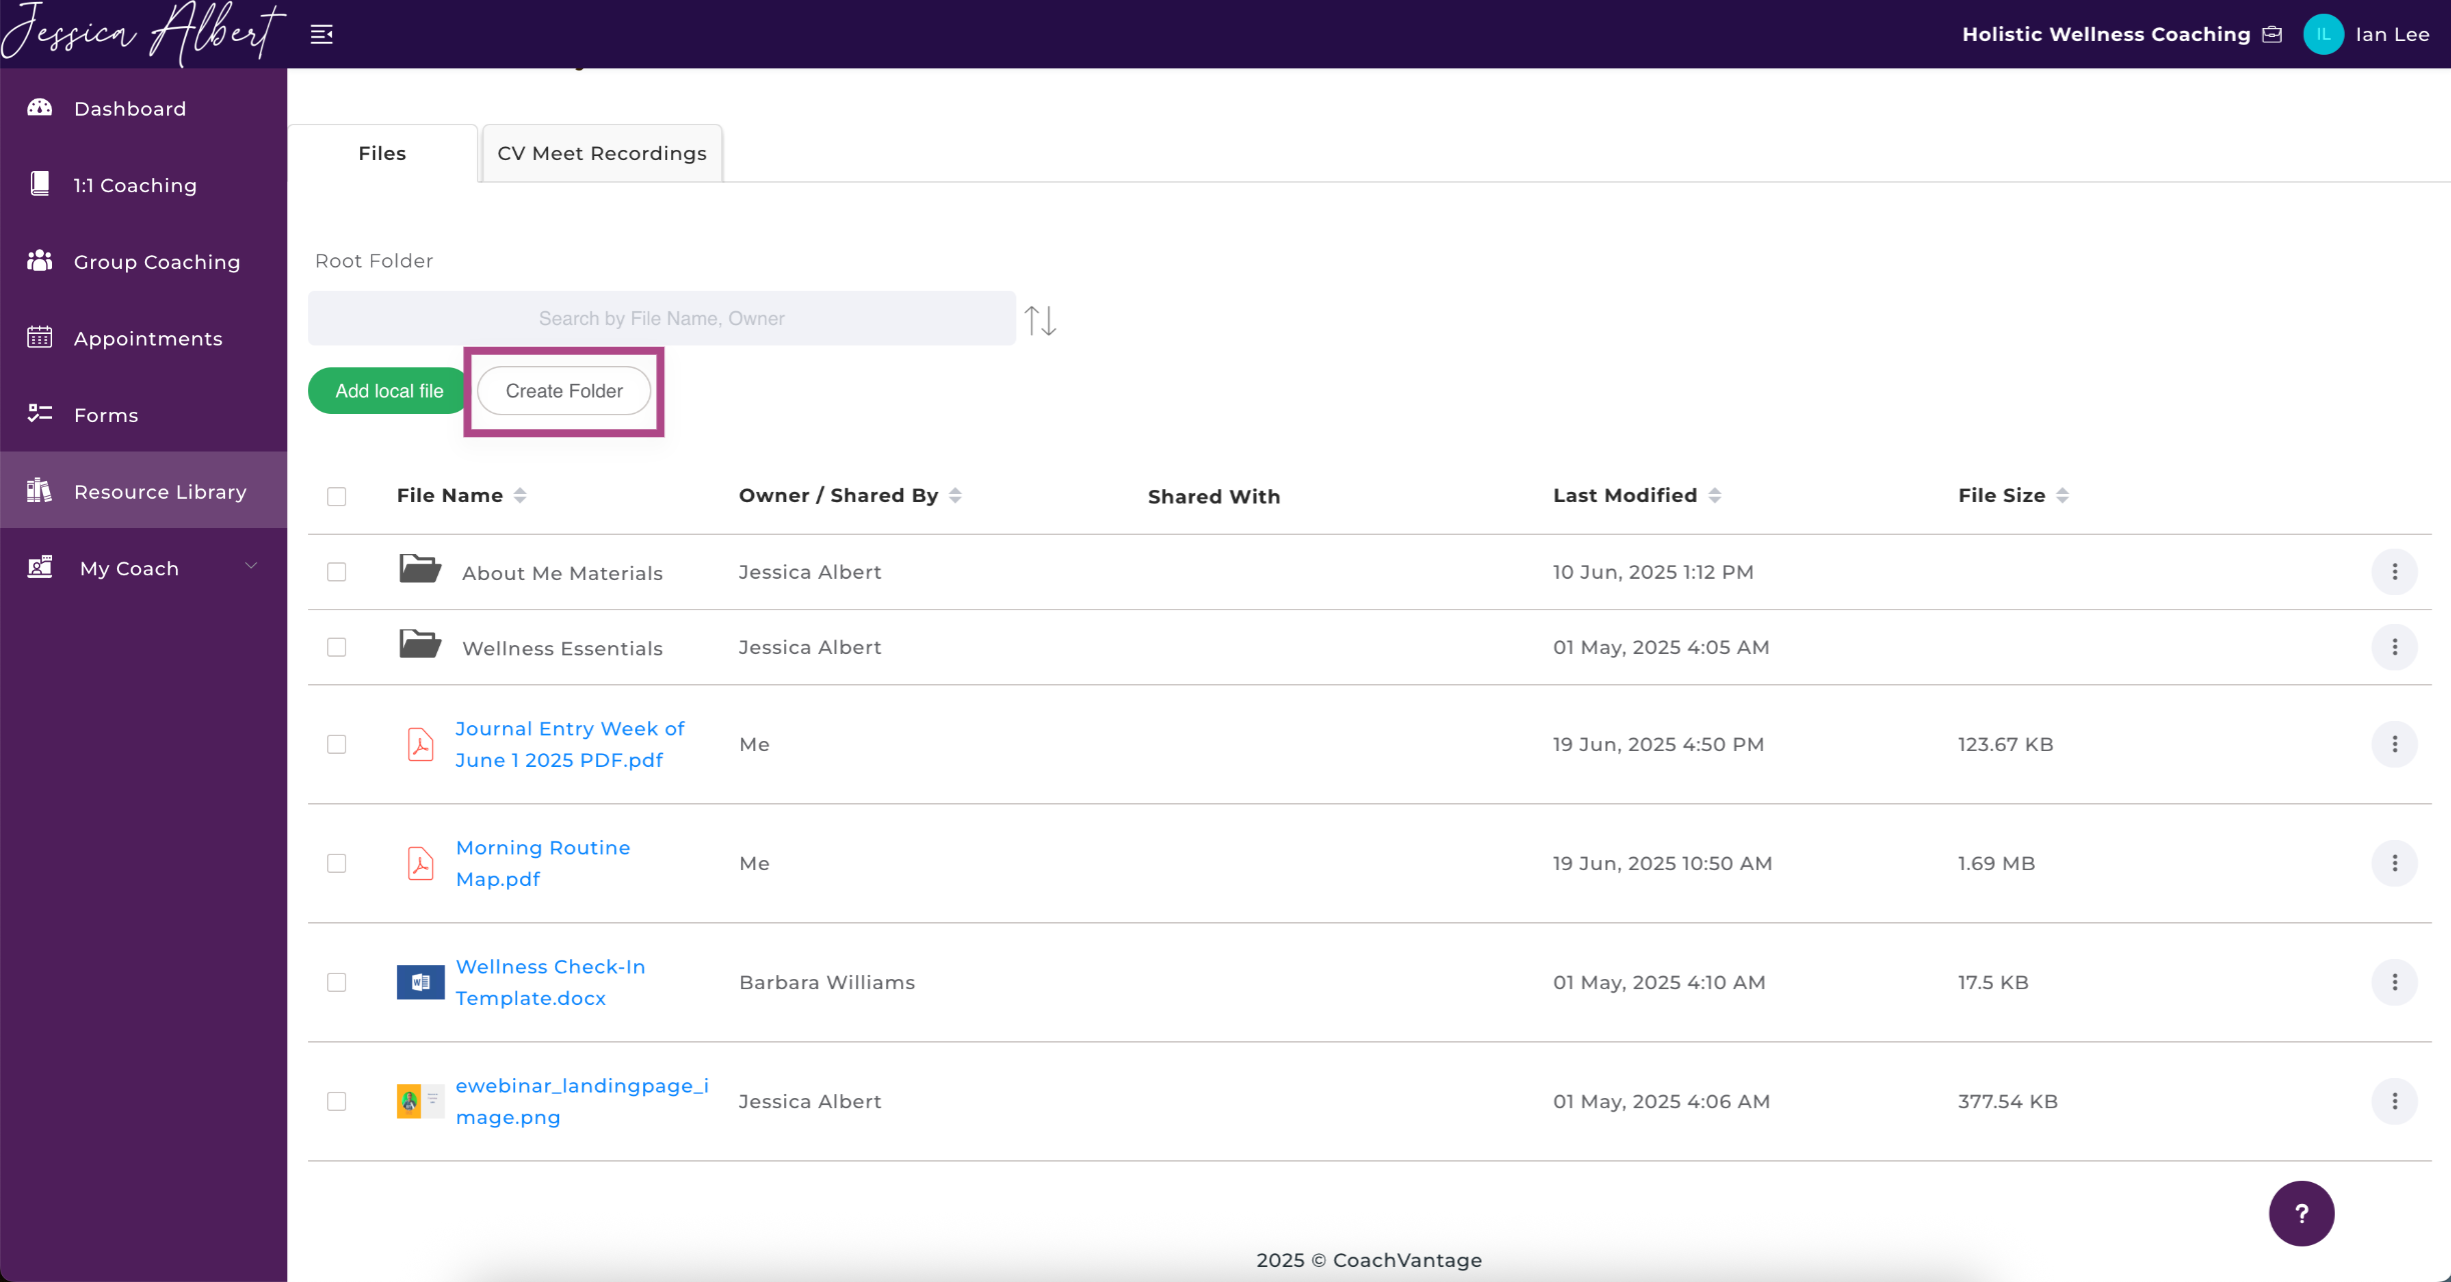
To Create A Folder 📁
- Click Add Folder.
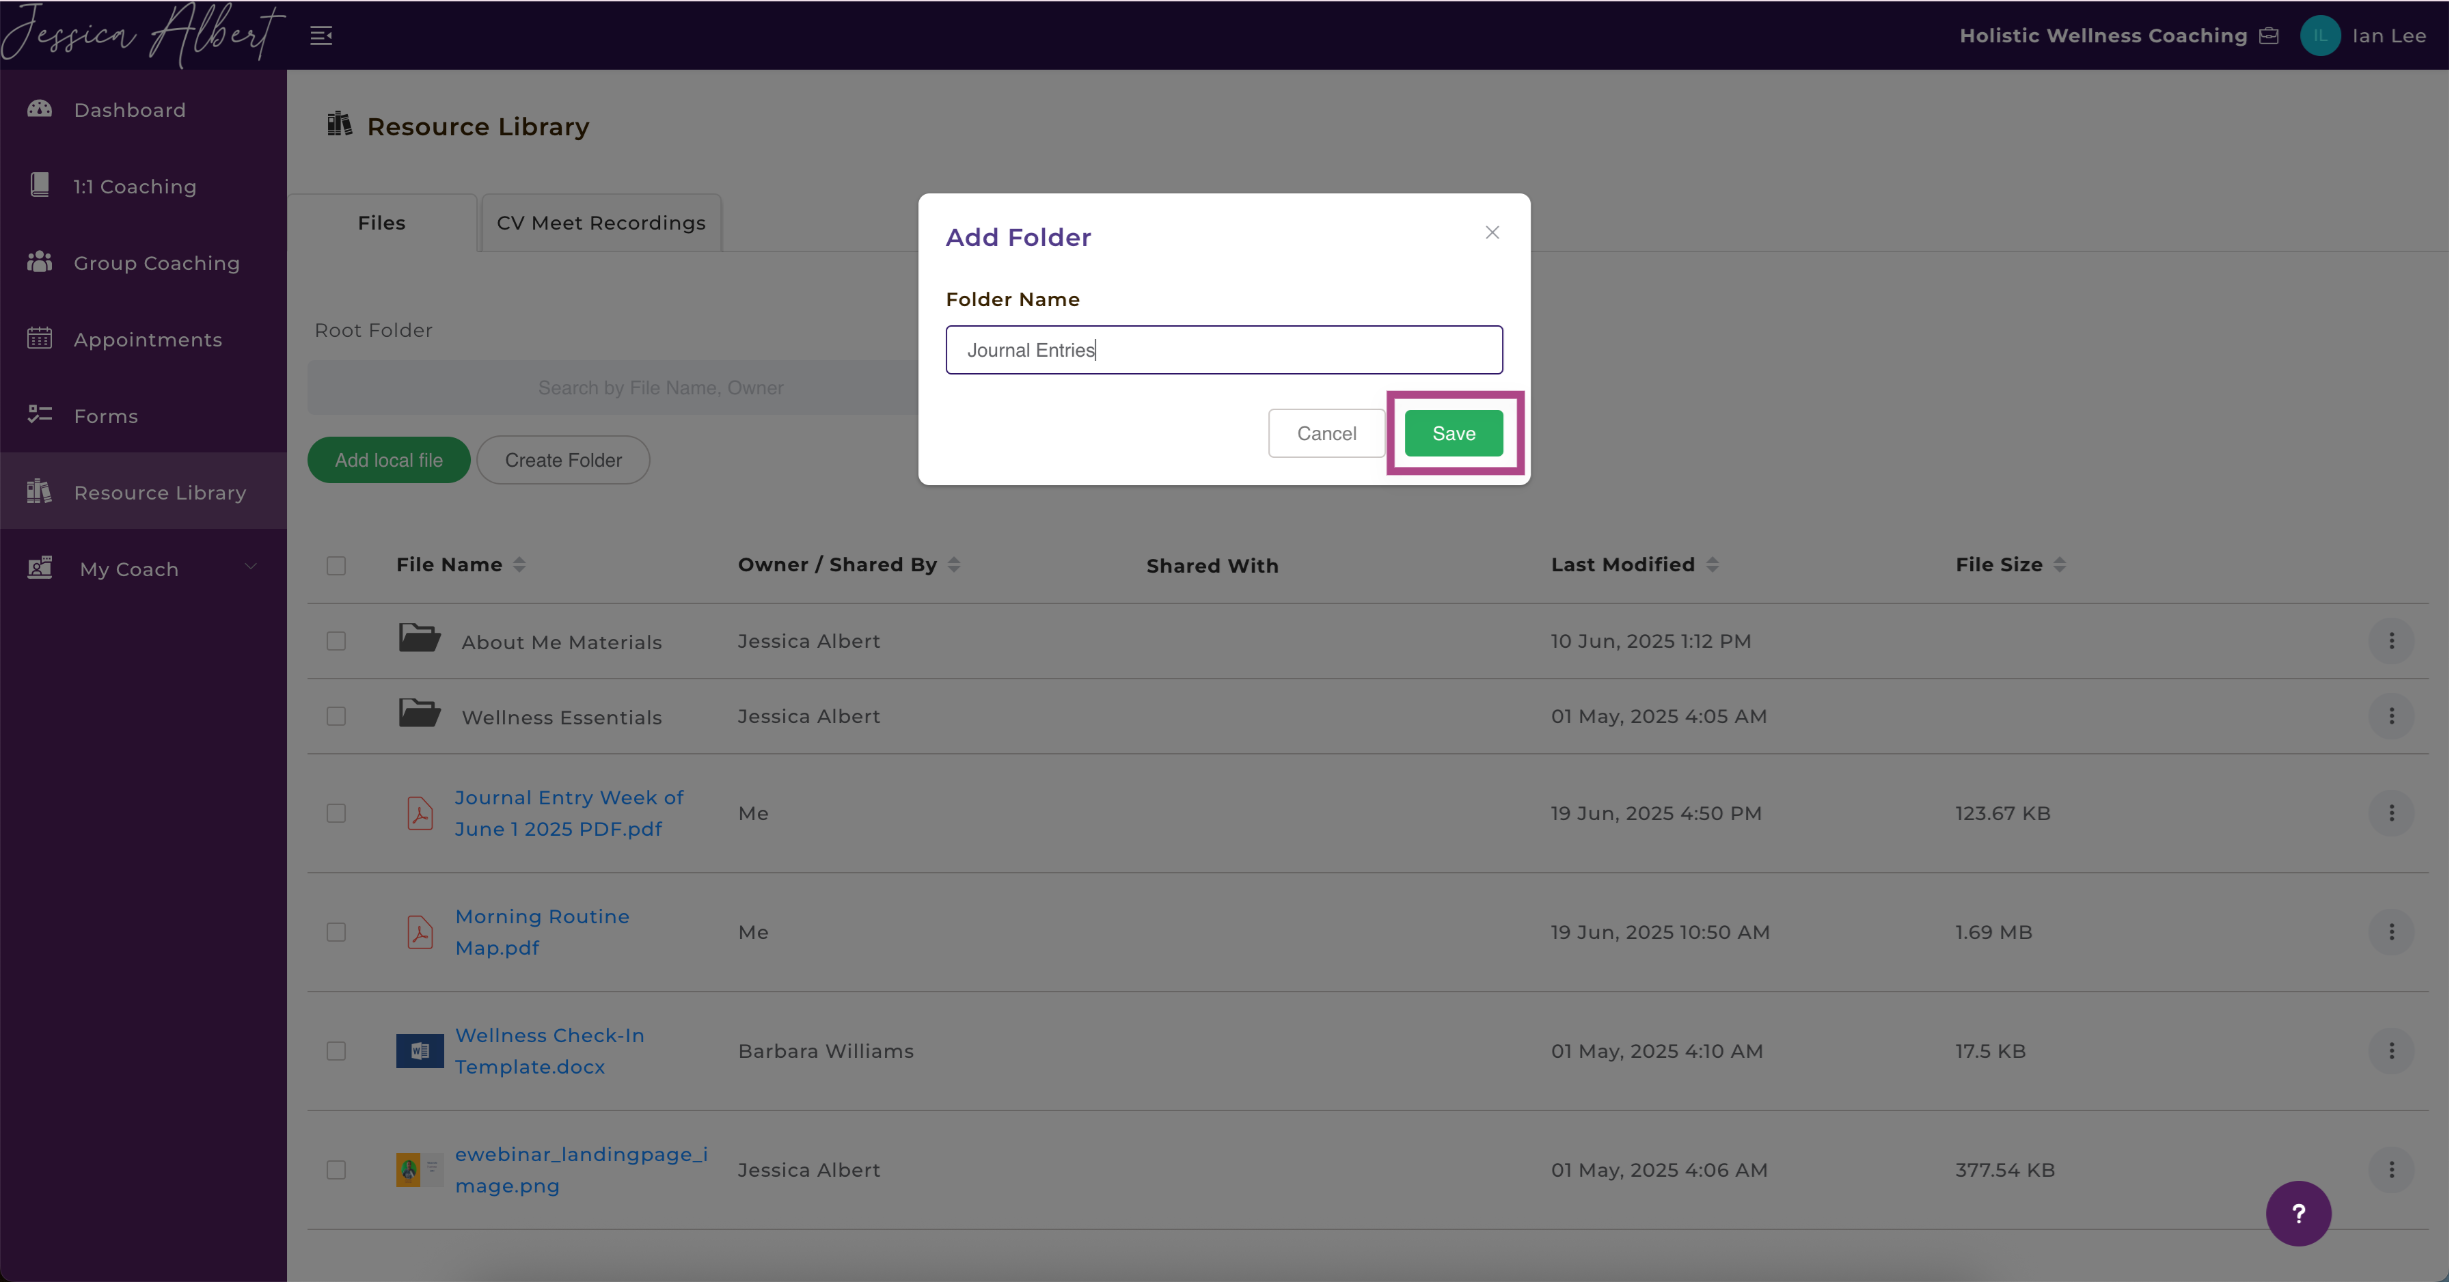
- Name your folder.
- Click Save.
- Your folder is now added.
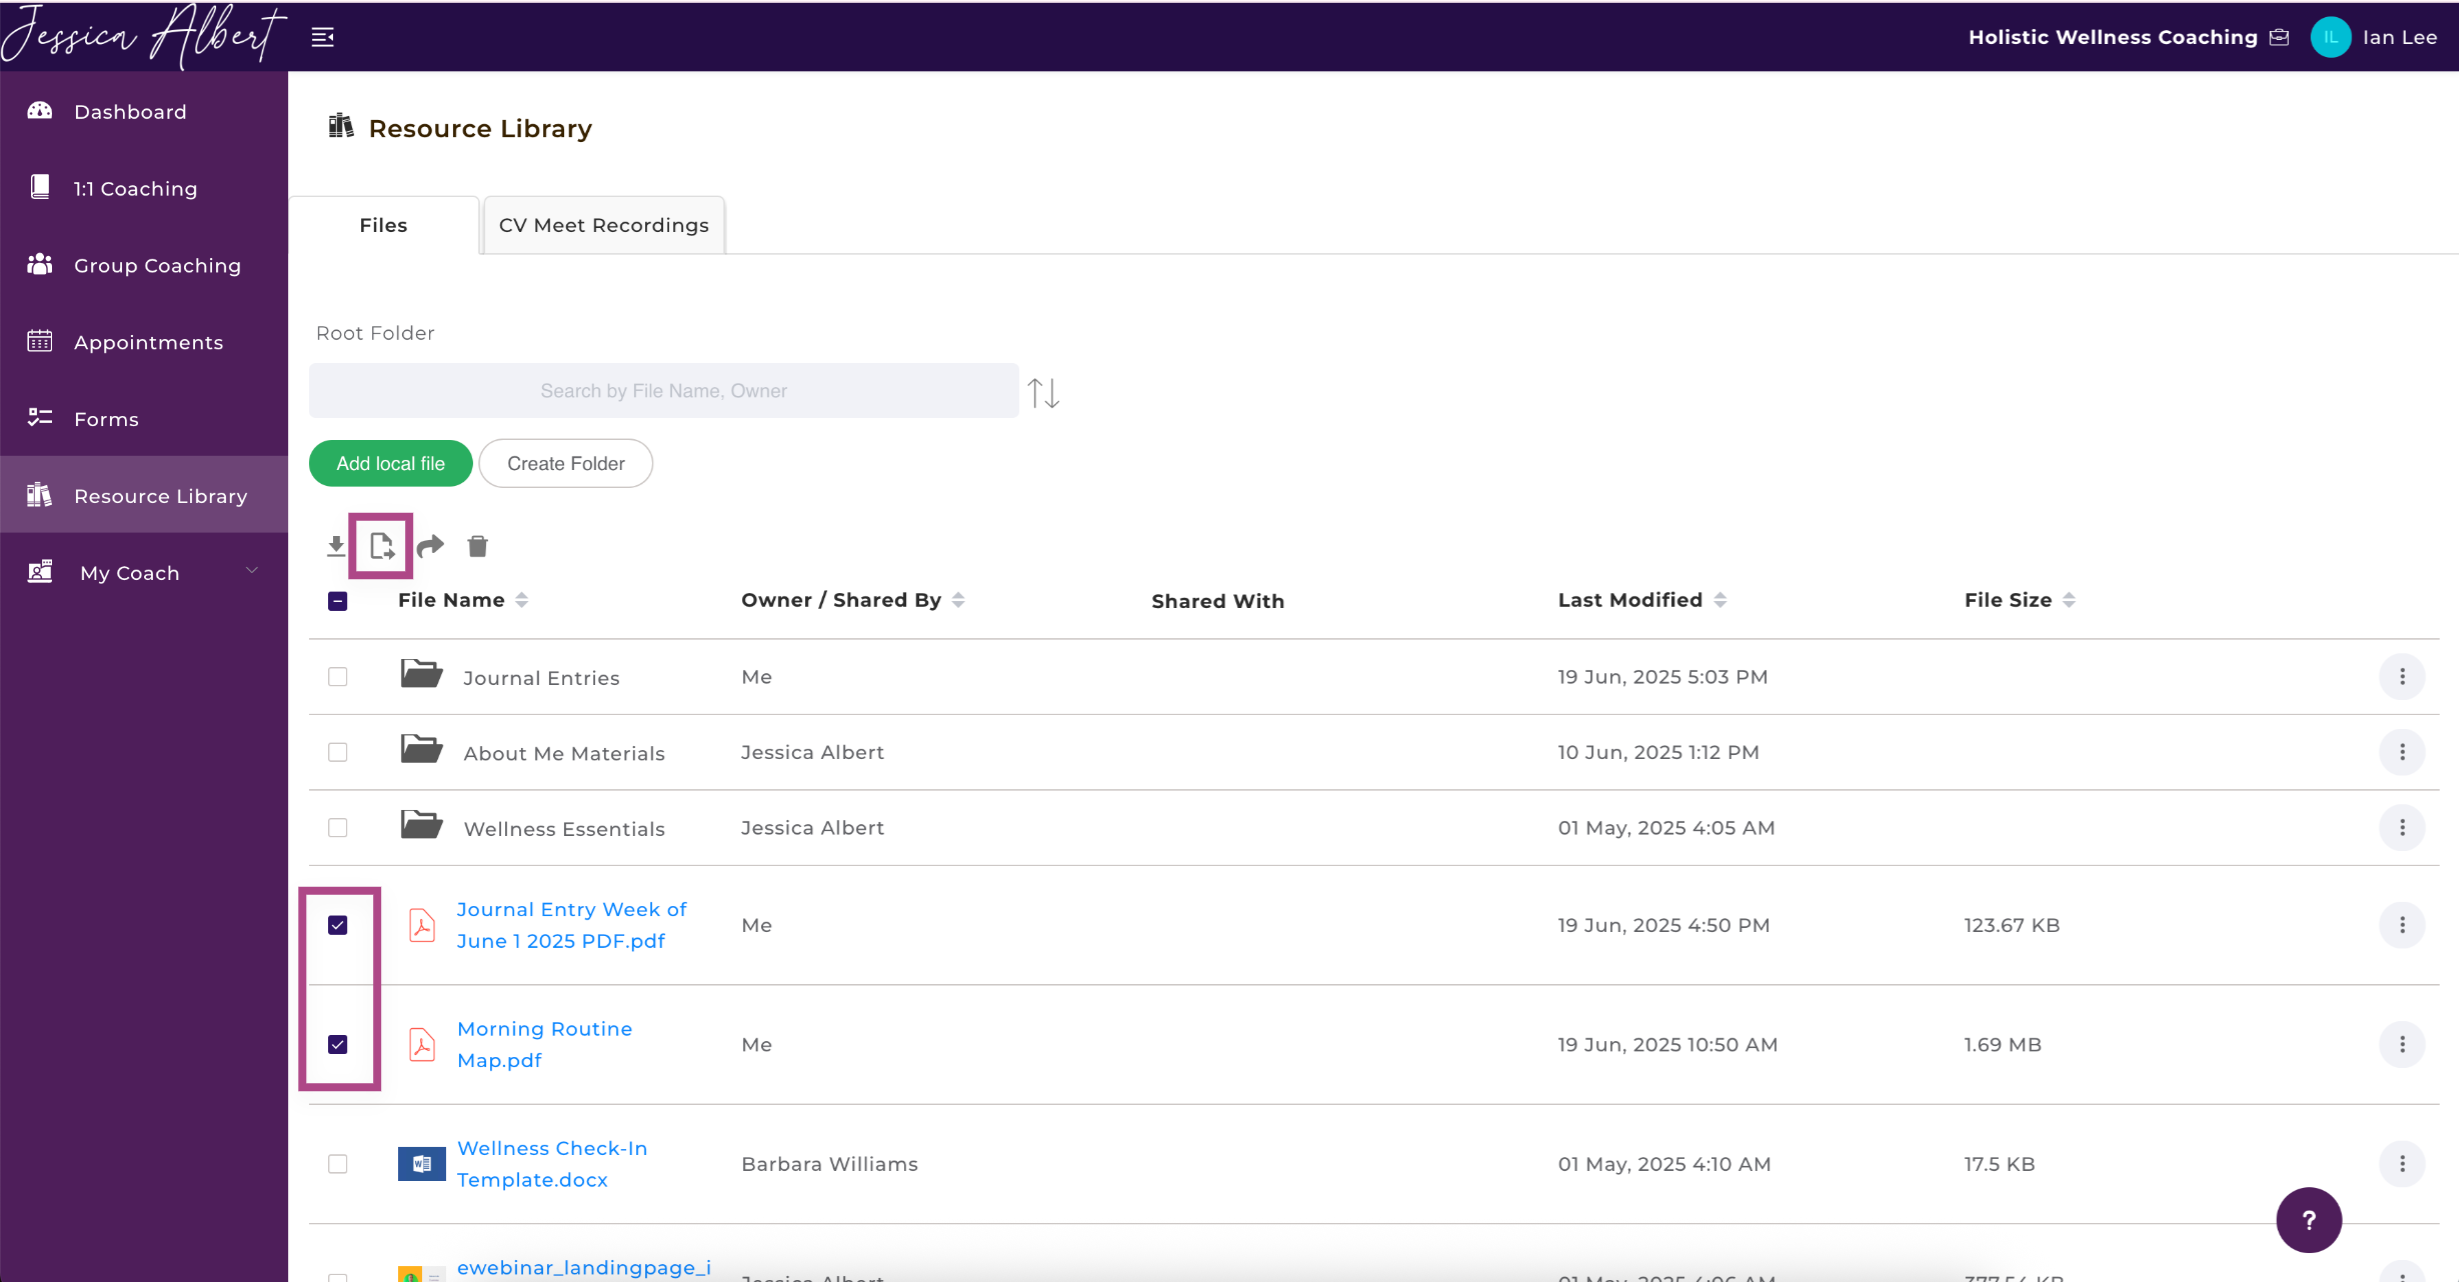
To Add Multiple Files to a Folder
1. Select the files you would like to add to a folder.
2. Select the Move To icon (hover over an icon to view its description).
3. Select the folder you wish to move the files to.
4. Click Move.
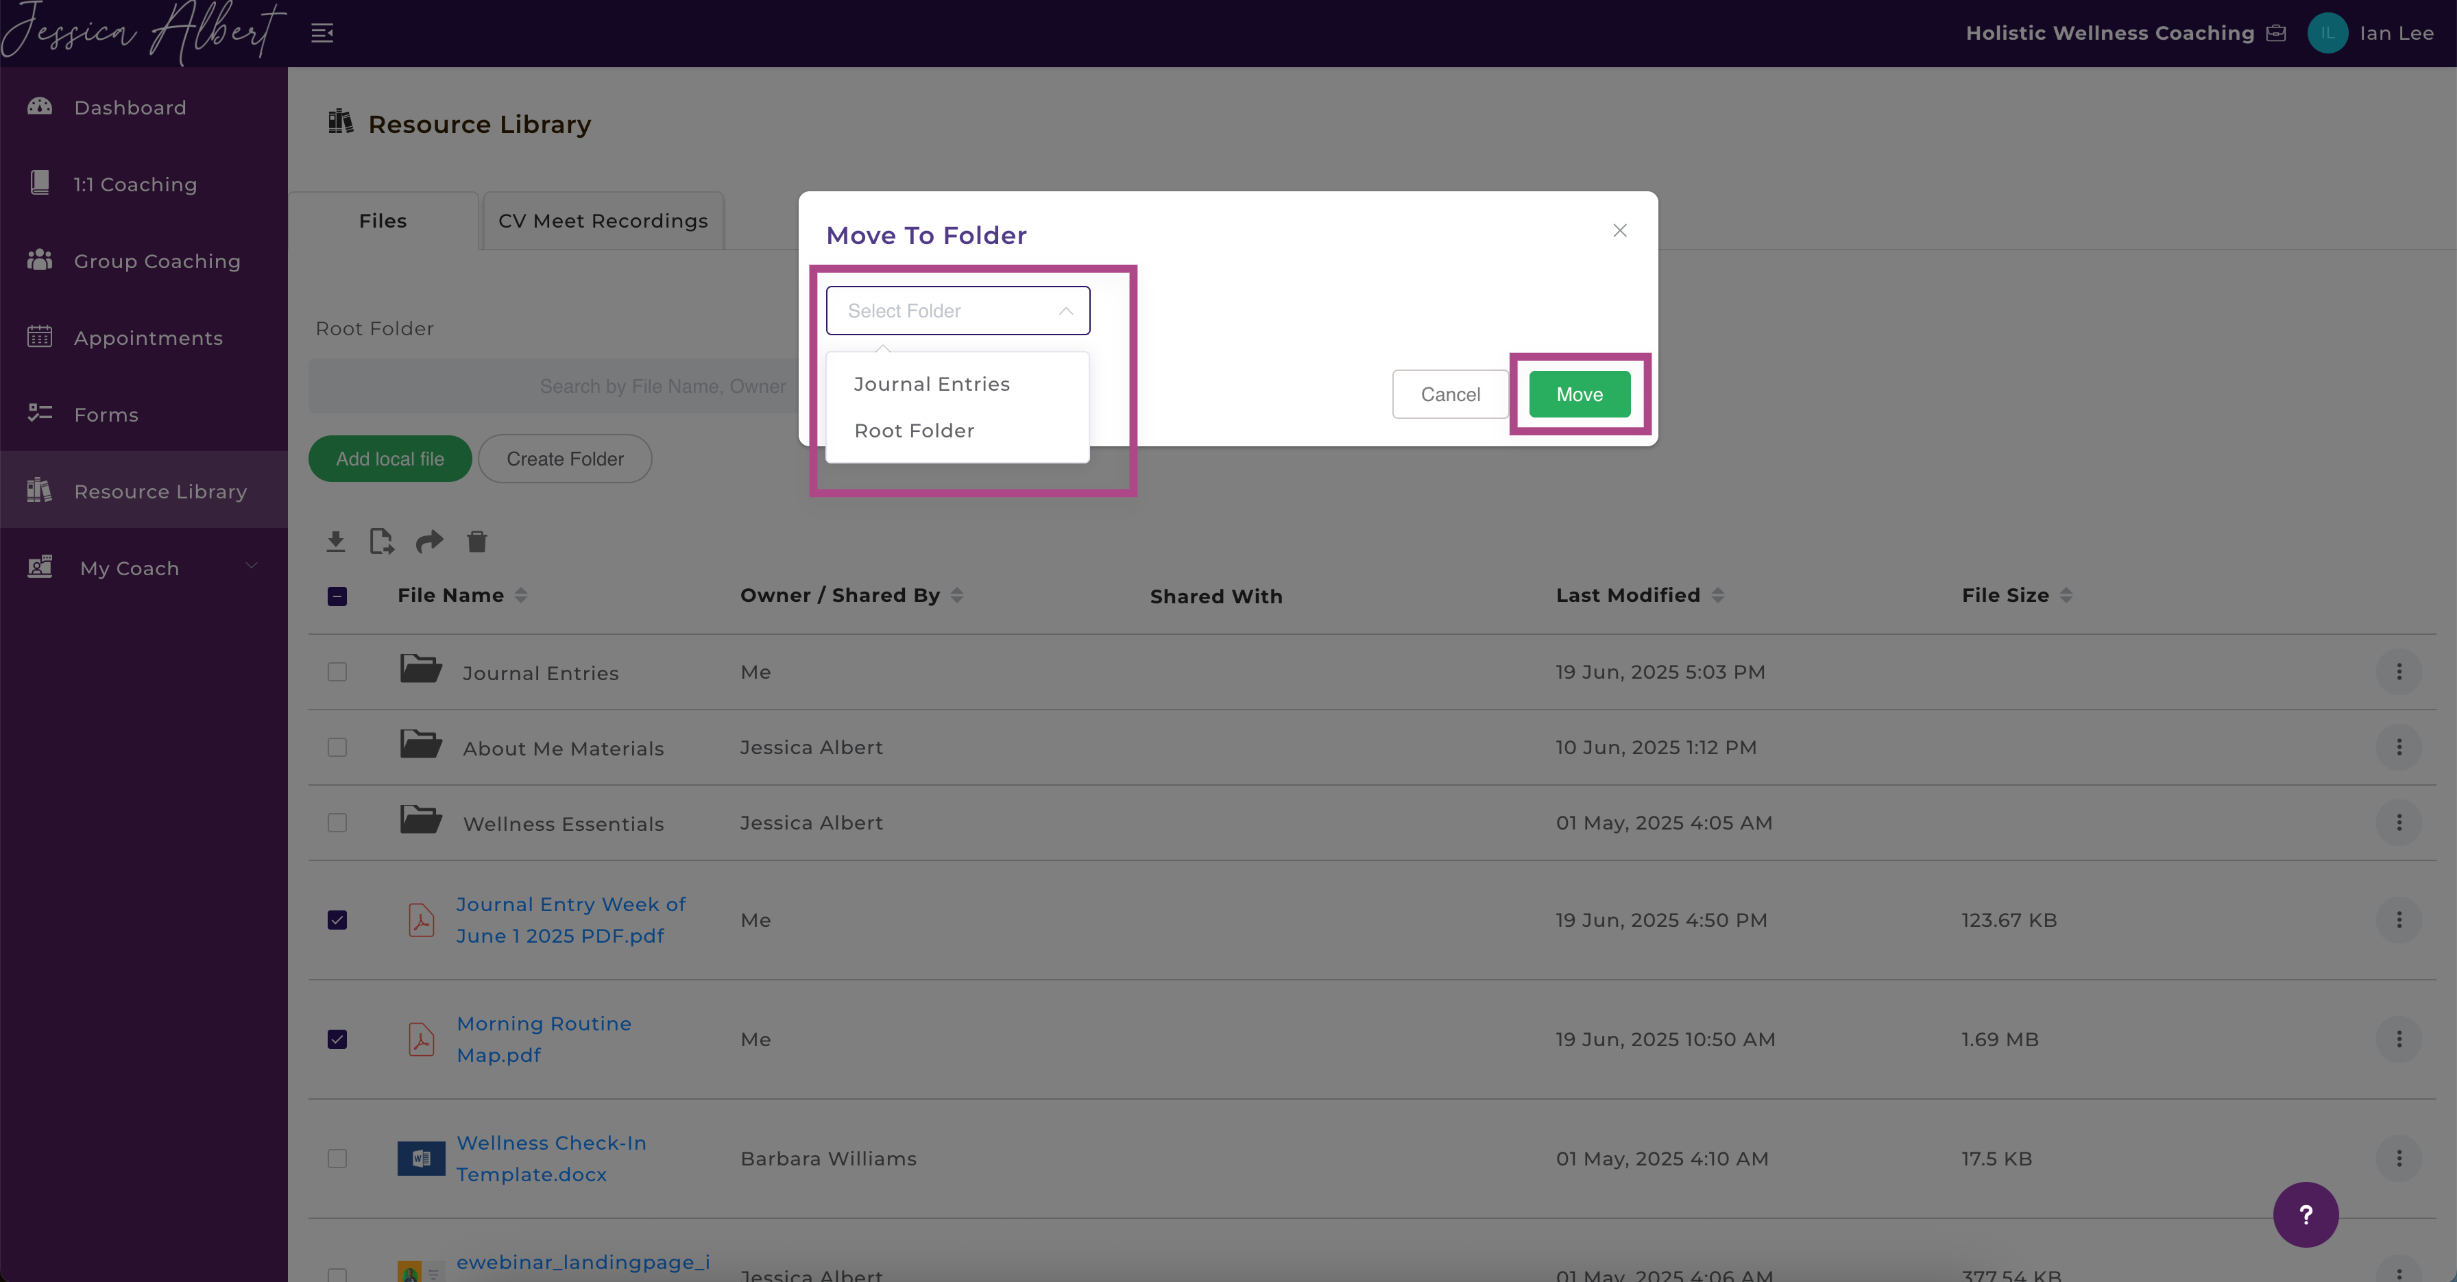
5. Your files are now moved to the desired folder.
6. To add more files to an opened folder, simply click the Add Local File button.