
How to Sign Up for a Client Portal
Overview ✅
For clients to get started using CoachVantage with their Coach, they should first have an Active Client Portal.
A Coach must email a portal invite so the Client can set up their portal. 📧
Refer to this article on Inviting Contacts To Create A Client Portal Account if you are a Coach and want to send a Client portal invite.
Activation Steps 👣
- As a Client, you activate your client portal through a link in the email that your Coach has sent you, as shown below:

2. Once you click on the Create Account button in the email, you will be redirected to the Create Client Account page, as shown below:
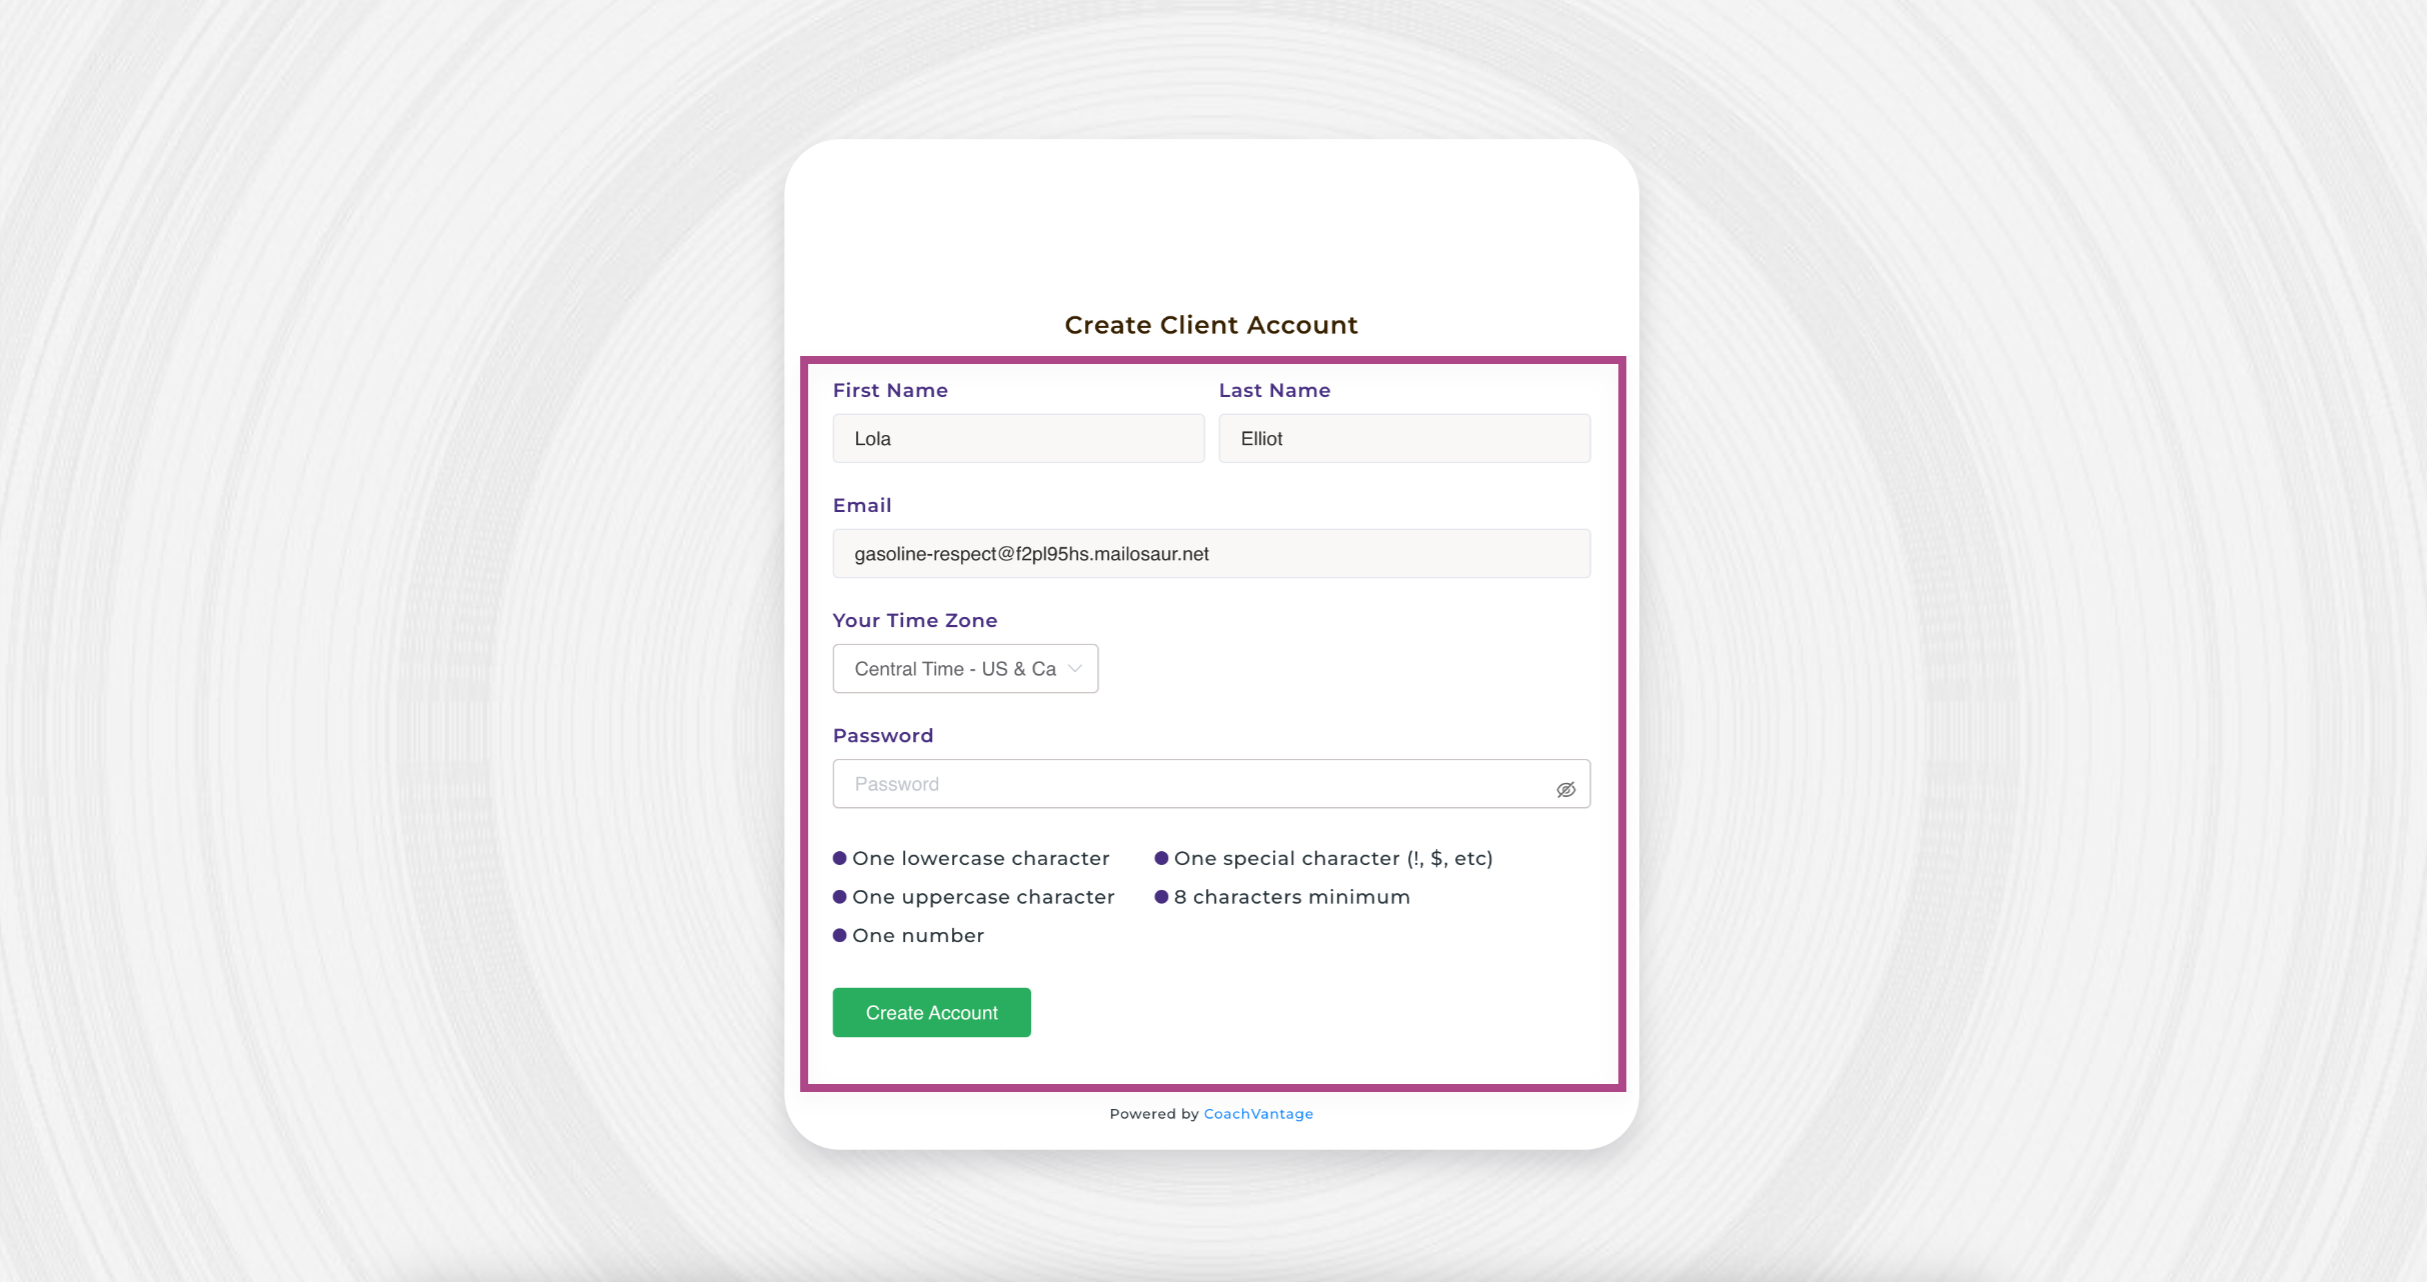
3. Your Name and Email Address is pre-filled in the form. ✍️
4. IMPORTANT: You'll need to select Your Time Zone using the dropdown menu. It's very important that you select the correct time zone, as all meeting invites and appointment details will be reflected in your account and in email notifications that you receive in the selected time zone.
5. Next, enter a very strong Password, ensuring that you fulfill the requirements as shown in the image above.
6. After entering a very strong password, you will be able to click the Create Account button, and you will then be logged into your client portal account.
Please be sure to remember your password as you will need it when logging into your client portal in the future.
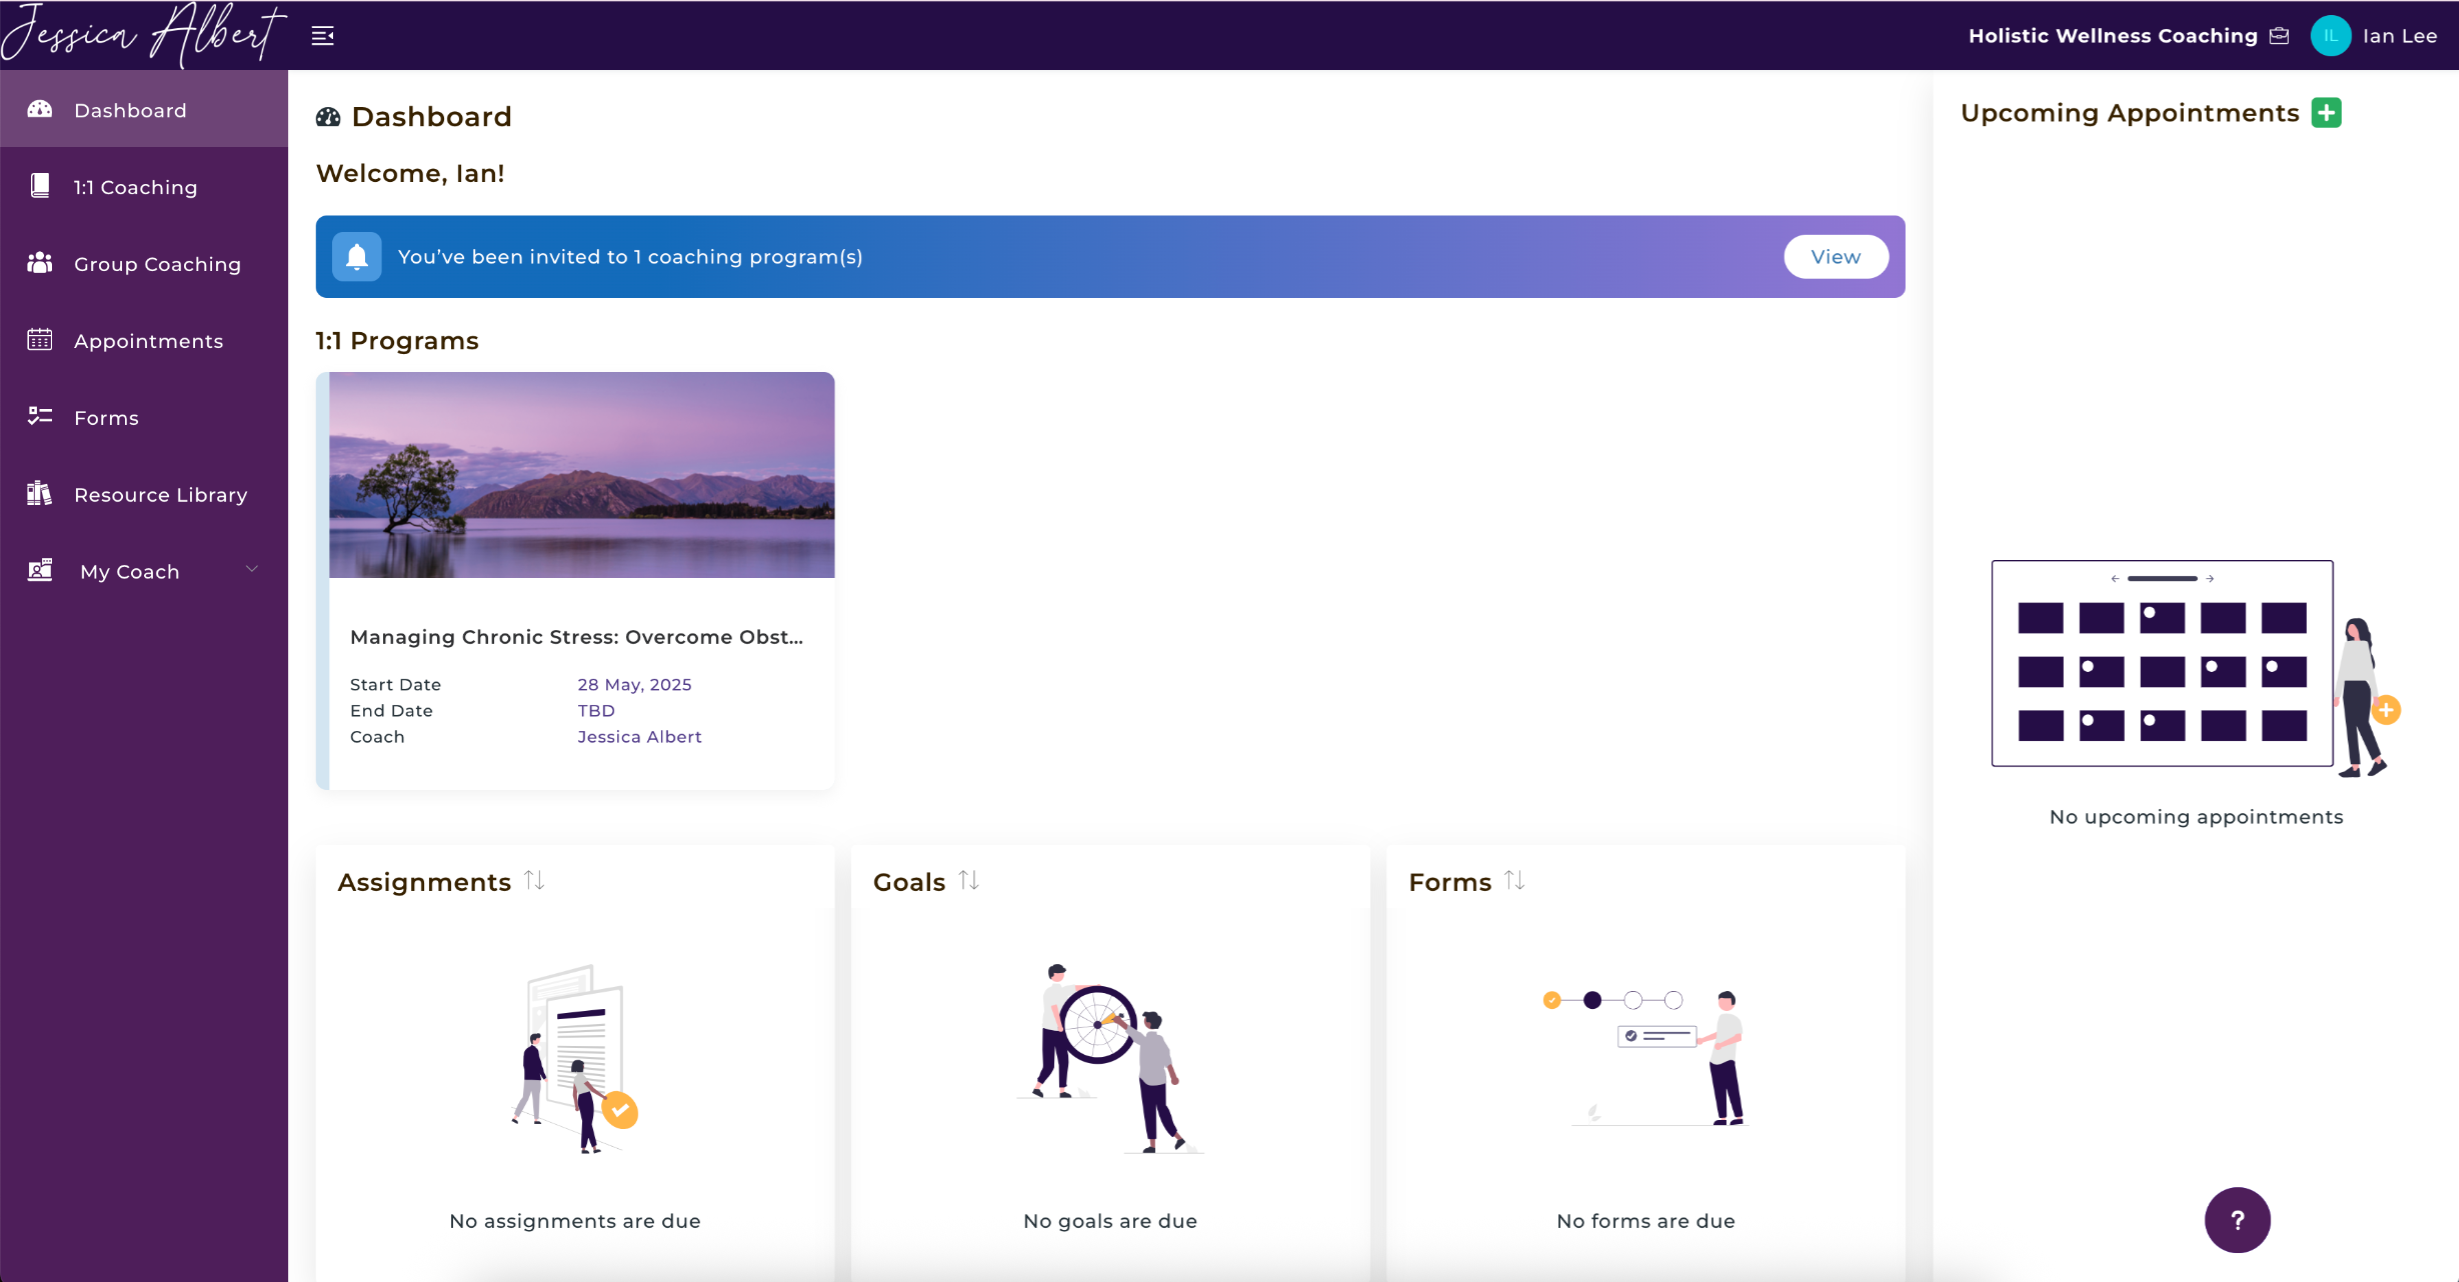
Once you've logged into your Client Portal, you will be able to see any coaching program(s) that your Coach has invited you to sign up for or access any coaching program(s) that you have been enrolled in.
You can also use the portal to access any Resources such as Files, Notes, Goals, Assignments, Answer forms, Pay invoices, Sign Contracts, etc. You will also be able to book Sessions (appointments) with your Coach, if your Coach has given these permissions to you.
Reference Articles
- How to View Your Coach's Profile in the Client Portal
- How to Sign Up for a Coaching Program in the Client Portal
- Client Portal Dashboard
- How to Book Sessions (Appointments) with your Coach
- How to Pay Invoices in the Client Portal
- How to E-sign a Contract in the Client Portal
- How to Access Coaching Program Resources
- How to Manage Coaching Assignments
- How to Manage Coaching Goals
- How to Respond to Forms
- How to Use the Resource Library in the Client Portal