How to Create a Form
Overview
The Forms feature in CoachVantage is versatile.
You can send forms to clients, or create intake forms that can be embedded into your program sign-up pages and event booking pages.
Refer to these articles on how to import forms into your Program Sign-Up Page and Event Booking Page.
Forms can also be sent to clients as part of a coaching engagement. For example, you could send pre-session check-in forms, post-session forms, use forms as assignments for your clients, or even use forms to gather client feedback and testimonials.
Note: Forms can only be sent to clients with an active client portal. Clients can view and respond to forms in the client portal only.
In this article, we will cover the following:
1. How to Create a Form 🎨
To create a new form:
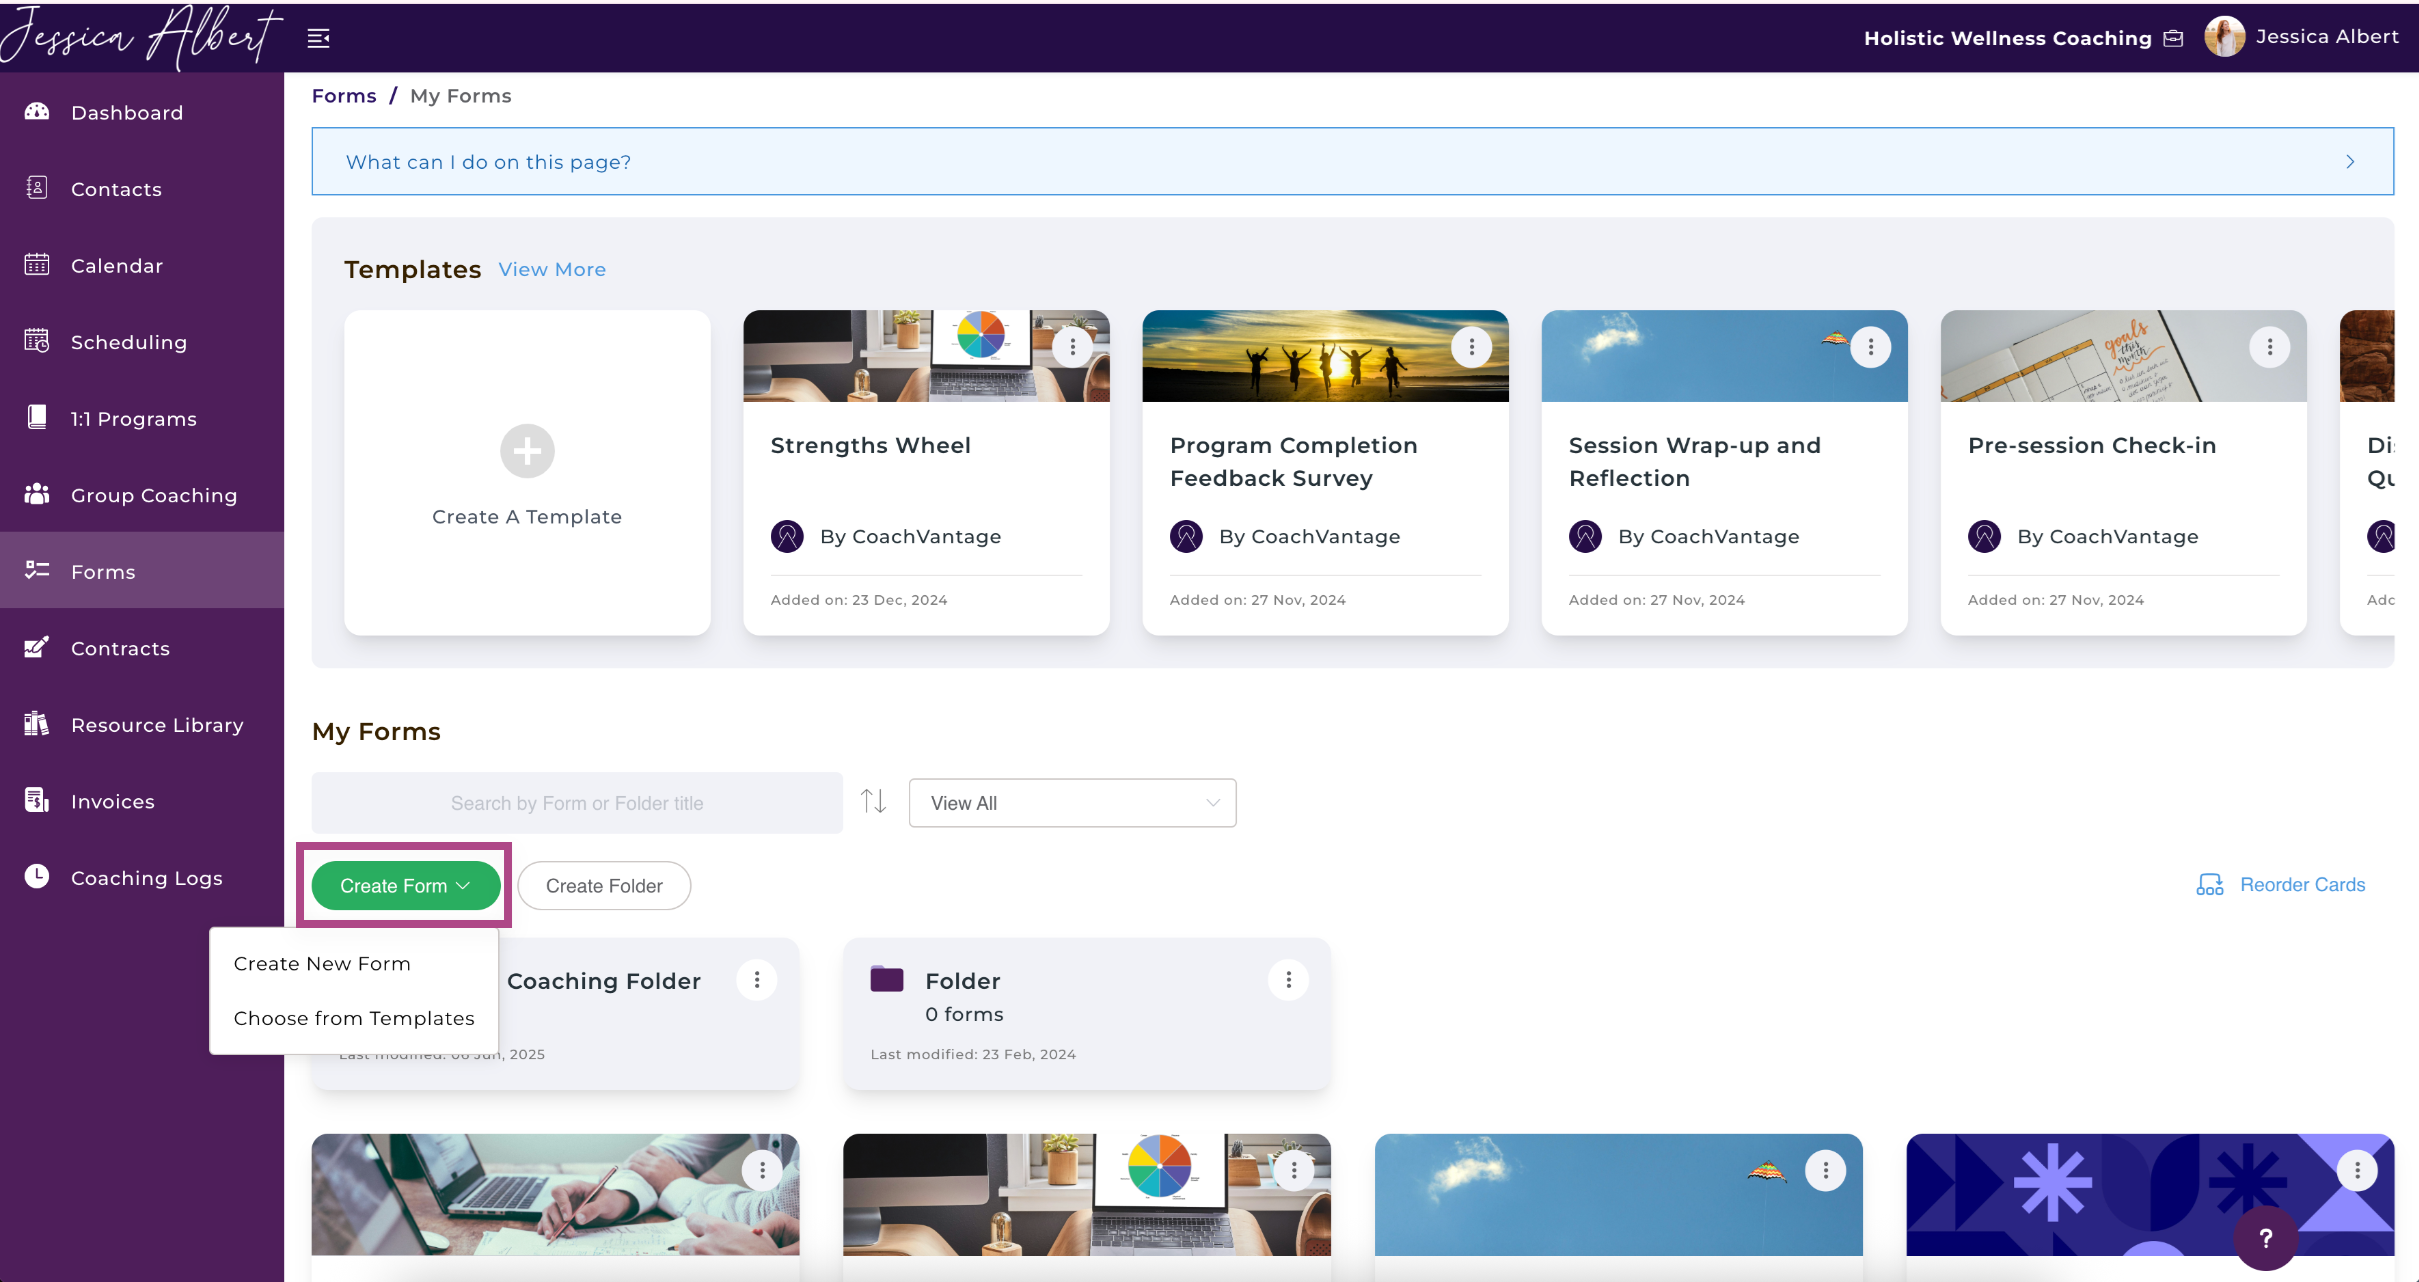
- Click Forms on the left menu.
- Click on the Create Form button. A dropdown will appear that gives you the option to either Create New Form or Choose From Templates. Select Create New Form.
- The Create Form page will open.
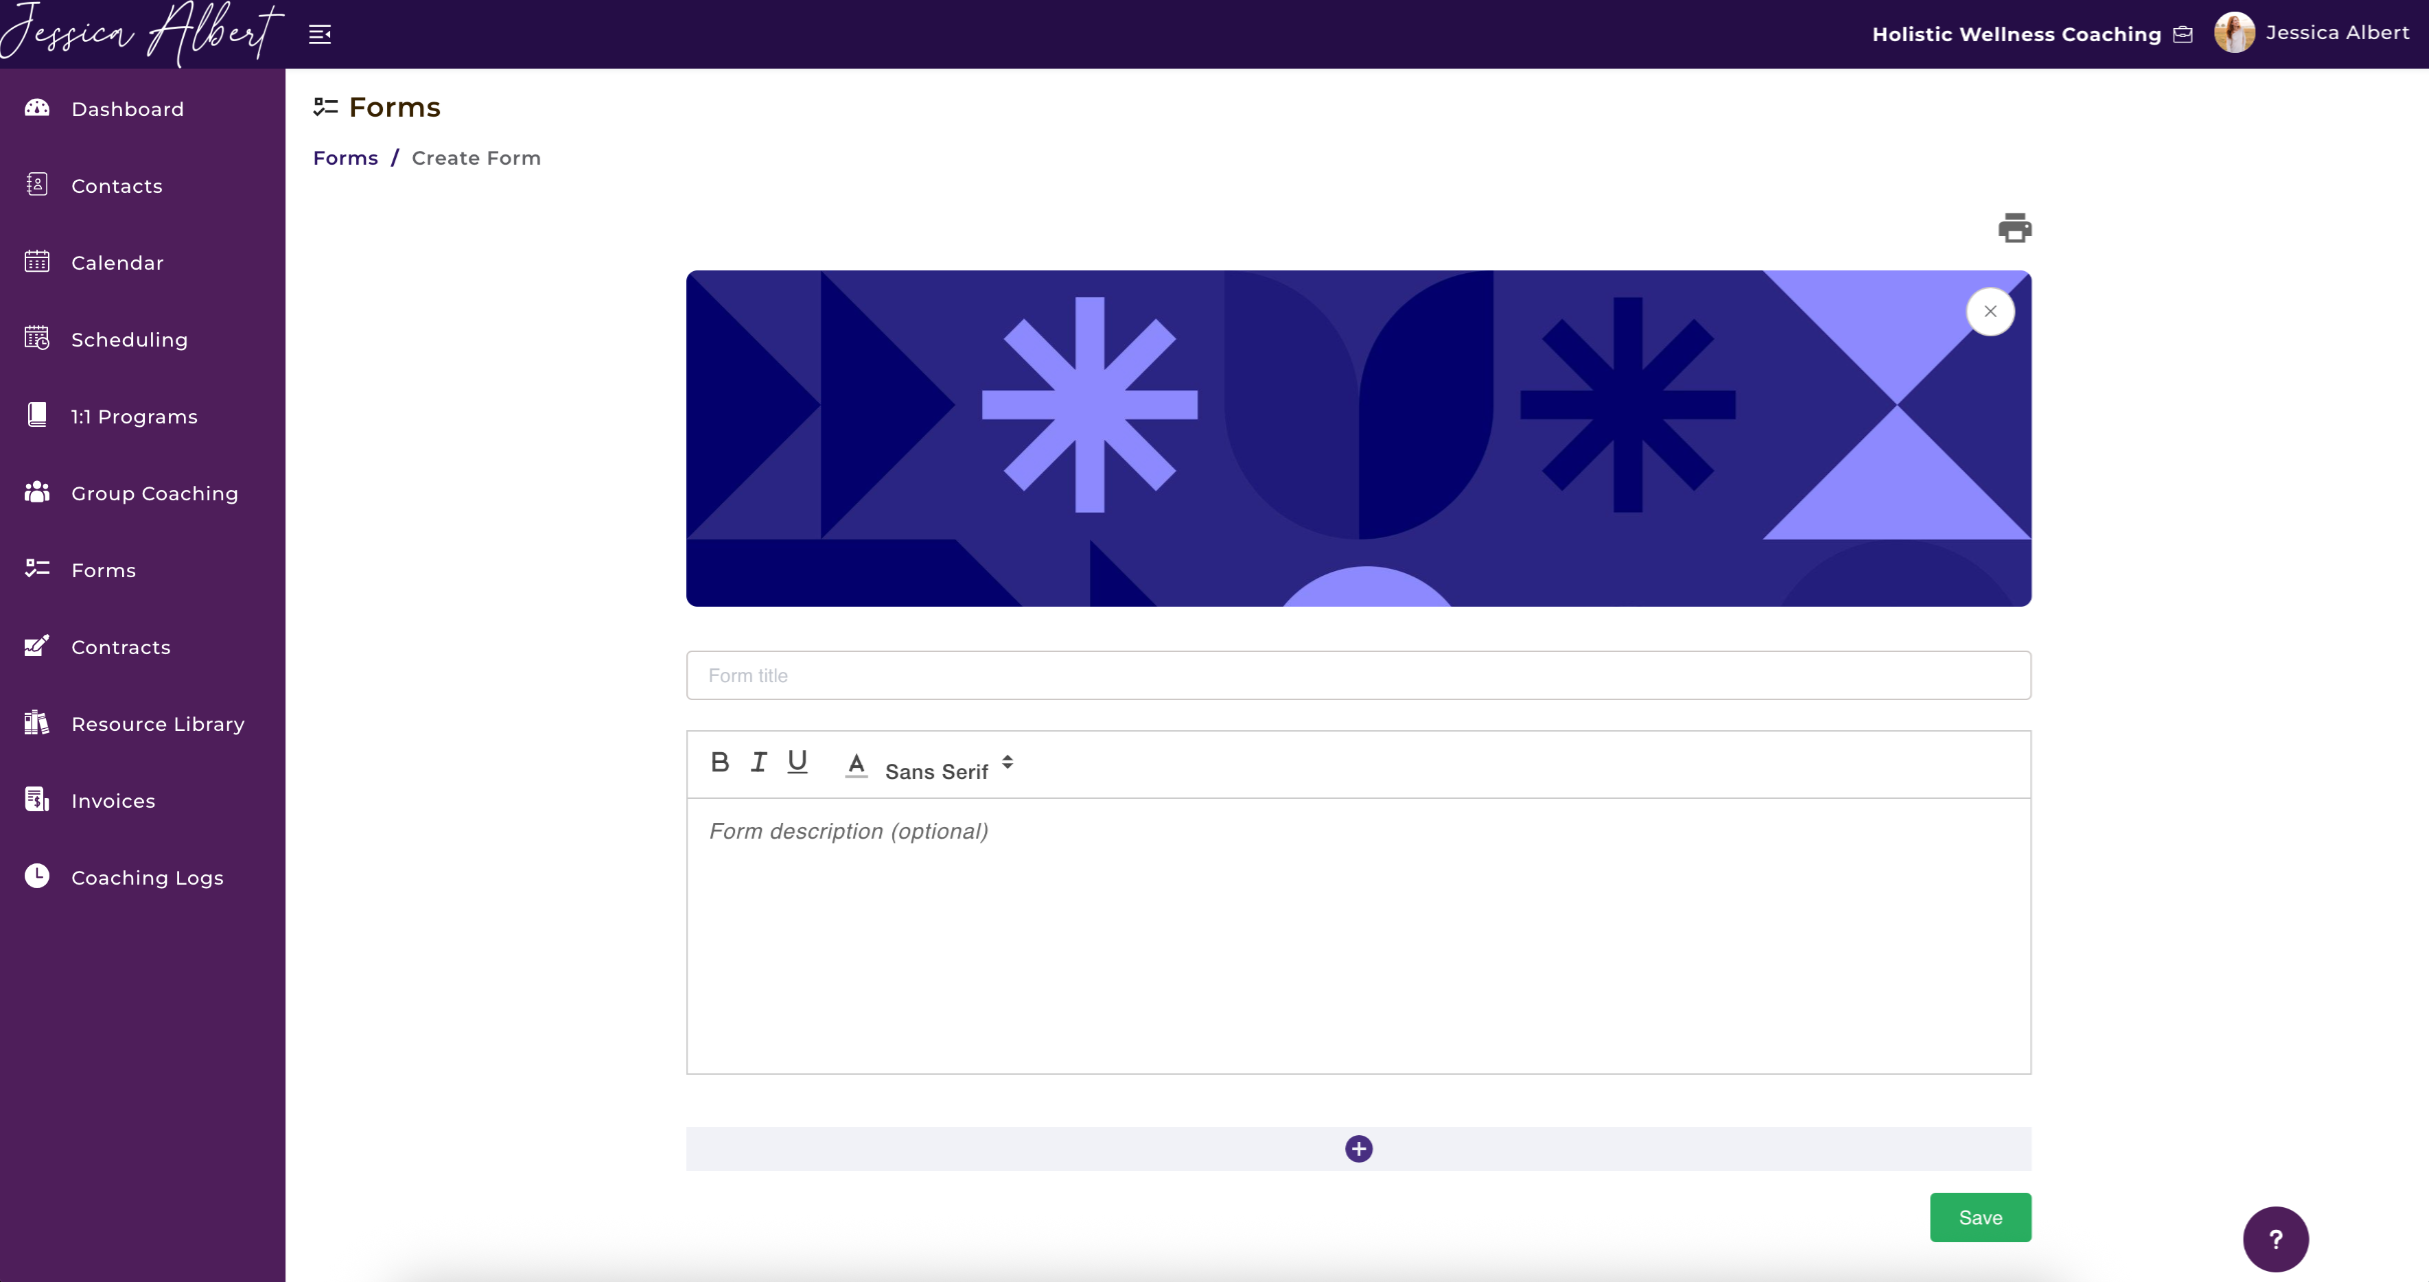
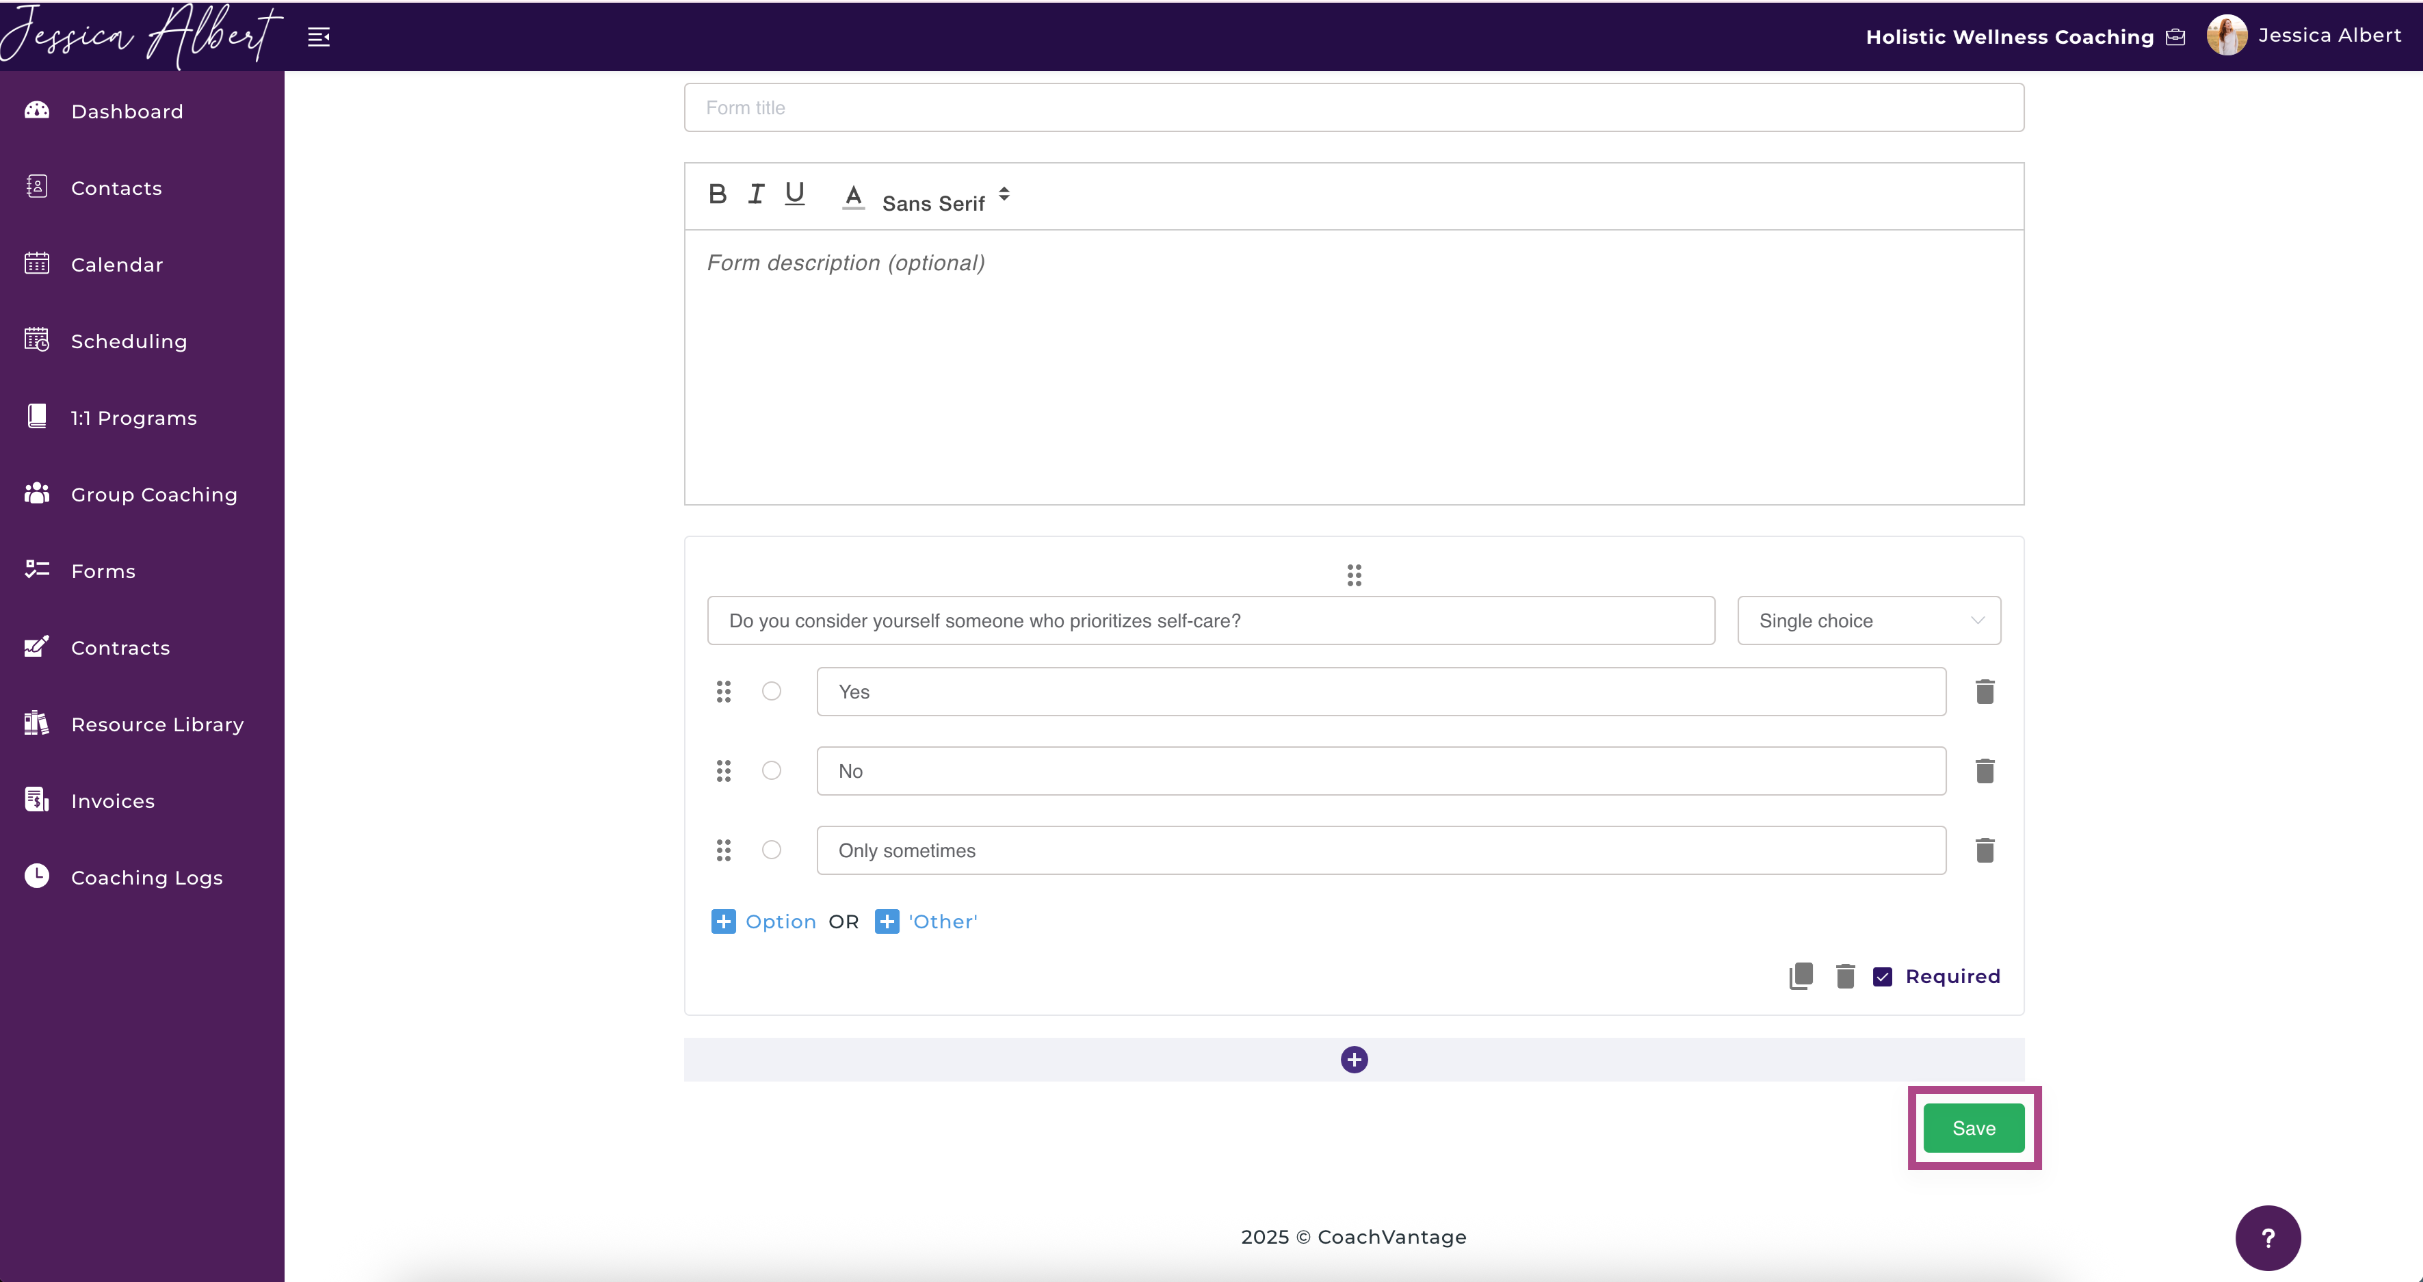
Once you are on the Create Form Page, you will see the following:
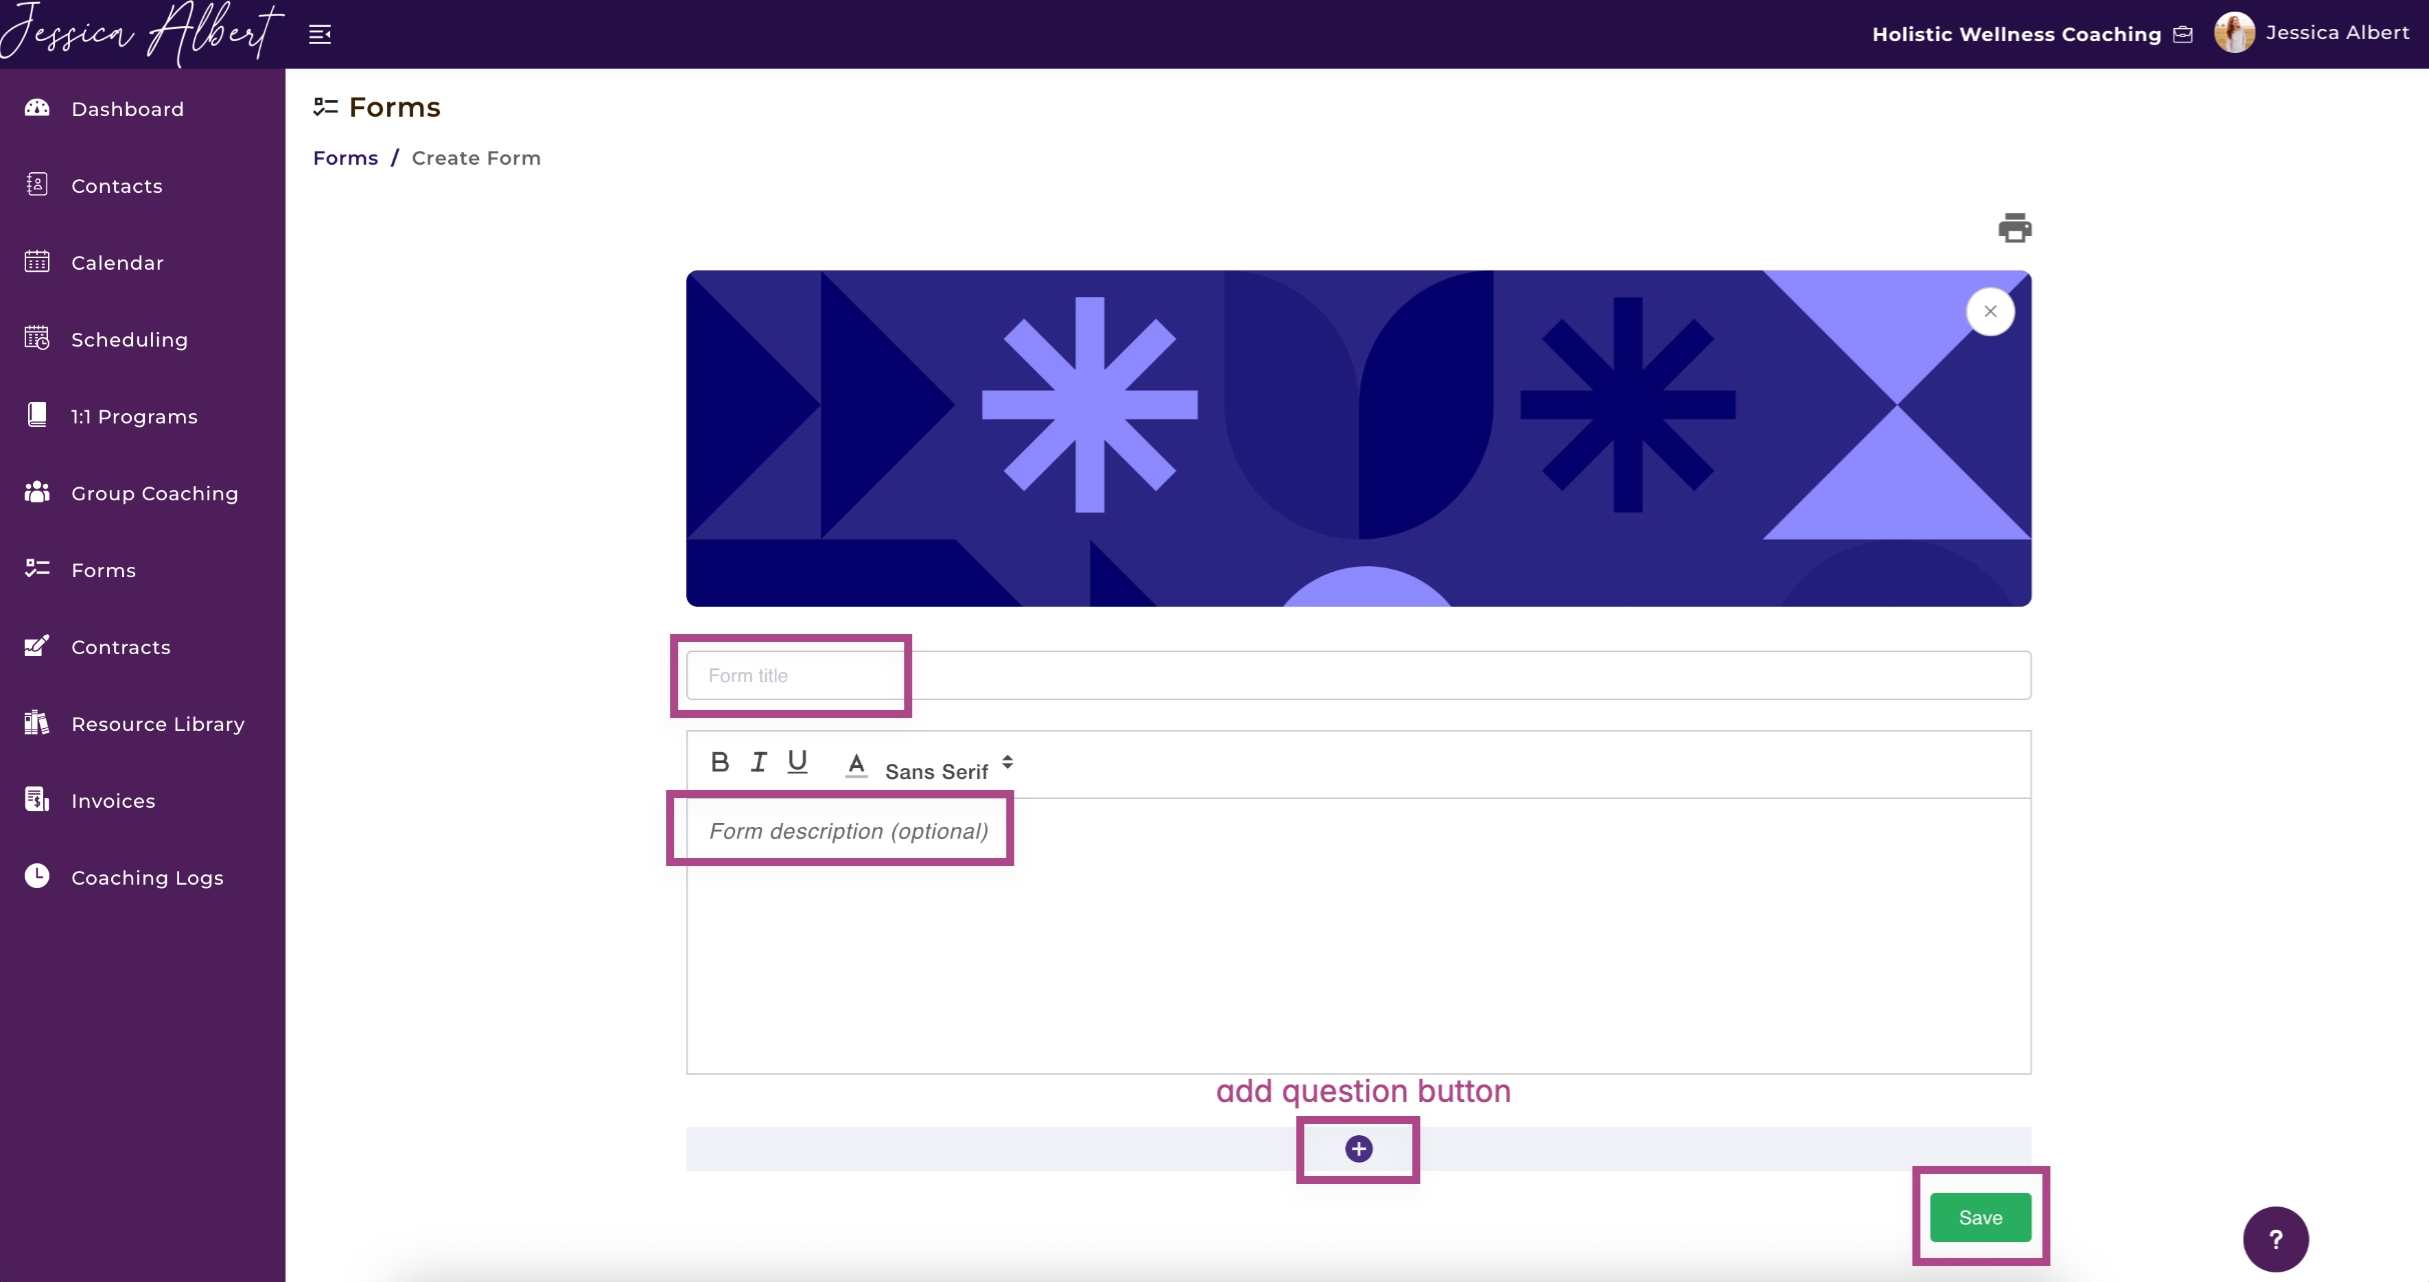
- Enter the Form Title (mandatory)
- Type a short description about your form (optional)
- Click the Add Question button
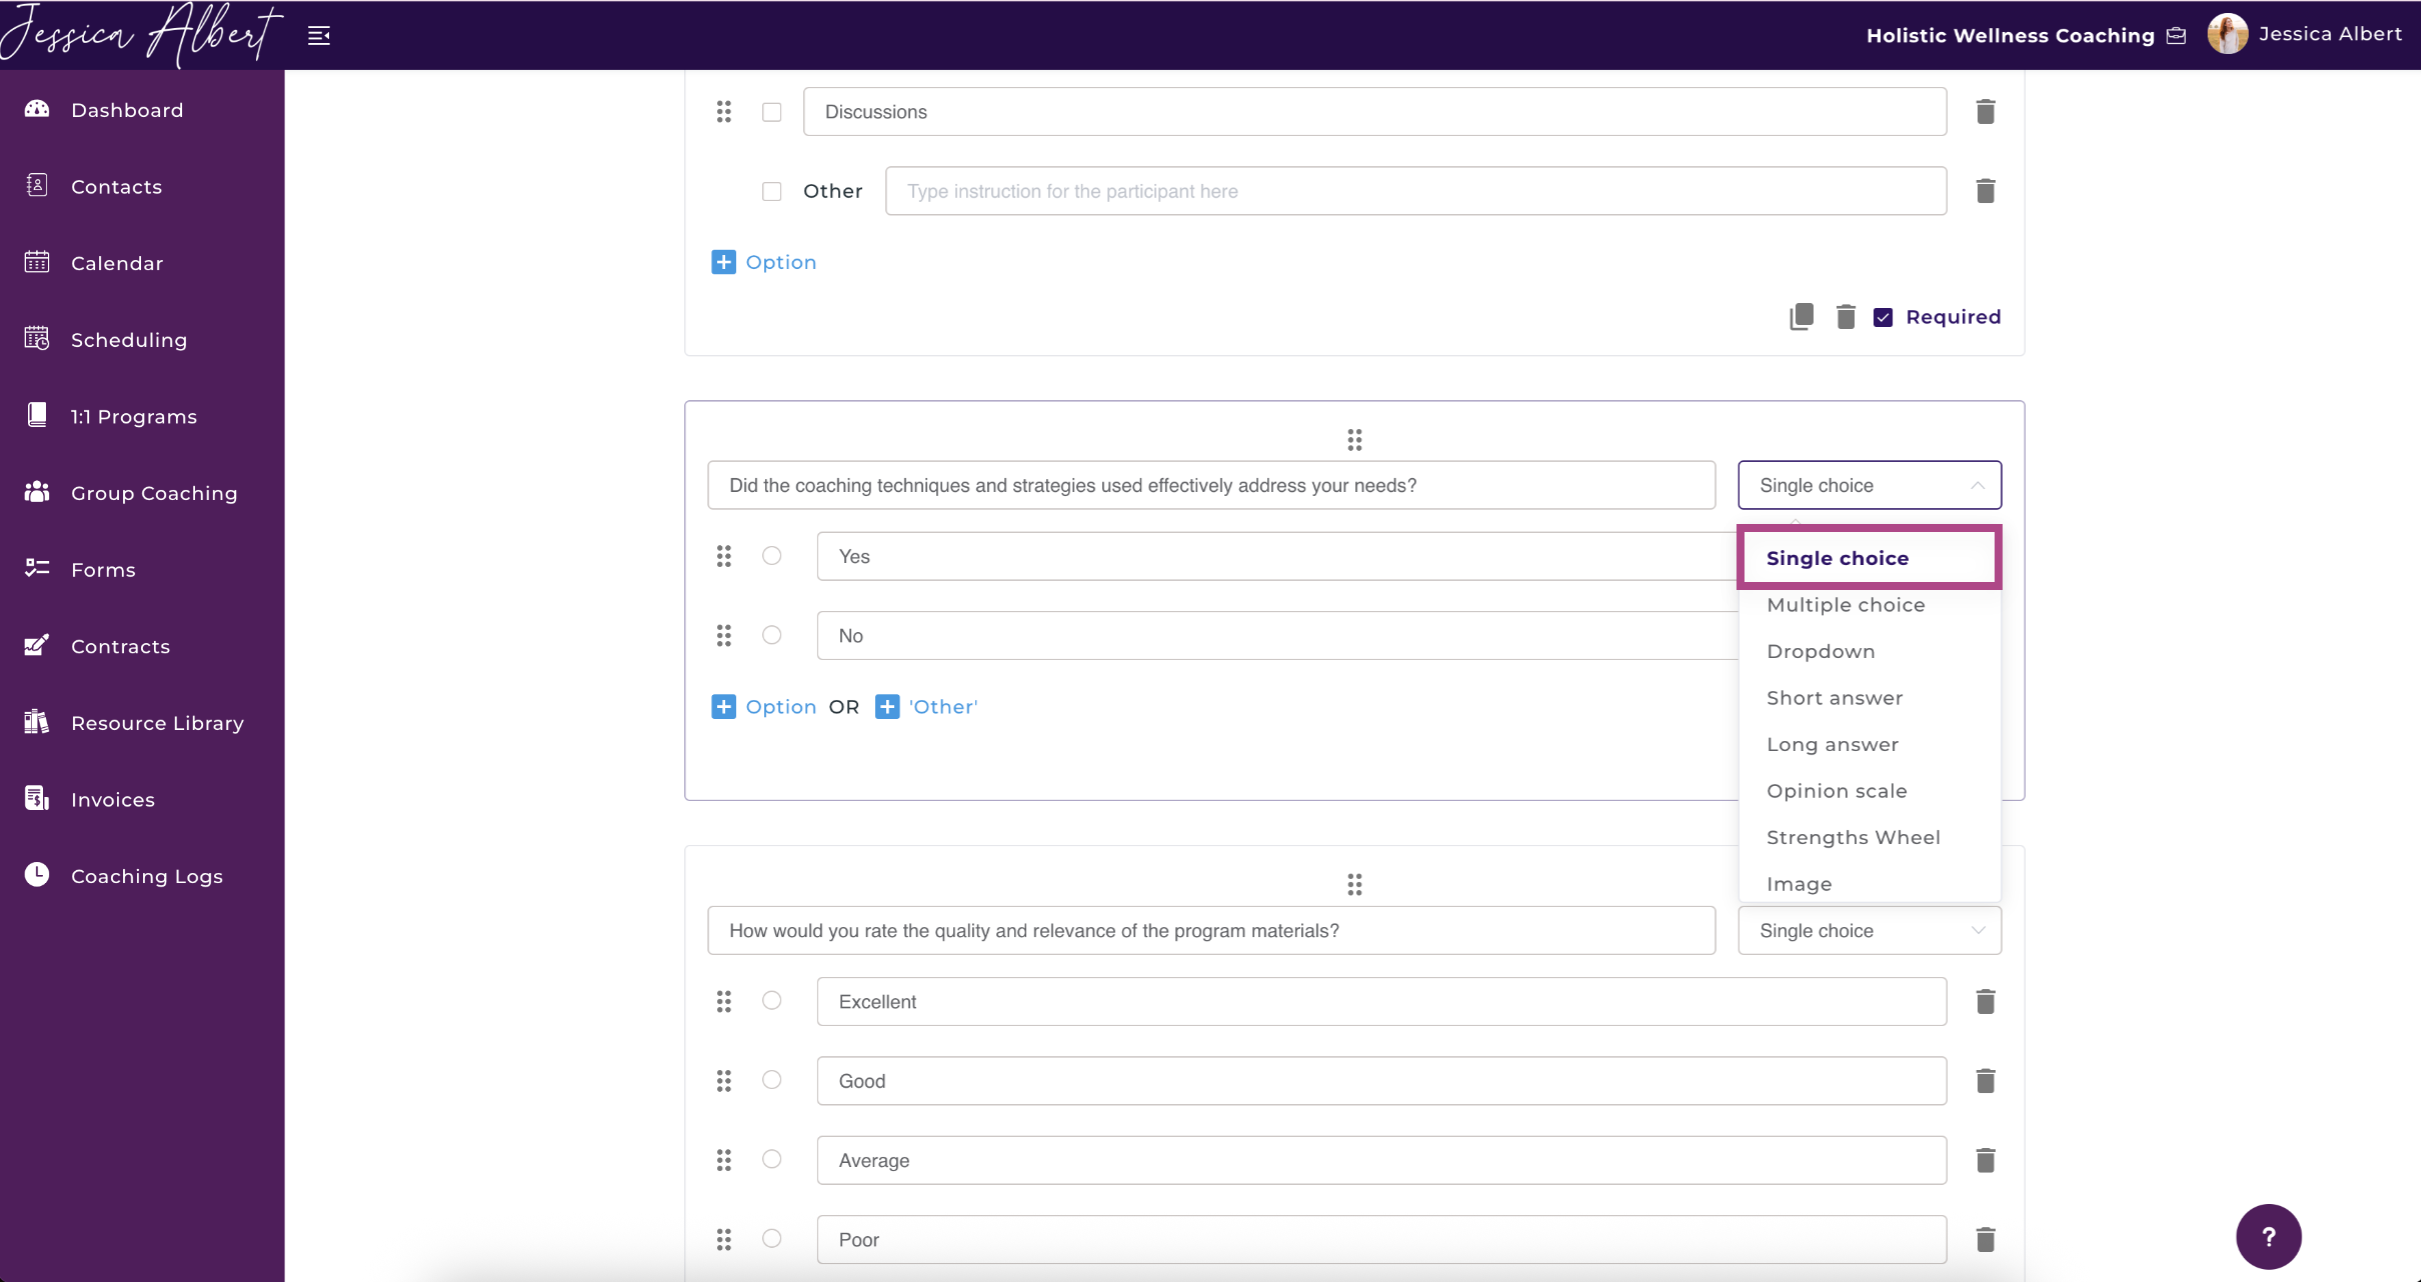
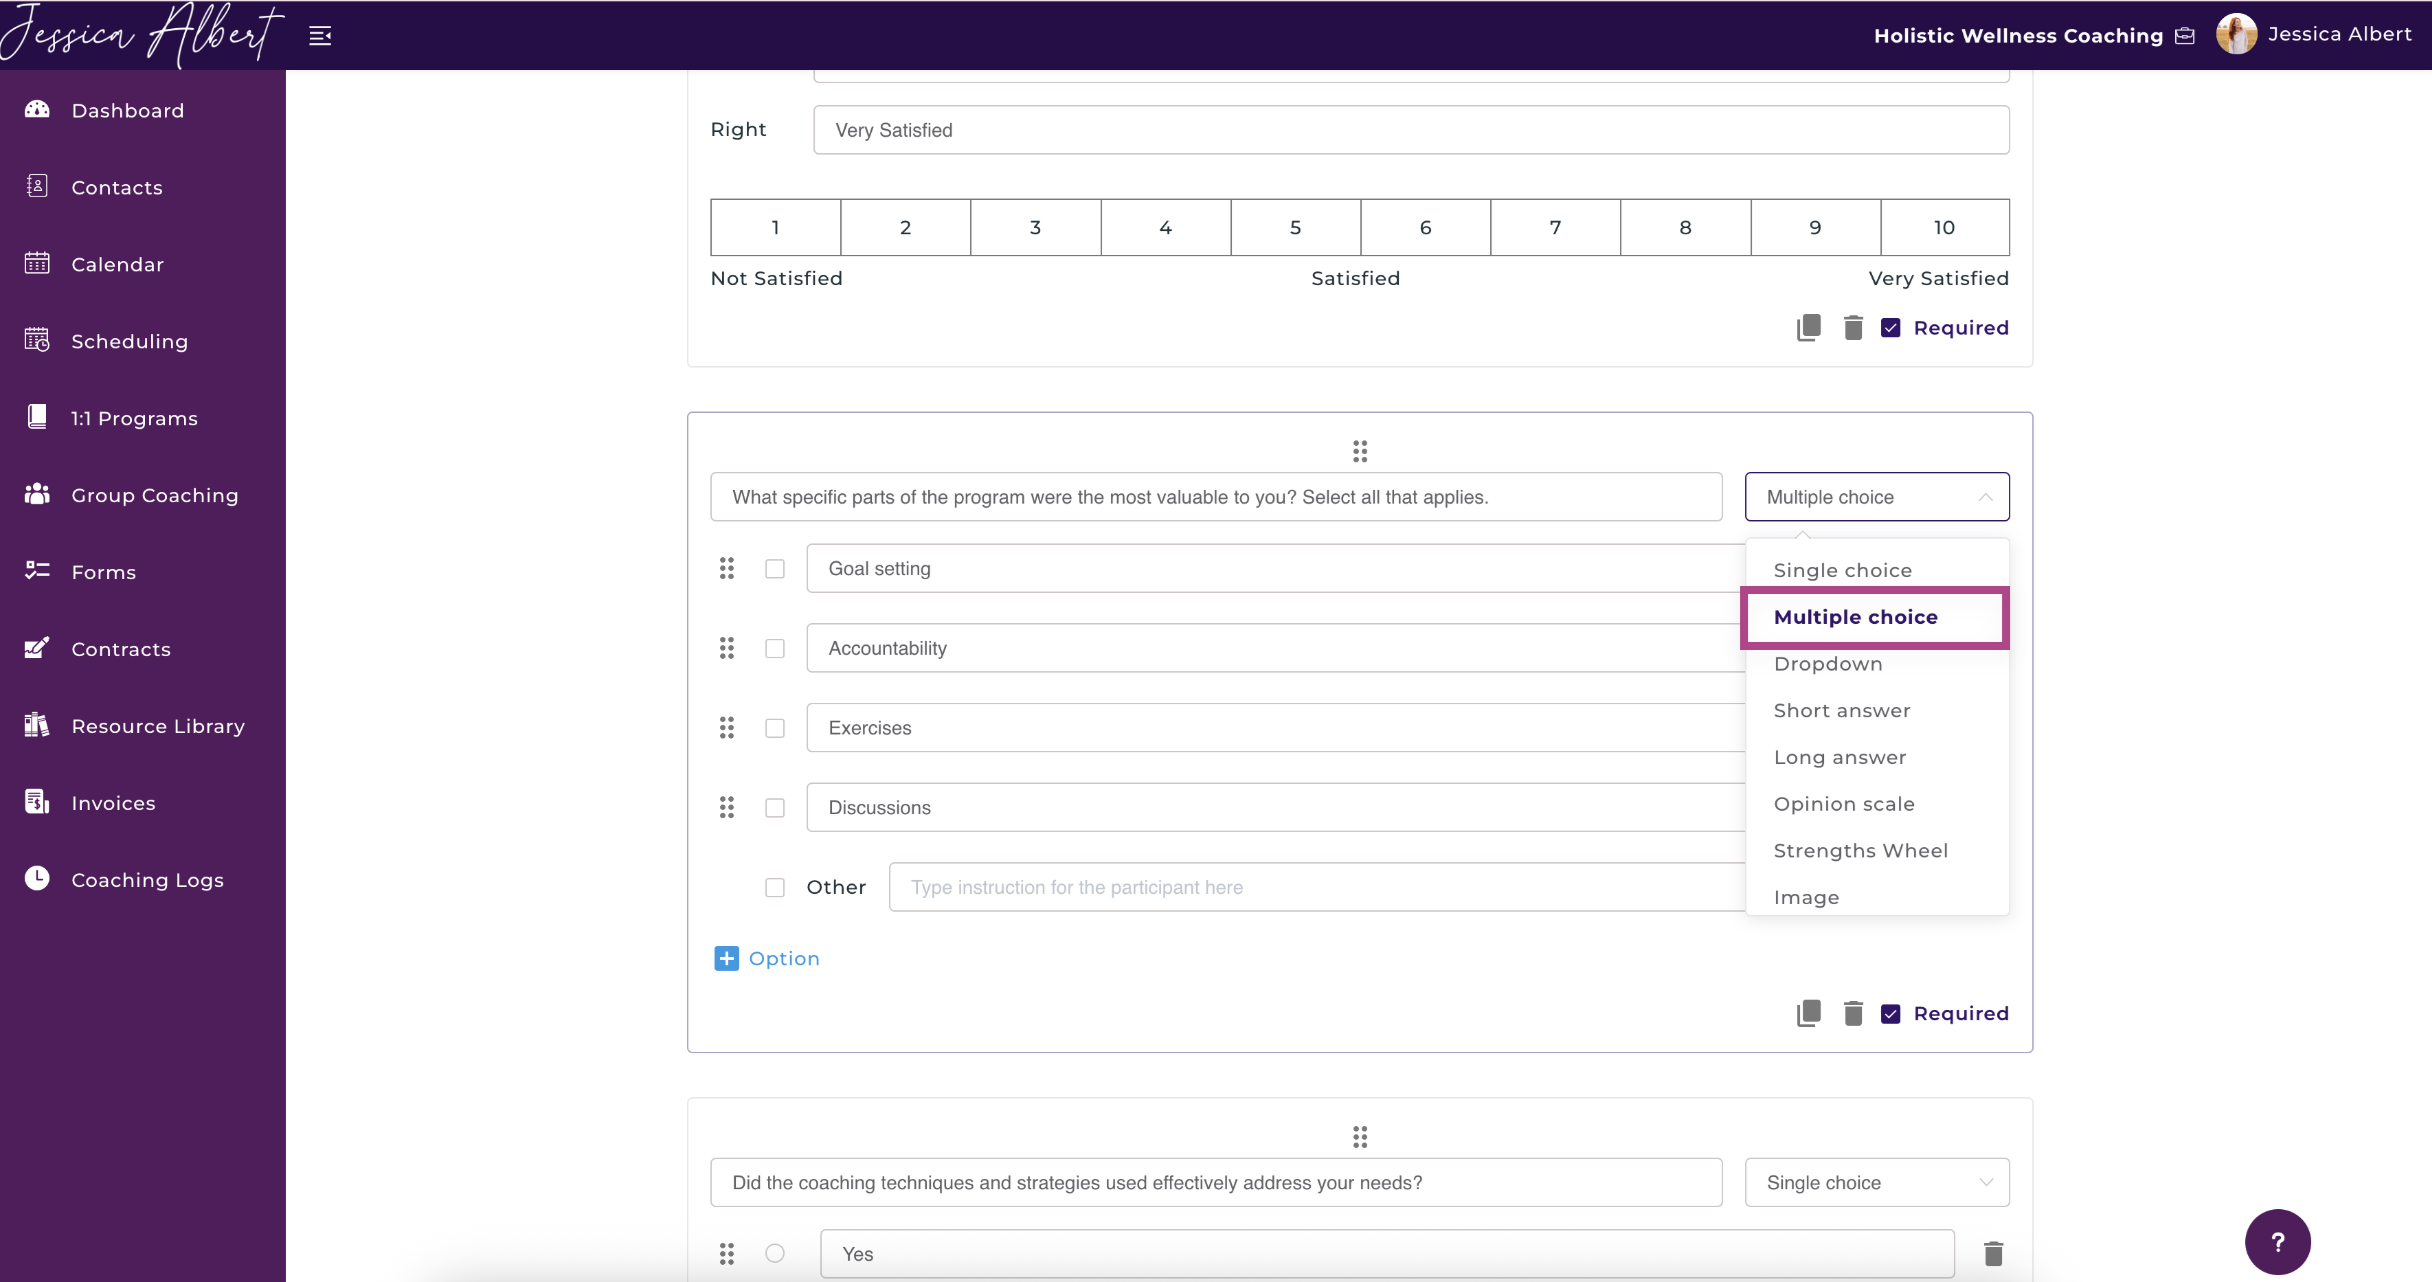
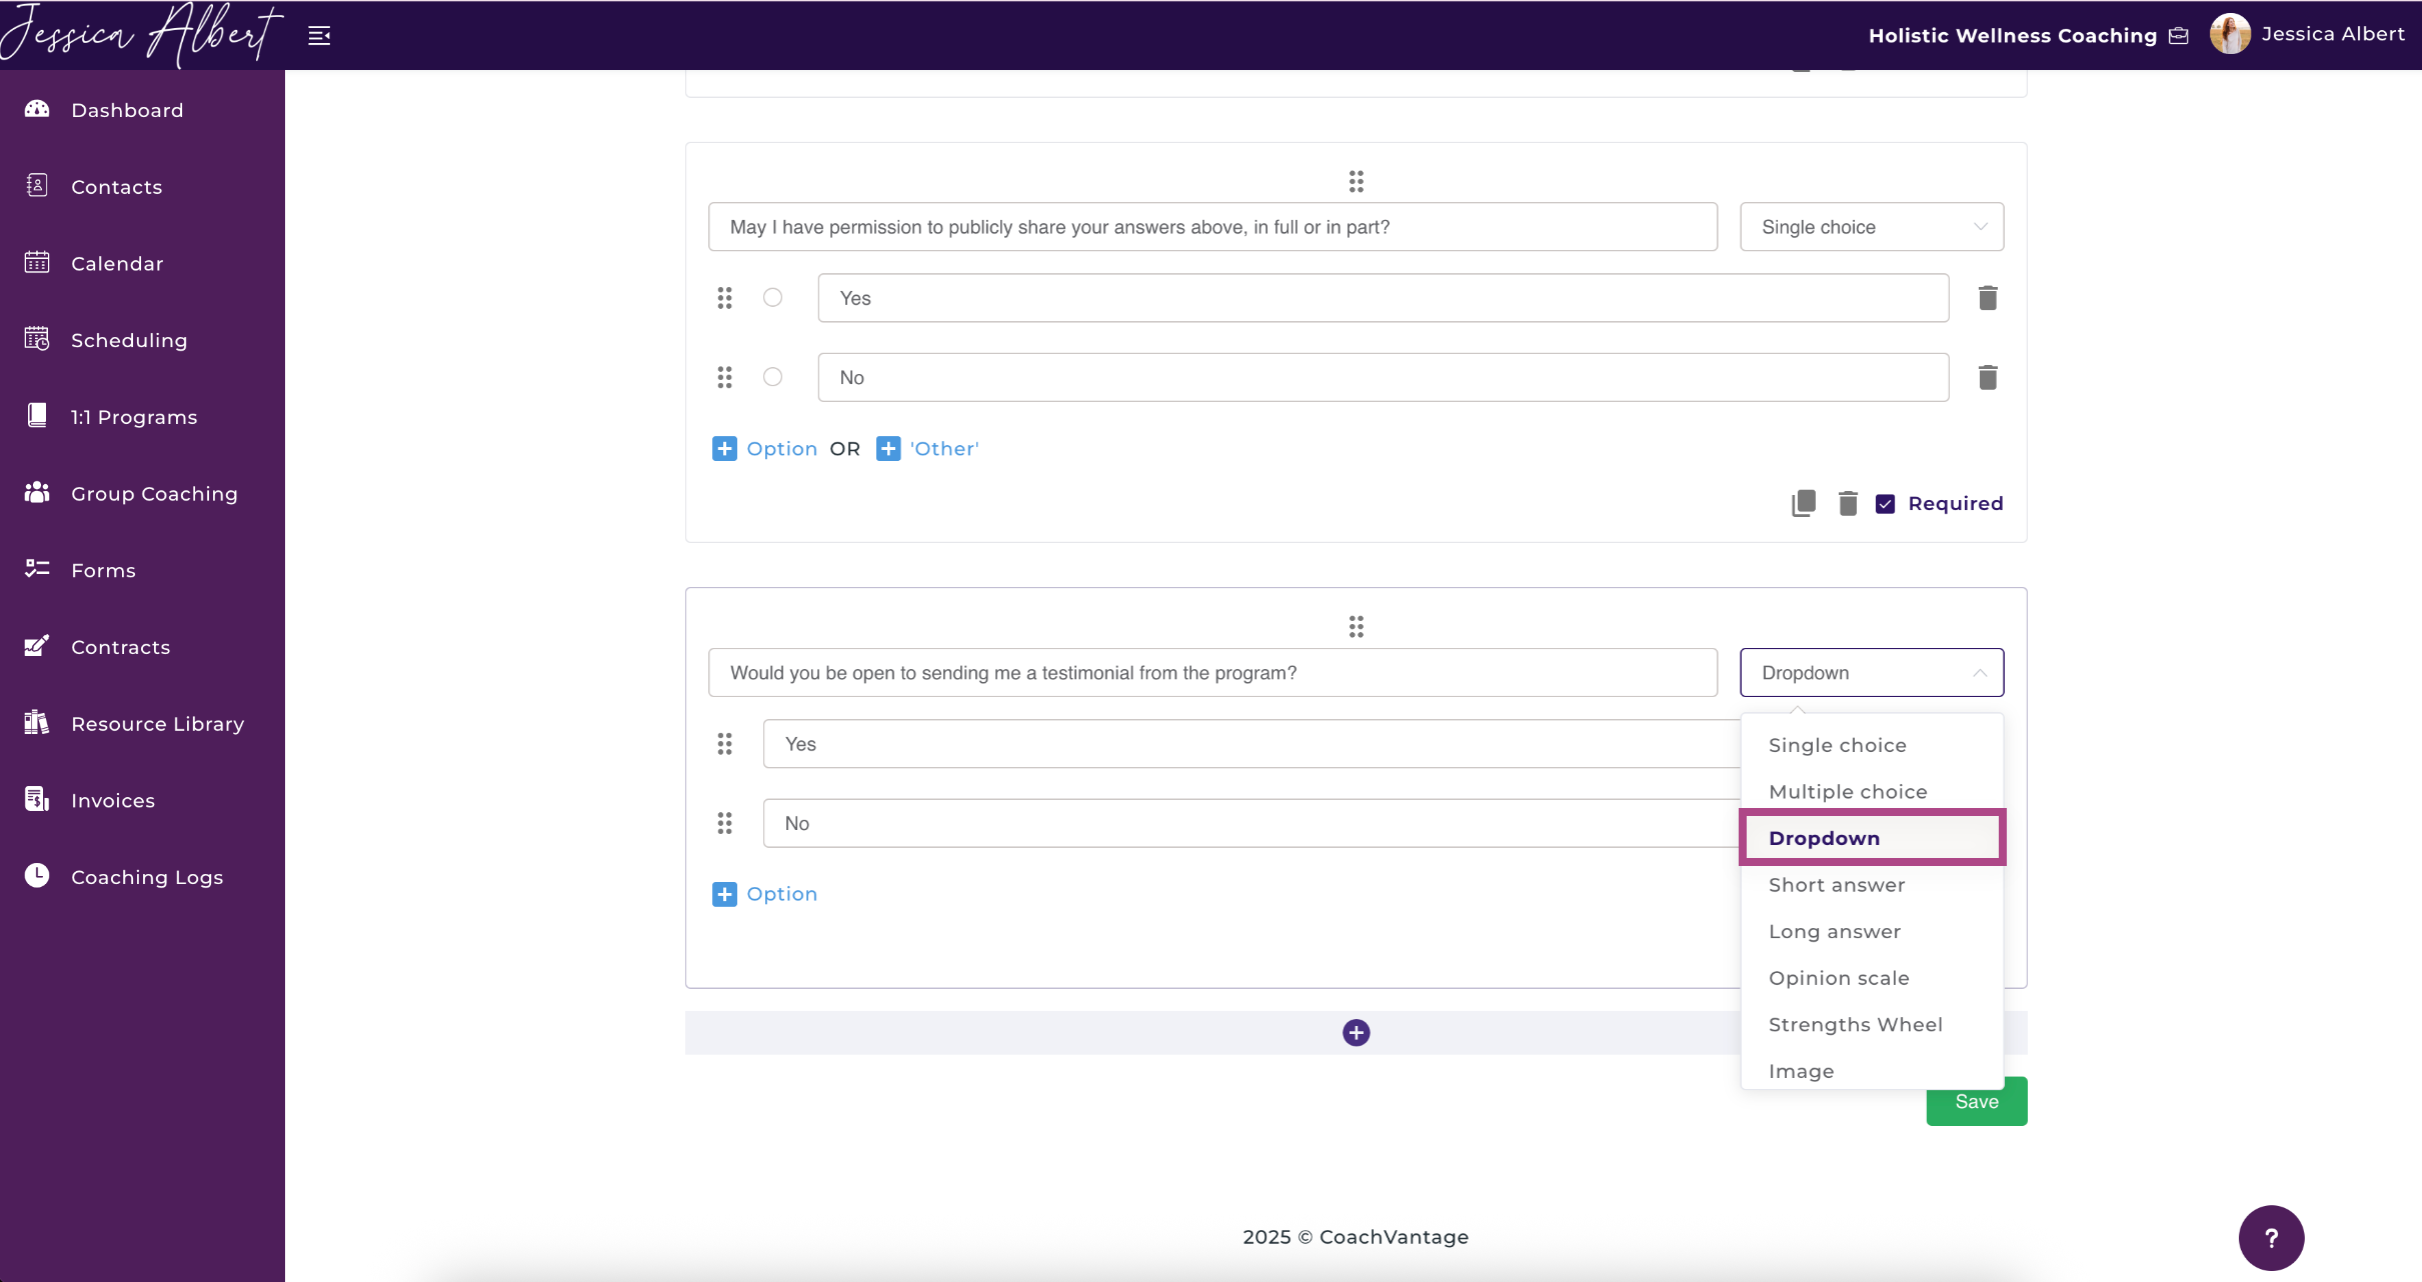
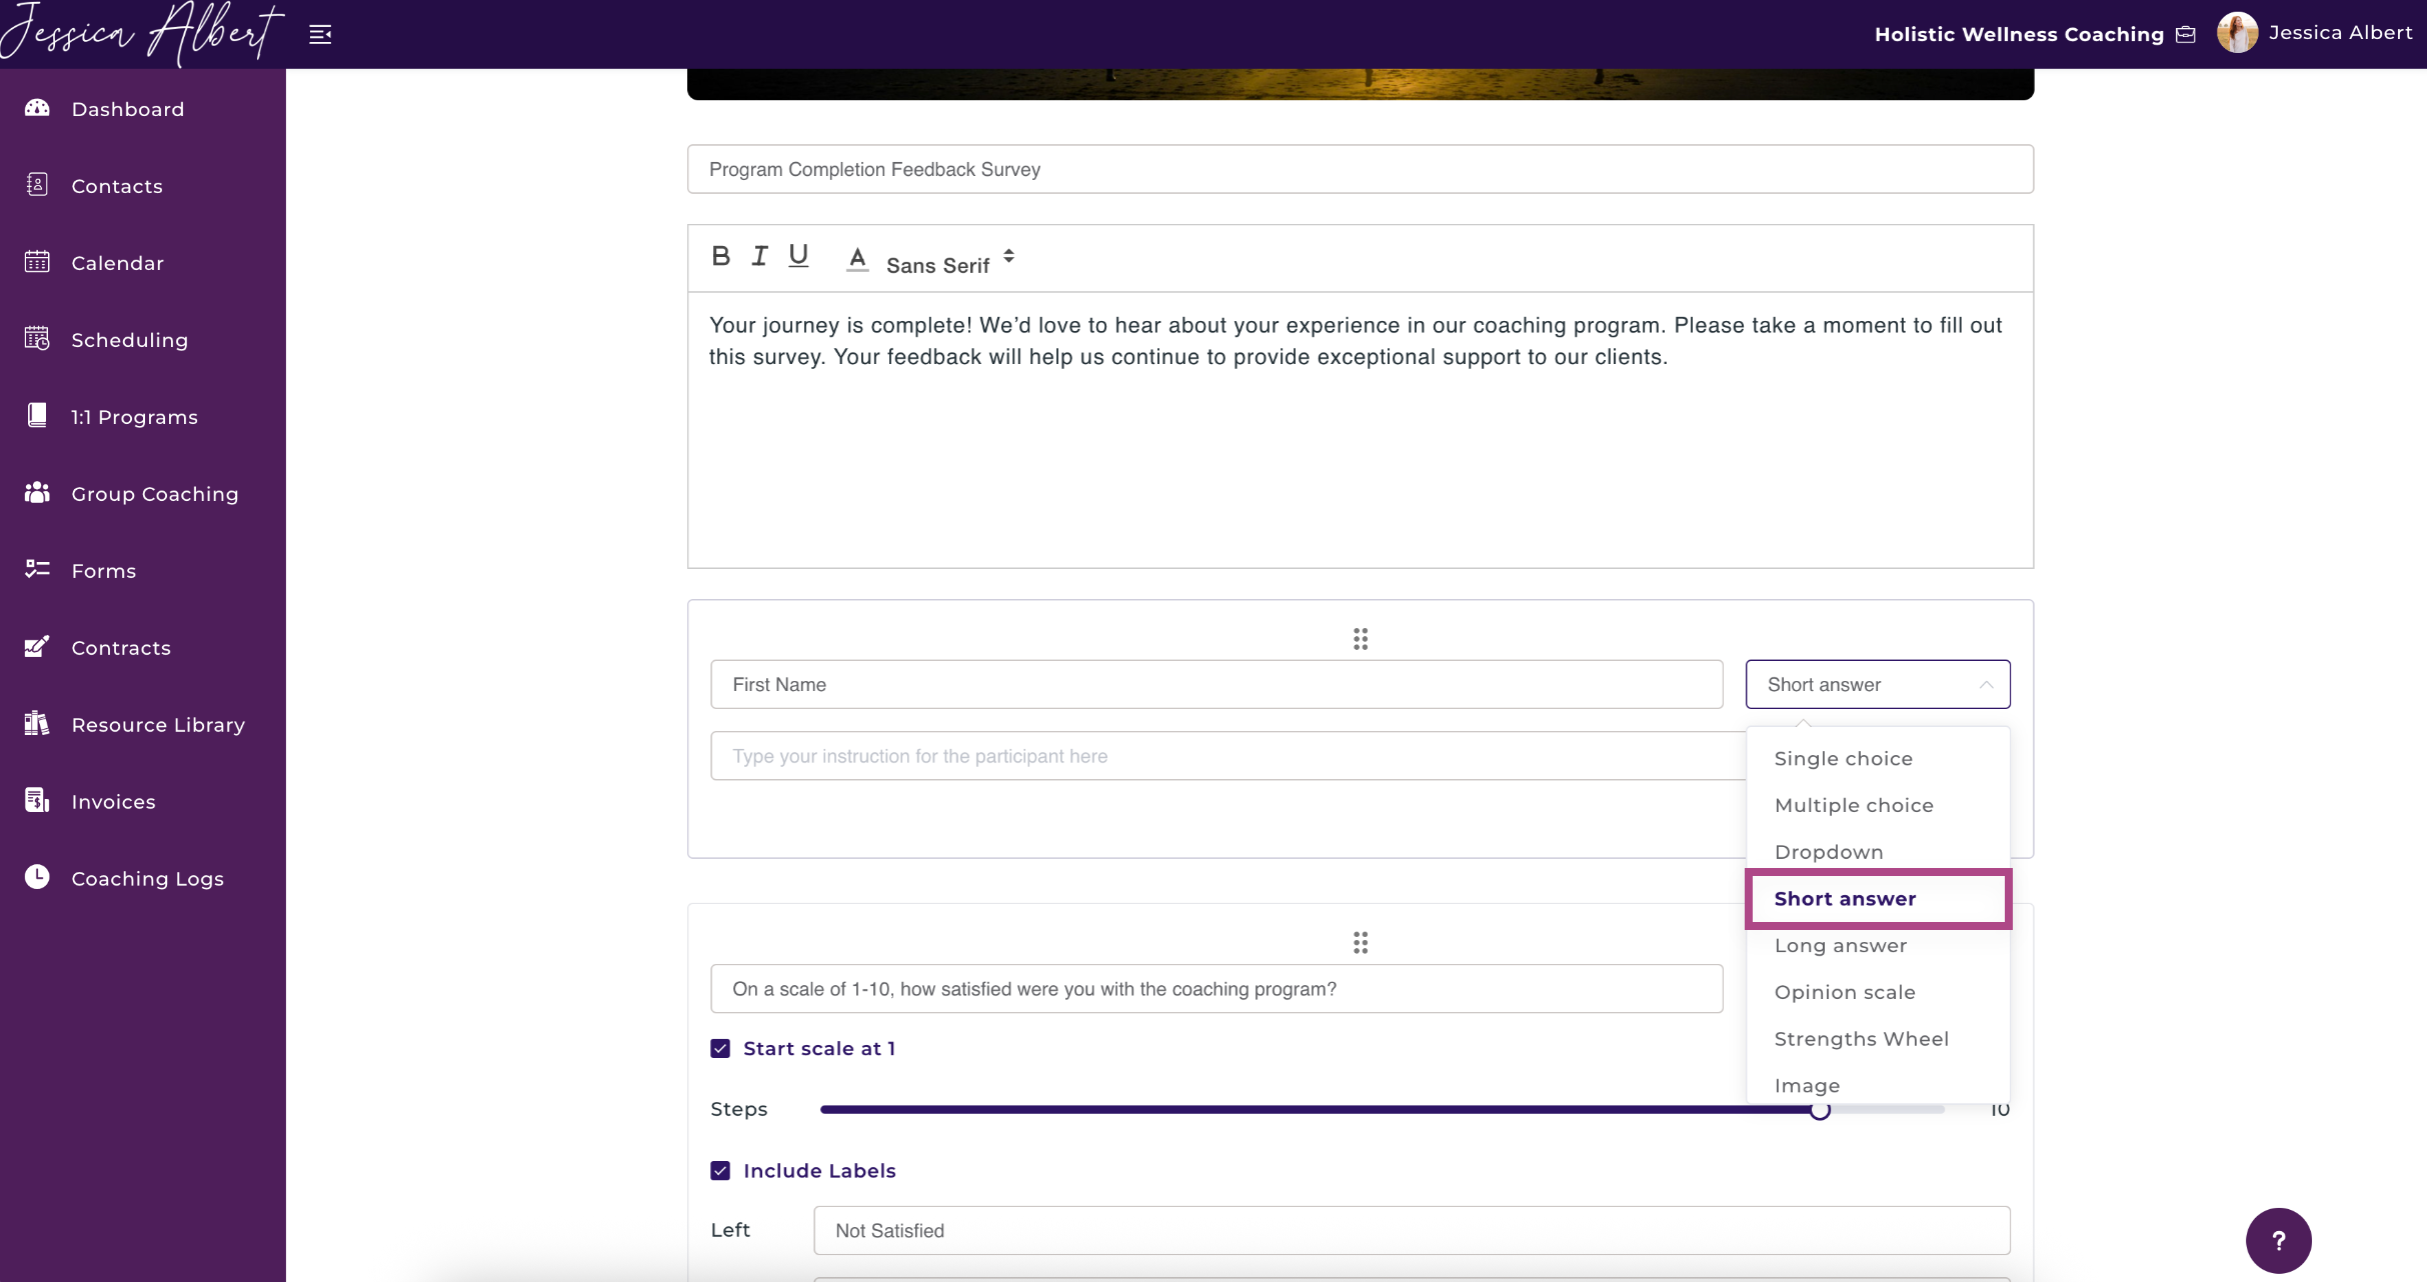
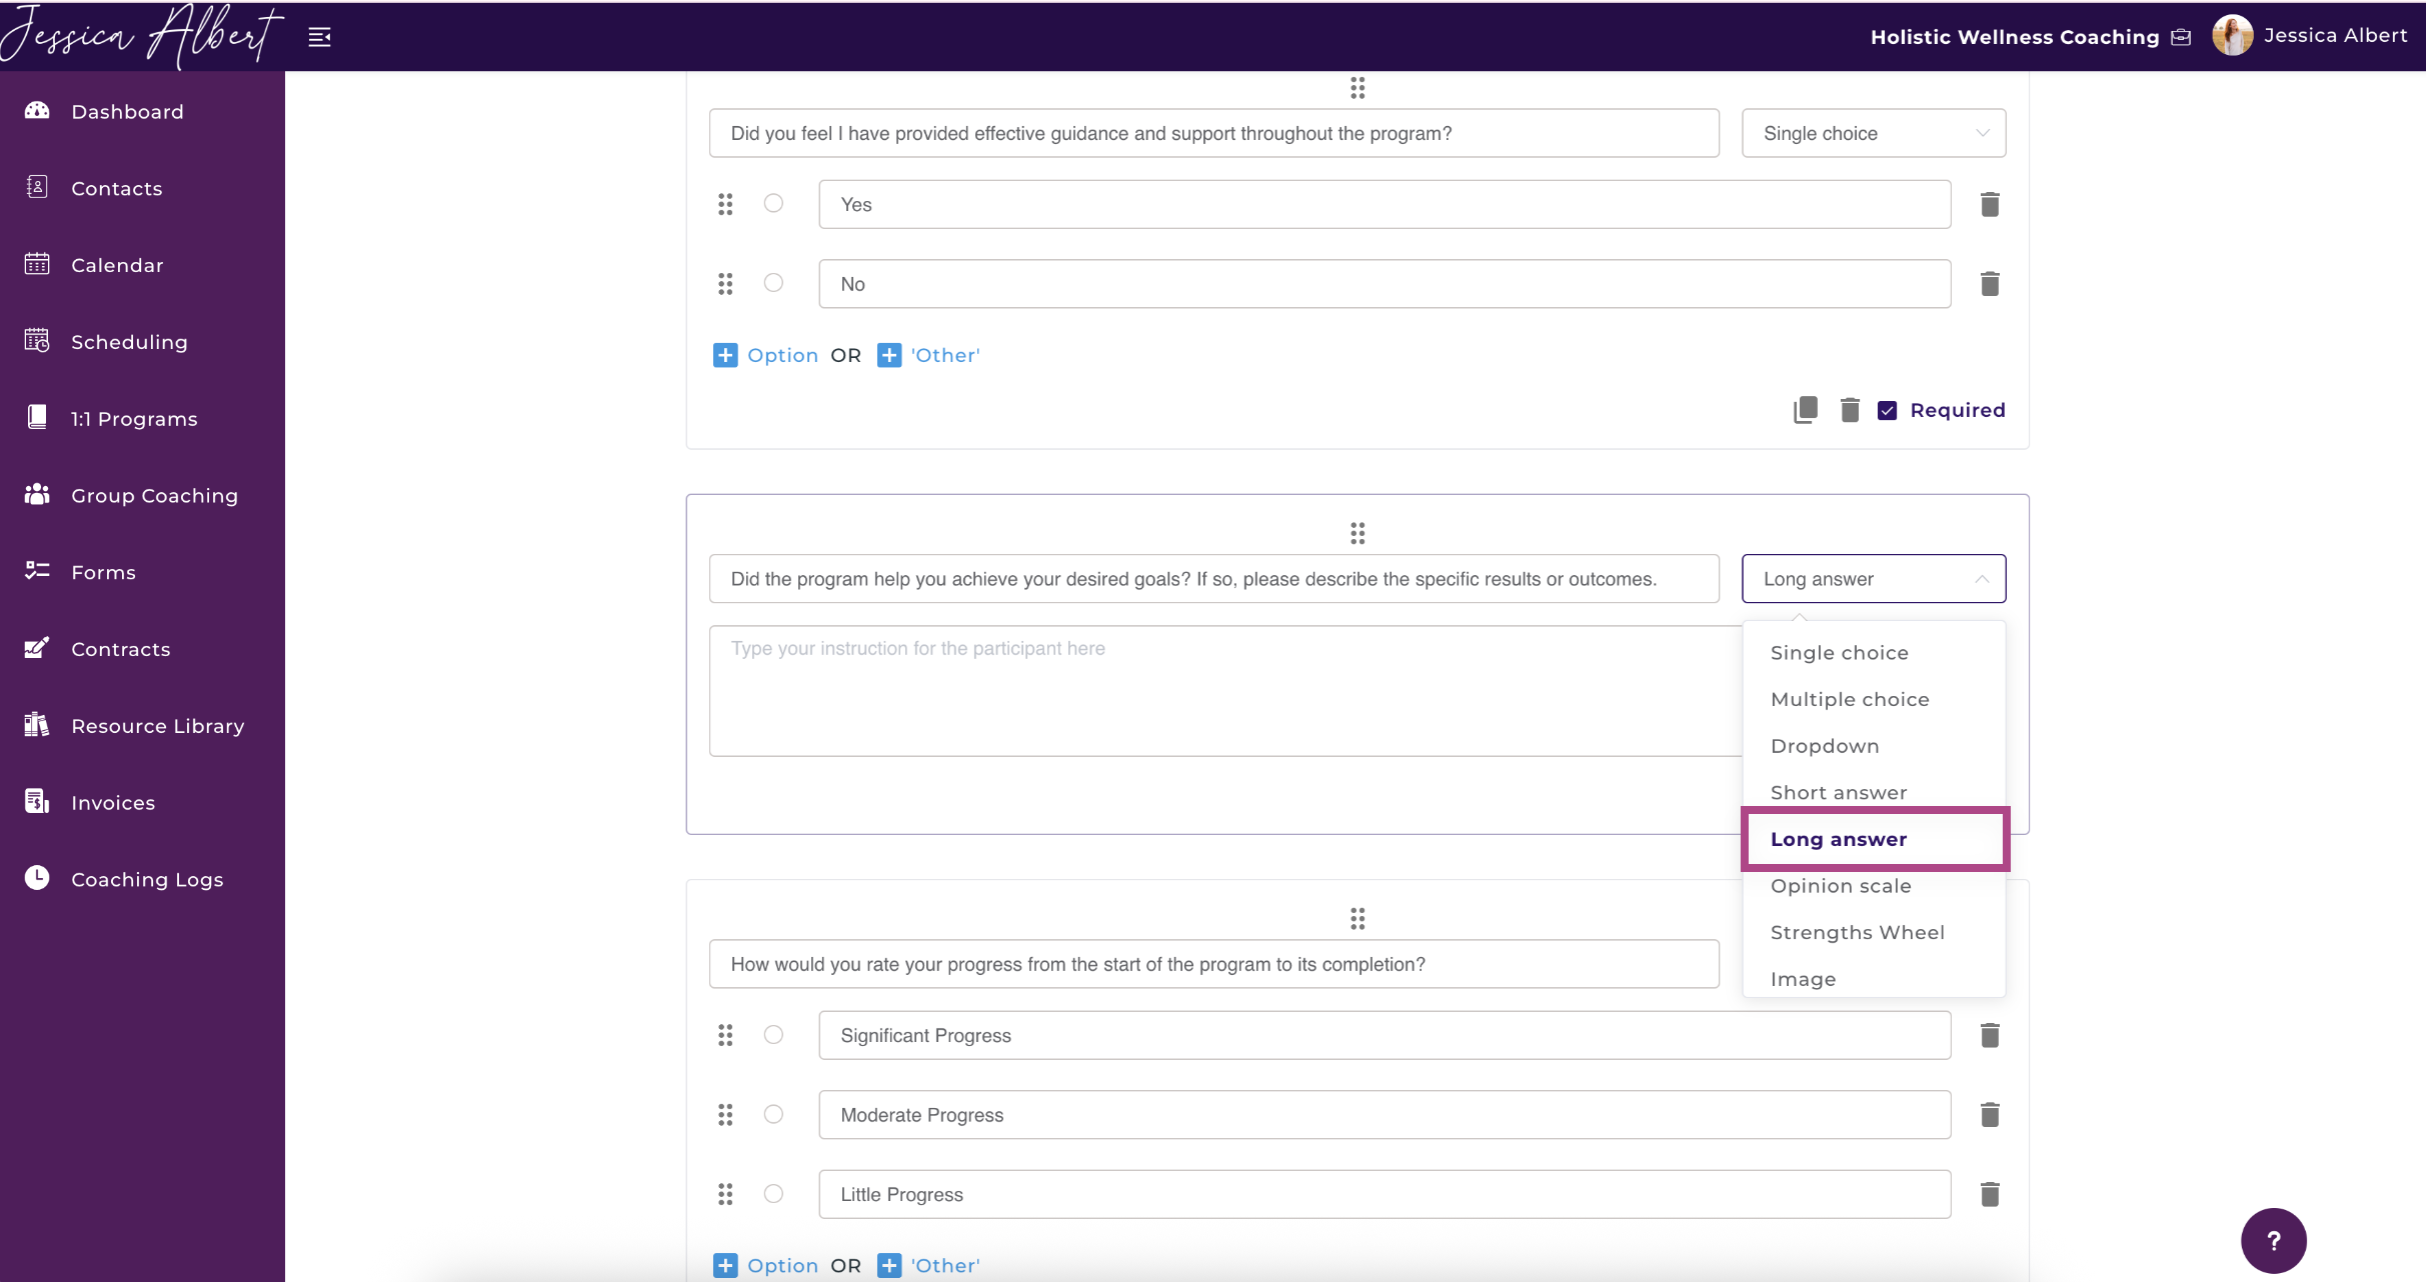
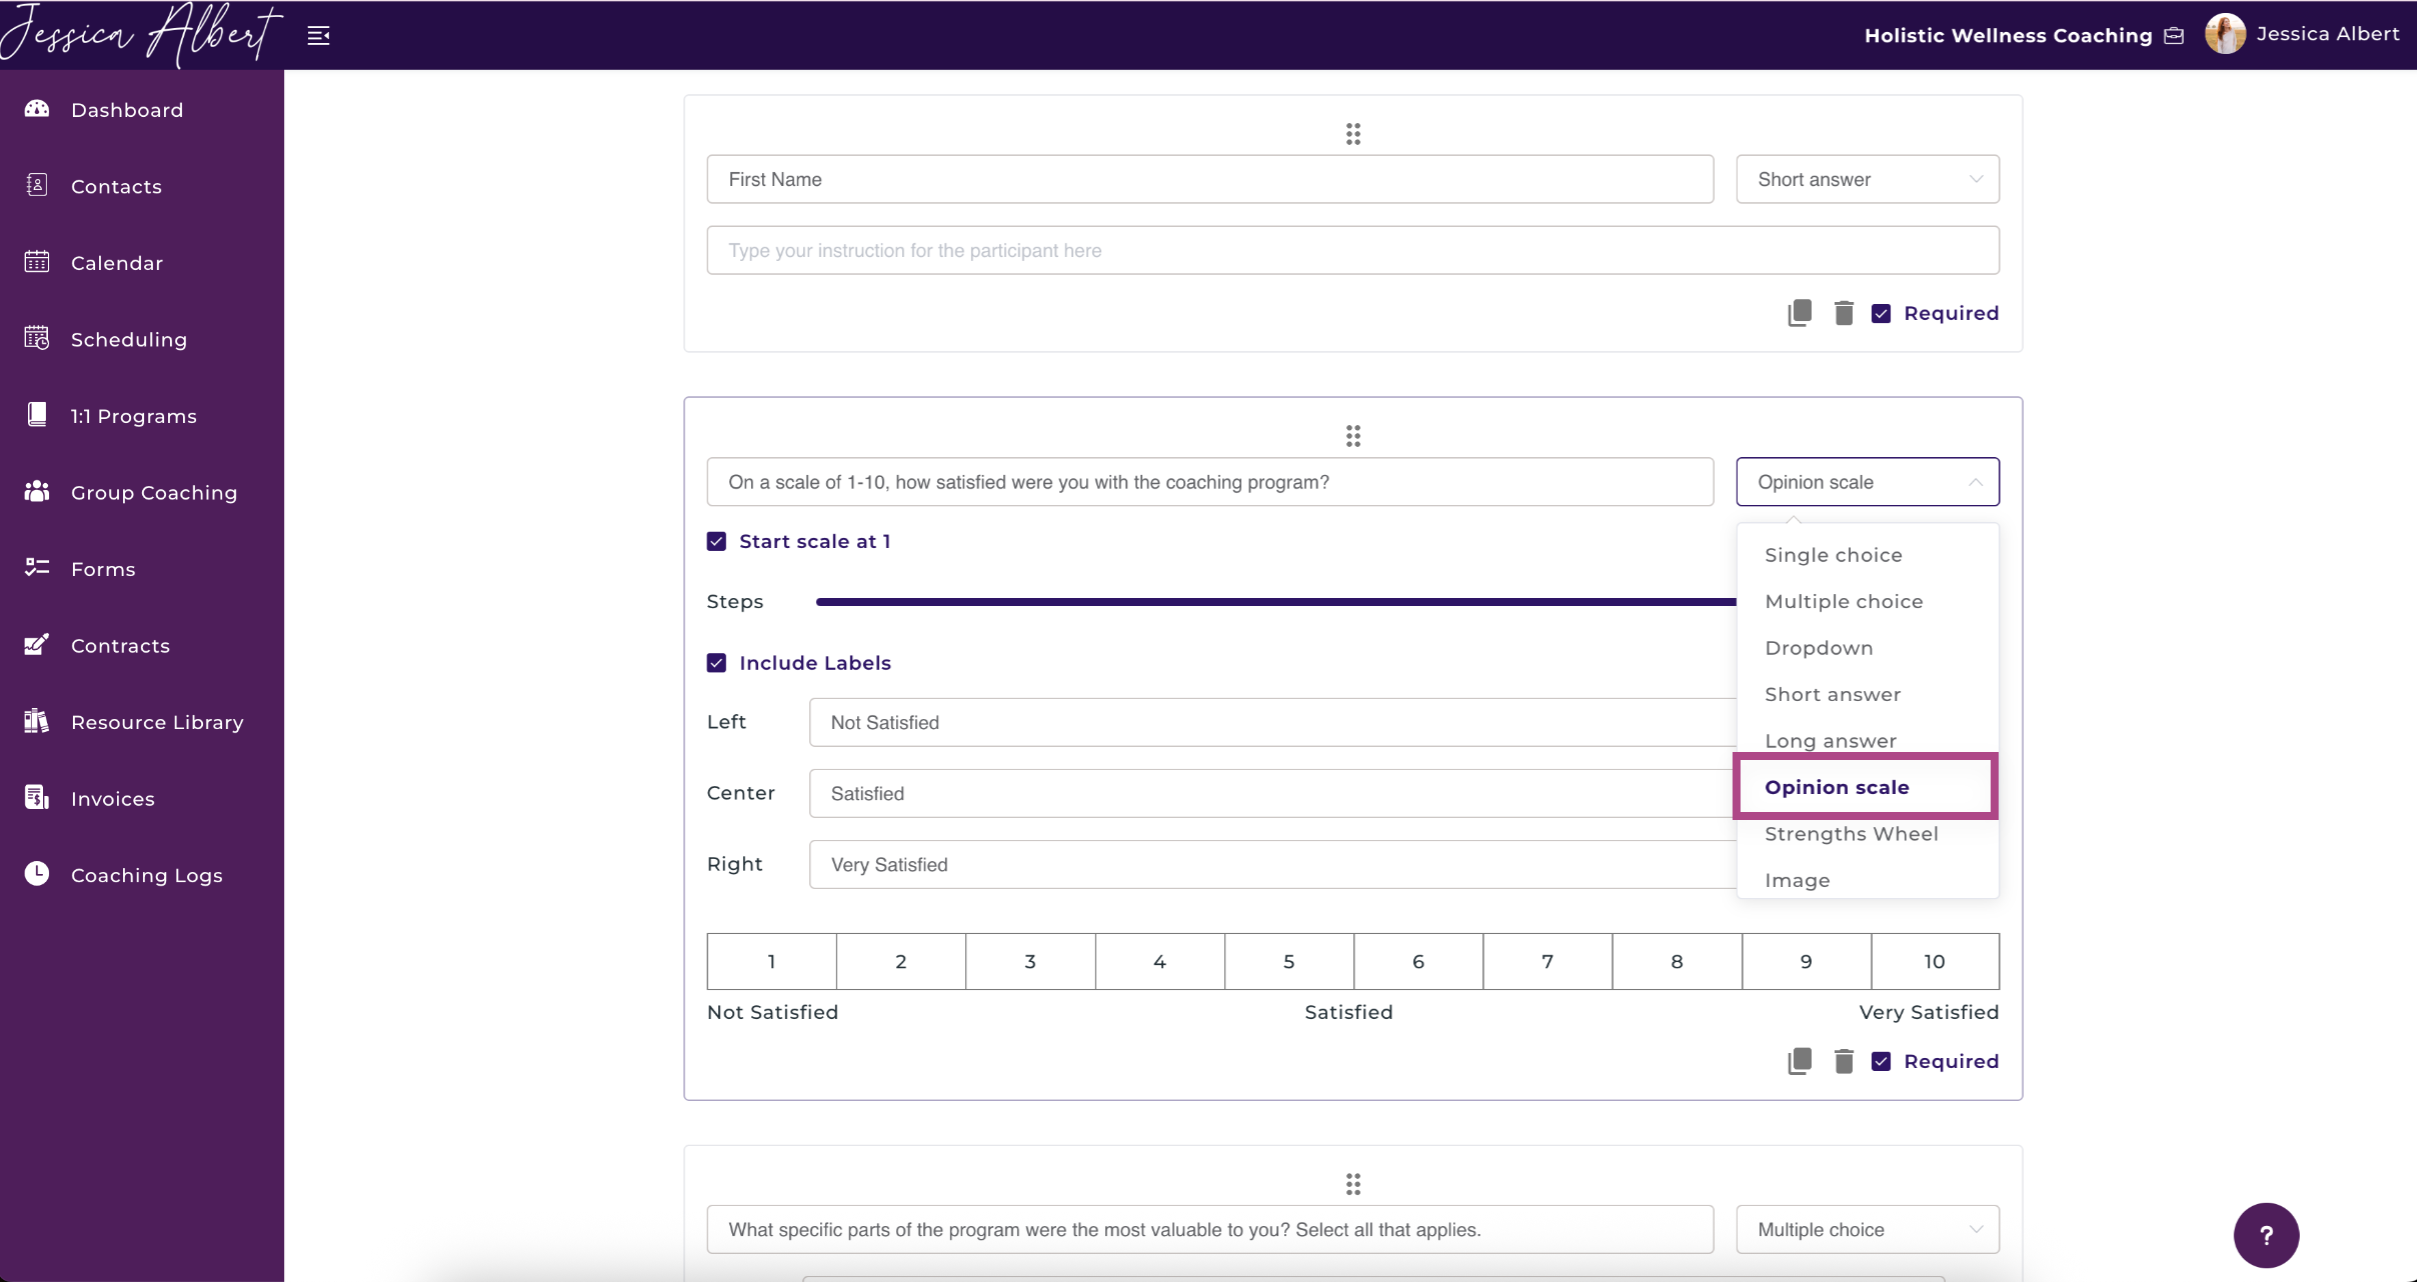
- Select the Question Type.
Use the dropdown selector to choose your question type.
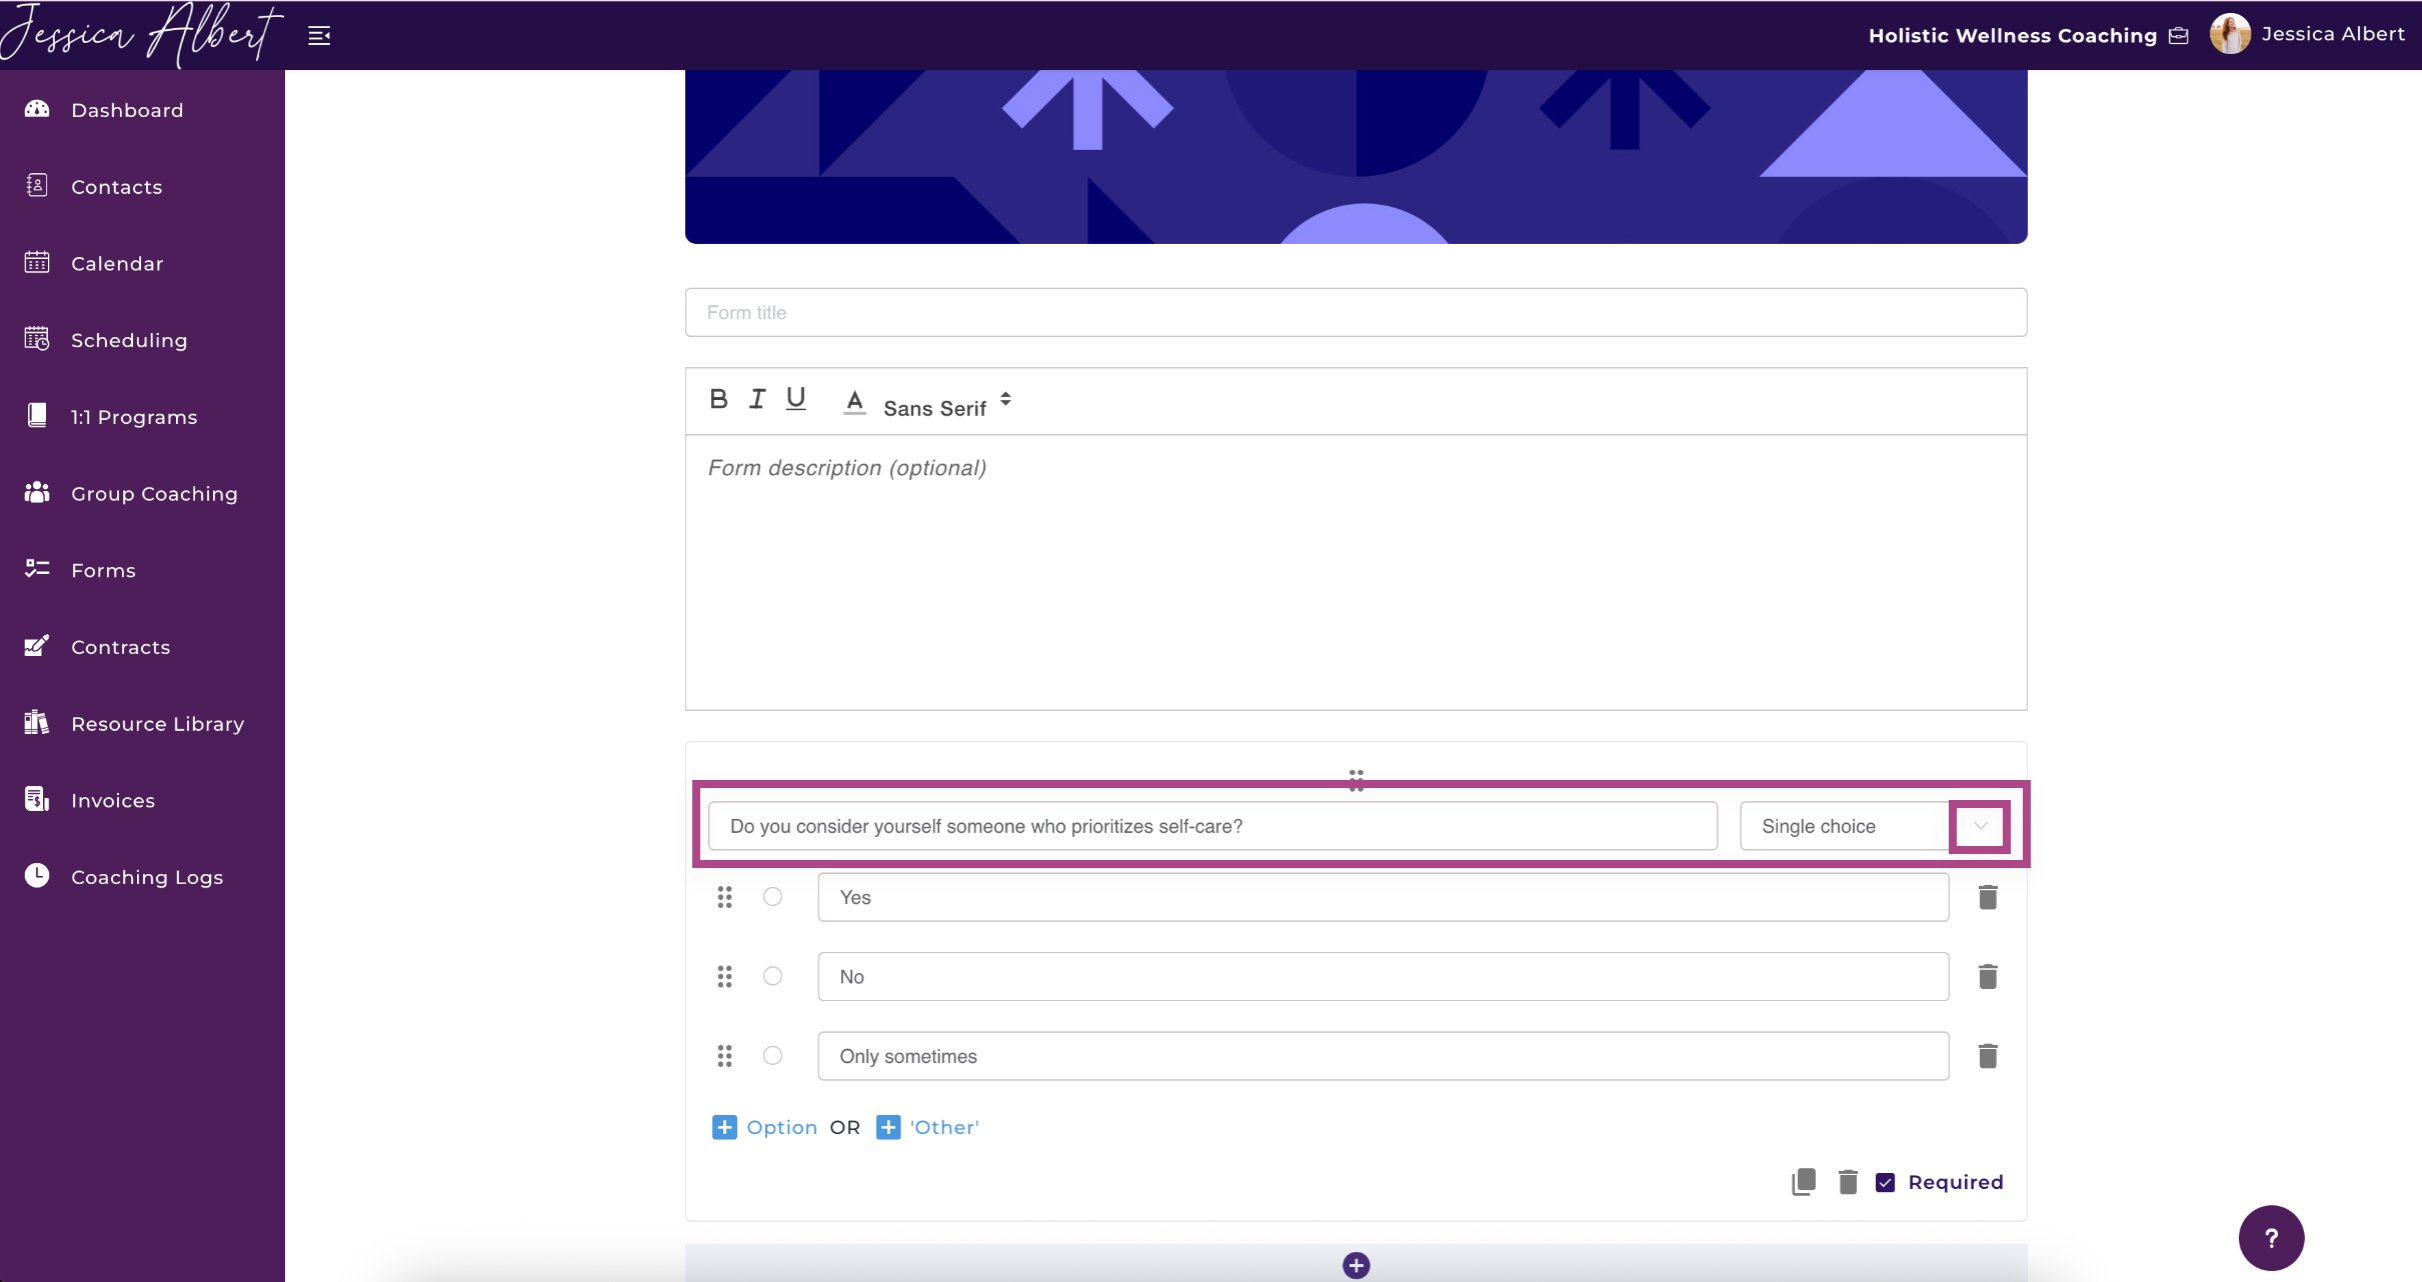
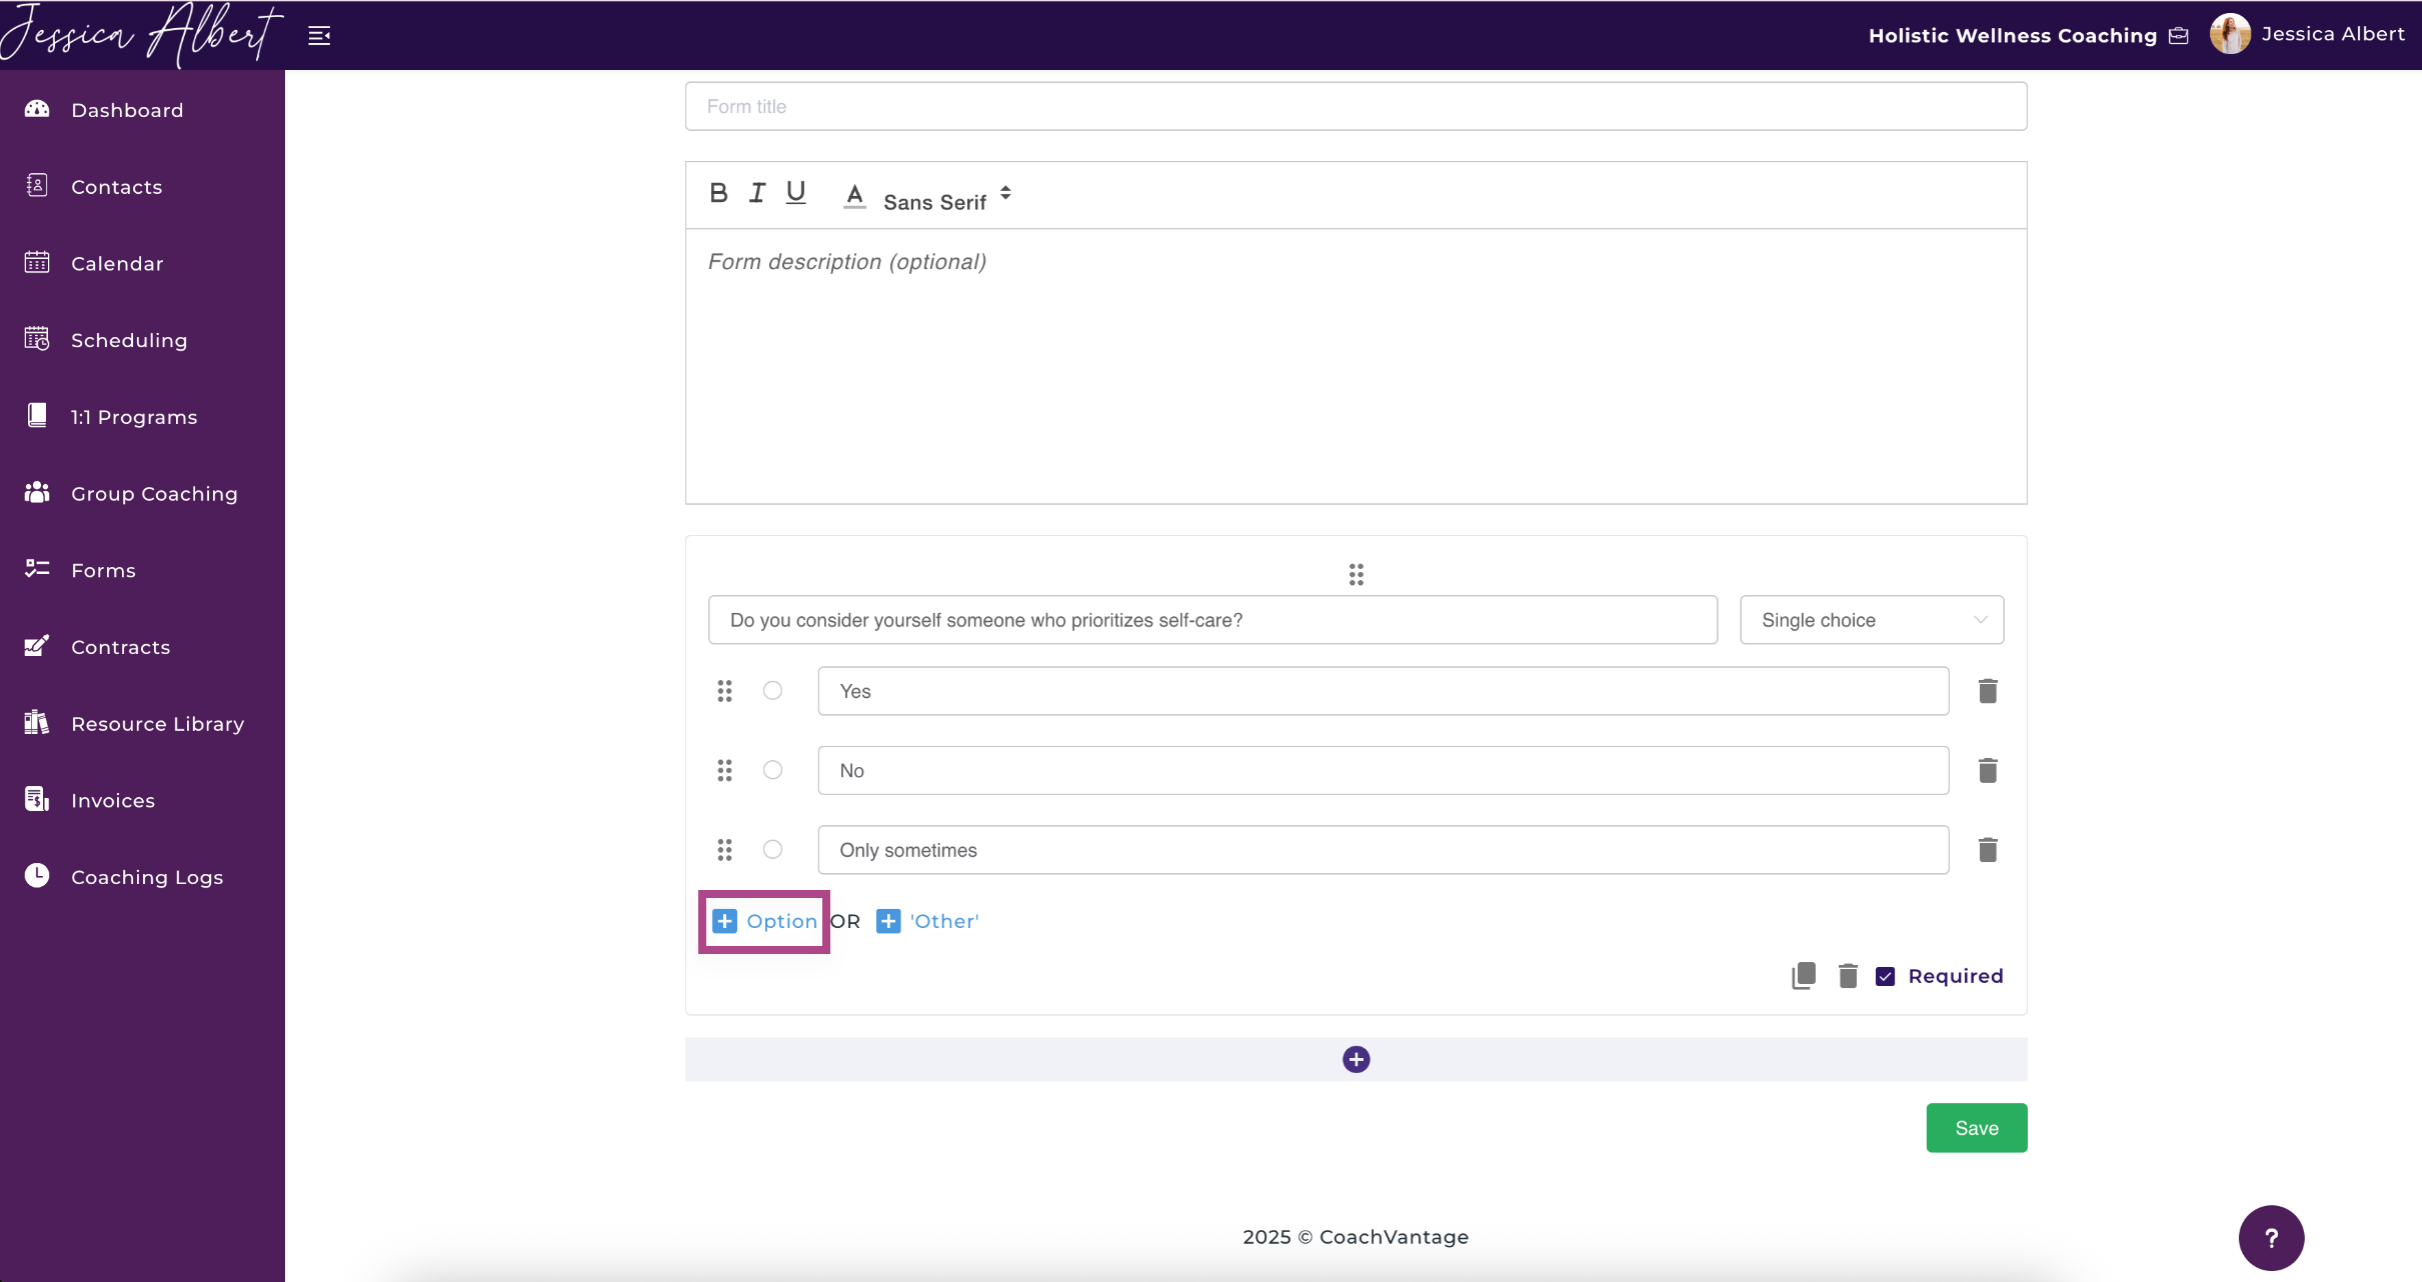
5. Add answer options as needed (for Single Choice, Multiple Choice and Dropdown question types).
Click +Add another option to include more answer options:
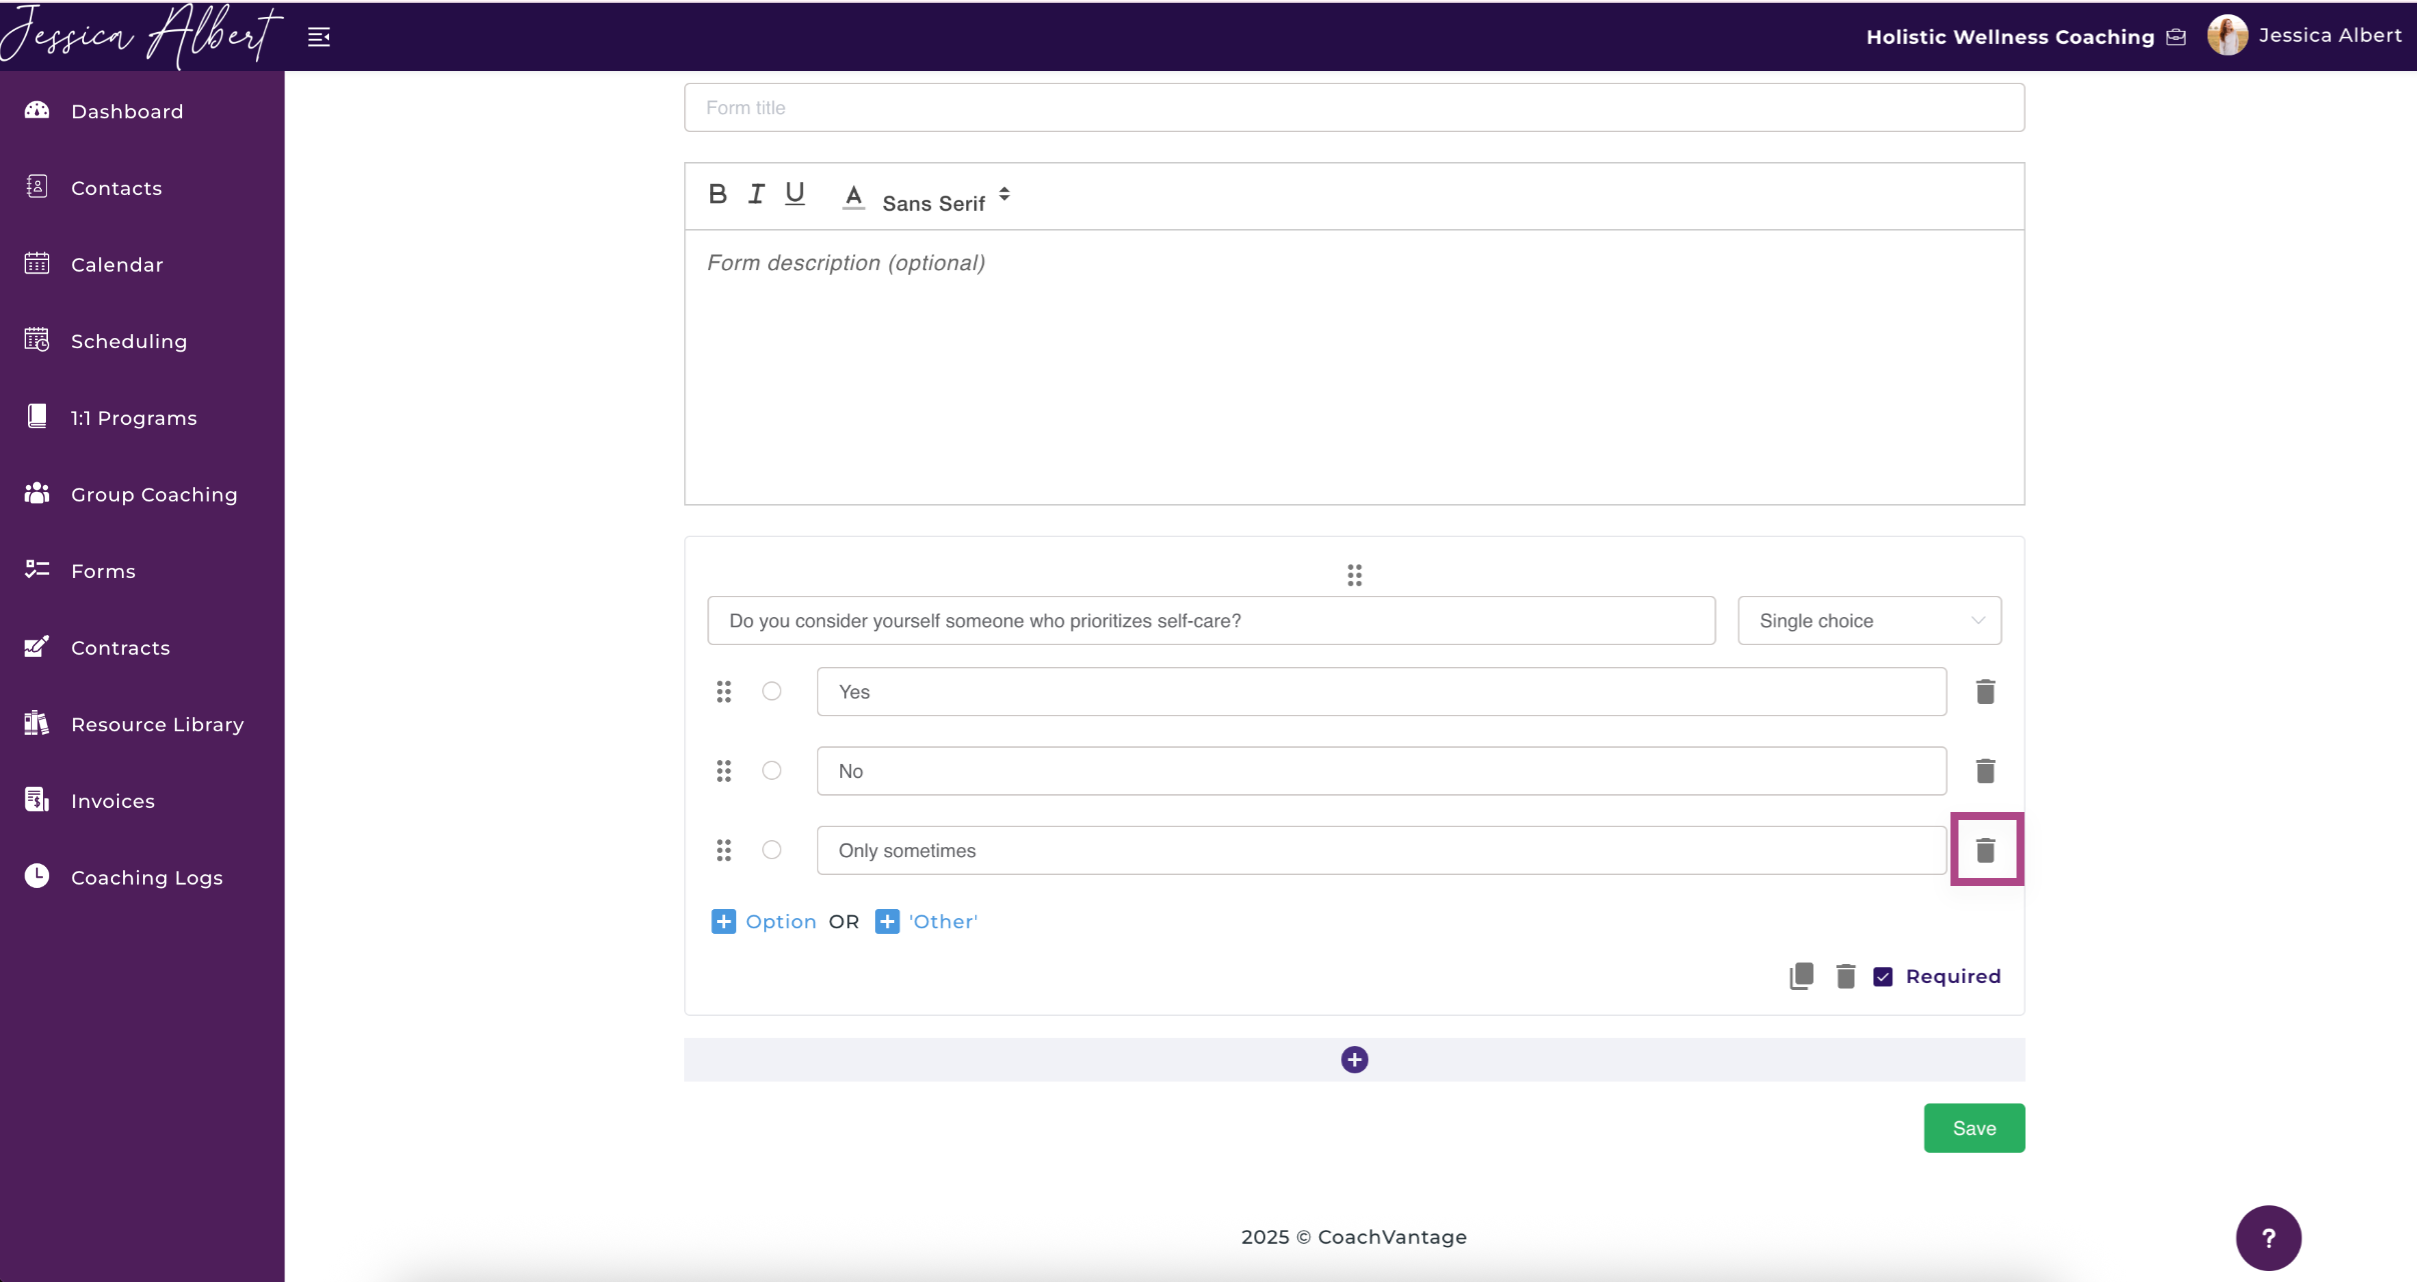
To remove an option, click the Trashcan Icon:
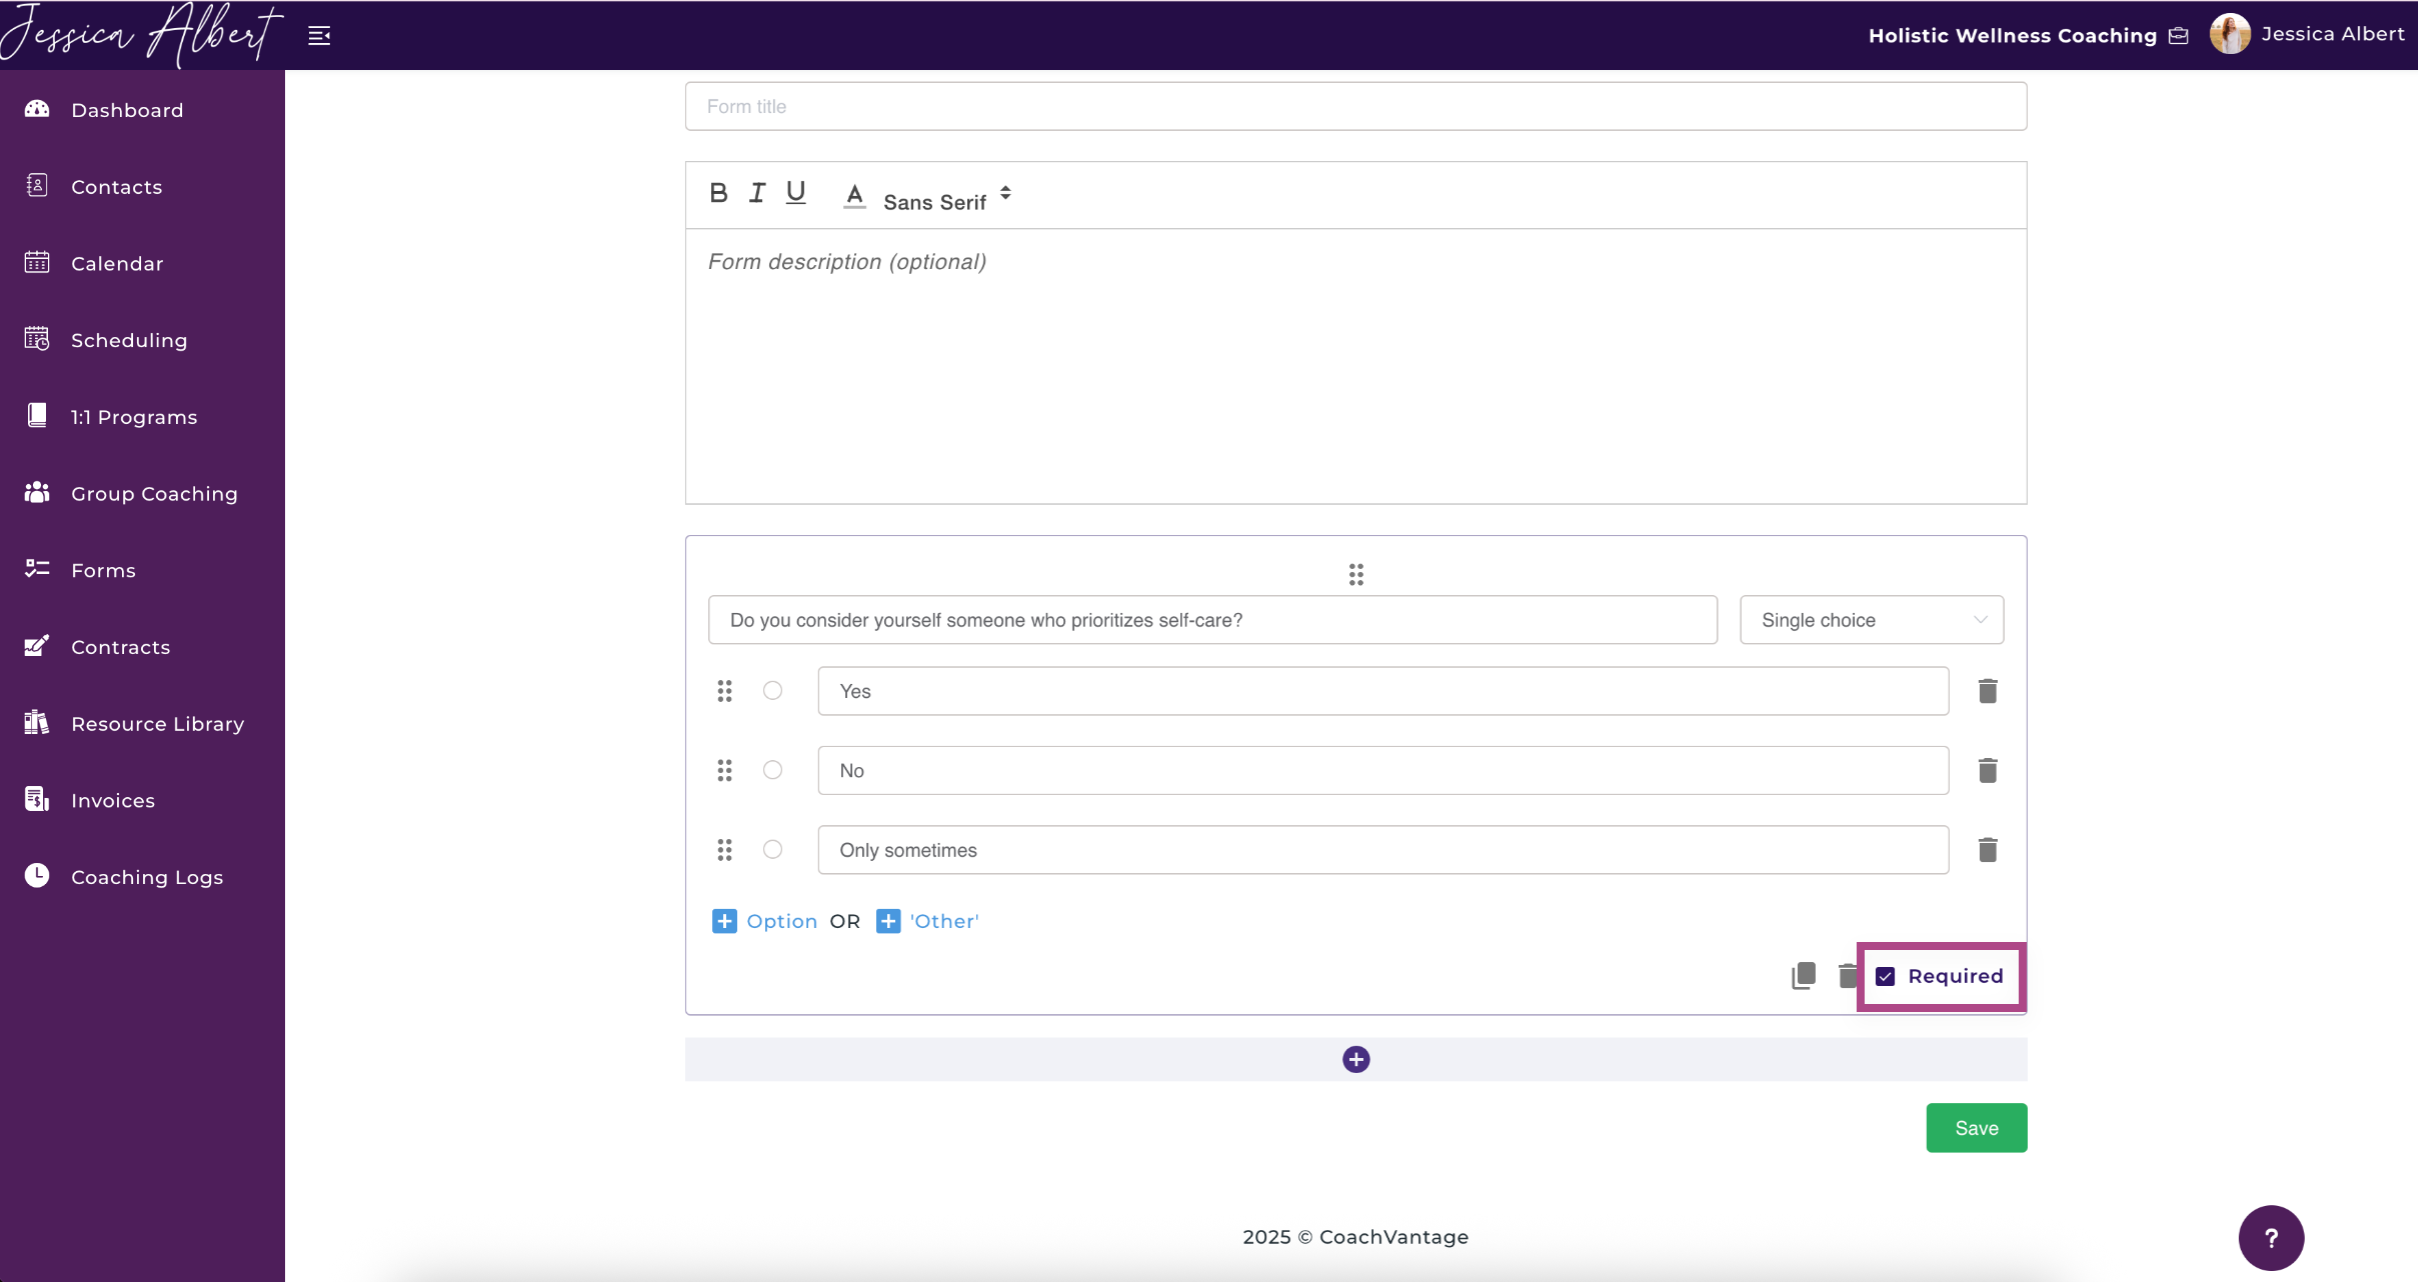
6. Make question required.
Check the Required checkbox if you wish to make questions compulsory to be answered by respondents. By default, the Required checkbox is pre-selected.
7. Click the Save button.
8. Repeat steps 3-7 until your form is complete.
9. Click the green Save button at the bottom of your screen to save your form.
Edit a Question 🖊️
IMPORTANT: Once a form is in an Active state, you would no longer be able to edit the form. An Active form will have a green Active label displayed.
A form is considered Active once it has been sent to a client or has been used as an Intake Form for your program or event.
To edit a question, click on the pencil icon.

An Edit Question pop-up window appears, as shown below. Make the desired changes and click Update.

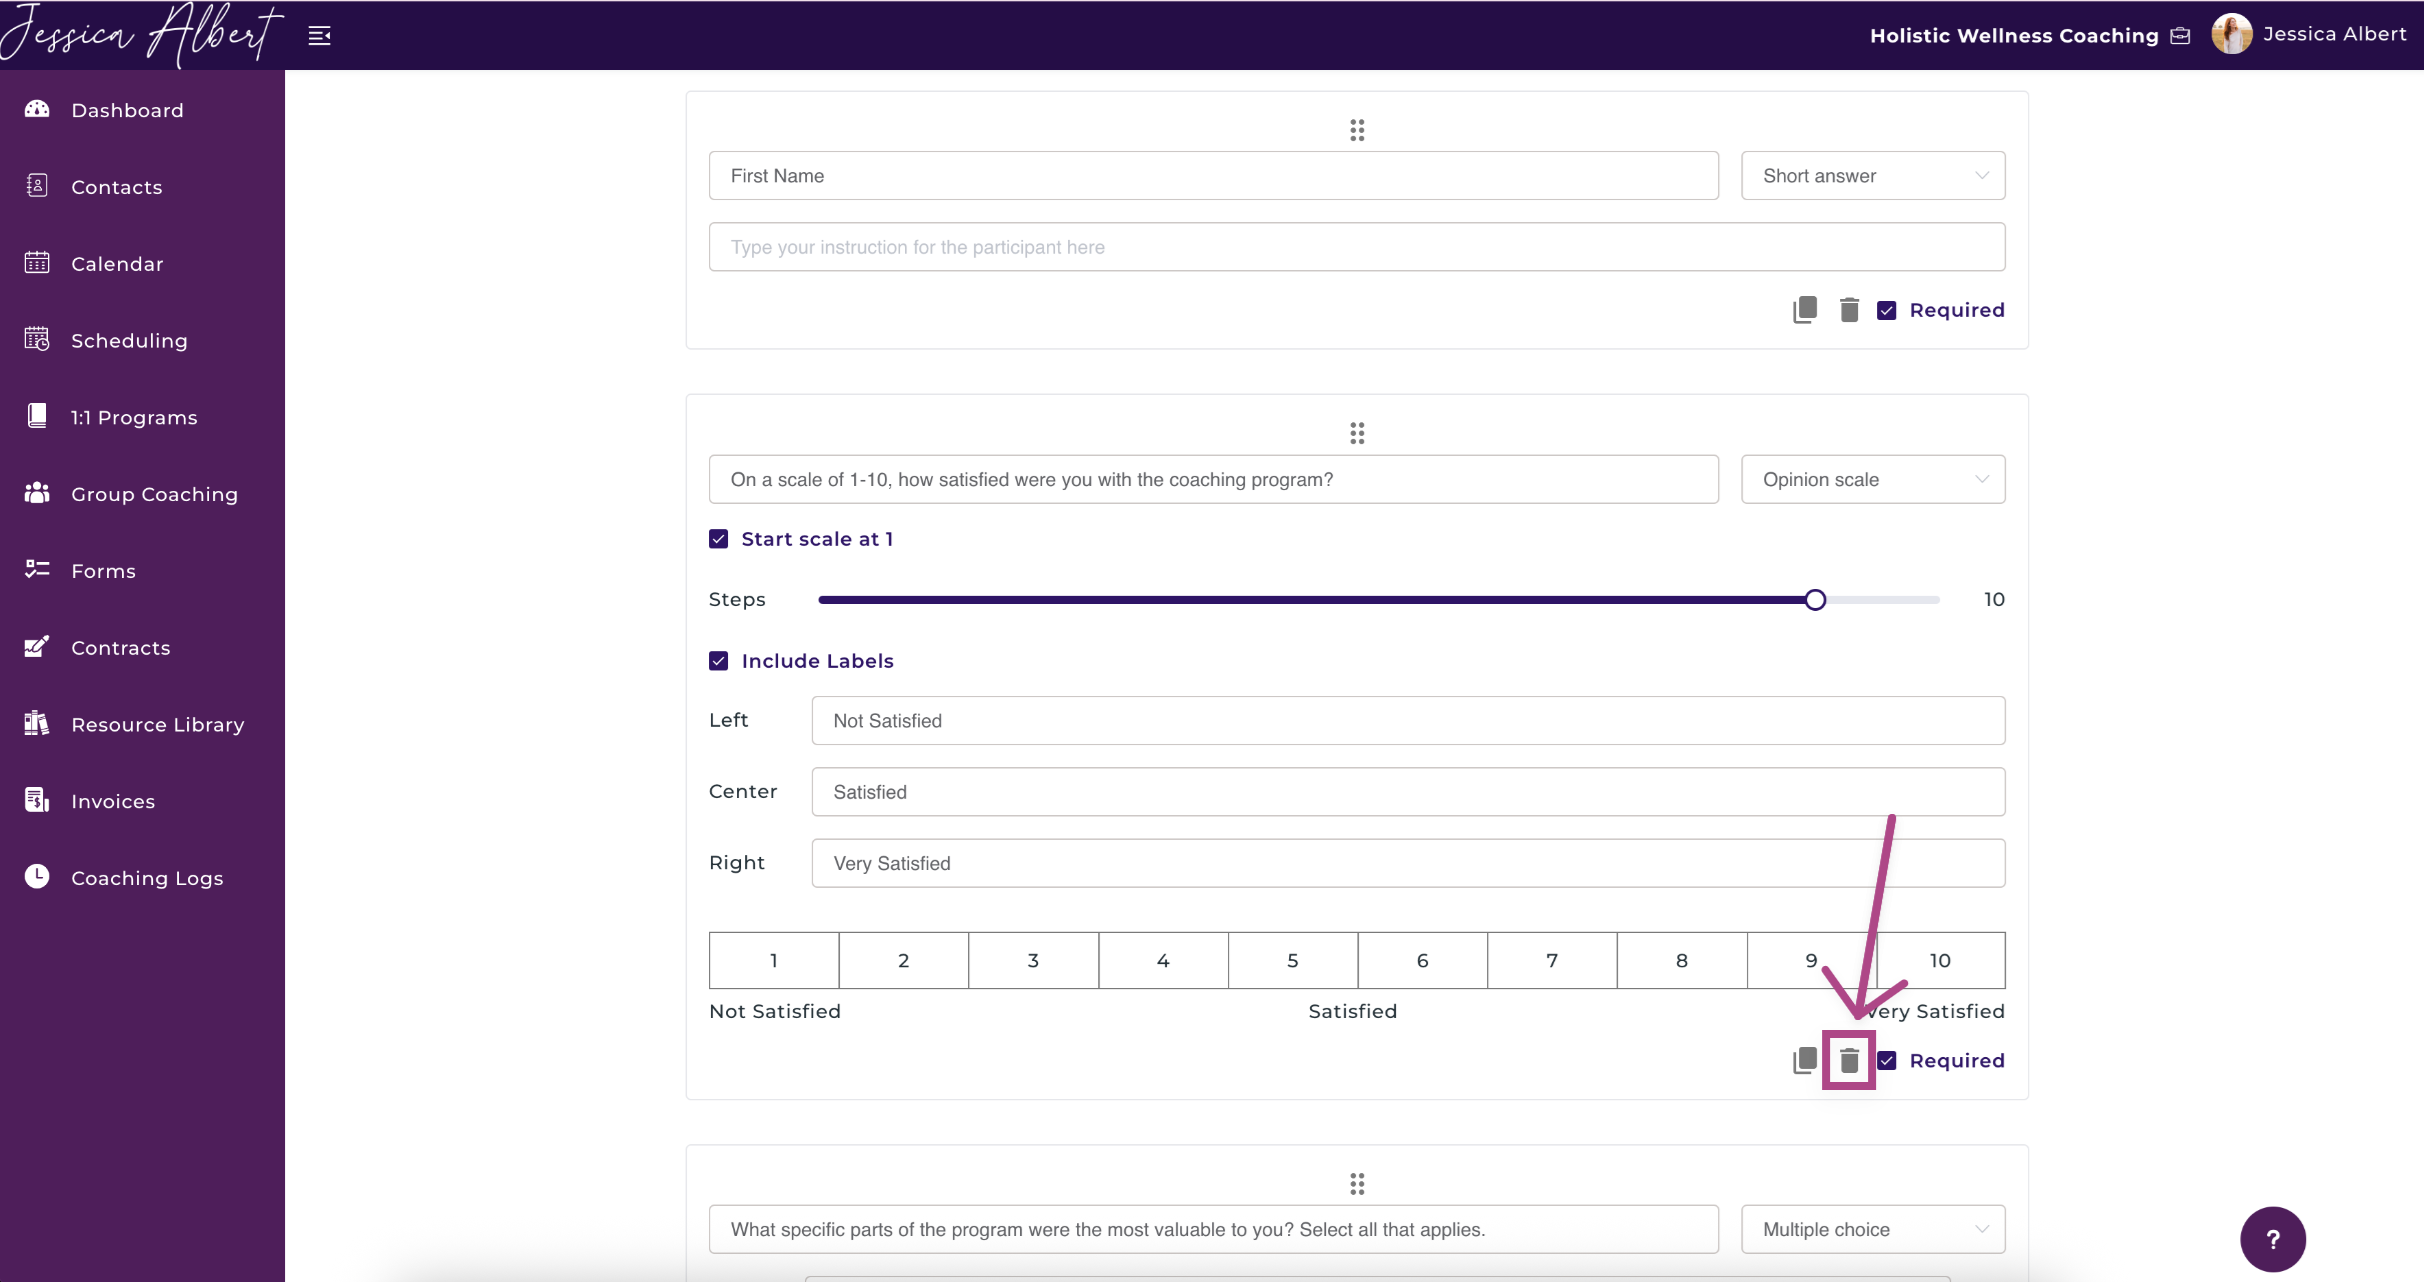
Delete a Question 🗑️
You can delete a question by clicking on the trash icon. Simply hover over the question, and the trash icon will be displayed.
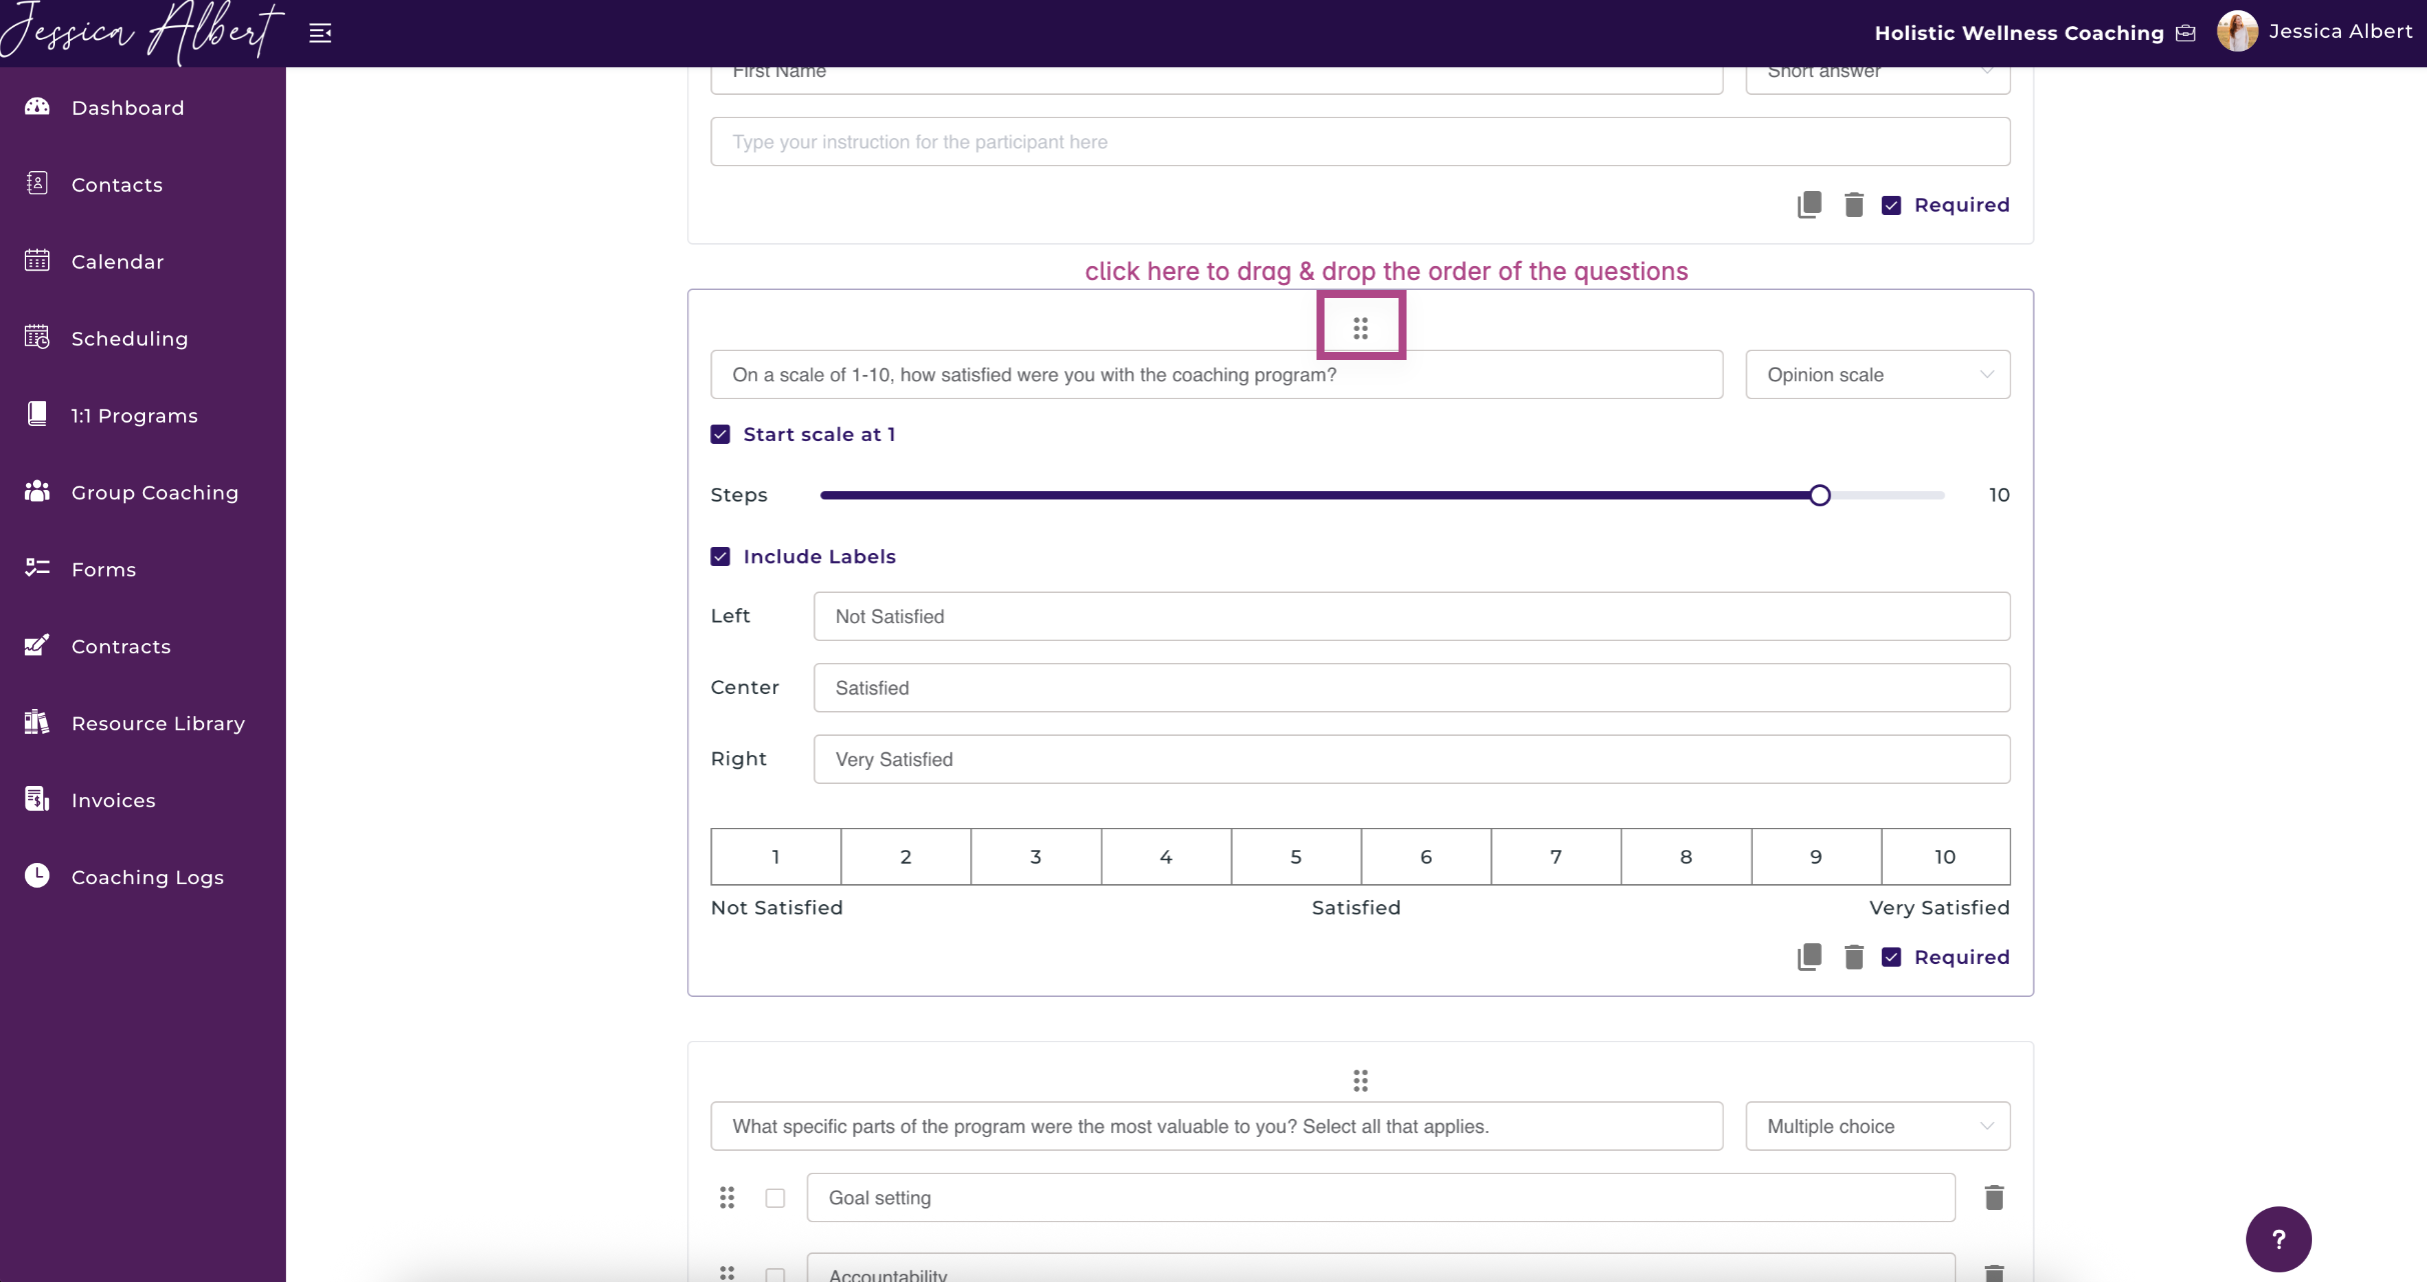
Organize Questions 🗂️
You can change the sequencing (or order) of questions by holding the directional icon then dragging and dropping the question to its new position on the form.
2. Question Types
Single Choice
As the name suggests, Single Choice answers allows clients to select only one answer option.
Multiple Choice
Multiple Choice answers allows clients to select more than one option.
Dropdown
Dropdown works similarly to a single choice question whereby only one answer option can be selected. However, the answer options are displayed via a dropdown selector.
Short Answer
Short Answer allows clients to write a short paragraph of text in their own words. You may also customize the prompt in the text box.
Note: You can insert a prompt inside the text box to help your clients provide their answer.
Long Answer
Long Answer works similarly to Short Answer questions whereby clients can write in their own words. However, Long Answer is useful if you expect clients to write much longer responses, in multiple sentences or paragraphs.
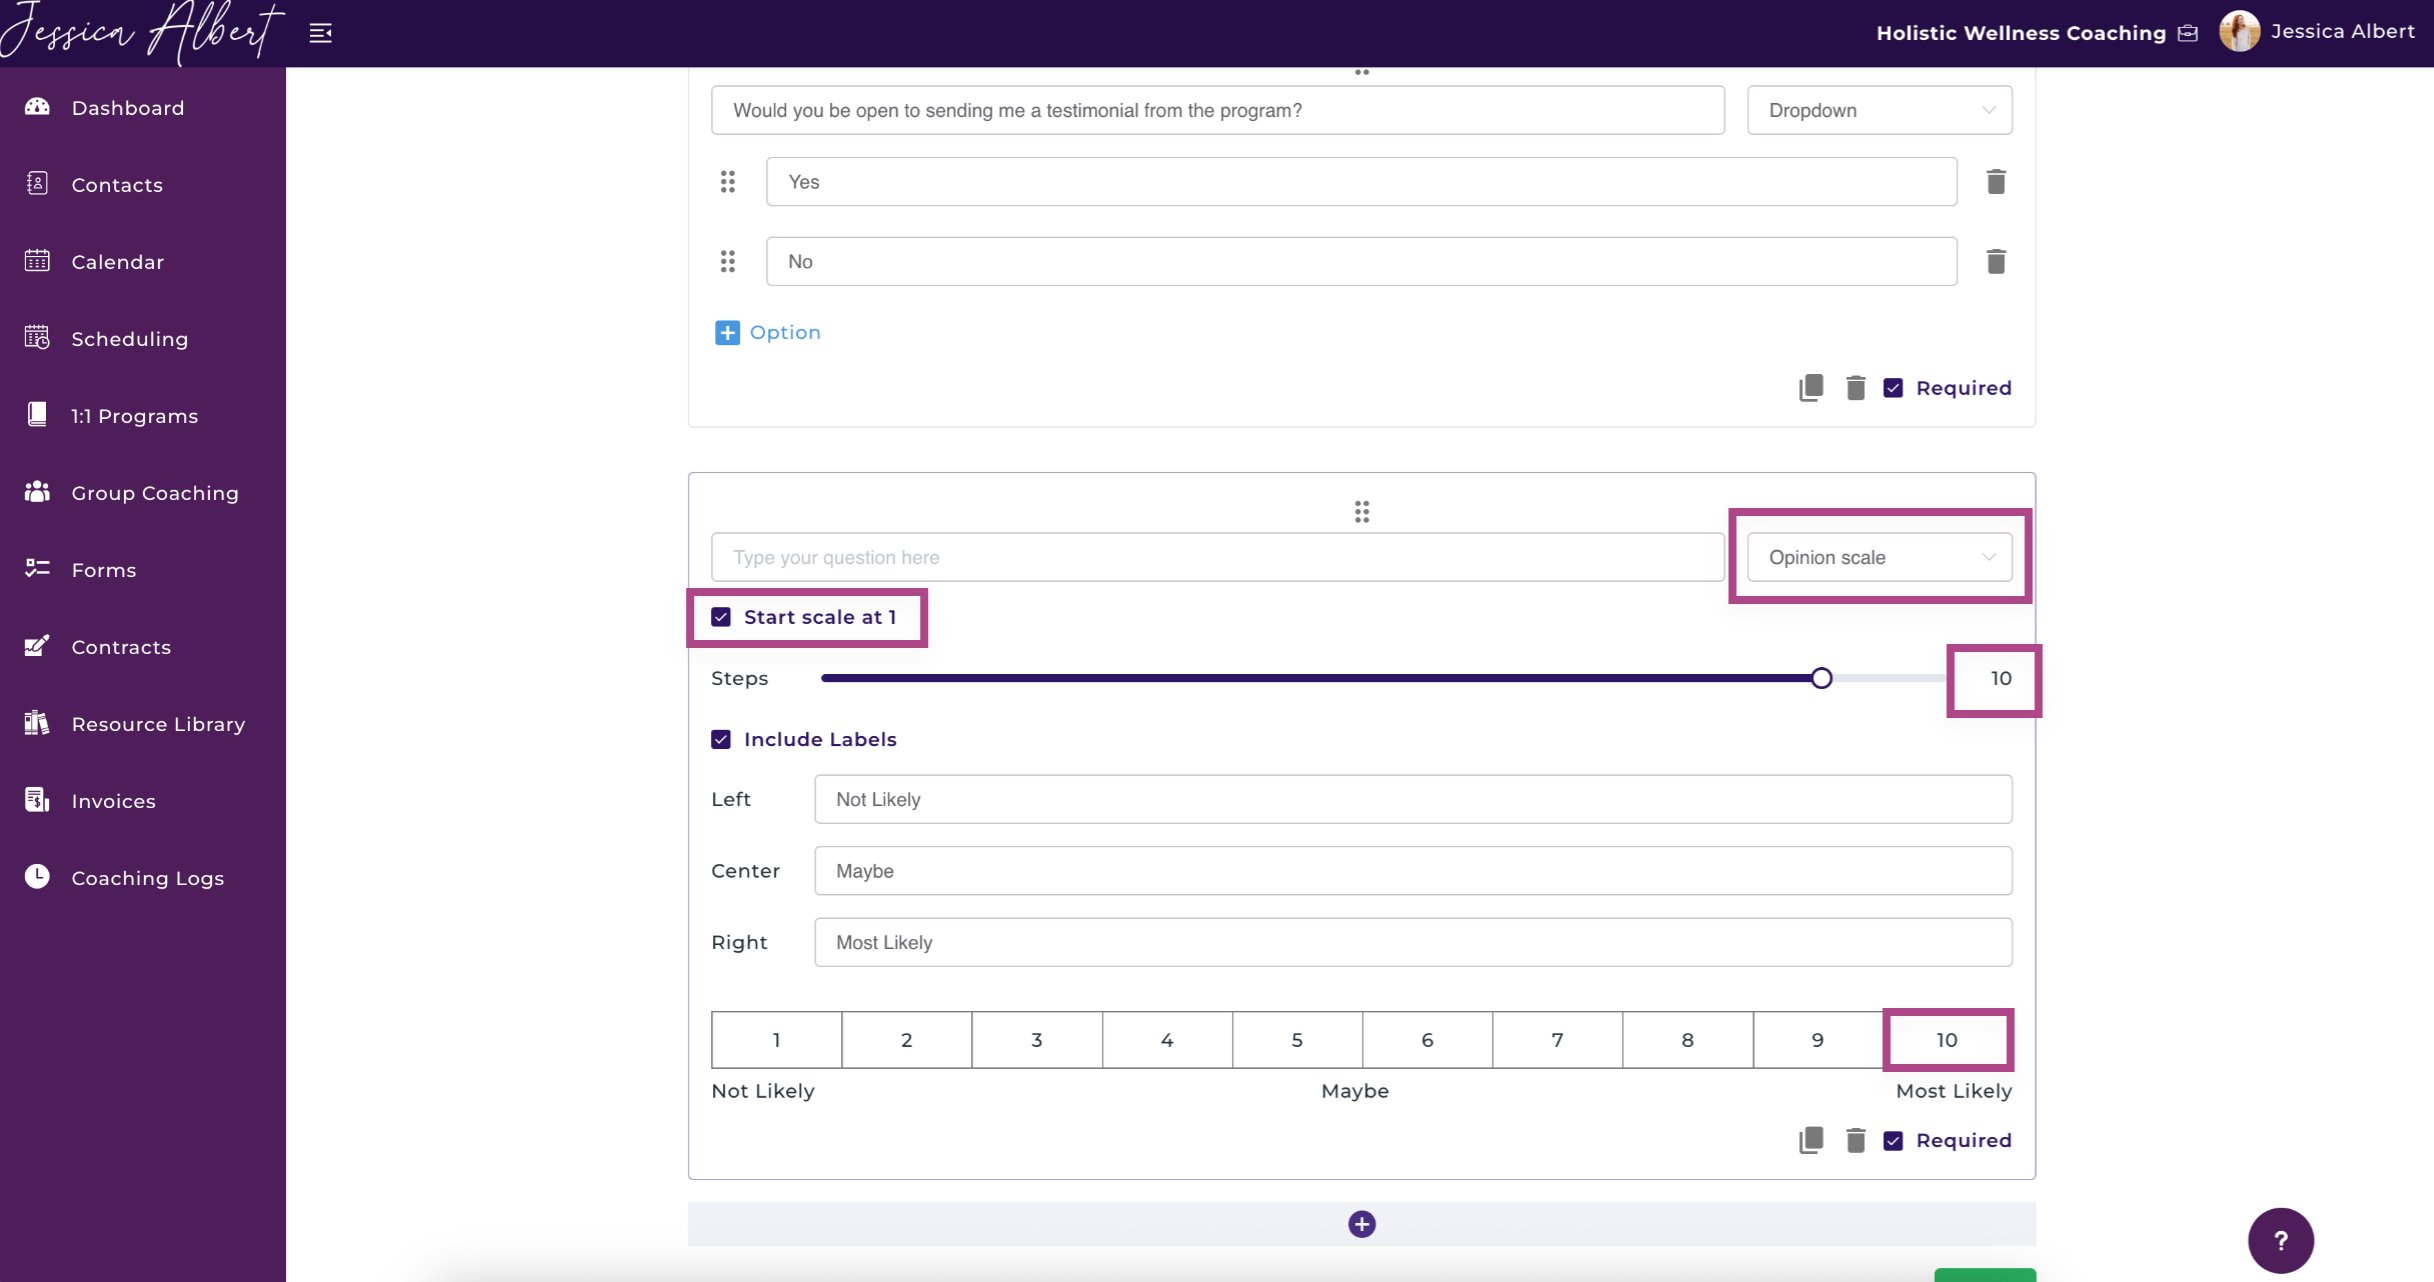
Opinion Scale
Opinion Scale answer type is useful if you would like clients to rate something by selecting a number from a range of values. You can customize the labelling and the value range, from 0 - 10 or from 1 - 11.
Note: If you'd like to set a value range from 1 - 10, check the Start Scale at 1 checkbox, and select 10 Steps. The value scale will then be displayed as 1 - 10.
Image
Image allows you to insert an embedded image to the question.
You can insert an image using the upload widget.
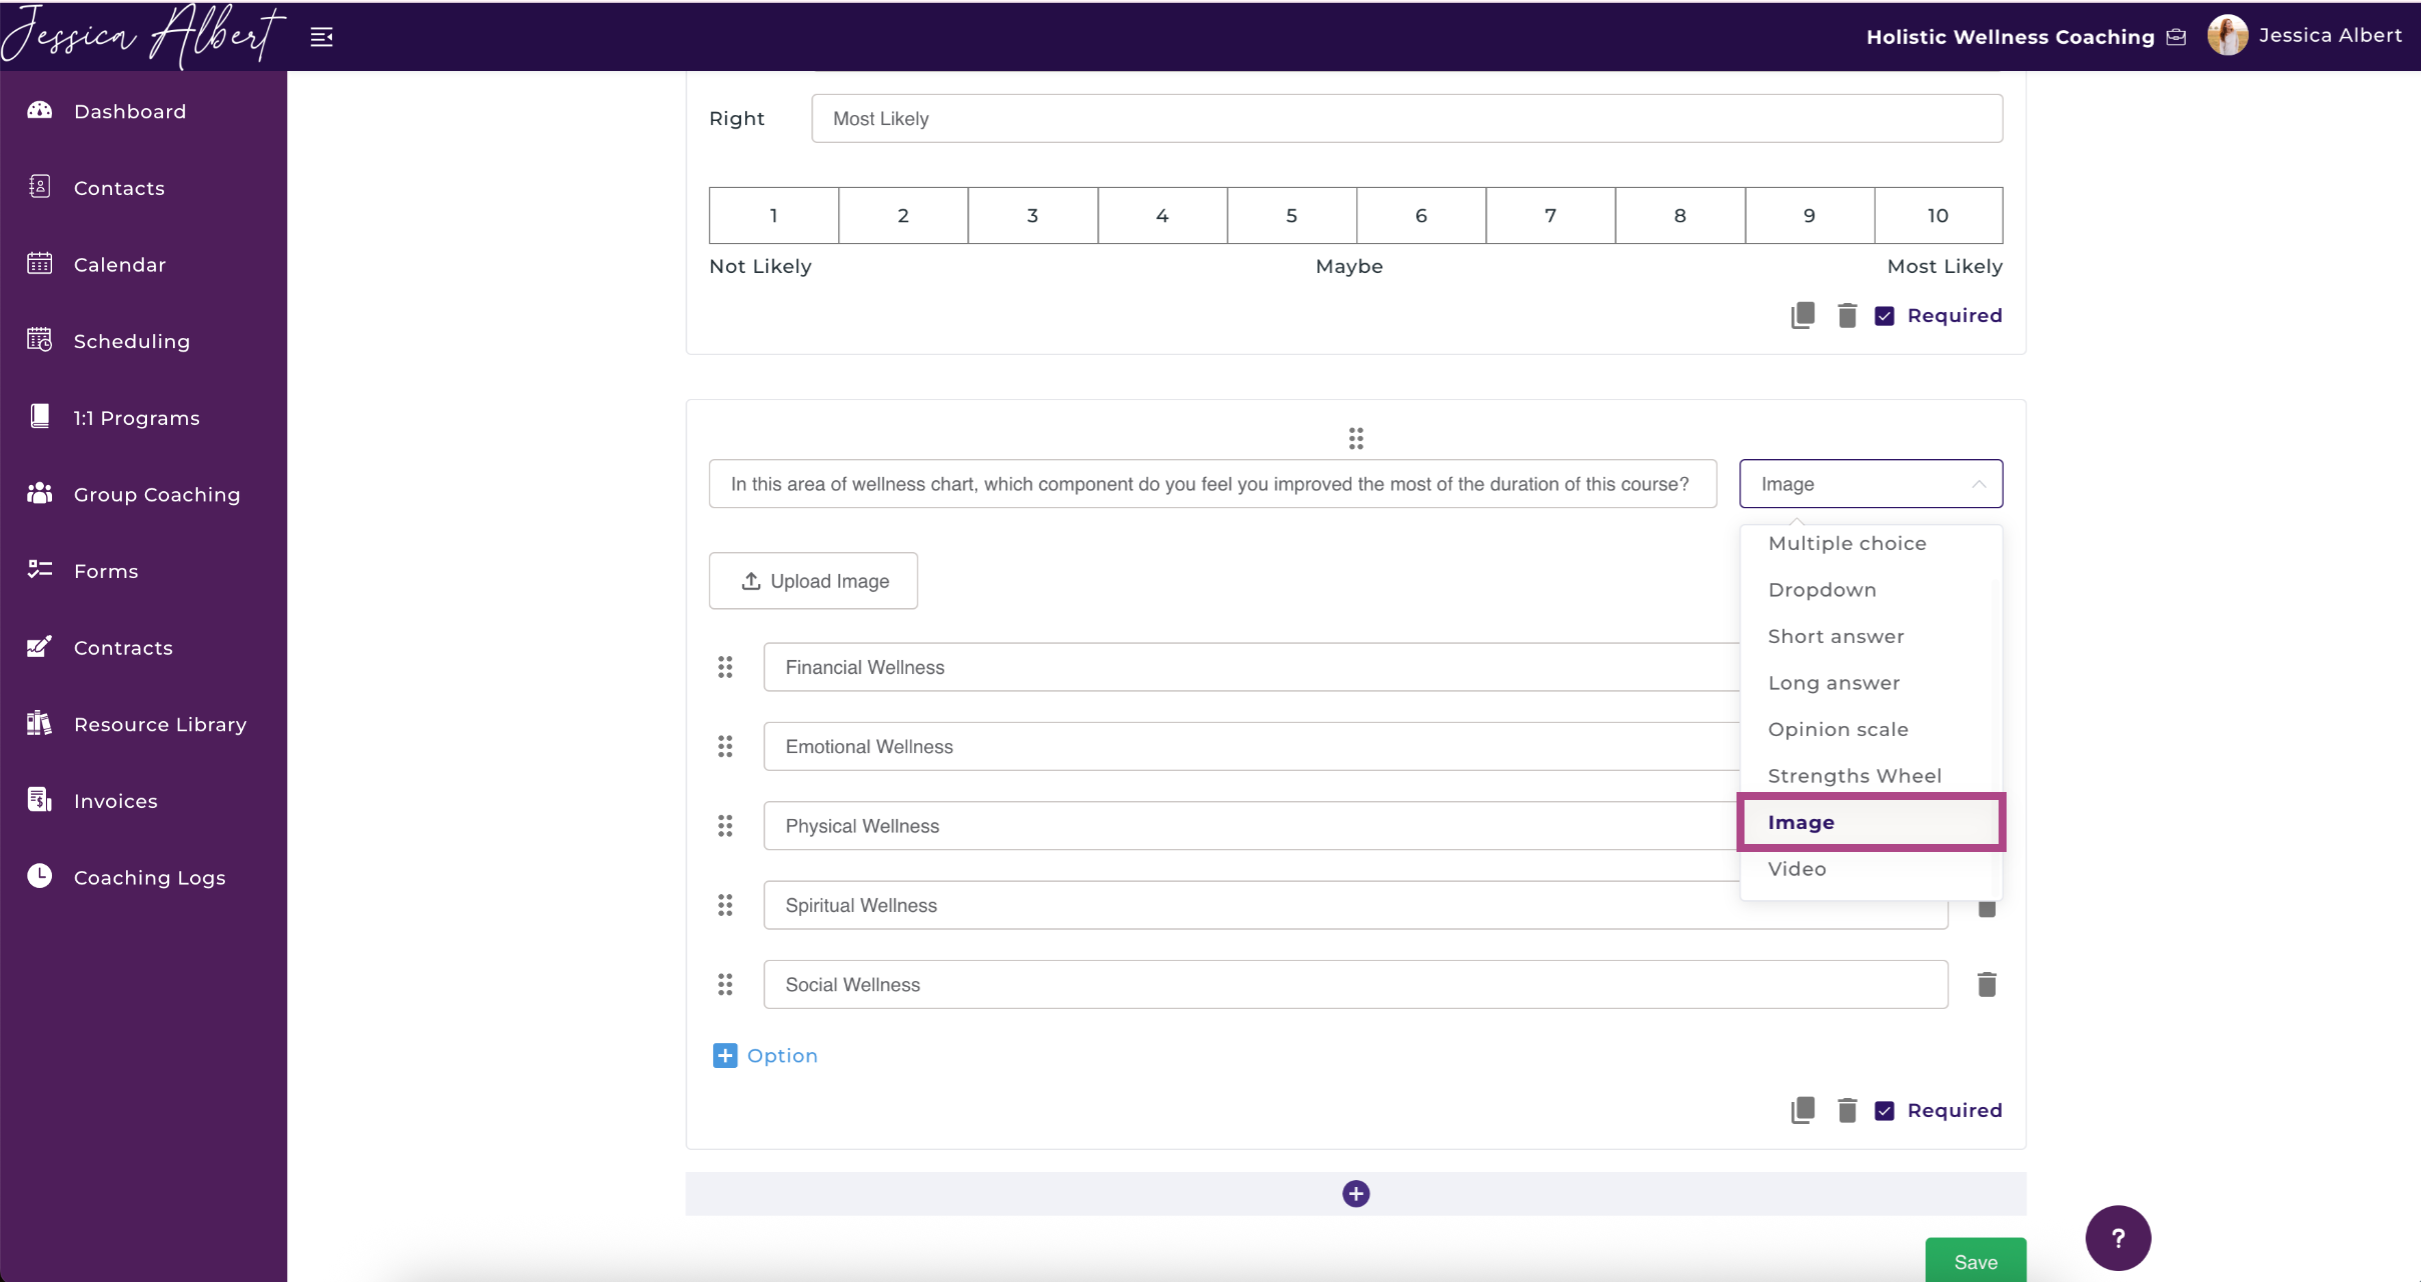
After you have inserted an image, you can select the 3-dot button menu to either delete or align it.
Next, select the answer type you wish to use.

Video
Video allows you to insert an embedded video to the question.
You can insert a video using the upload widget.
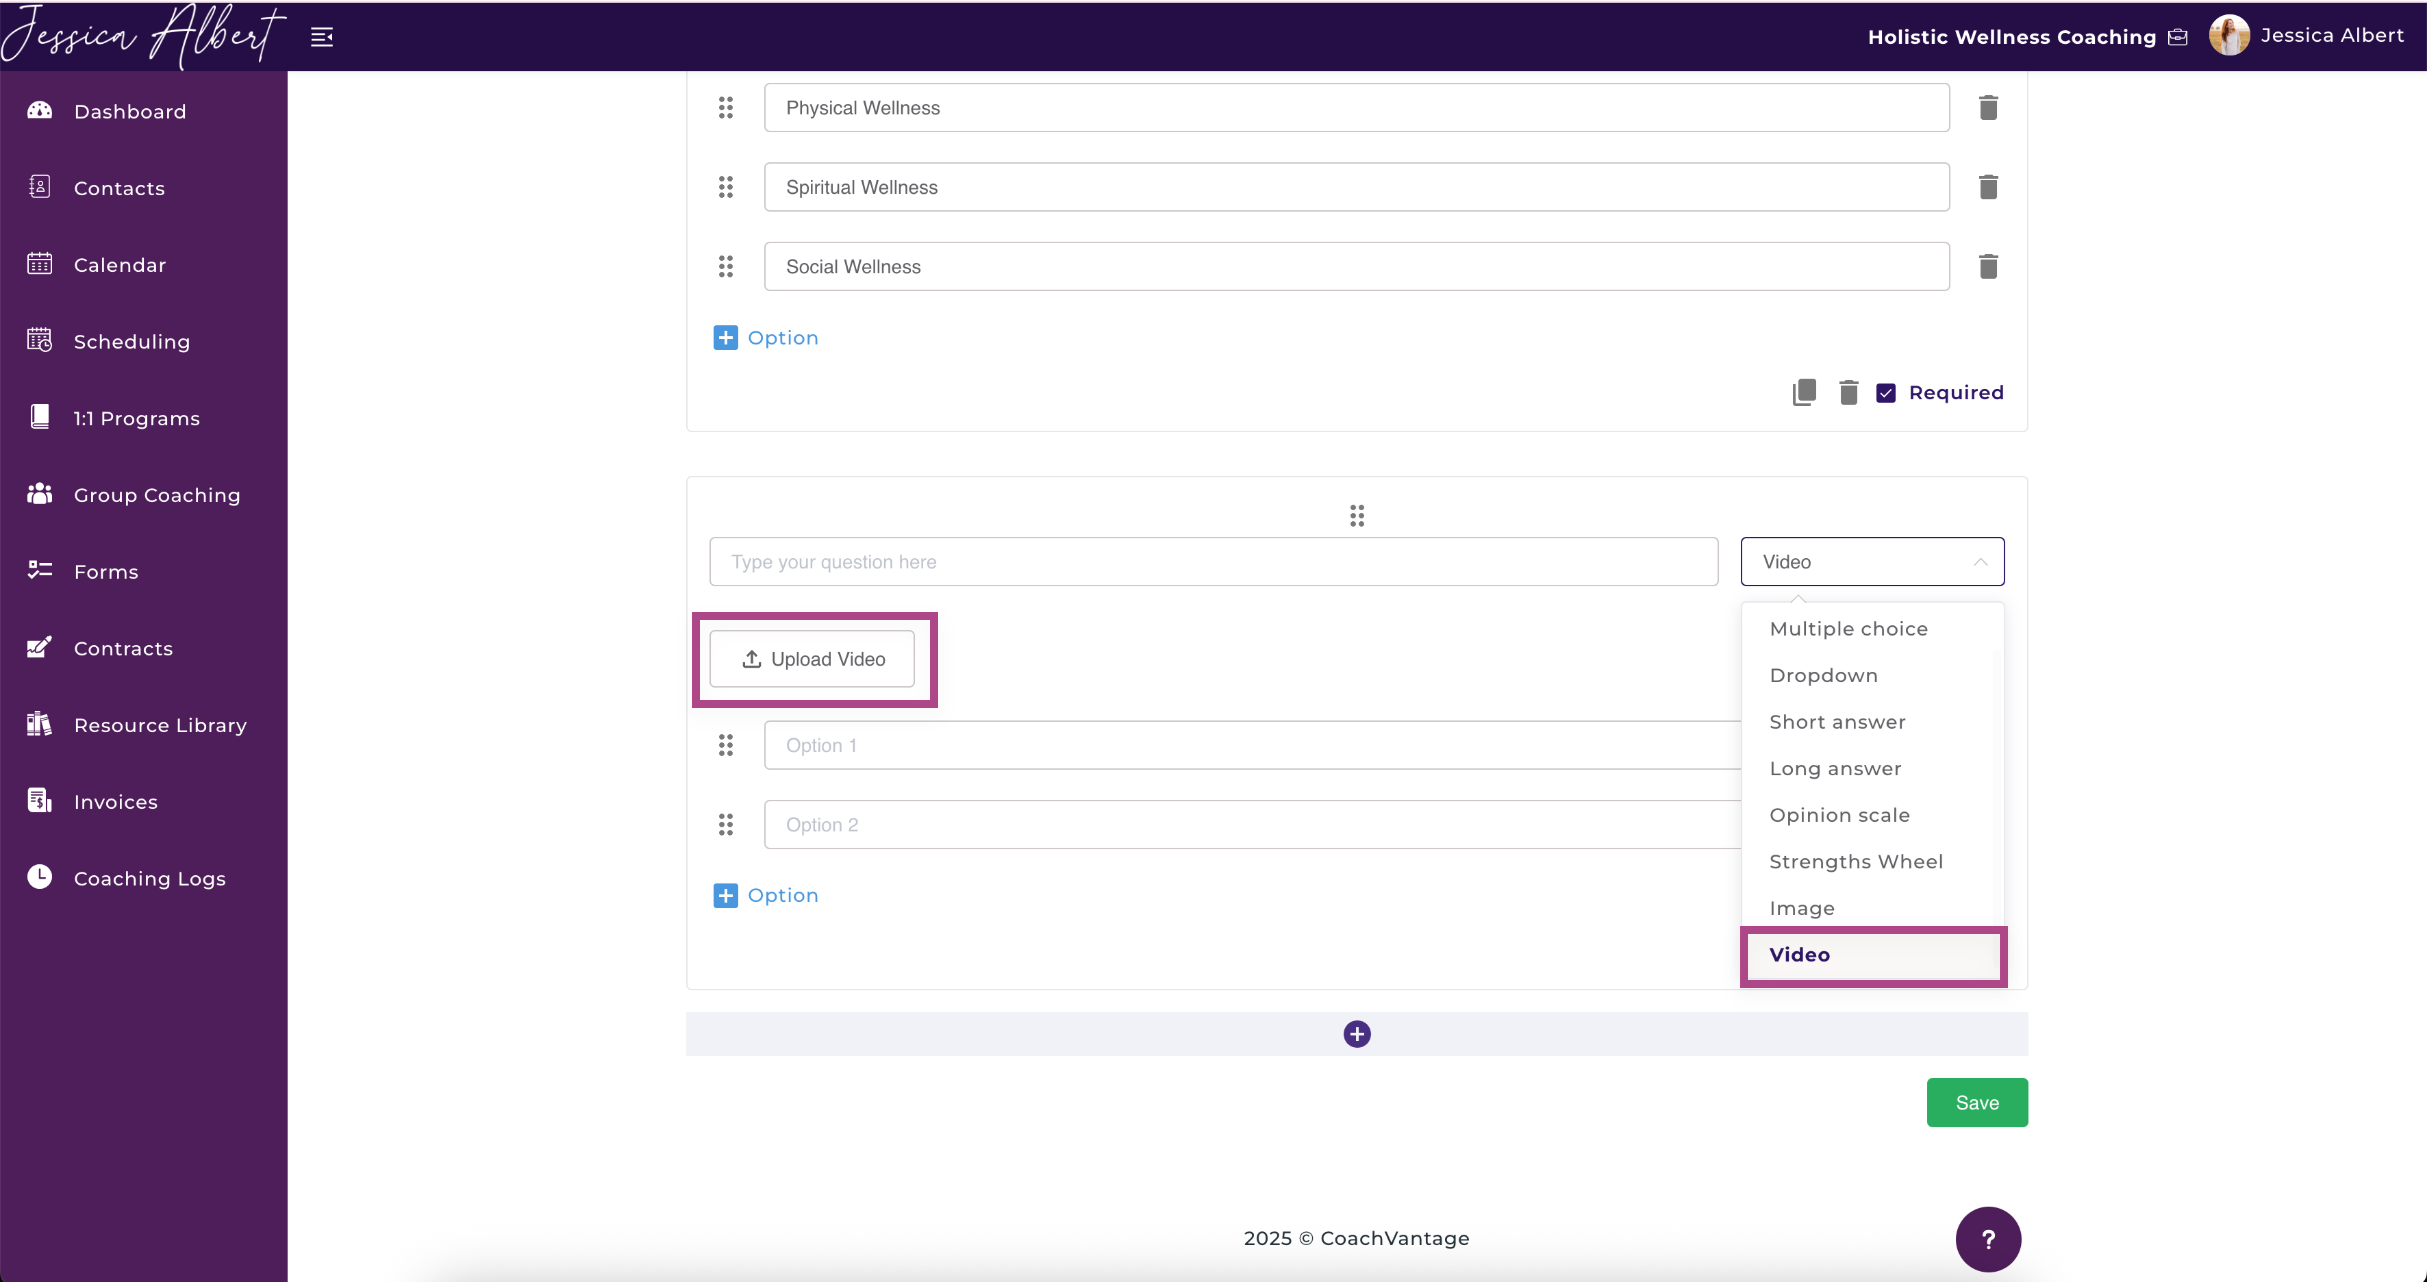
After you have inserted a video, you can select the 3-dot button menu to either delete or align it.
Next, select the answer type you wish to use.

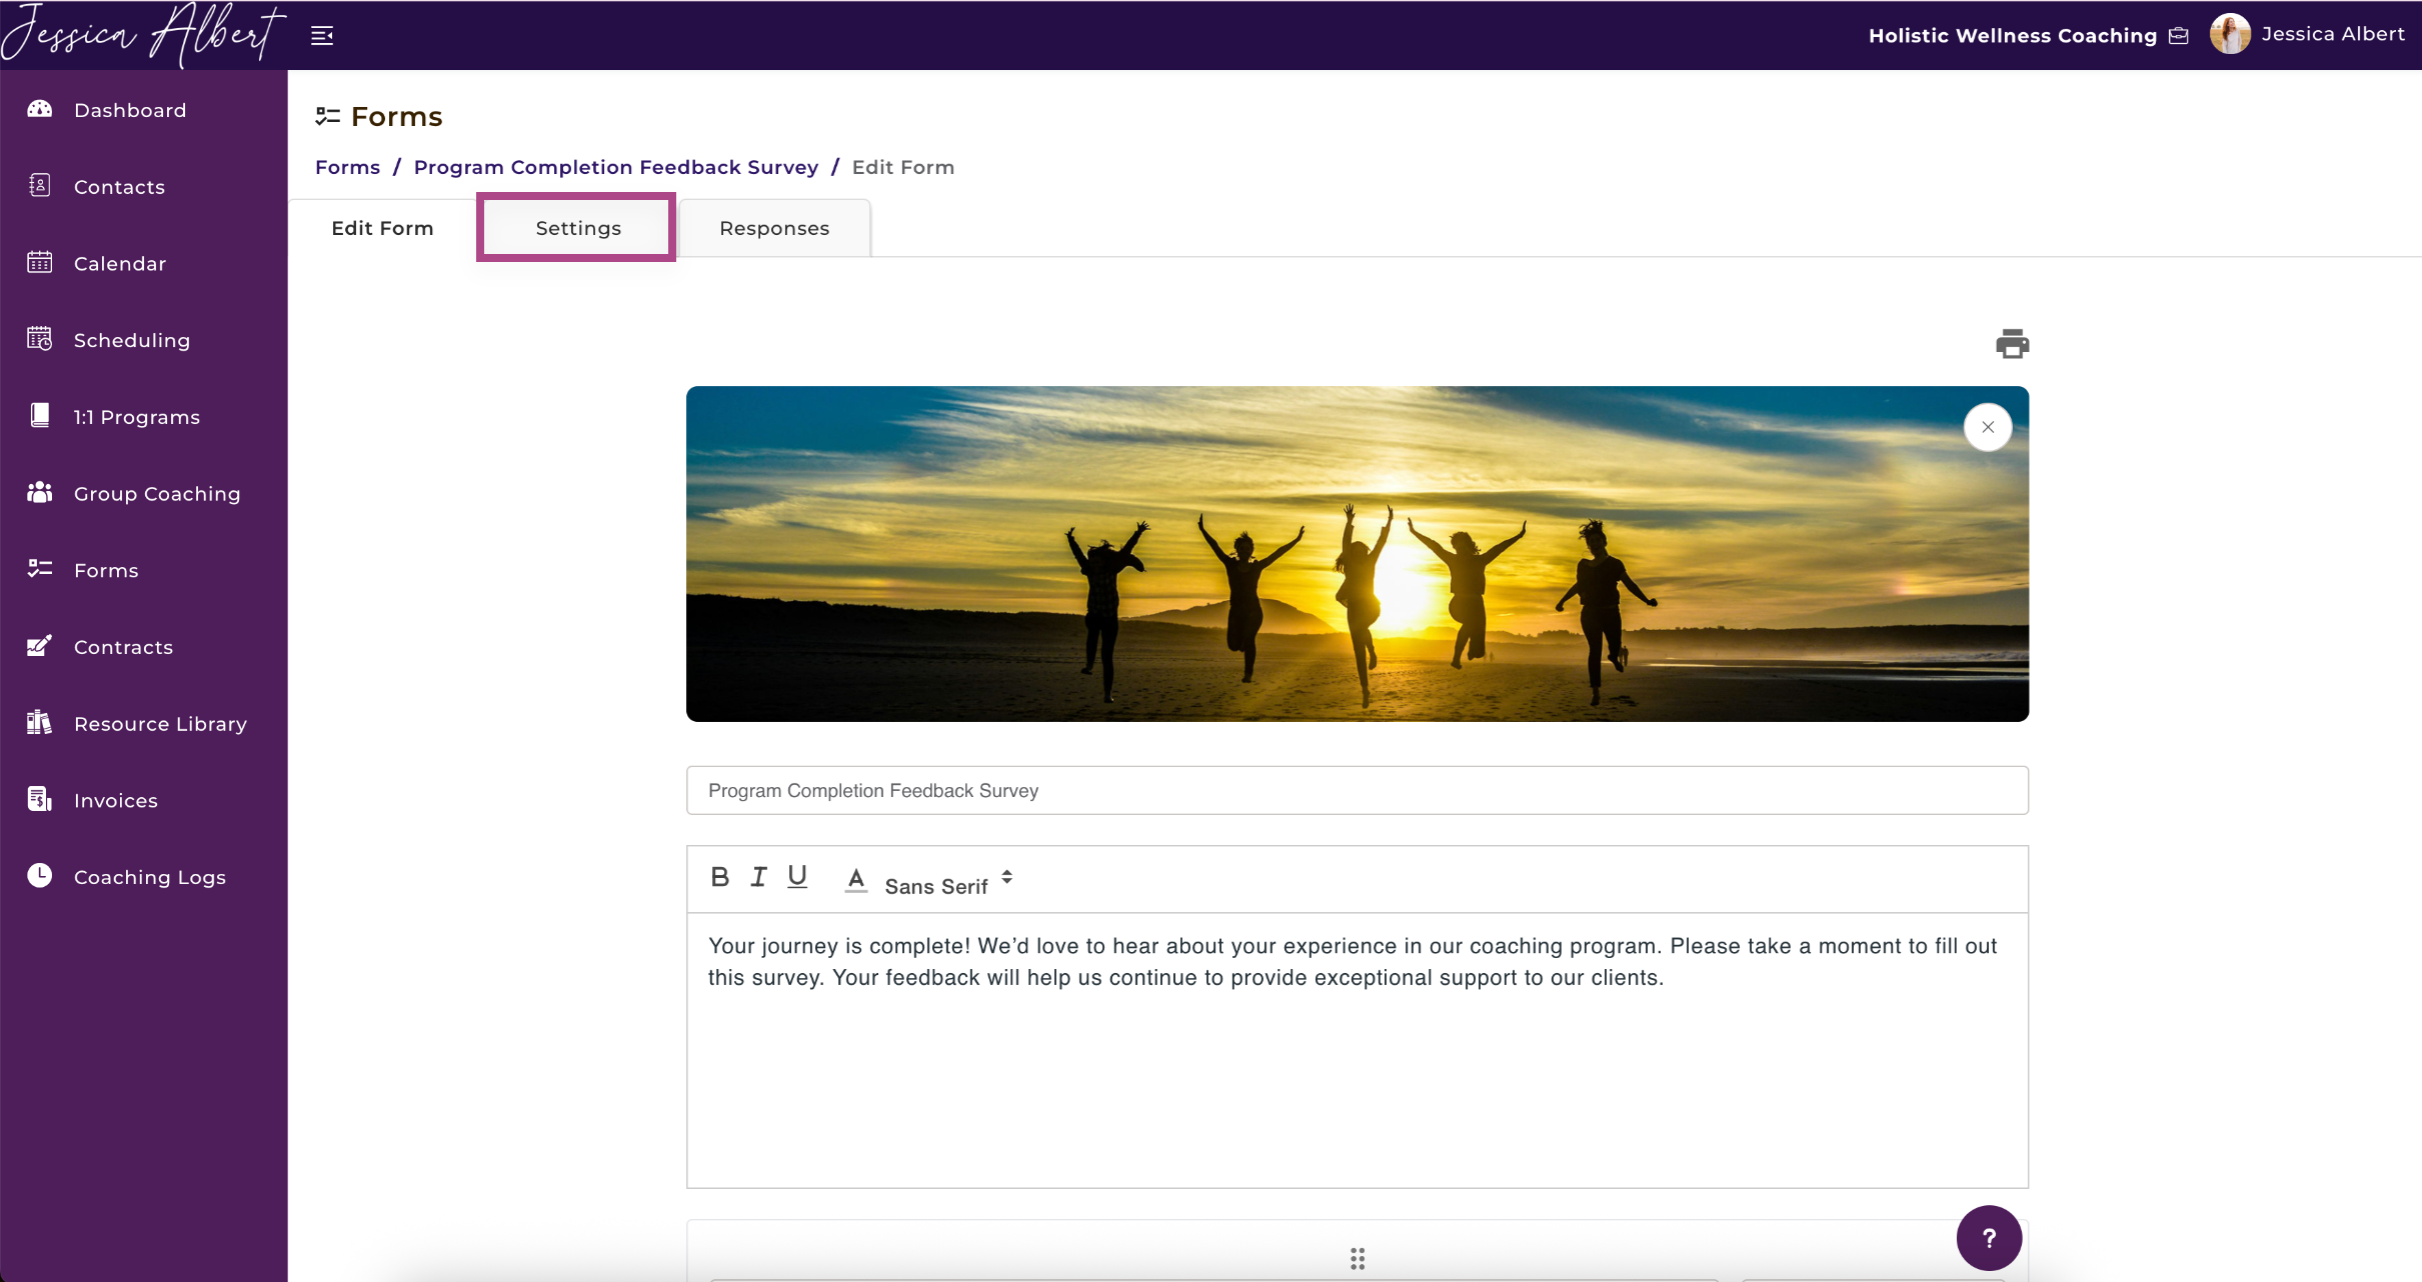
3. Form Settings ⚙️
You can allow clients to edit their form responses in the Settings tab as shown in the image below.
Note: When you enable form editing, clients can change their responses even after they have responded to a form. Forms can also be edited by clients even past the submission due date.