Invoices on Individual Contact Record Page
Overview
On the Individual Contact Record page, you have the ability to create, send and manage invoices for a specific contact.
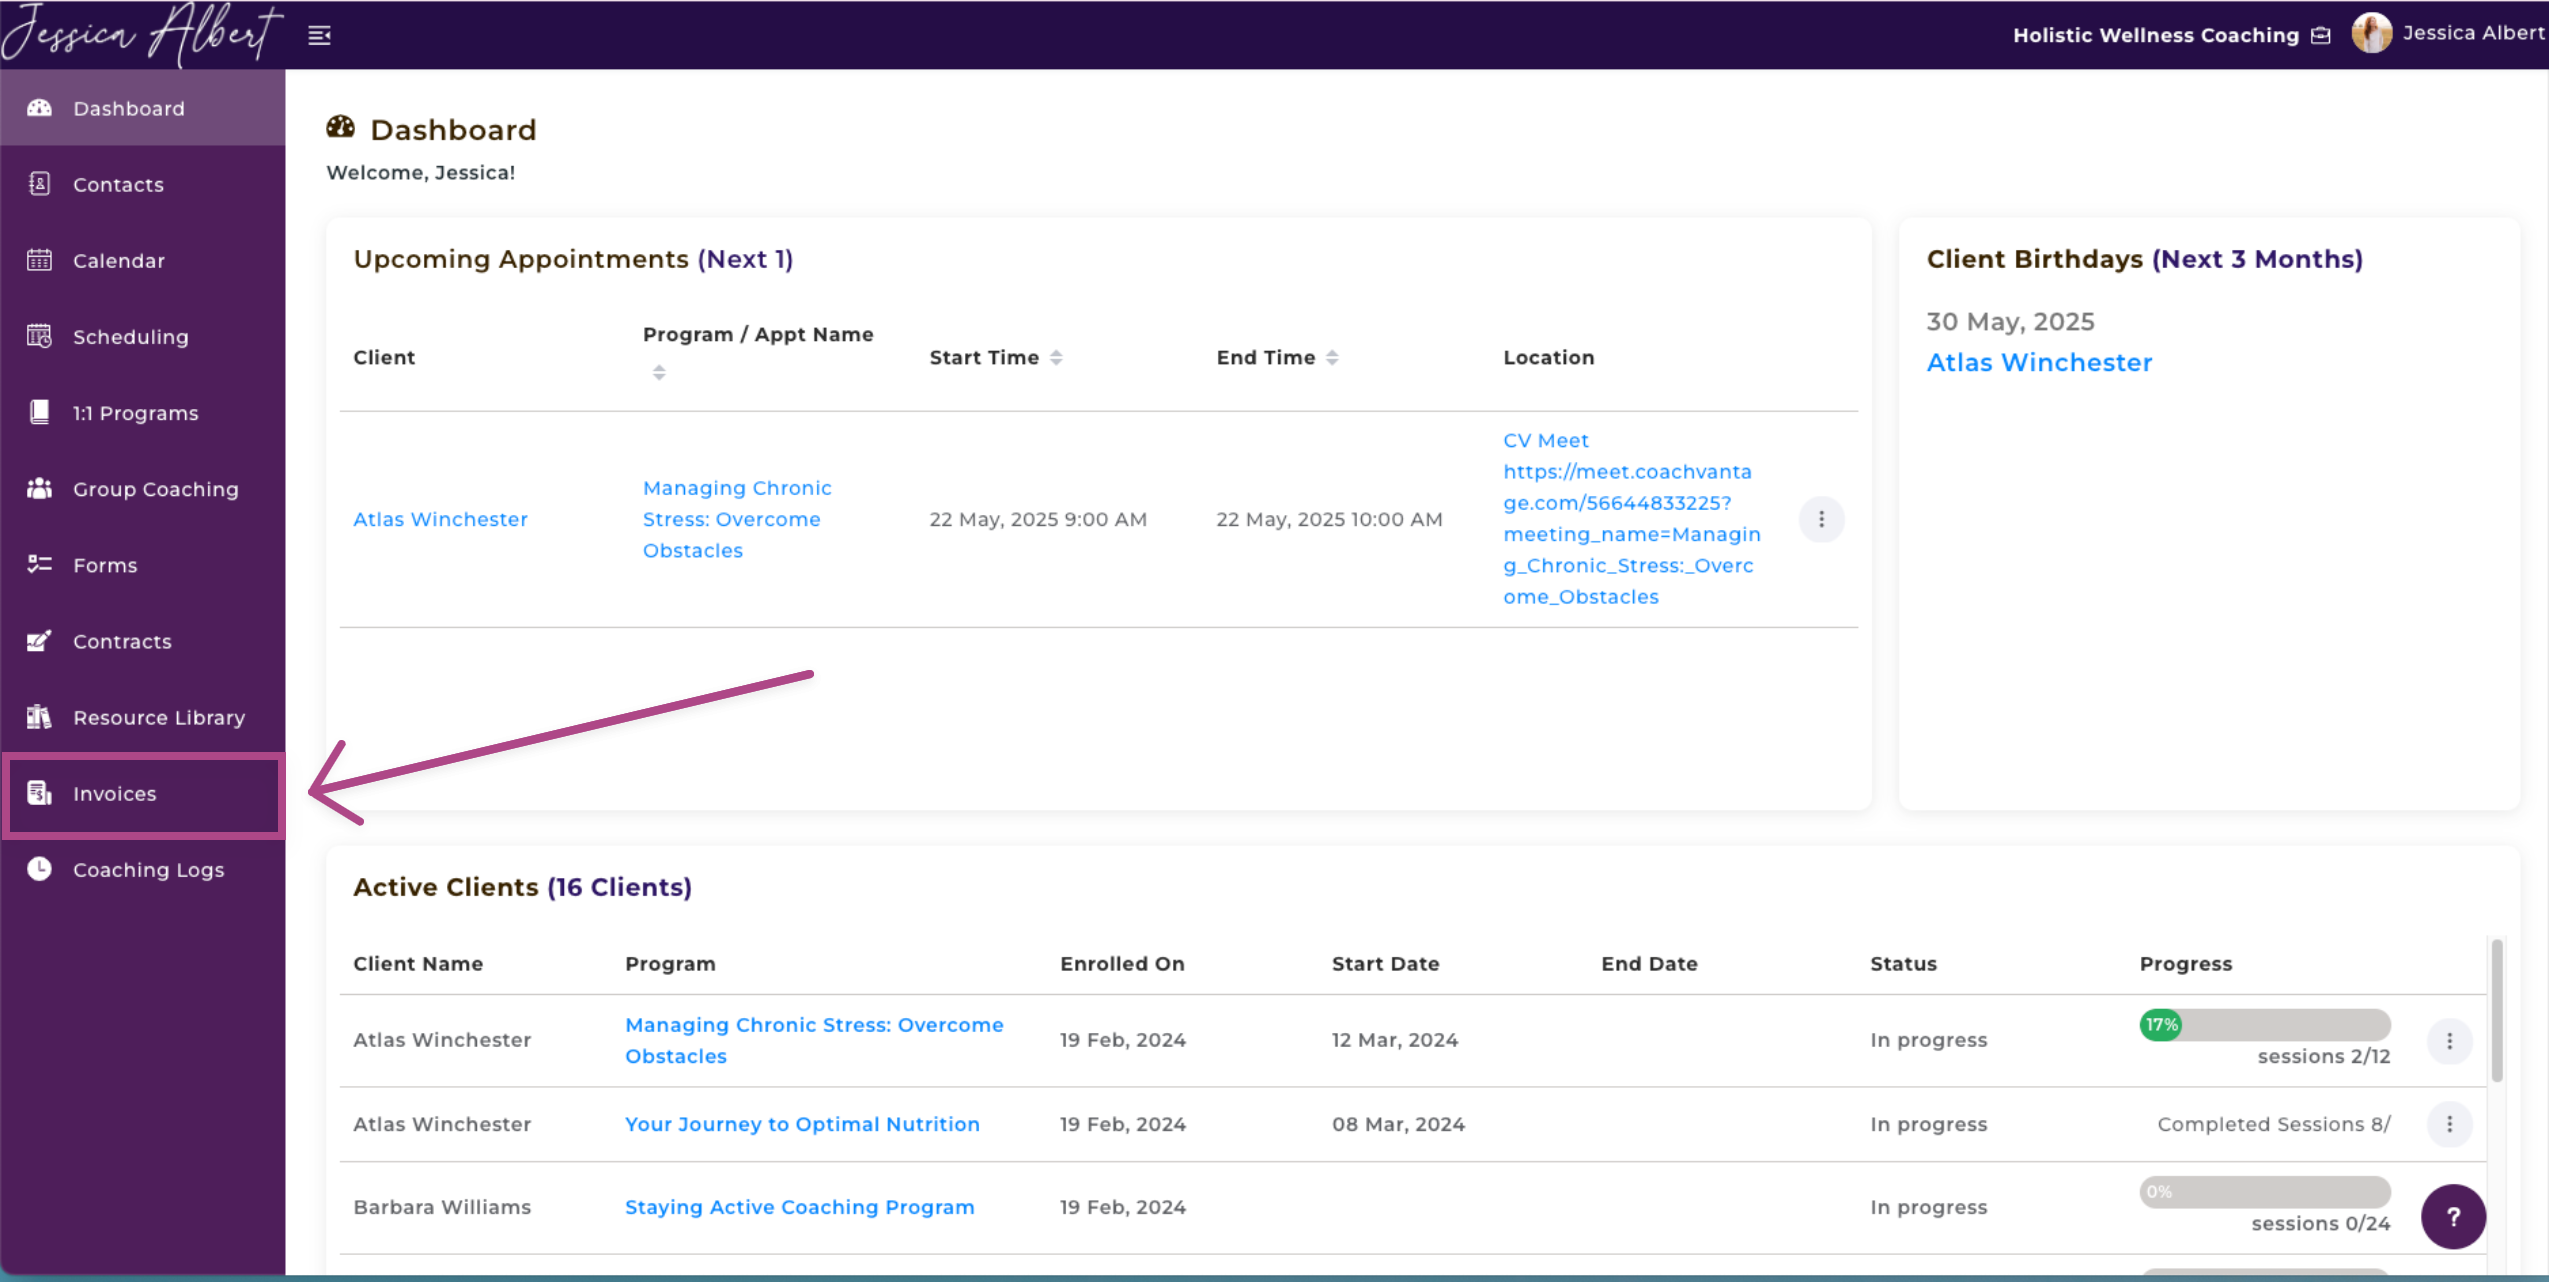
To get to the Invoices when on the individual contact record page, click on the Payments Tab in the menu bar (see image below).
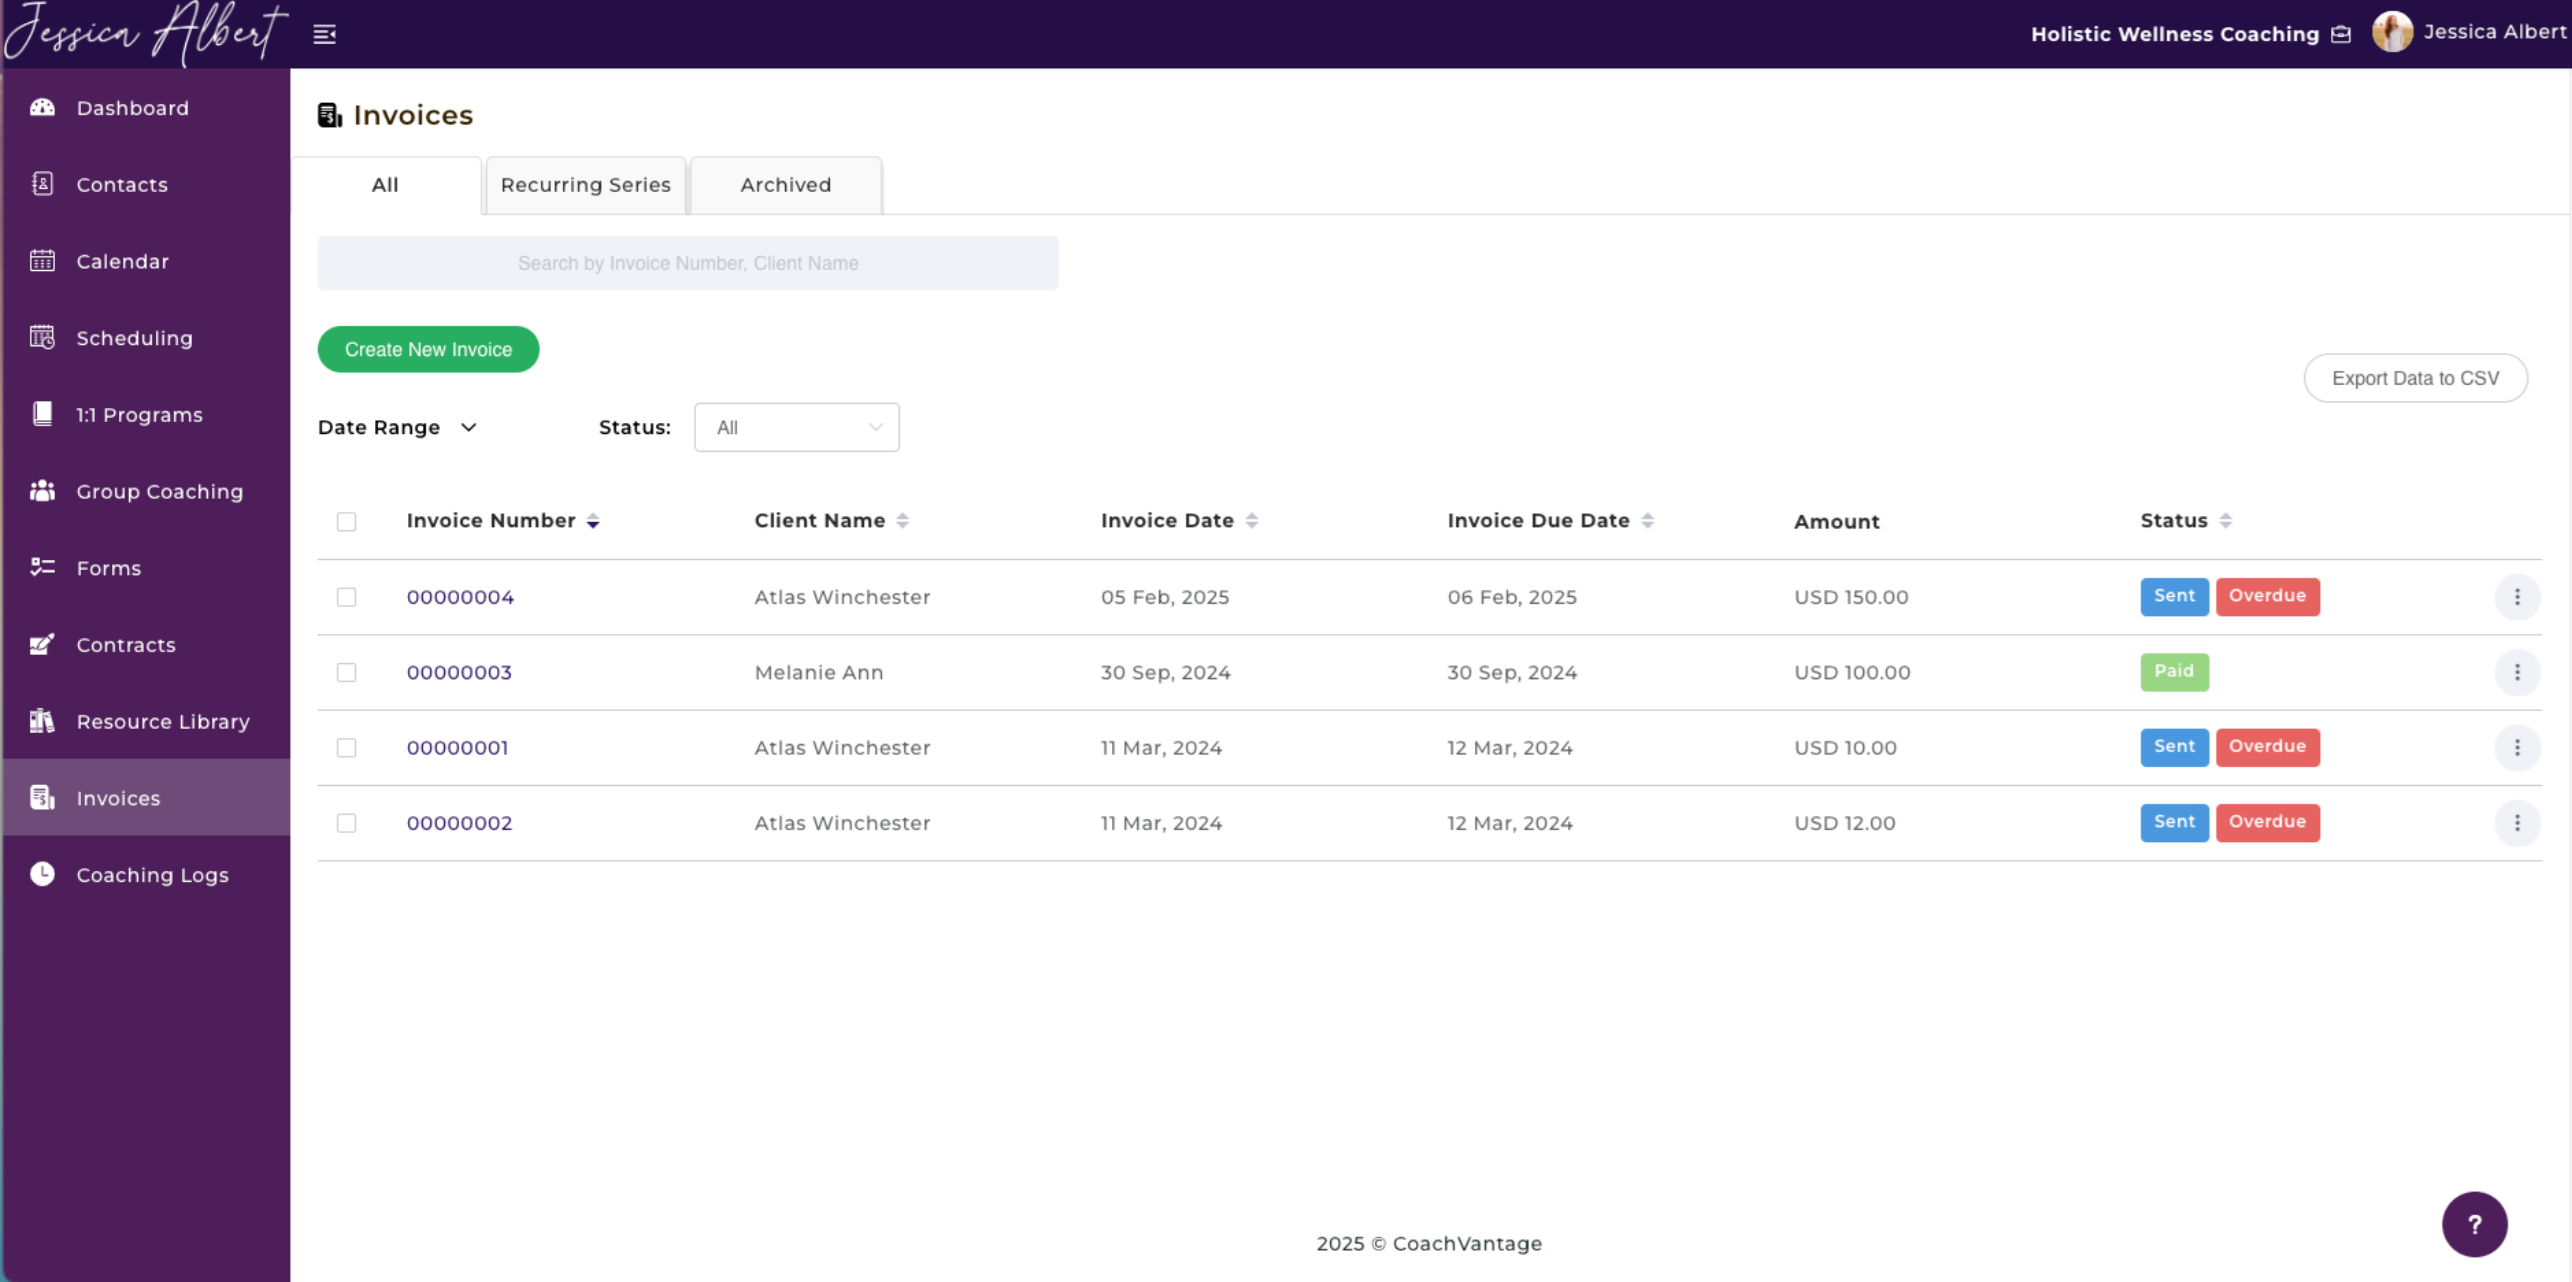
You'll see:
- Create New Invoice button
- Look Up Functions
- Export Data to CSV Button
- All Invoices Ribbon
- Recurring Invoices Ribbon
- Archived Invoices Ribbon
- Subscriptions
1. Create New Invoice 🧾
You can create a new invoice for this contact by clicking the Create New Invoice button.
You will be redirected to the Create New Invoice page. The contact's name and email will be pre-filled automatically on the invoice template.
Refer to this article on How to Create Invoices to learn more.
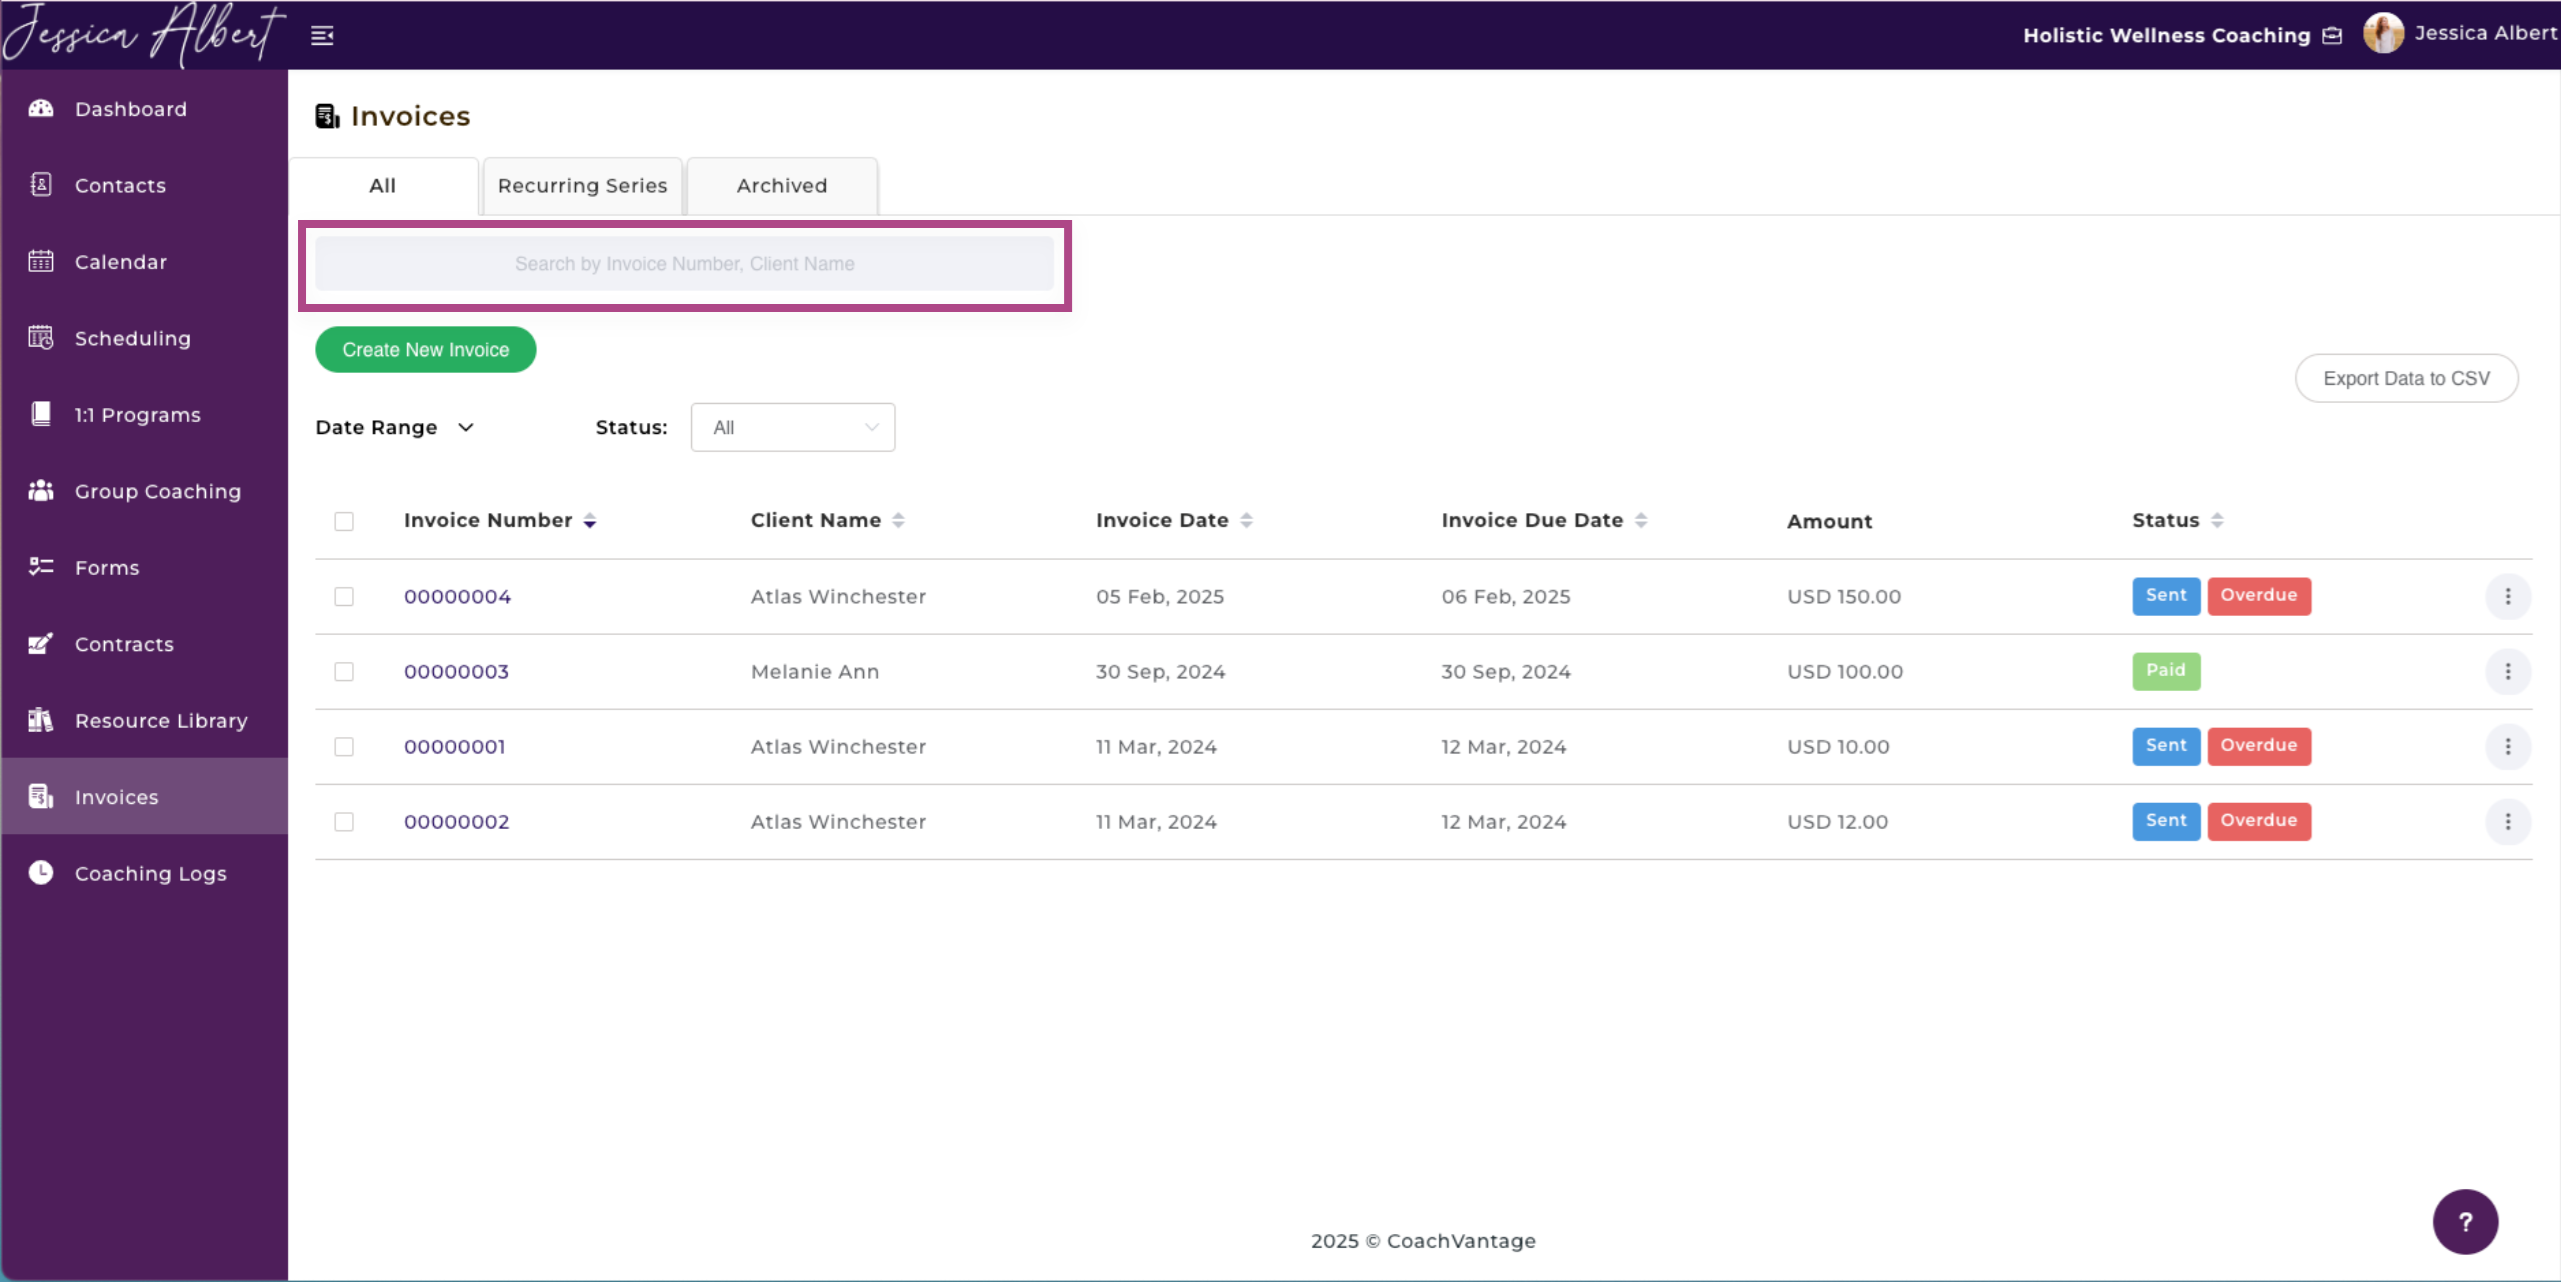
2. Look Up Invoices 🔎

You can look up invoices that were sent to this contact by using the Search Bar, Date Range and Status filters.
1. Search Bar
Enter the Invoice Number into the search bar to find the desired invoice.
2. Date Range
View invoices according to a date range by entering the start date and end date of the desired date range you wish to search.
3. Status
View invoices according to their status.
3. Export Invoice Data
If you need to export this contact's invoice data to your PC or local drive, simply click Export Data to CSV on the top right of the Invoice page.
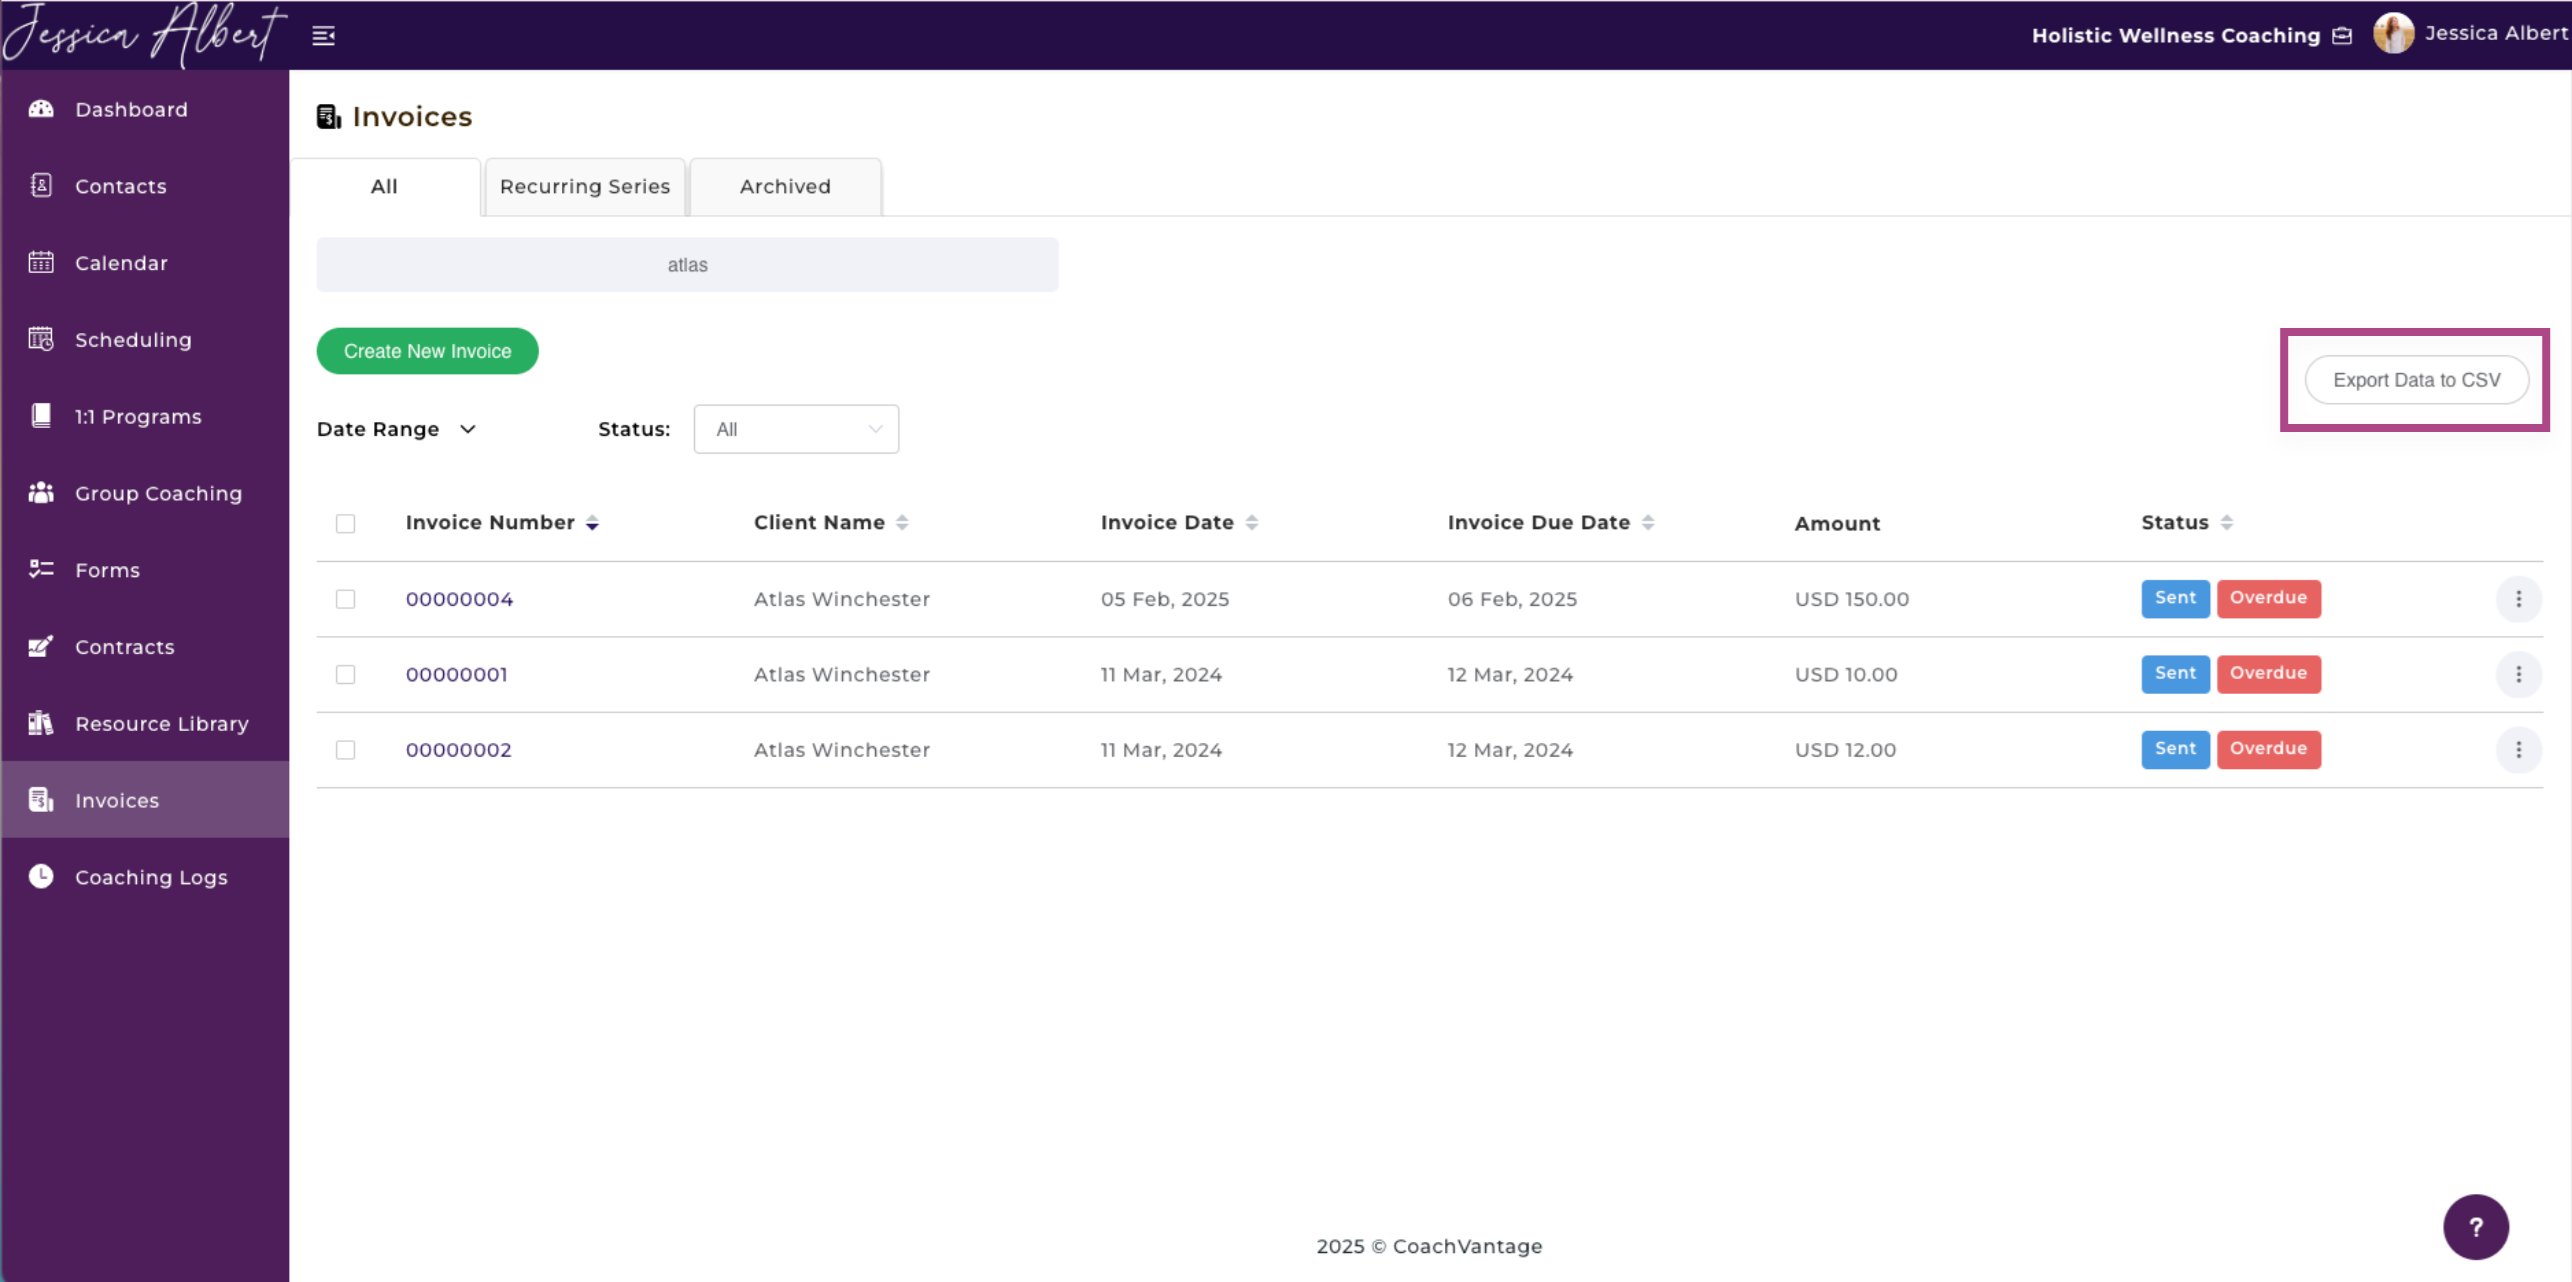
Note: The exported file type is .csv. It can be opened by Microsoft Excel, Open Office, Google Sheets, etc
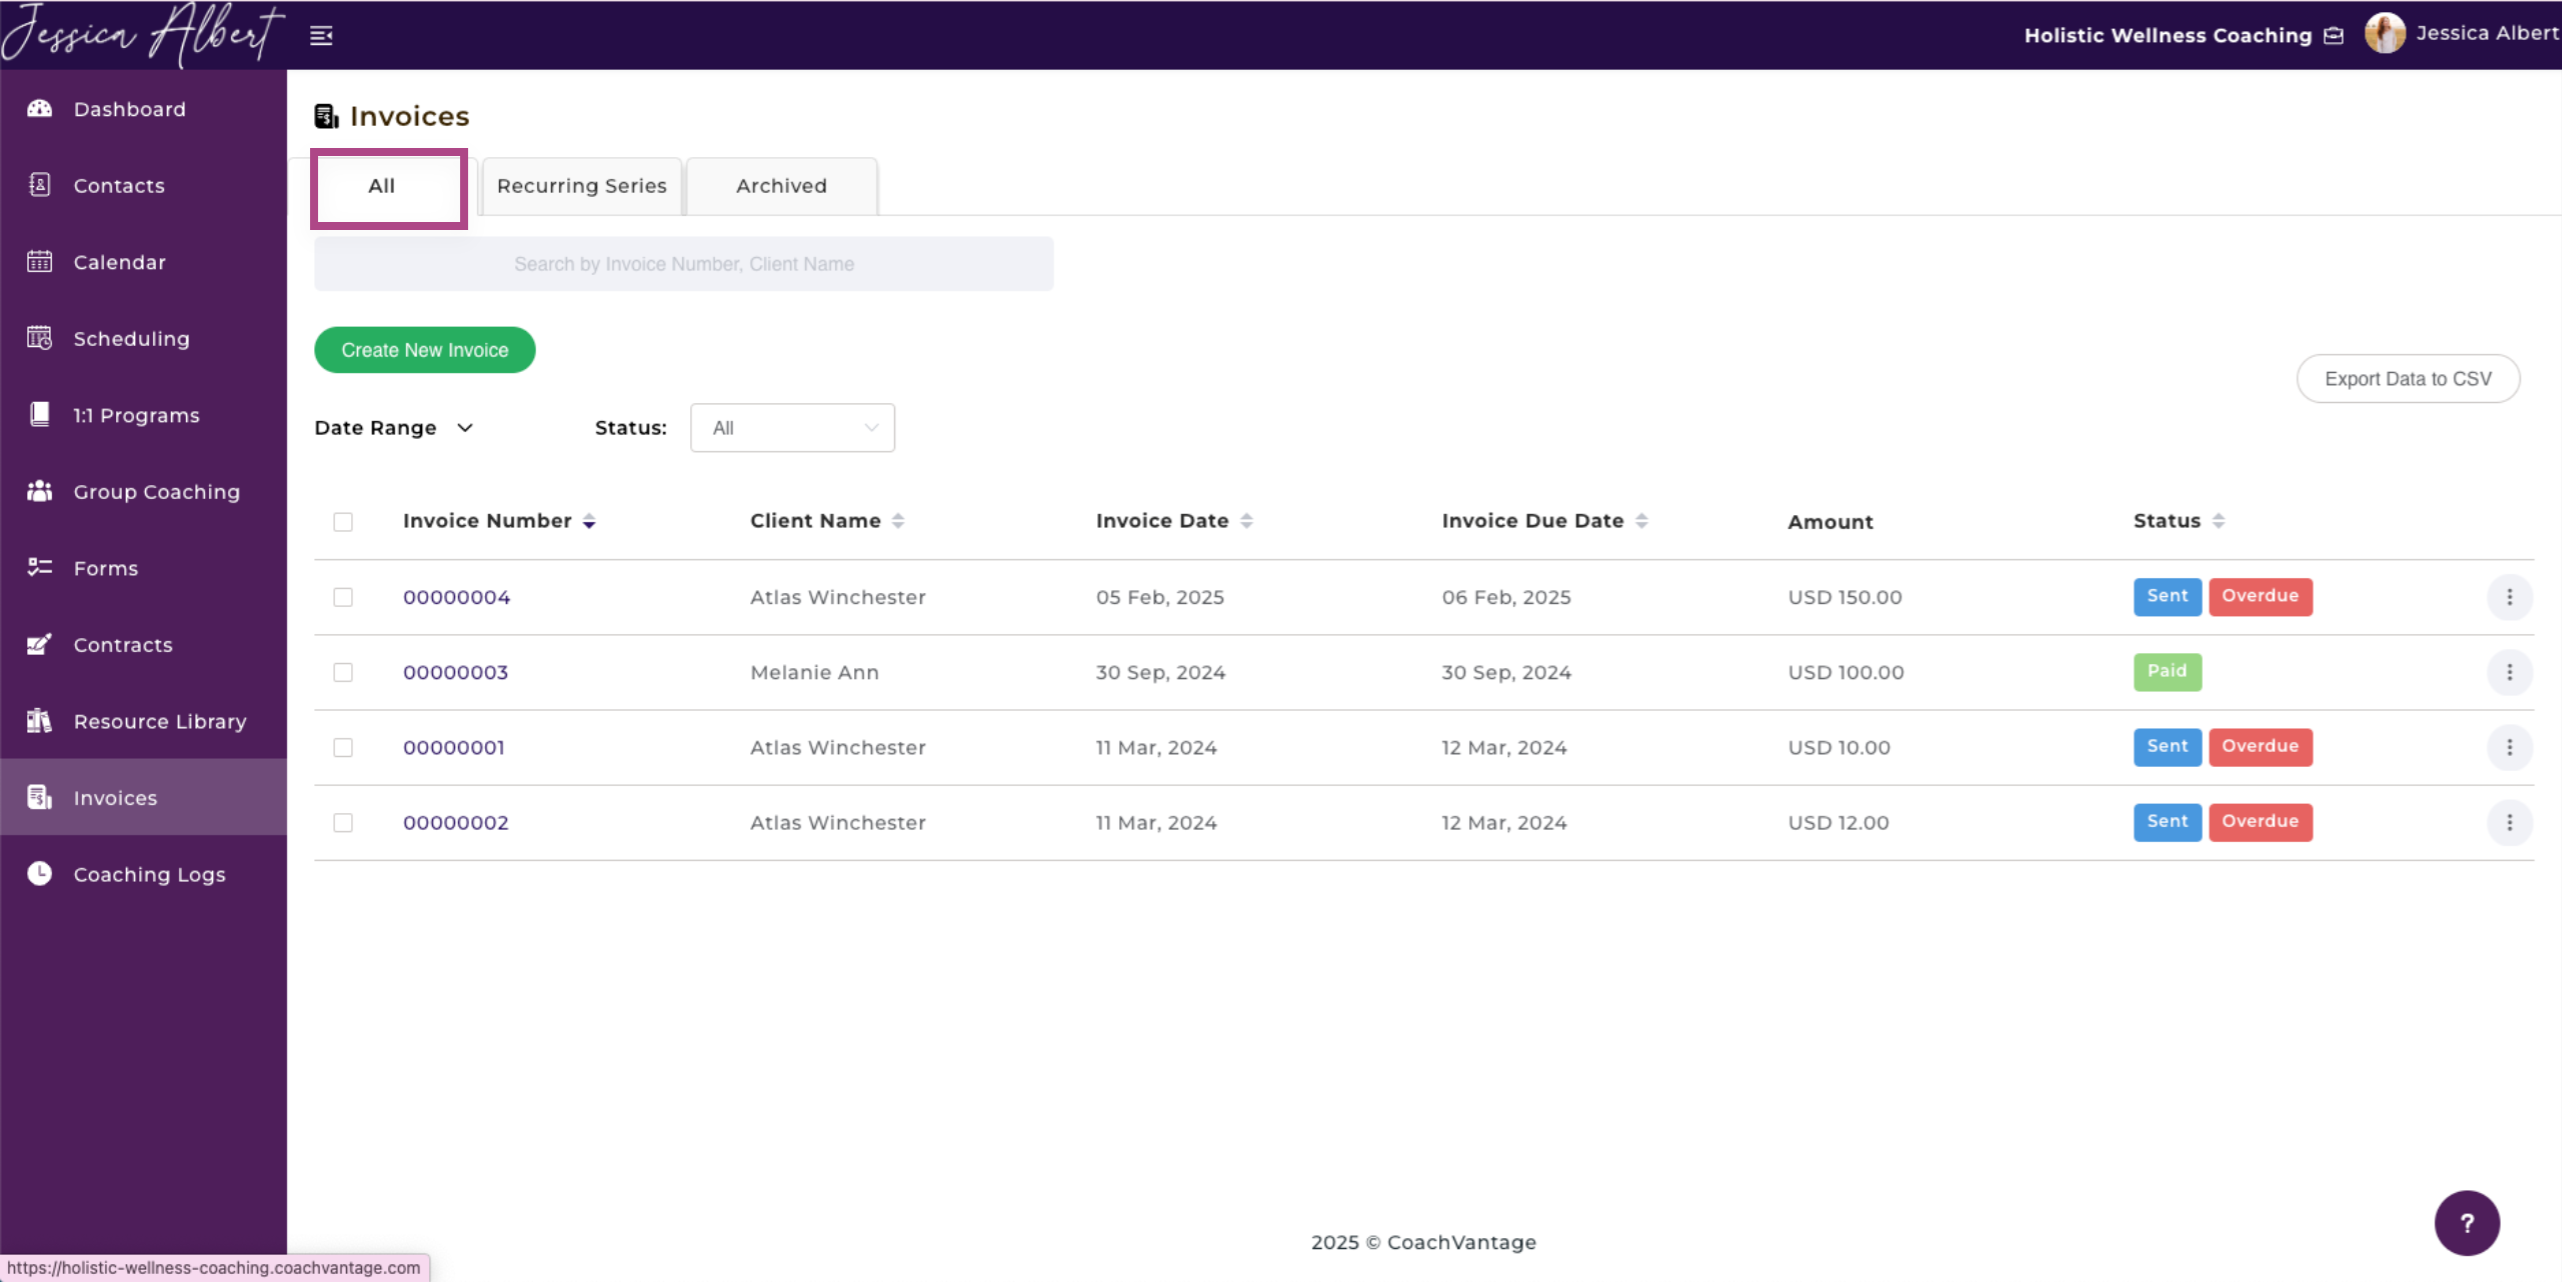
4. All Invoices
Click the All Invoices ribbon to view all invoices related to this contact.
You'll be able to view Invoice Number, Invoice Date, Invoice Due Date, Amount and Status.
Managing Invoices
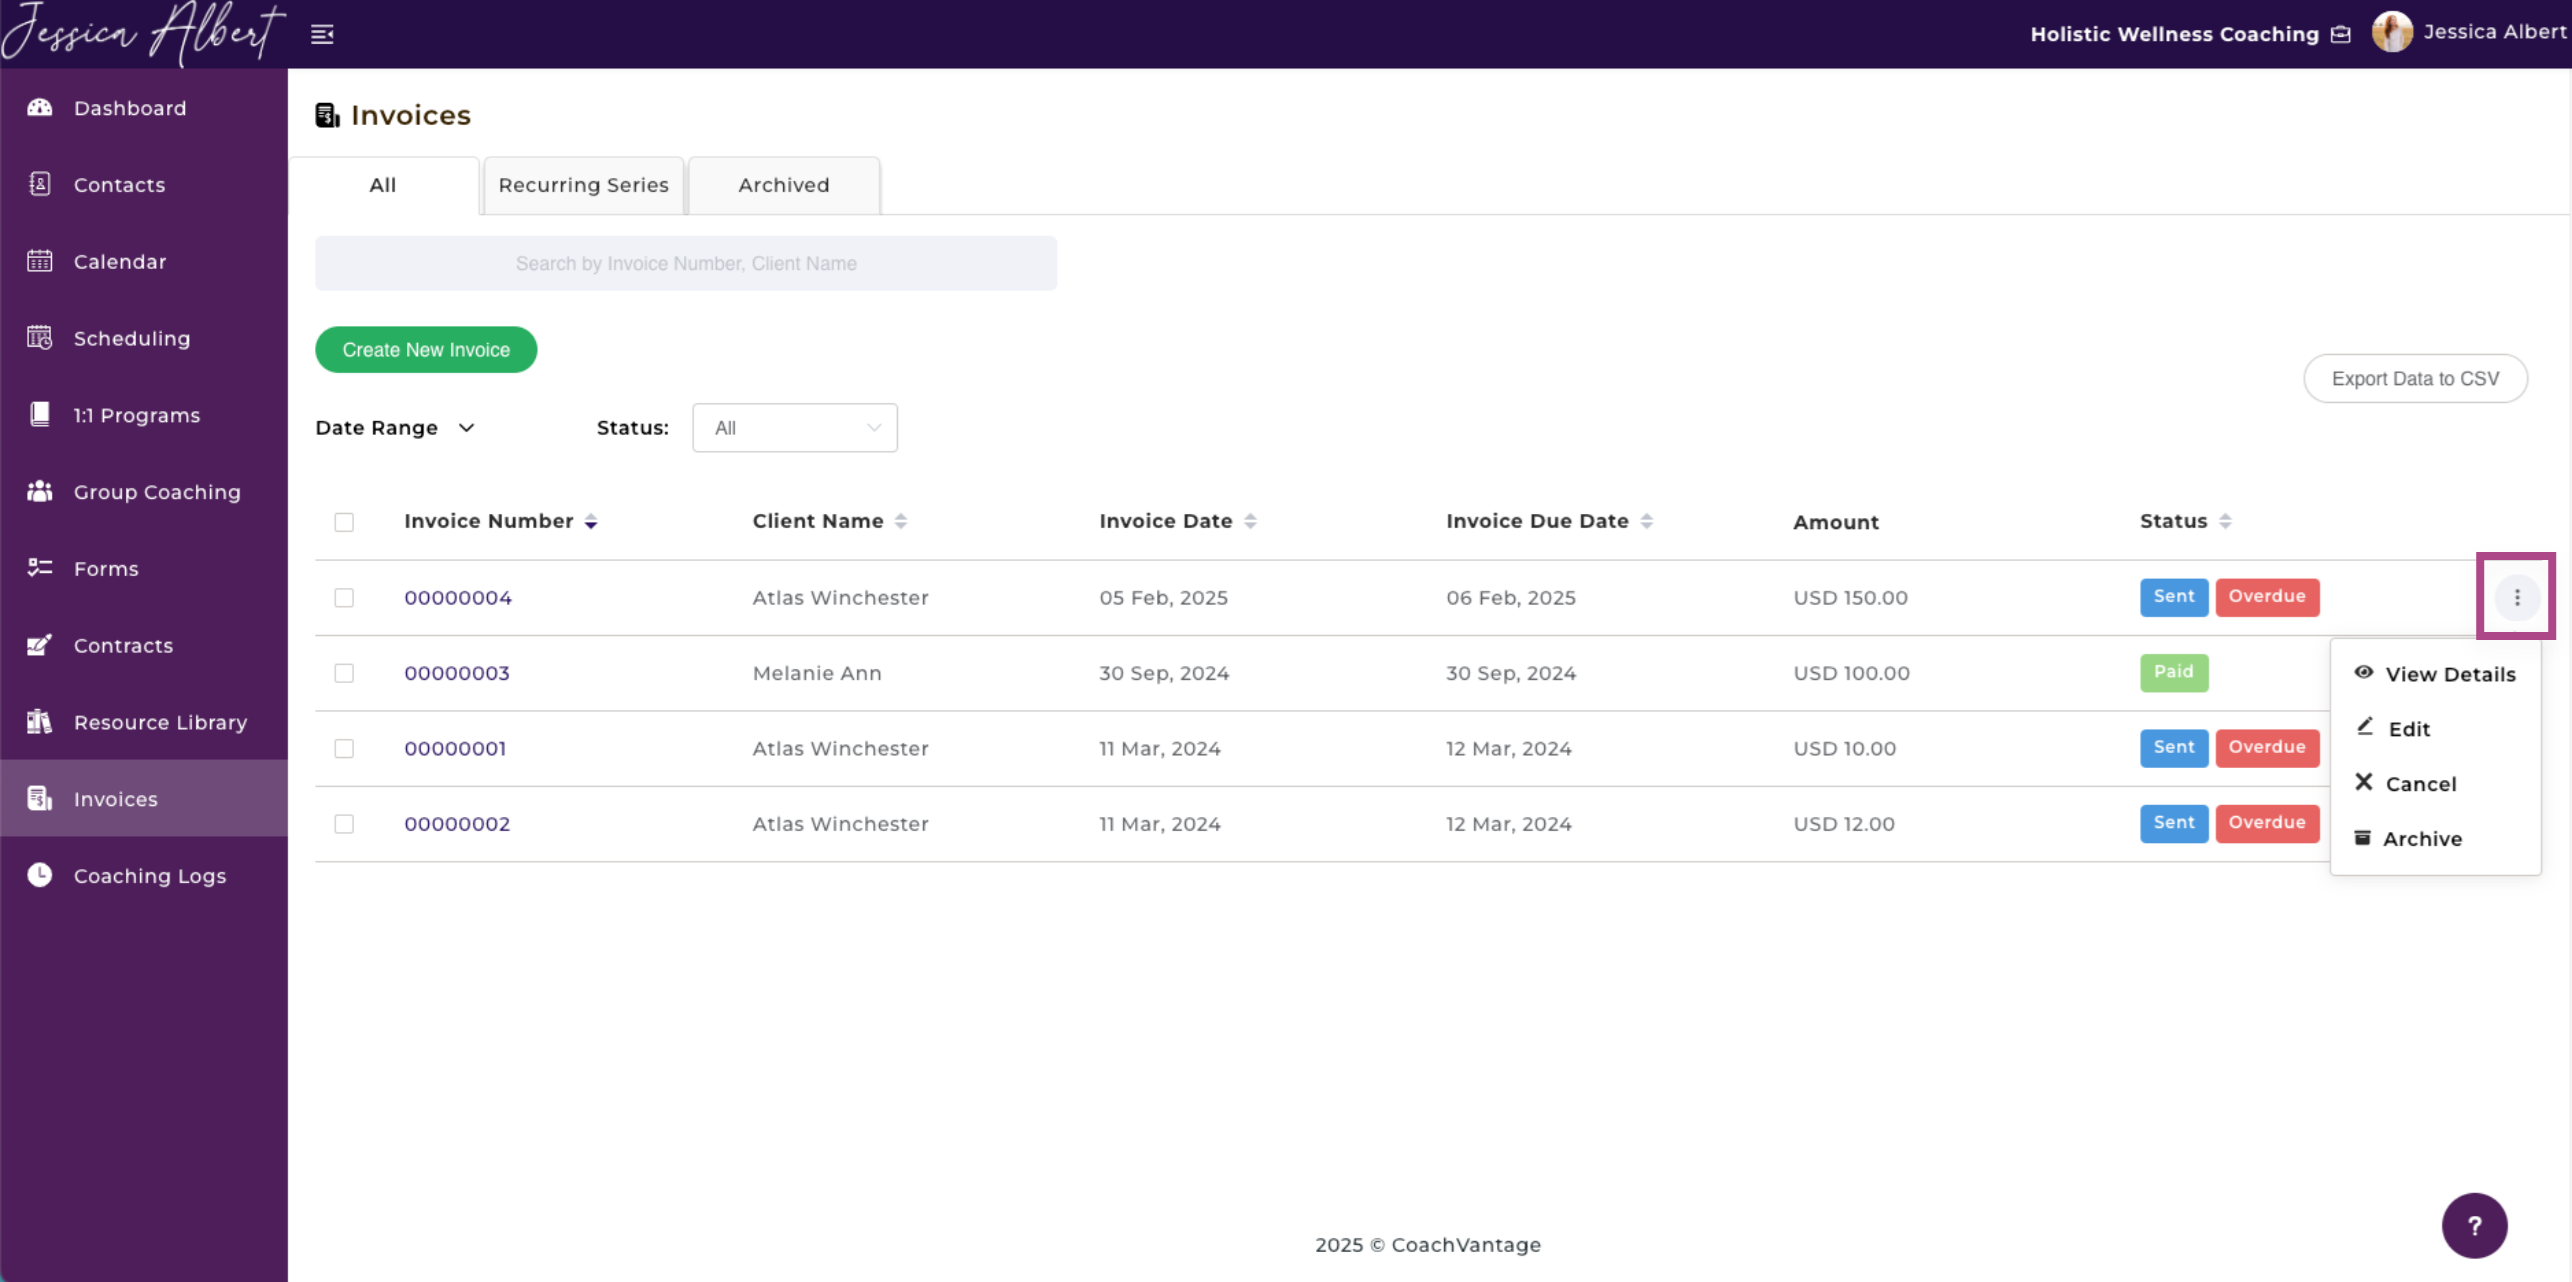
You can manage invoices by clicking the 3-dot button menu option beside each invoice entry:
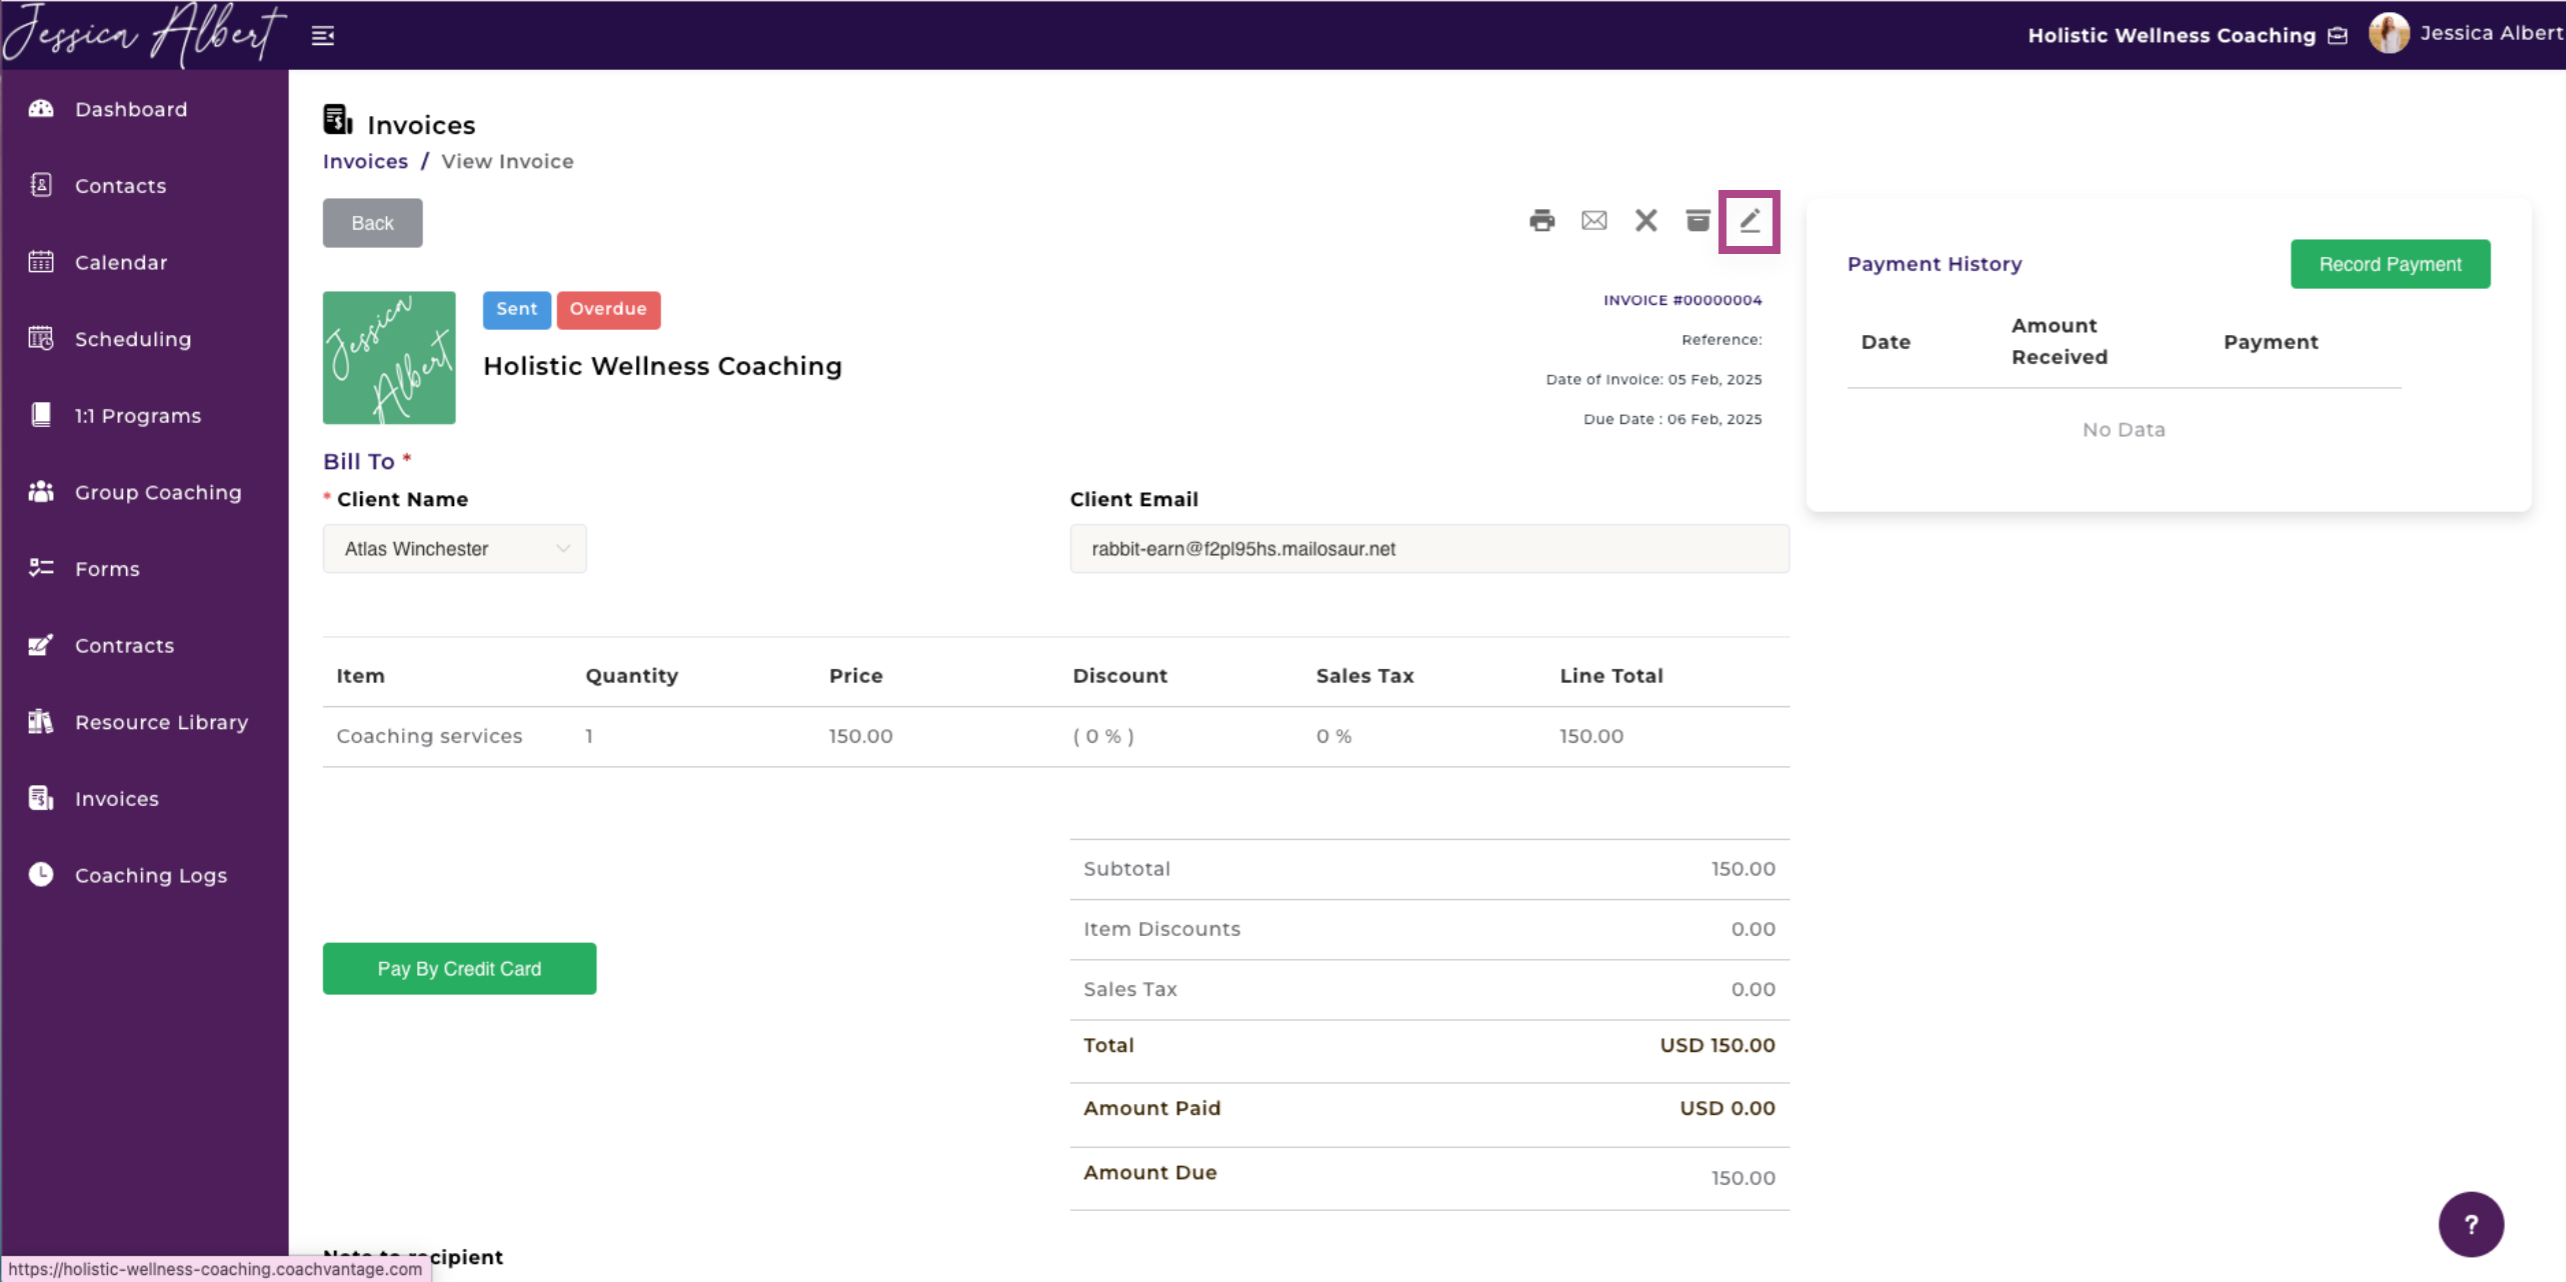
1. View Details
Clicking on View Details will open a page displaying more details of the invoice as shown below.

On the View Details page, you will see the Record Payment button. This feature allows you to manually record payments made by your clients.
Tip: This is especially useful if your client wants to pay for invoices 'offline' (for ex by cash, cheque, or other payment methods) instead of through credit card or PayPal.
For more information, refer to this article Creating Invoices without Stripe/PayPal.
Additionally, you may resend the invoice to your client or print the invoice, by clicking on the respective icons shown below:

2. Edit
The Edit button allows you to edit invoices by bringing up the Edit Invoice window. Make the desired changes and save the new invoice.
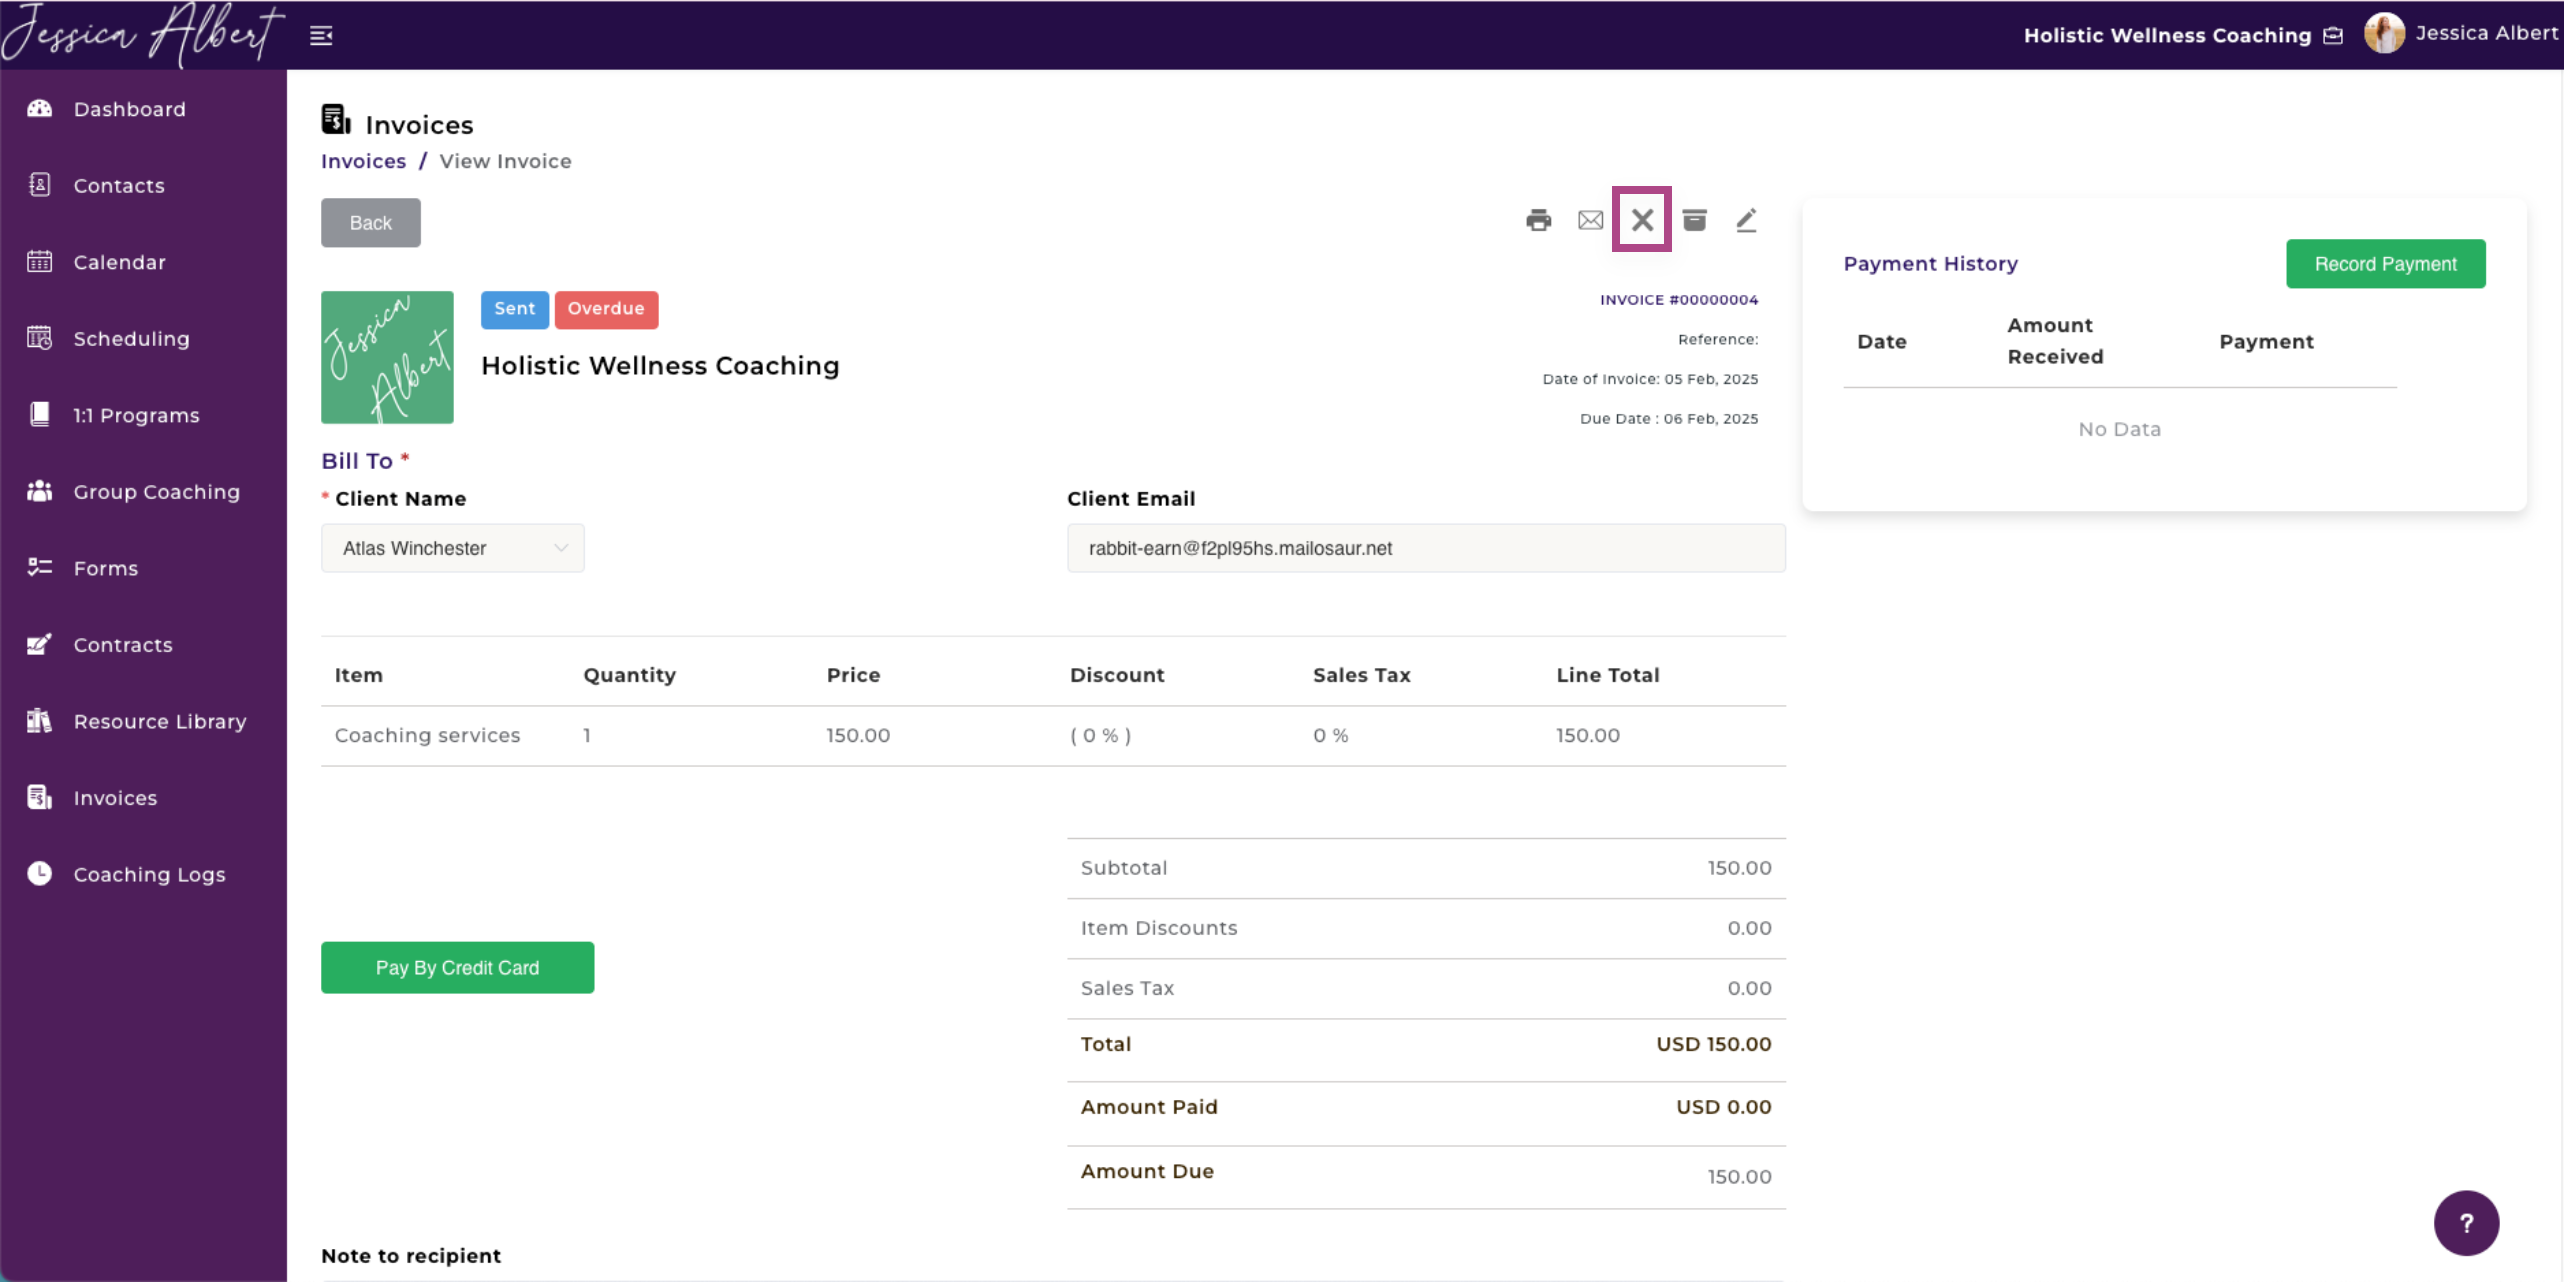
3. Cancel
If the invoice is no longer valid, you may select Cancel to prevent any payment transactions from going through that invoice.
Clicking on the Cancel button will trigger a pop-up window asking for confirmation to cancel your invoice.

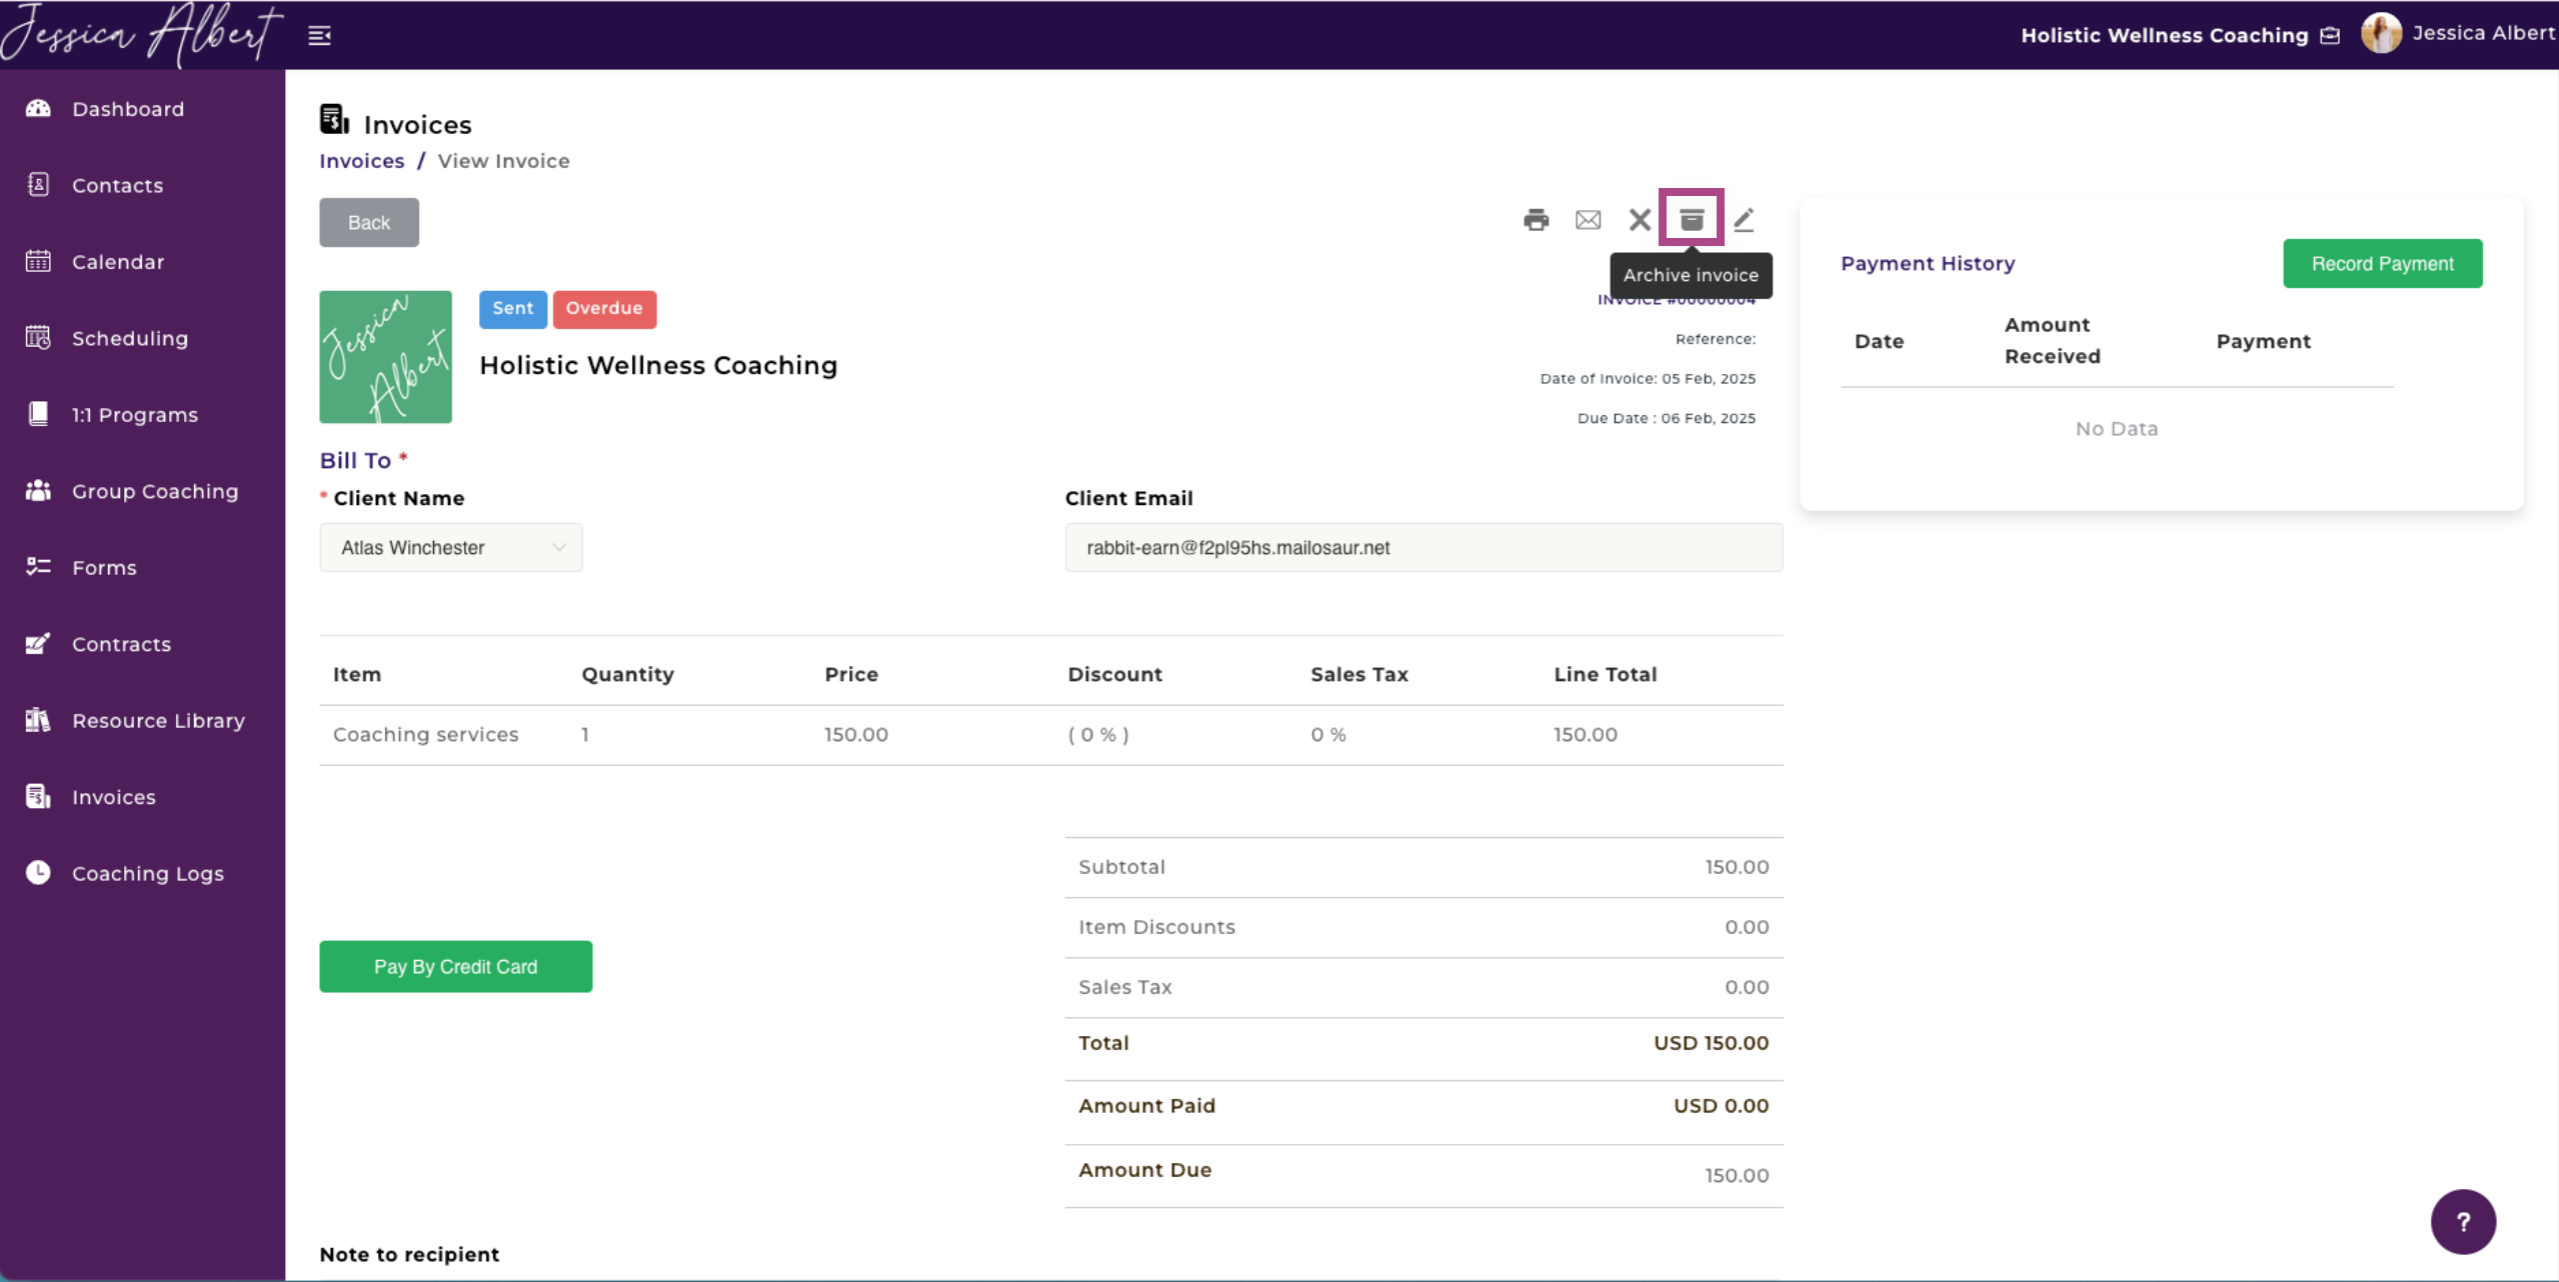
4. Archive
It is not possible to permanently delete or remove invoices from your CoachVantage account once full payment has been made. Instead, you can archive invoices so that they are no longer visible in your active invoice tab.
Clicking on the Archive button will trigger a pop-up window asking for confirmation to archive your invoice.
5. Delete
You may however delete invoices that are still in Draft status.
Clicking on the Delete button will trigger a pop-up window asking for confirmation to delete your draft invoice.
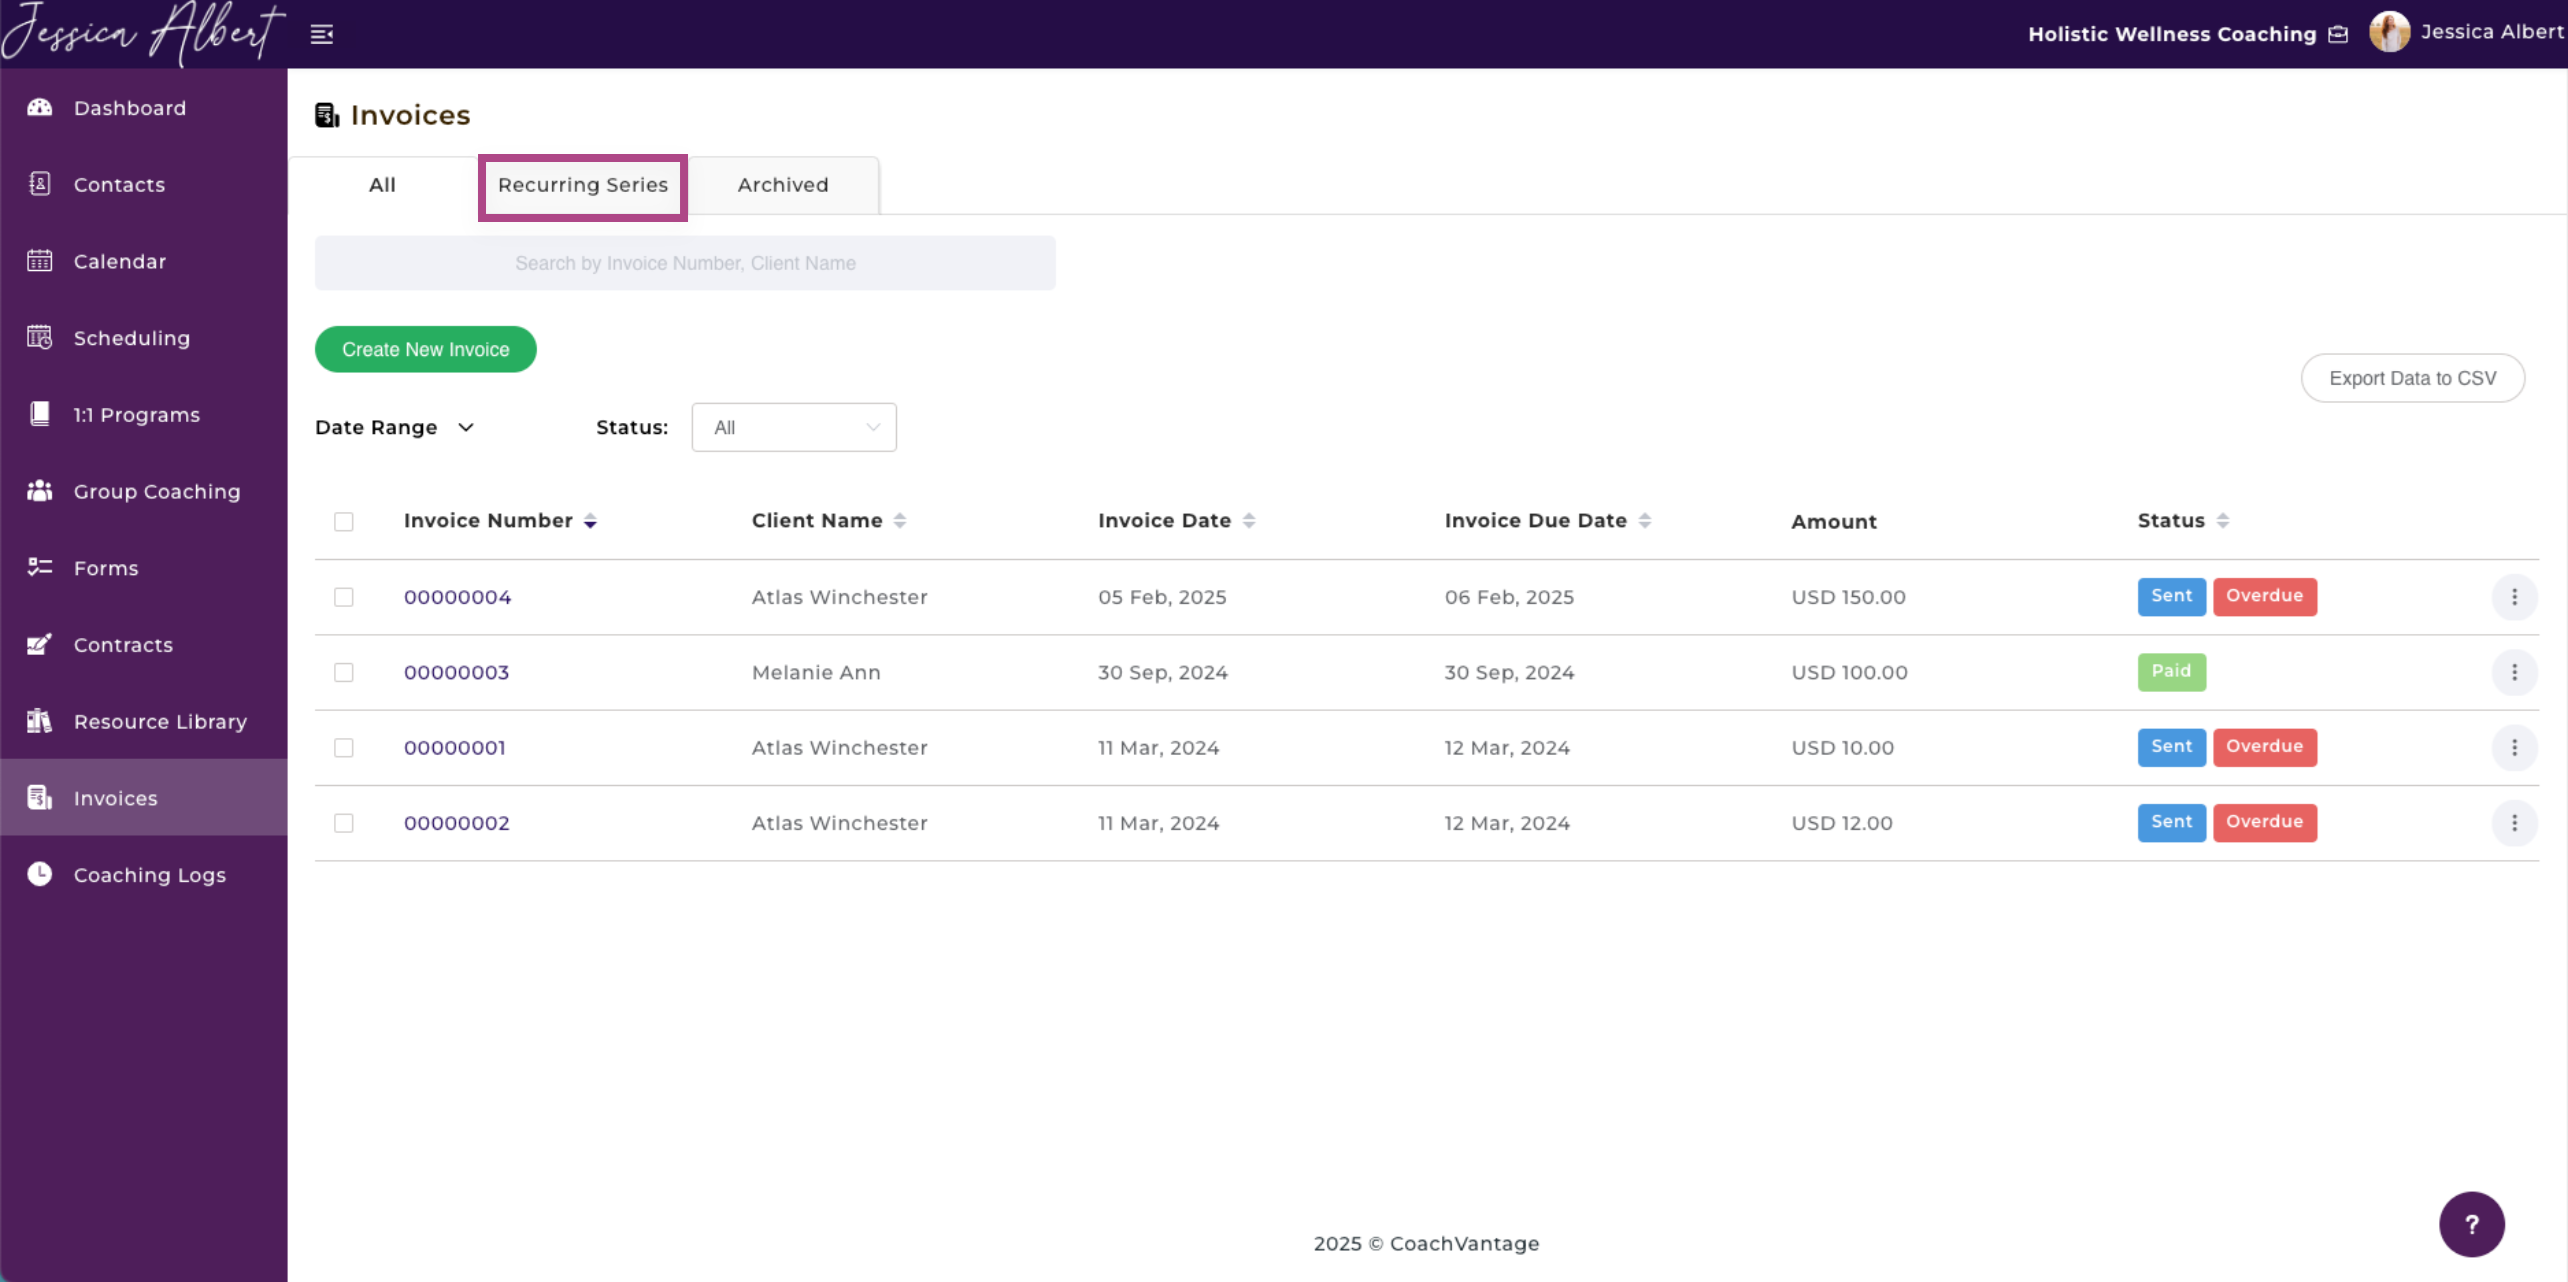
5. Recurring Invoices 🔁
Click the Recurring Invoices ribbon to view the recurring invoice series that were created for this contact.
You'll be able to view Client Name, Frequency, Next Invoice Date, Amount, Remaining Invoices and Status.
Managing Recurring Invoices
You can manage recurring invoices by clicking the 3-dot button menu option beside each recurring invoice series entry:
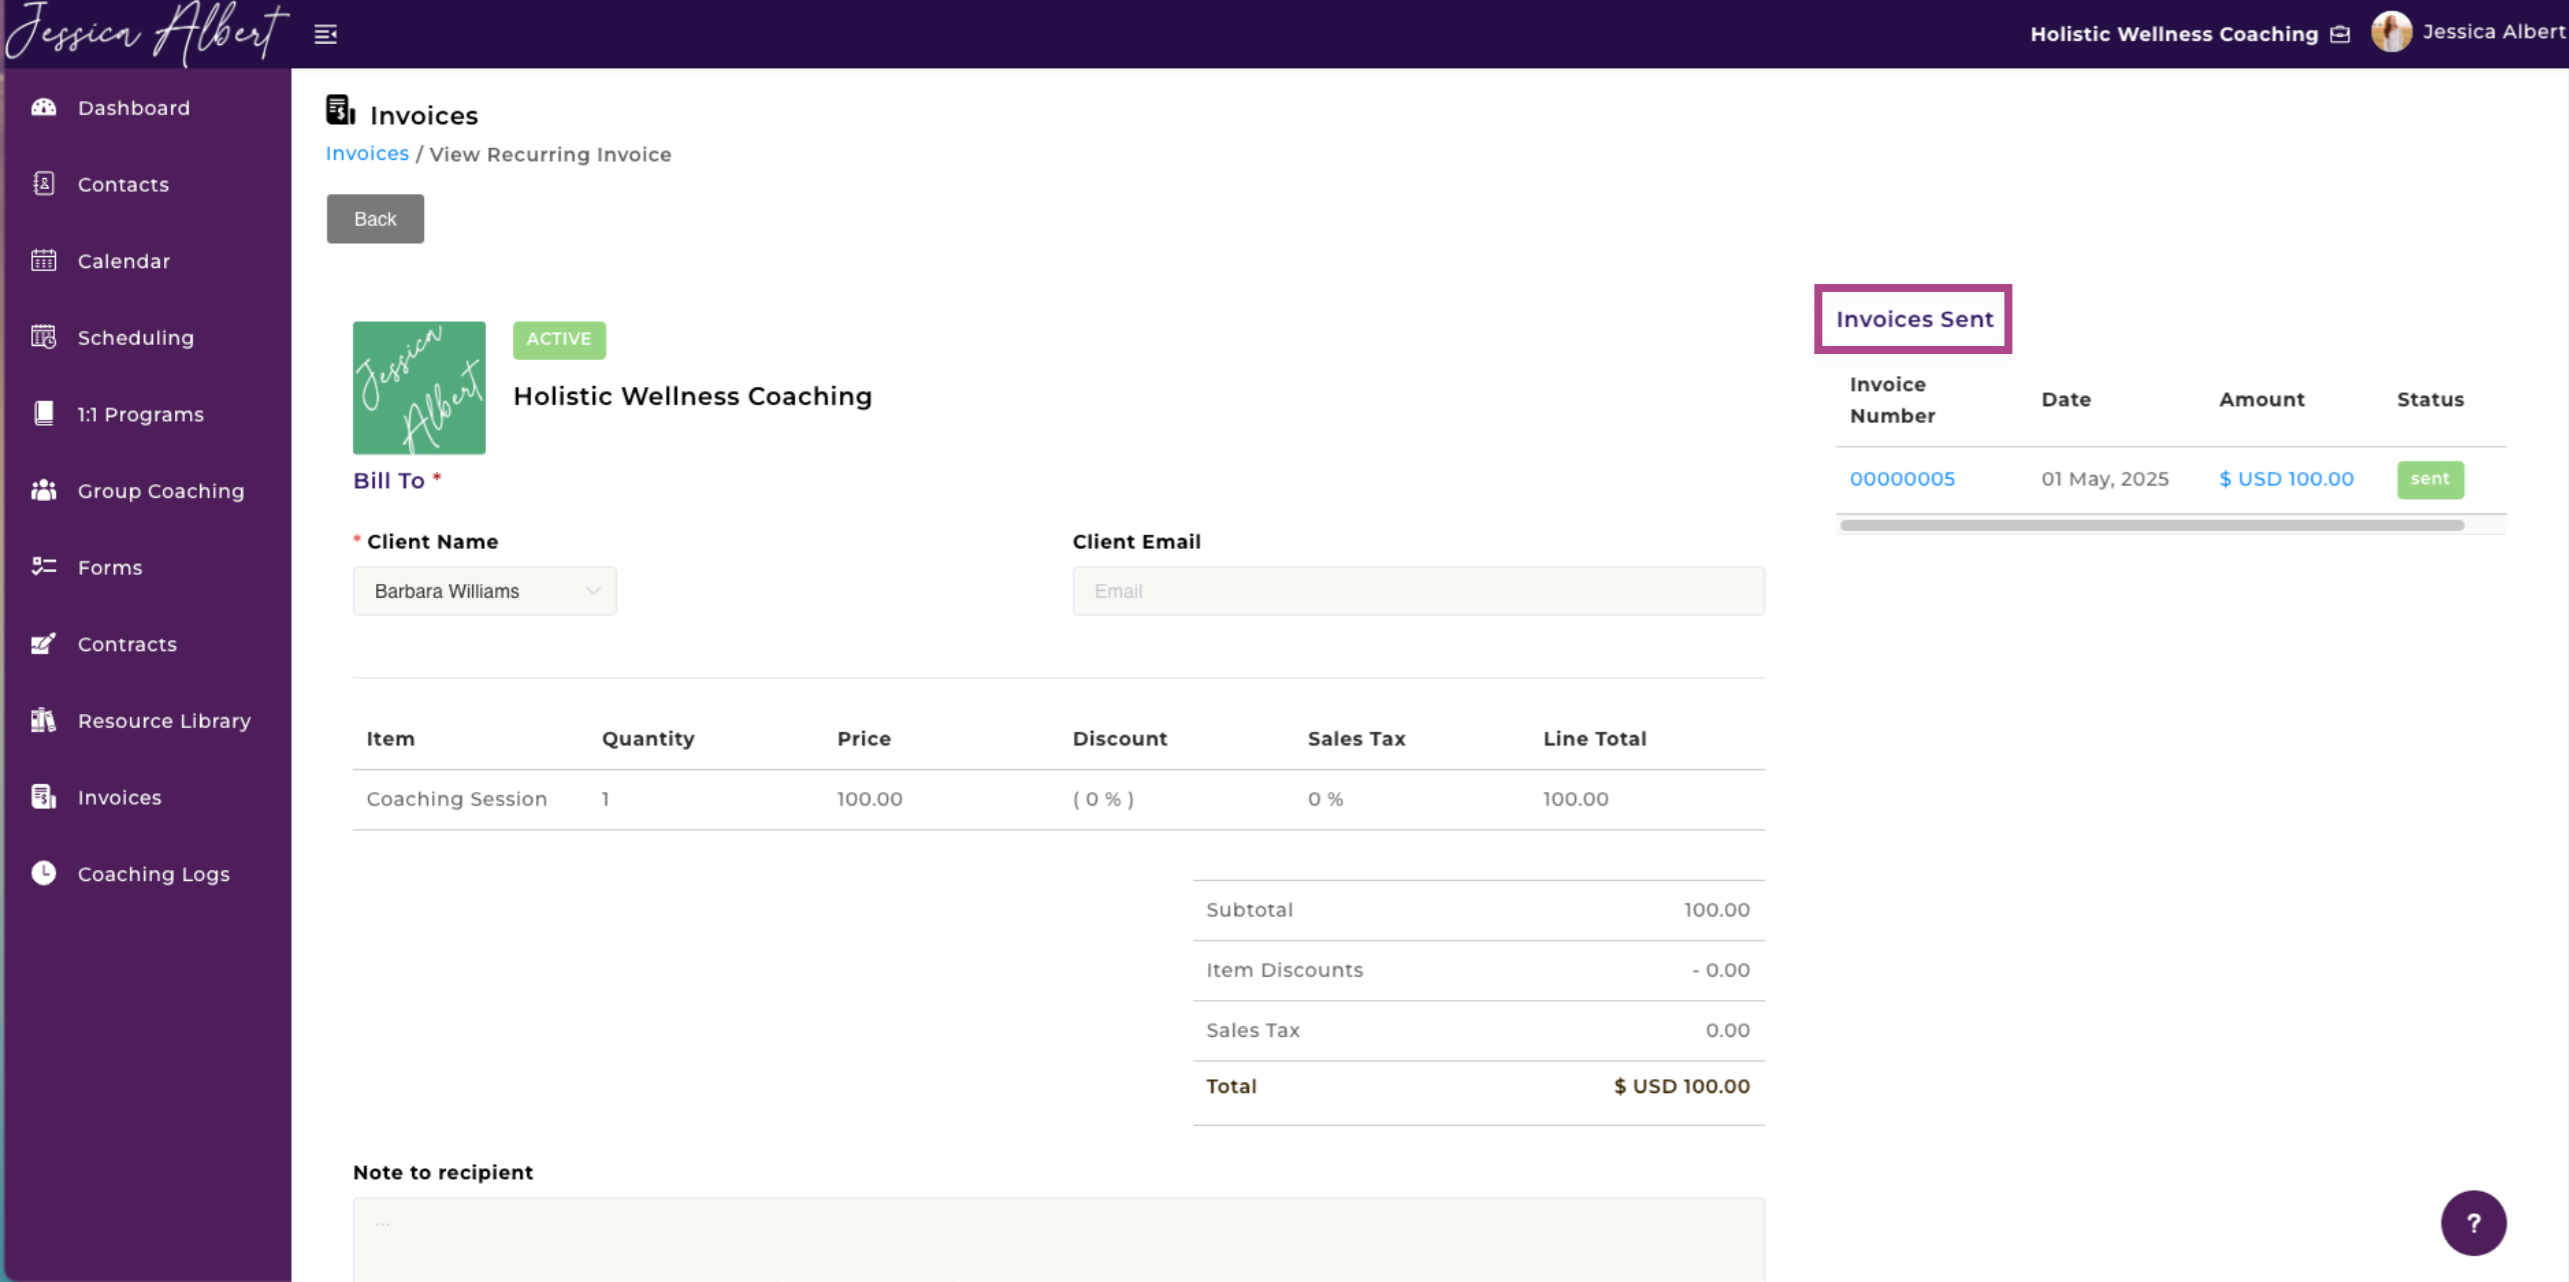
1. View Details
Clicking on View Details will open a page displaying more details of the recurring invoice series as shown below.
The Invoices Sent box (on the right side of the page) provides information about the invoices that were already sent as part of this recurring invoice series.
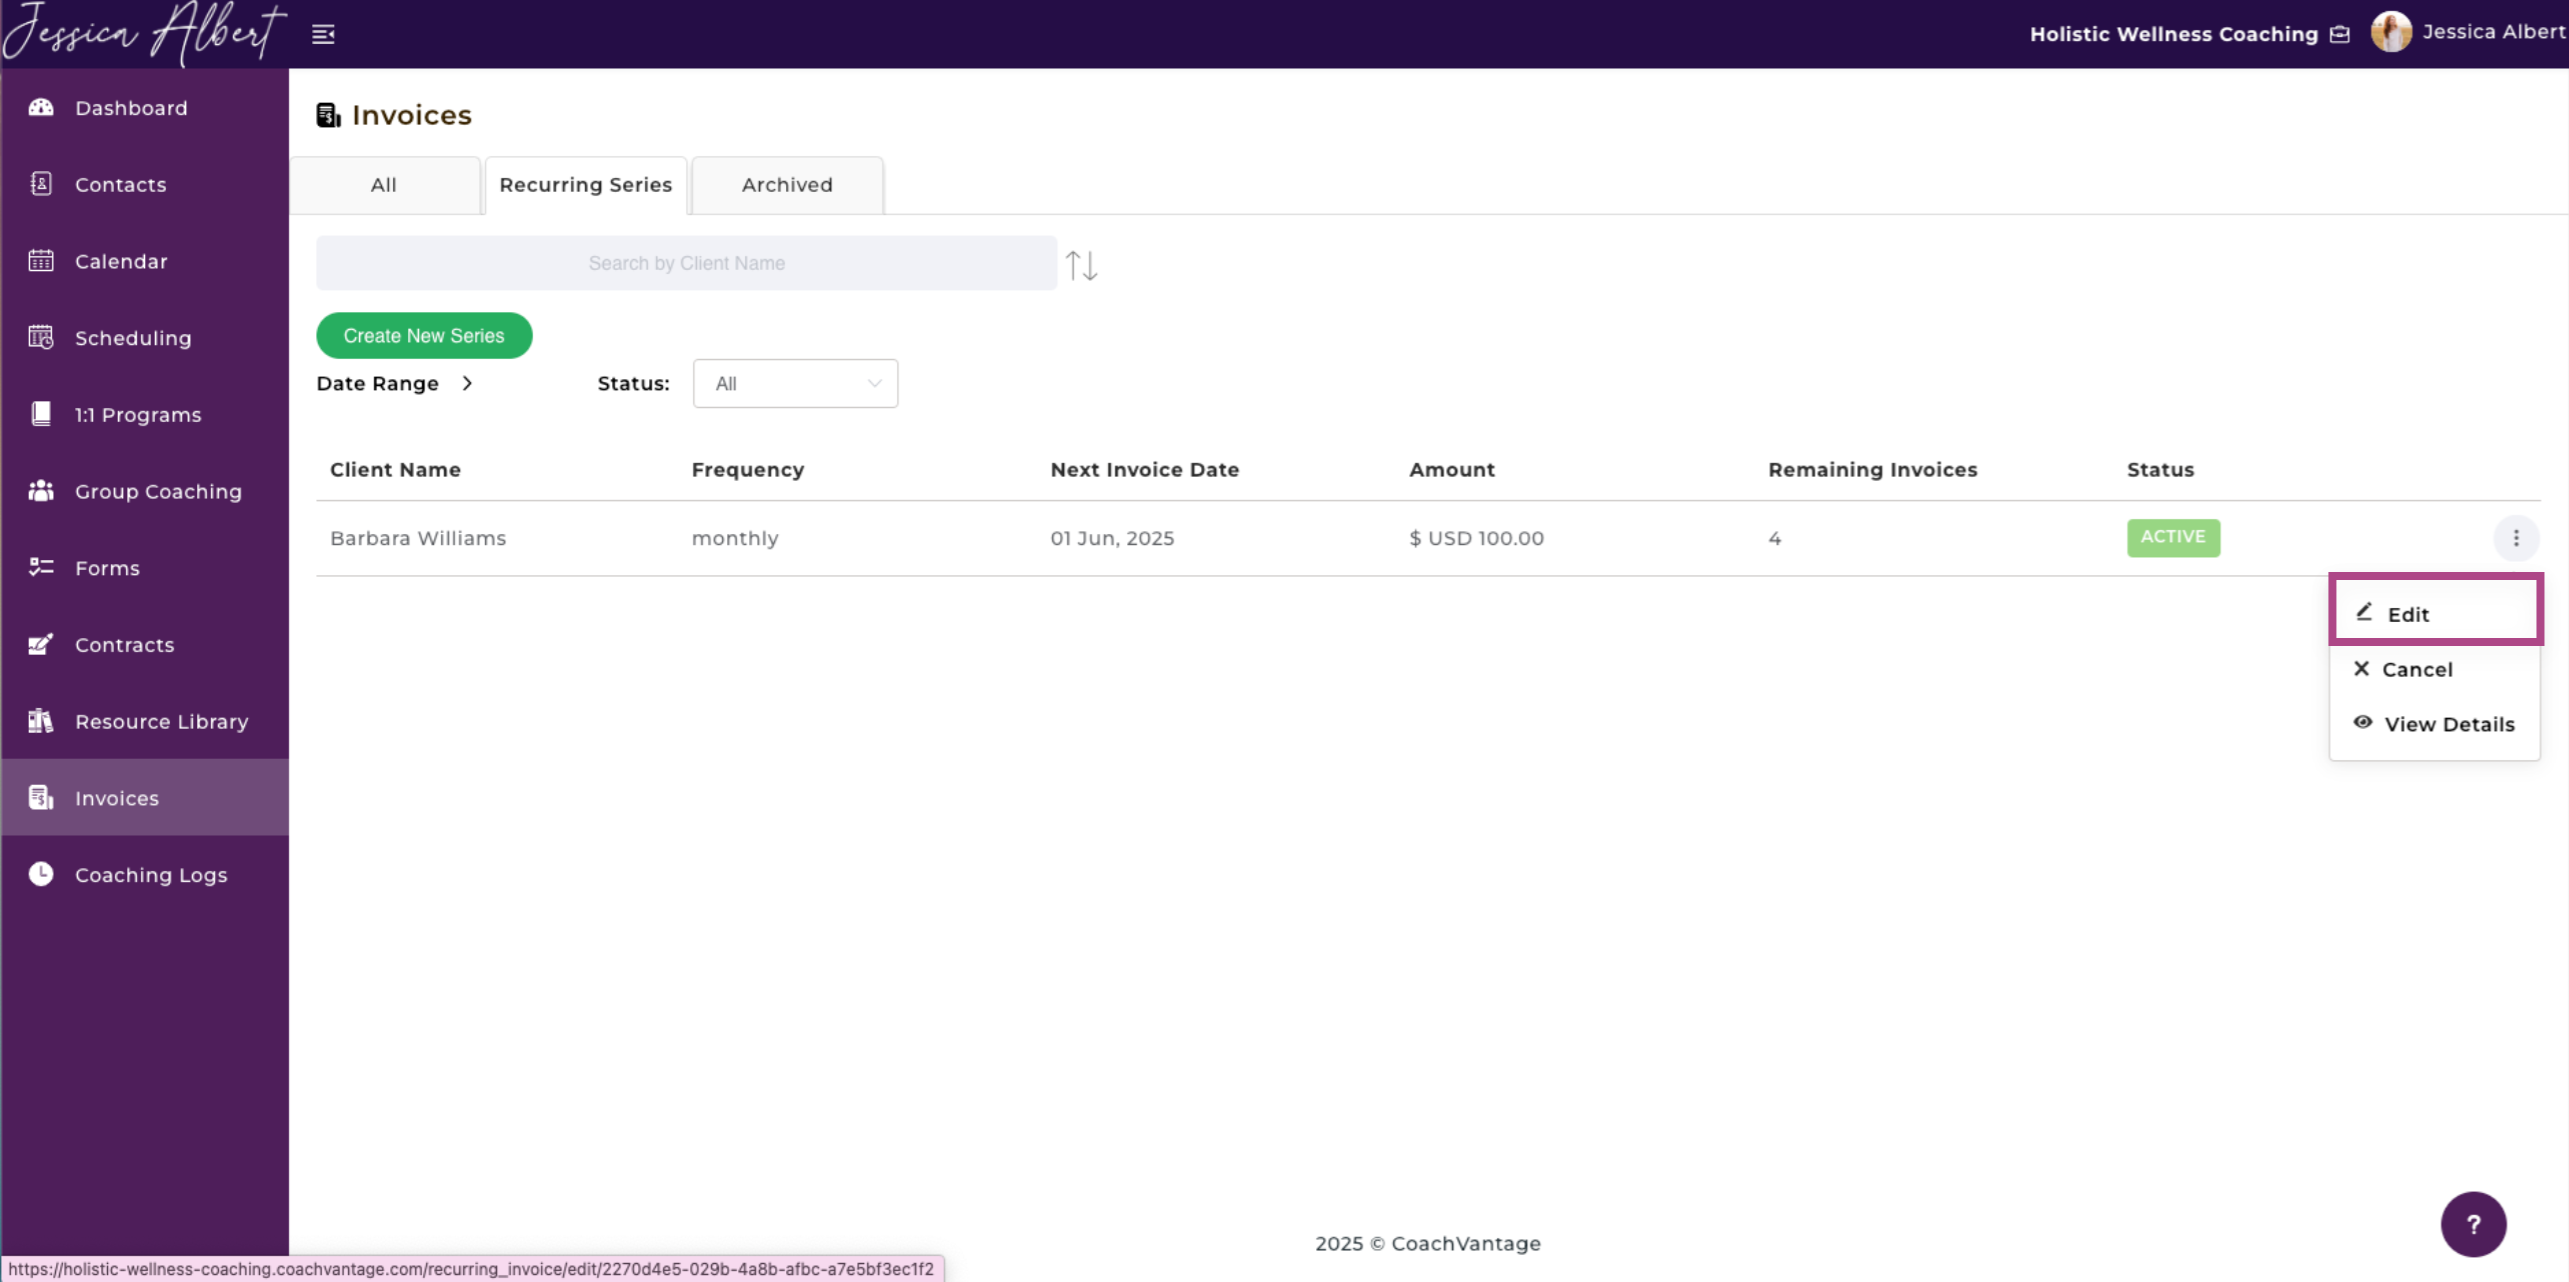
2. Edit
The Edit button allows you to edit the recurring invoice series by bringing up the Edit Window. Make the desired changes to the recurring invoice series and click Save to save your changes.
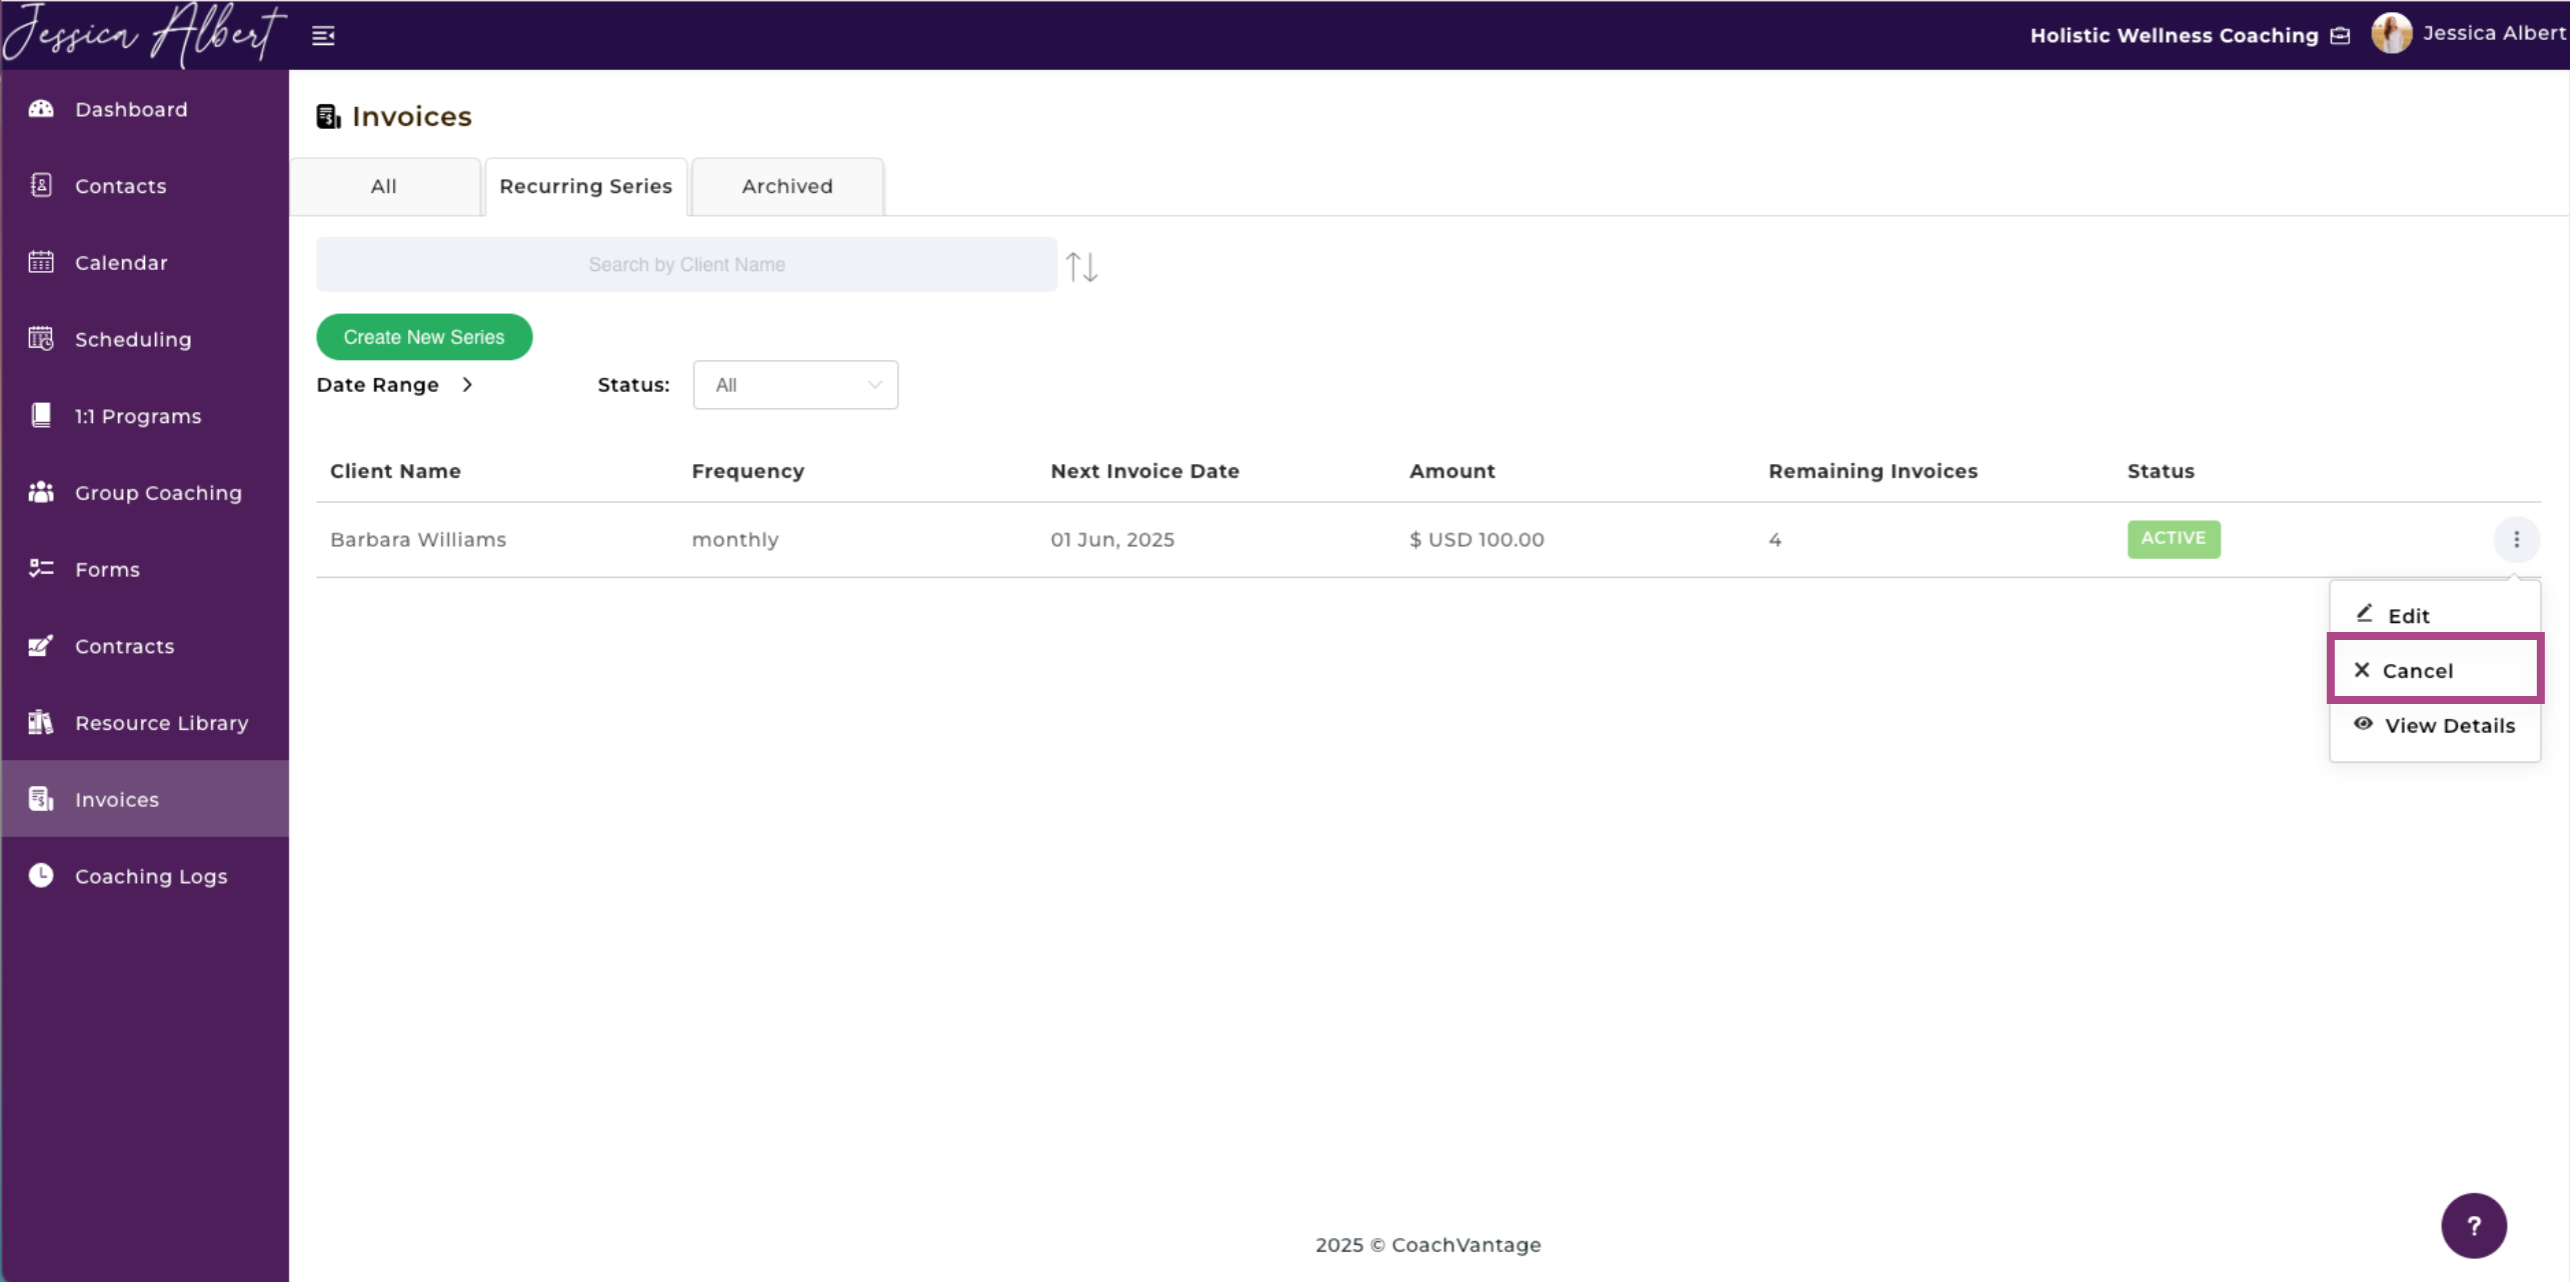
3. Cancel 🚫
If you wish to cancel the Recurring Invoice series, select Cancel.
Clicking on the Cancel button will trigger a pop-up window asking for confirmation to cancel the recurring invoice series.
When you cancel a recurring invoice series, all future invoices will no longer be sent to the contact. Invoices that were previously sent as part of this series can still be managed as described in the section above on Manage Invoices.
Note:
A cancelled Recurring Invoice series cannot be resumed. You will need to create a new Recurring Invoice series, if required.
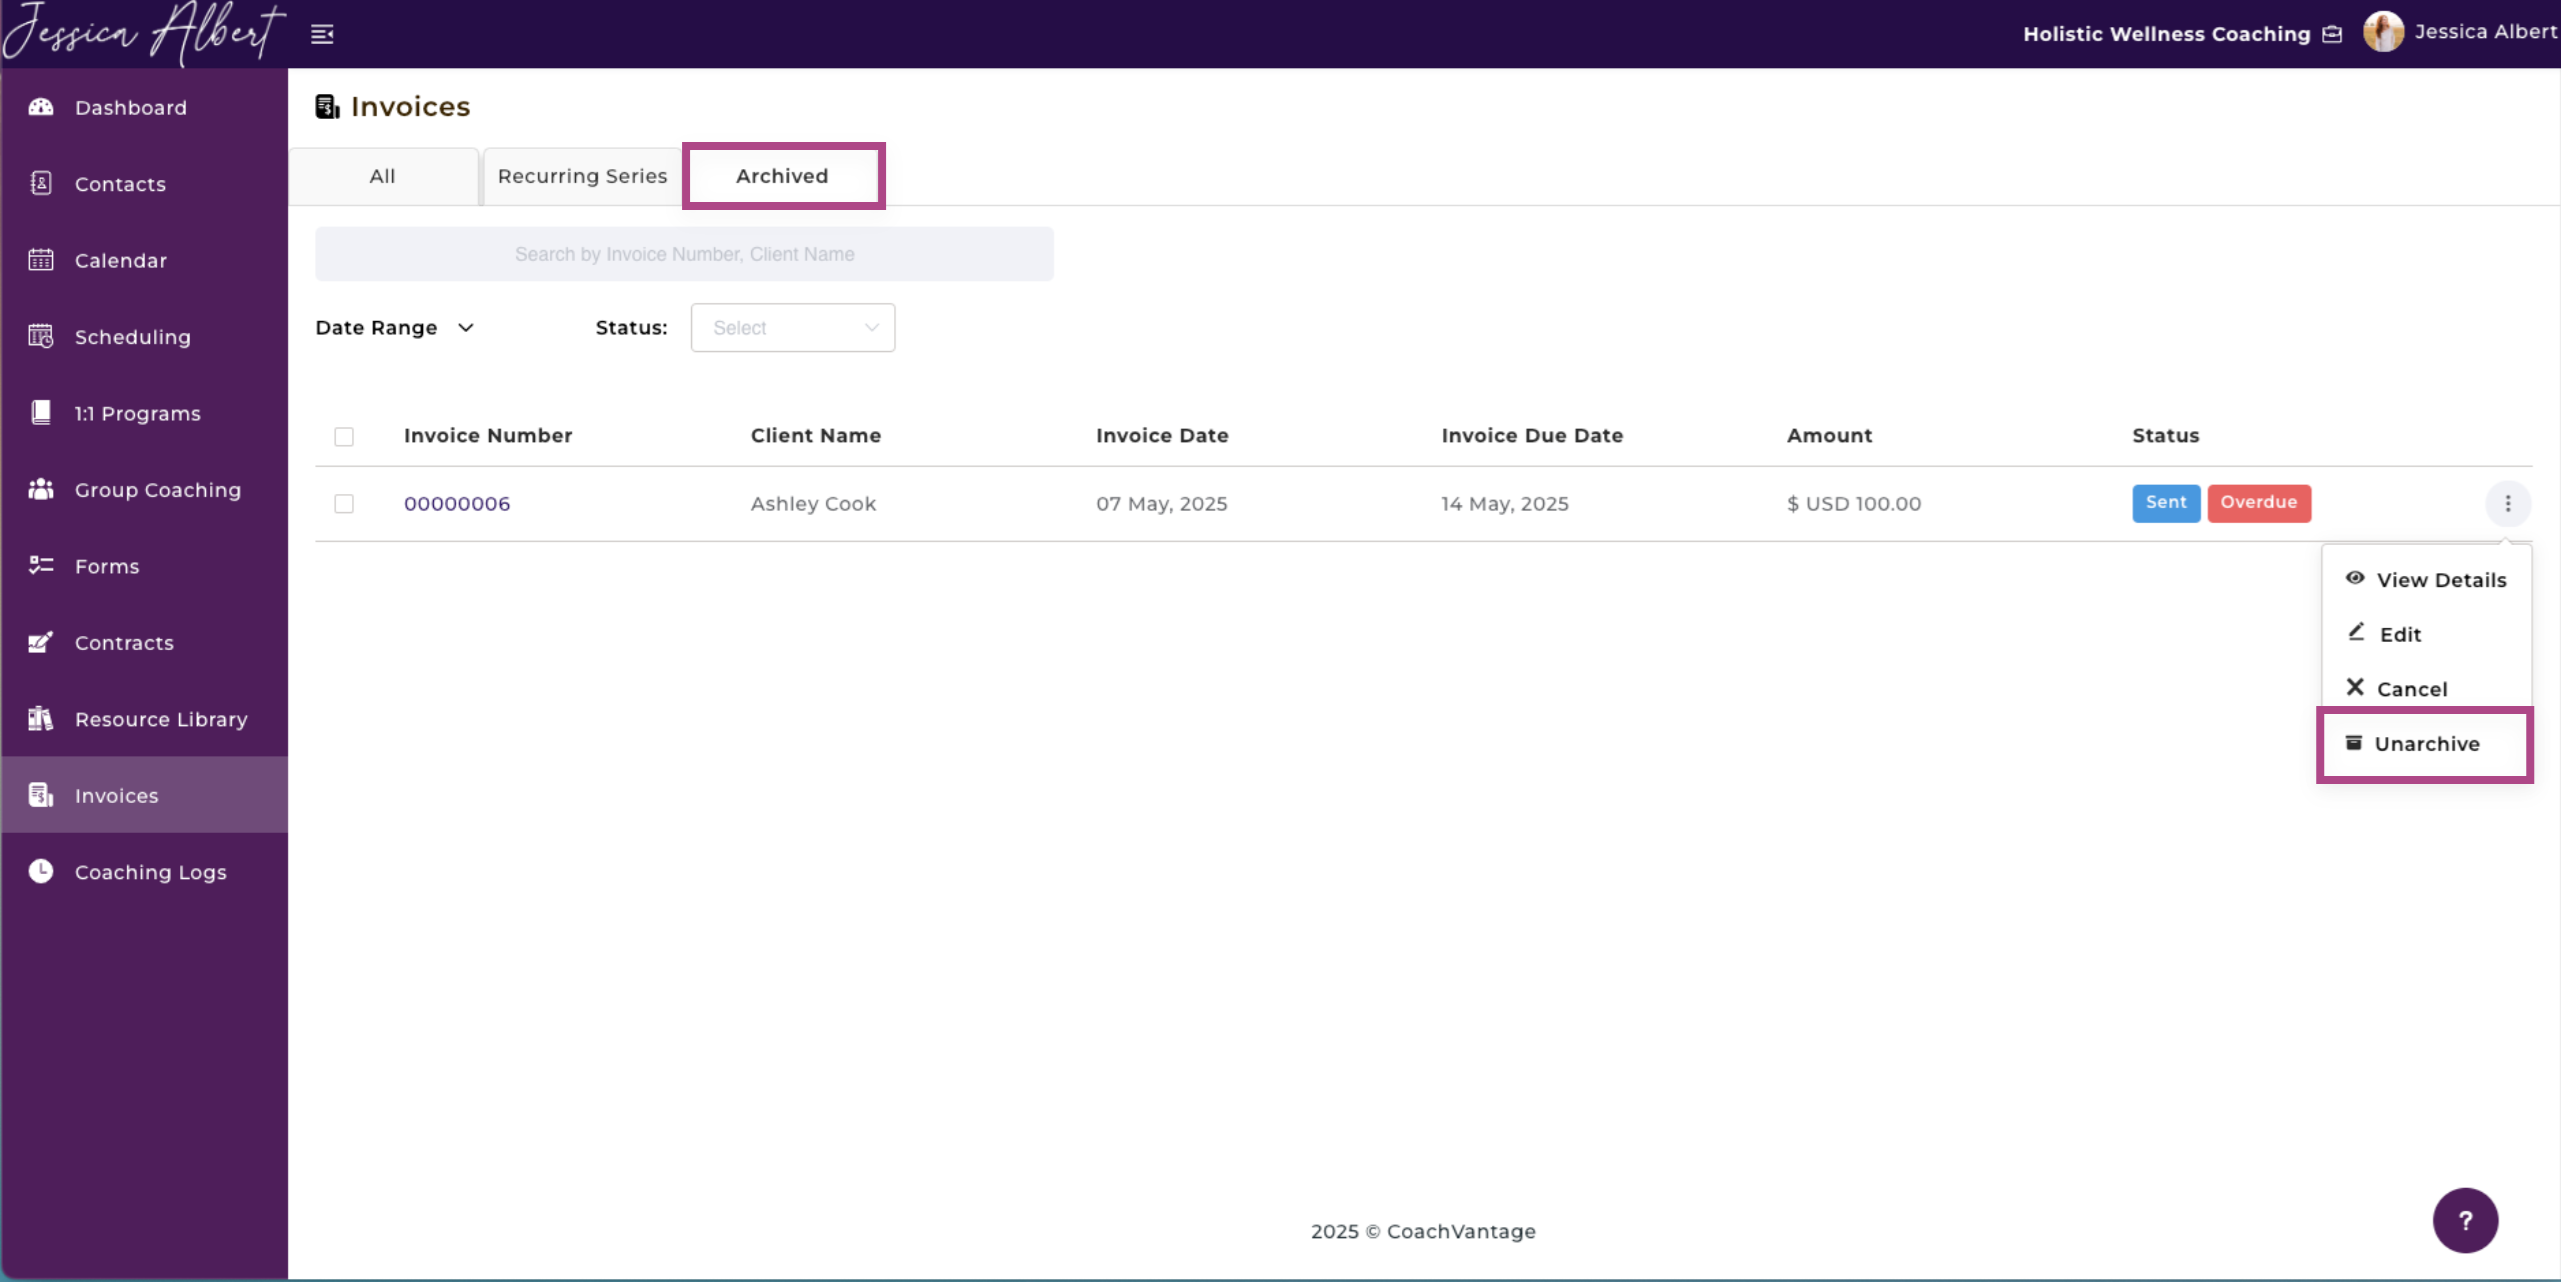
6. Archived Invoices 🗑️
Invoices that you've archived can be found on the Archived Invoices page.
You'll be able to view Invoice Number, Invoice Date, Invoice Due Date, Amount and Status.
Managing Archived Invoices
You can manage archived invoices by clicking the 3-dot button menu option beside each invoice entry. Managing archived invoices is similar to what was mentioned above except for:
Unarchive
- To move your Archived Invoices back to the Active Invoice tab, select Unarchive.
- Clicking the Unarchive button will trigger a pop-up window asking for confirmation to unarchive your invoice.