How to Share Files with Clients
Overview
There are 4 ways to share files with your client:
2. An Individual Contact Record Page
4. Include Files in Automation Rules
1. Resource Library 📚
As a Coach, you can share files or entire folders with clients from the Resource Library.
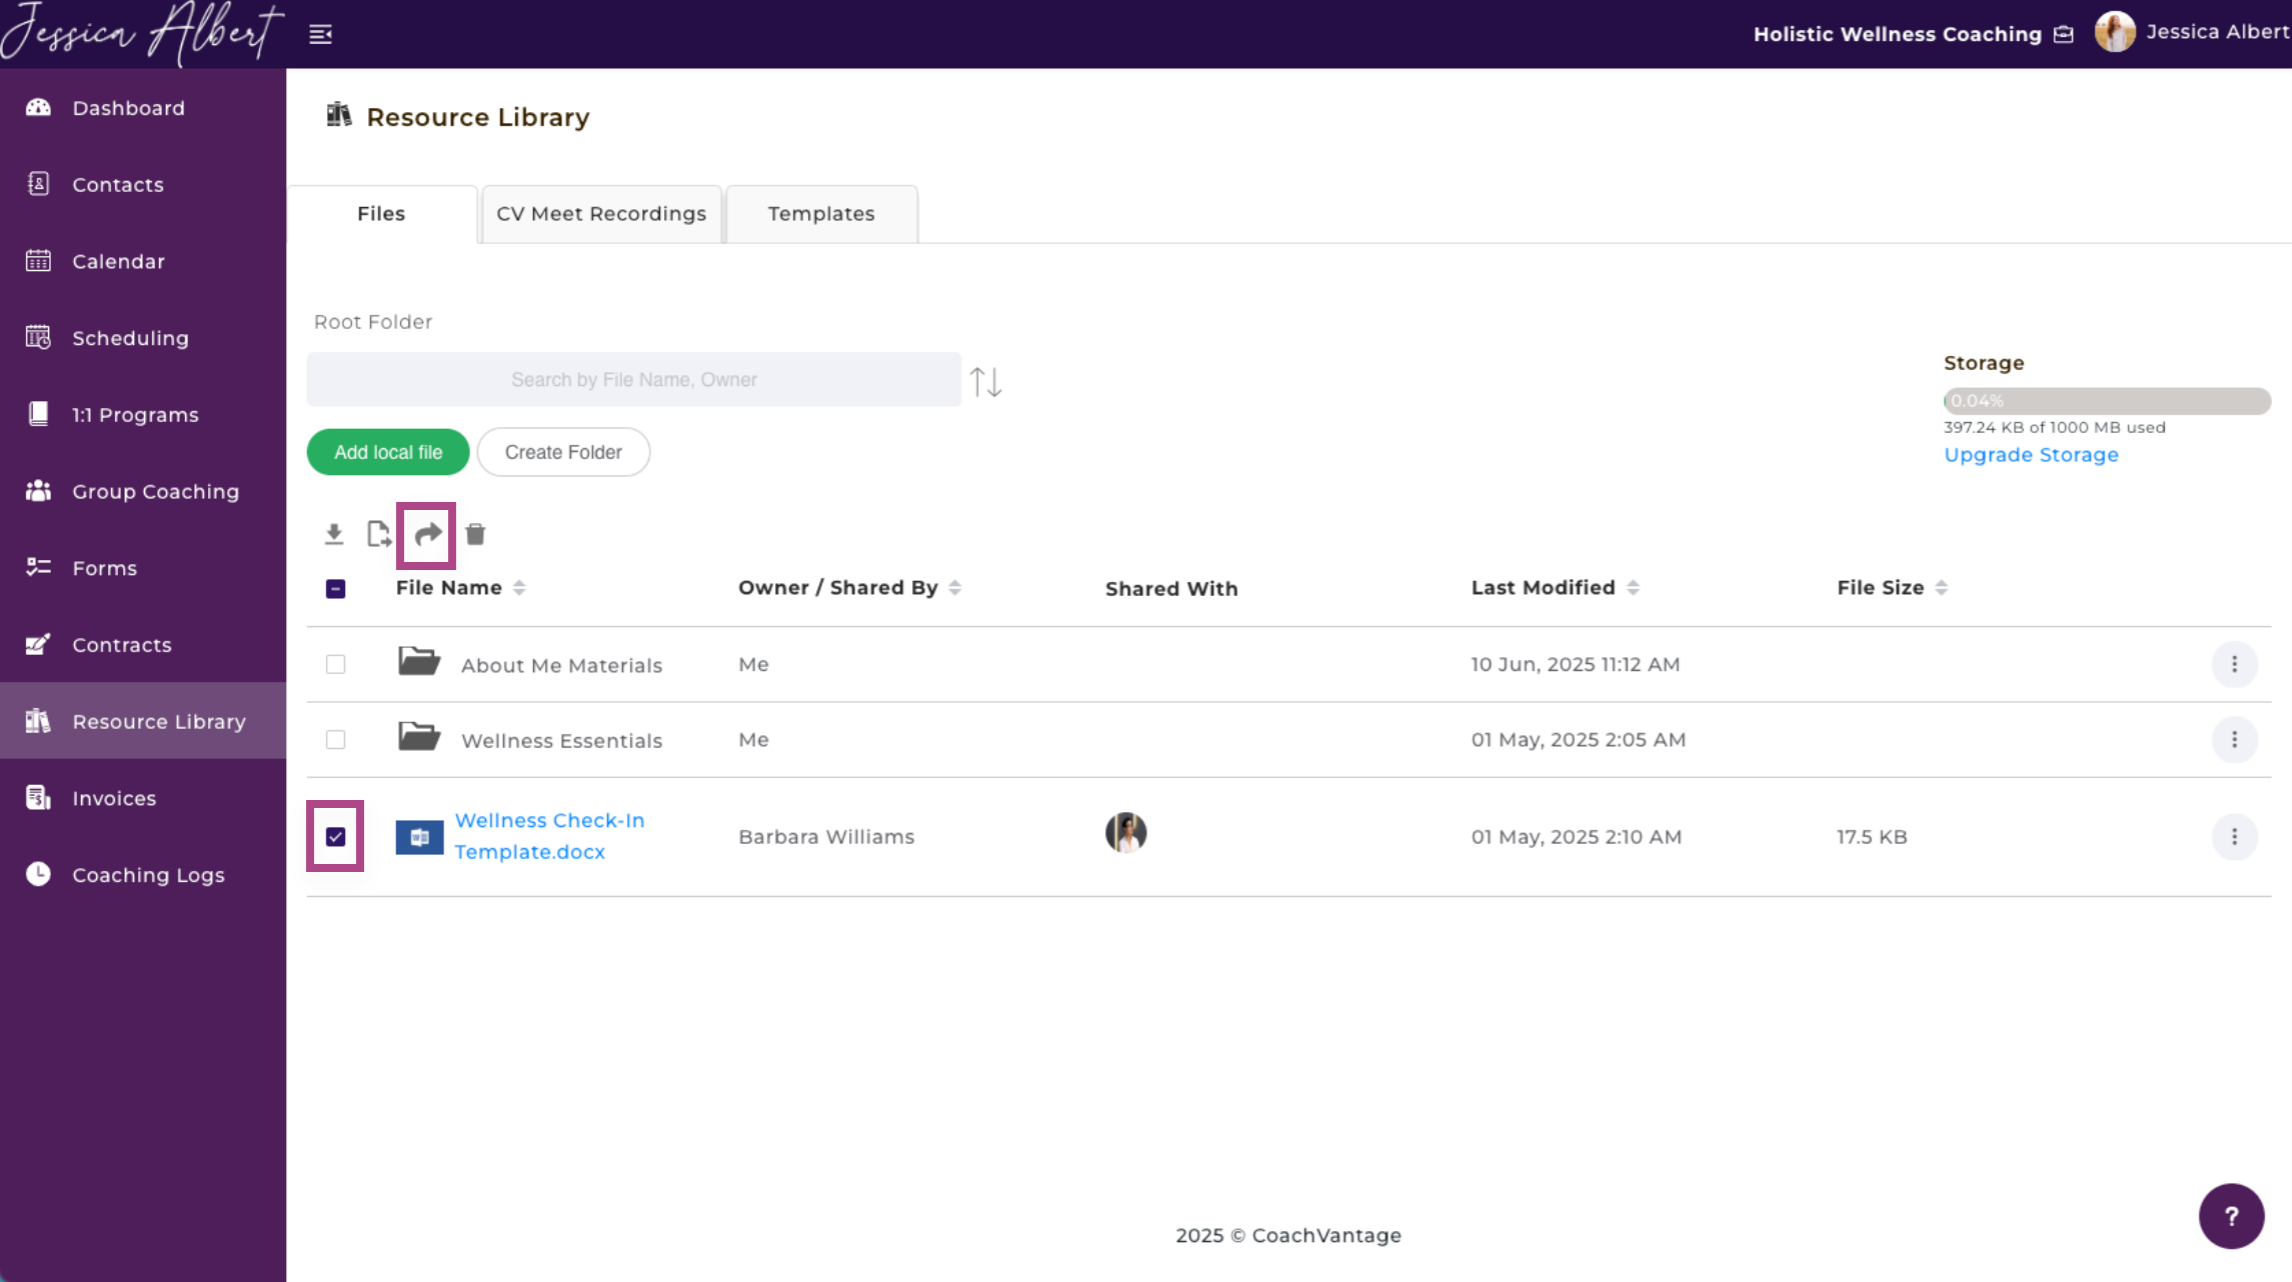
You can share files with individual clients or with multiple clients simultaneously by checking the box next to the file or folder name and then clicking the Share With icon (see image below).
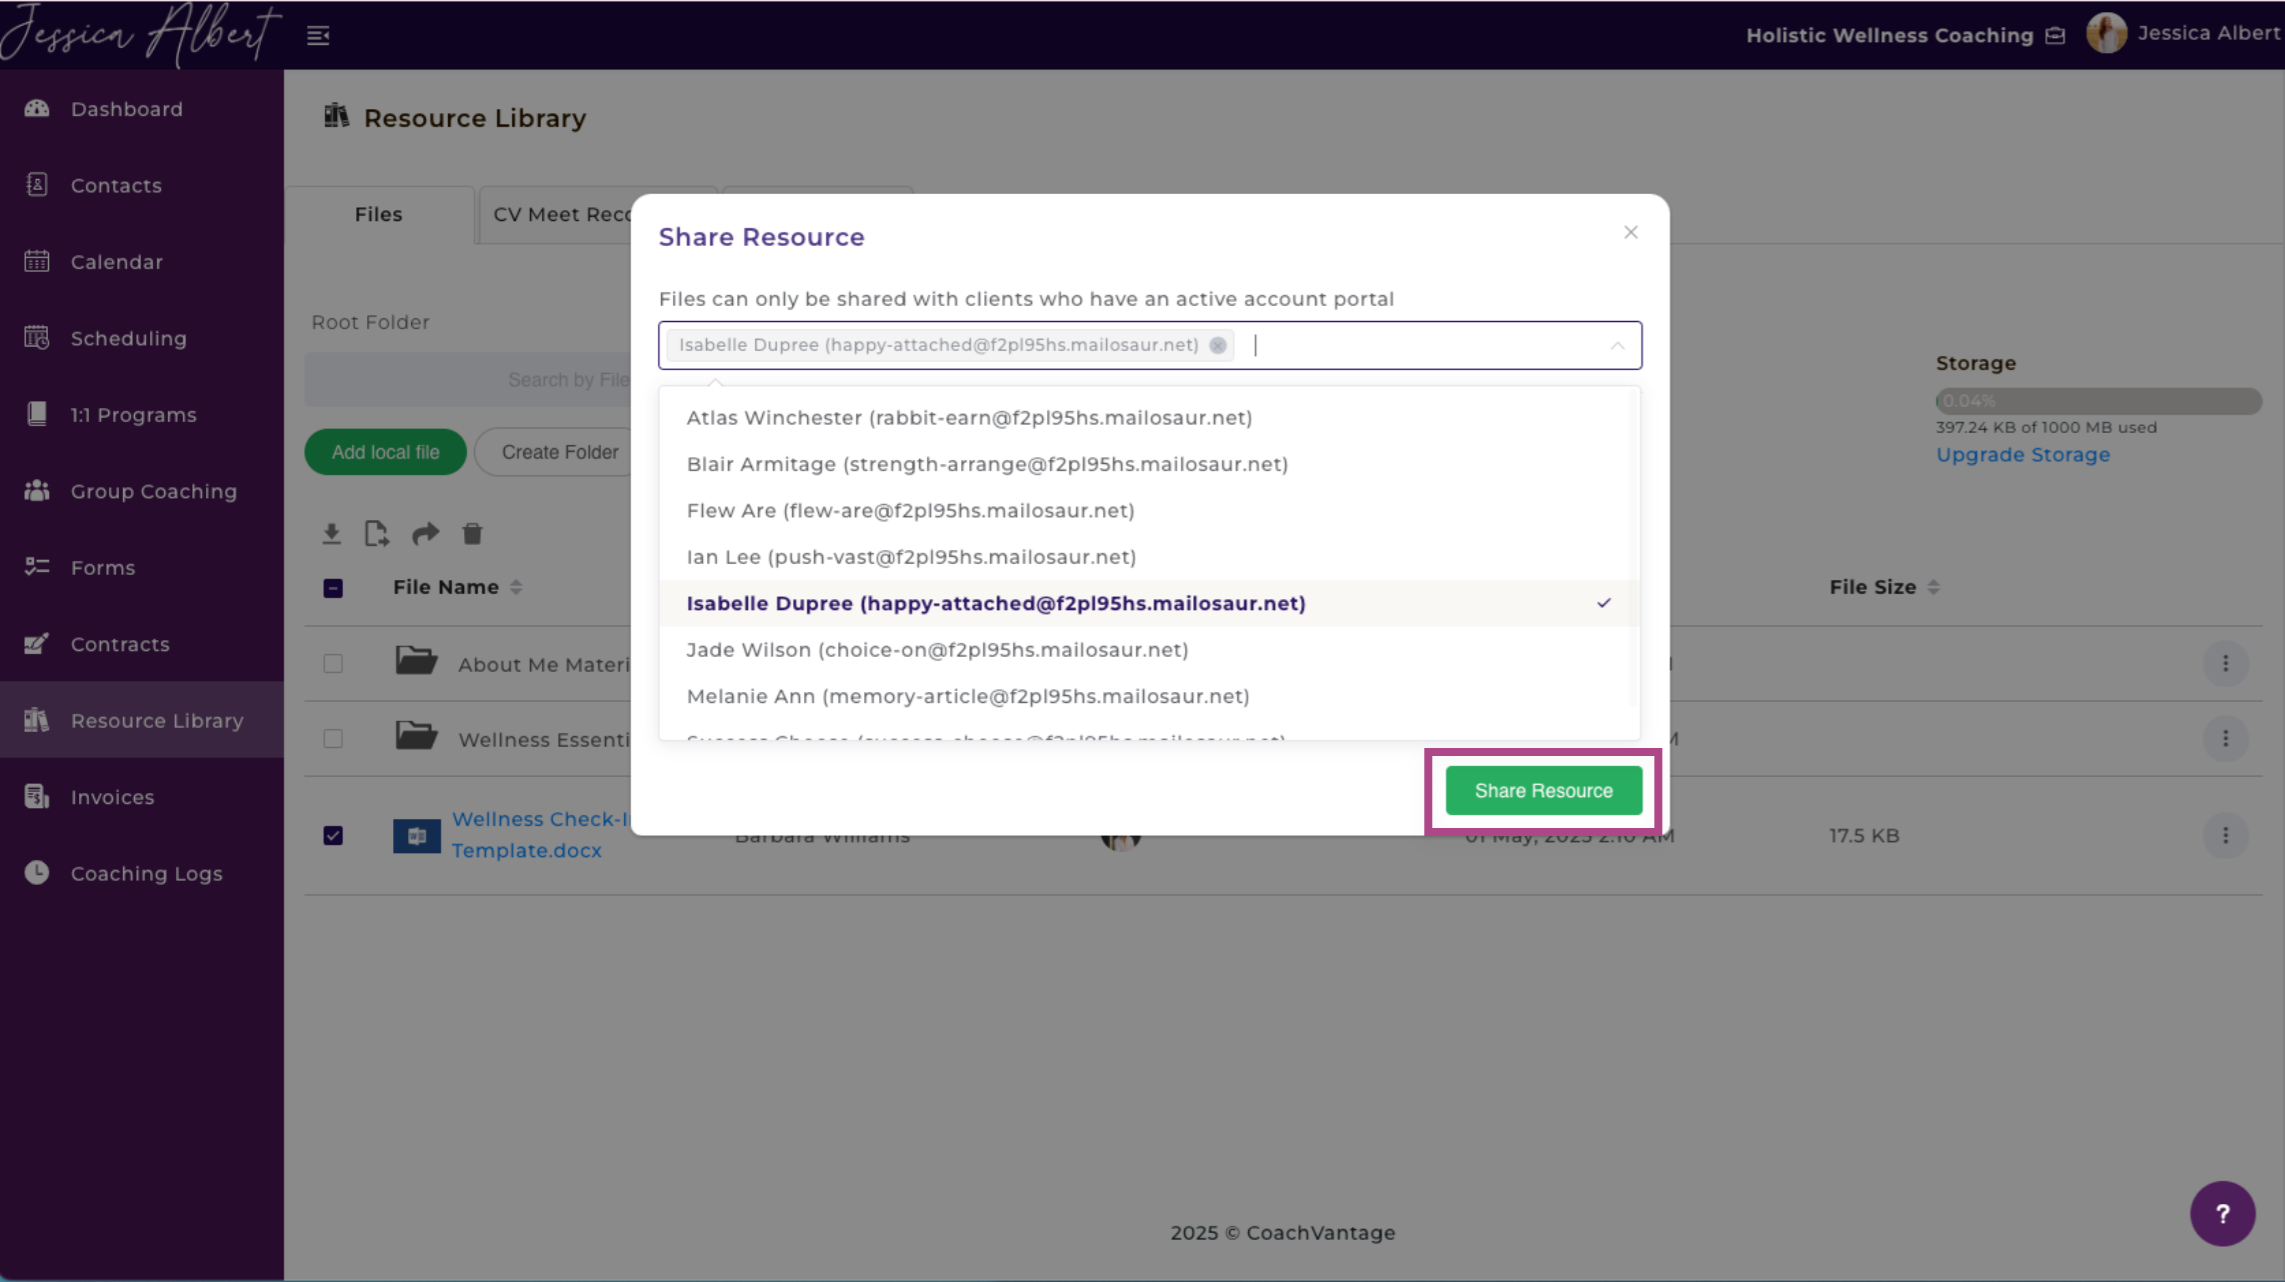
The Share Resource pop-up window opens. Next, select the clients you wish to share the file with (see image below).
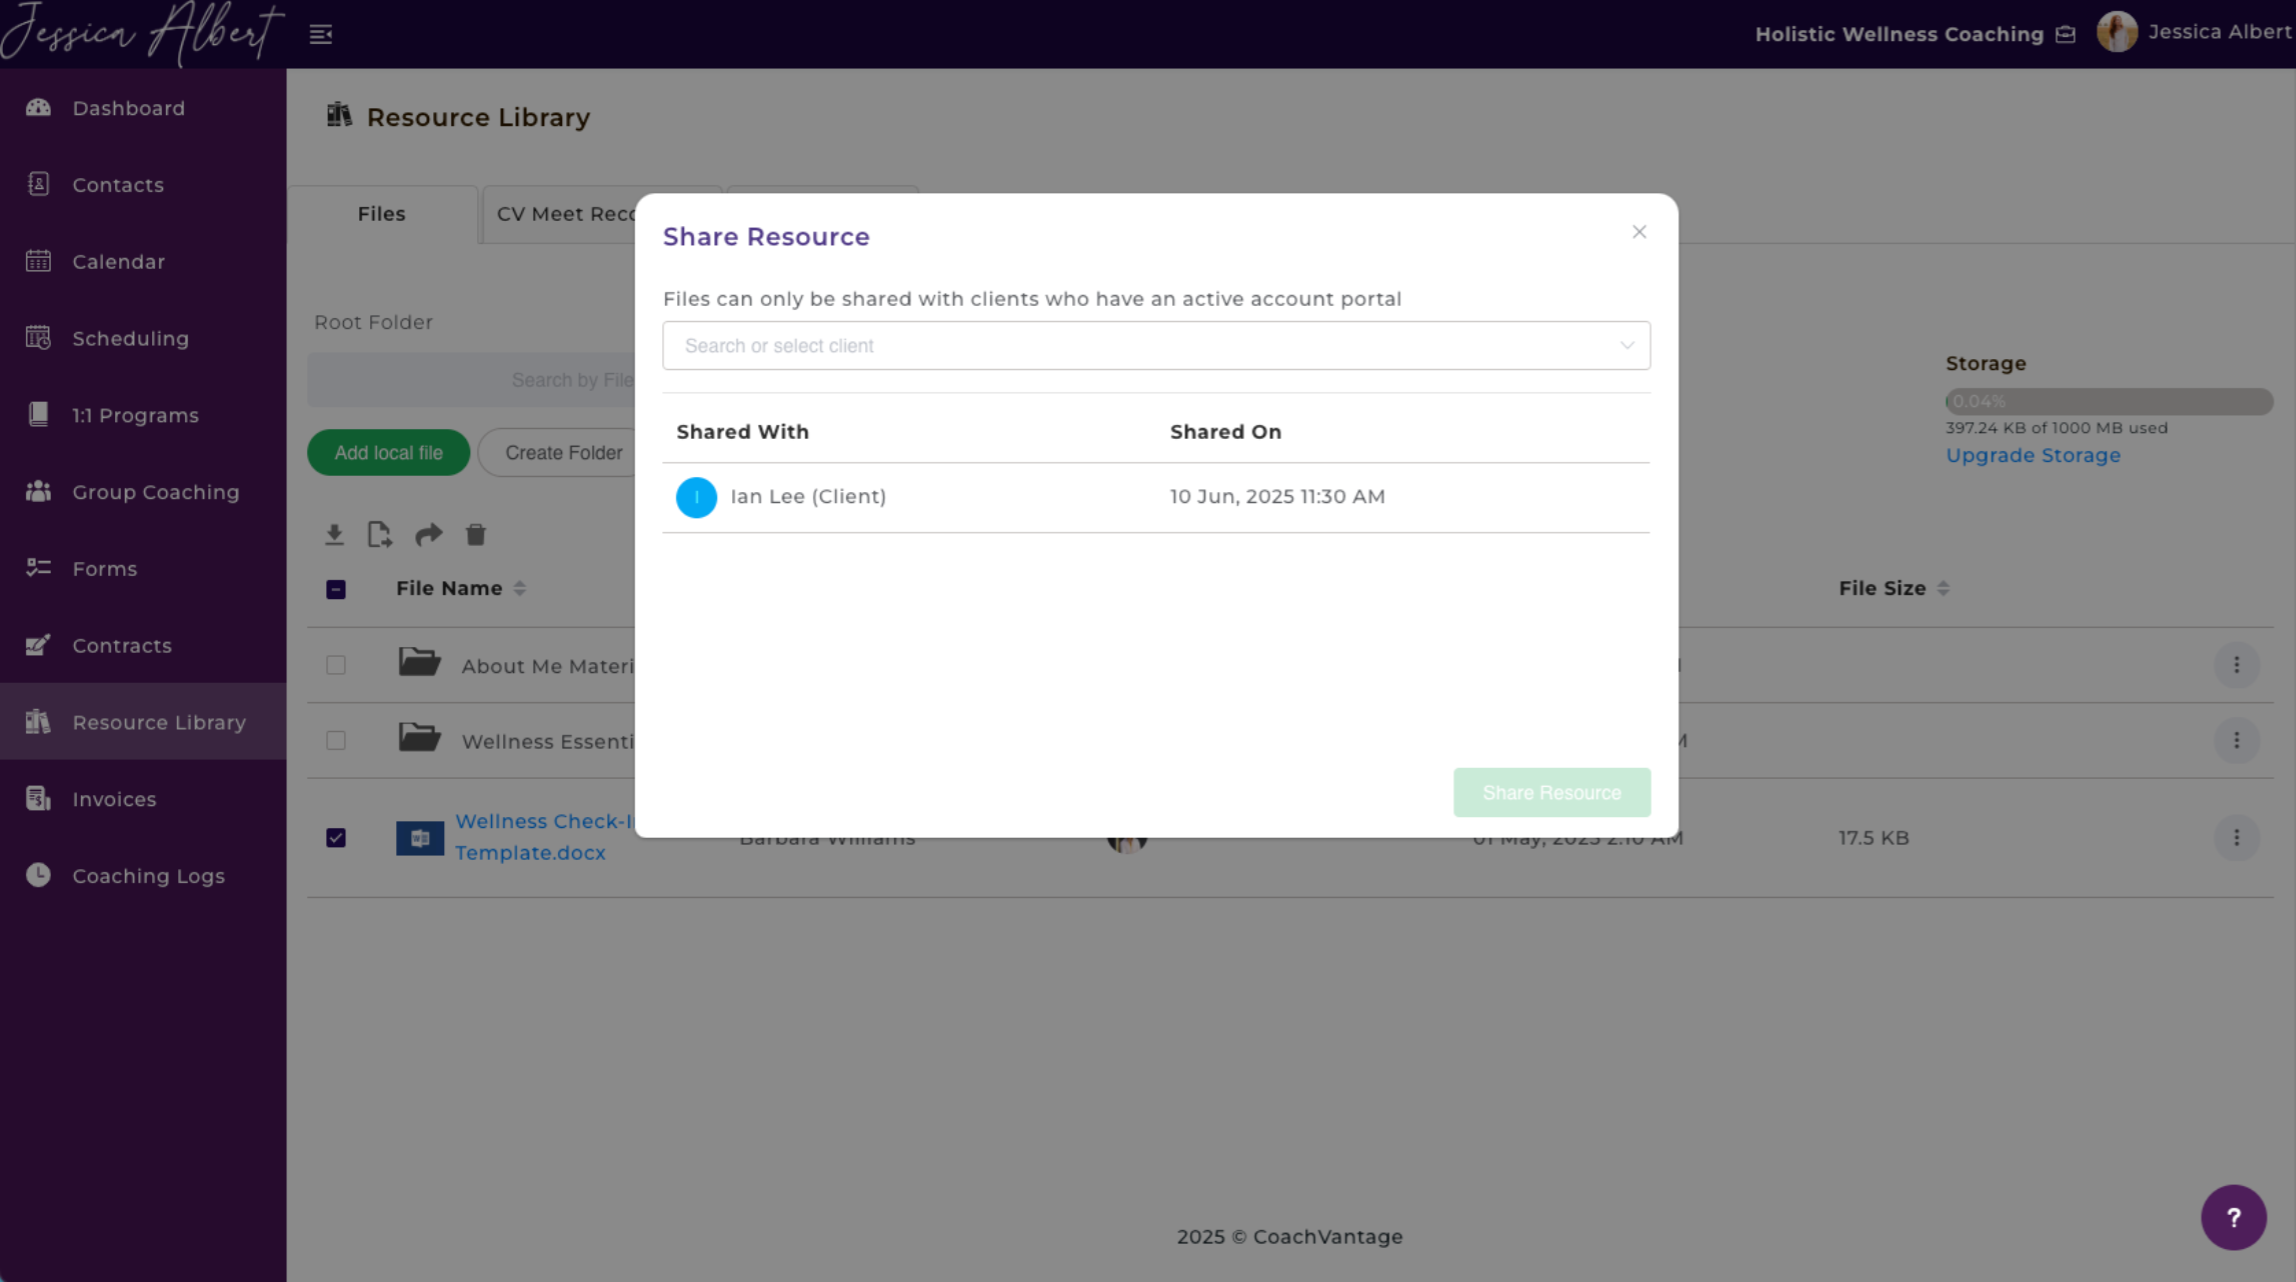
Once you have shared a file with your clients, their profile avatar or initials will be displayed in the Shared With column (see image below).
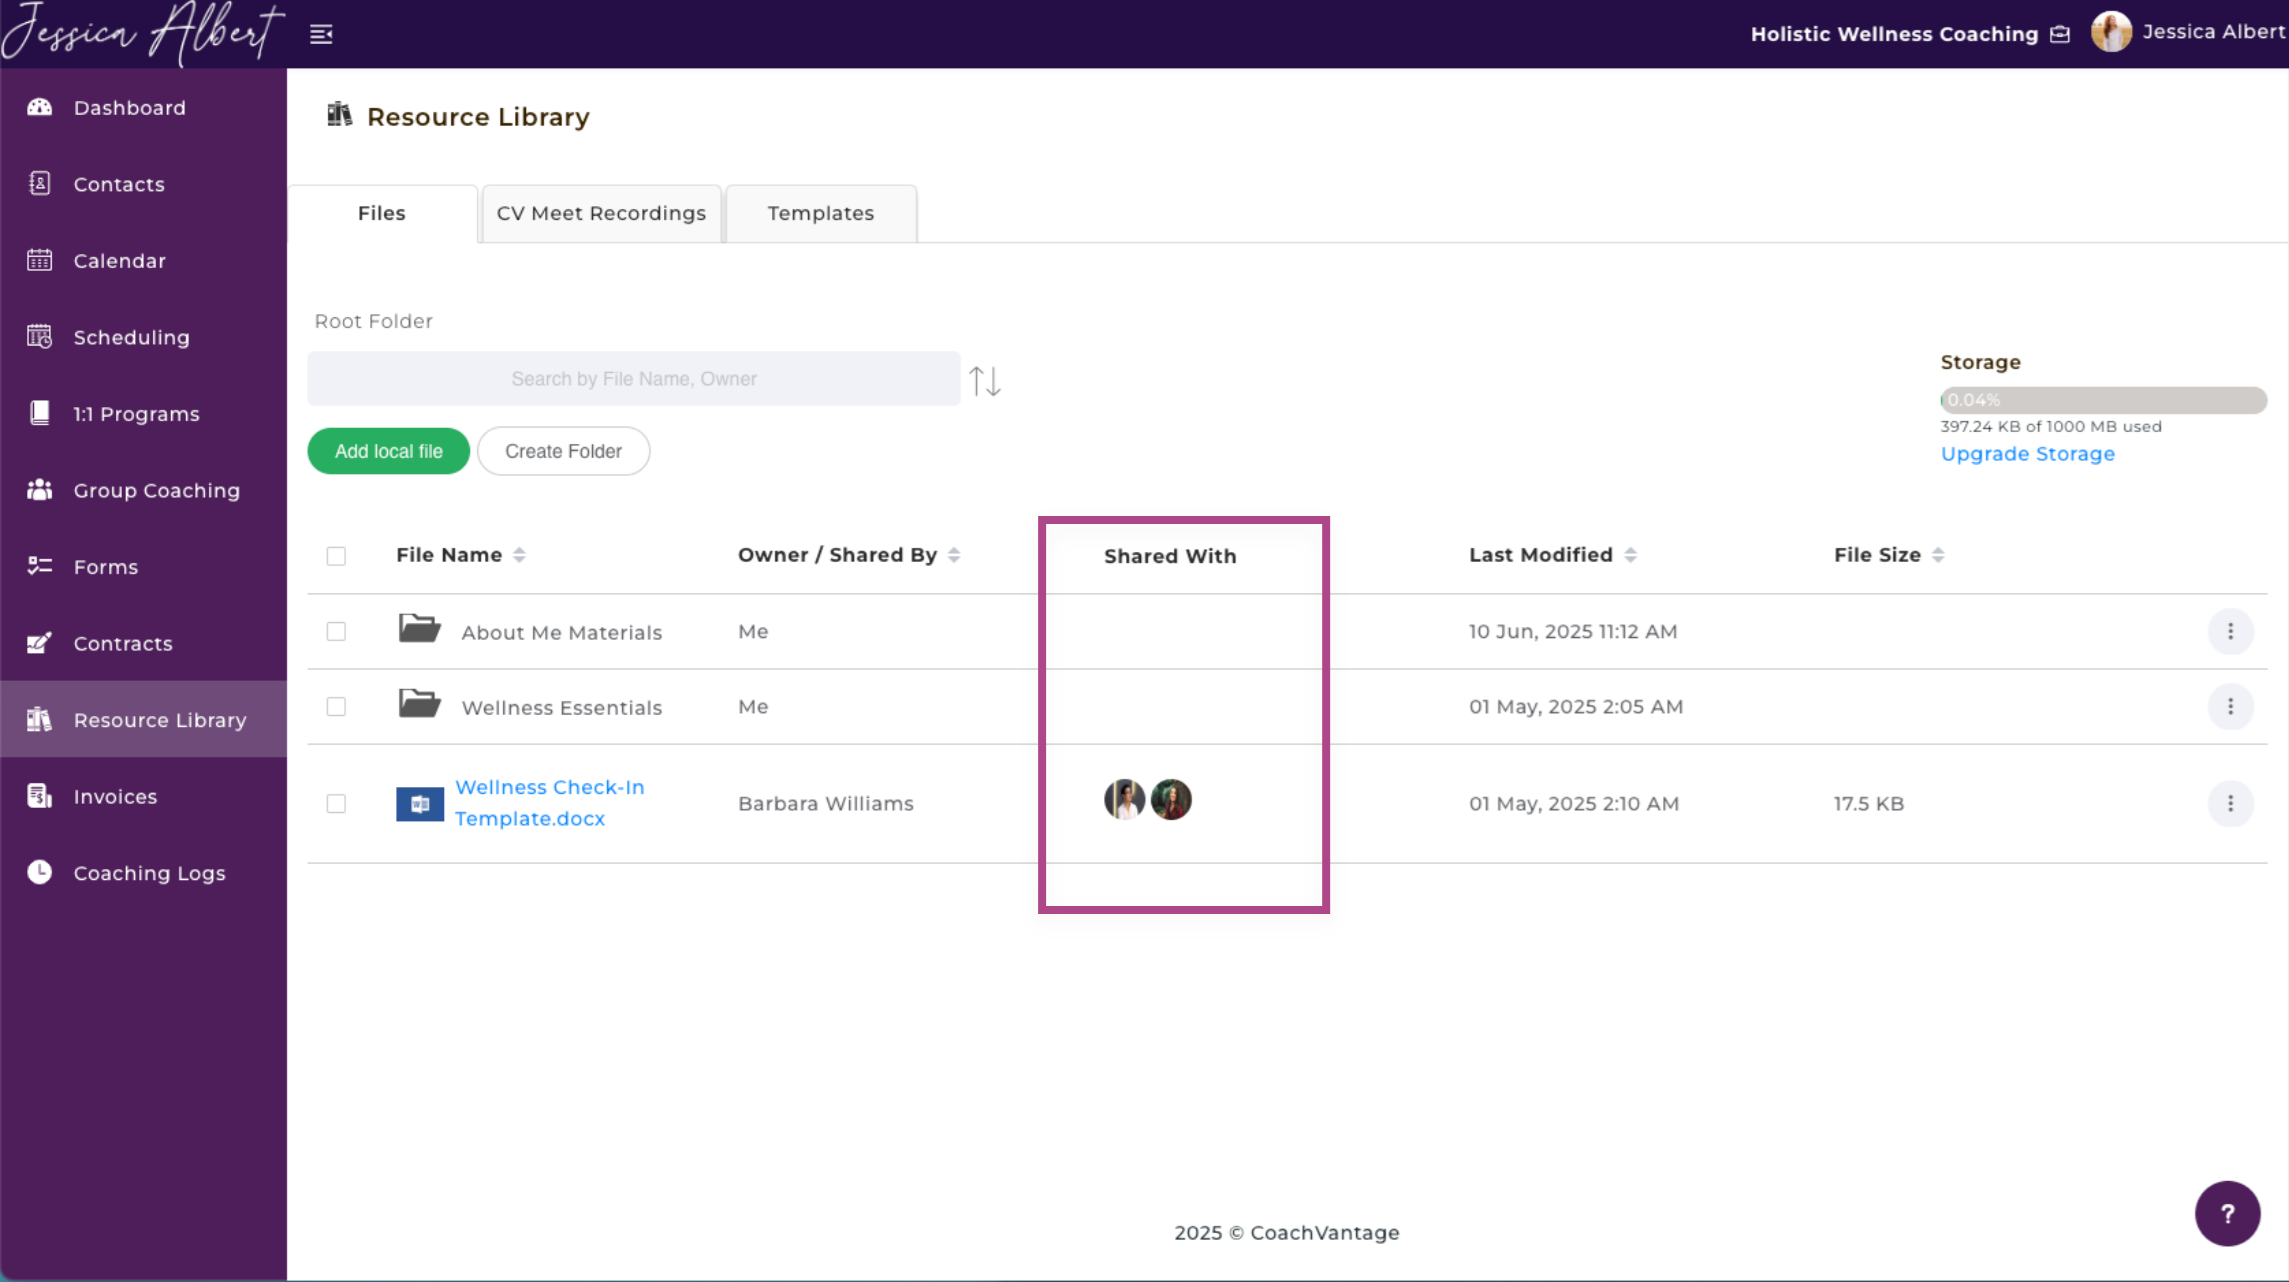
Tip: Hover over the profile image to view the name of the client.
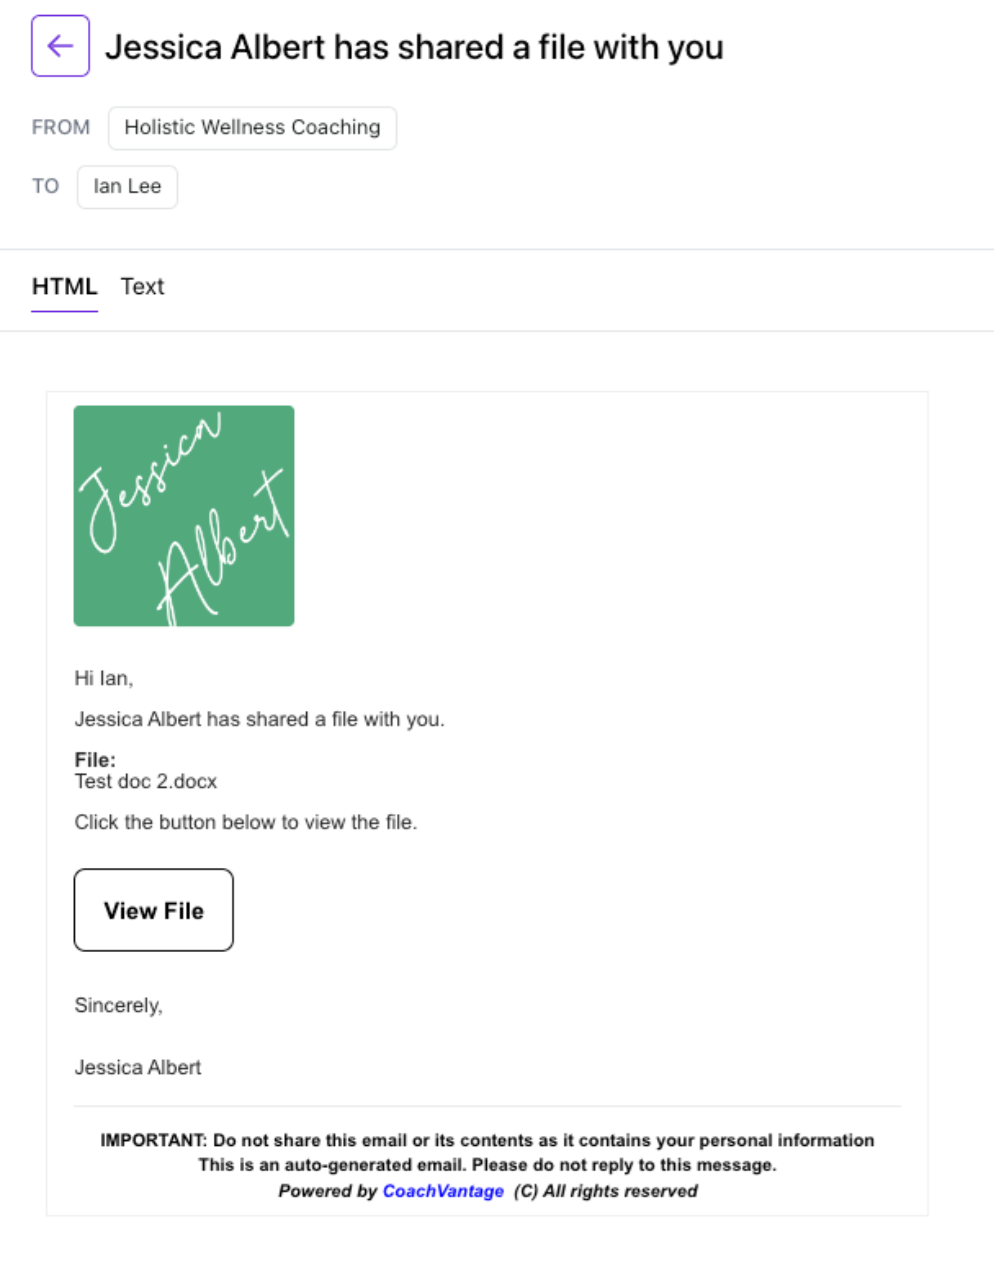
Note: Whenever you share files with clients, CoachVantage will send an automated email to notify them that you've shared a file.
2. Individual Contact Record Page 🧑🦳
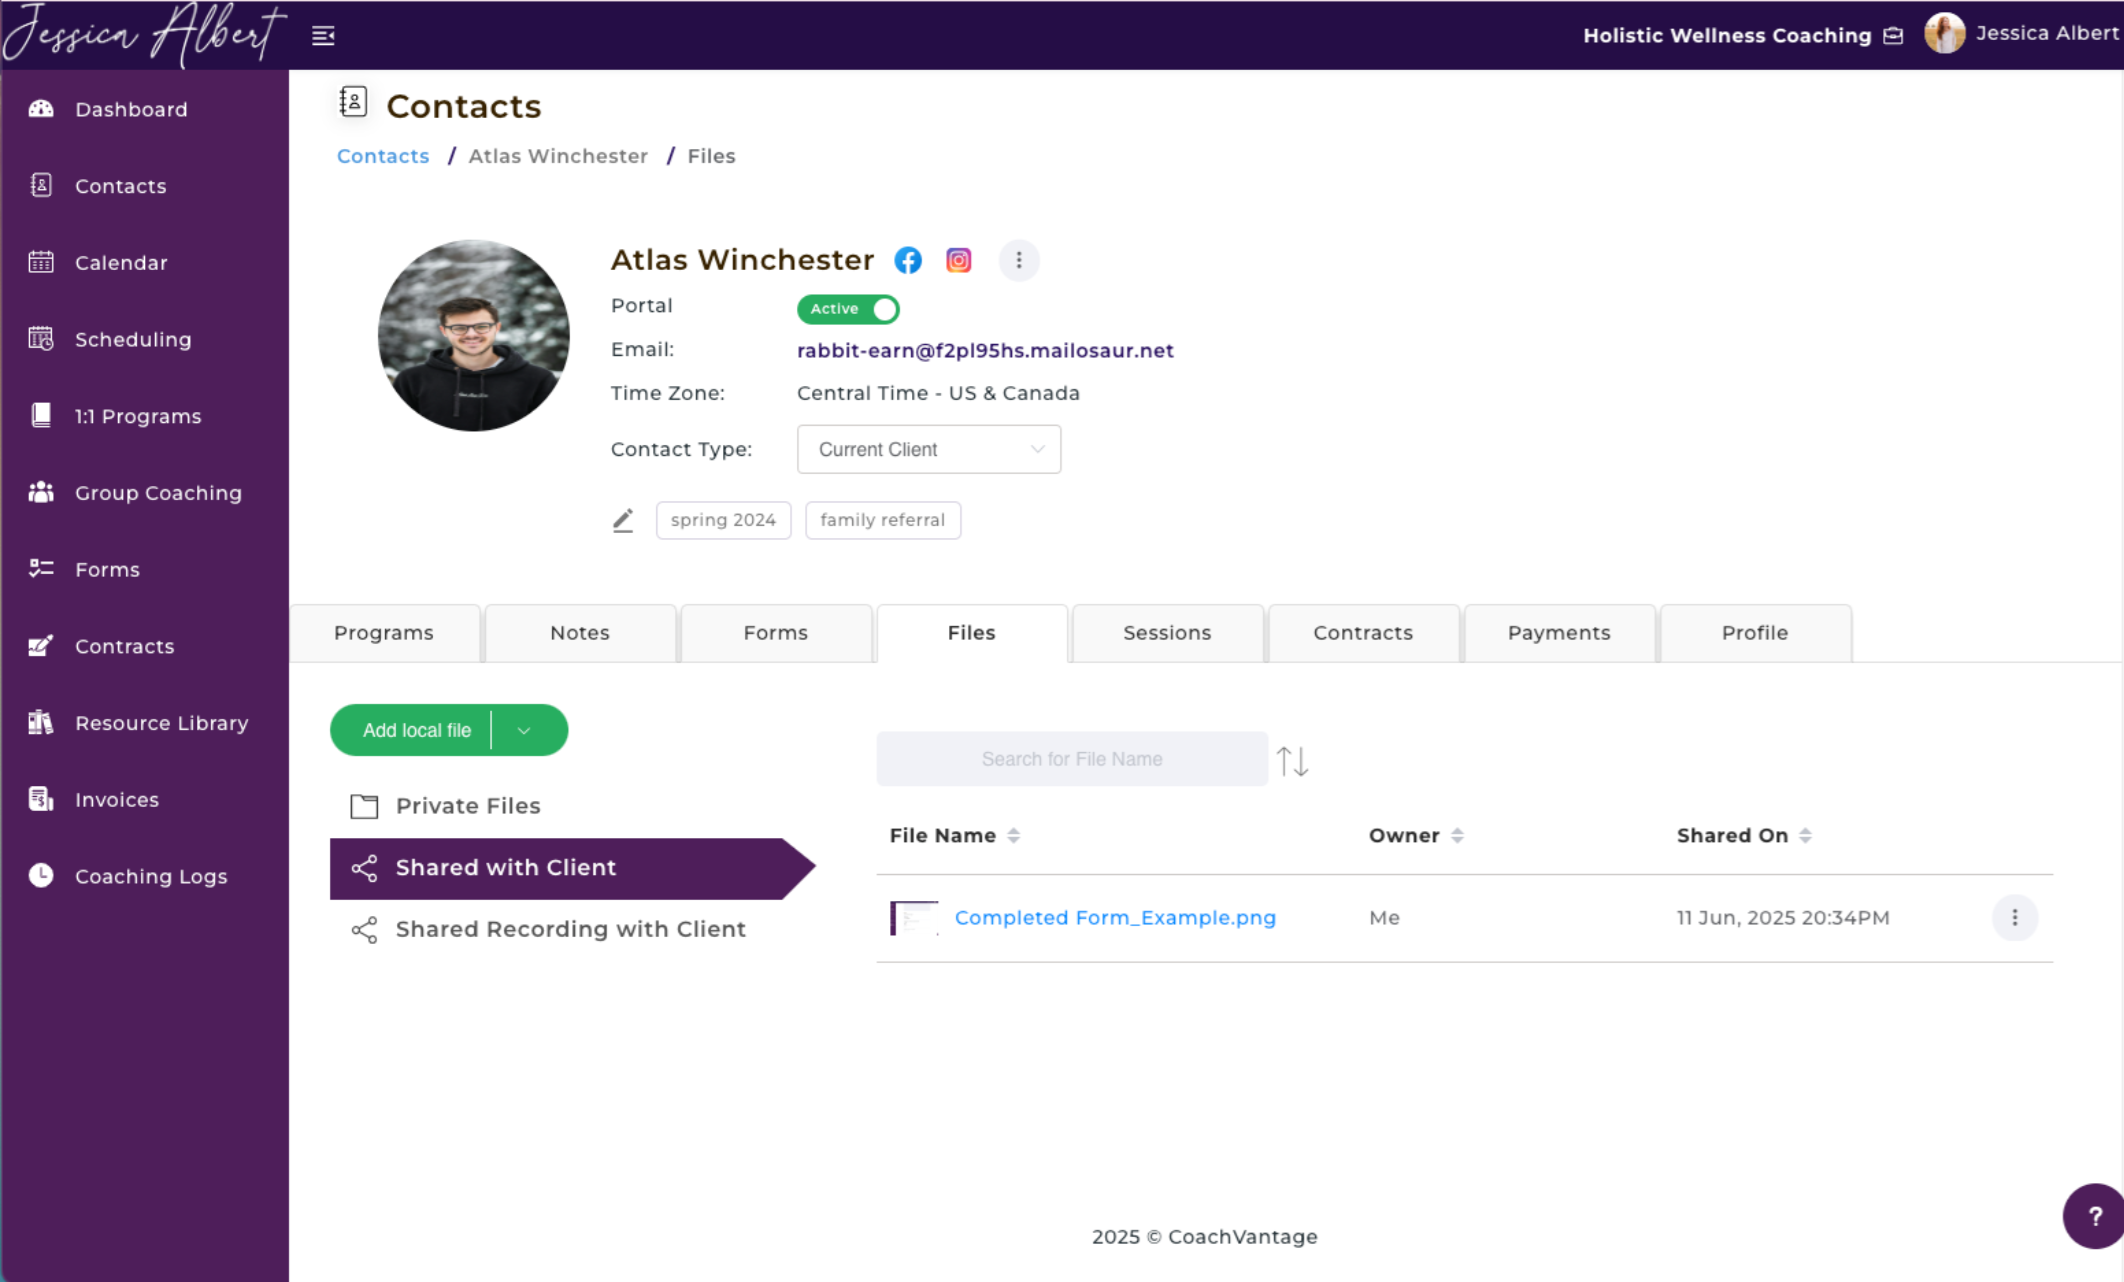
Go to an individual contact record page and select the Files tab.
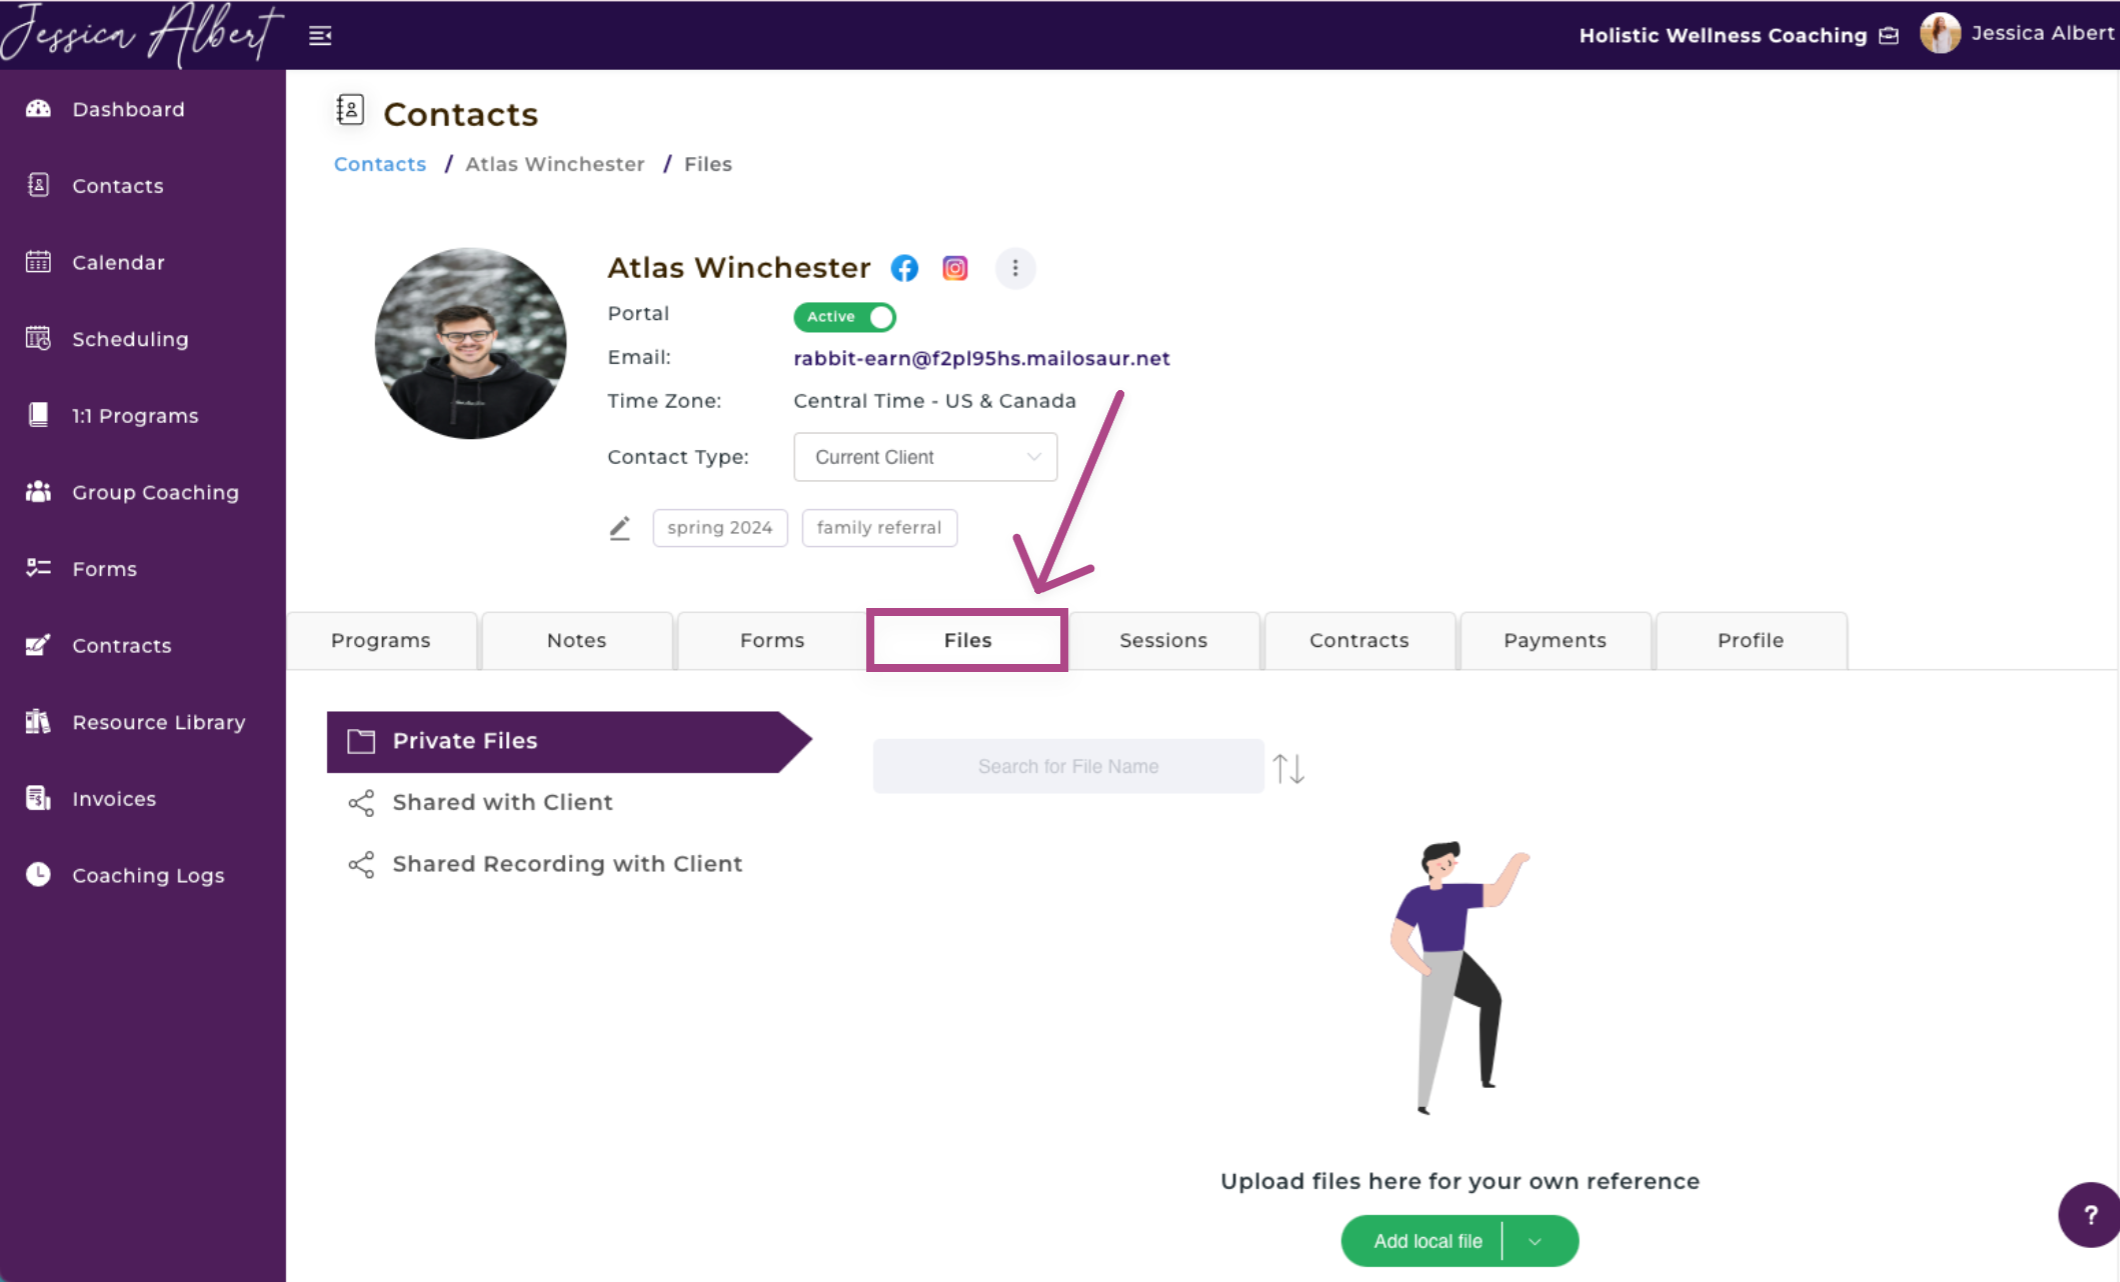
The Shared with Client feature enables you to share files and documents with your contact.
All common file formats or documents can be uploaded and shared with your contacts. These include PDF, DOC, CSV, XLS, NUMBERS, WAV, MP4, etc.
This feature allows you to share files with your contacts, even if they are not enrolled in a coaching program. For example, you may wish to share a video or an interesting article with your contact. The shared file will not be associated with any coaching program. (Refer to Section 3 of this article if you'd like to learn how to share files with clients as part of a coaching program engagement).
Tip: If you work as a consultant and you use CoachVantage because of the ease of sharing files and documents with your consulting clients, this feature would be ideal for you!
IMPORTANT: In order to share a file with a contact, they must first have an active client portal.
To share a file with a contact:
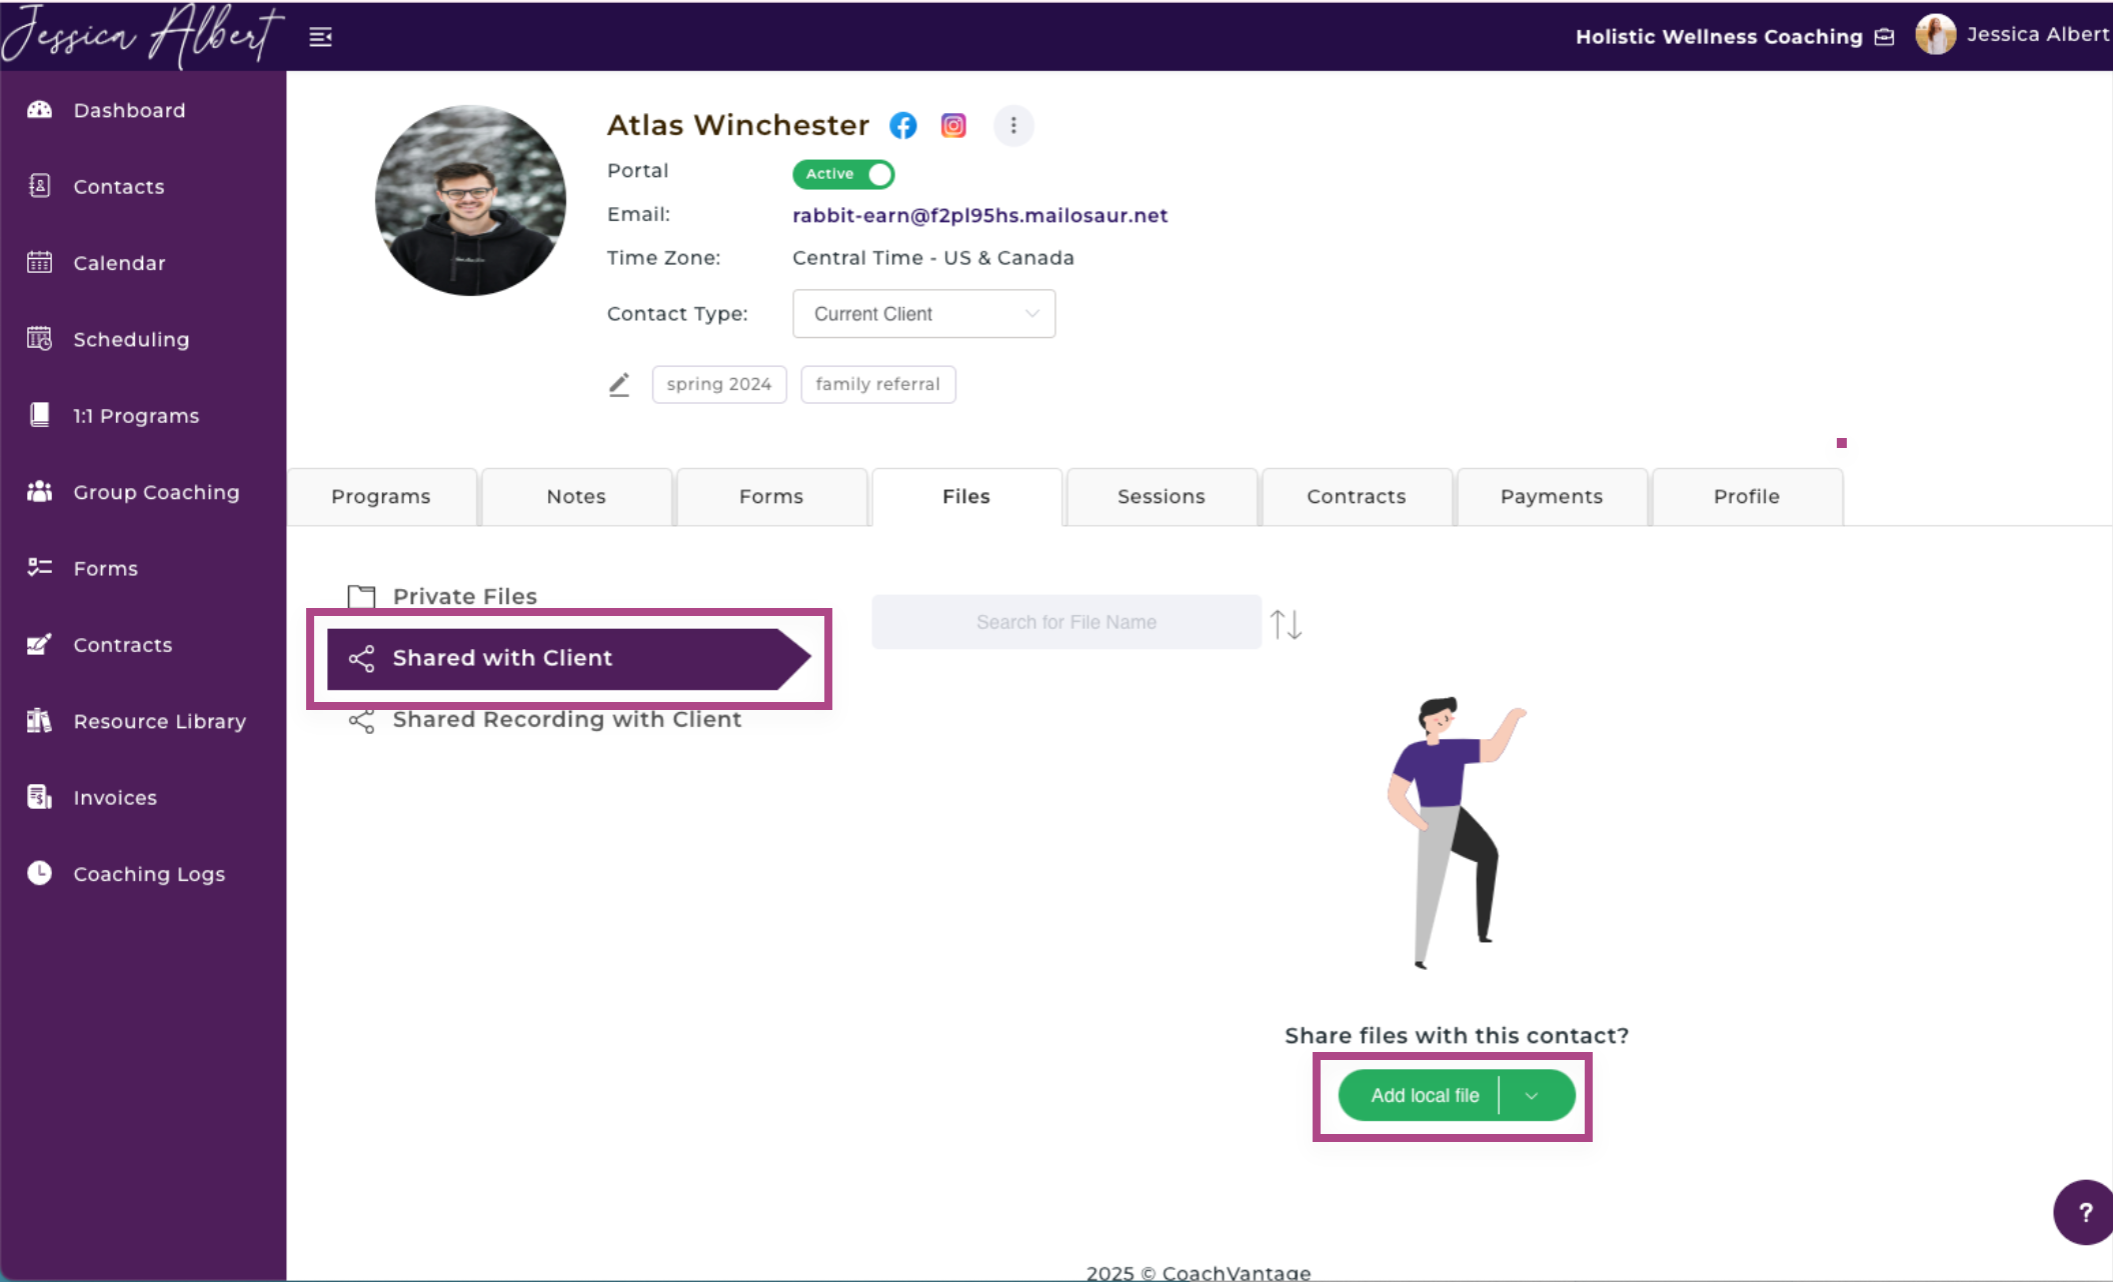
1. Click on the Shared with Client ribbon.
2. Click on the Add File button, select Add local file or Add file from resource library.
3. Click the Add button and the file will be added and automatically shared with your contact. They can access the file from the Client Portal > Resource Library page.

IMPORTANT: If you subsequently delete a file from your Resource Library after it's been shared with your contacts, the shared file will be removed from the Client Portal as well, and will no longer be accessible by your contacts. You will be prompted and reminded about this before you delete a shared file from your Resource Library.
Once you've uploaded a file, CoachVantage will automatically notify your contact by email that a file has been shared with them.
3. Program Management Page 🗒️
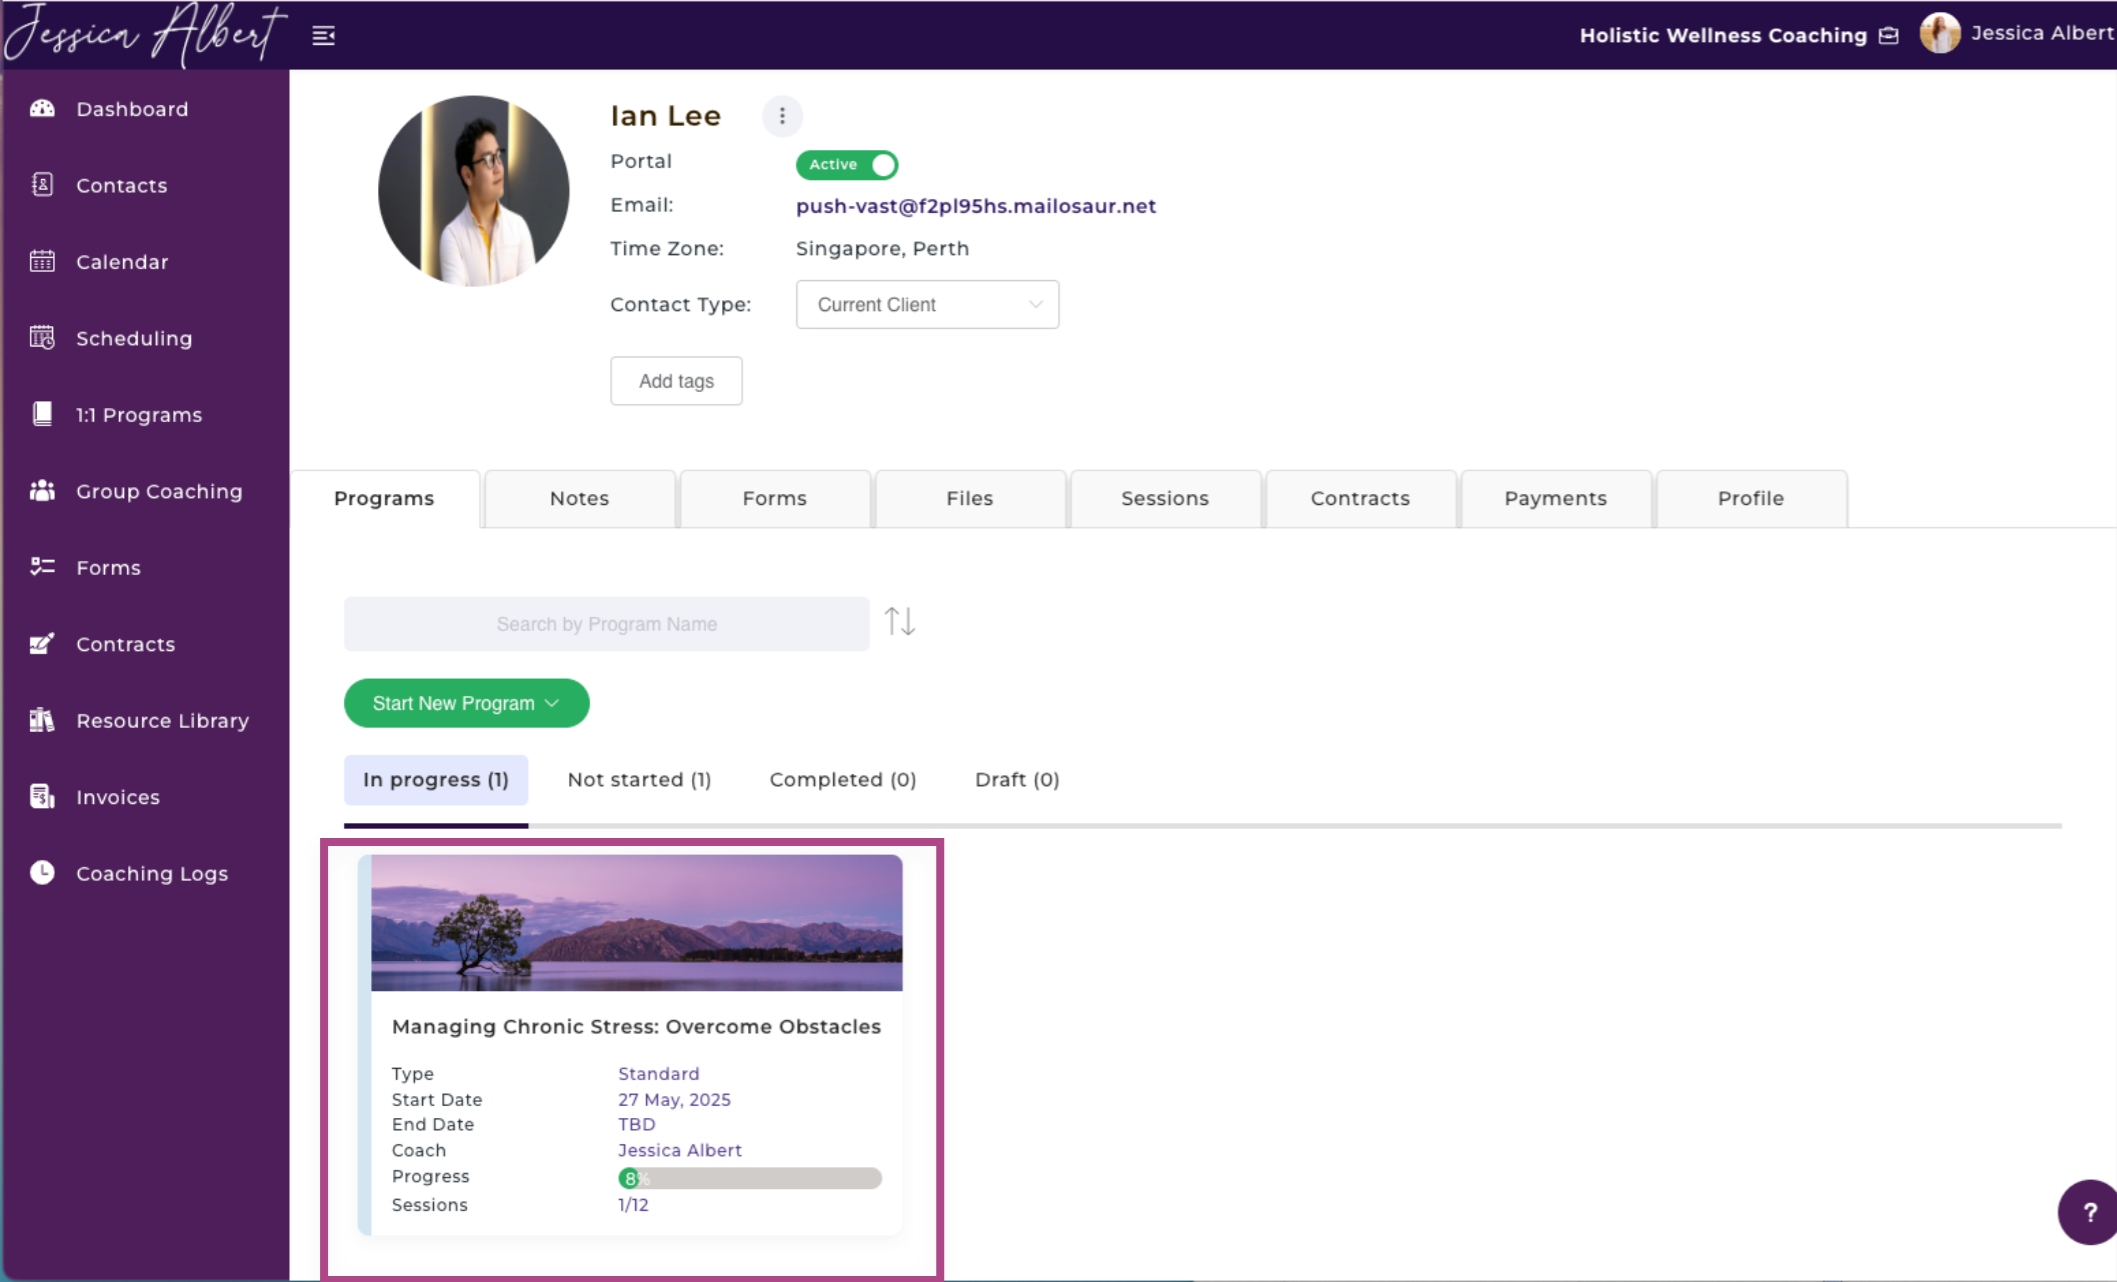
From an Individual Contact Record Page, click on the Programs tab and then select the coaching program card (see image below). This will open the Program Management Page for a specific program that your client is enrolled in.
You have the ability to share Resources with your clients, such as documents, files videos, PDFs, etc. The client can access shared resources from the Client Portal.
Note: Resources can only be shared with your clients if they have an Active Client Portal.
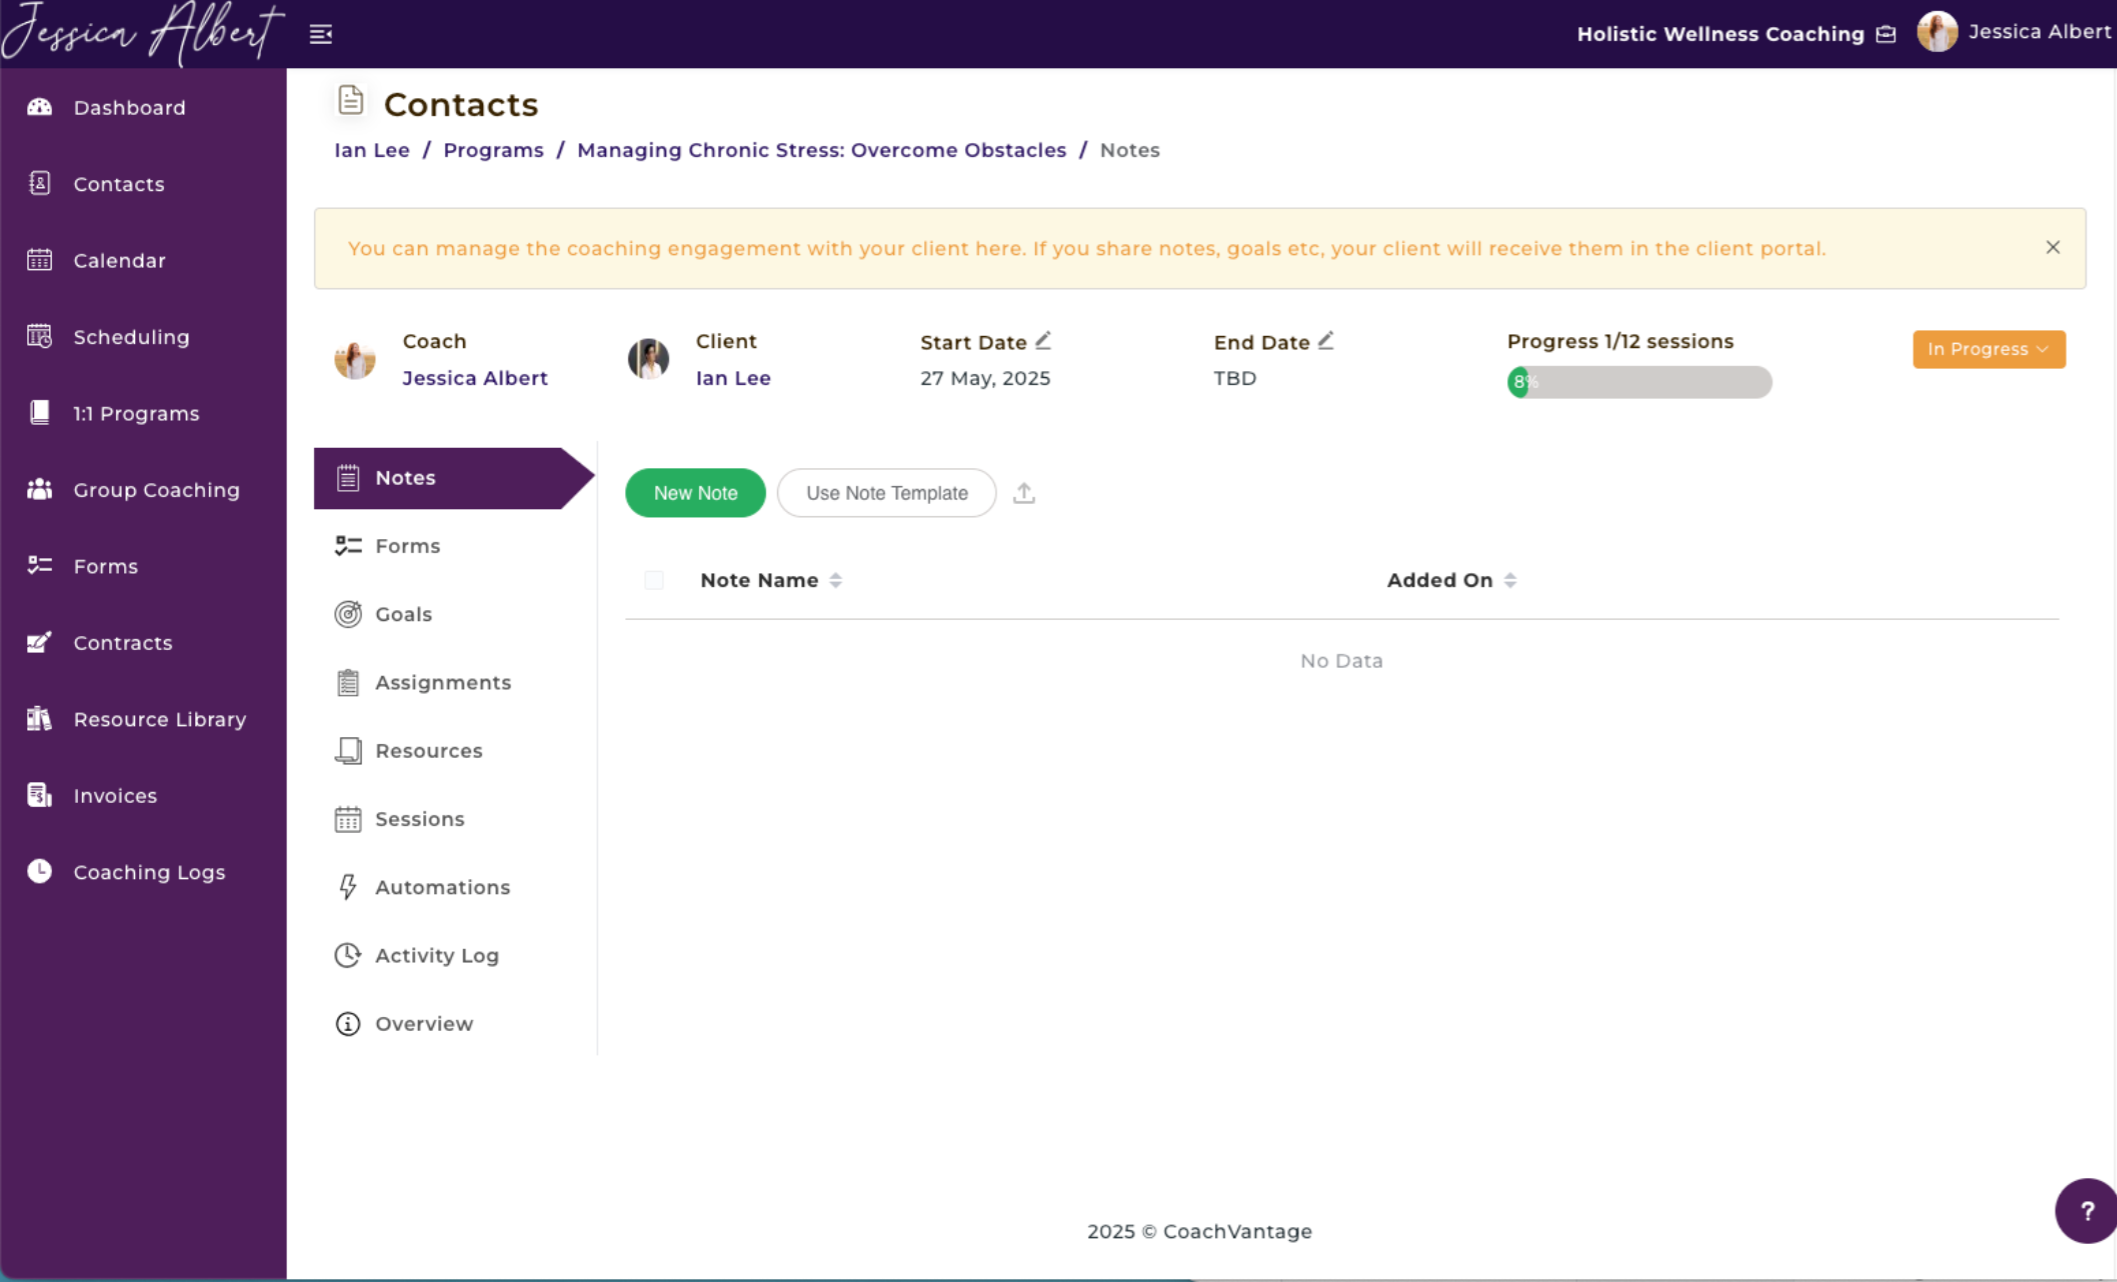
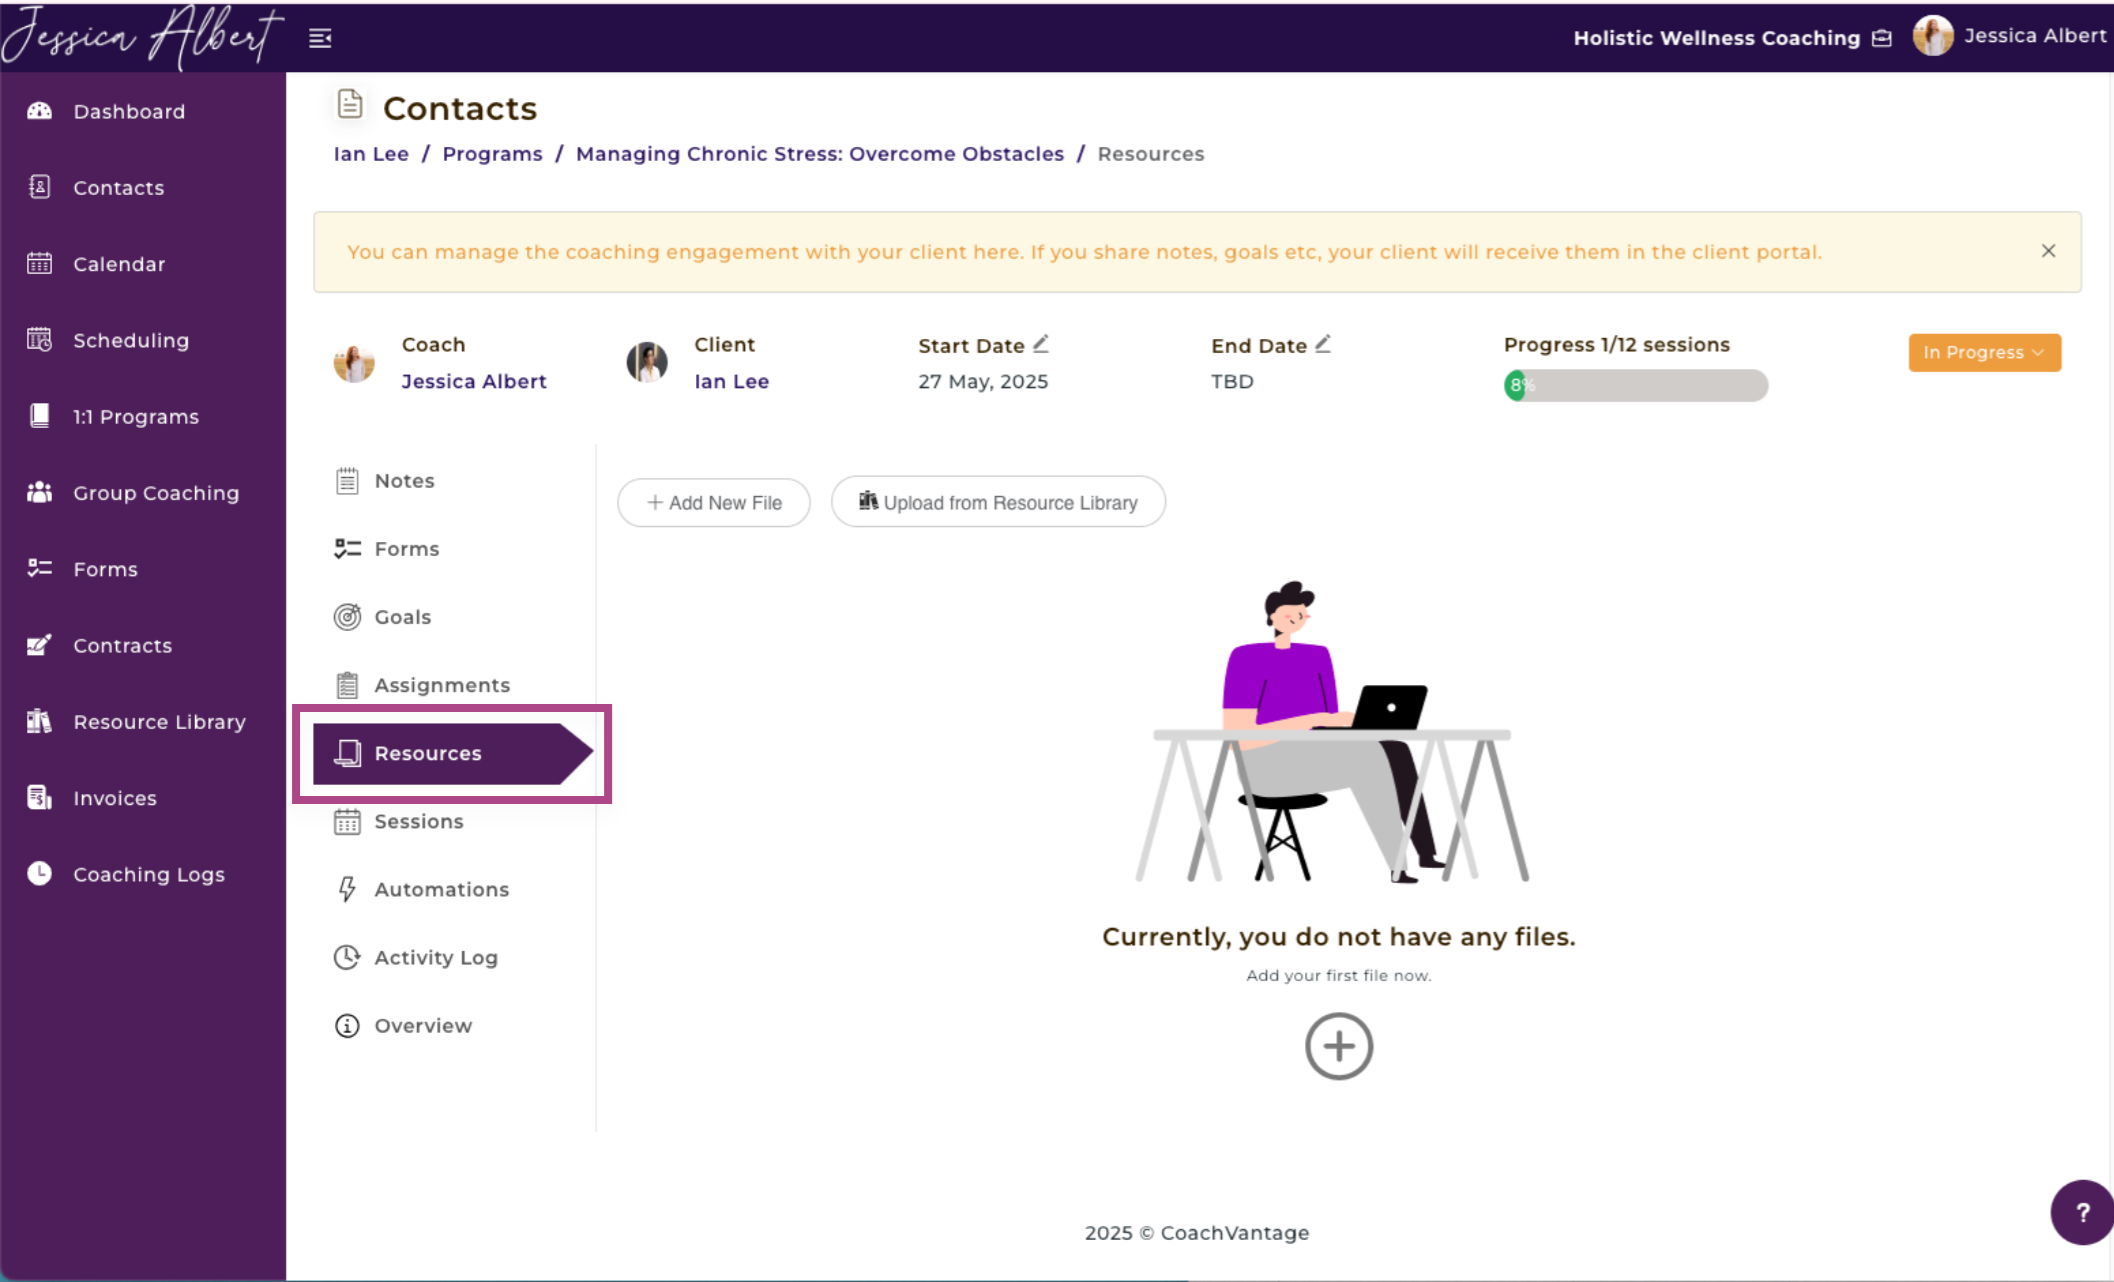
Click on Resources in the sub-menu (see image below) to open the Resources page.
Sharing Resources (Documents / Files) with Clients 🖇️
You can share files that are located on your local device or PC, as well as files that may be residing on cloud services such as Google Drive, Dropbox, Evernote, etc.
You can also share files that you have already uploaded to your CoachVantage Resource Library (refer to the section below on how to share a file from your Resource Library).
Note: Your client can also share resources with you from the client portal, following the same steps as described below.
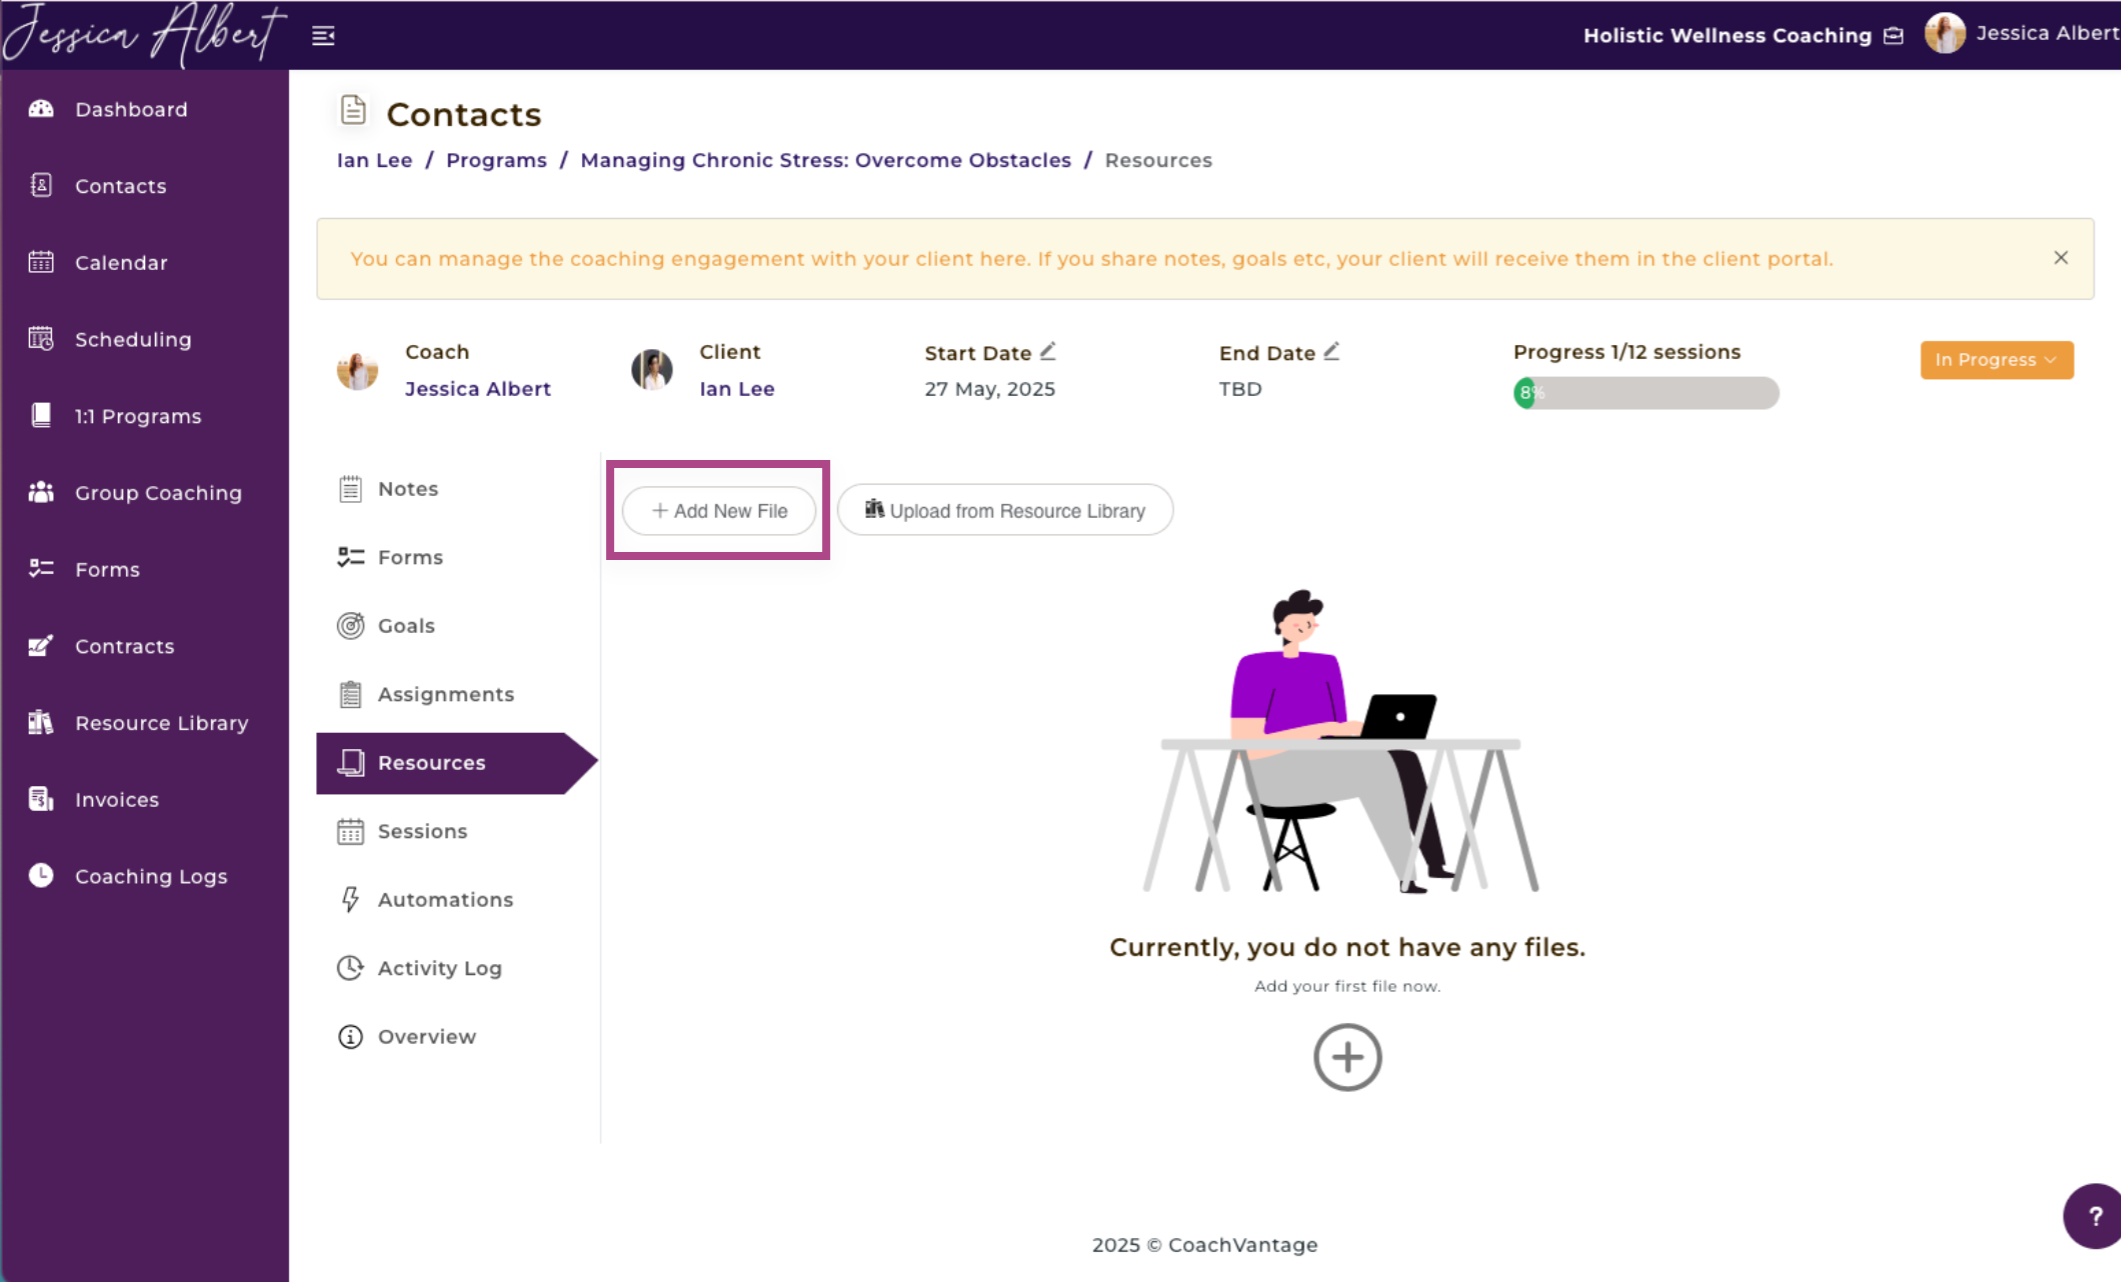
To share a local file
1. Click on the Add a New File button.
2. The upload widget pops up.
3. Click on the Choose a local file button in the widget to upload a file from your local device. Or, select from a source origin using the left menu of the upload widget. Wait for the file to be completely uploaded. If your file is large, this may take some time. When file upload is 100% completed, click on the Done button in the widget.
4. The file is now successfully uploaded and shared with your client.
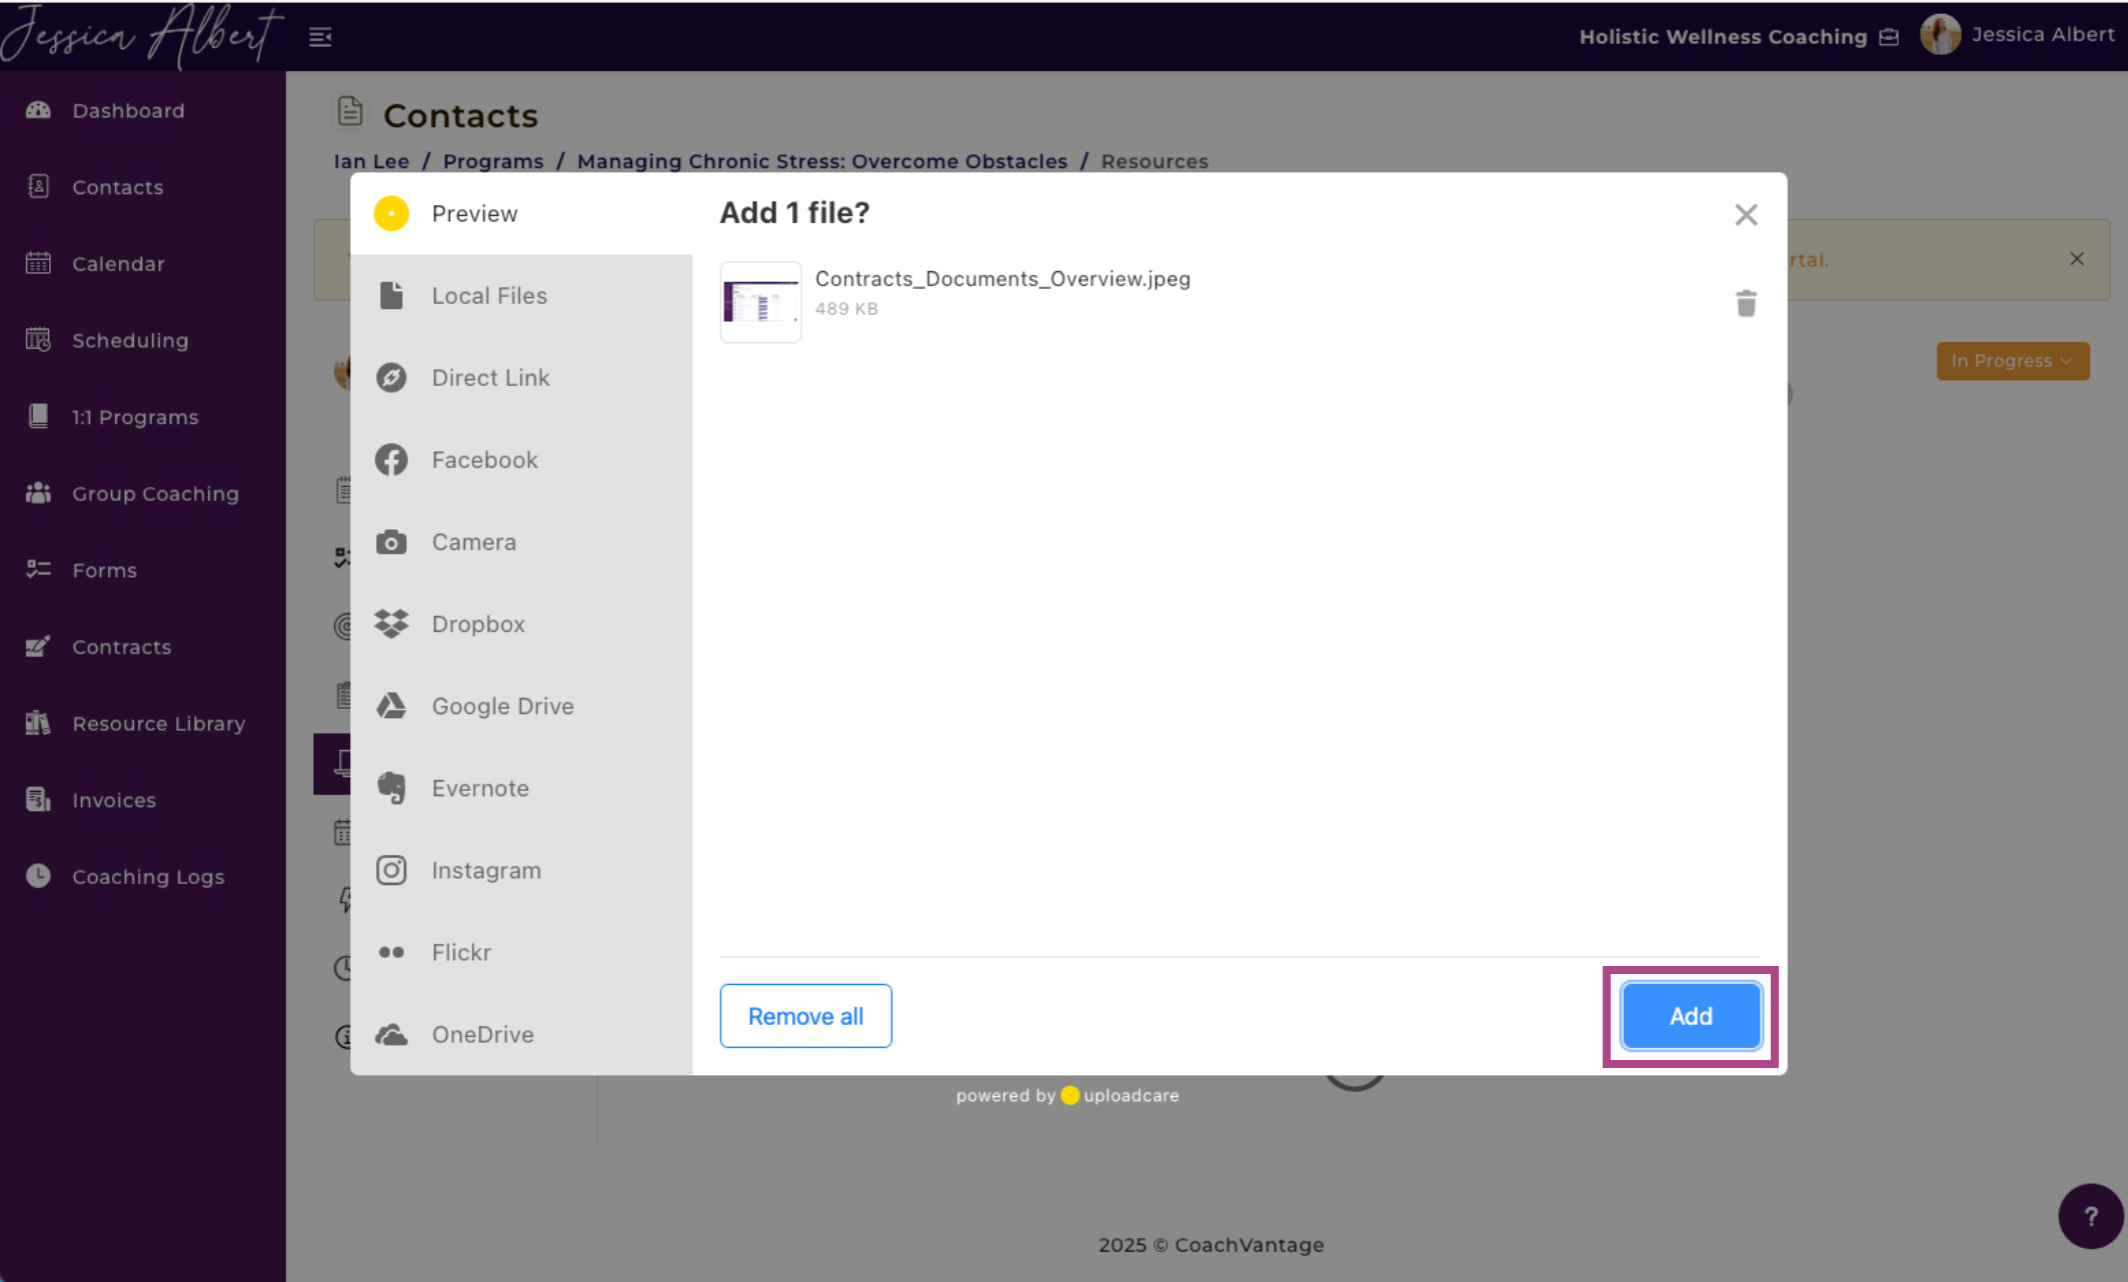
Upload Widget:
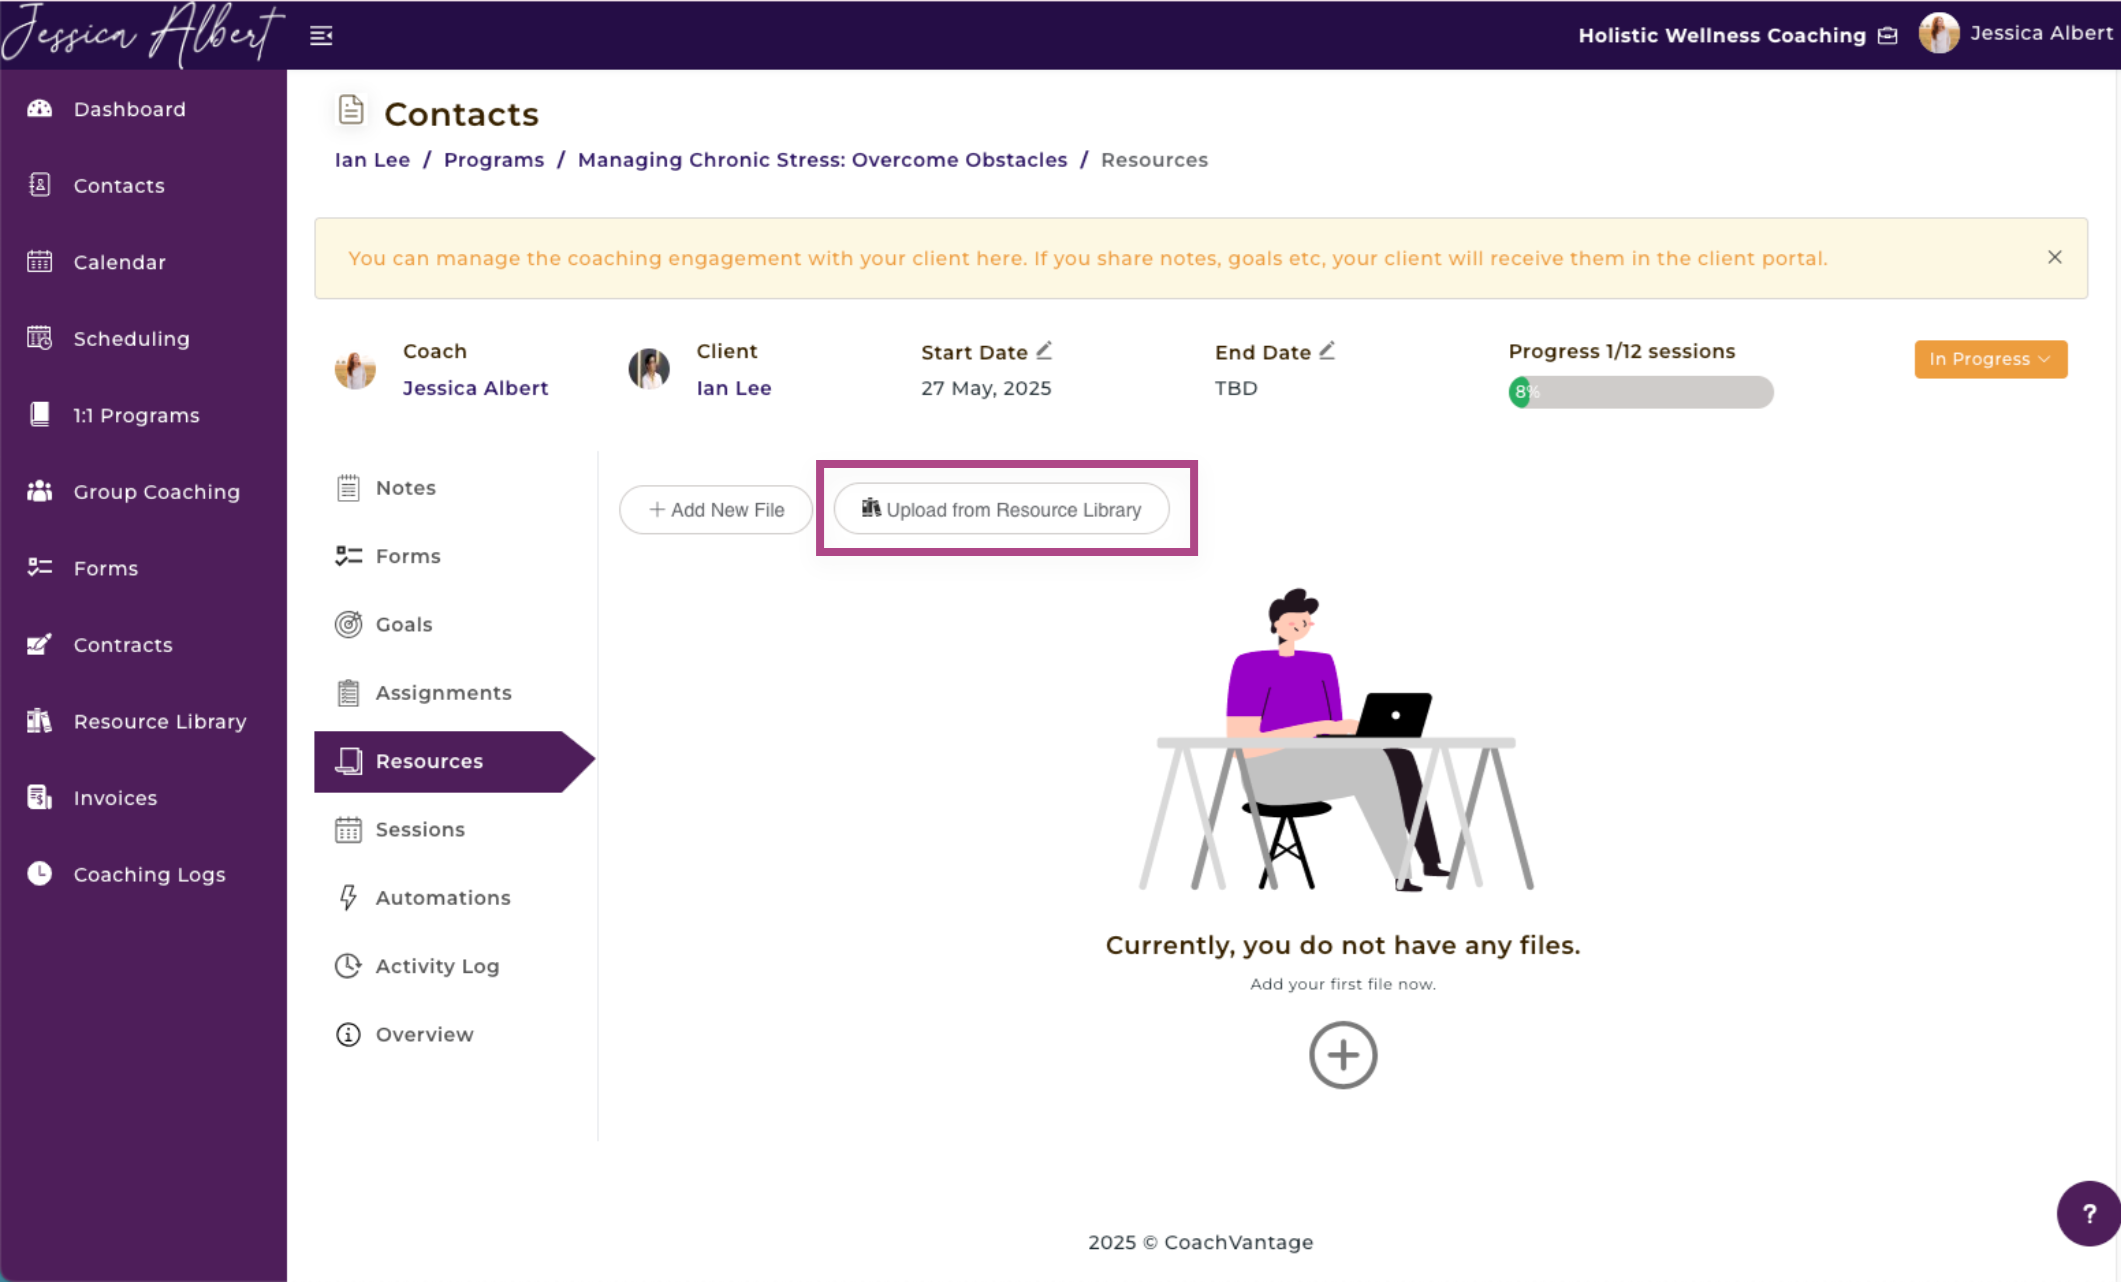
To share a file from your resource library
1. You also have the option to share files from your Resource Library with your client. Refer to the Resource Library article for more details on how to use it.
2. Click the Upload from Resource Library button.
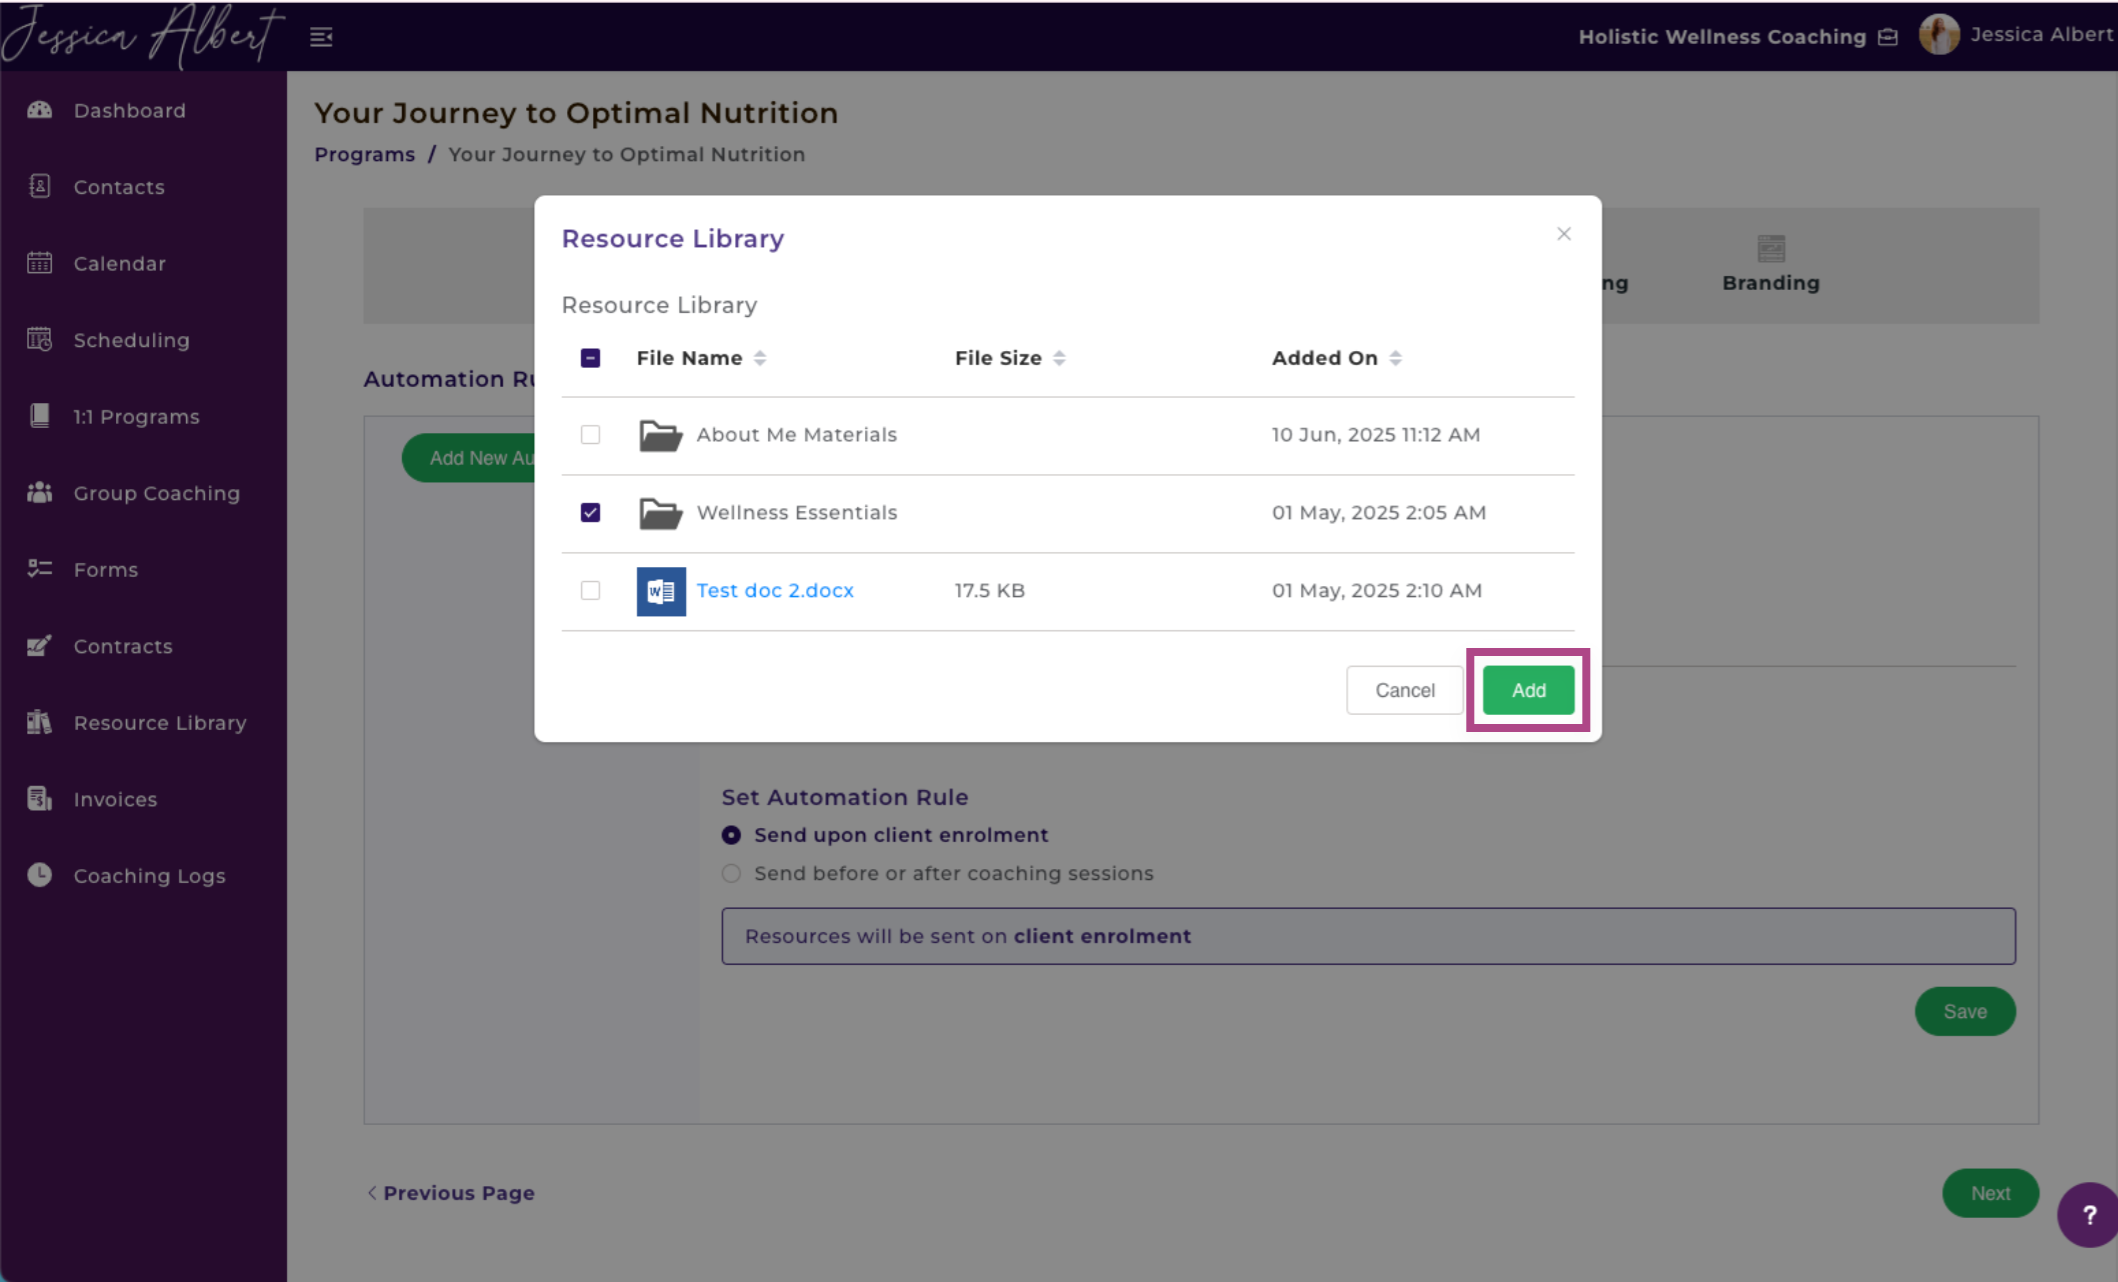
3. A window will open that lists all files and folders that you've added to your Resource Library. Use the checkbox to select the folders or files you wish to upload, then click Add. The file will be immediately shared with your client.
4. Include Files in Automation Rules ⚡️
Here is how you can have files that you'd like your clients to have access to immediately after they have enrolled into your program and have created their client portal:
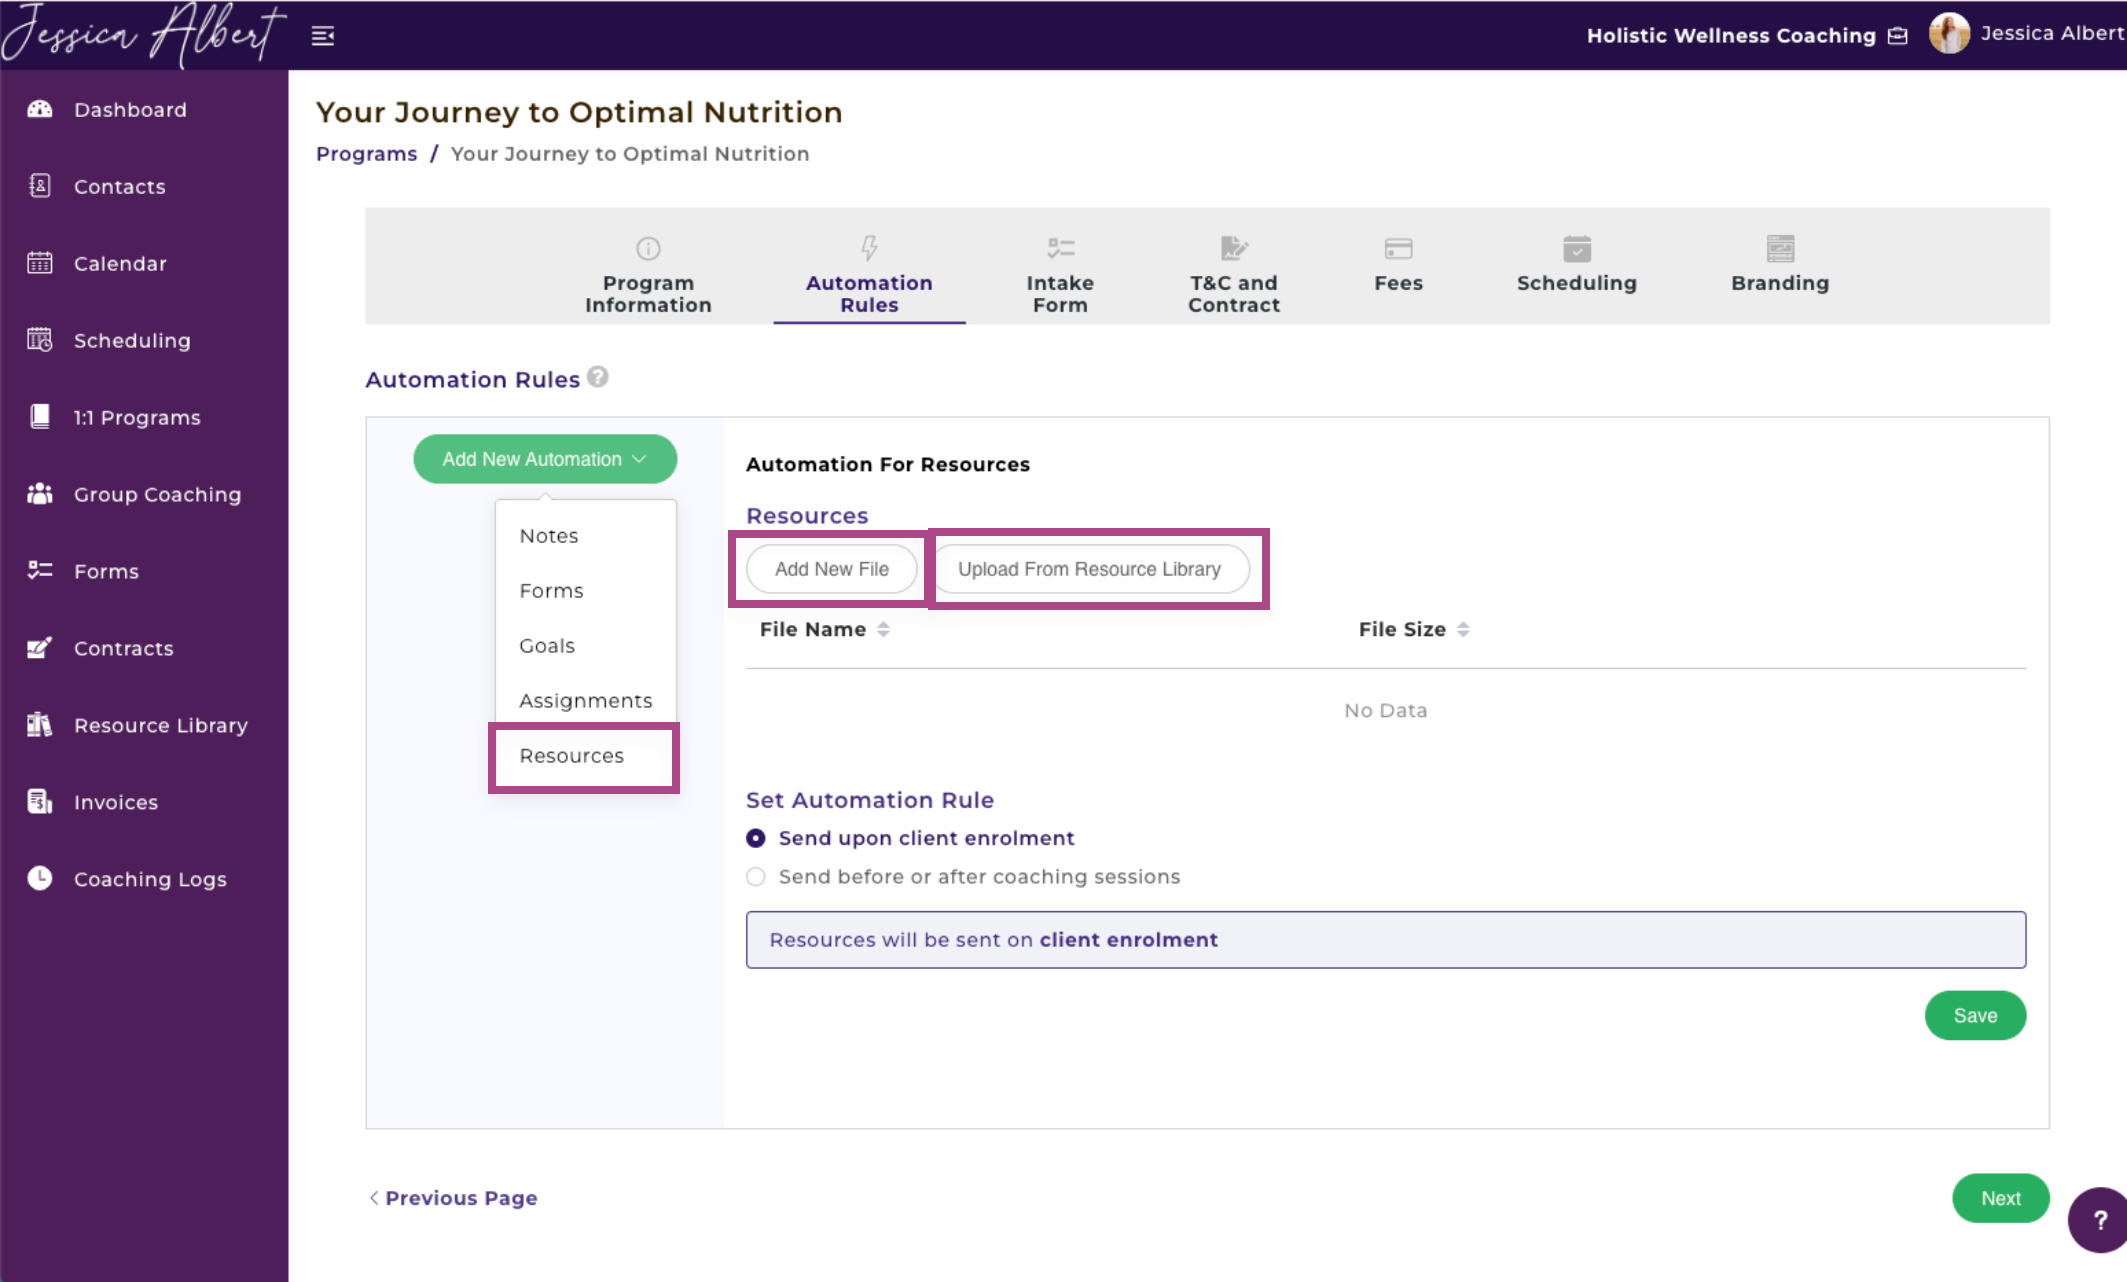
As you create a new Coaching Program, the Automation Rules step will allow you to add files (see image below).
Tip: This method of sharing files with clients is therefore very useful to automate the client onboarding process when they sign up for your coaching program. It enables the files to be immediately accessible by your clients from the client portal, thus saving you administrative time as you will not need to manually send files via emails to clients.
- Add New Files
An upload widget will open and you can select the source origin of the file that you wish to upload from your local drive or PC or from other source origins such as Google Drive, Dropbox, One Drive, Facebook, Instagram, etc.
Once you've selected the files you wish to upload, click Add.
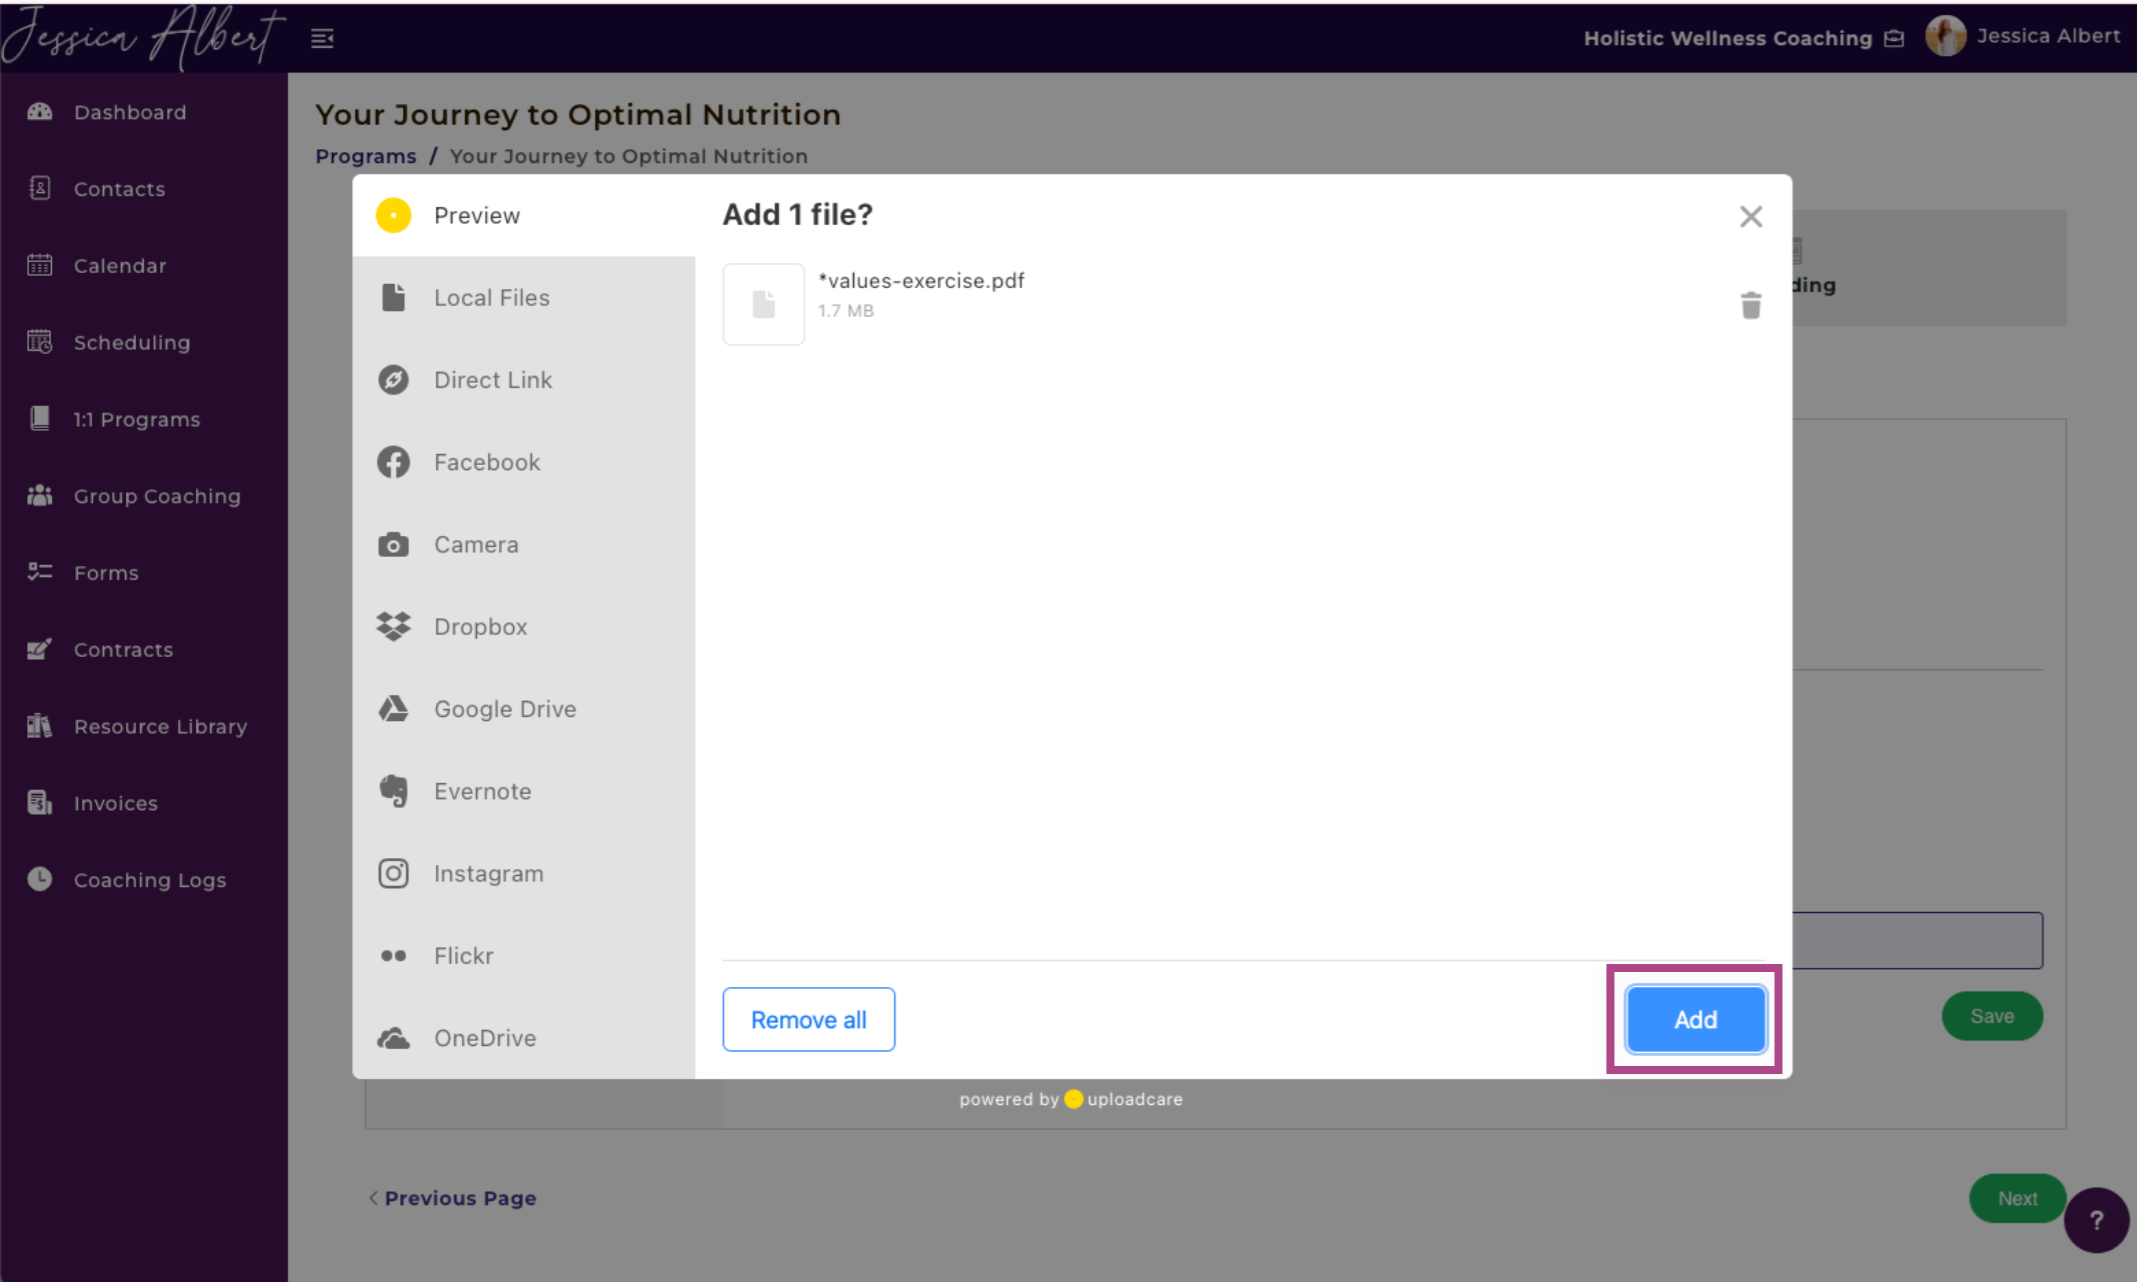
Note: When you upload a file directly while creating a program (as described above), it only gets uploaded there. It will not be added to your Resource Library page.
- Upload From Resource Library
You also have the option to upload files from your Resource Library to your program.
Refer to the "Resource Library" article for more details on how to use it.
To add a file from your resource library, click the Upload From Resource Library button.
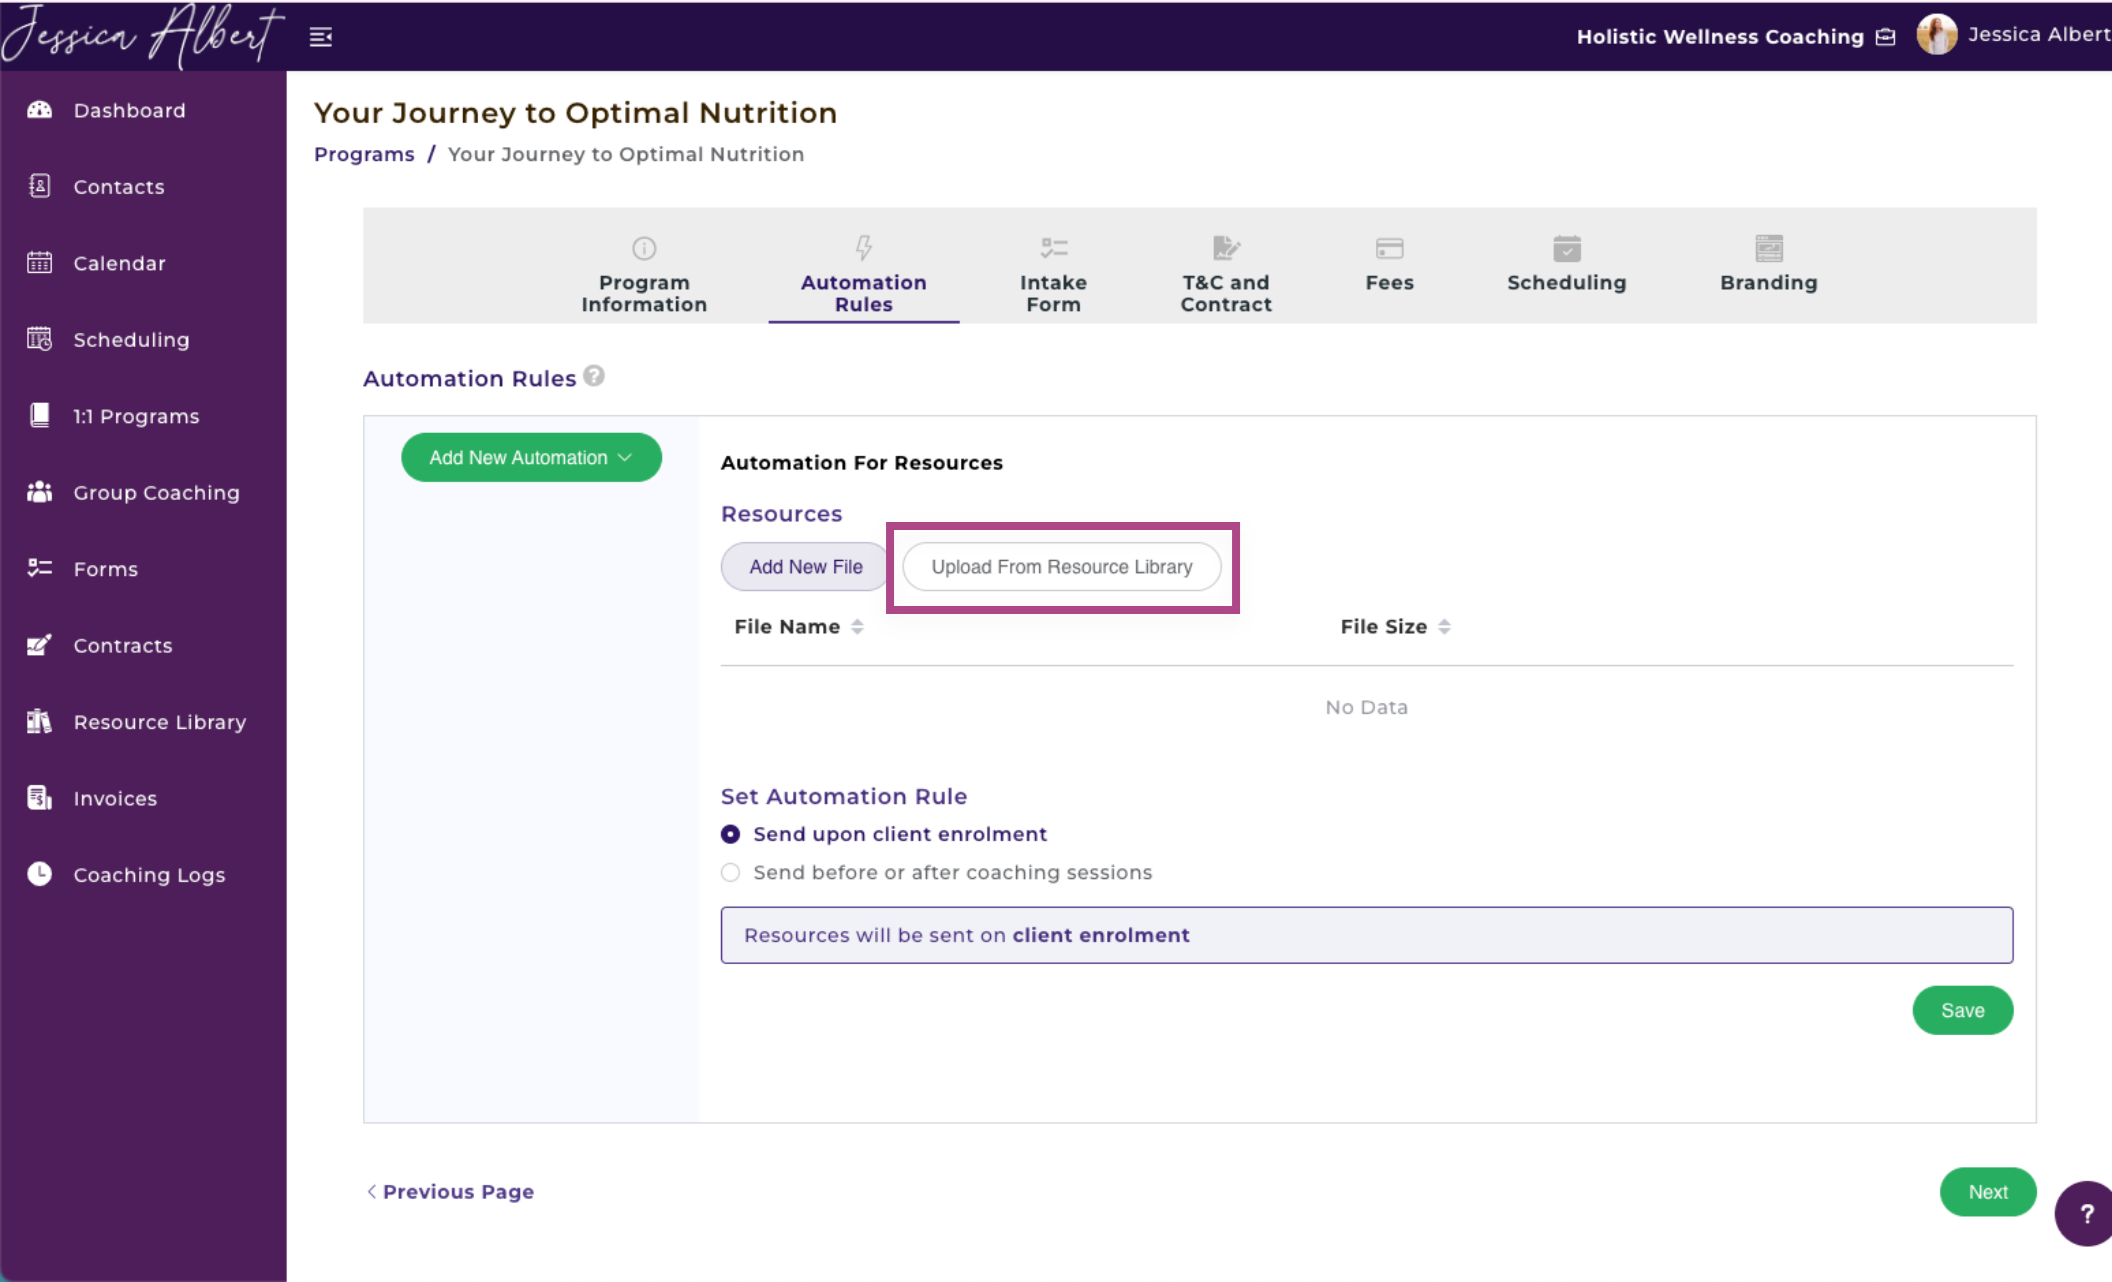
A window opens that lists all files and folders in your Resource Library. Use the checkbox to select the files you wish to upload, then click Add. The file or folder will be uploaded to the program.