Files on Individual Contact Record Page
Overview
The Files tab on the Individual Contact Record Page gives you the ability to upload private files / documents (for your eyes only) as well as to share files / documents with a contact. You can upload various file formats such as documents (.doc, .pdf), spreadsheets (.xls, .pages), videos (.mpeg, .mov, etc), images (.jpeg, .bmp, etc), audio files (.mp3, .wav, etc).
IMPORTANT: In order to share files with a contact, they must have an active client portal. This is because shared files can only be accessed by your contact via the client portal.
When you share files with a contact from the Files tab, the file will be available in the Resource Library page of the Client Portal.
On the Files page, you can share files with your contact, even if they are not enrolled in a coaching program.
Note: If you want to share files (or resources) with a contact as part of a coaching program that they are enrolled in, you should do so from the Program Management Page.
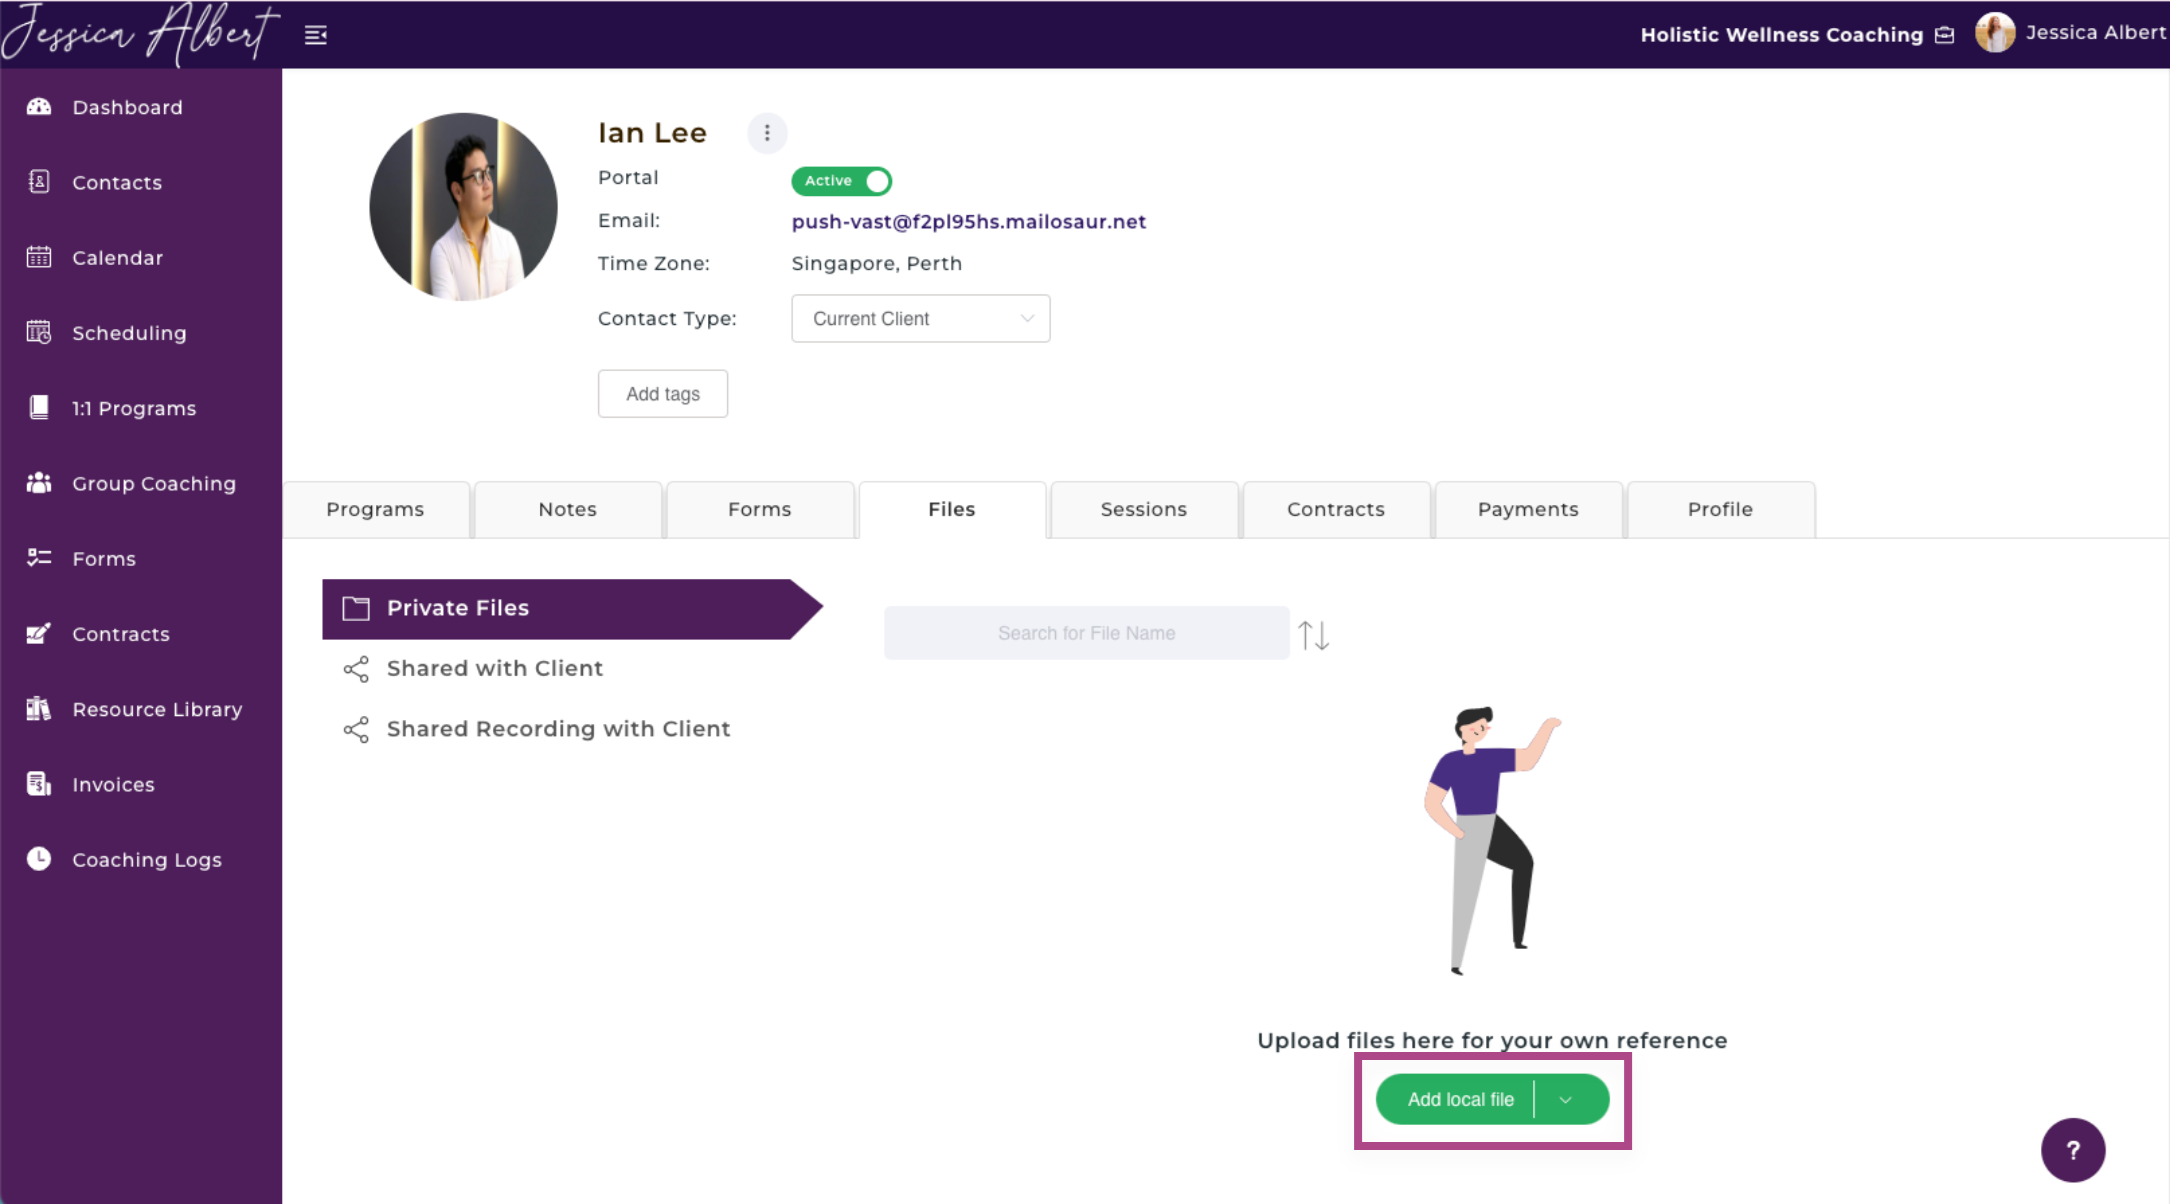
To get to the Files page when on the Individual Contact Record Page, click on the Files tab in the menu bar:
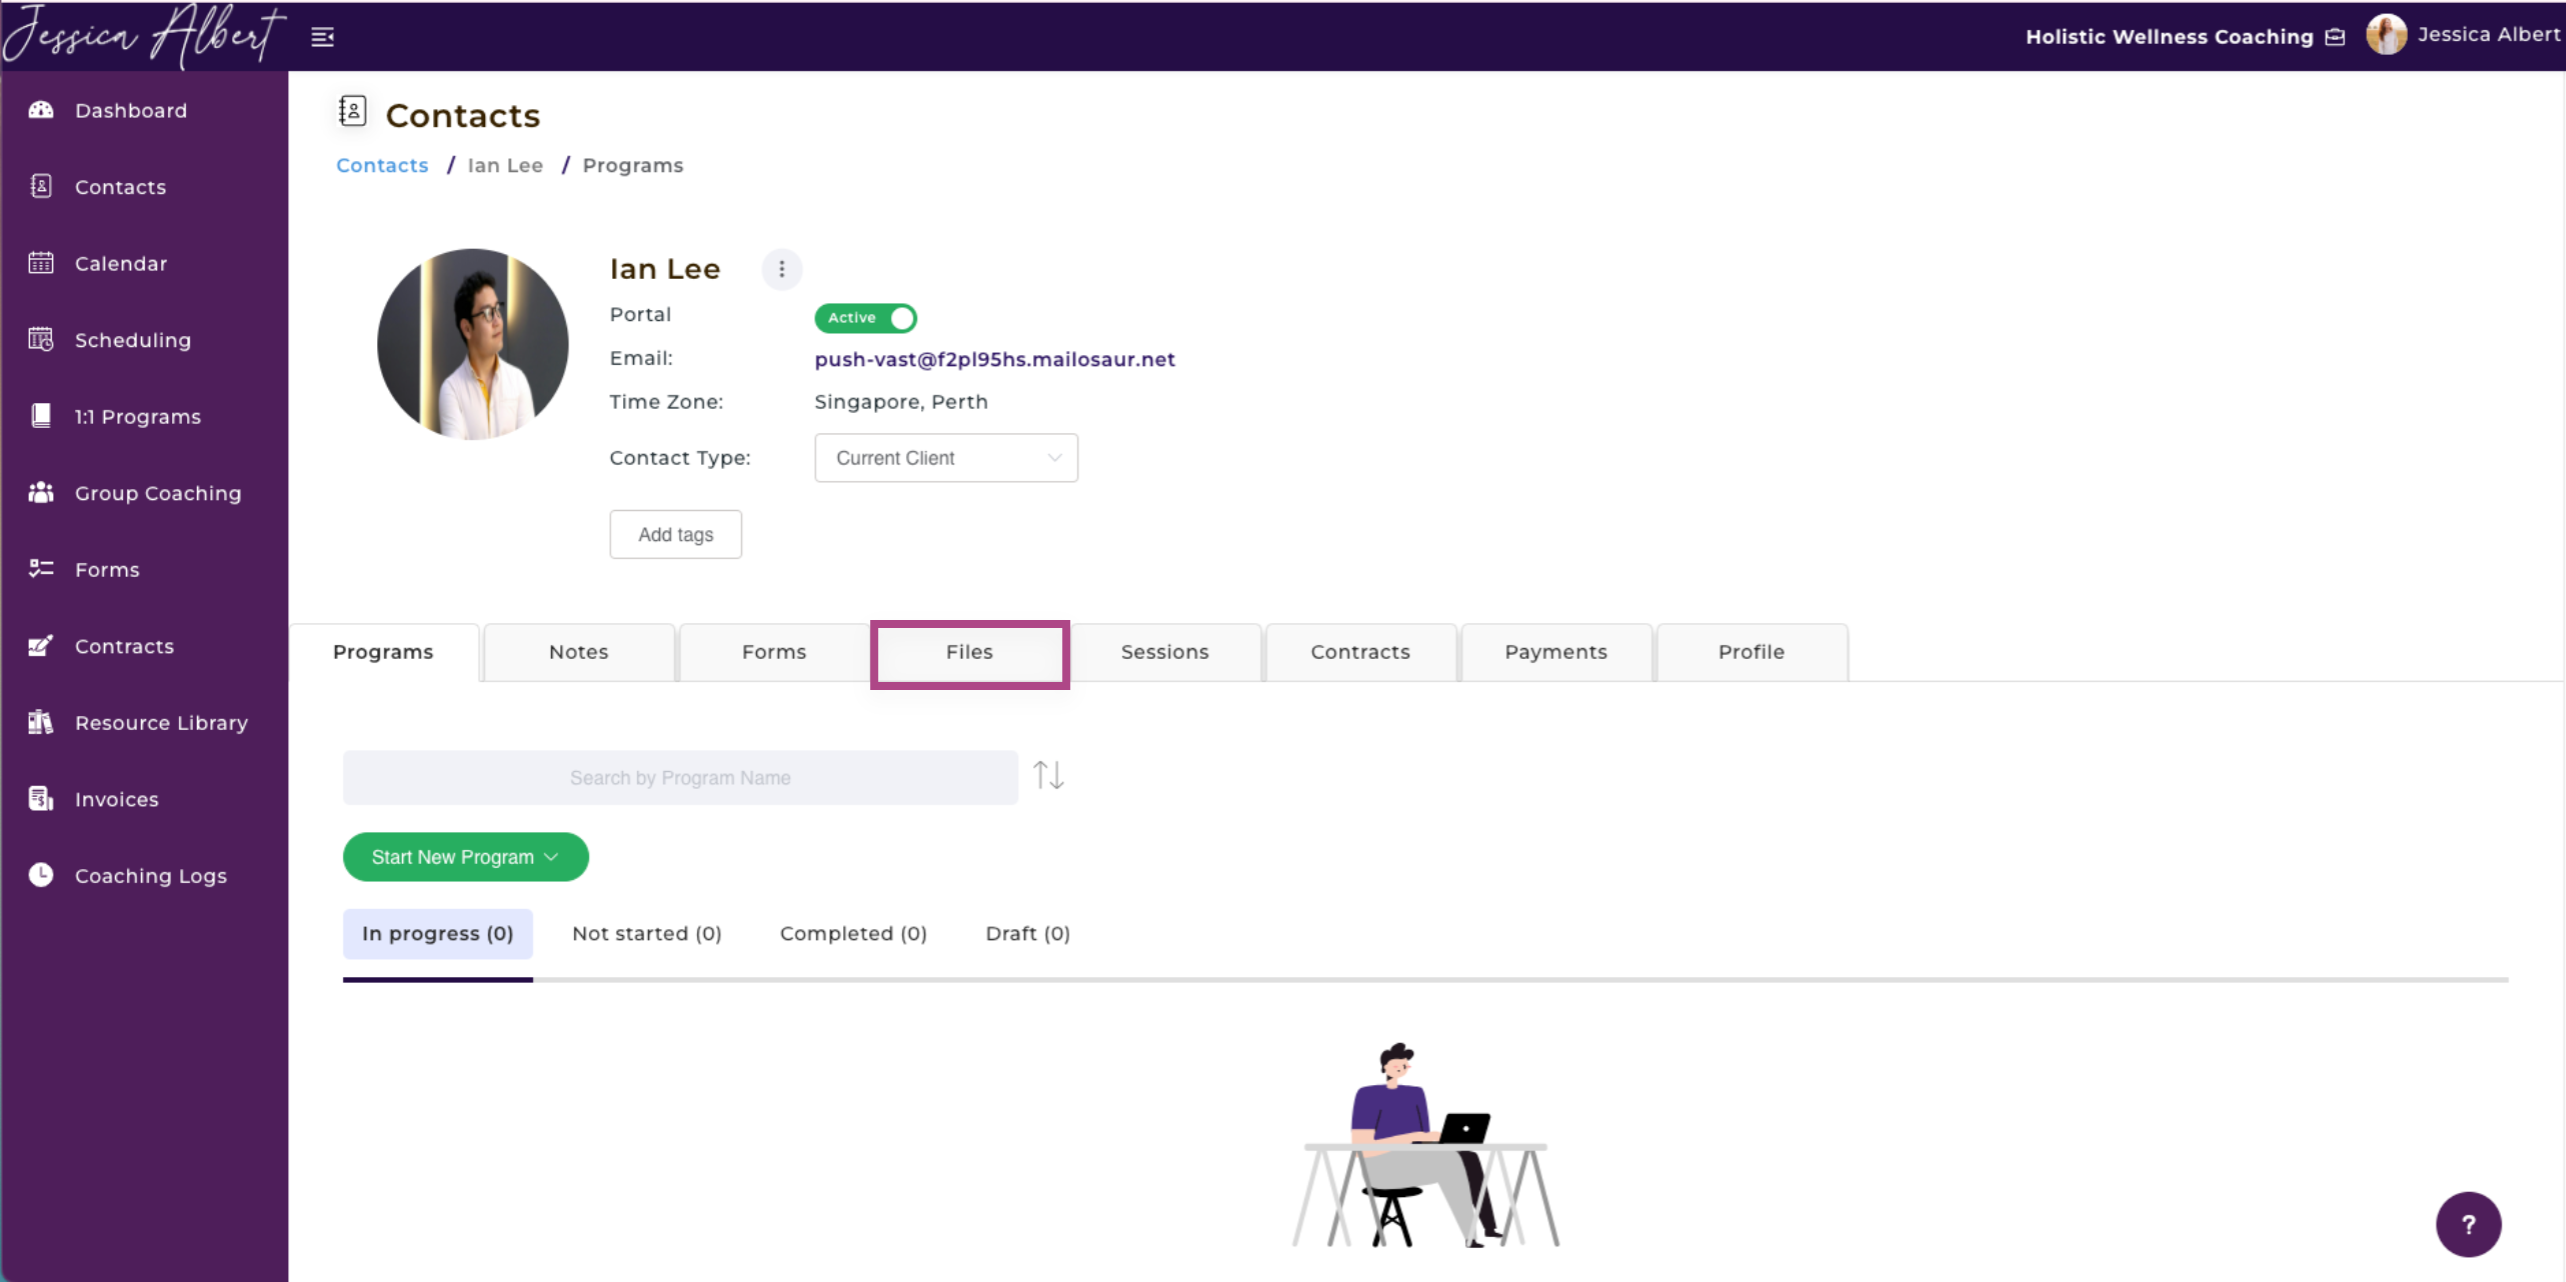
You'll see:
- Add Local File Button
- Private Files Ribbon
- Shared with Client Ribbon
- List of Files
- Look Up Your List of Files
1. Add Local File Button
Click on the Add Local File button dropdown and you will be able to choose to Add Local File or Add File From Resource Library.
Adding a Local File
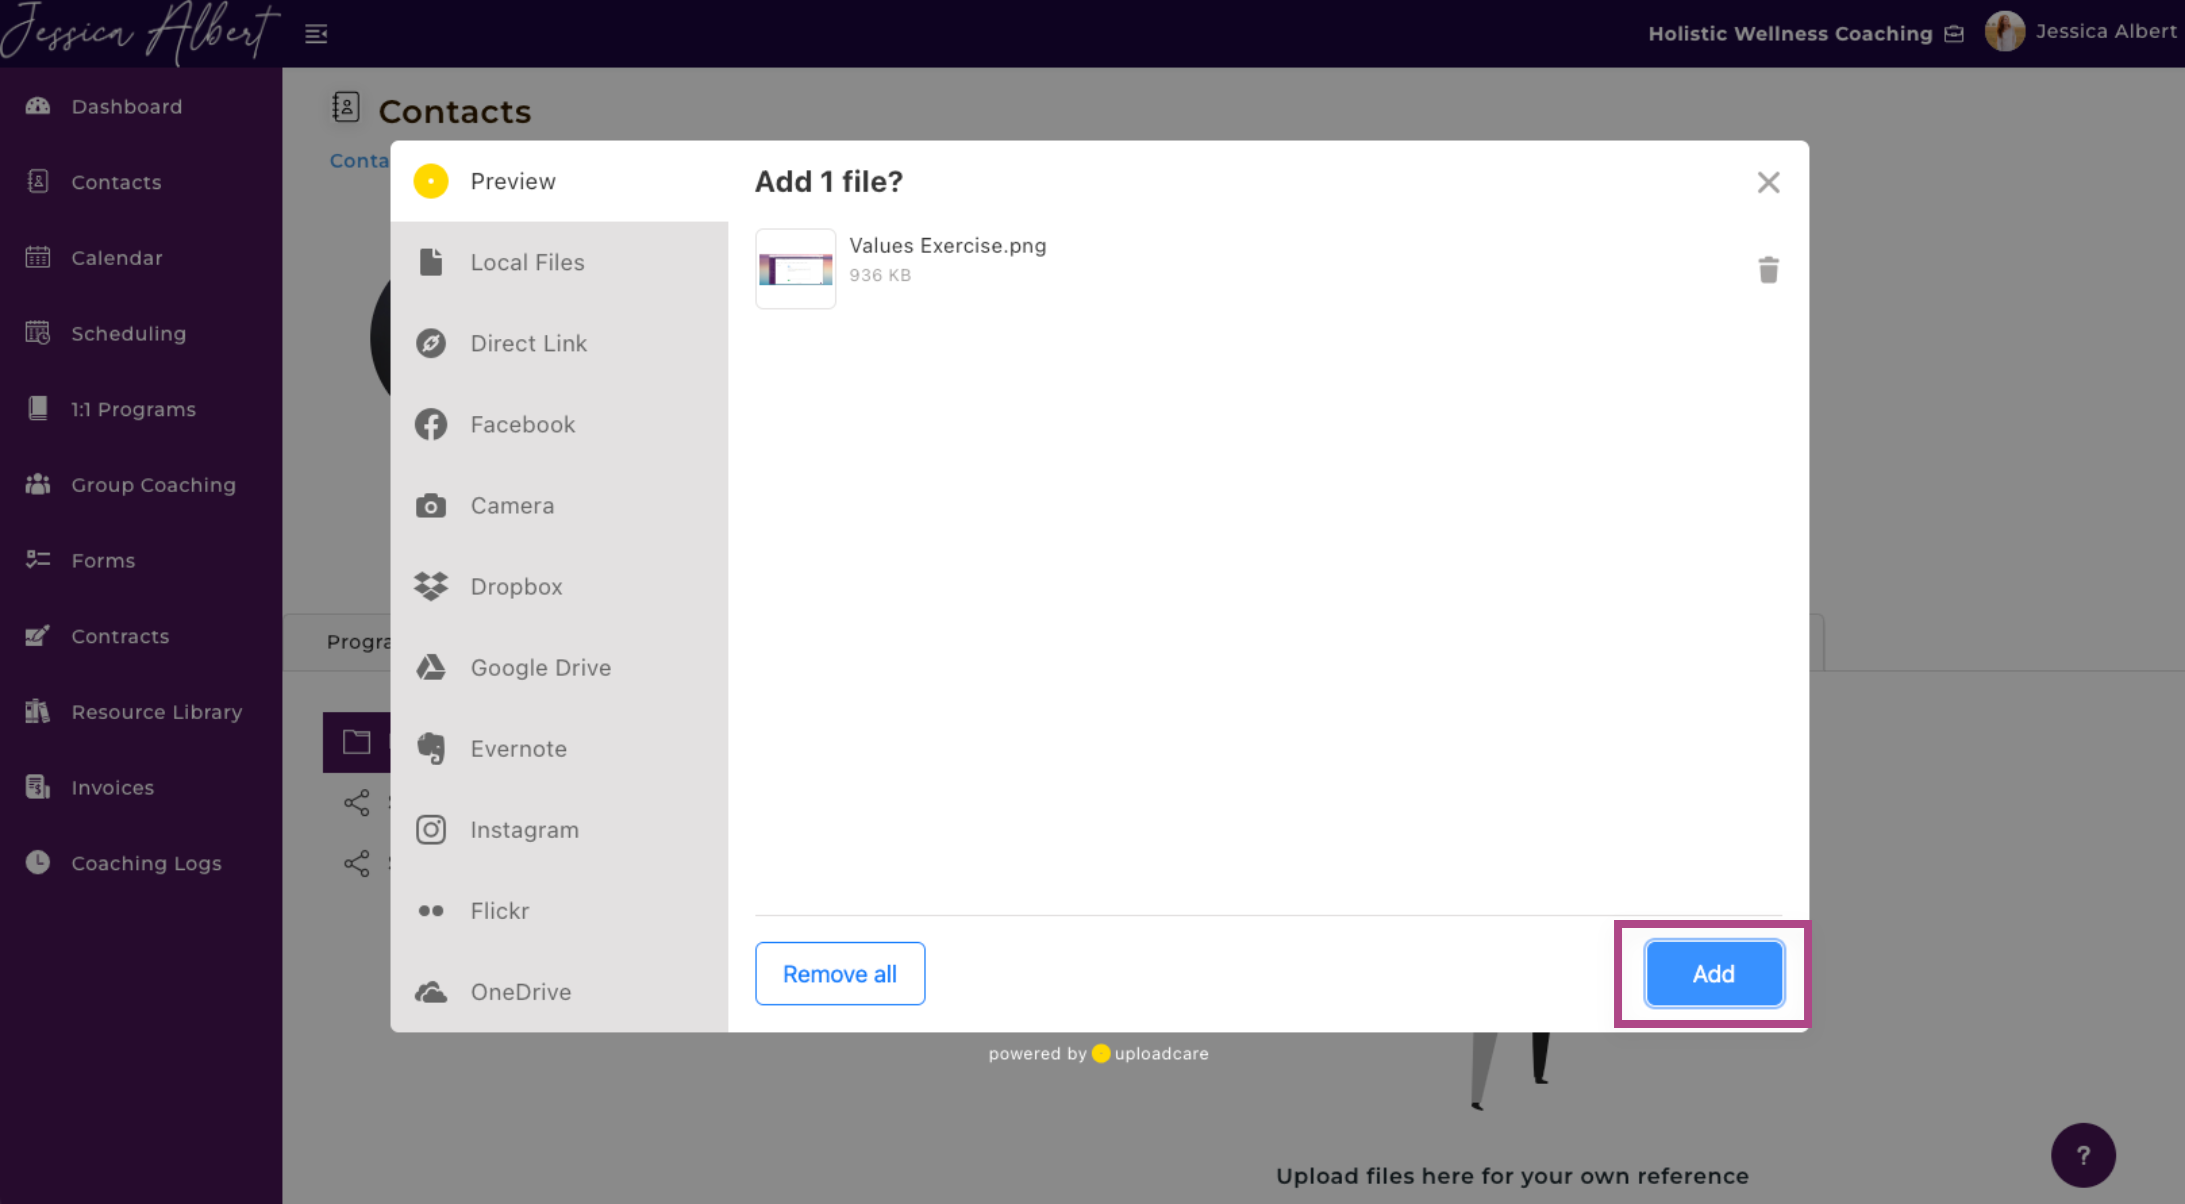
A Local File is a file that you wish to upload from your computer or from other source origins such as Google Drive, Dropbox, One Drive, Facebook, Instagram, etc.
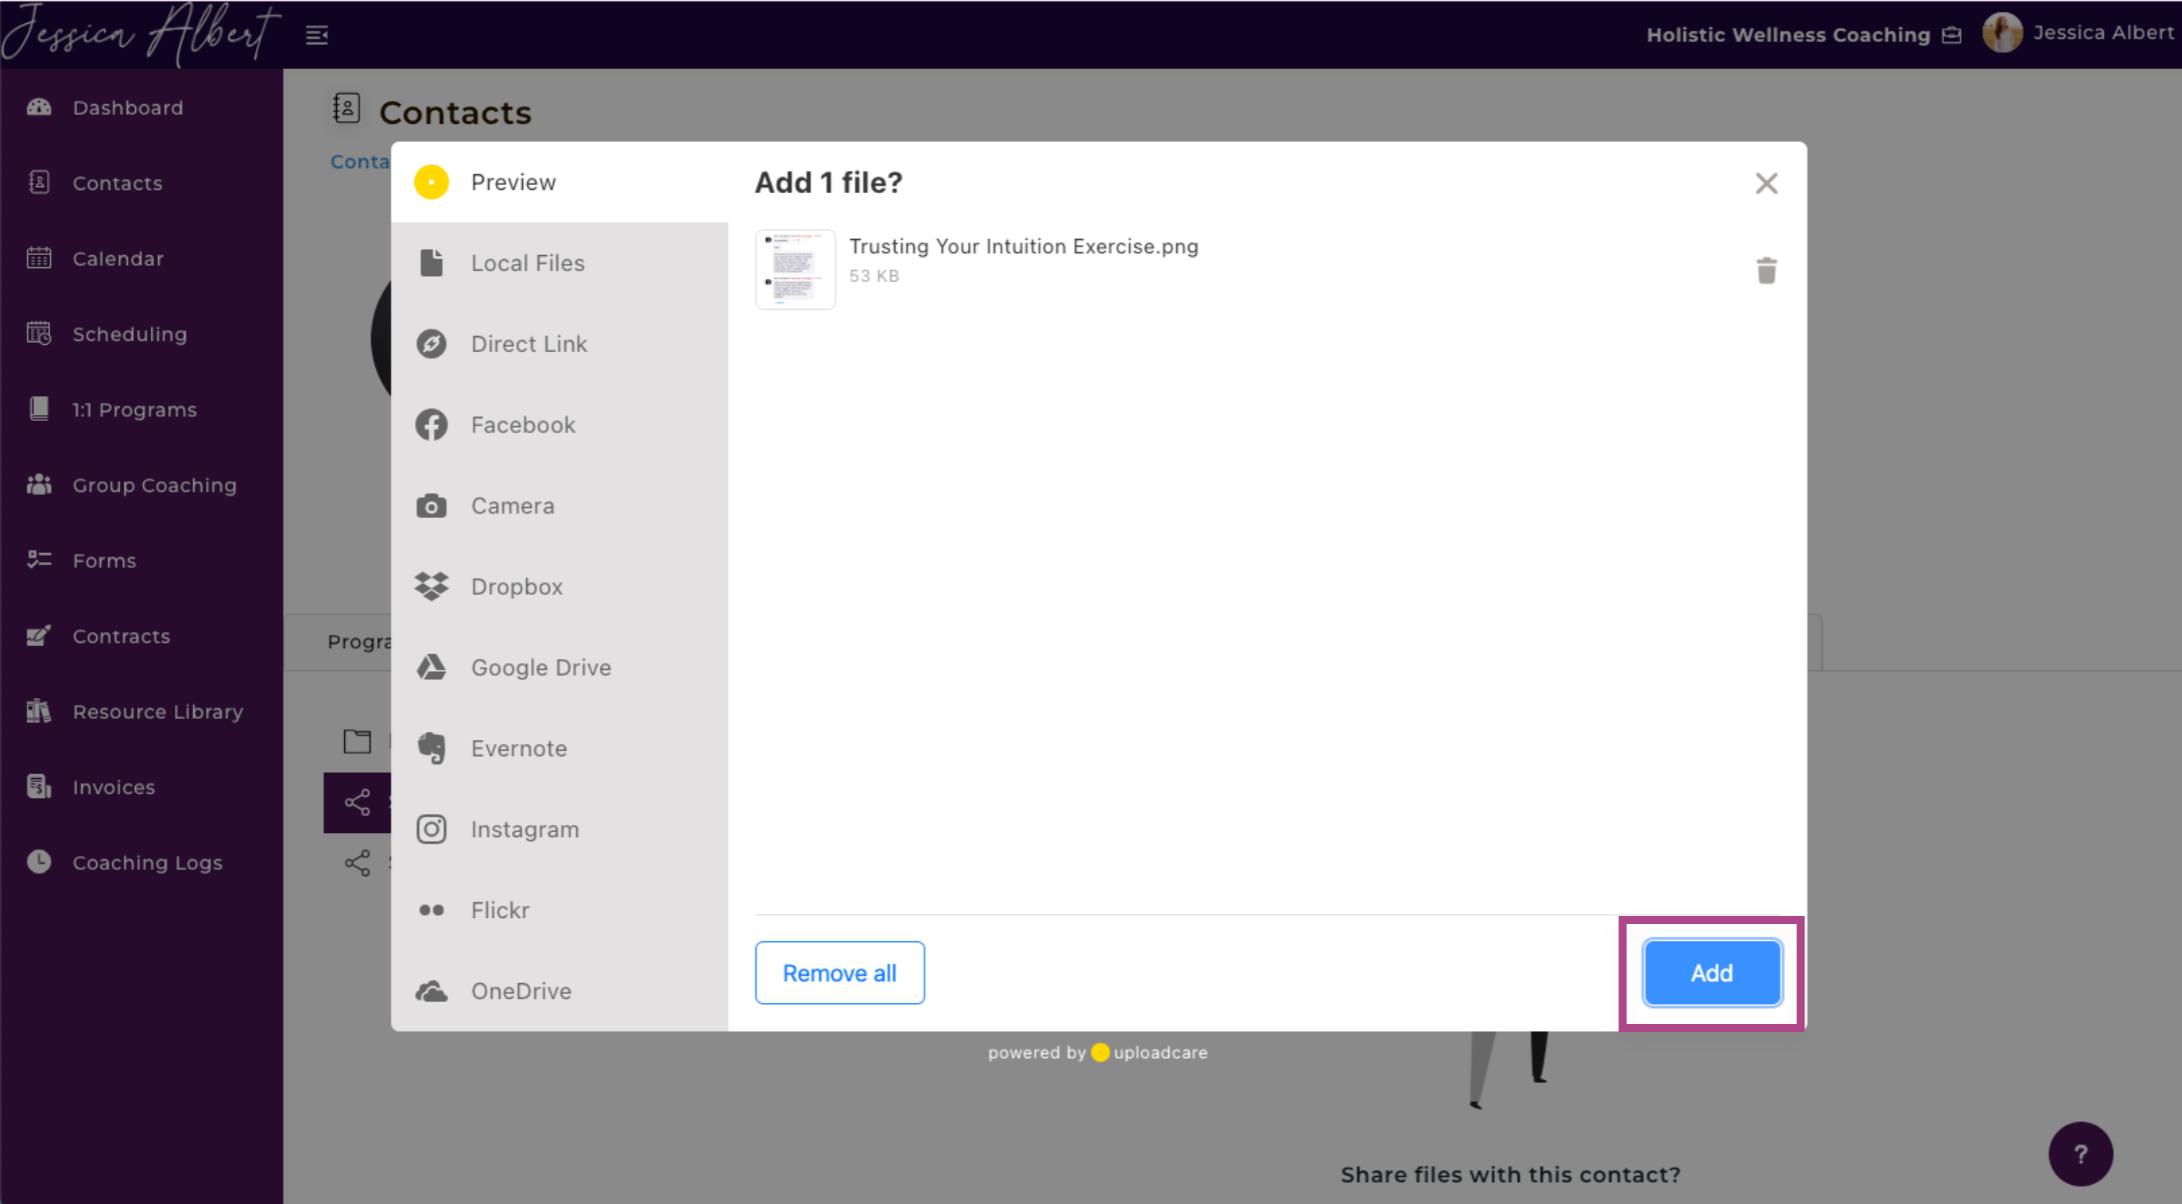
To add a local file, select Add Local File from the dropdown selector.
An upload widget will open and you can select the source origin of the file that you wish to upload. Once you've selected the files you wish to upload, click Done. The files will be uploaded.
Note: When you upload a file directly to an individual contact record page, it only gets uploaded there. The file will not be added to your Resource Library page.

Adding A File from Your Resource Library
You also have the option to upload files from your Resource Library (refer to the Resource Library article for more details on how to use your Resource Library).
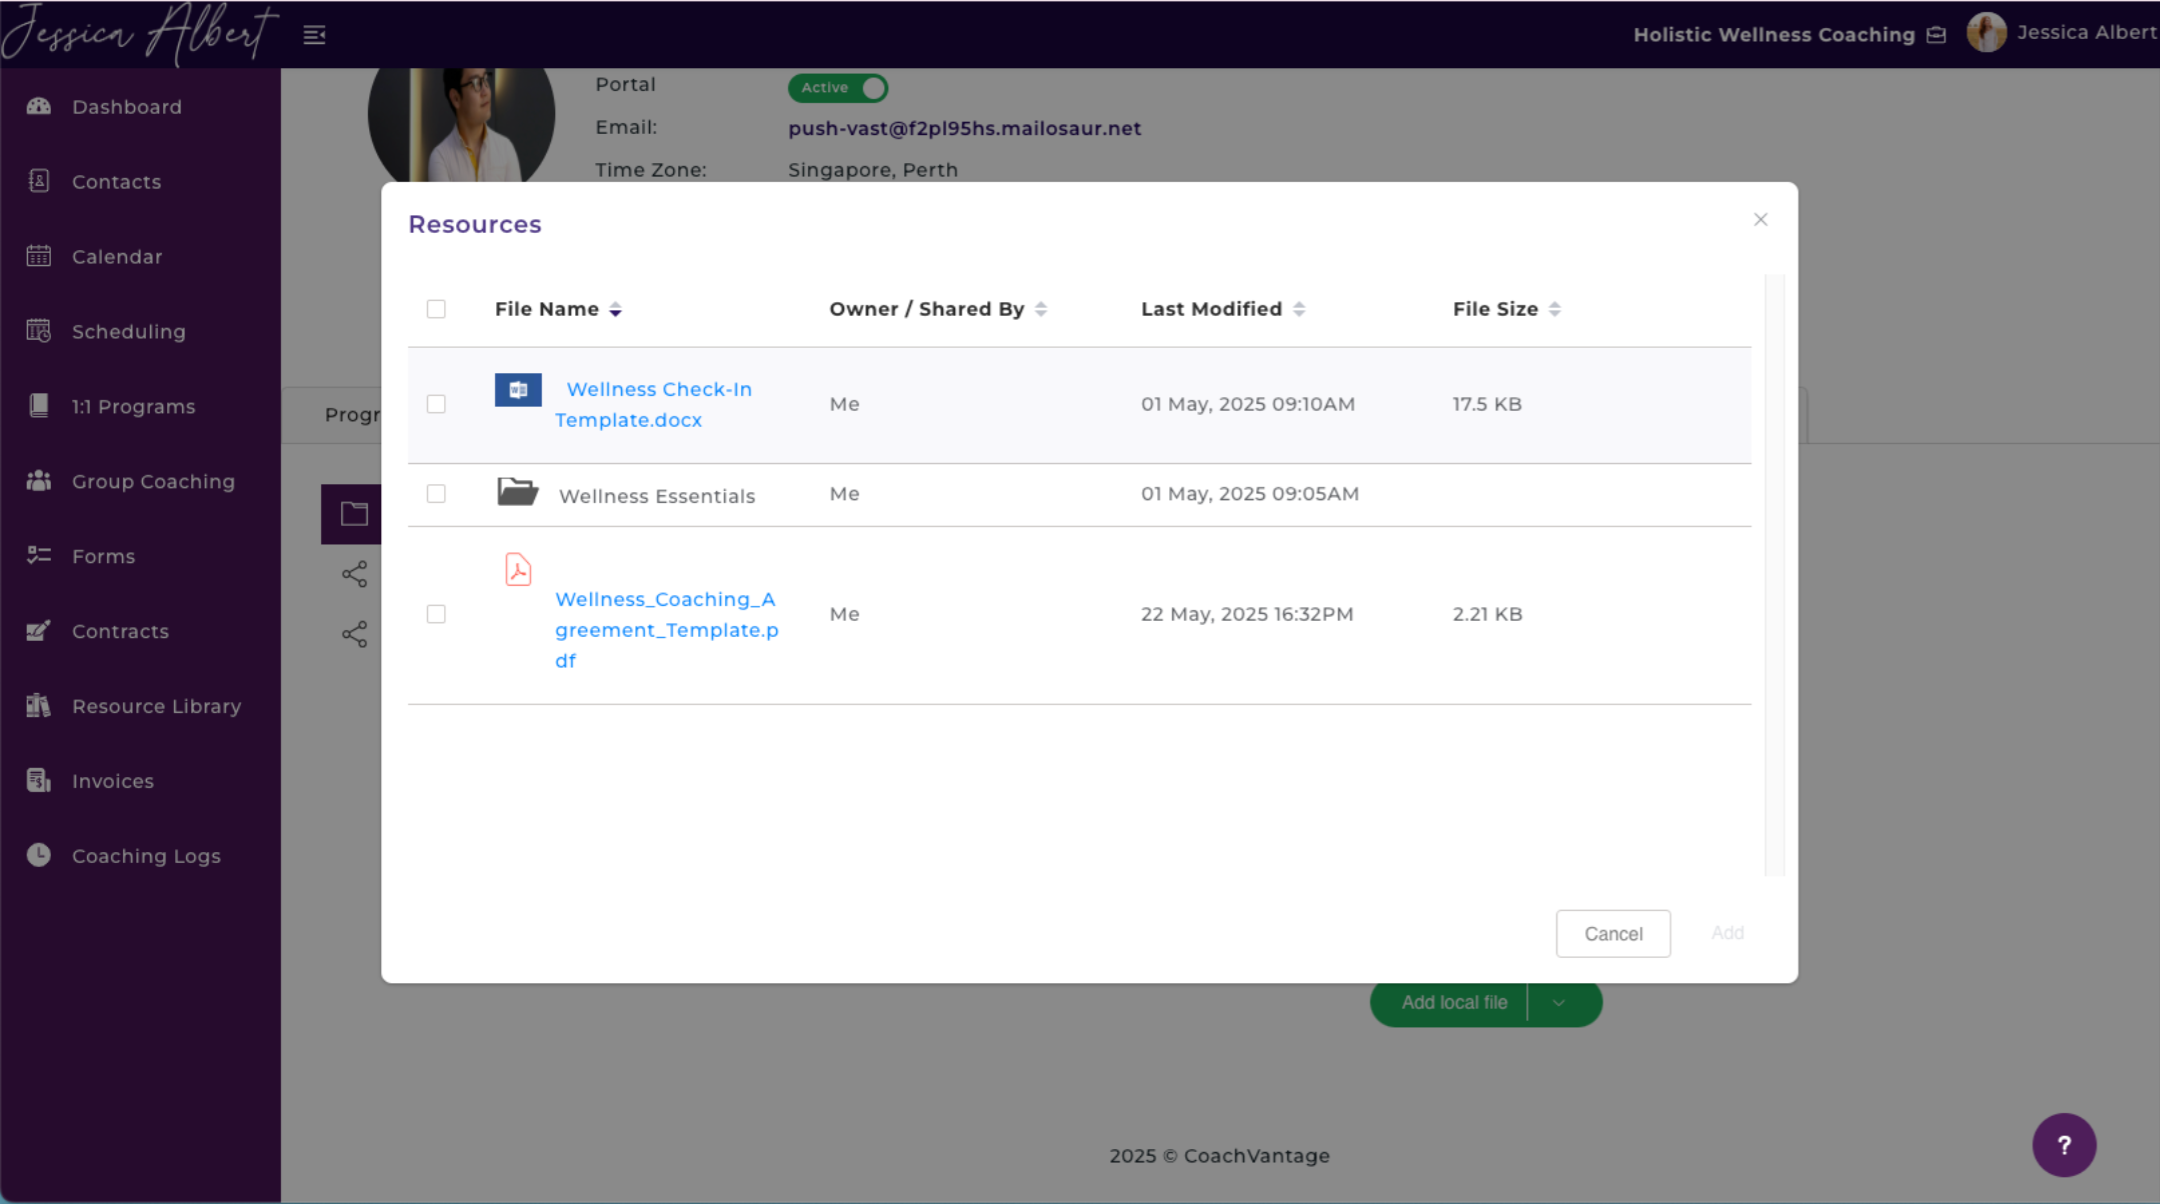
To add a file from your Resource Library, select Add File From Resource Library.
A window will open that lists all files and folders that are currently in your Resource Library. Use the checkbox to select the files you wish to upload, then click Add. The file will be uploaded to the Individual Contact Record Page.
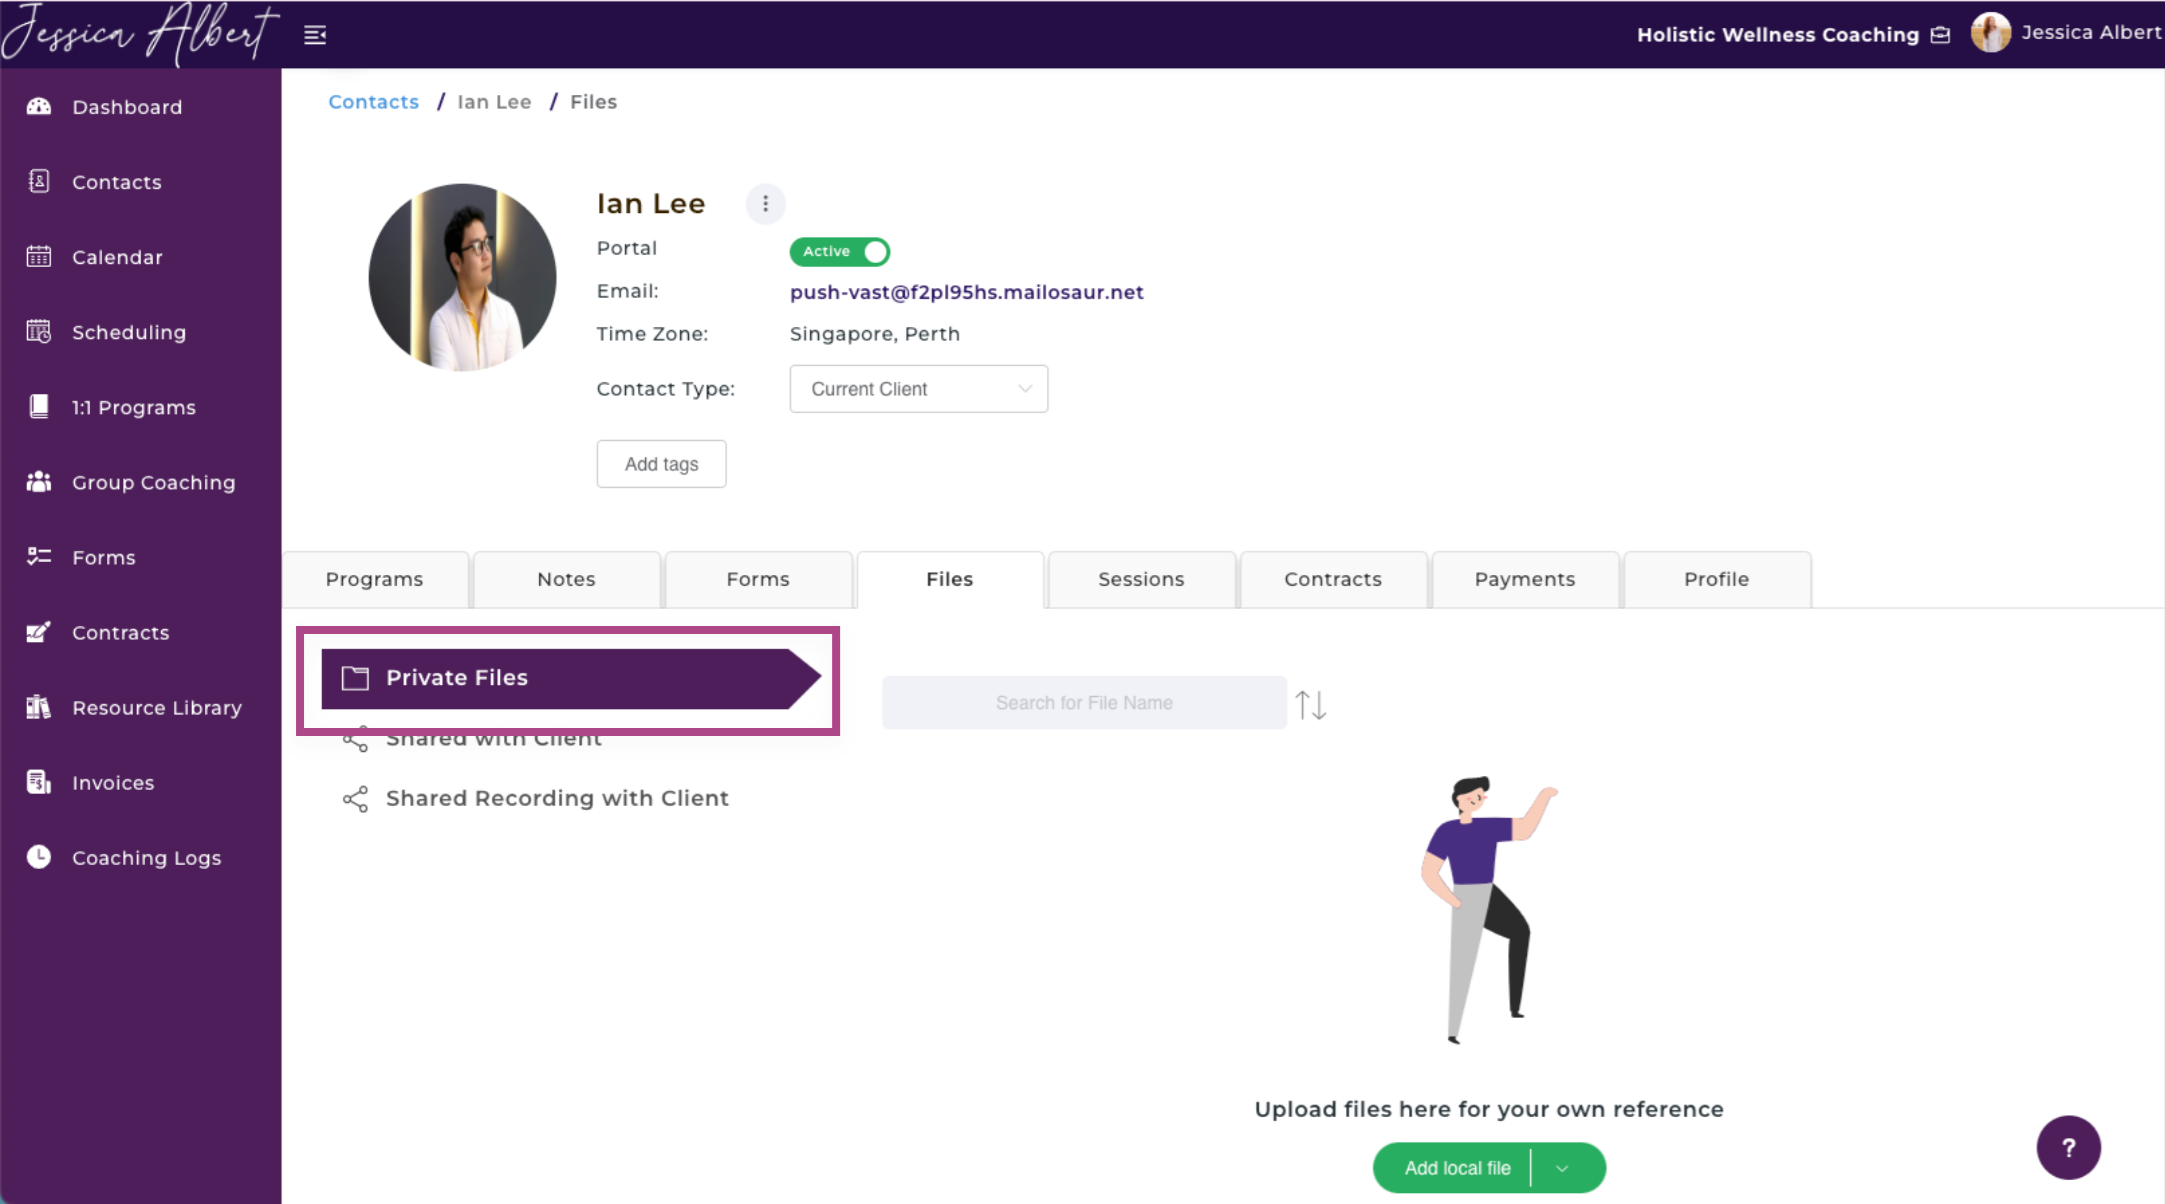
2. Private Files Ribbon
The Private Files feature enables you to add files or documents related to this specific contact. Files that you add here are for your eyes only and will not be shared with your contact.
Tip: This is useful when you wish to have everything about a contact stored in one place, to help you stay organized. Instead of creating multiple folders on your local computer, this feature in CoachVantage lets you have everything you need to know about your contacts in one place - your CoachVantage account!
To add a private file:
1.Click on the Private Files ribbon.
2.Click on the Add File button, select Add Local File or Add File From Resource Library.
3.Click the Add button and the file will be added.
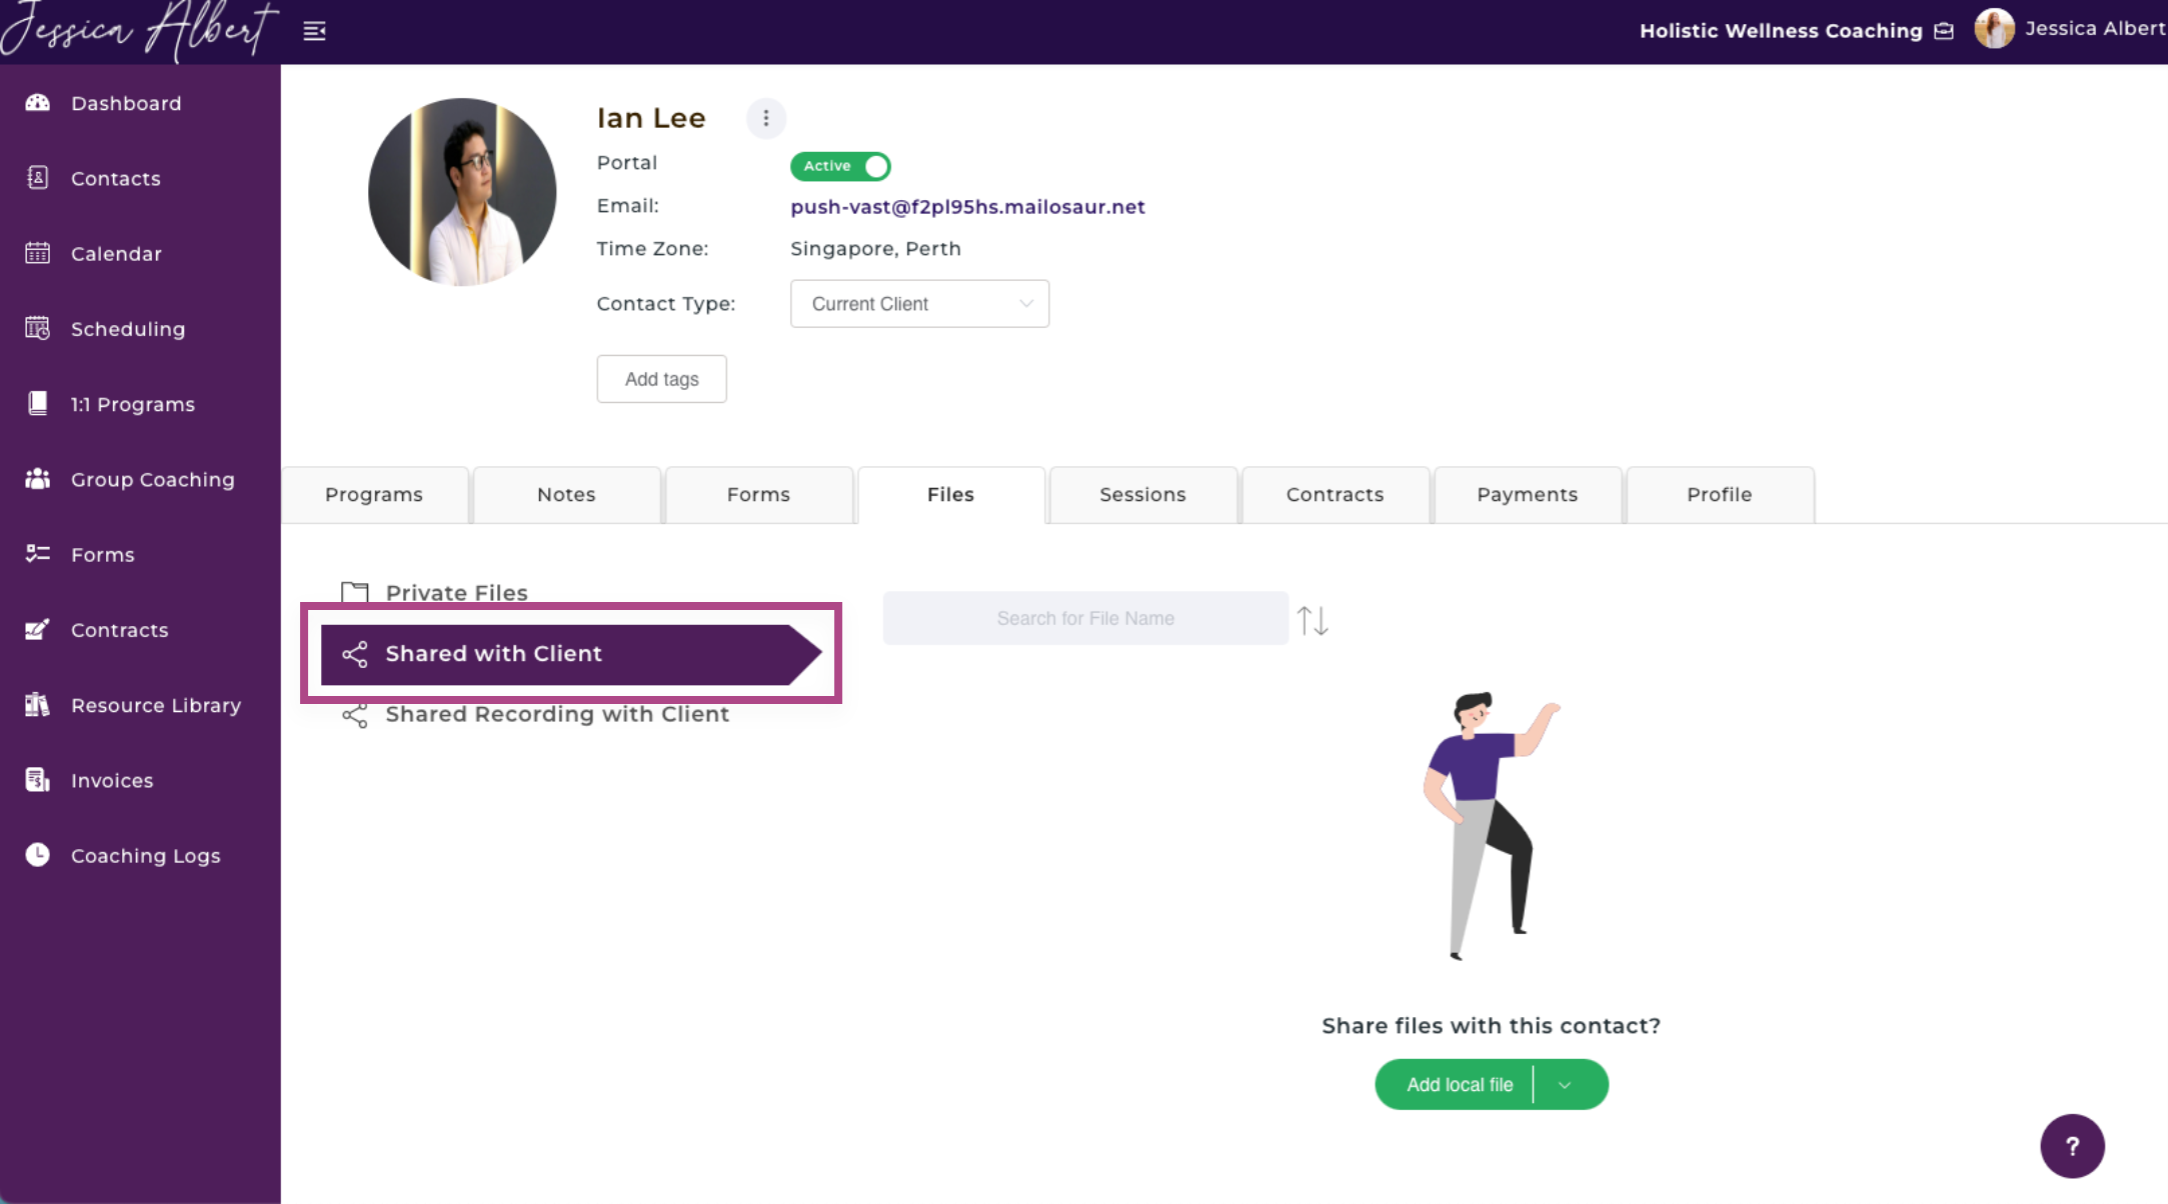
3. Shared With Client Ribbon (Shared Files)
The Shared With Client feature enables you to share files and documents with your contact.
All common file formats or documents can be uploaded and shared with your contact. These include PDF, DOC, CSV, XLS, NUMBERS, WAV, MP4, etc.
This feature allows you to share files or documents with your contacts, even though they may not be enrolled in a coaching program. For example, you may wish to share a video or an interesting article with your client. This may not be specifically related to the coaching program that your client is enrolled in, but could be beneficial to them, you could use the Shared Files feature. The shared file will not be 'associated' with any coaching program that the client is enrolled in.
Tip: If you work as a consultant and you use CoachVantage because of the ease of sharing files and documents with your consulting clients, this feature would be ideal for you.
IMPORTANT: In order to share a file with a contact, they must first have an active client portal.
To share a file with a contact:
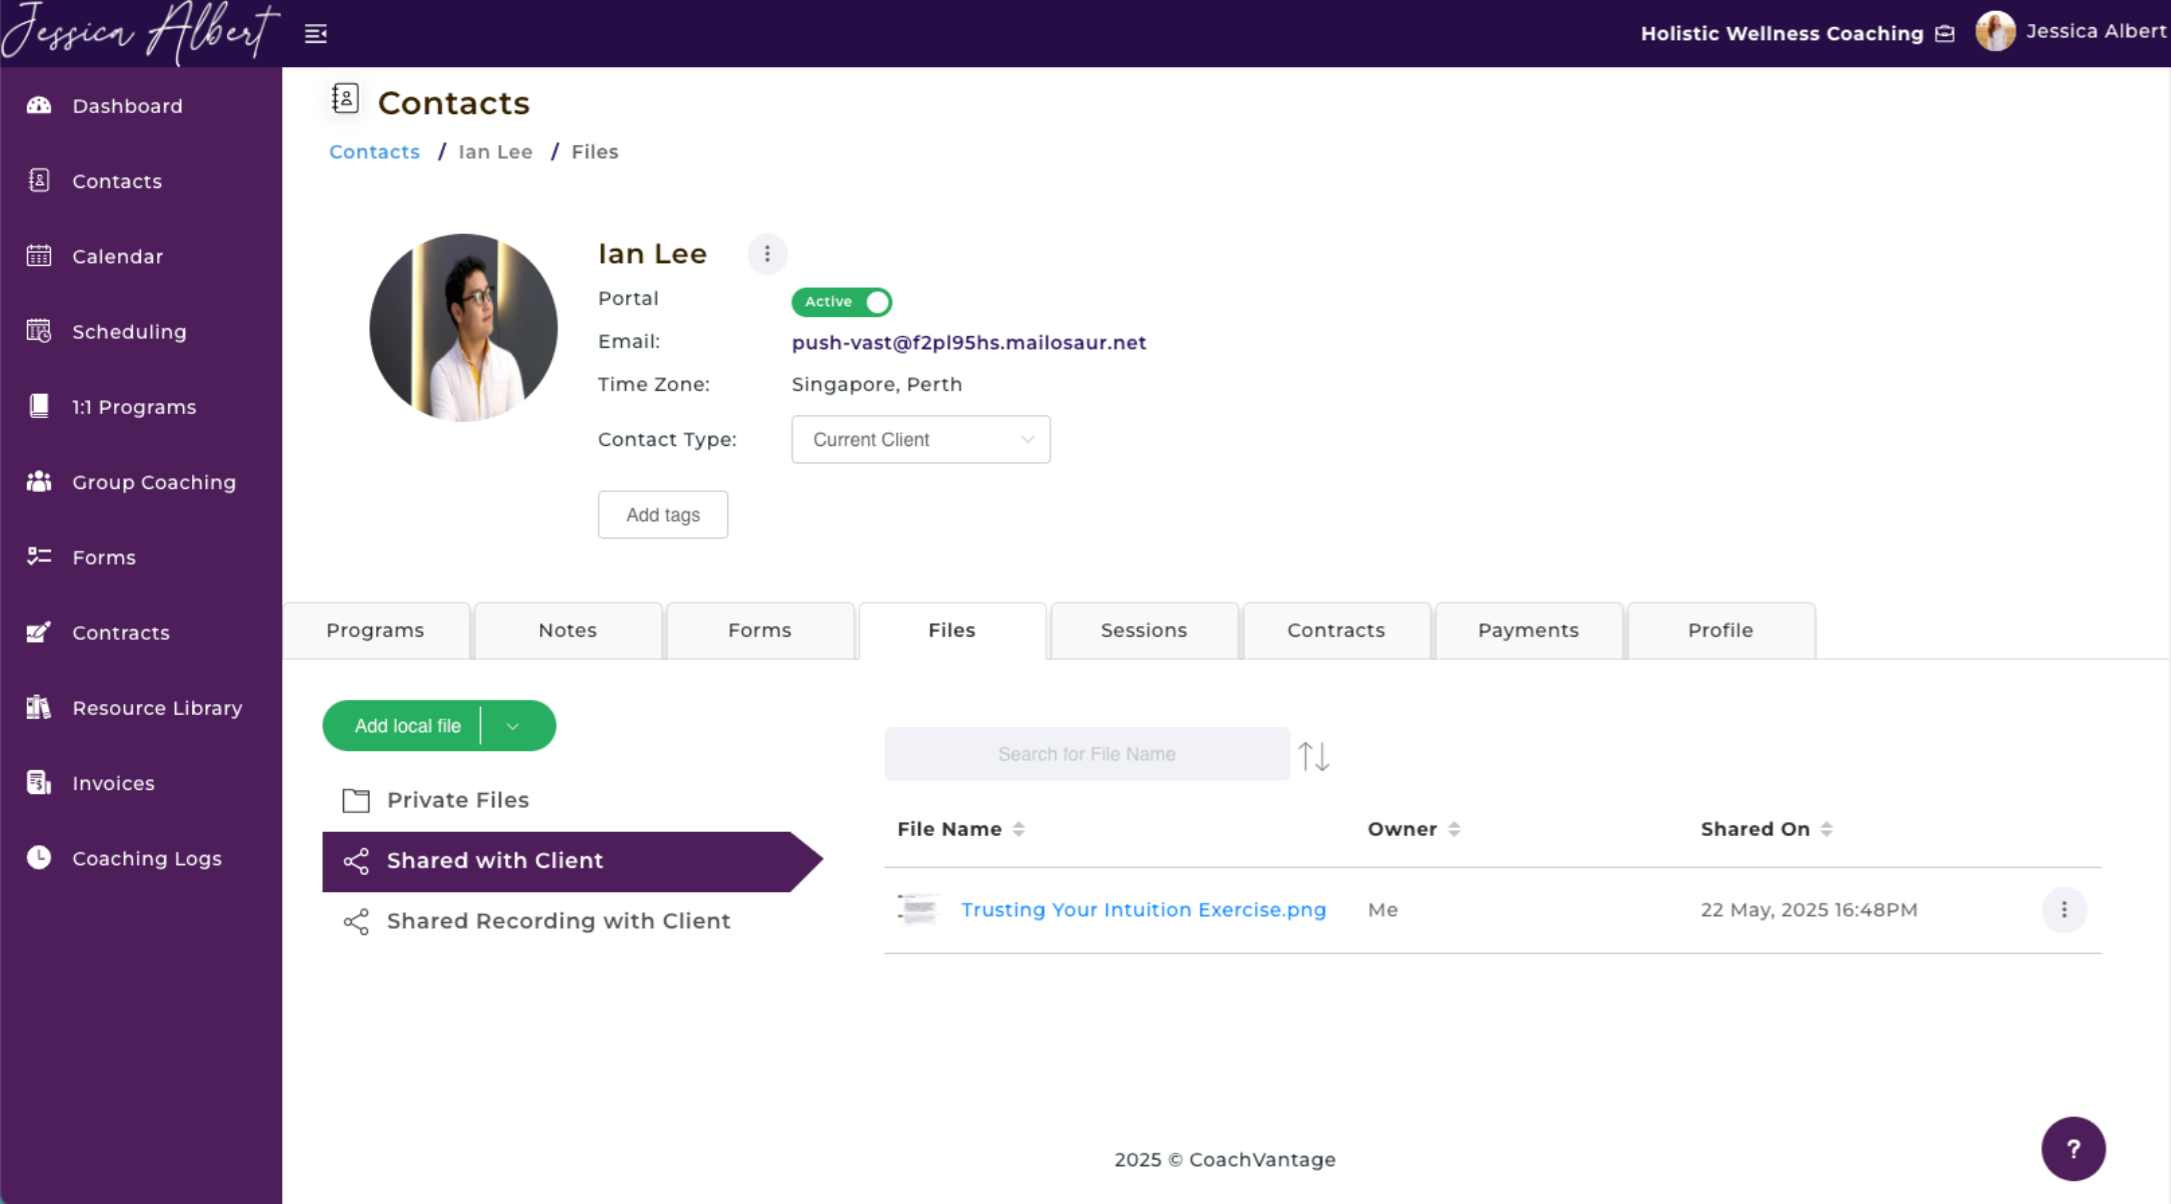
1.Click on the Shared with Client ribbon.
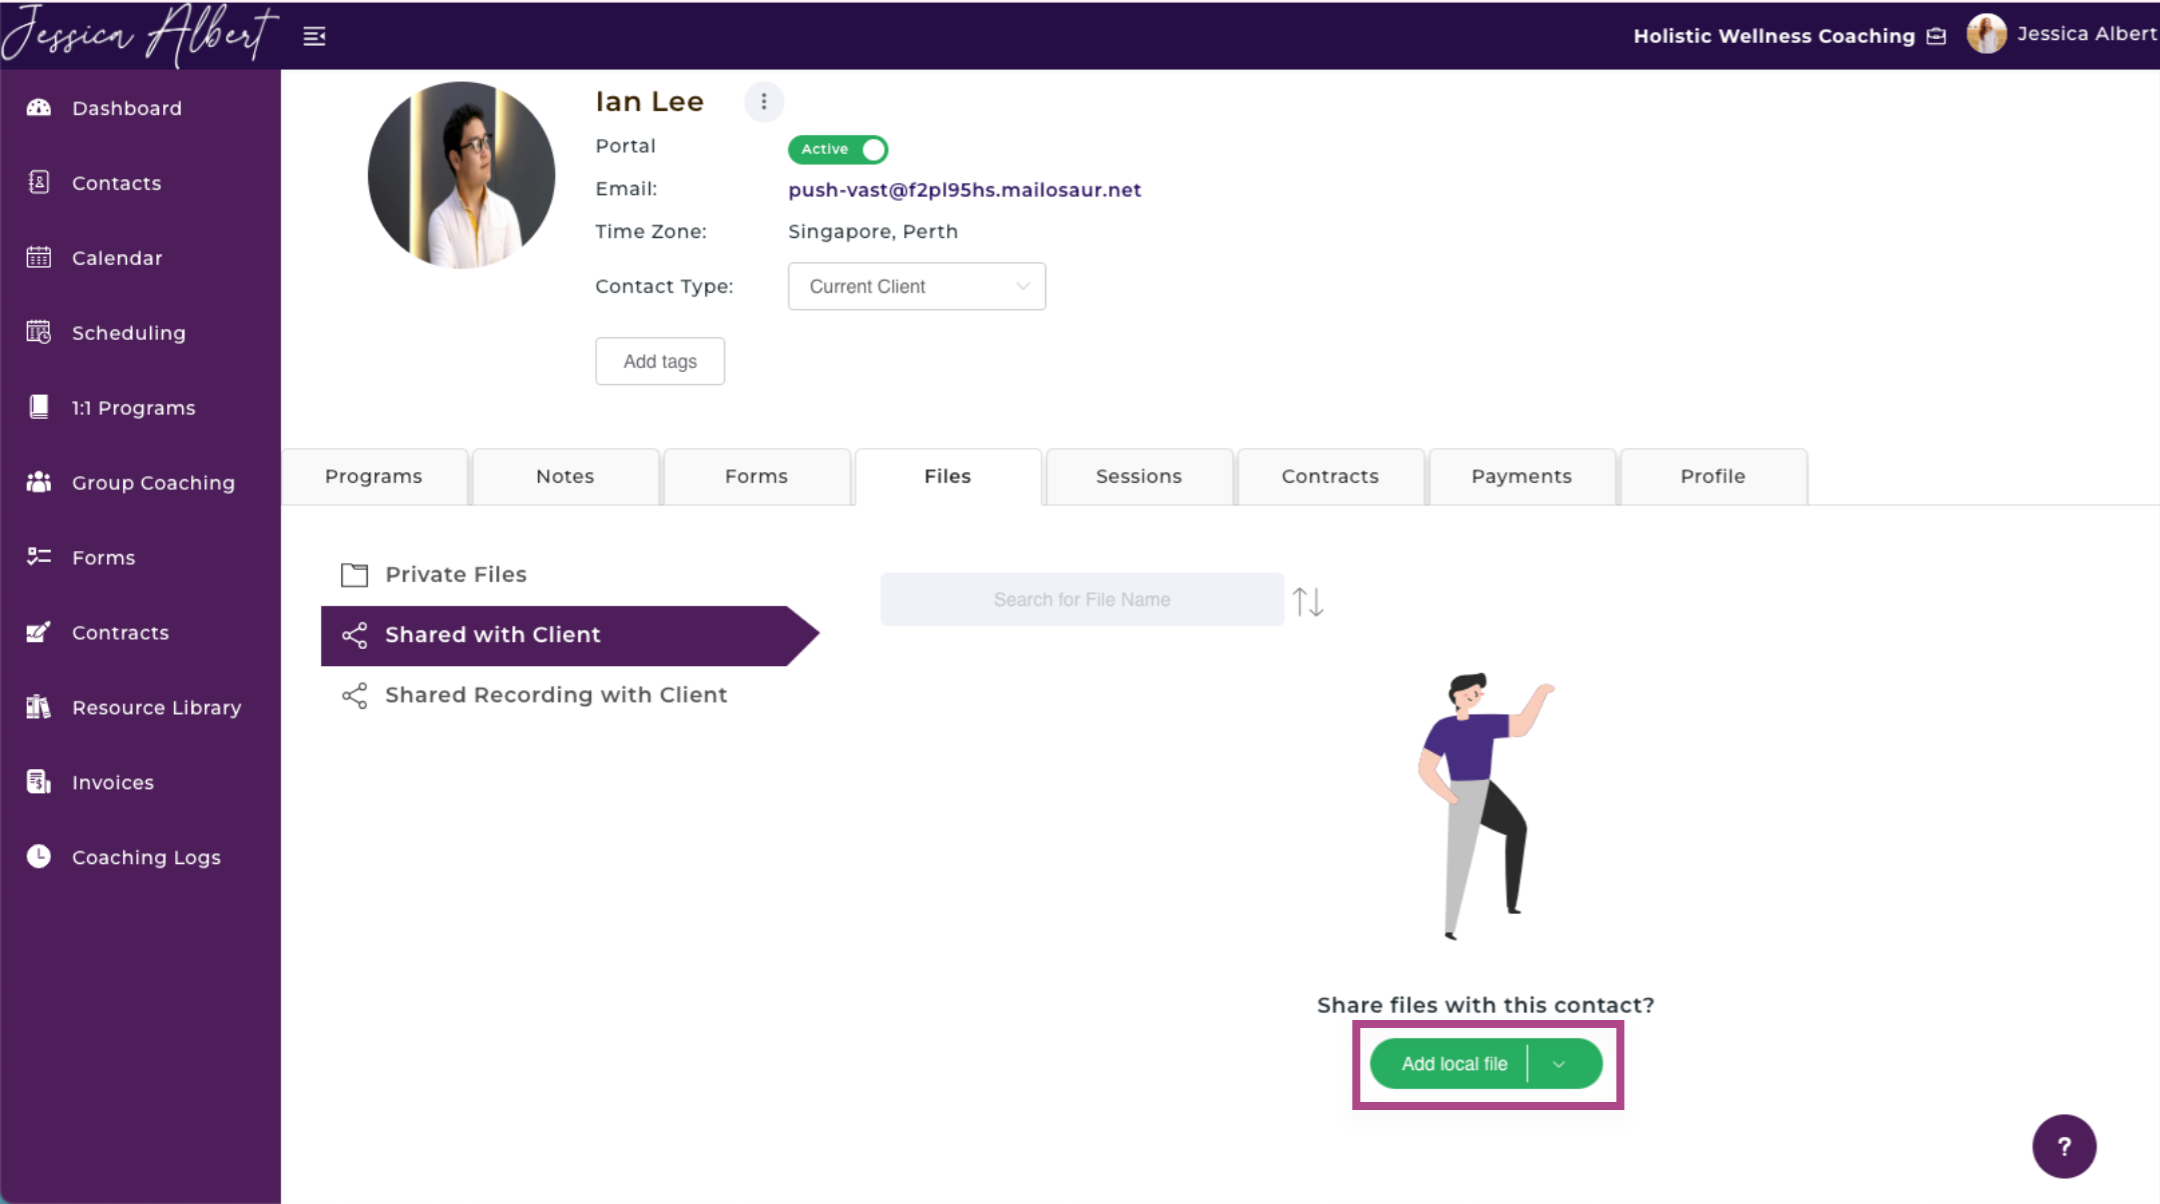
2.Click on the Add File button, select Add Local File or Add File From Resource Library.
3.Click the Add button and the file will be added and automatically shared with your contact. They can access the file from the Client Portal > Resource Library page.
IMPORTANT: If you subsequently delete a file from your Resource Library after it's been shared with your contacts, the shared file will be removed from the Client Portal as well, and will no longer be accessible by your contacts. You will be prompted and reminded about this before you delete a shared file from your Resource Library.
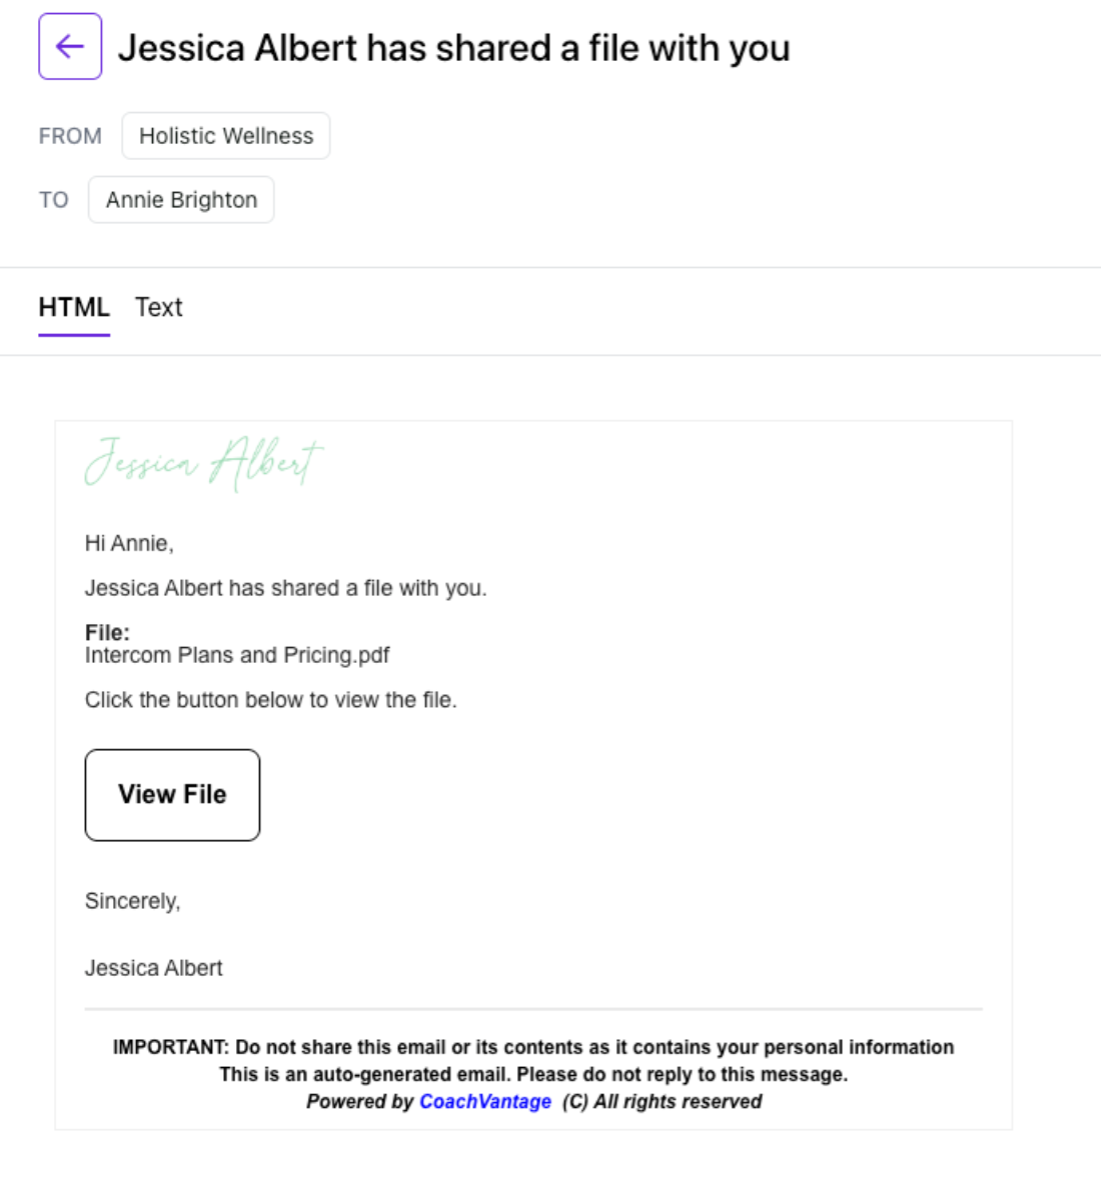
Note: Once you've uploaded a file, CoachVantage will automatically notify your contact by email that a file has been shared with them. The email notification would look like this:
Contact's Access to Shared Files in the Client Portal 🗂️
Files that you share with your contact from the Files tab, as described above, will be accessible by your contact in the Resource Library of their Client Portal.
Note: If you share files or resources with your client as part of a coaching program that they are enrolled in, those files will be accessible in the Coaching Programs > Resources ribbon in the Client Portal, and not in their Resource Library.
Refer to this article on how to share files/resources with clients as part of a coaching program engagement.
Can Contacts Share Files With Coach (You)?
Yes!
Your contacts also have the ability to share files or documents with you. They must have an active client portal first. They can share files with you even if they are not enrolled in a coaching program by using the Resource Library page on the Client Portal.
Note: When contacts shares files or documents with you from their Resource Library page, those files will be added to your Resource Library page instead of the individual contact record page.
Click on Resource Library on the left menu, you will see a table that lists all of your files, including the ones that have been shared with you by your contacts. Look at the Owner / Shared By column and you will see the name of the contact who has shared the file with you.
Refer to the Resource Library article for more details.
4. List of Files
After the addition of files, you should now see a list of the file names on both your Private Files and Shared with Client ribbons.
To manage these files, click on the 3-dot button menu of the desired file as shown below:
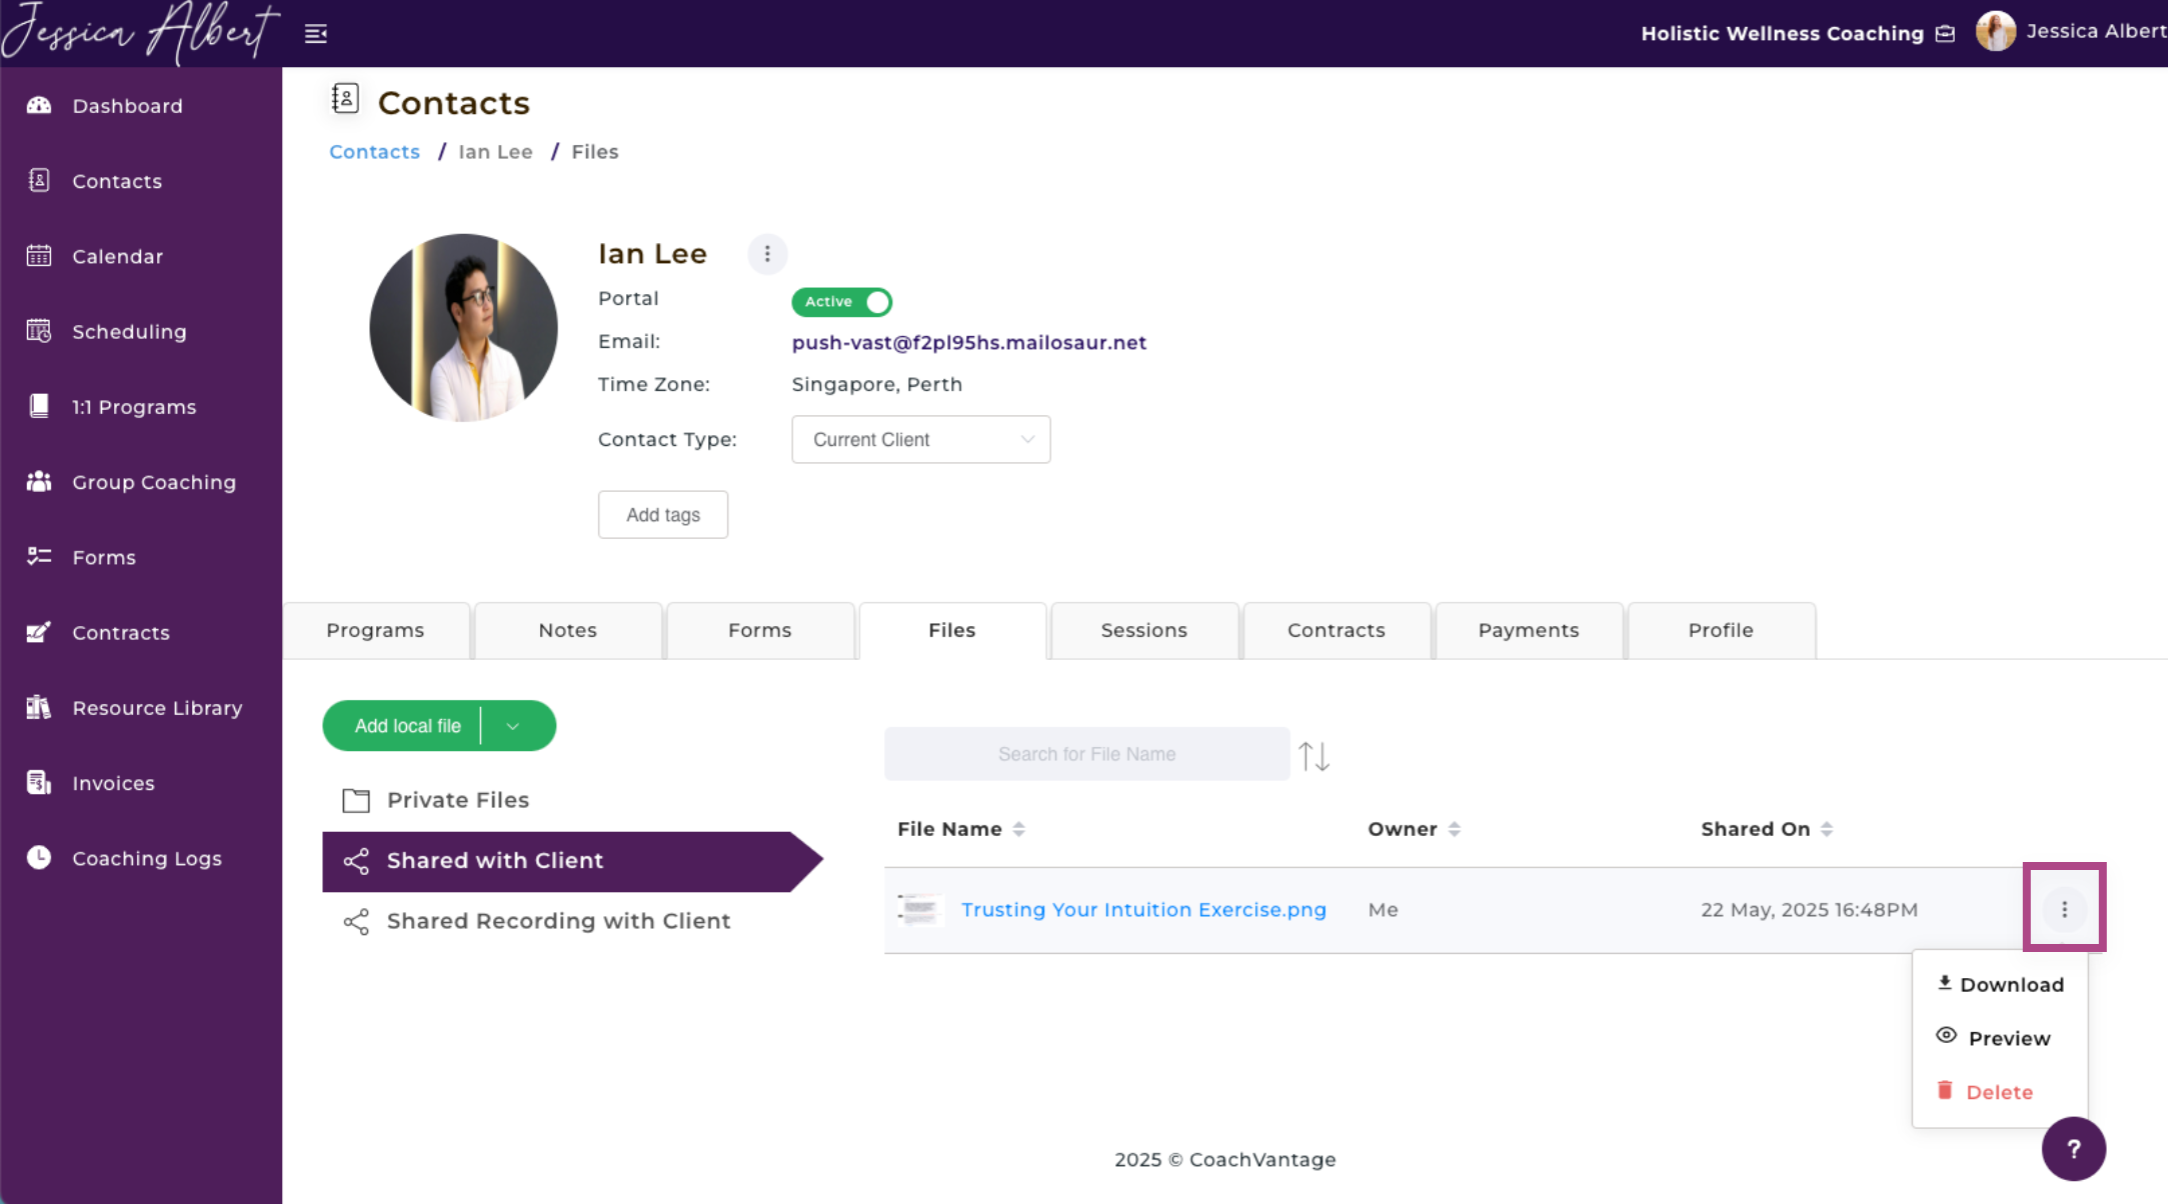
Download 📩
You can download the file to your PC or local drive by clicking on the Download button. If you have trouble locating the files after your download has completed, check the download folders in your device.
Preview
You can view the contents of the files by clicking on the Preview button. A new browser tab will open to display the file.
Delete 🗑️
If you wish to remove a private file from this contact's record, or if you wish to stop sharing the file with your client, click the Delete button. This will remove the file and cannot be undone.
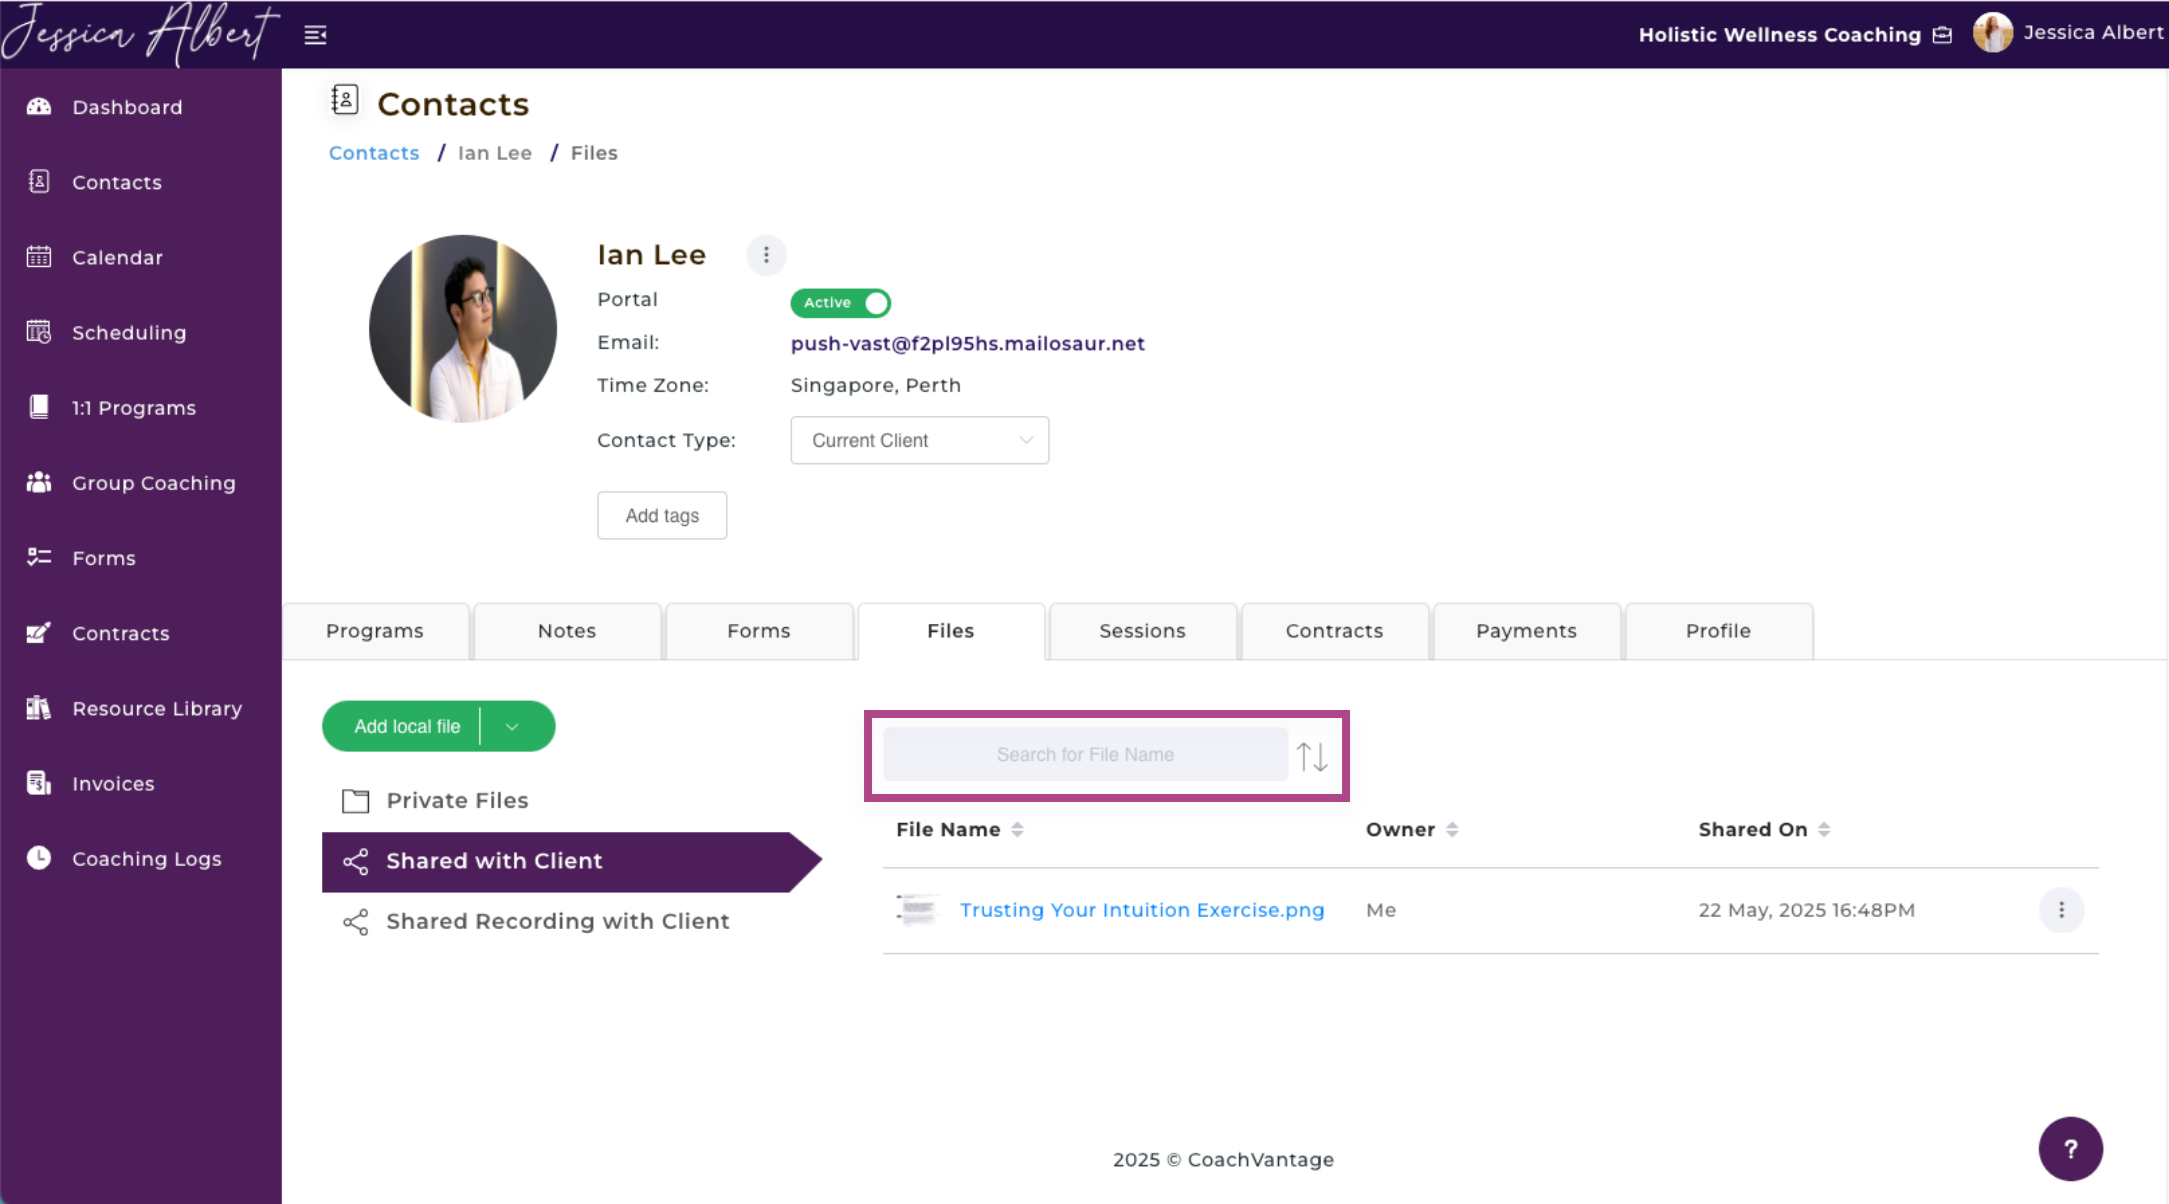
5. Look Up Your List of Files 🔎
If you have difficulties locating a specific file, use the search bar and type in the name of the file you're looking for.
Alternatively, you can sort your list of files by alphabetical order or the recency of the files.