How to Manage Coaching Goals
Overview
Setting Goals and objectives are an important part of your coaching journey. You have the ability to create your own goals or to update the status and progress of goals that your Coach has sent you.
To View a Coaching Goal:
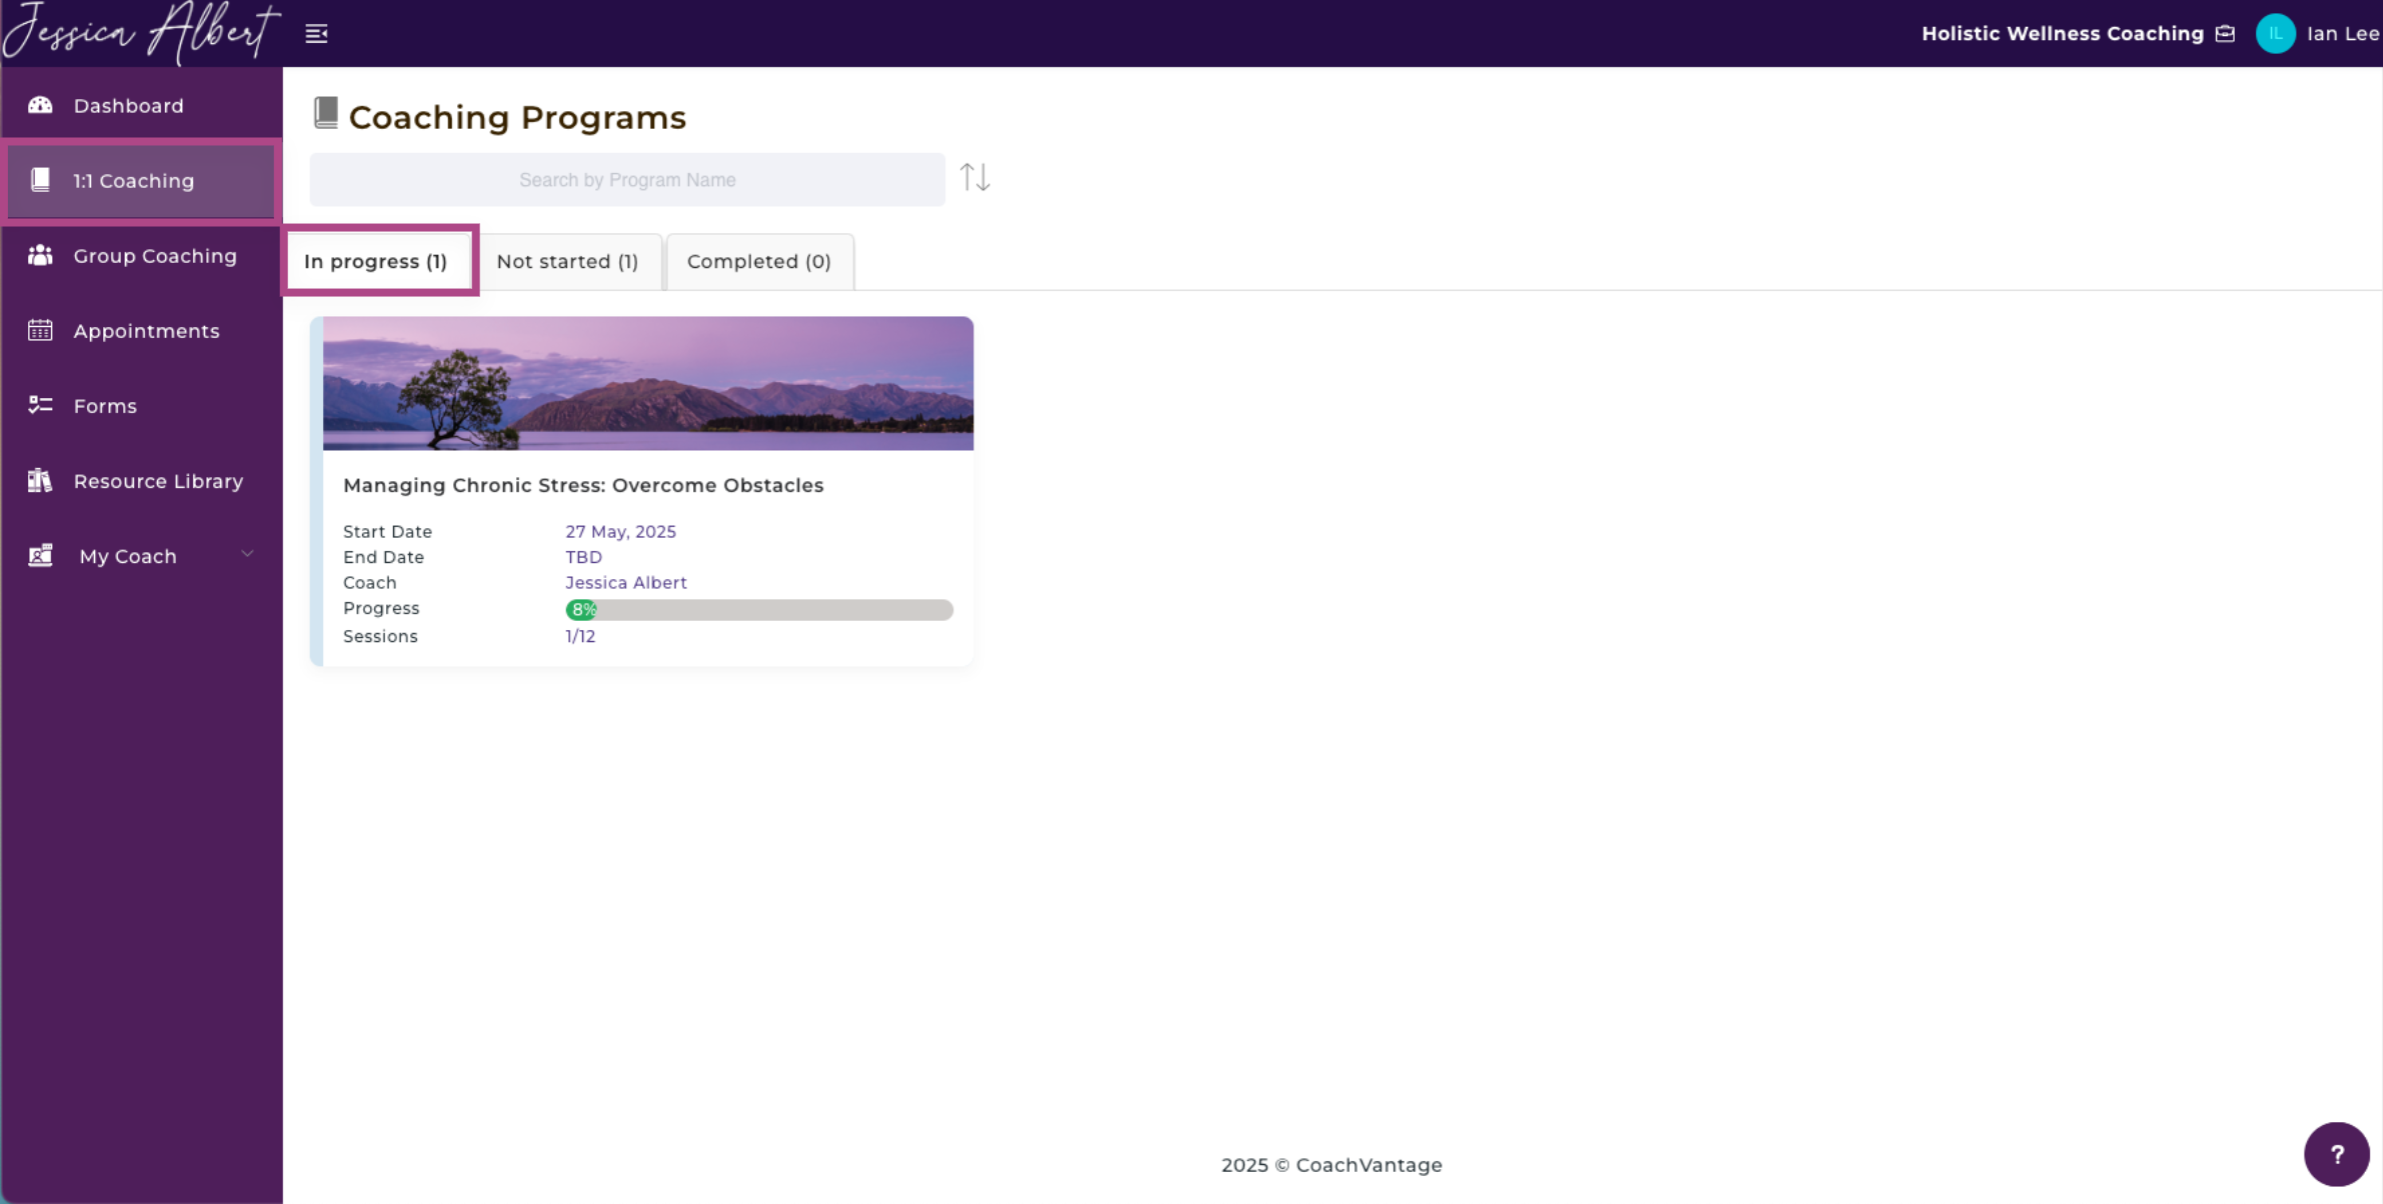
- Go to Coaching Programs on the left menu.
- In the In progress tab, click on the desired program.
- It will bring you to the program management page.
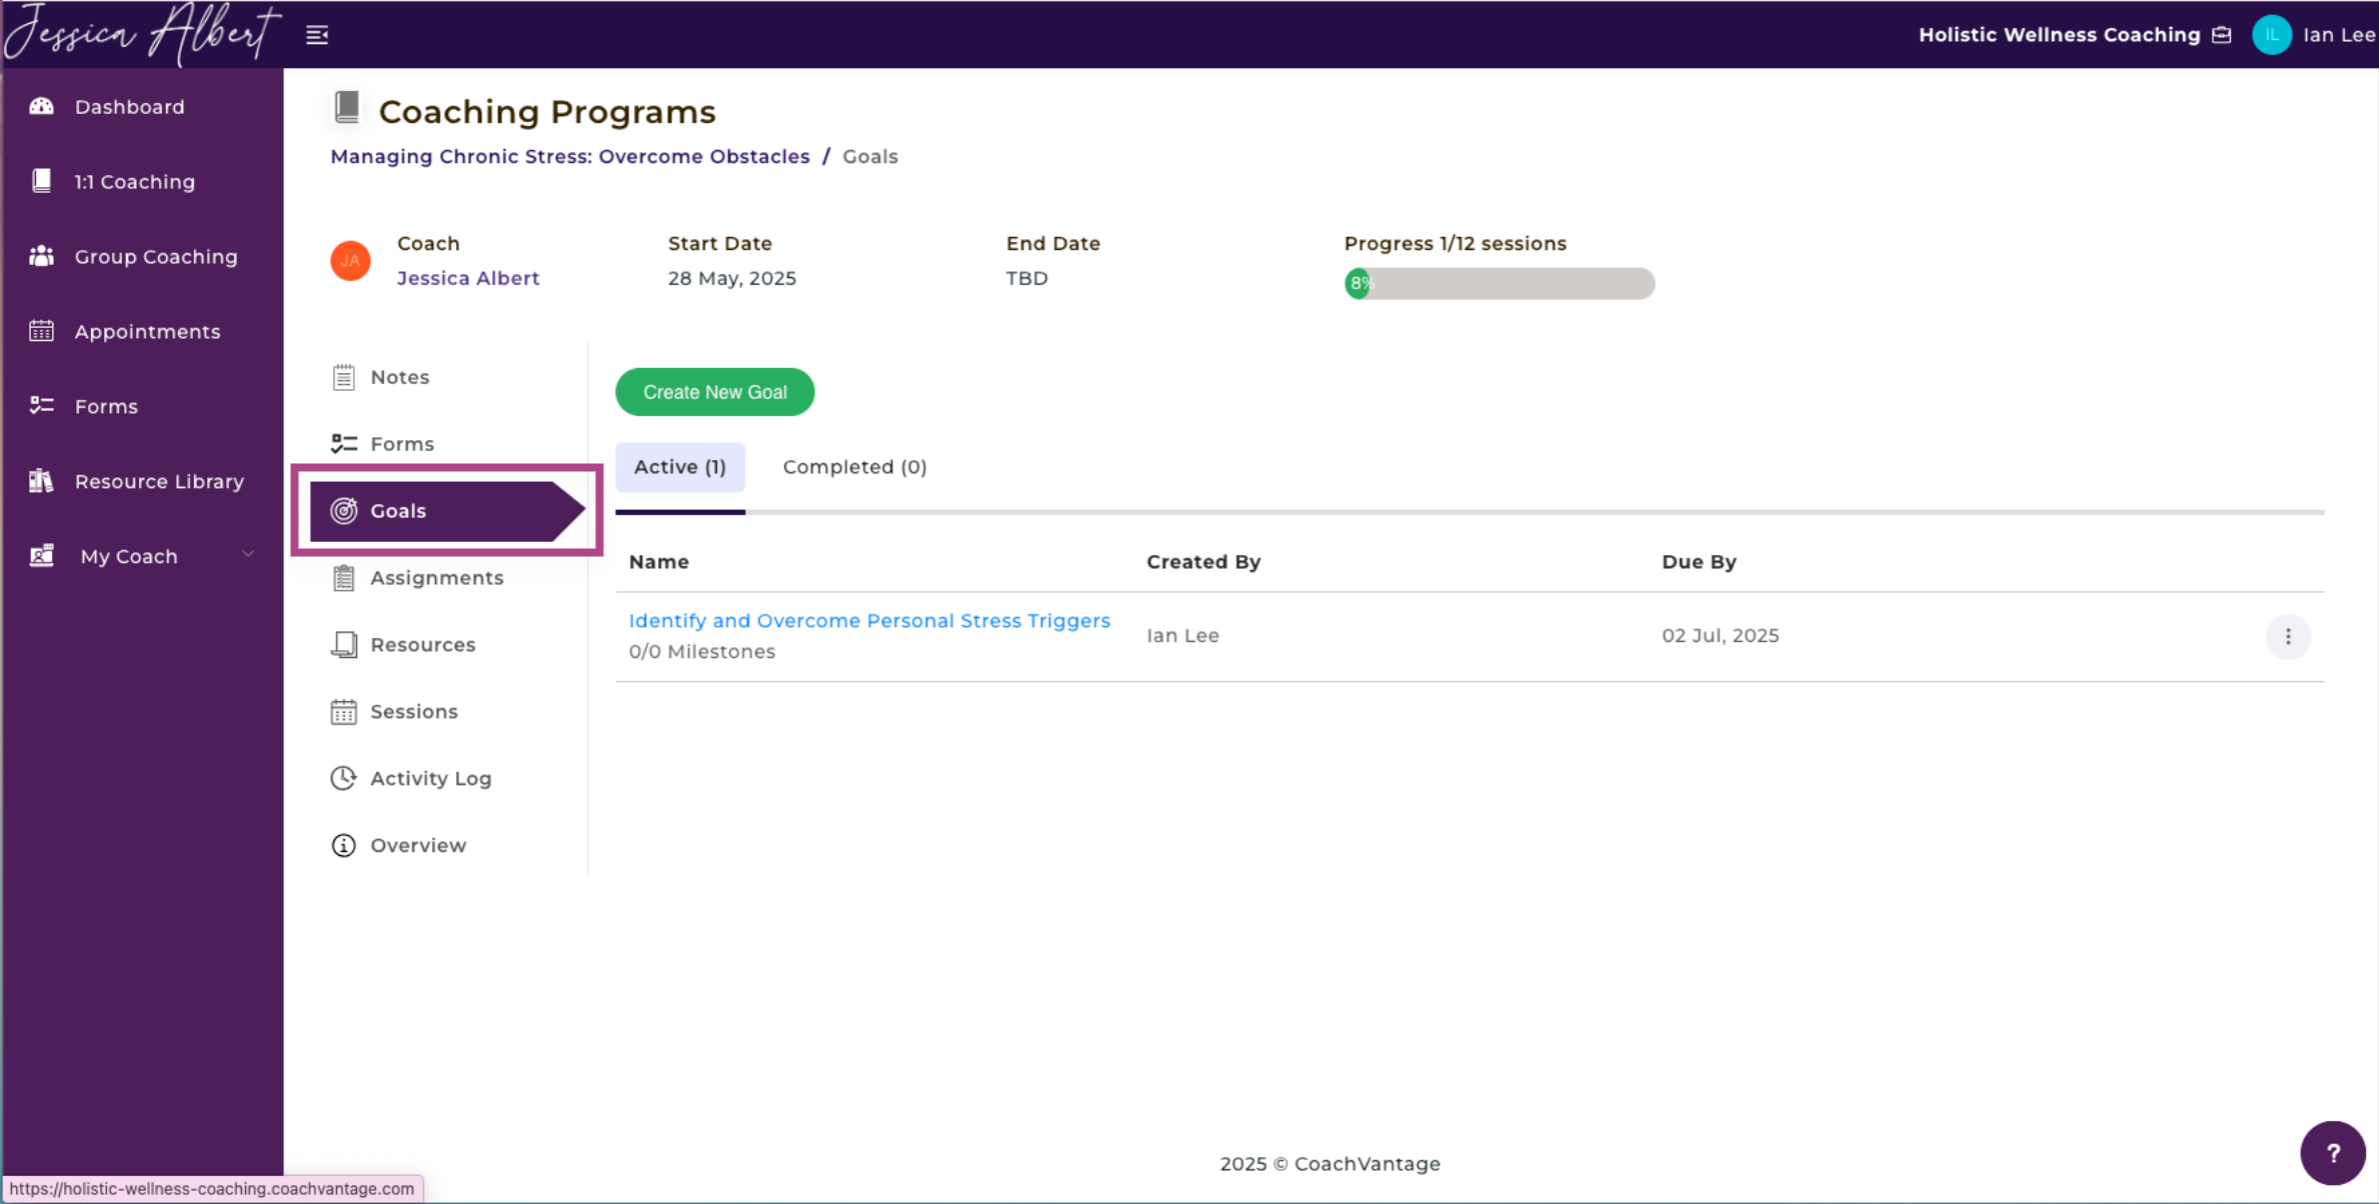
- Click on Goals to view your goals.
To Create a Coaching Goal:
- Click on the Goals ribbon in the sub-menu to open the Goals page.
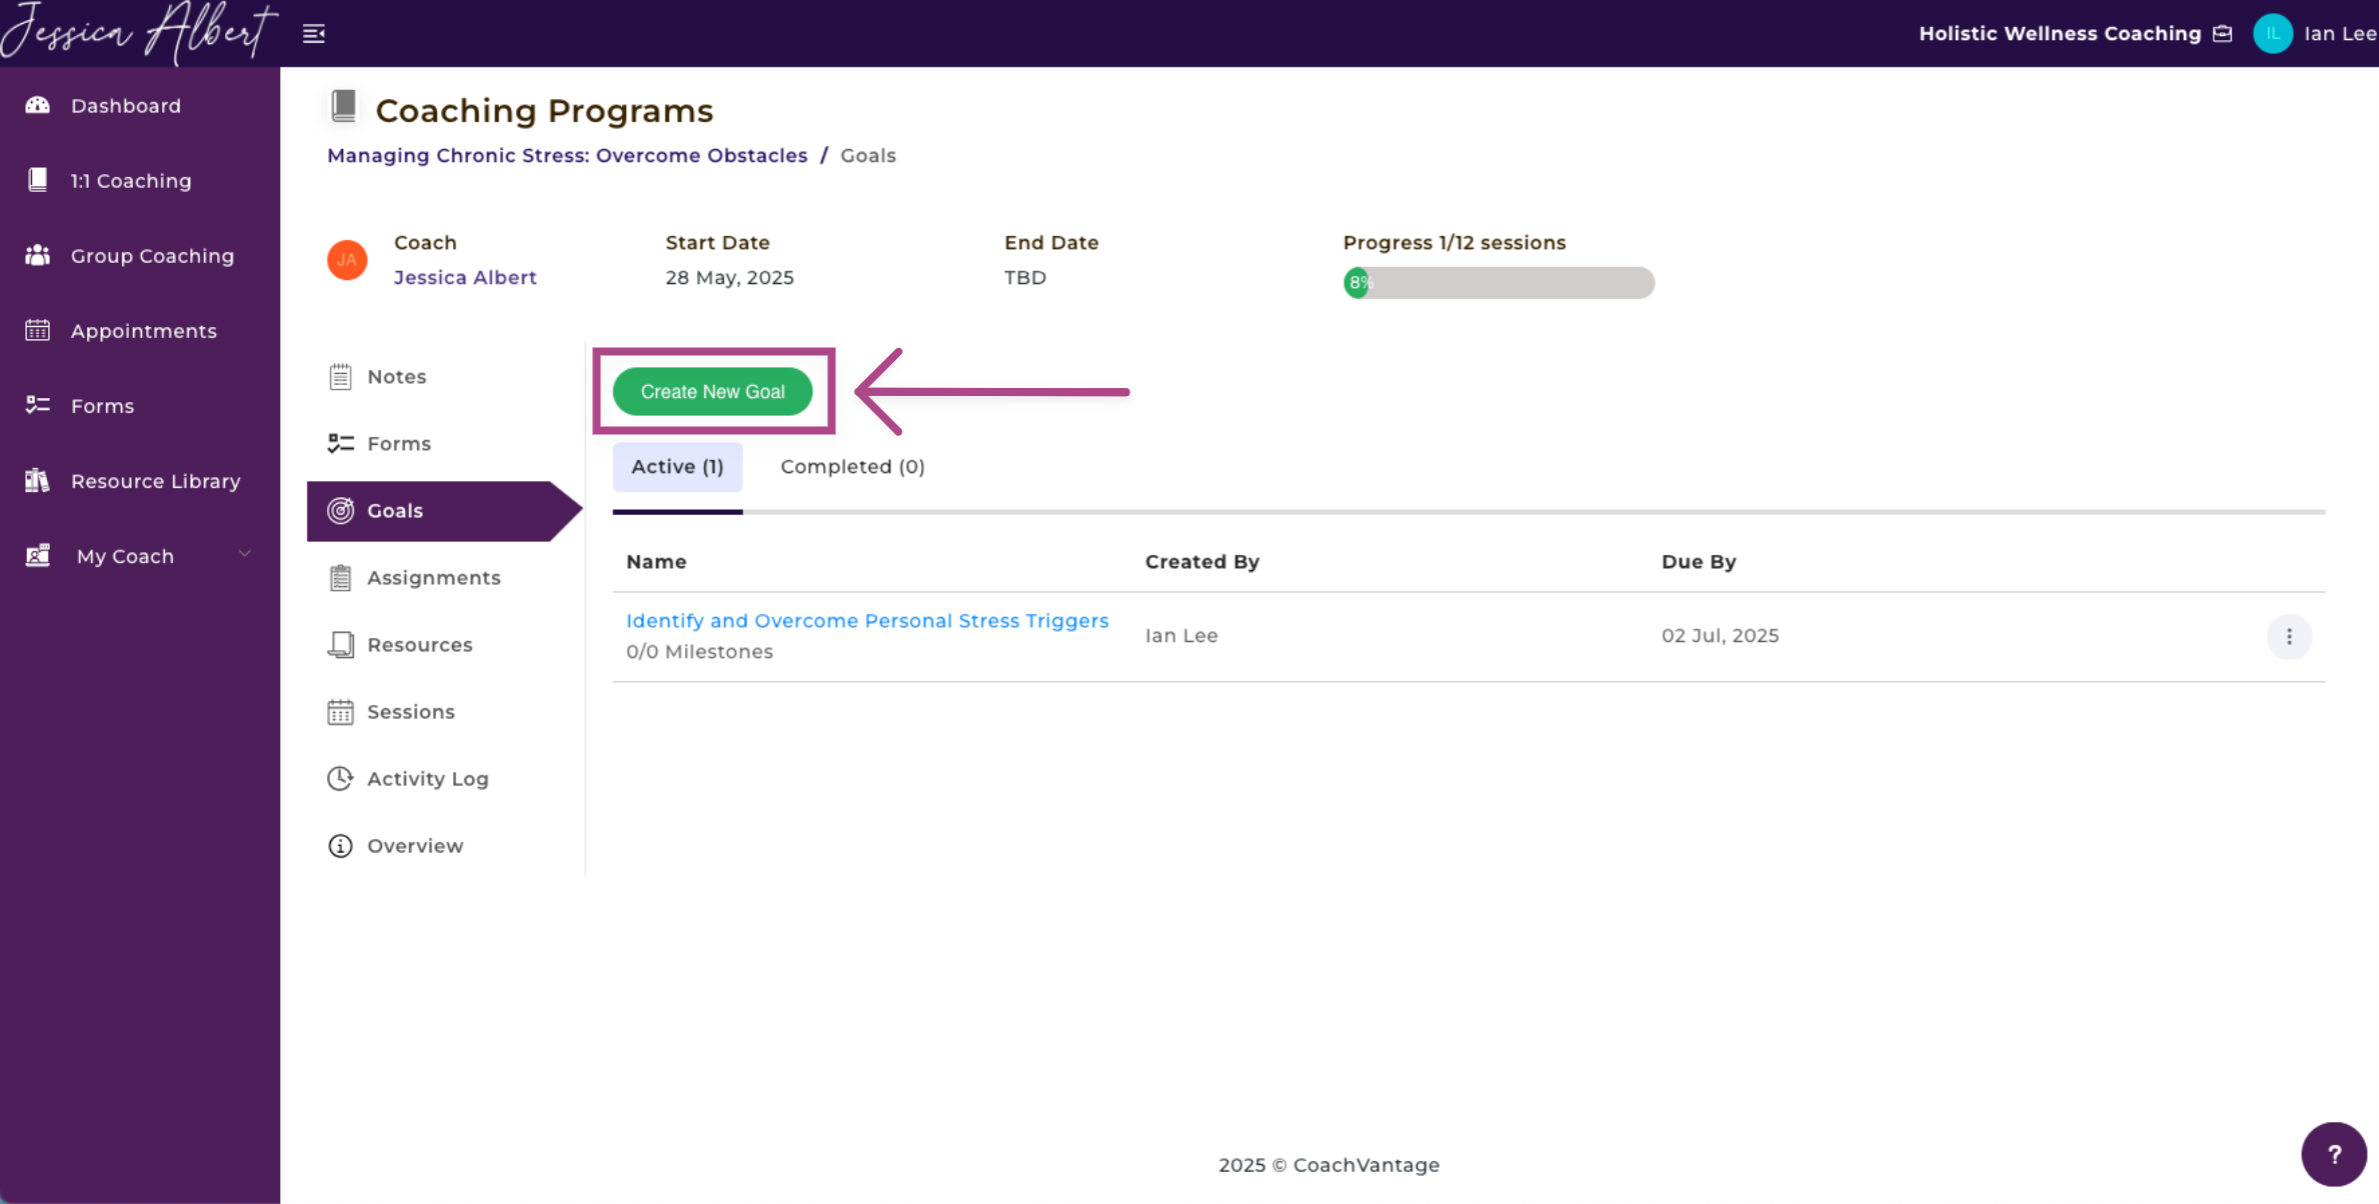
- Click the Create New Goal button to set up a new goal for yourself.
- Enter Name, Description (optional) and Due Date (optional) of the goal.
- Click Save.

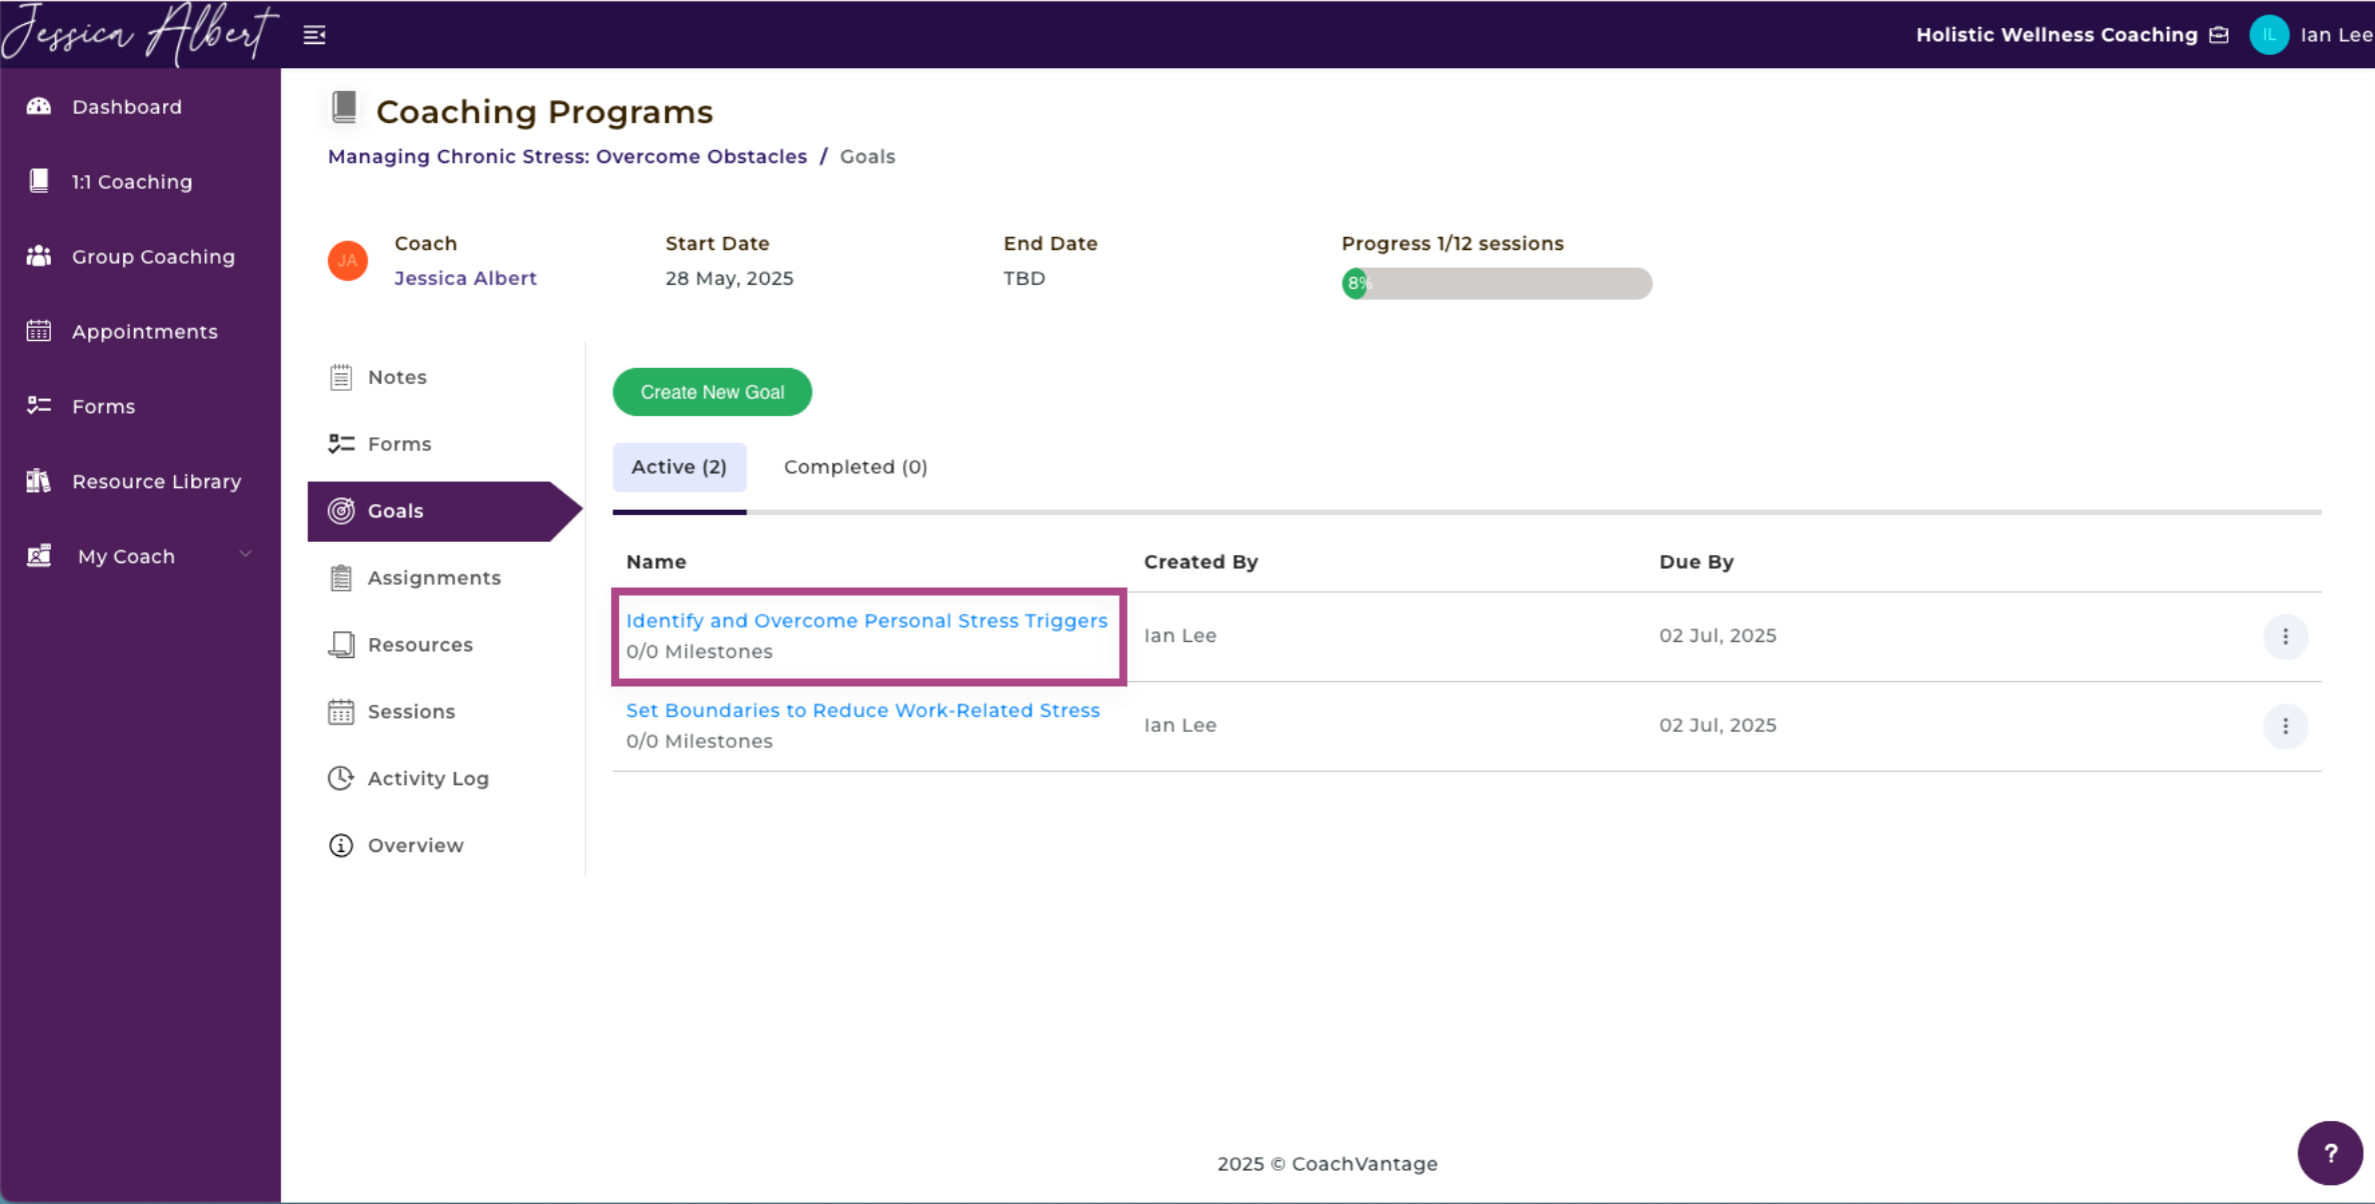
Once a Goal is created, it will be automatically displayed in both yours and your Coach’s program management page, on the Active Goals tab.
An email notification will be sent automatically to your Coach whenever you create a goal.
Create Milestones🏅
You can optionally add Milestones to goals. This allows you to break down a high level goal into smaller steps (or milestones) that you need to complete before the high level goal itself is marked as Completed.
To Create Goal Milestones:
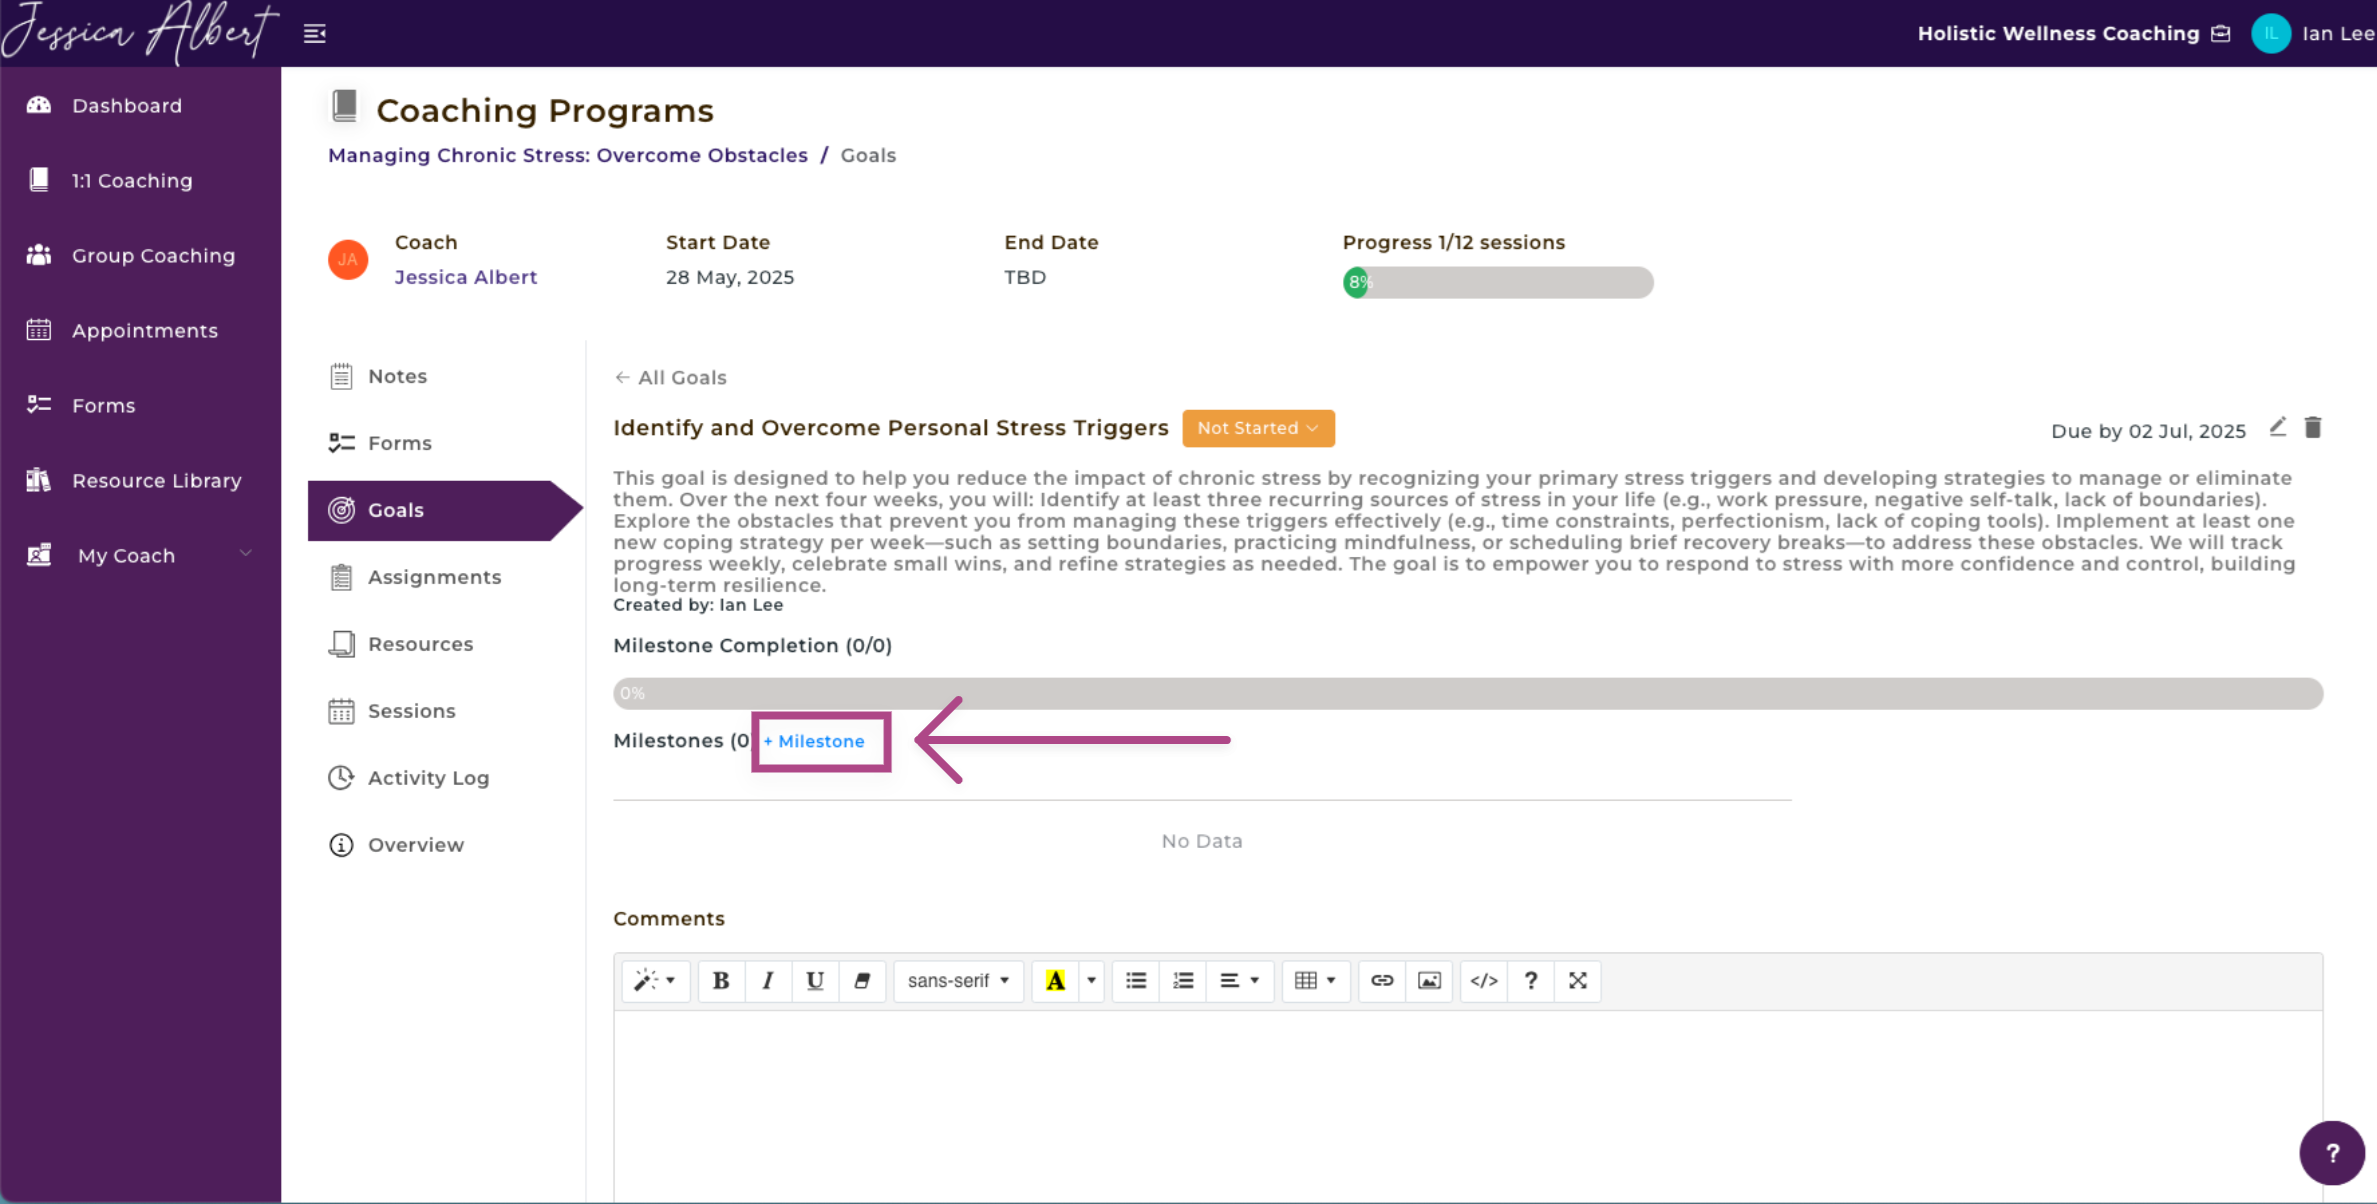
Select a Goal and then click on +Milestone.
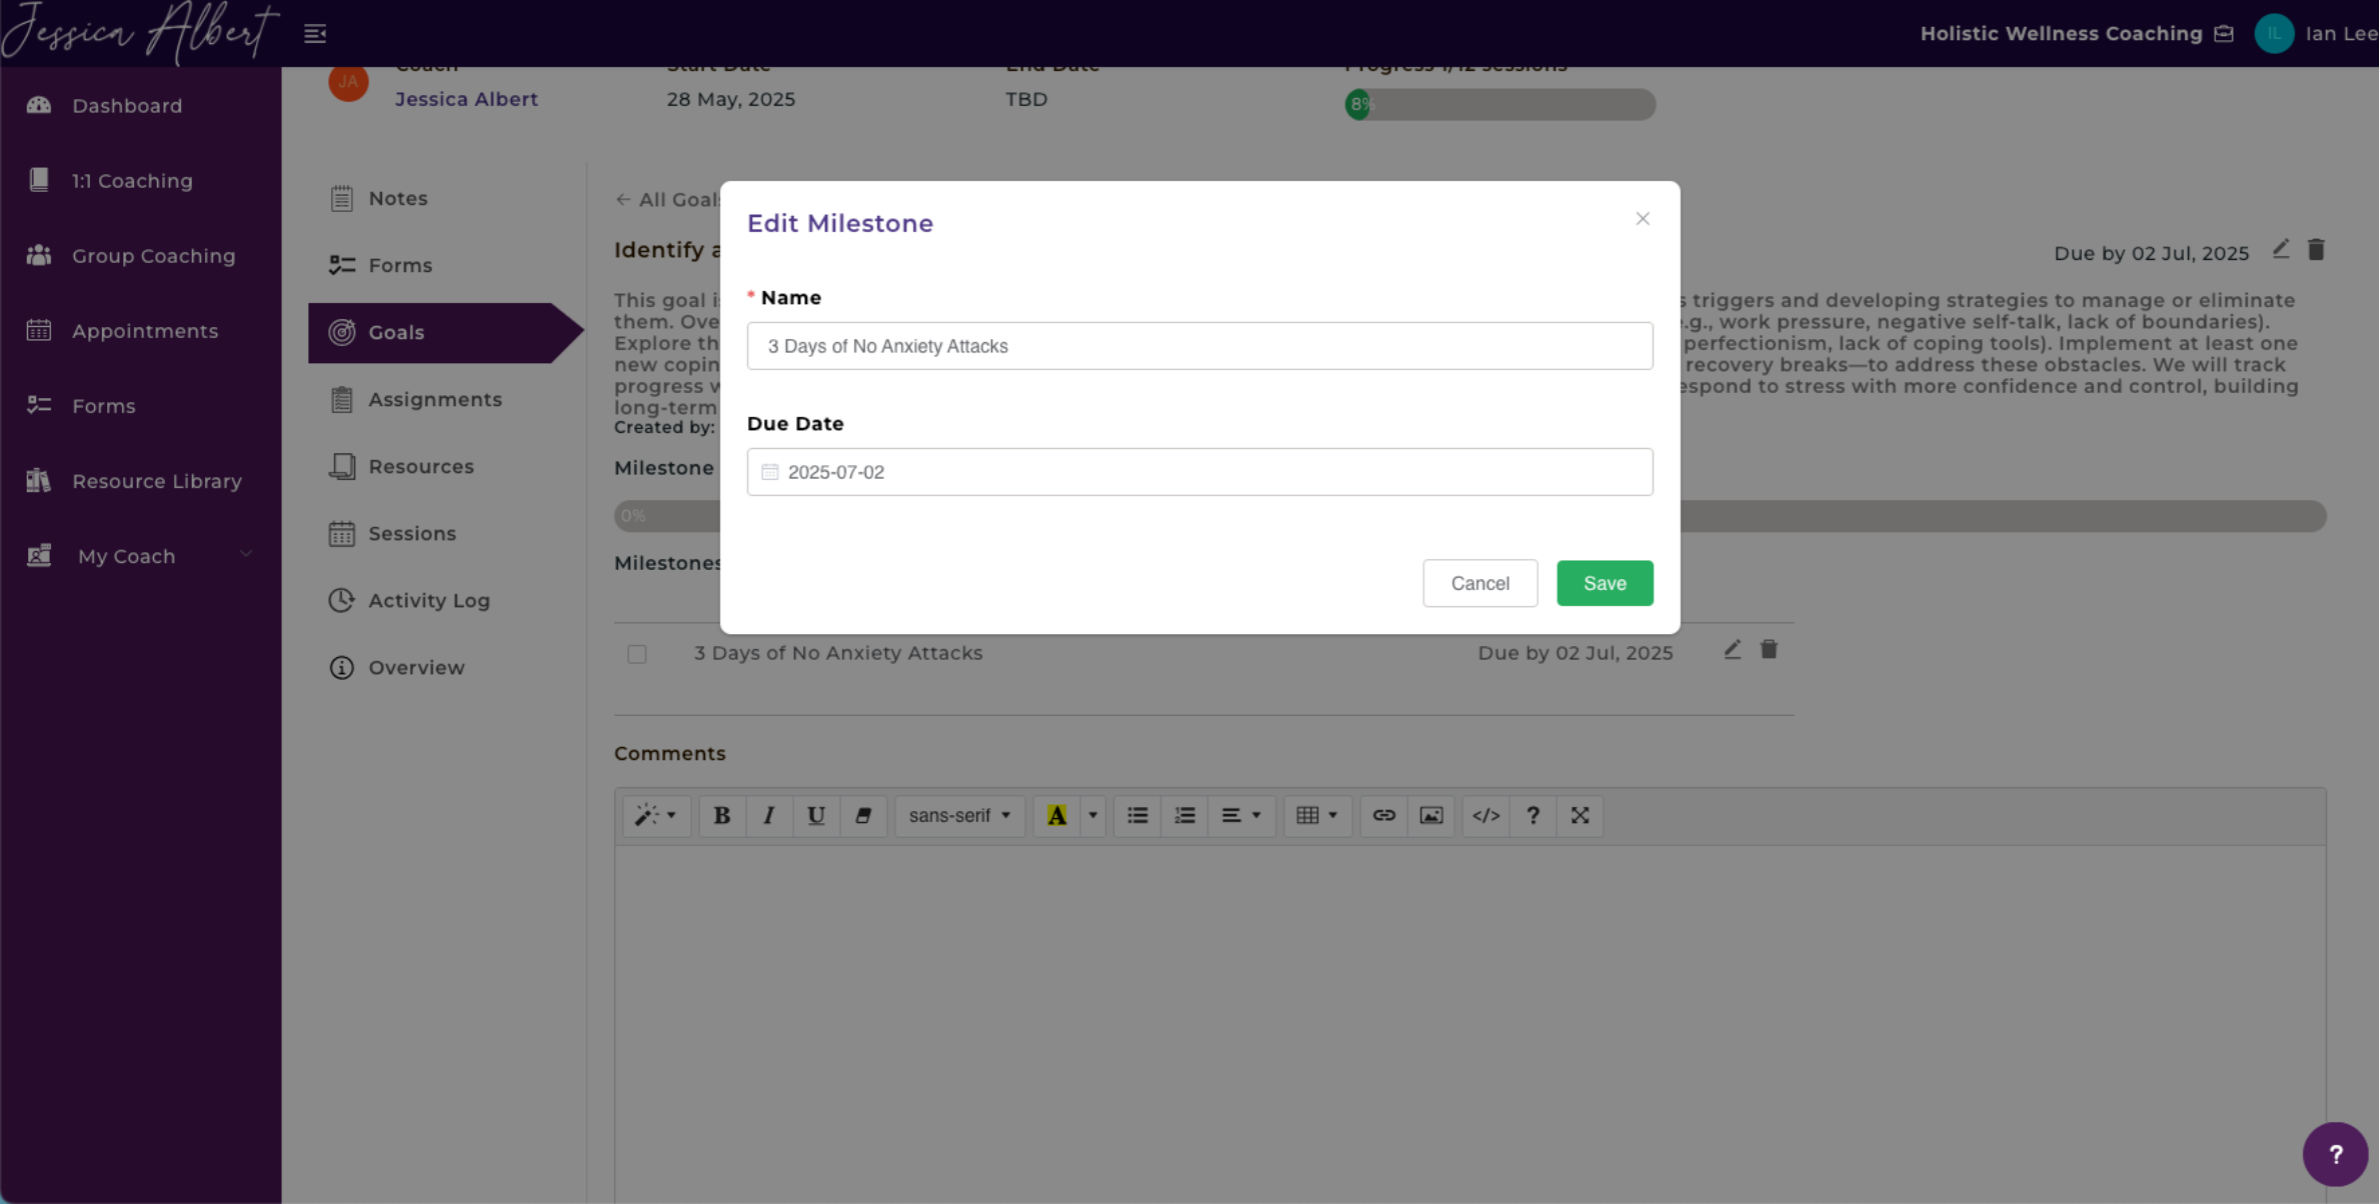
A pop-up window will open to add the Name and Due Date (optional) for the Milestone.
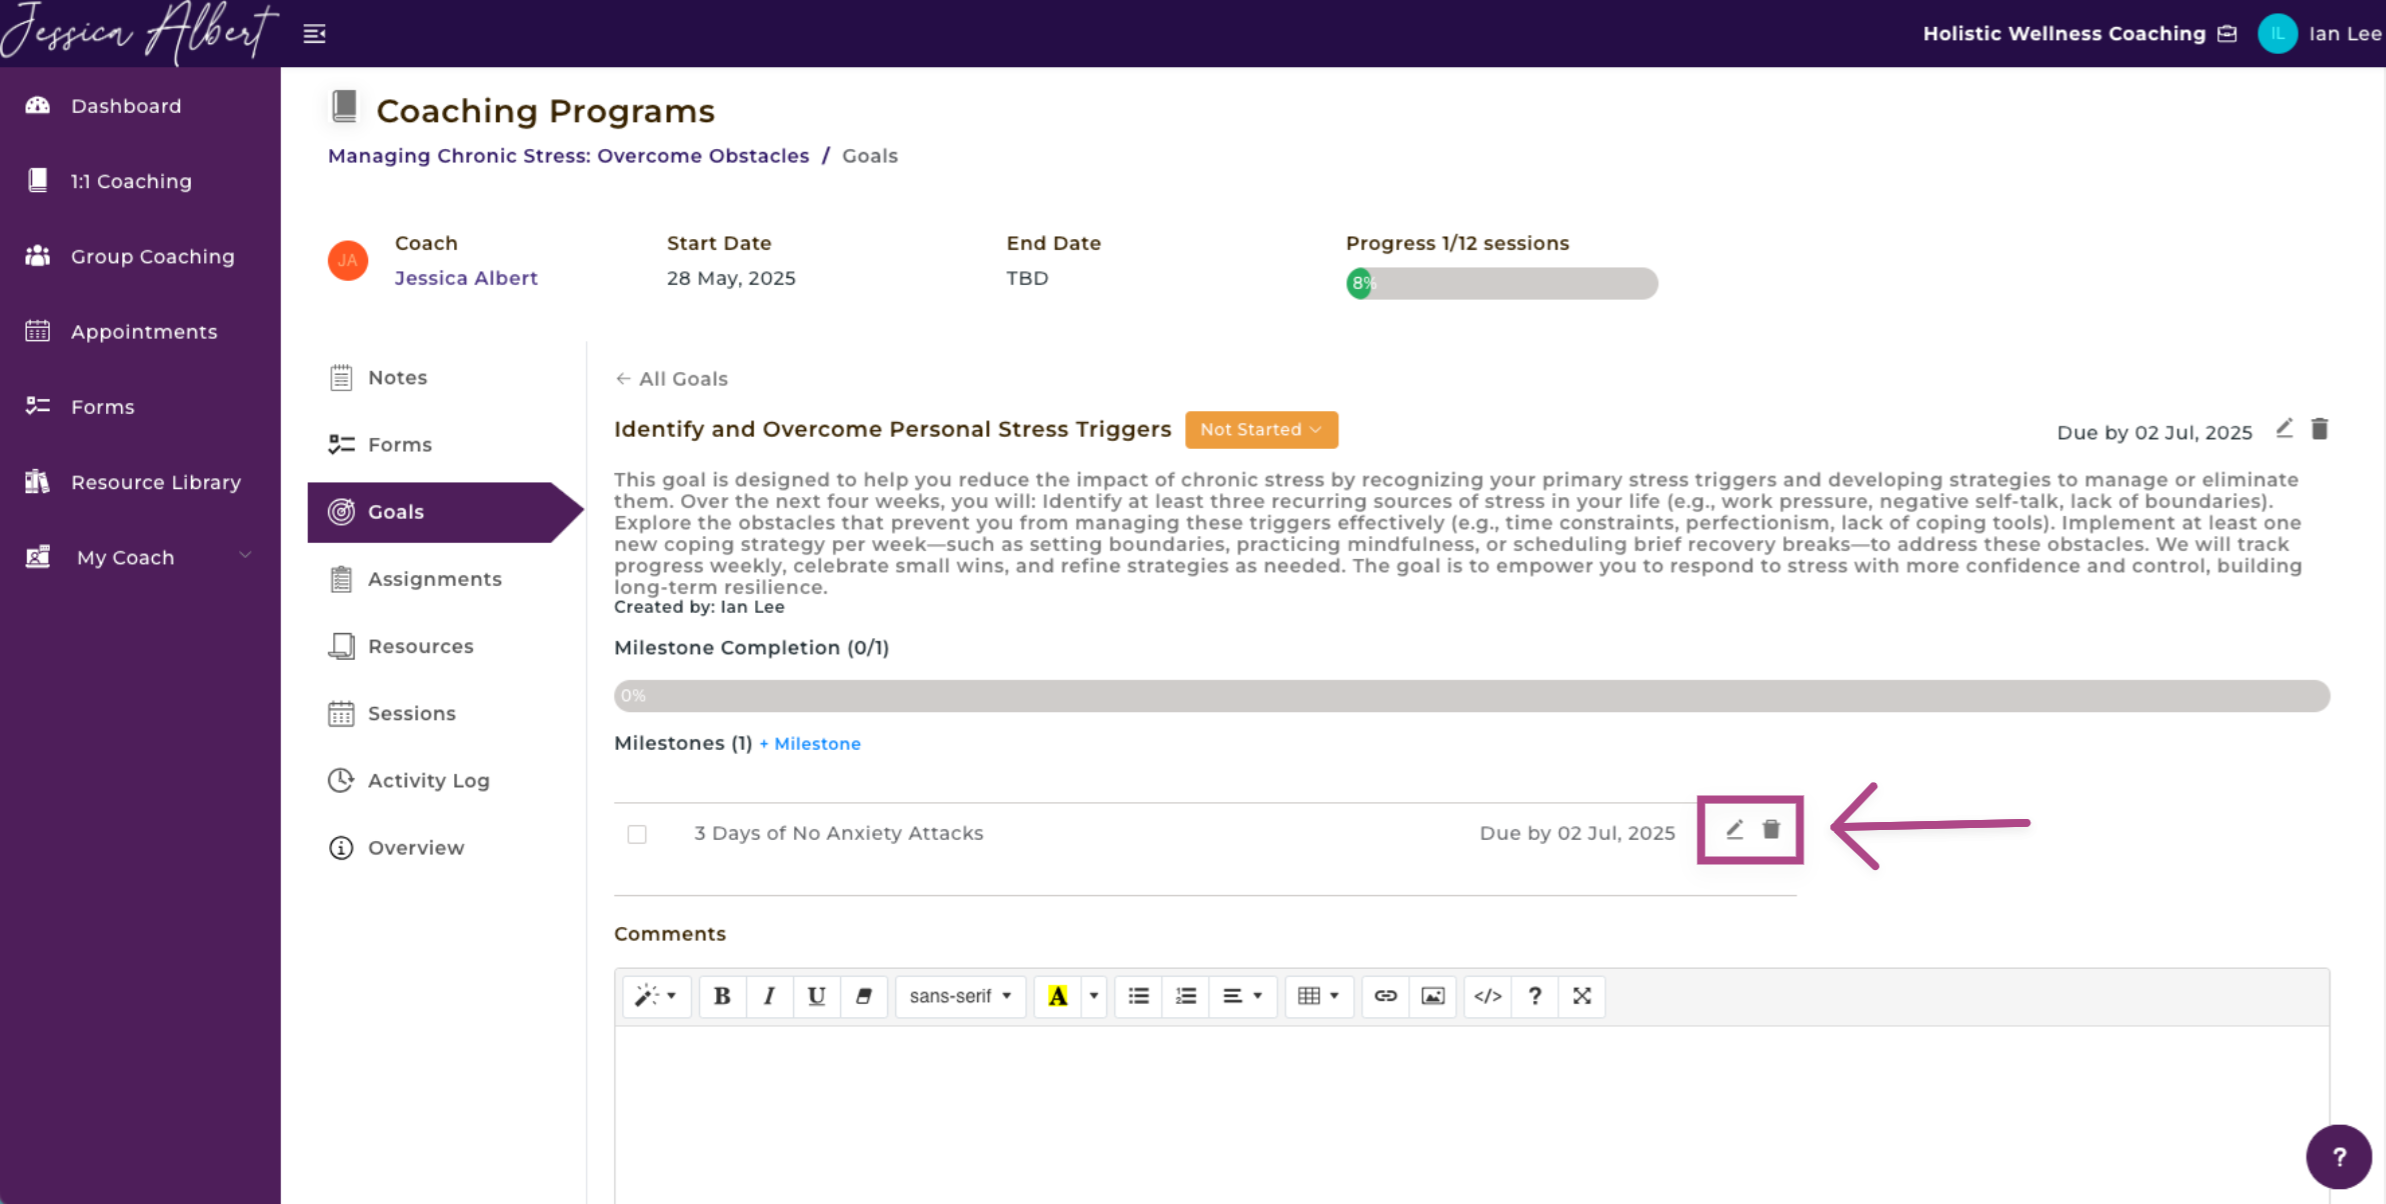
Select the Pencil Icon to edit a milestone or click the Trashcan Icon to delete it.
To mark a Milestone as completed, simply check the checkbox on the left-side of the Milestone.
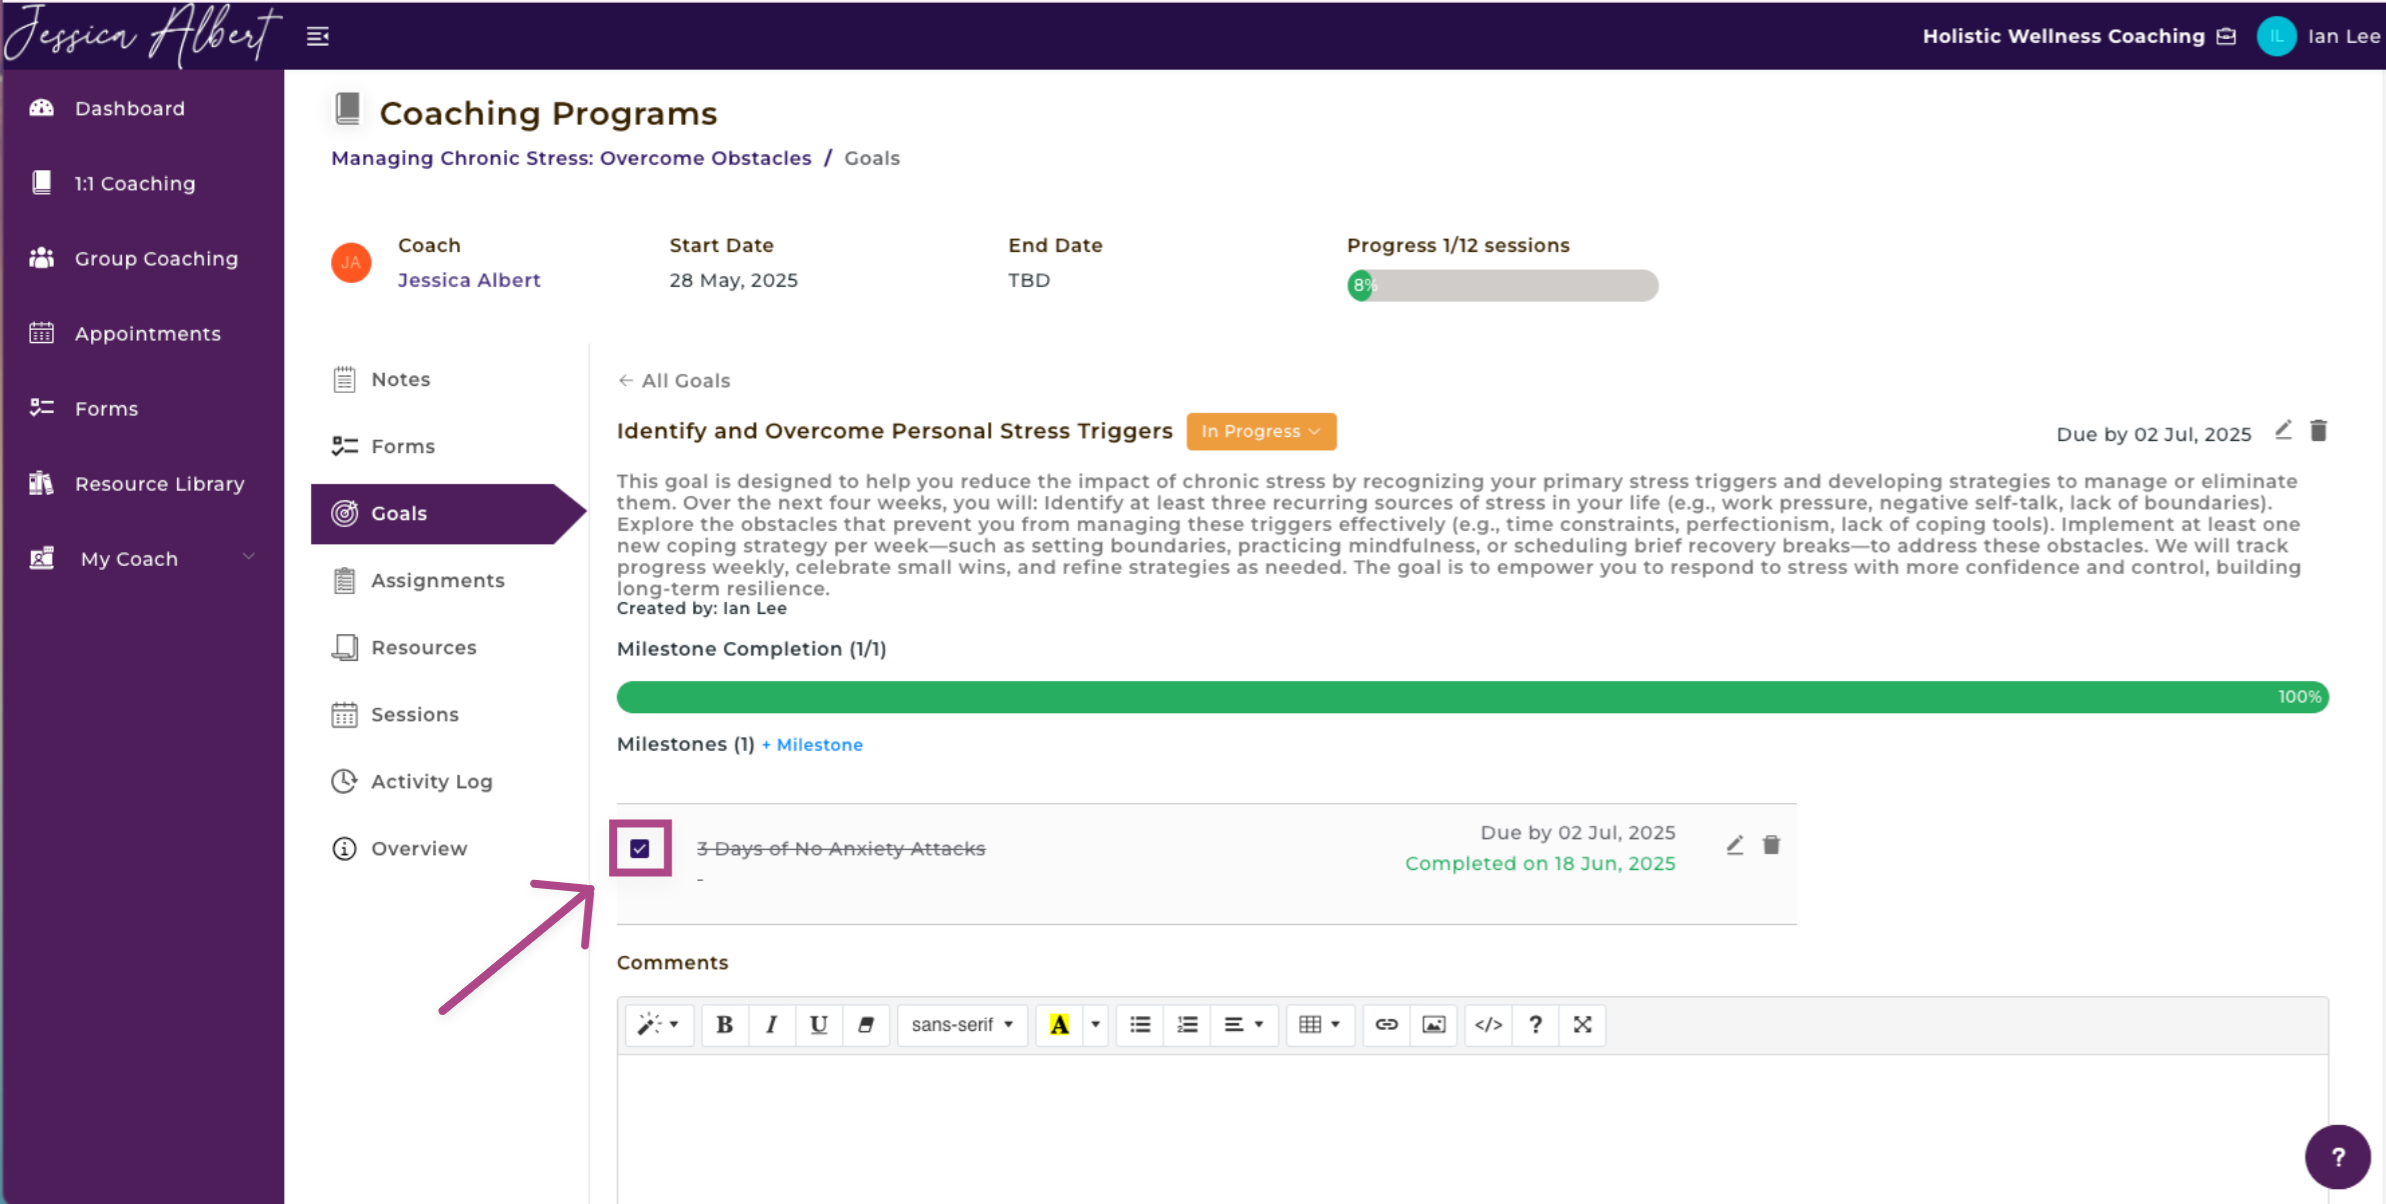
As milestones get checked off as Completed, the Milestone Completion Bar progresses automatically and displays the percentage completion of all milestones.
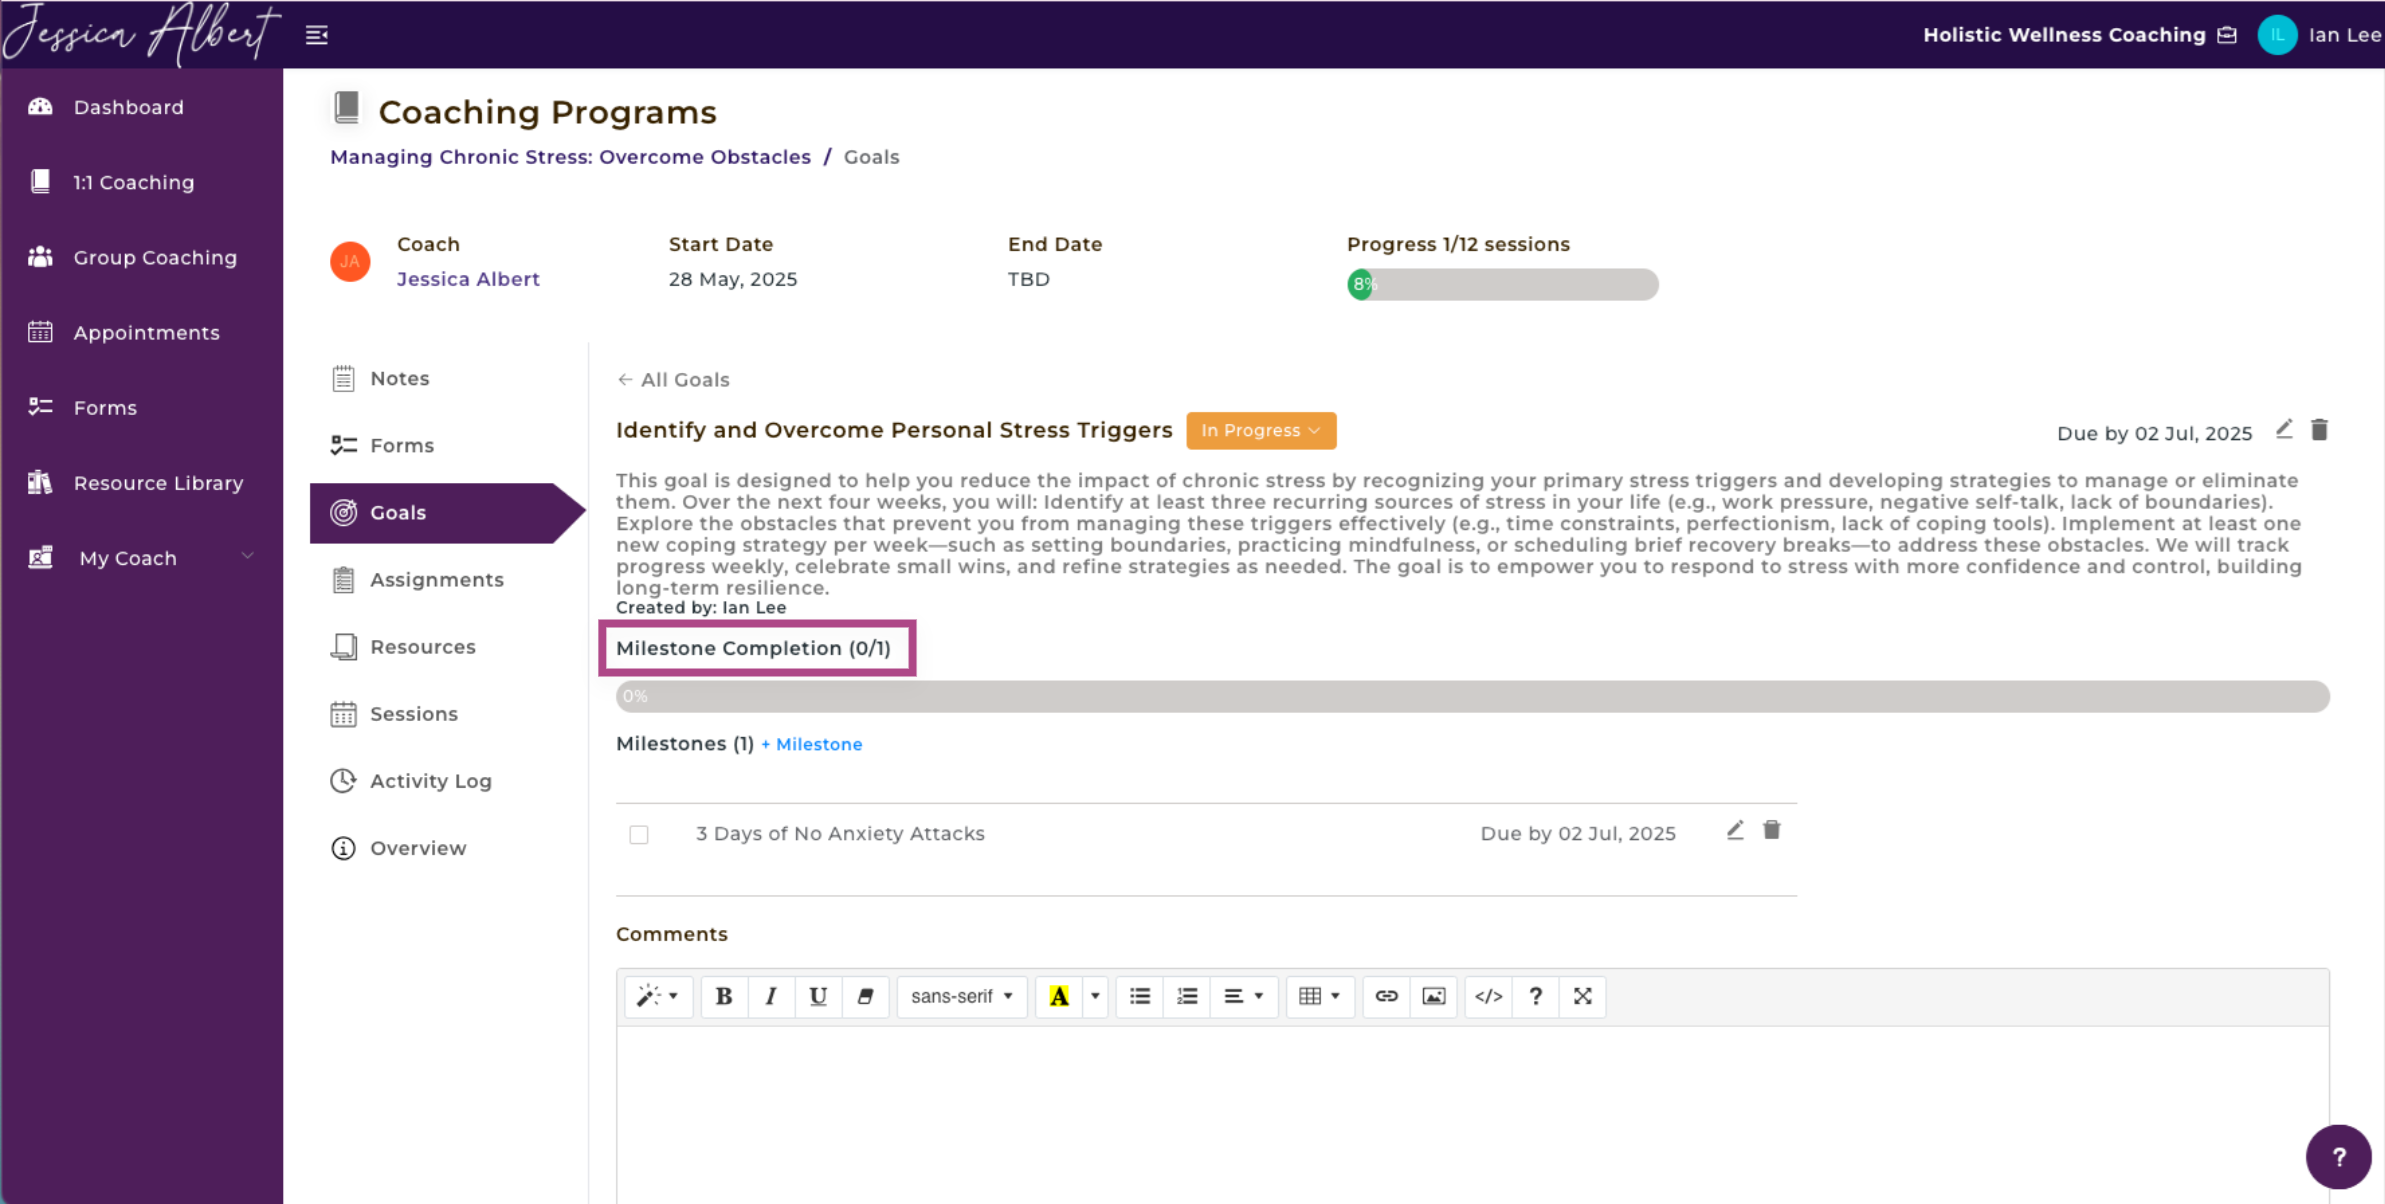
If you wish to mark a milestone as Not Completed, you can simply uncheck the checkbox by clicking on it again. This will move the milestone progress bar back to reflect the new percentage completion of all milestones.
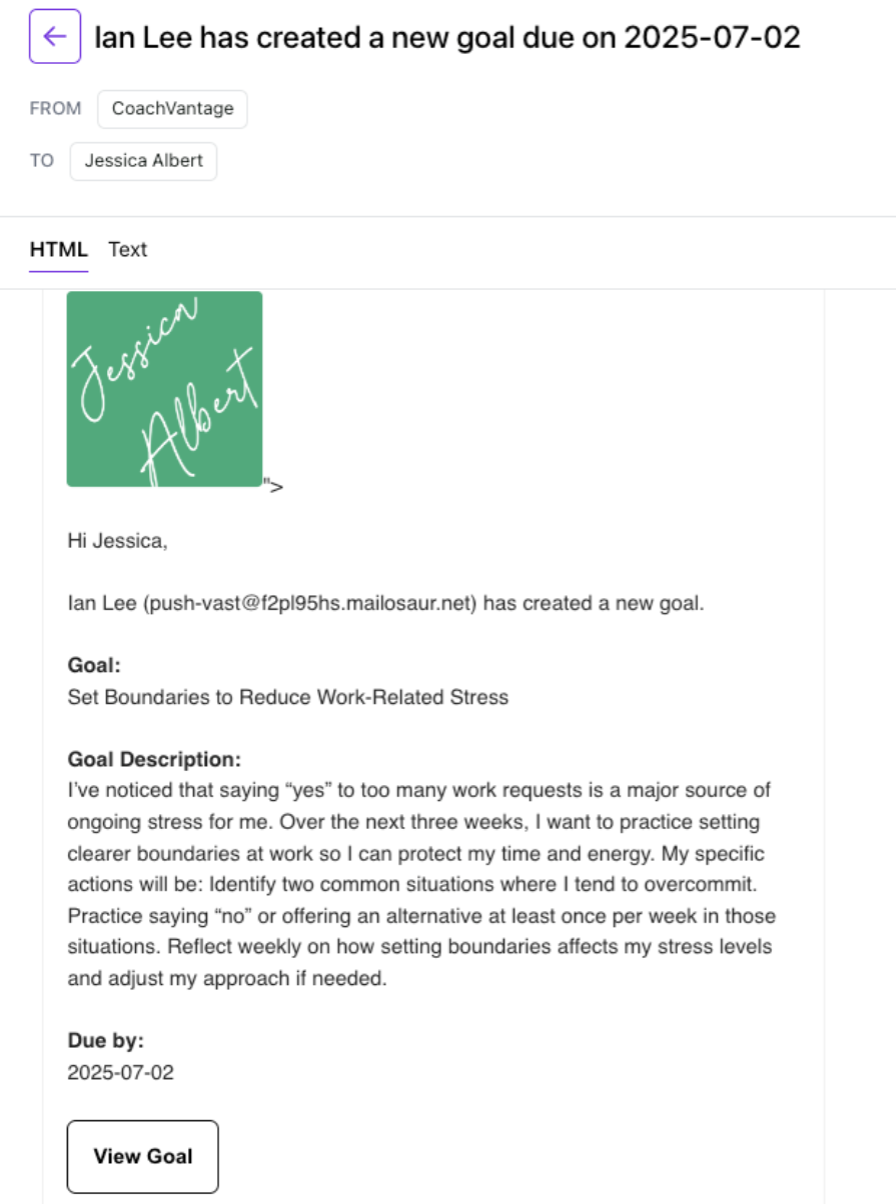
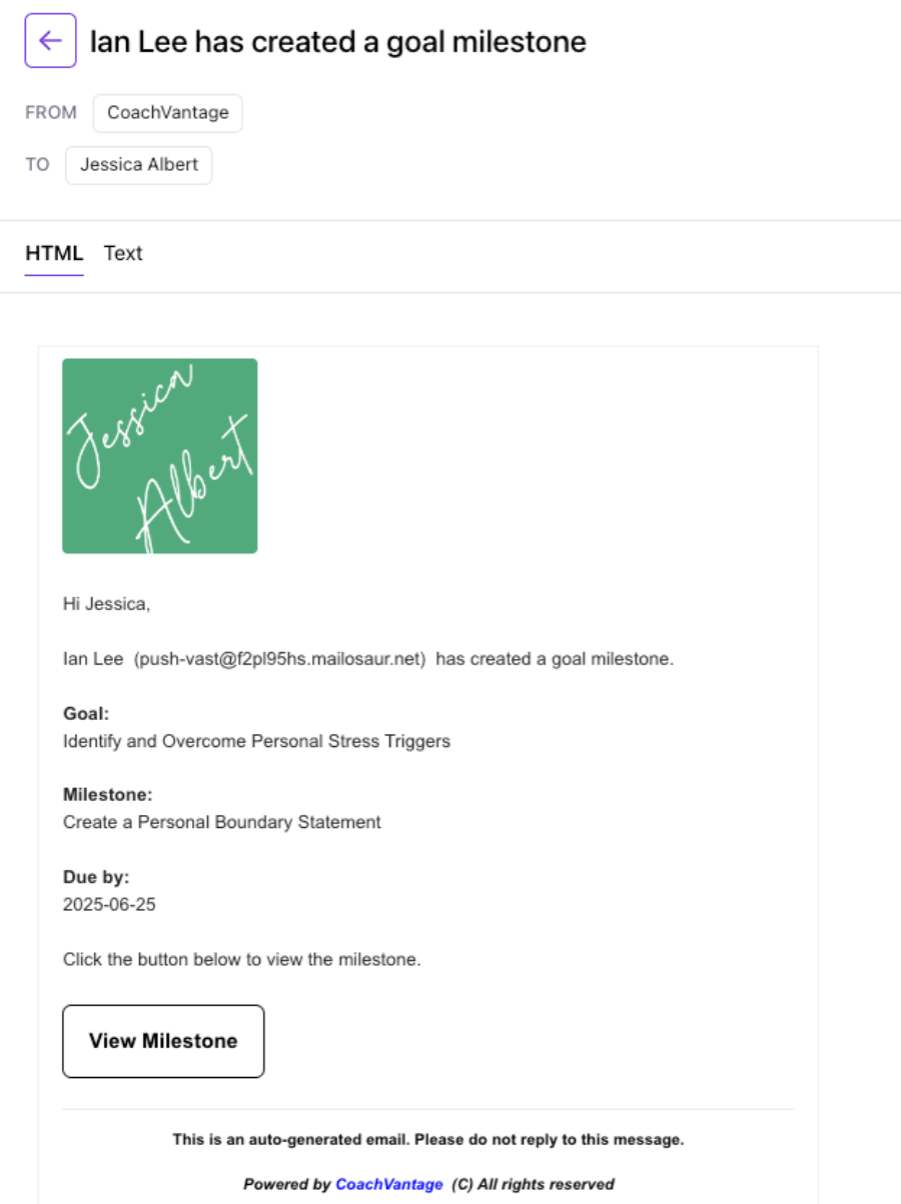
Your coach will receive an automated email notification each time a new milestone is added. The image below depicts the email that they will receive.
Editing & Deleting Goals 🖊️
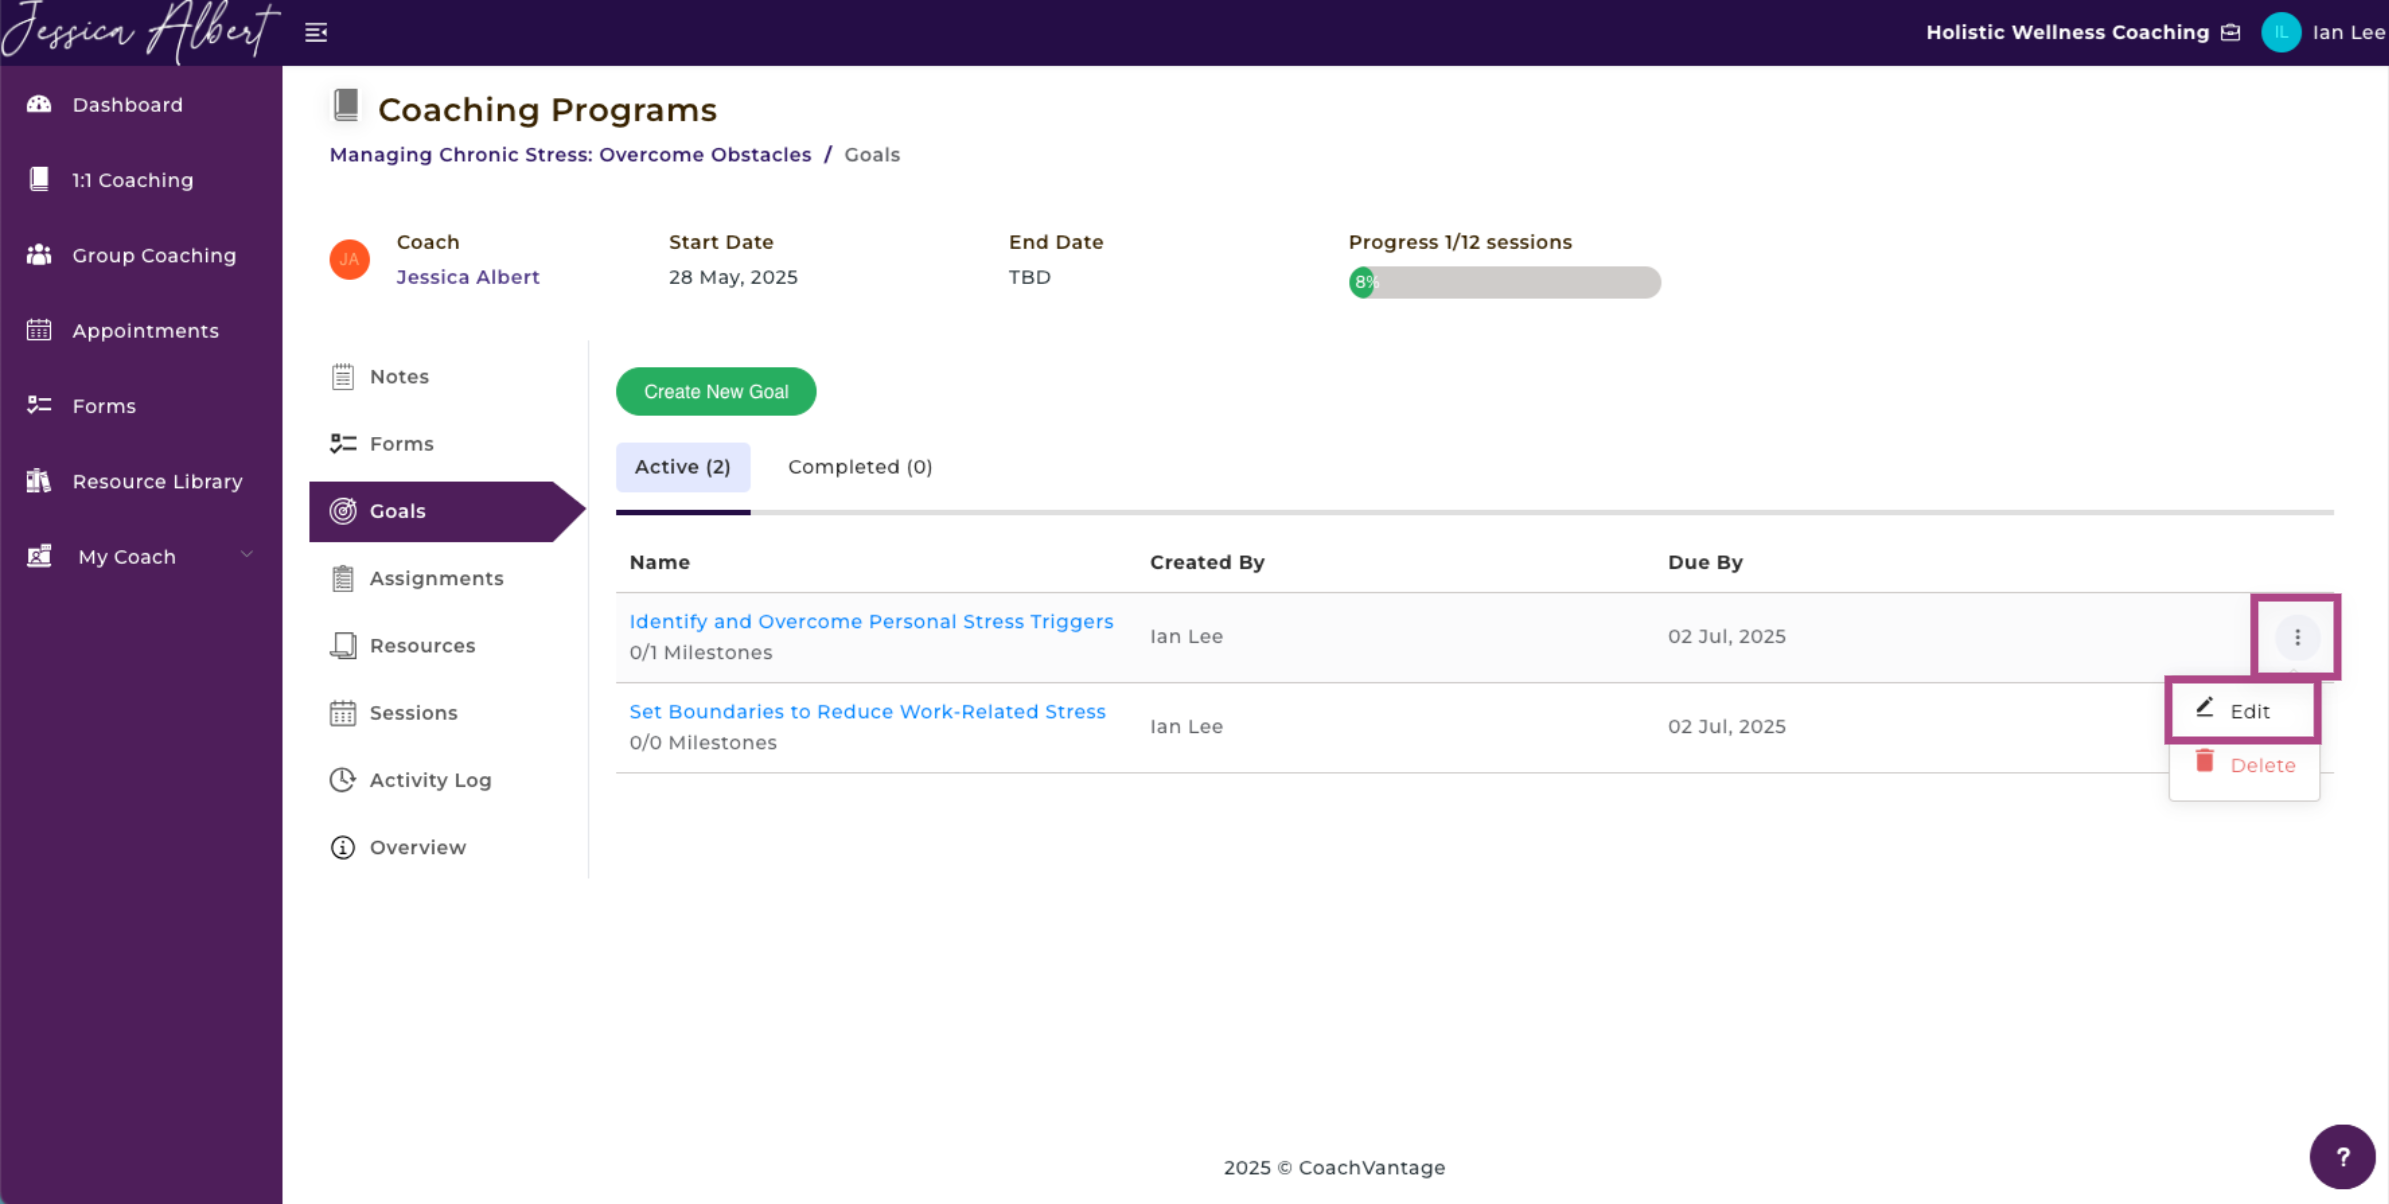
To edit or delete a goal:
- Click on the 3-dot button menu at the right-hand side of the Goal line and select Edit to open the Edit Goal window.
- You will be able to edit the Goal Name, Description, and Due Date of the goal.
- To delete a goal, click on the 3-dot button and select Delete.
When a goal is deleted, it will be automatically removed from the program management page of both you and the coach.
An email notification will be sent automatically to your Coach whenever you edit or delete a goal.
Changing Goal Status 🚥
When a goal is first created, its default status will be Not Started. You or your Coach can easily change the status of a goal to In Progress or Completed, as you progress through the goal.
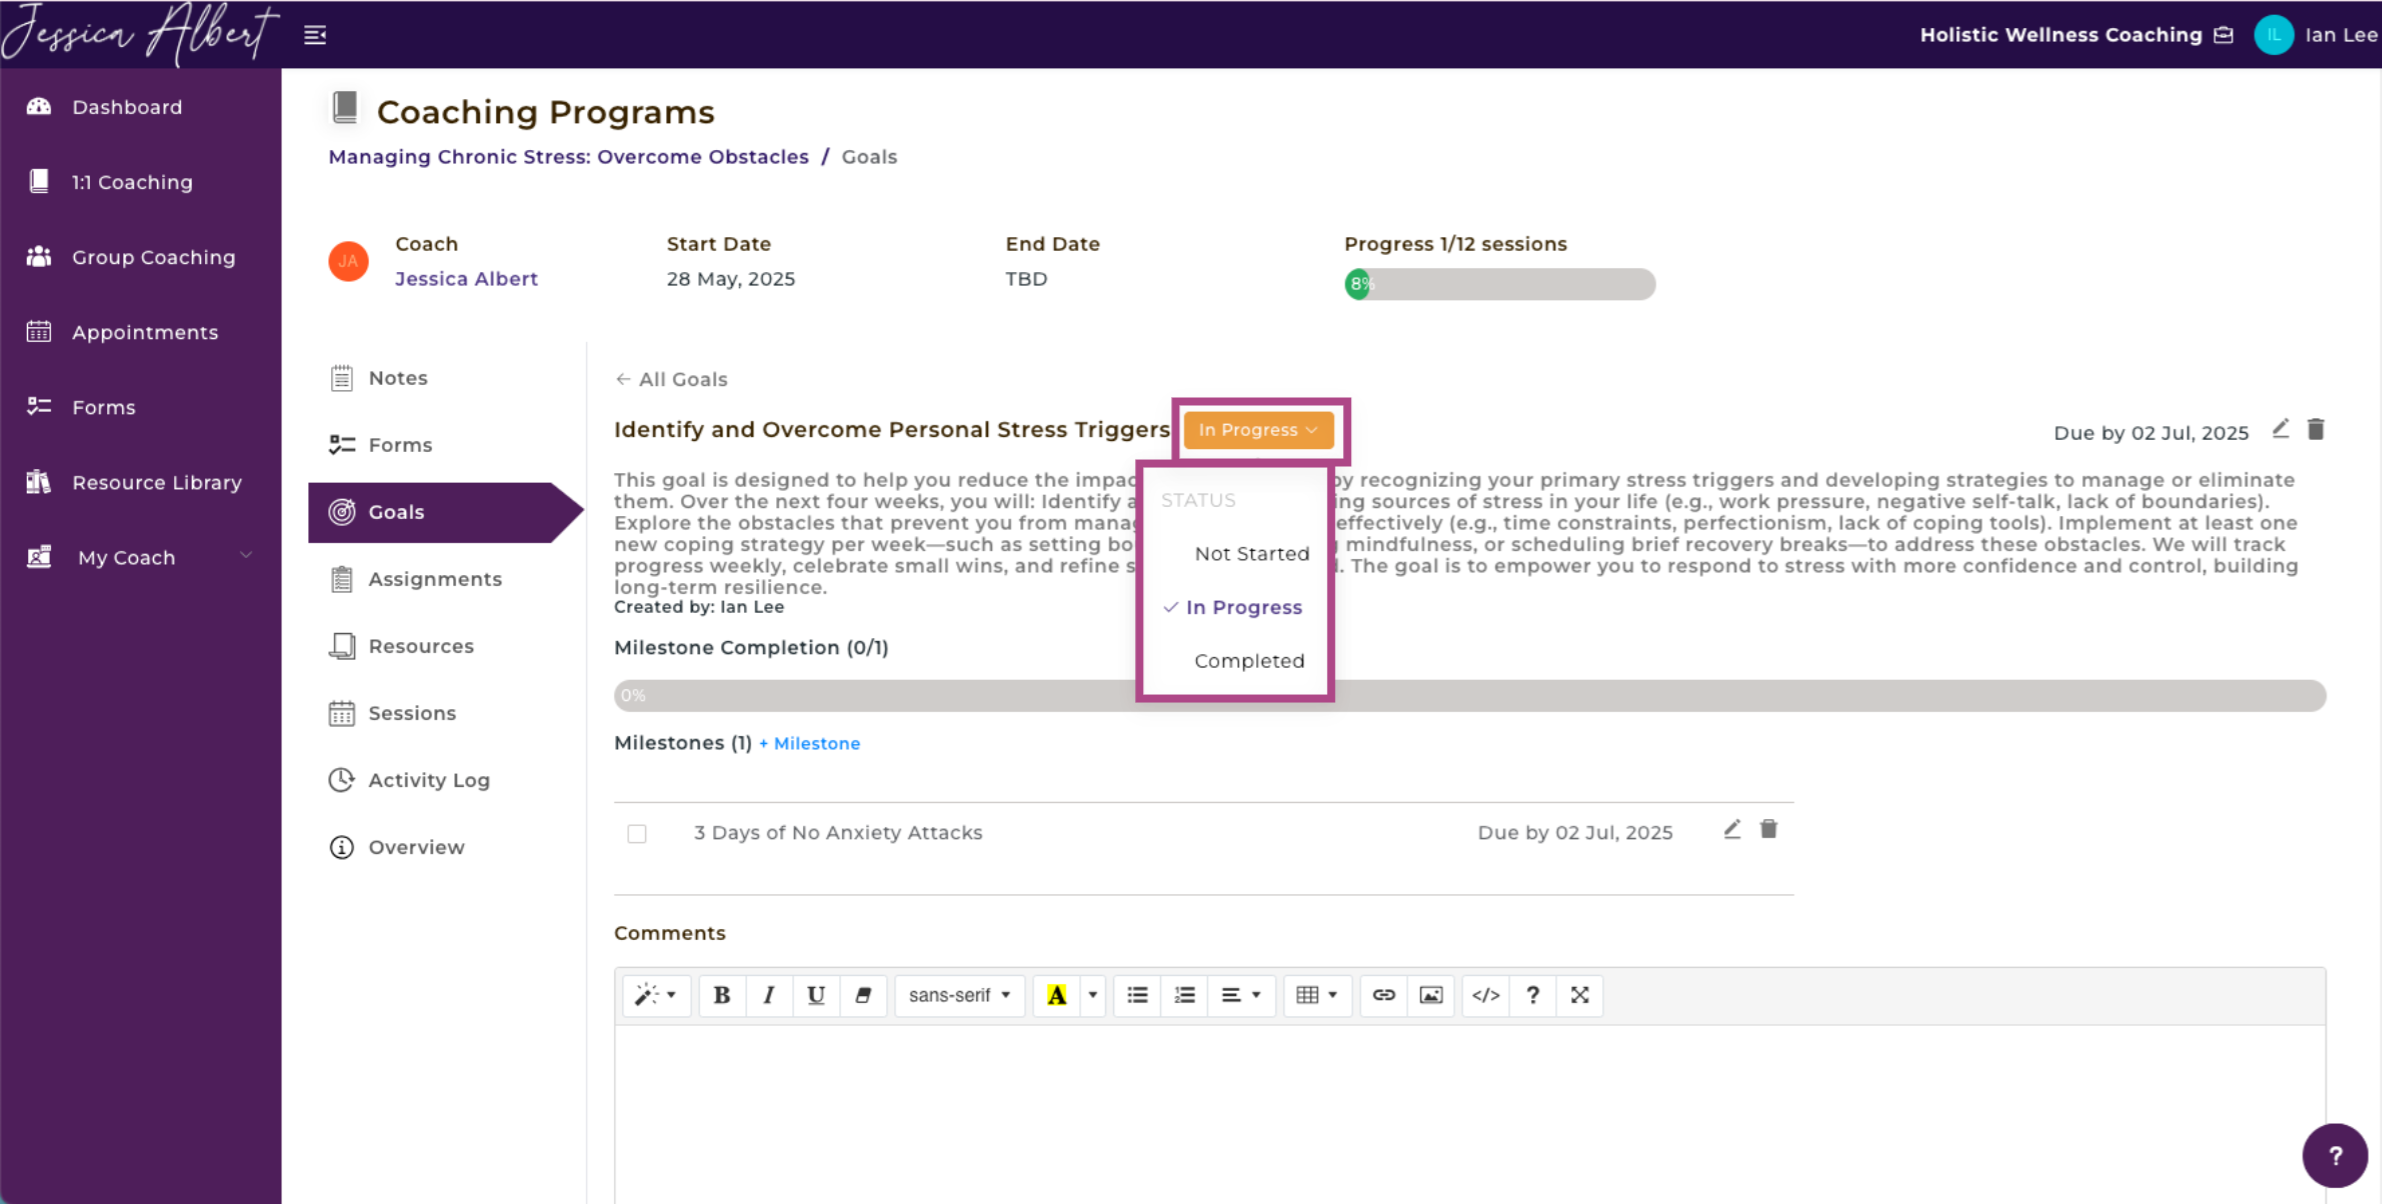
To change a goal status:
- Once a goal has been created, simply click on the Goal name to view the goal details.
- The Goal Status can be manually changed from the drop down button by selecting one of these status options: Not Started, In Progress or Completed.
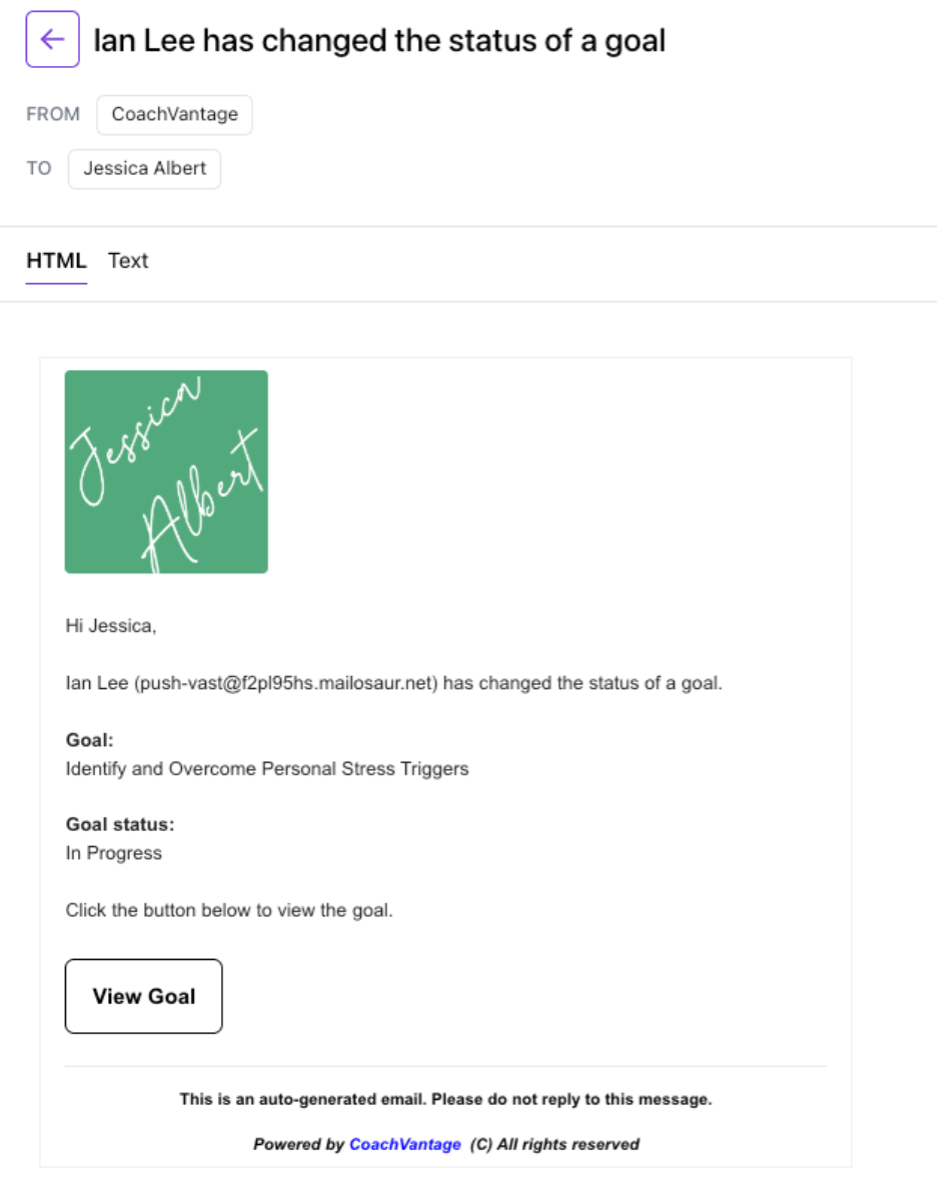
Automated email notifications will be sent to you and your coach whenever a goal's status has been changed.
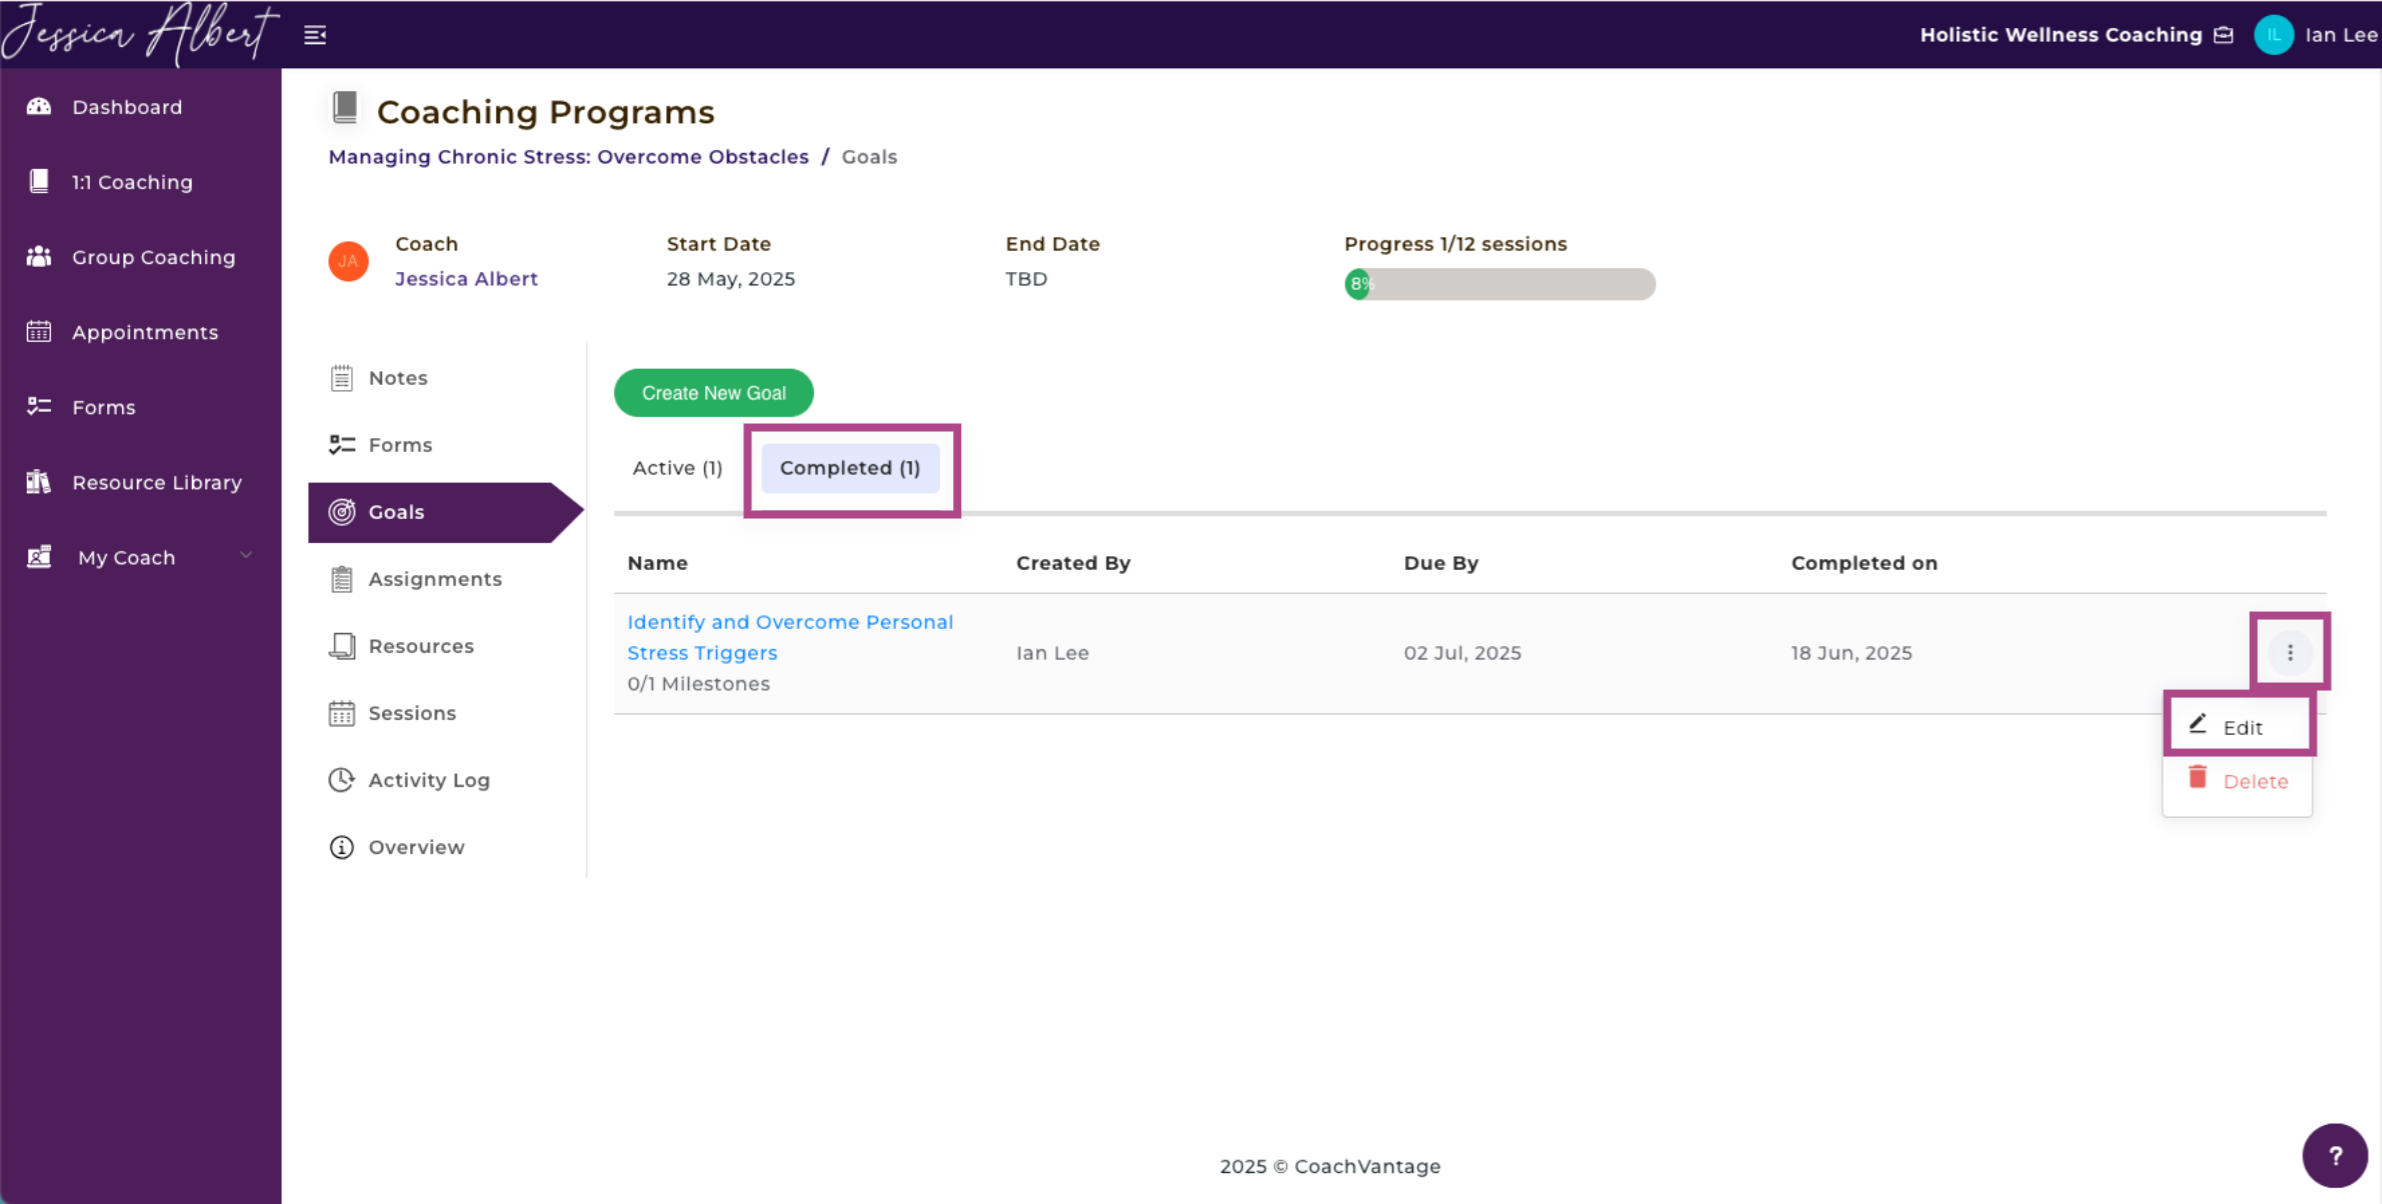
Completed Goals 💯
When a goal is marked as completed by you or your Coach, it will be automatically moved to the Completed tab.
To view all completed goals, simply click on the Completed tab.
You have the ability to edit completed goals by clicking on the 3-dot button menu to edit or delete a completed goal.