
Upload Widget
Overview
The Upload Widget in CoachVantage allows you to easily add files to your CoachVantage account.
Upload Options 🗂️
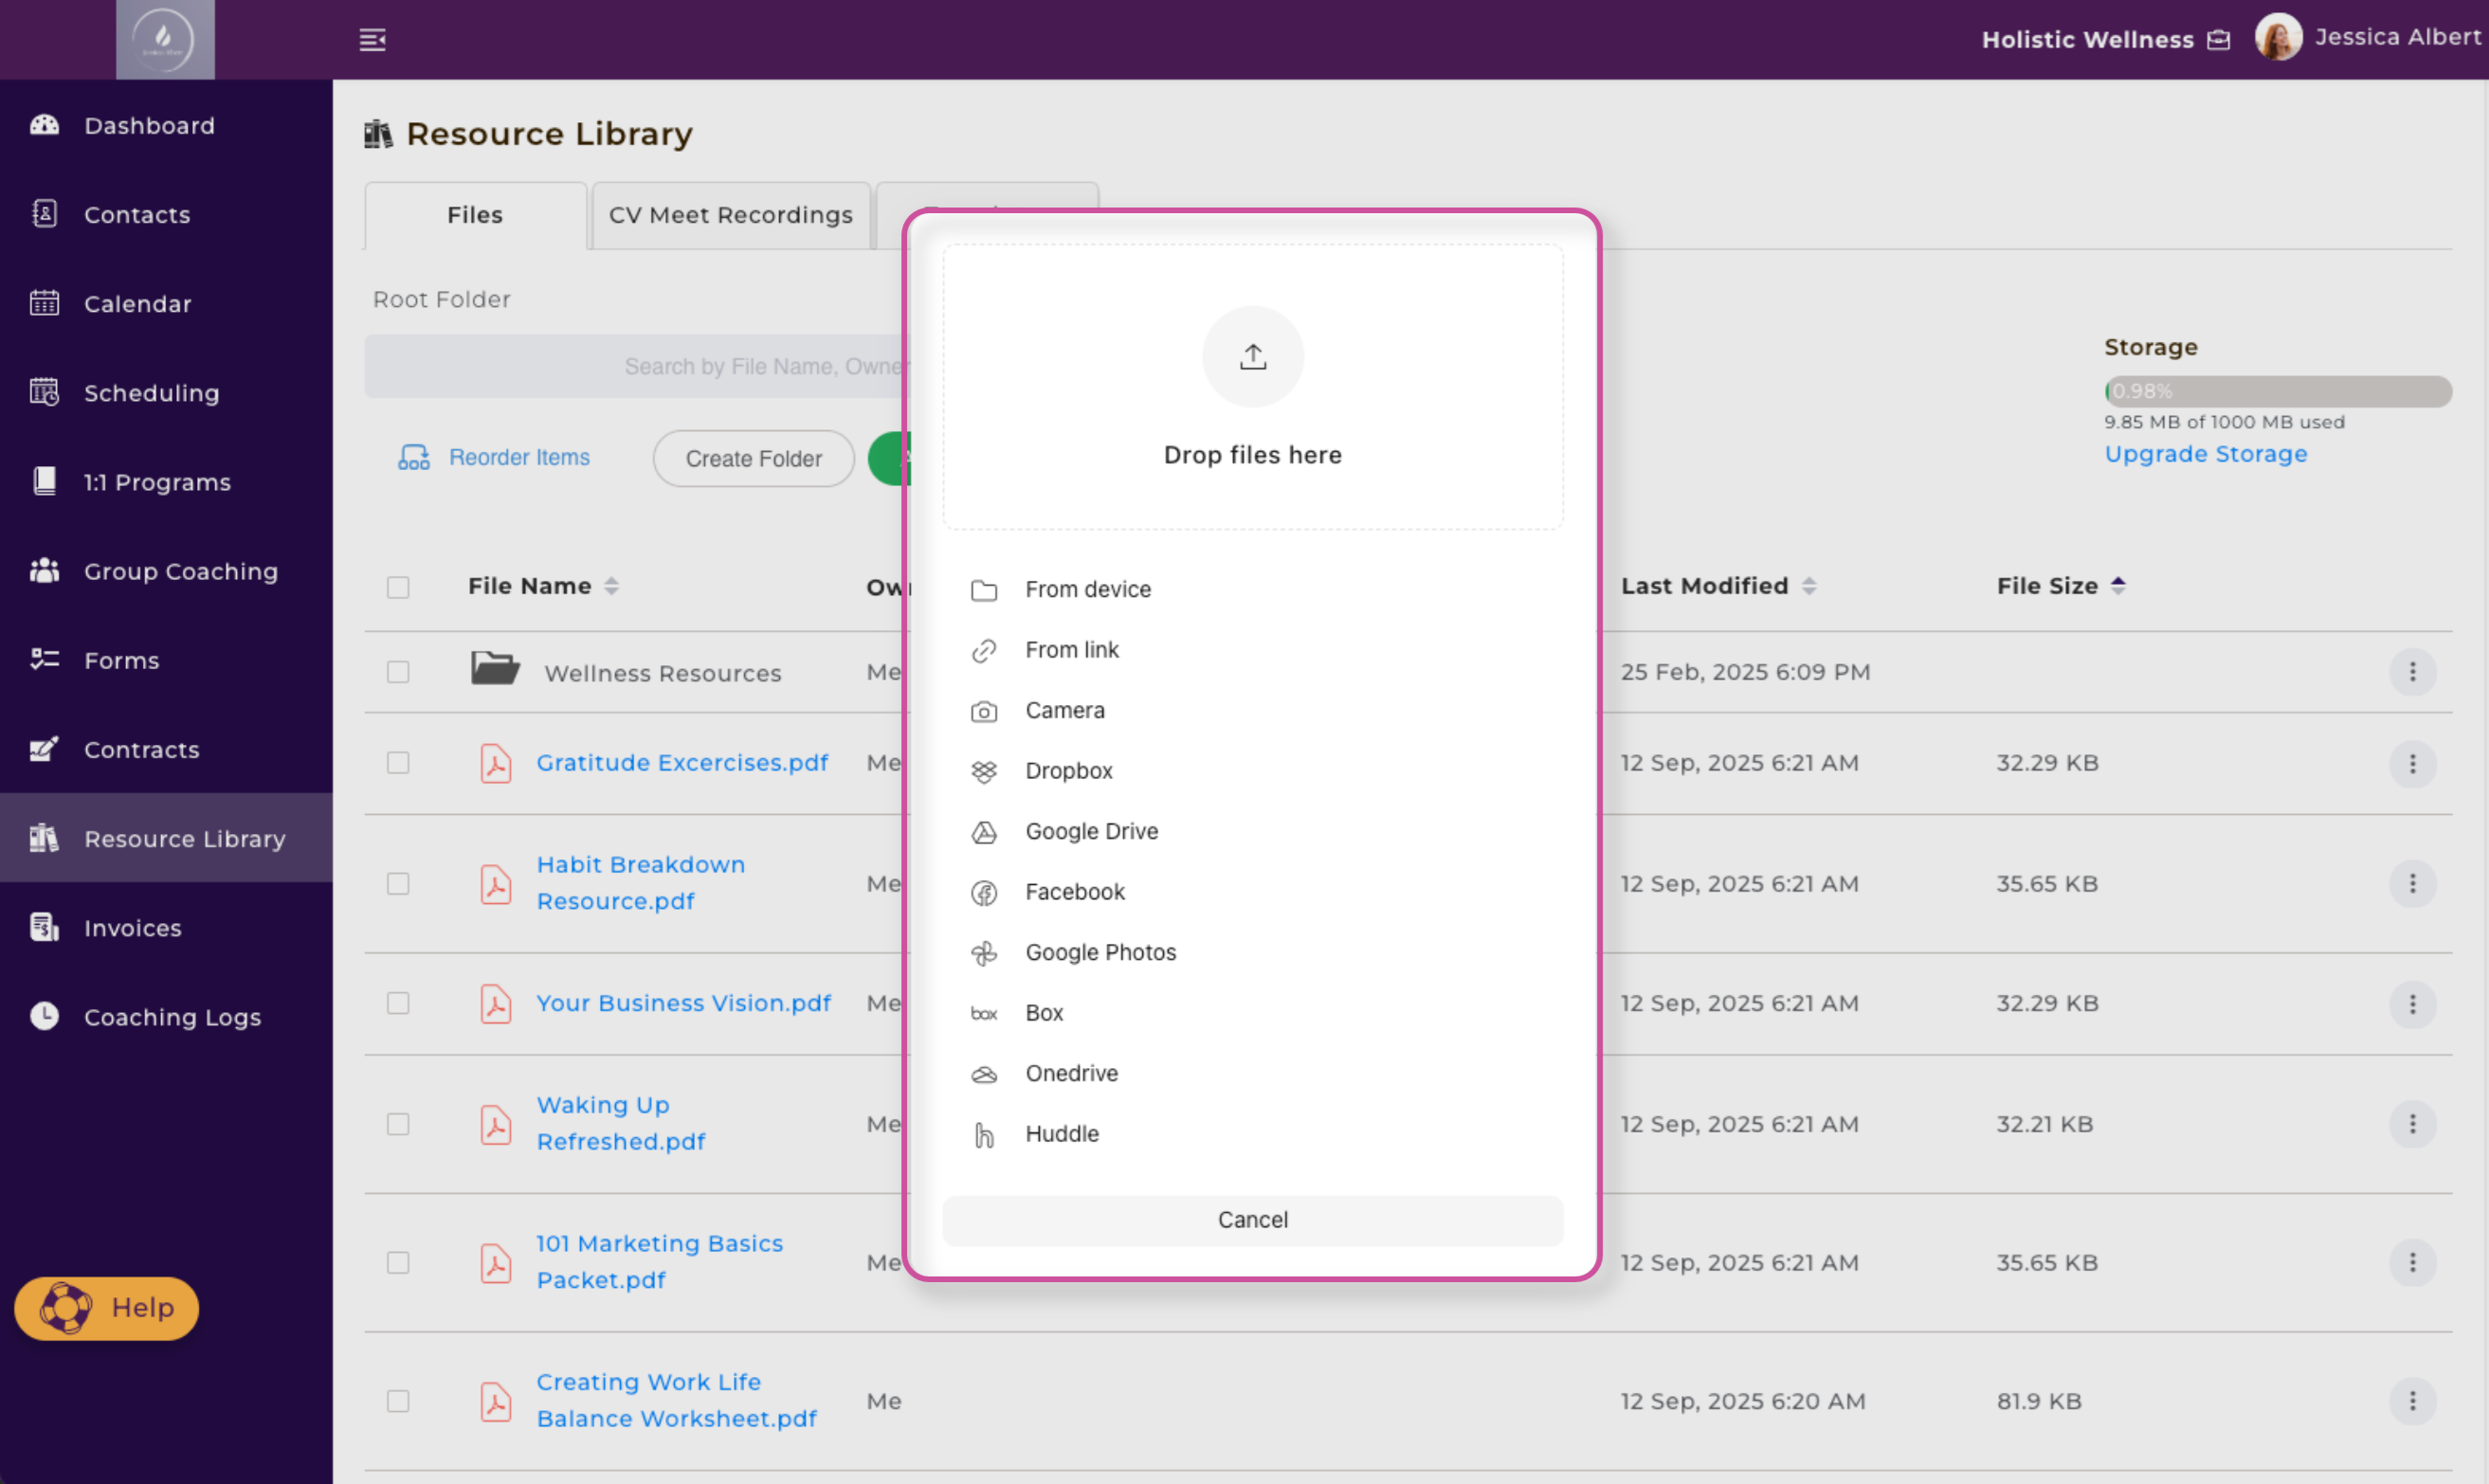
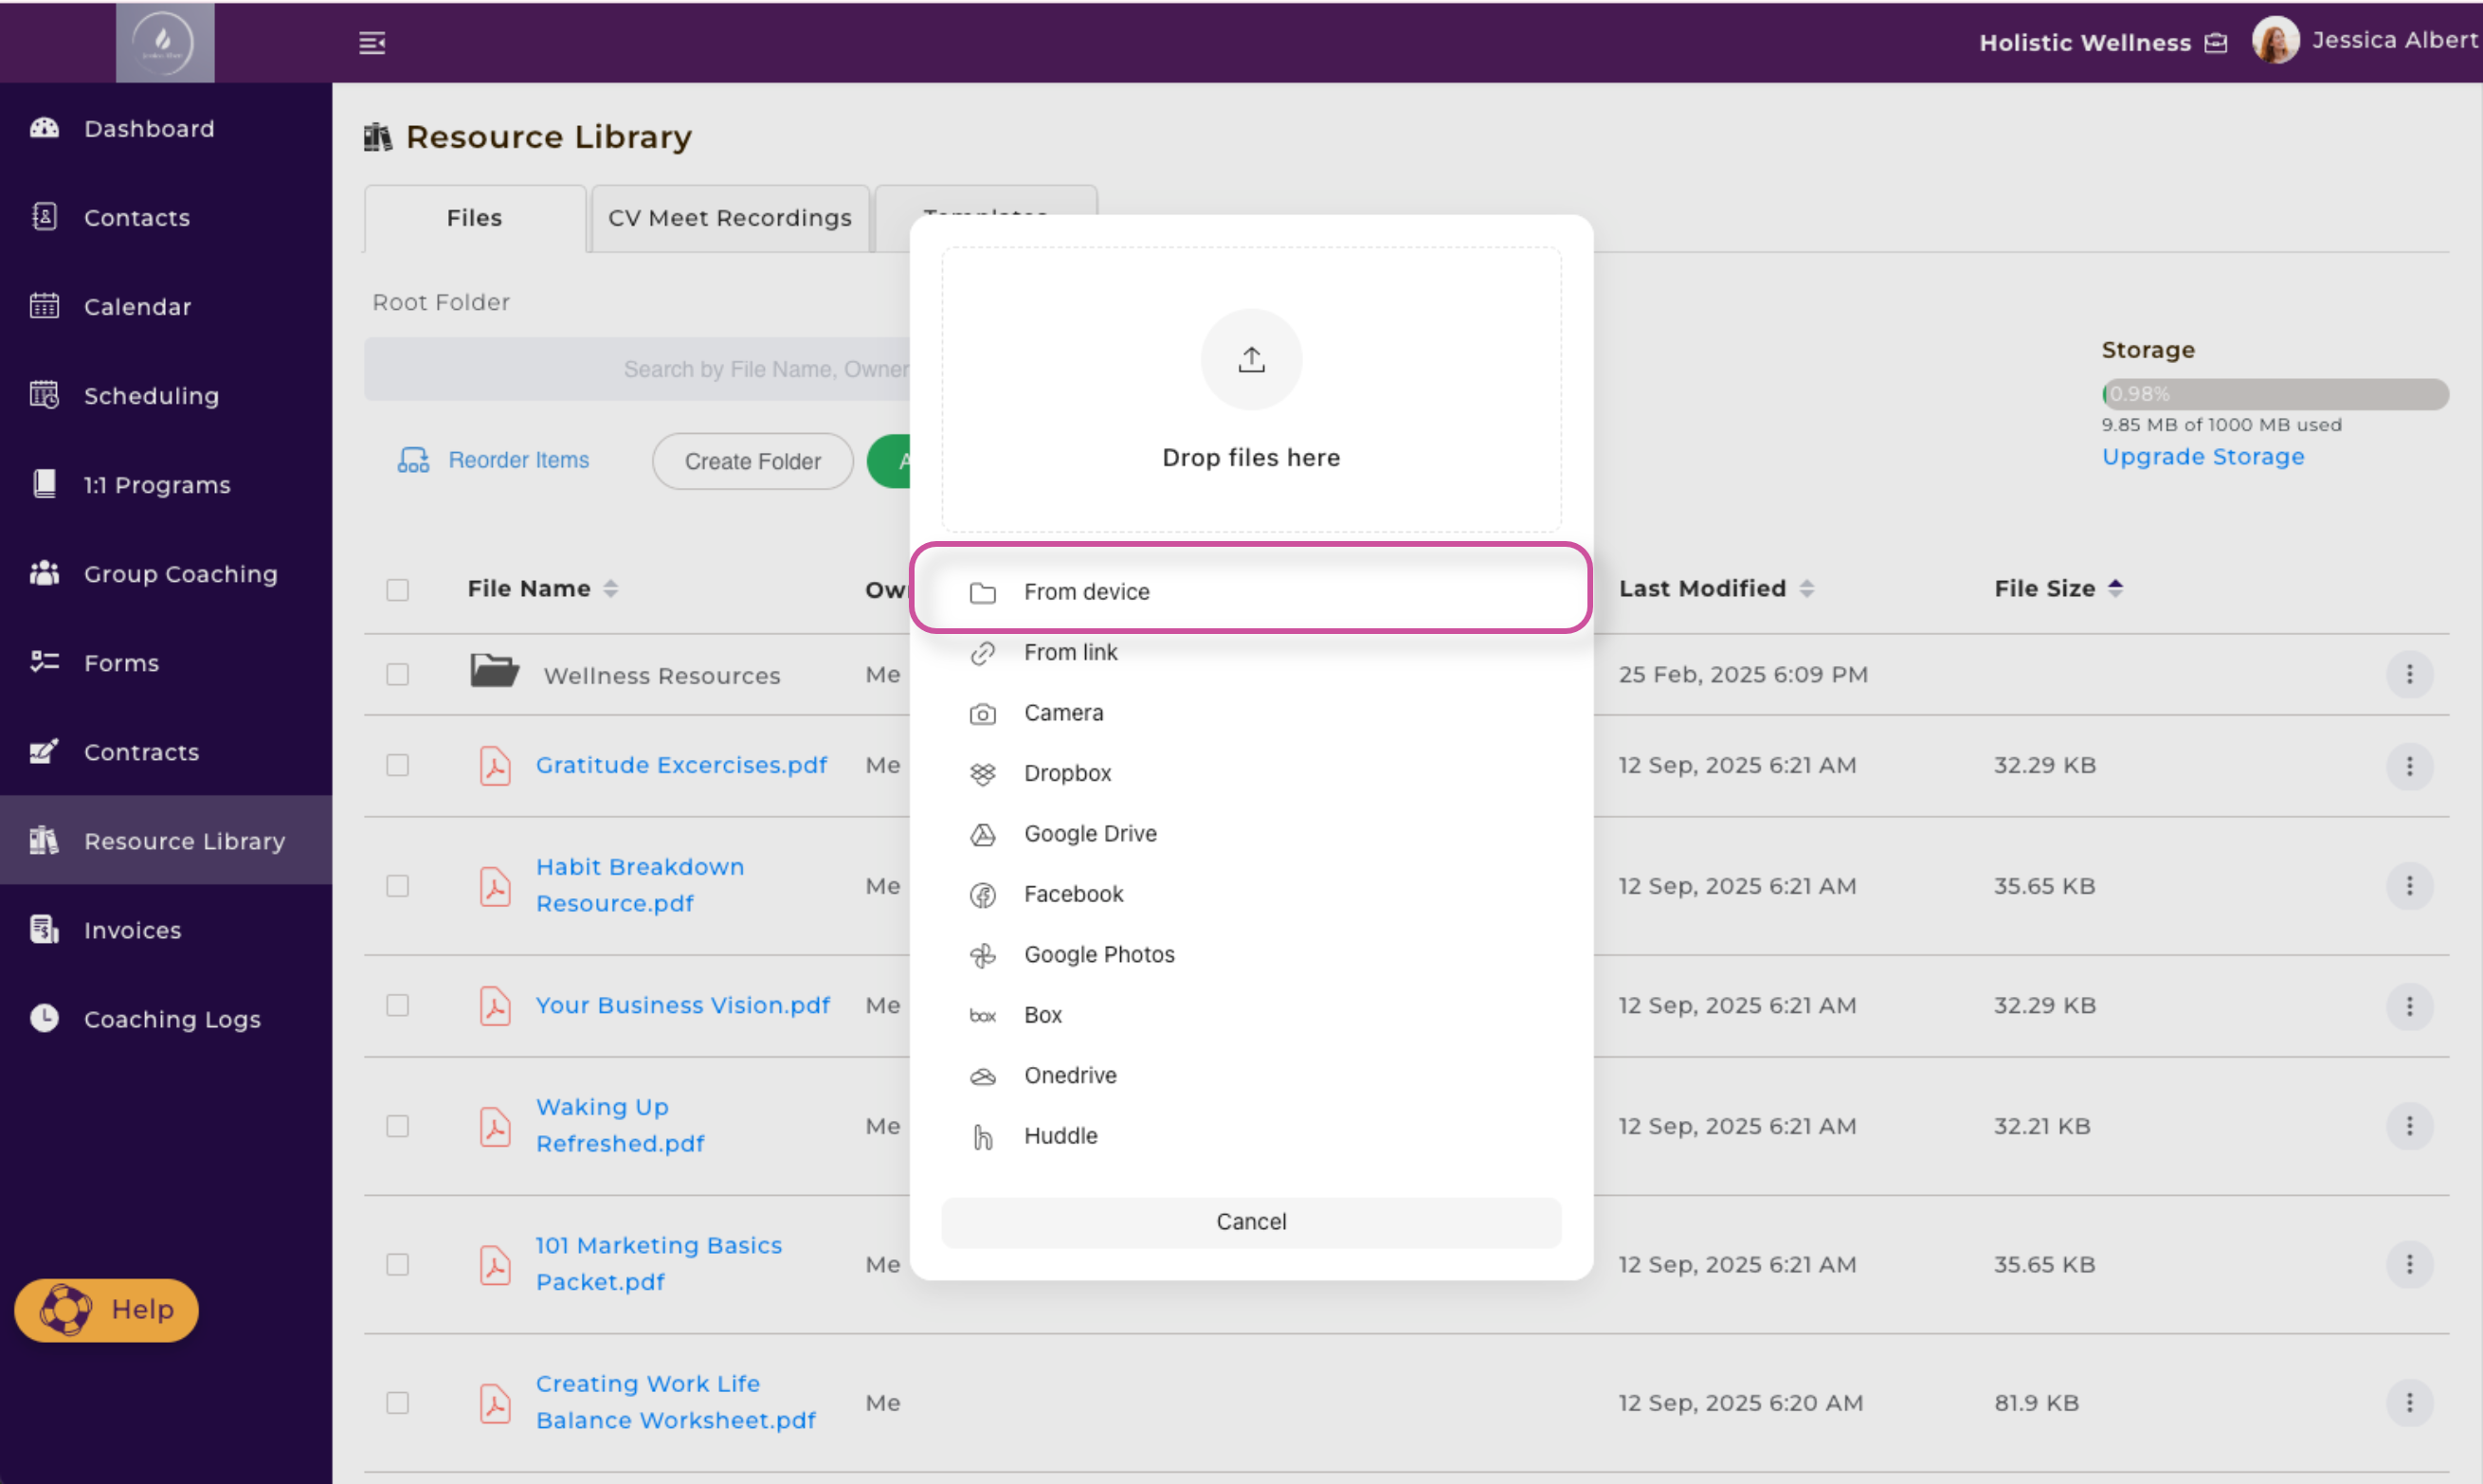
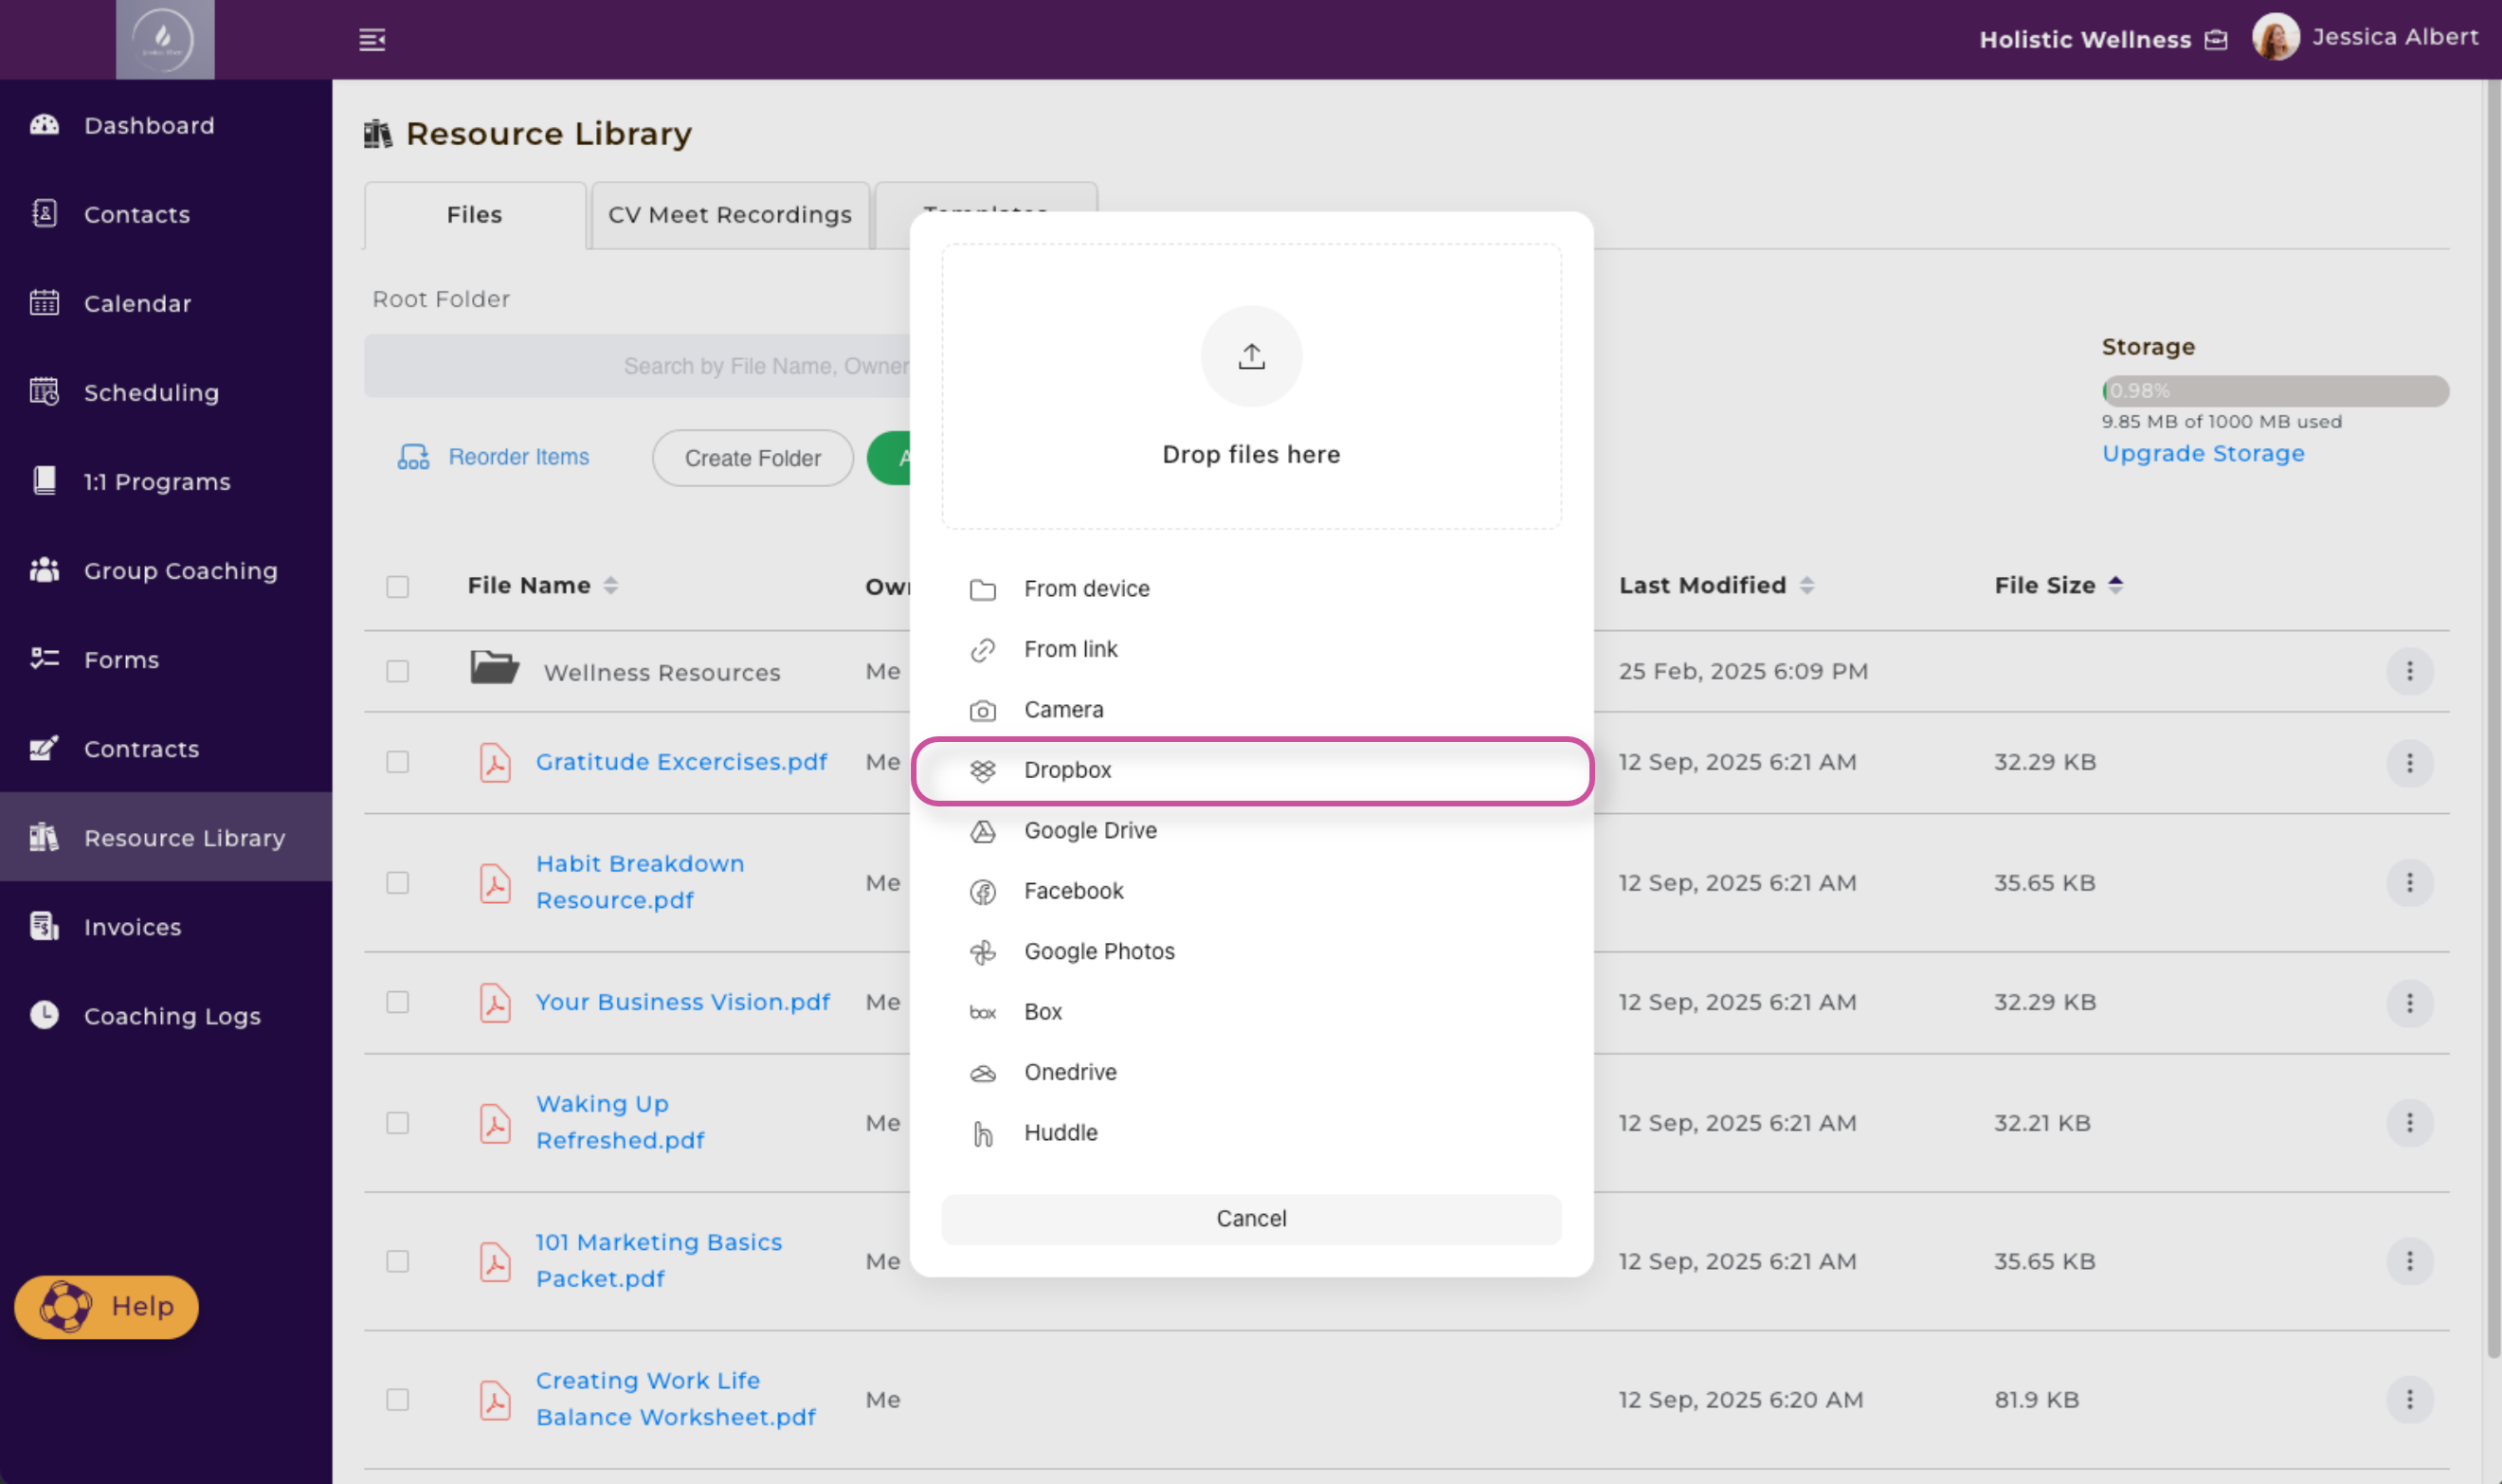
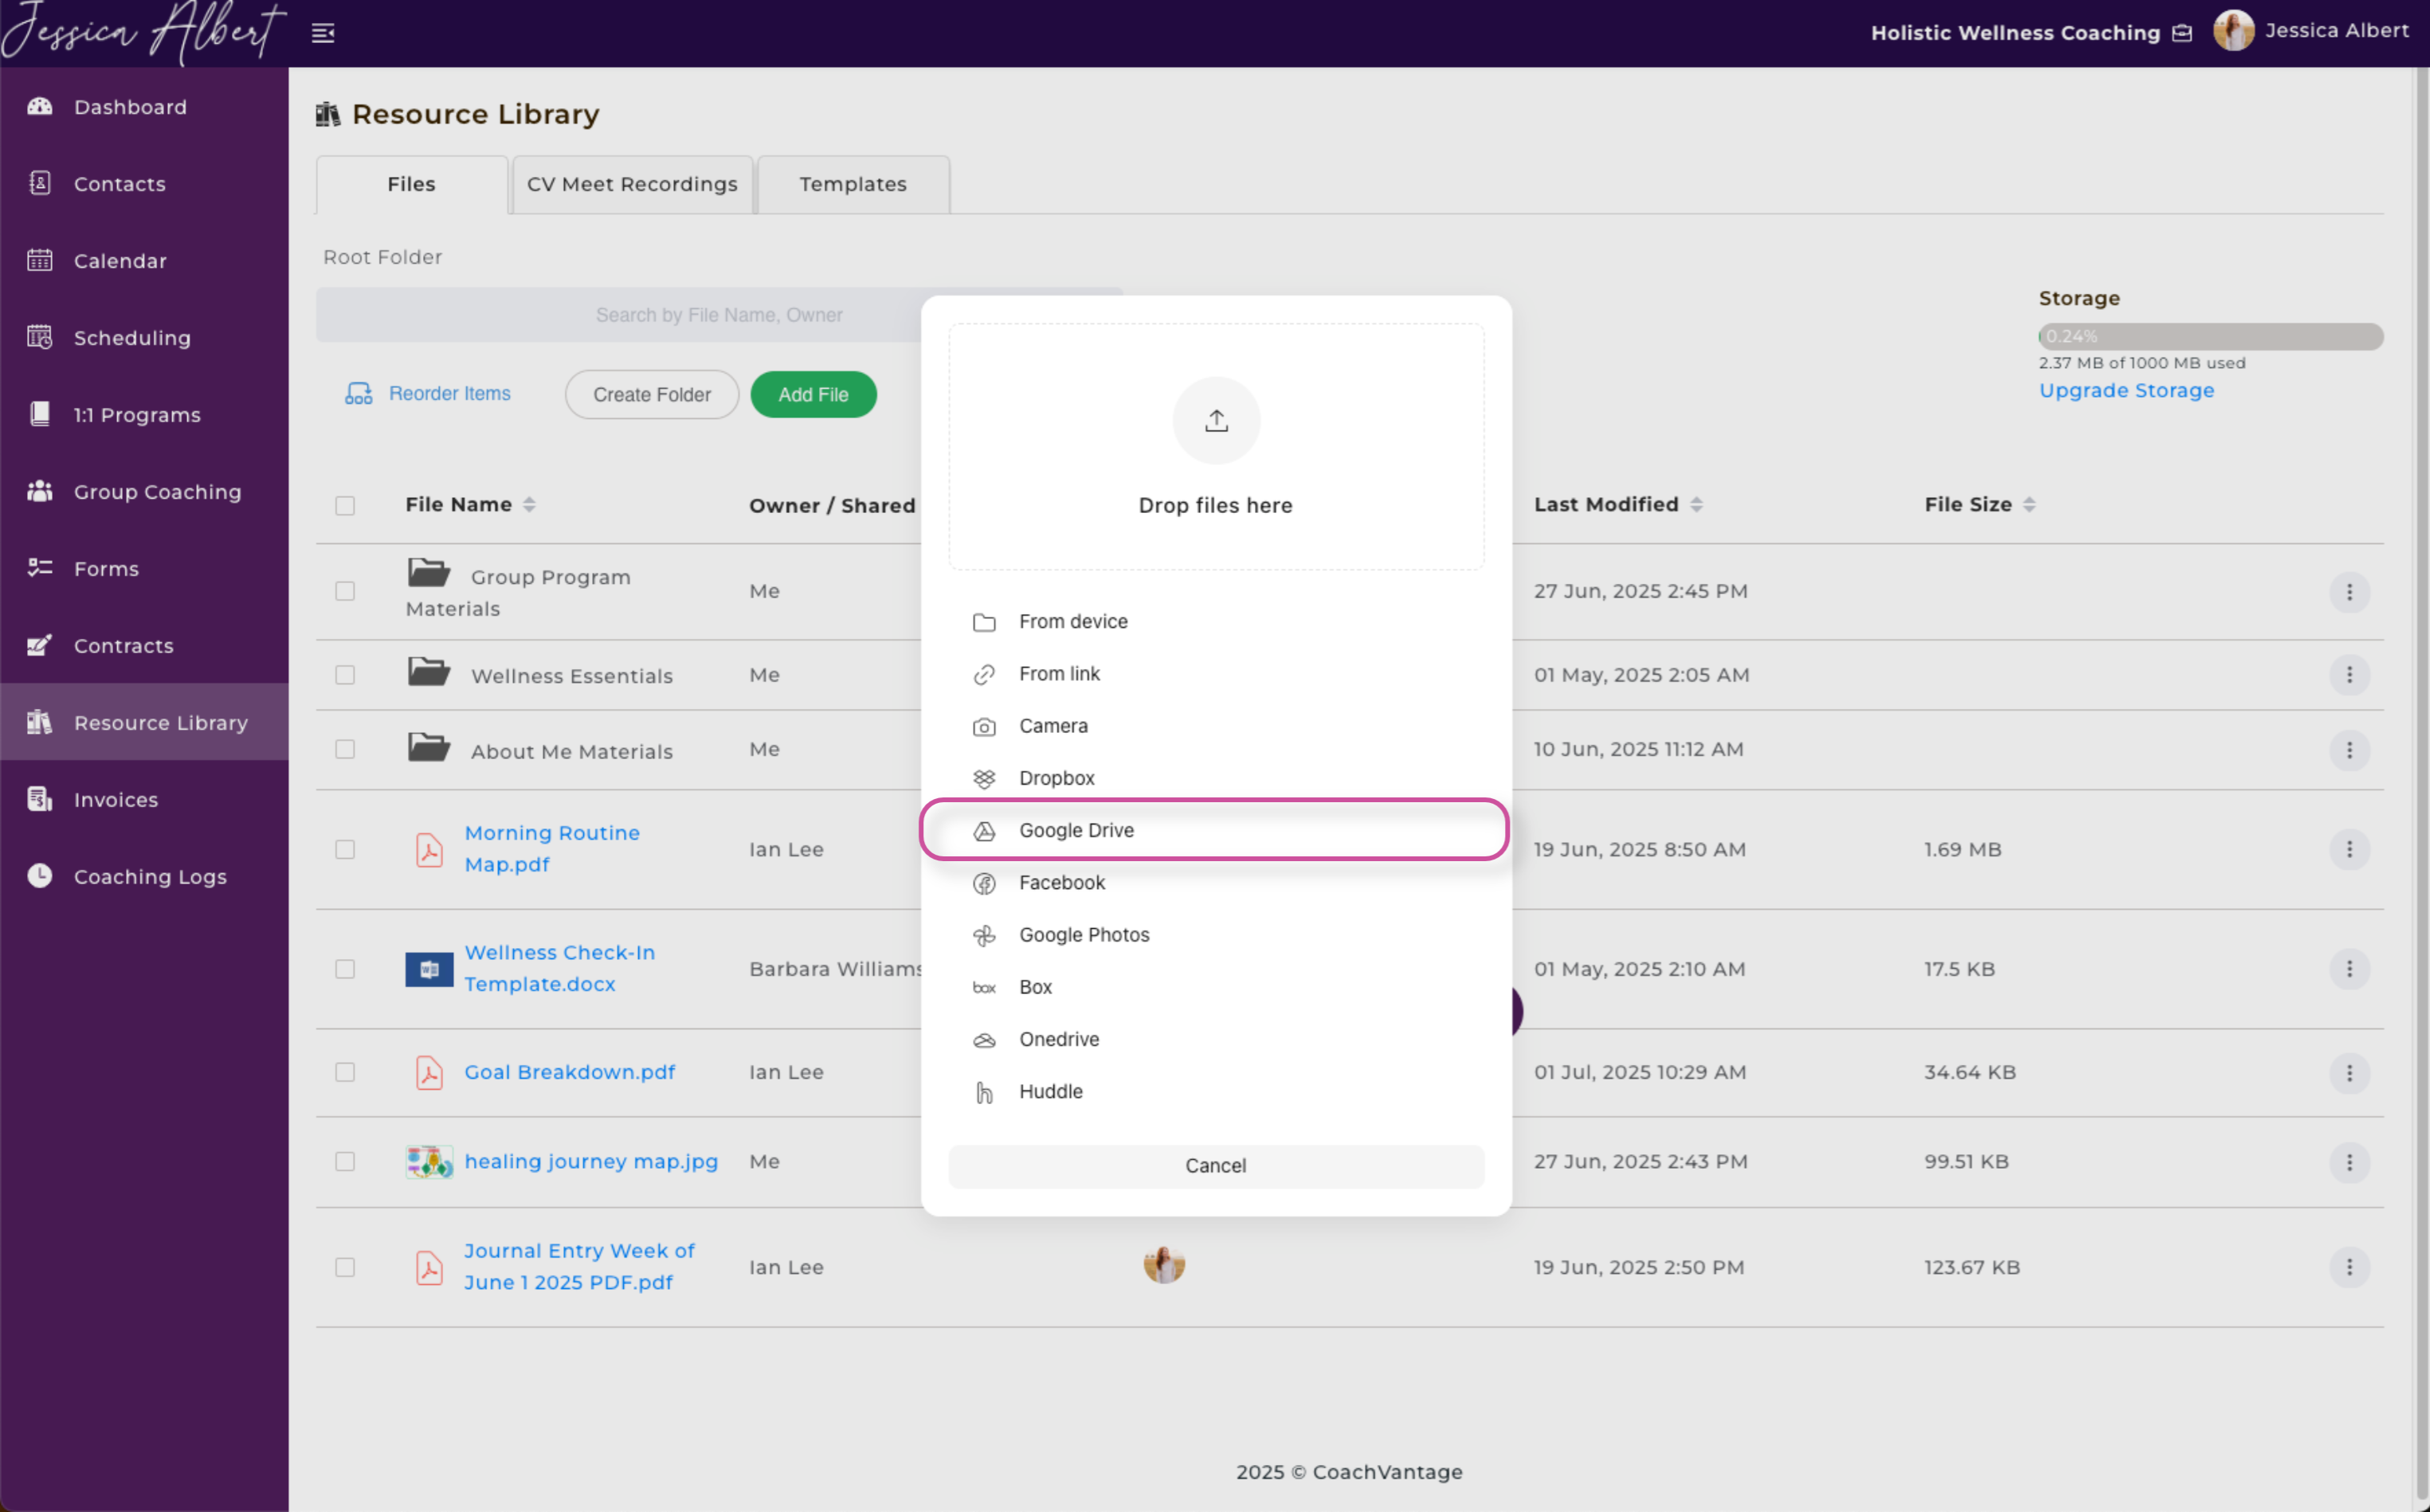
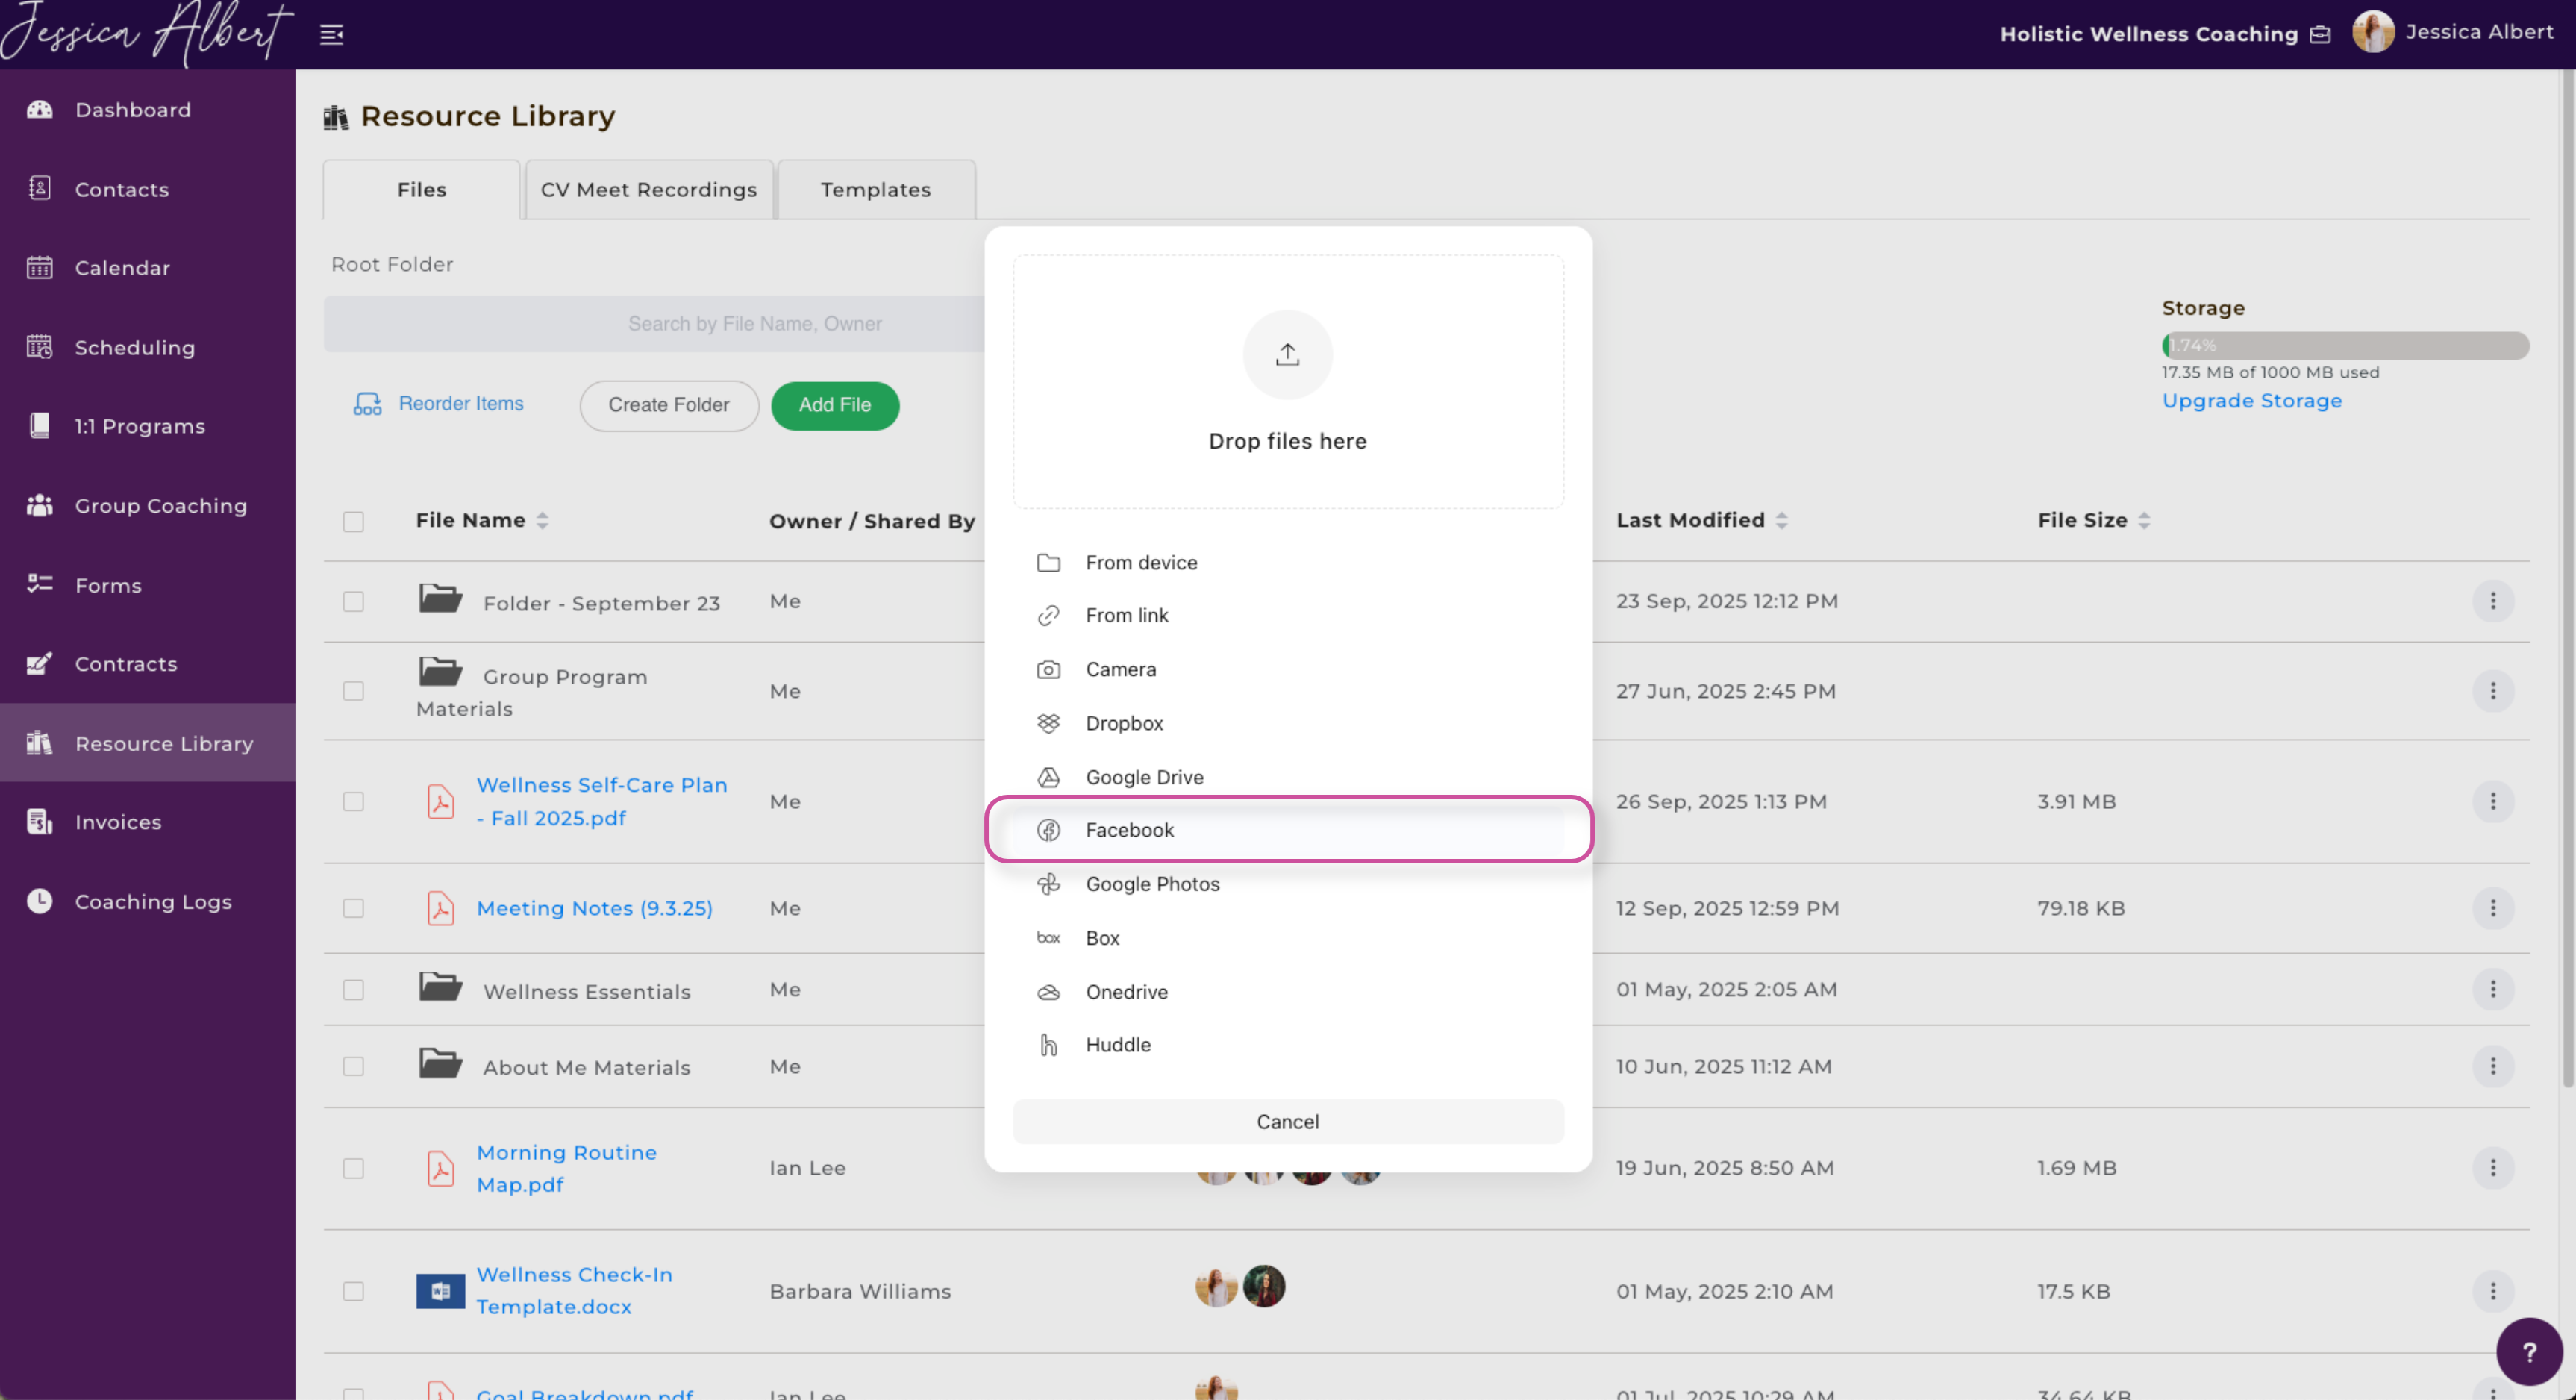
The widget provides multiple ways to upload files, giving you flexibility based on where your files are stored:
- From Device – Upload directly from your computer or laptop.
- From Link – Paste a file link from a cloud storage drive (e.g., Google Drive, Dropbox) — it cannot be used for links to websites, videos, or articles.
- Camera – Capture and upload a file directly using your device camera.
- Dropbox – Connect and pull files from your Dropbox account.
- Google Drive – Upload from your Google Drive.
- Facebook – Select and upload files from your Facebook account.
- Google Photos – Pull images directly from your Google Photos library.
- Box – Upload files stored in your Box account.
- OneDrive – Upload files from Microsoft OneDrive.
- Huddle – Import files from Huddle storage.
Where You'll Find the Upload Widget 📍
The Upload Widget will appear any time you're uploading a new file to your CoachVantage account. Some examples of where you'll see it include:
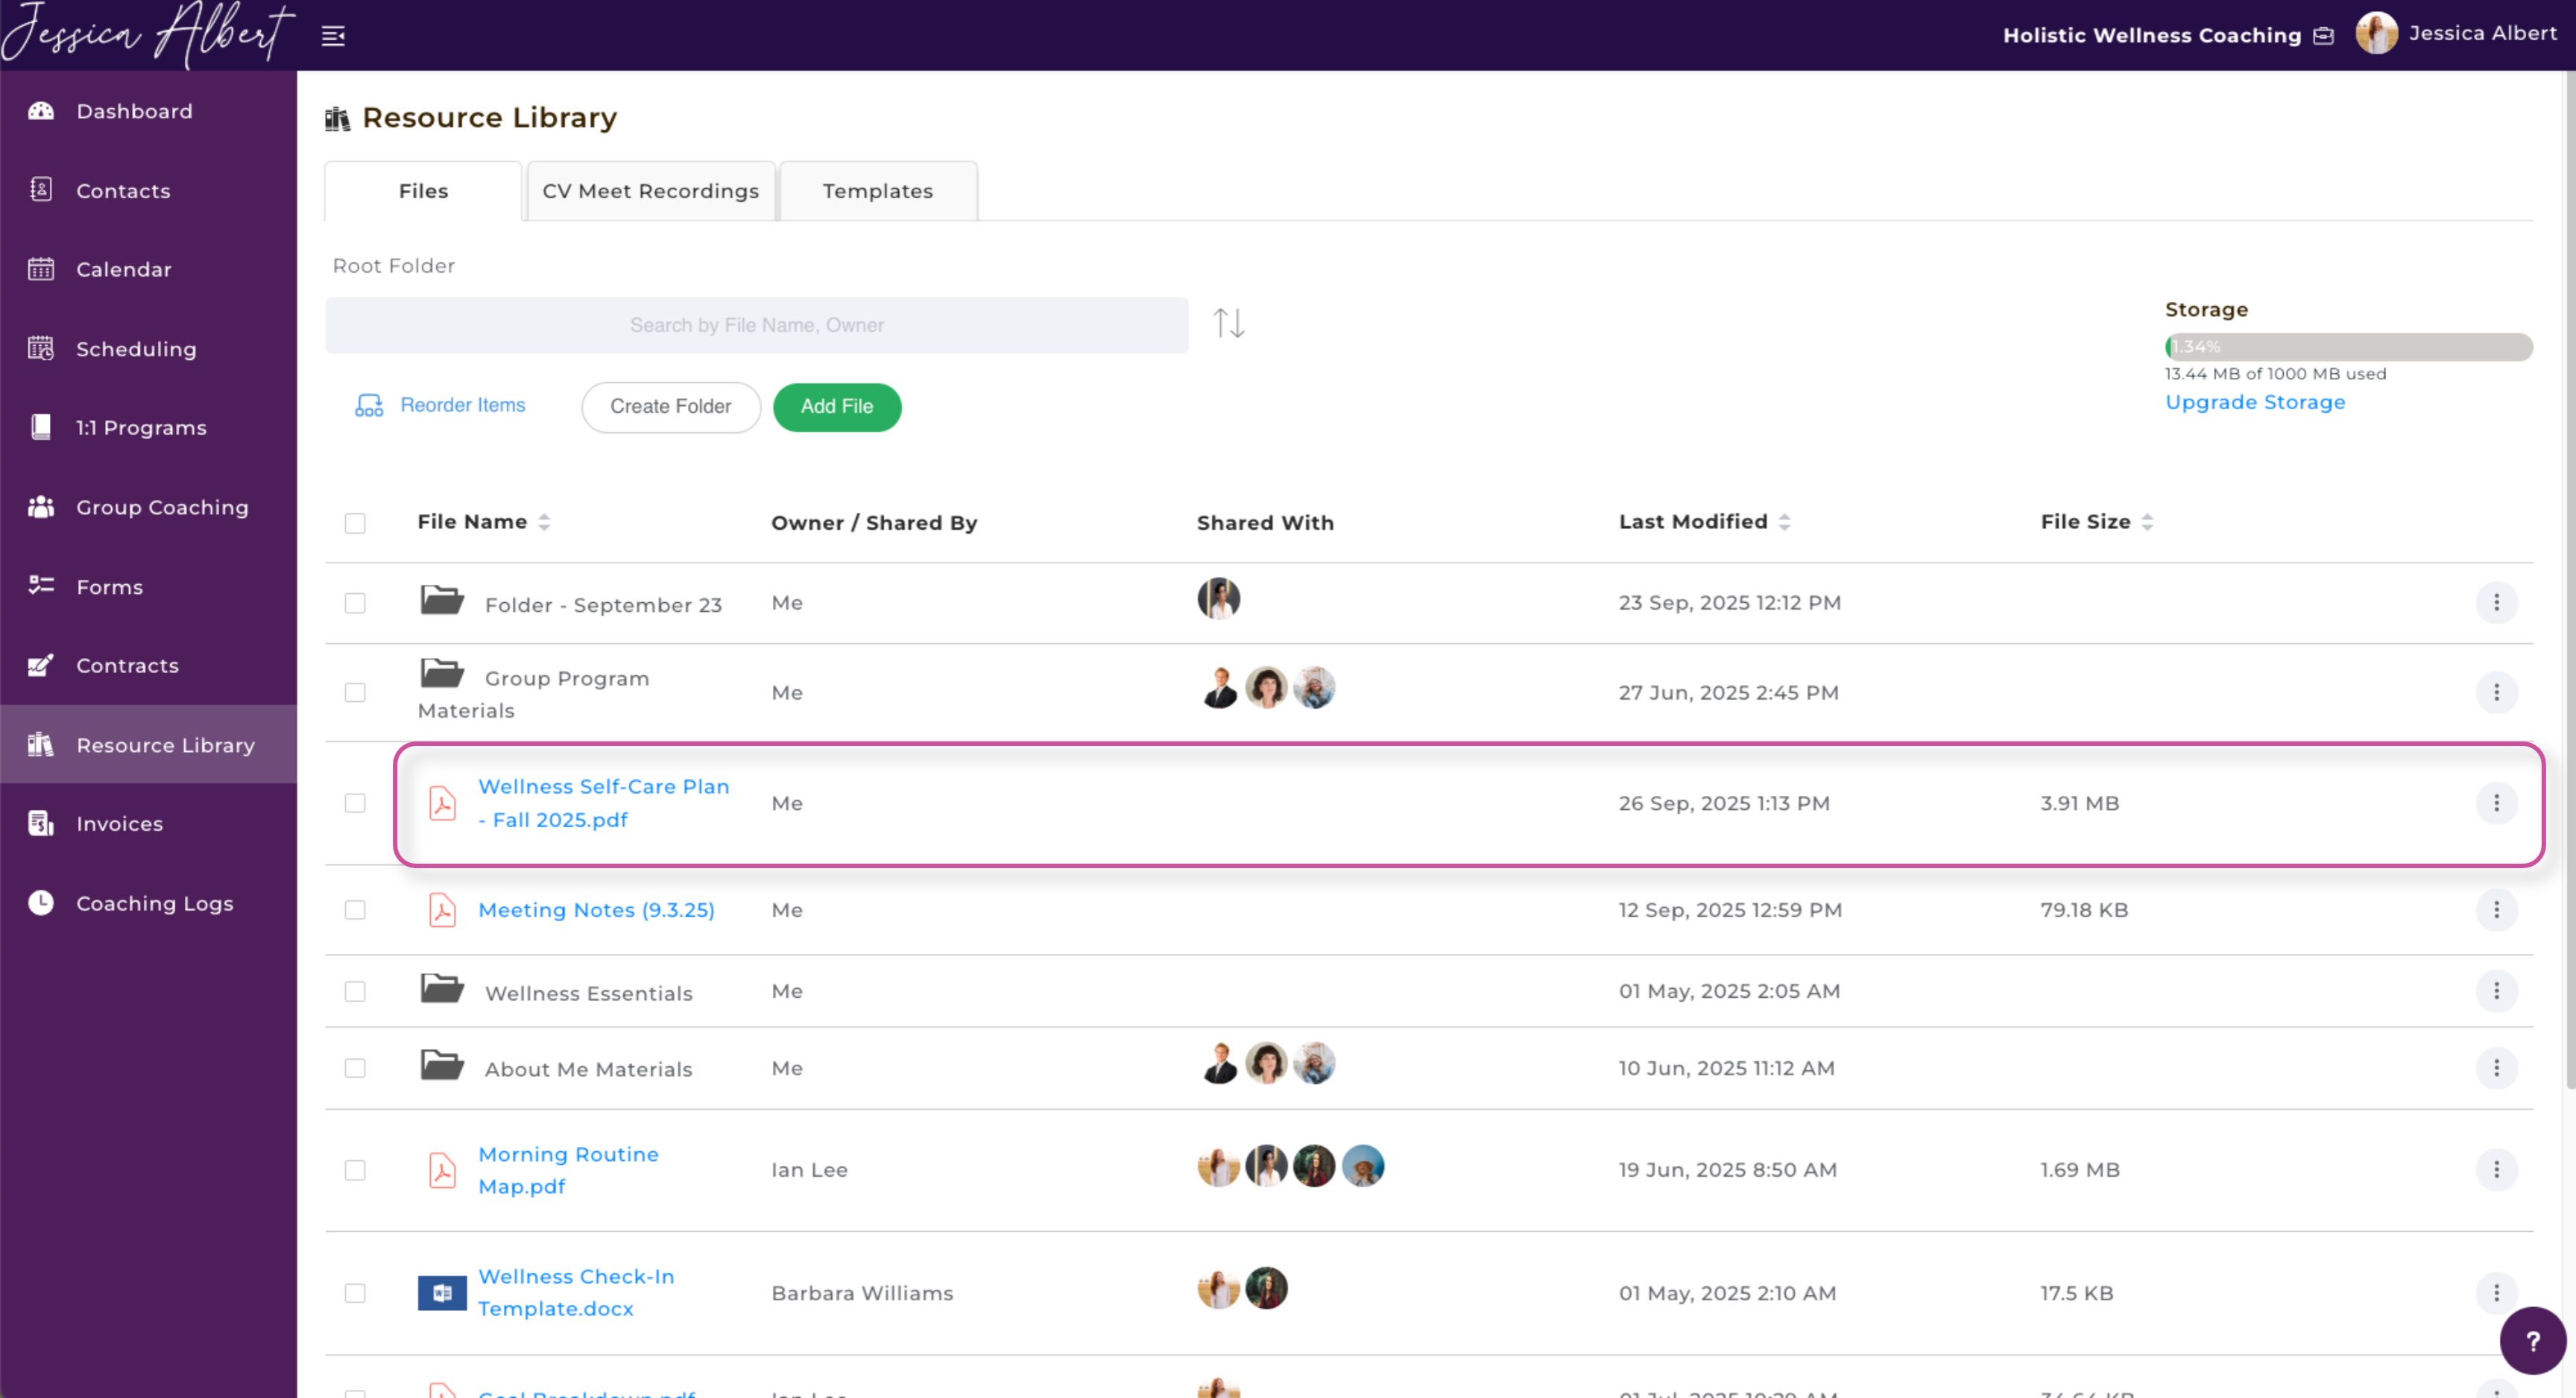
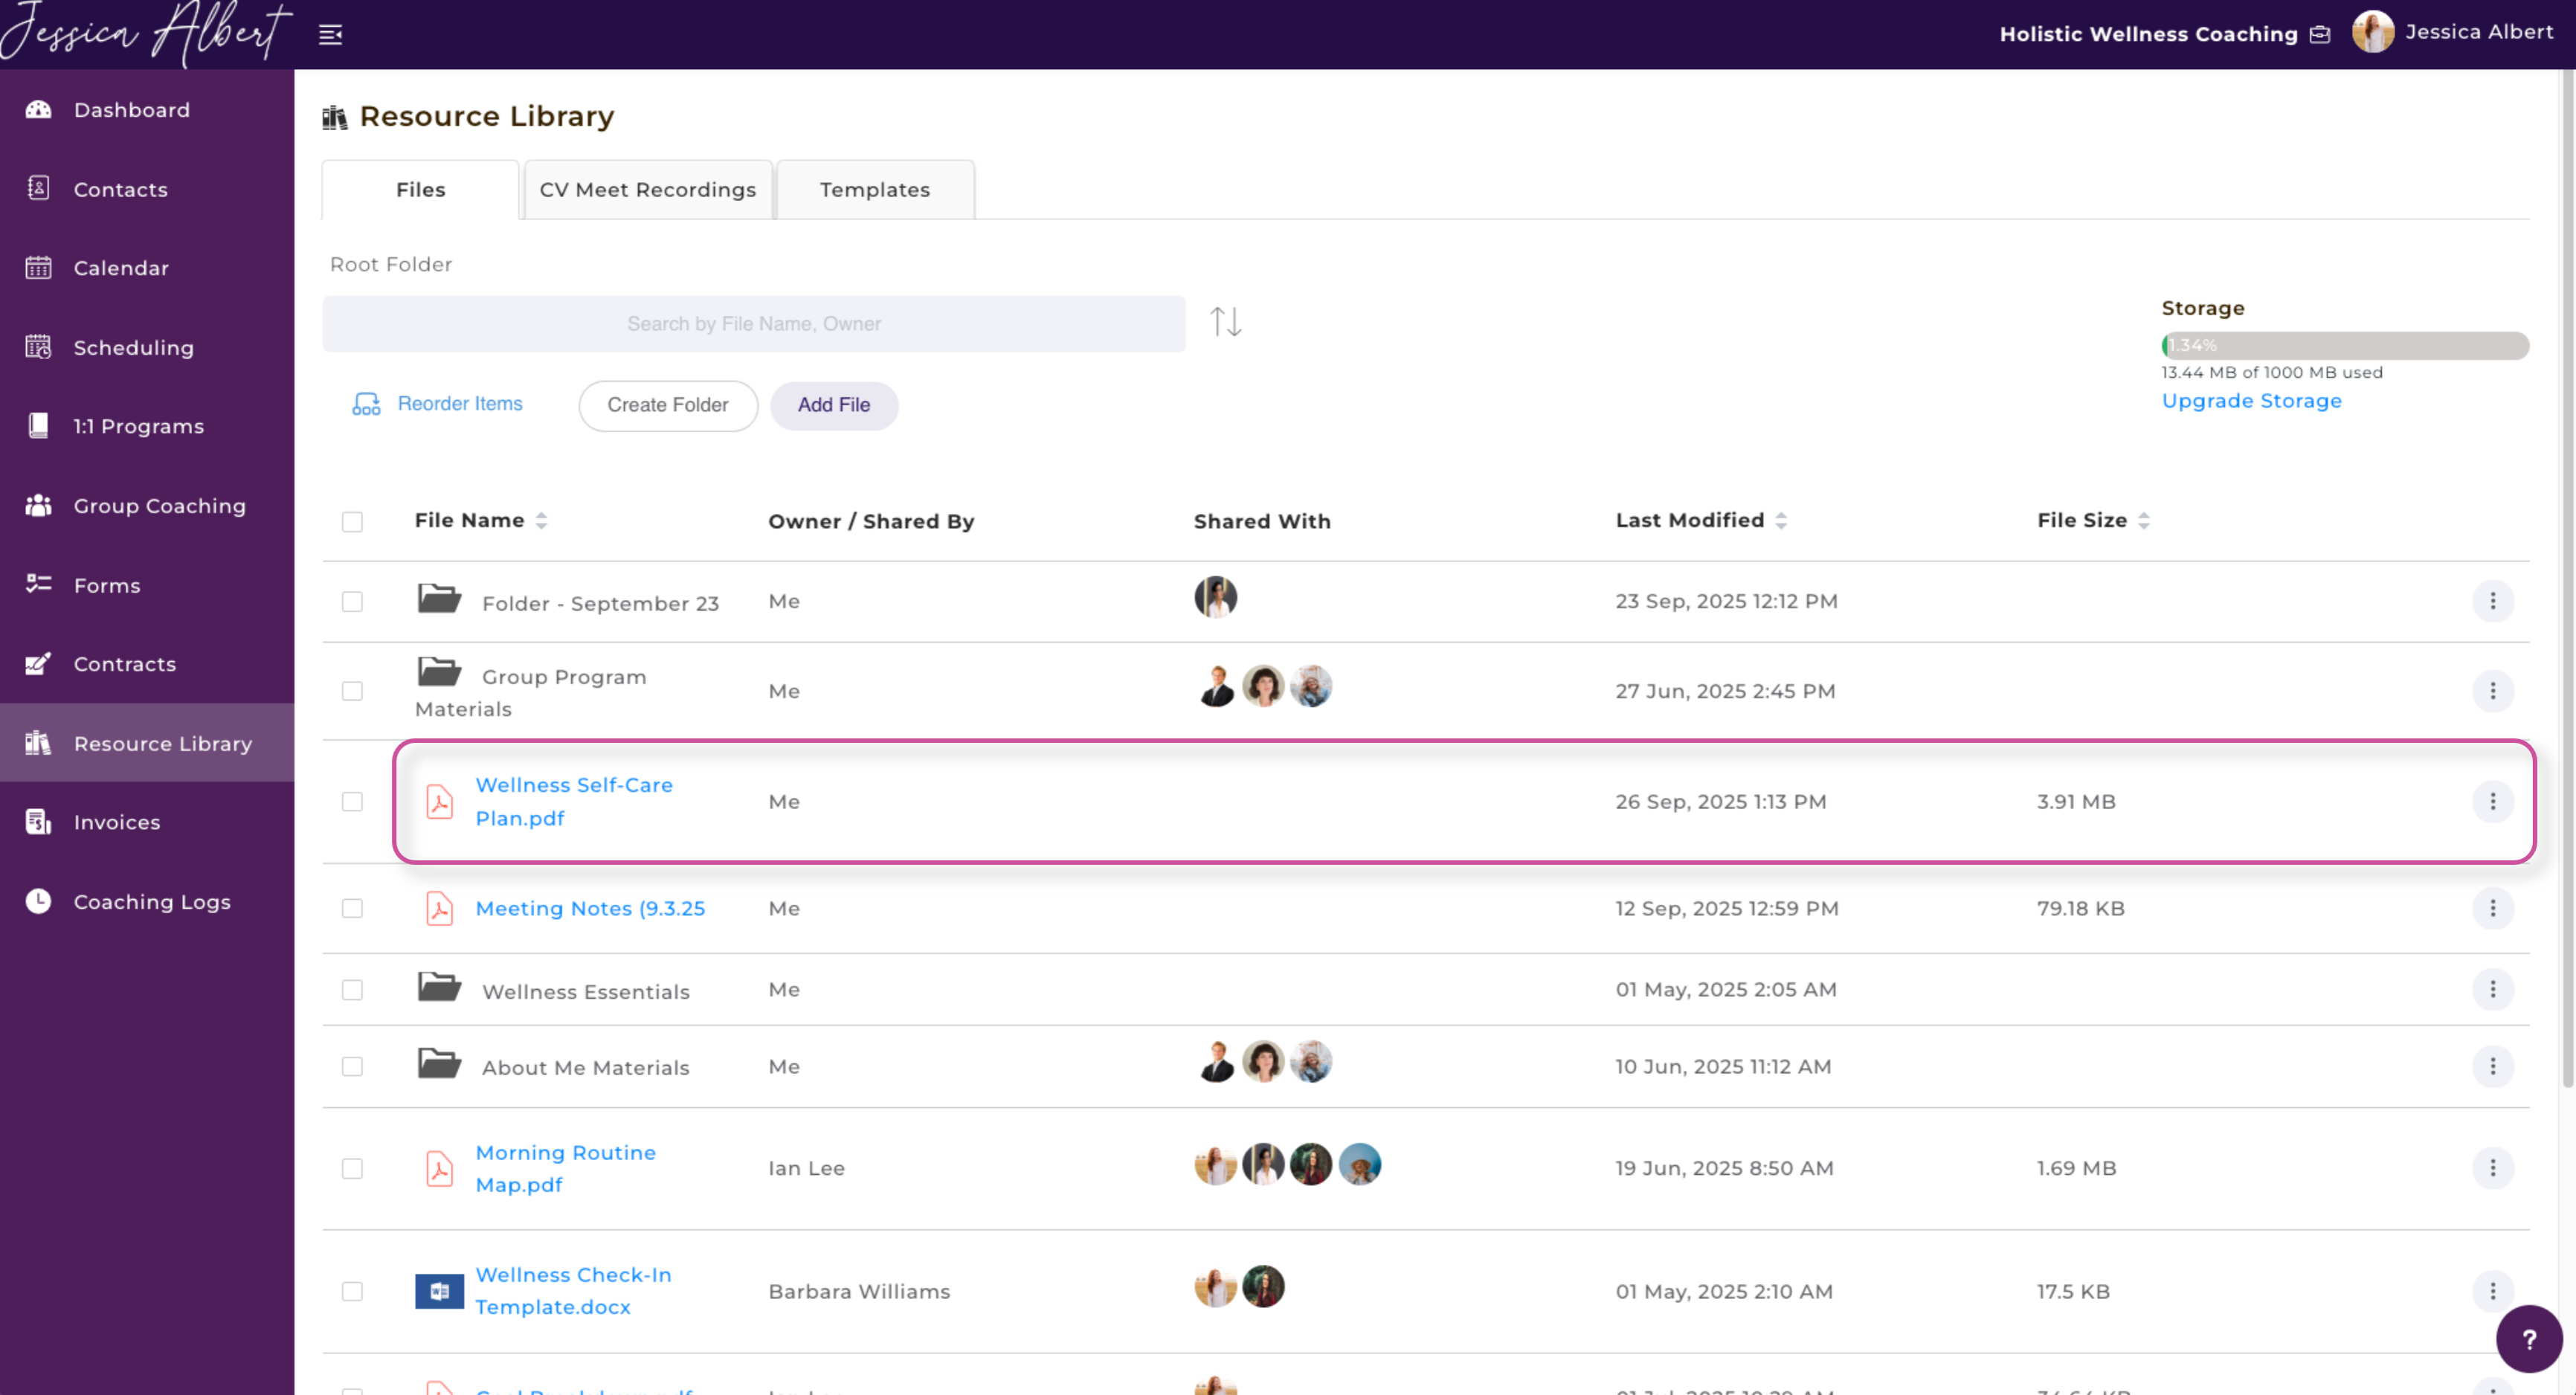
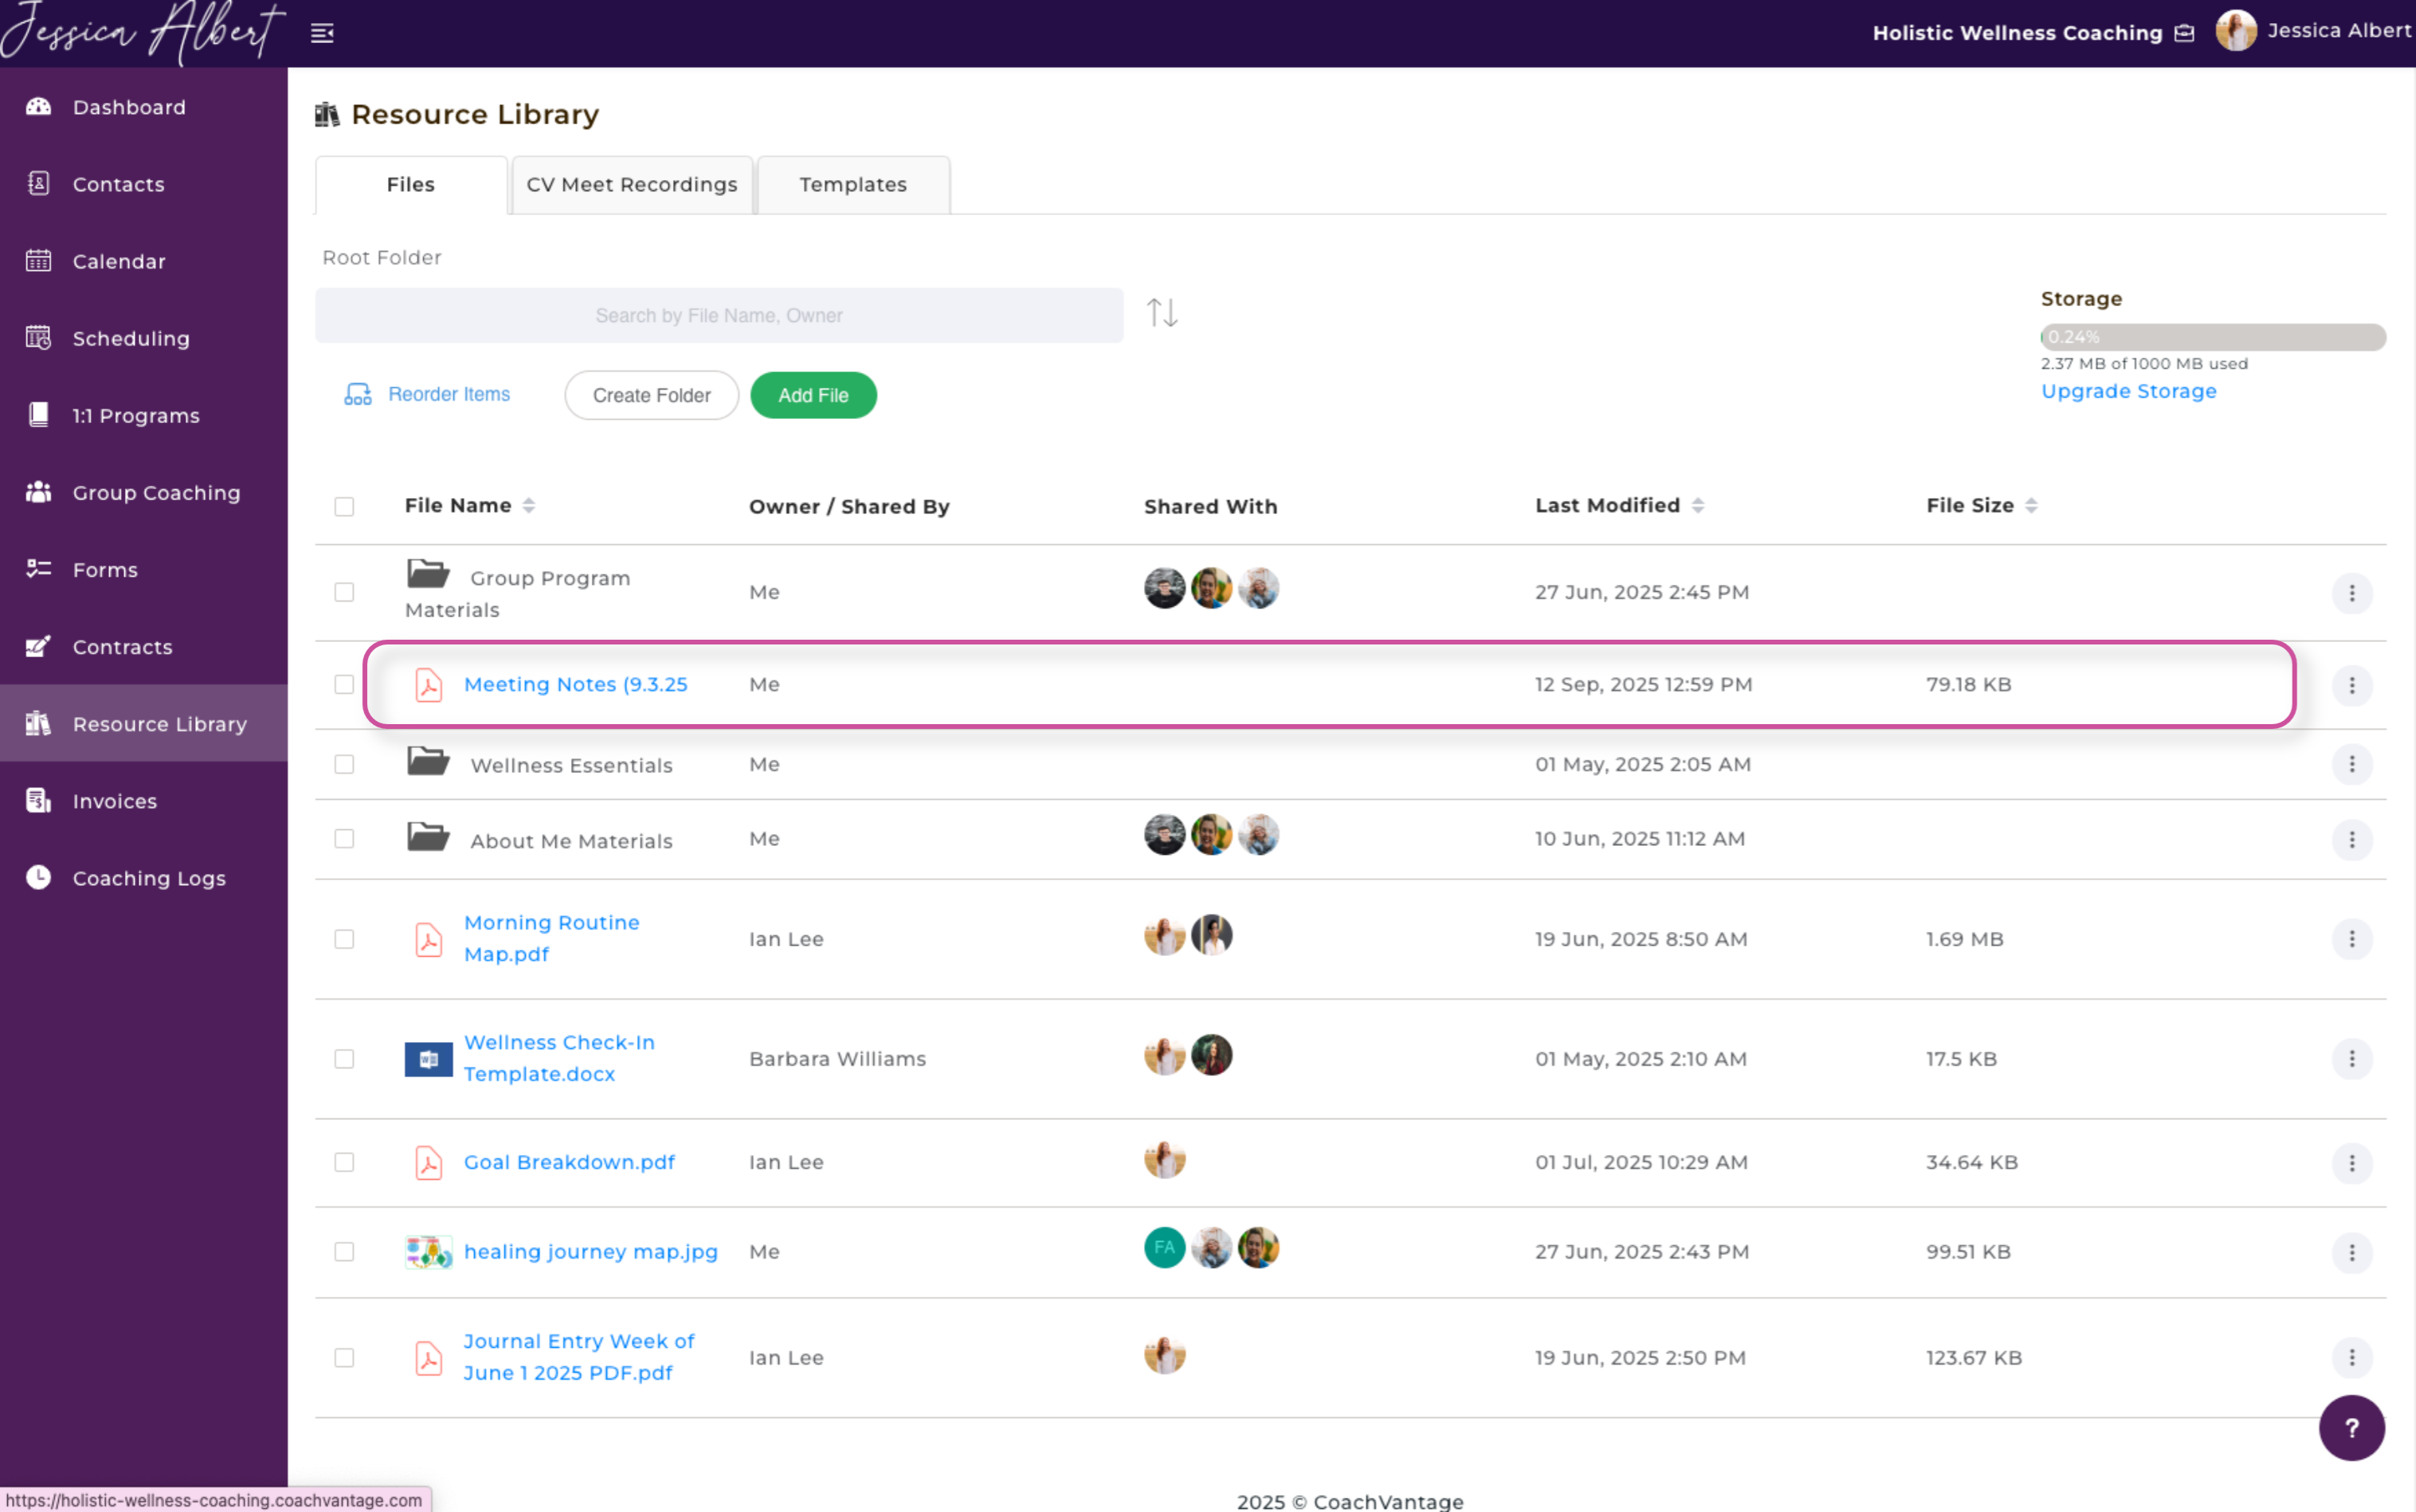
- Resource Library – Store and organize all your important documents, audio files, and other resources in one convenient place.
- Forms – When adding a banner image to a form, you’ll be prompted to upload a file using the upload widget.
- Contract Templates – While creating a new contract template, the system will ask you to upload the necessary file.
- Individual Contact Record (Files Tab) – When uploading a file directly to an individual contact’s record, the upload widget will appear for easy file selection.
Resource Library Upload - File Types
Using the Upload Widget, you can upload the following file types:
- Documents (.PDF, .DOCX
- Audio Files (.MP3, .WAV, .MP4)
- Excel File (.CSV)
- Images (.JPEG, .PNG)
- Videos (.MOV)
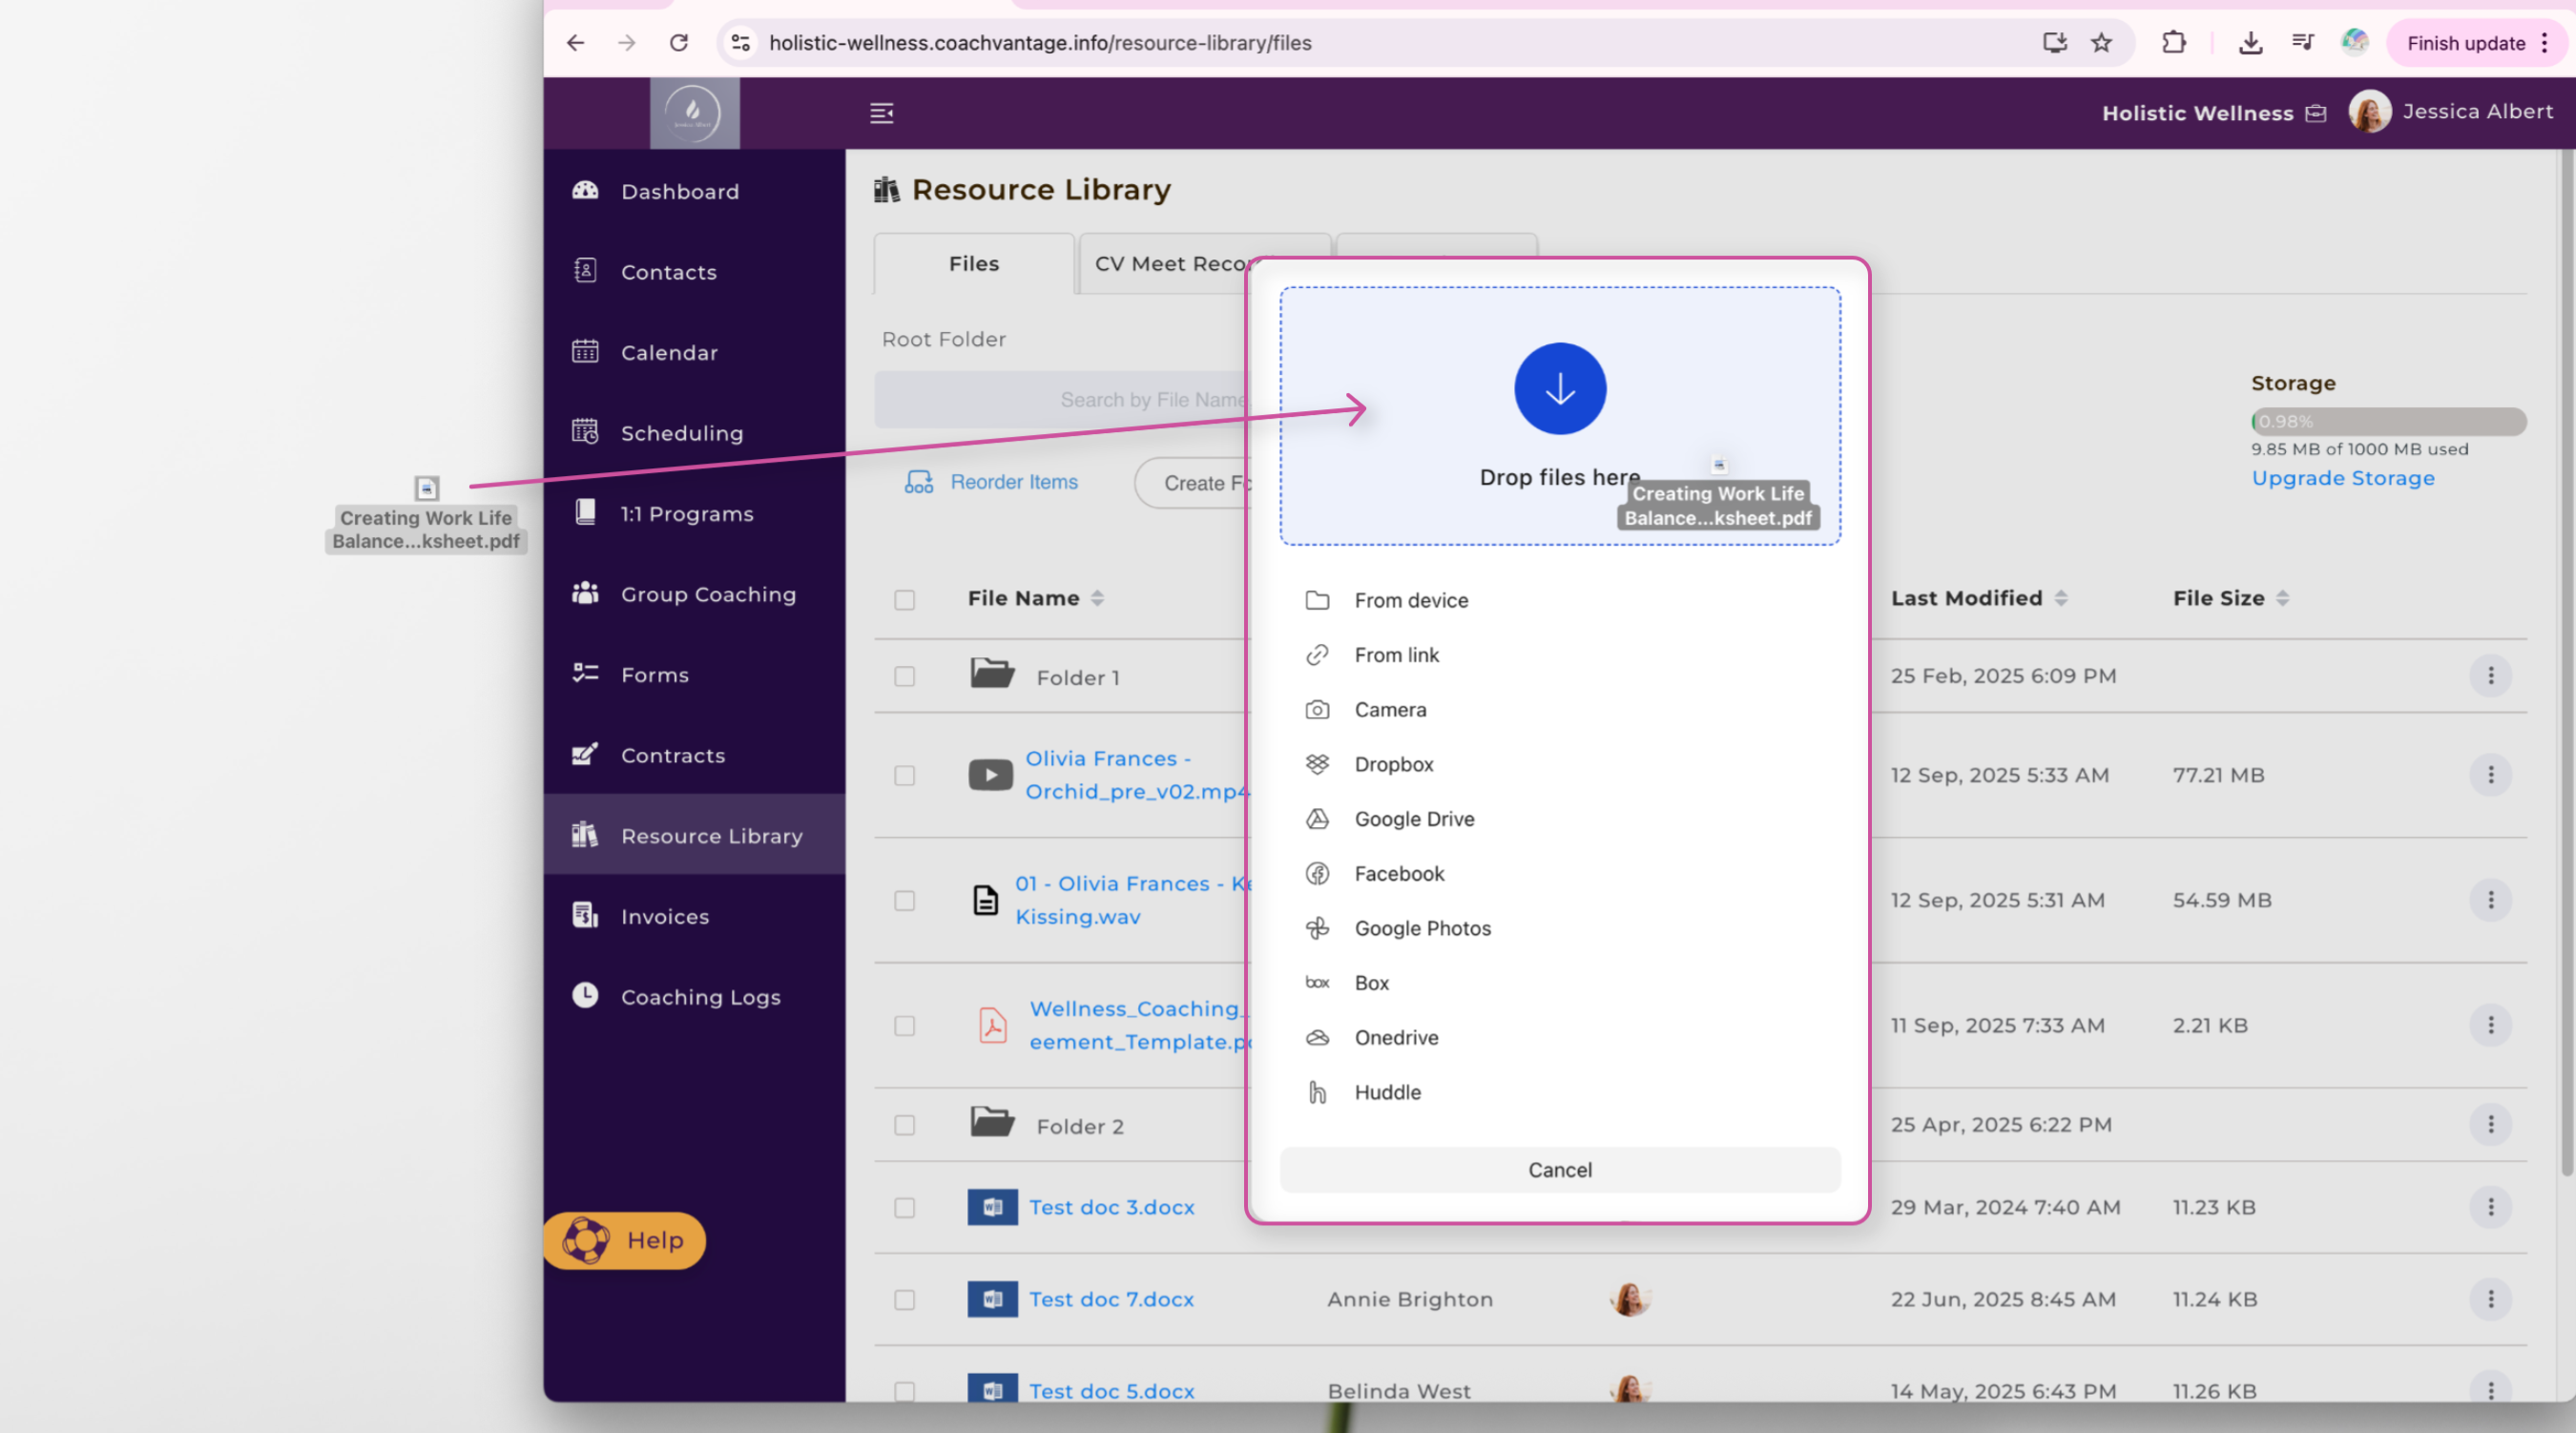
How to Drag and Drop Files
To drag and drop files from your computer, simply identify and select the file and then drop it over into the Drop Files Here section of the Upload Widget.
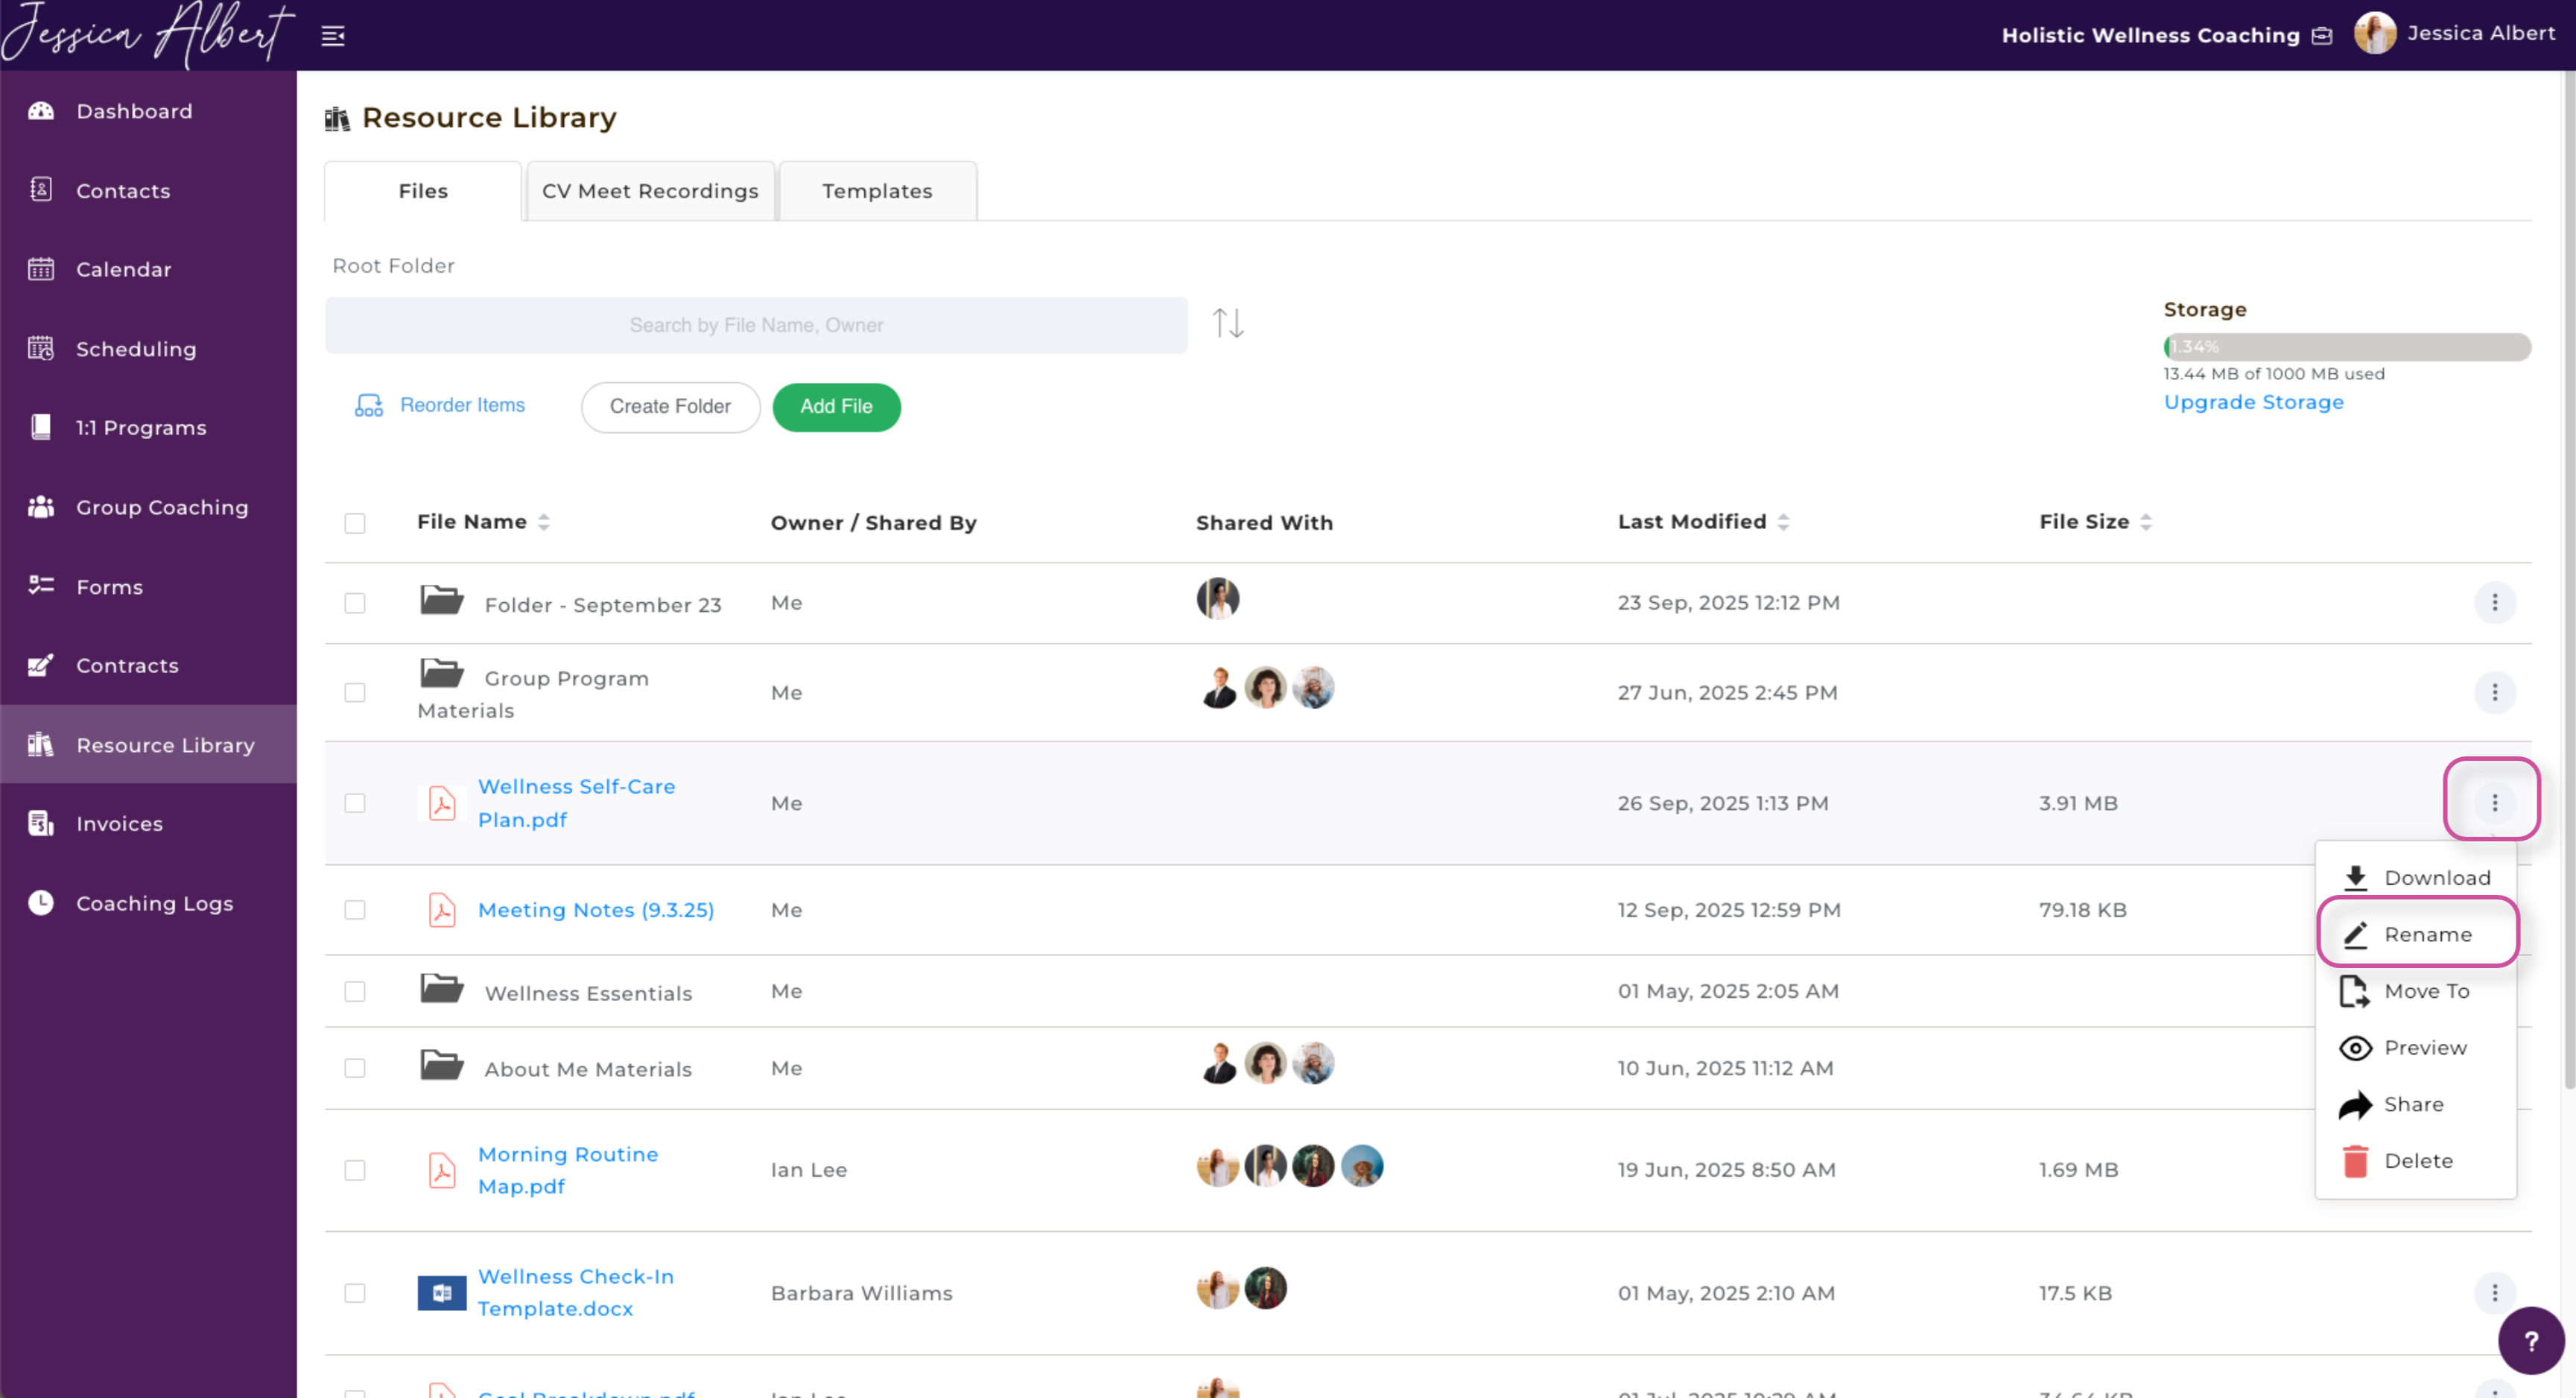
How to Rename a File Once Uploaded
To rename a file, simply select the corresponding 3-dot button menu on the right side of the screen and then click Rename.
A pop-up window will appear. Re-name the file to your desired name and then press Save.
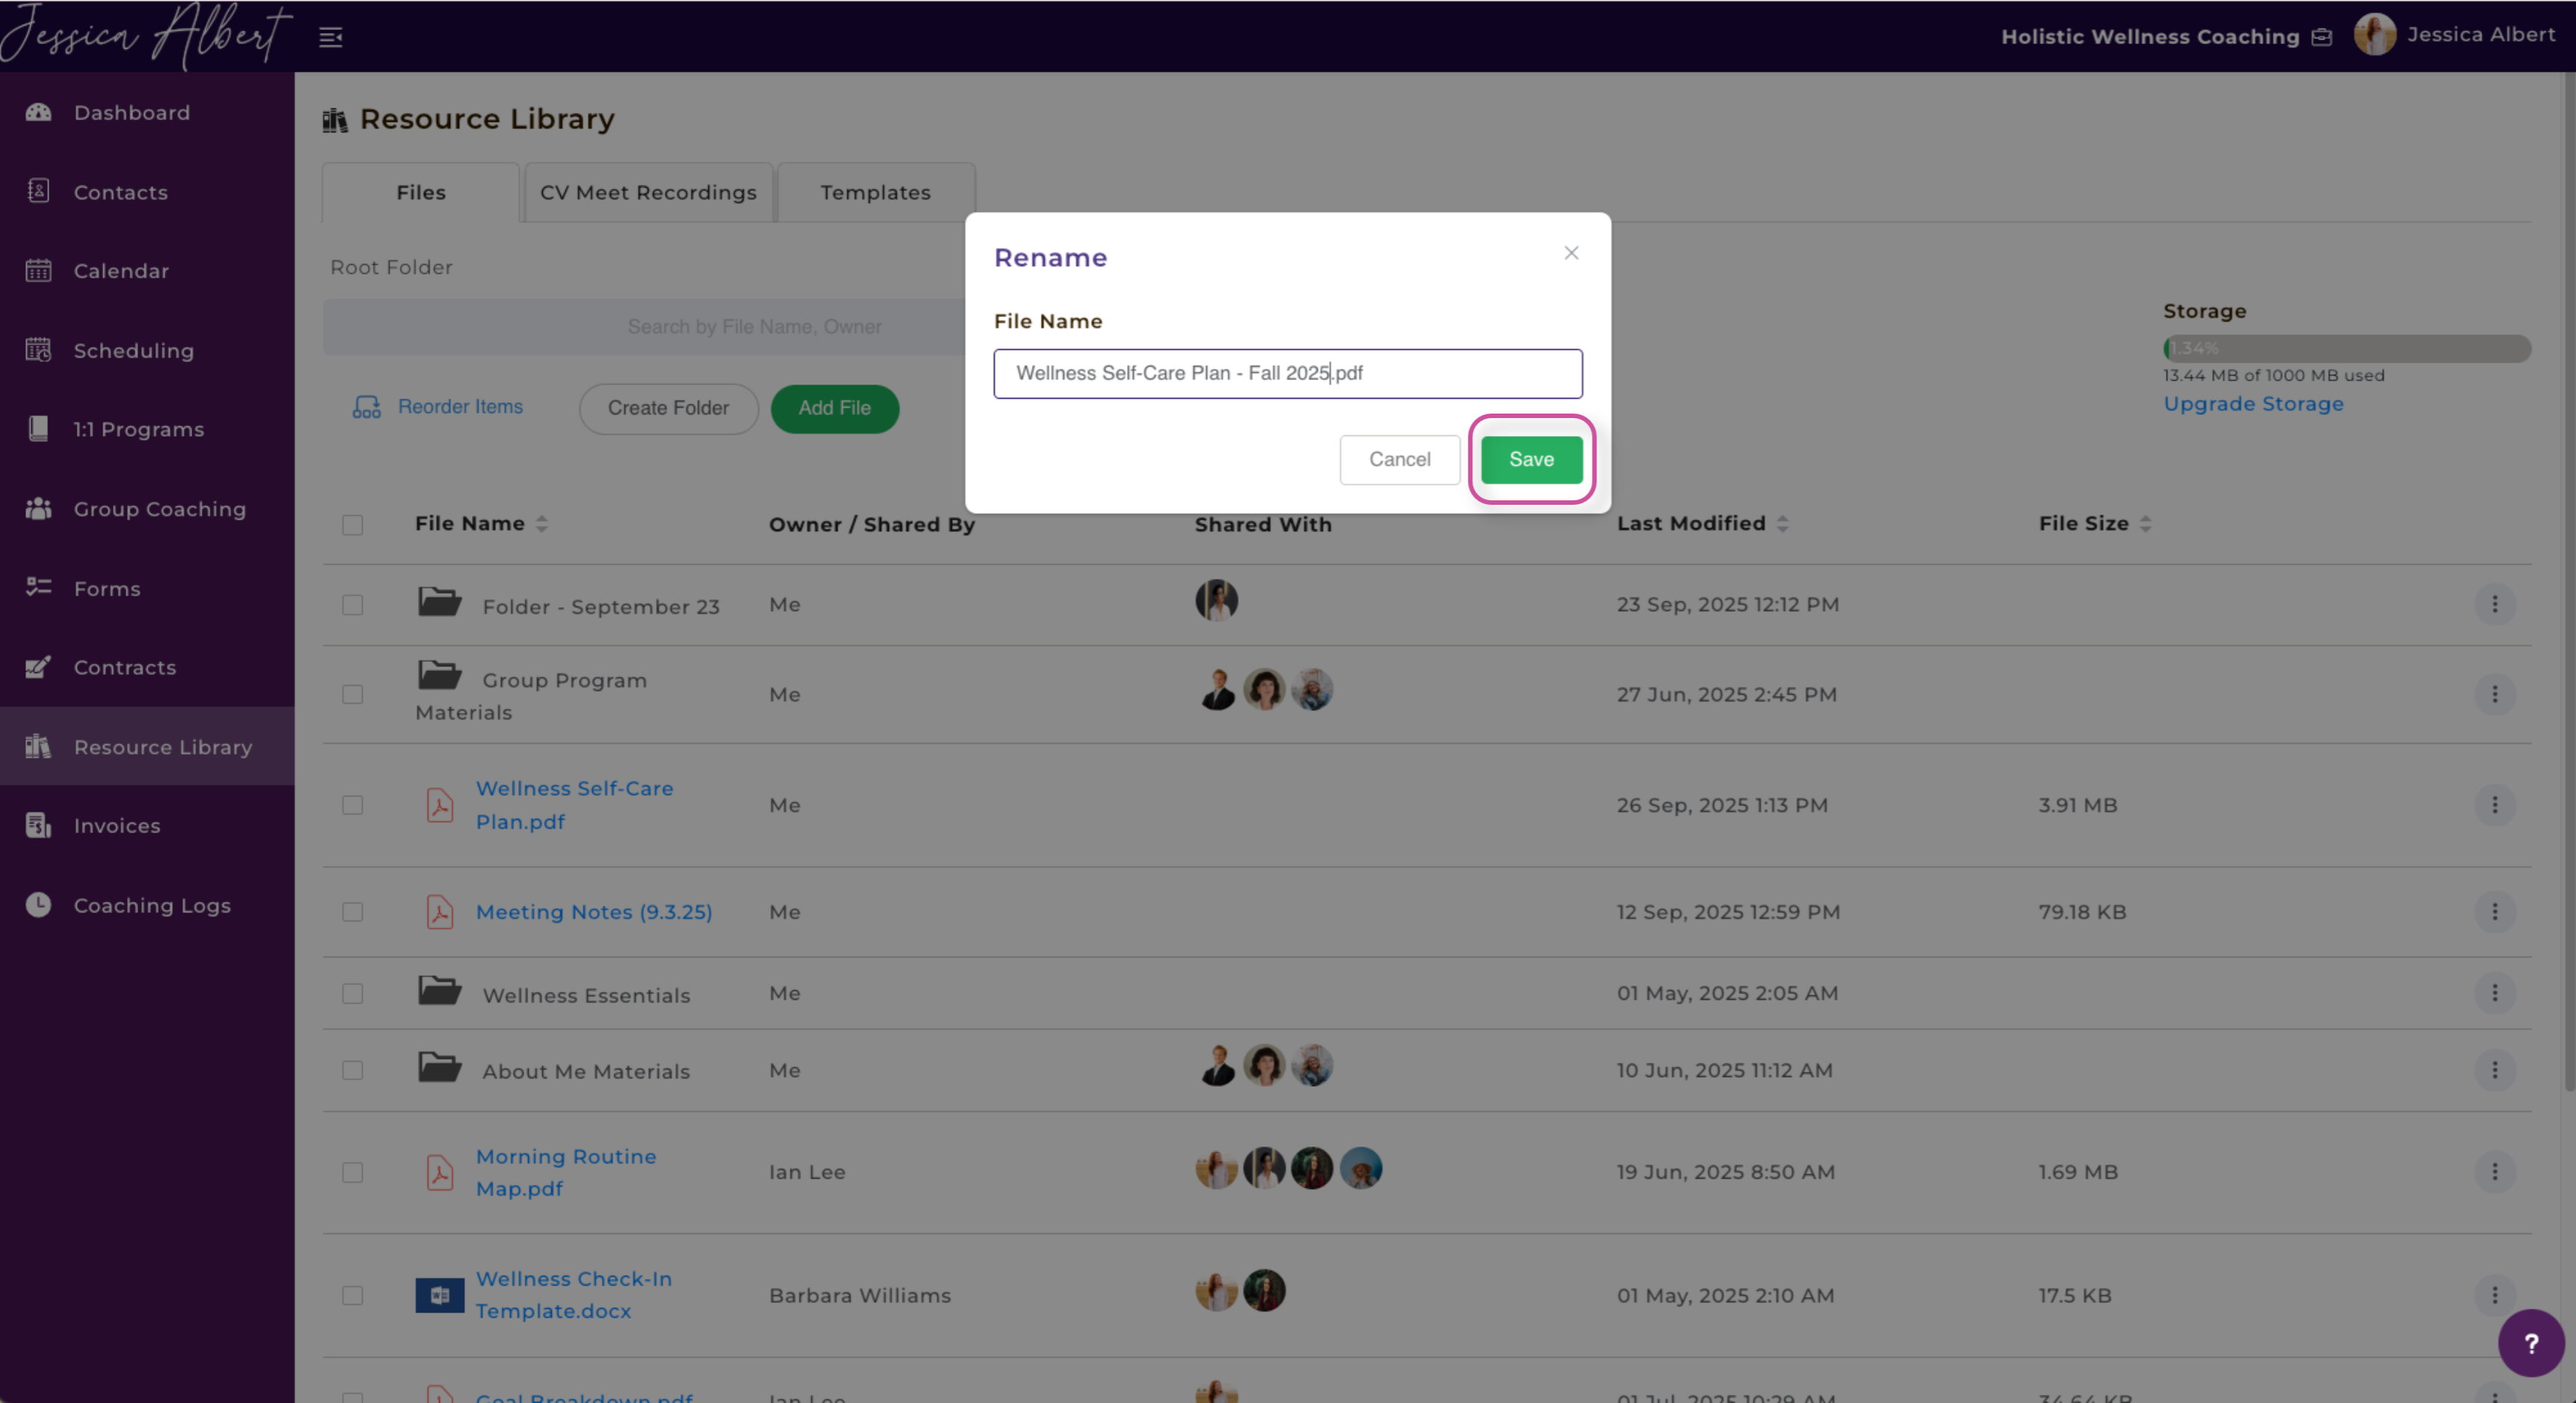
Your file has been renamed successfully!
Upload Methods and How to Use Them
1. From Device
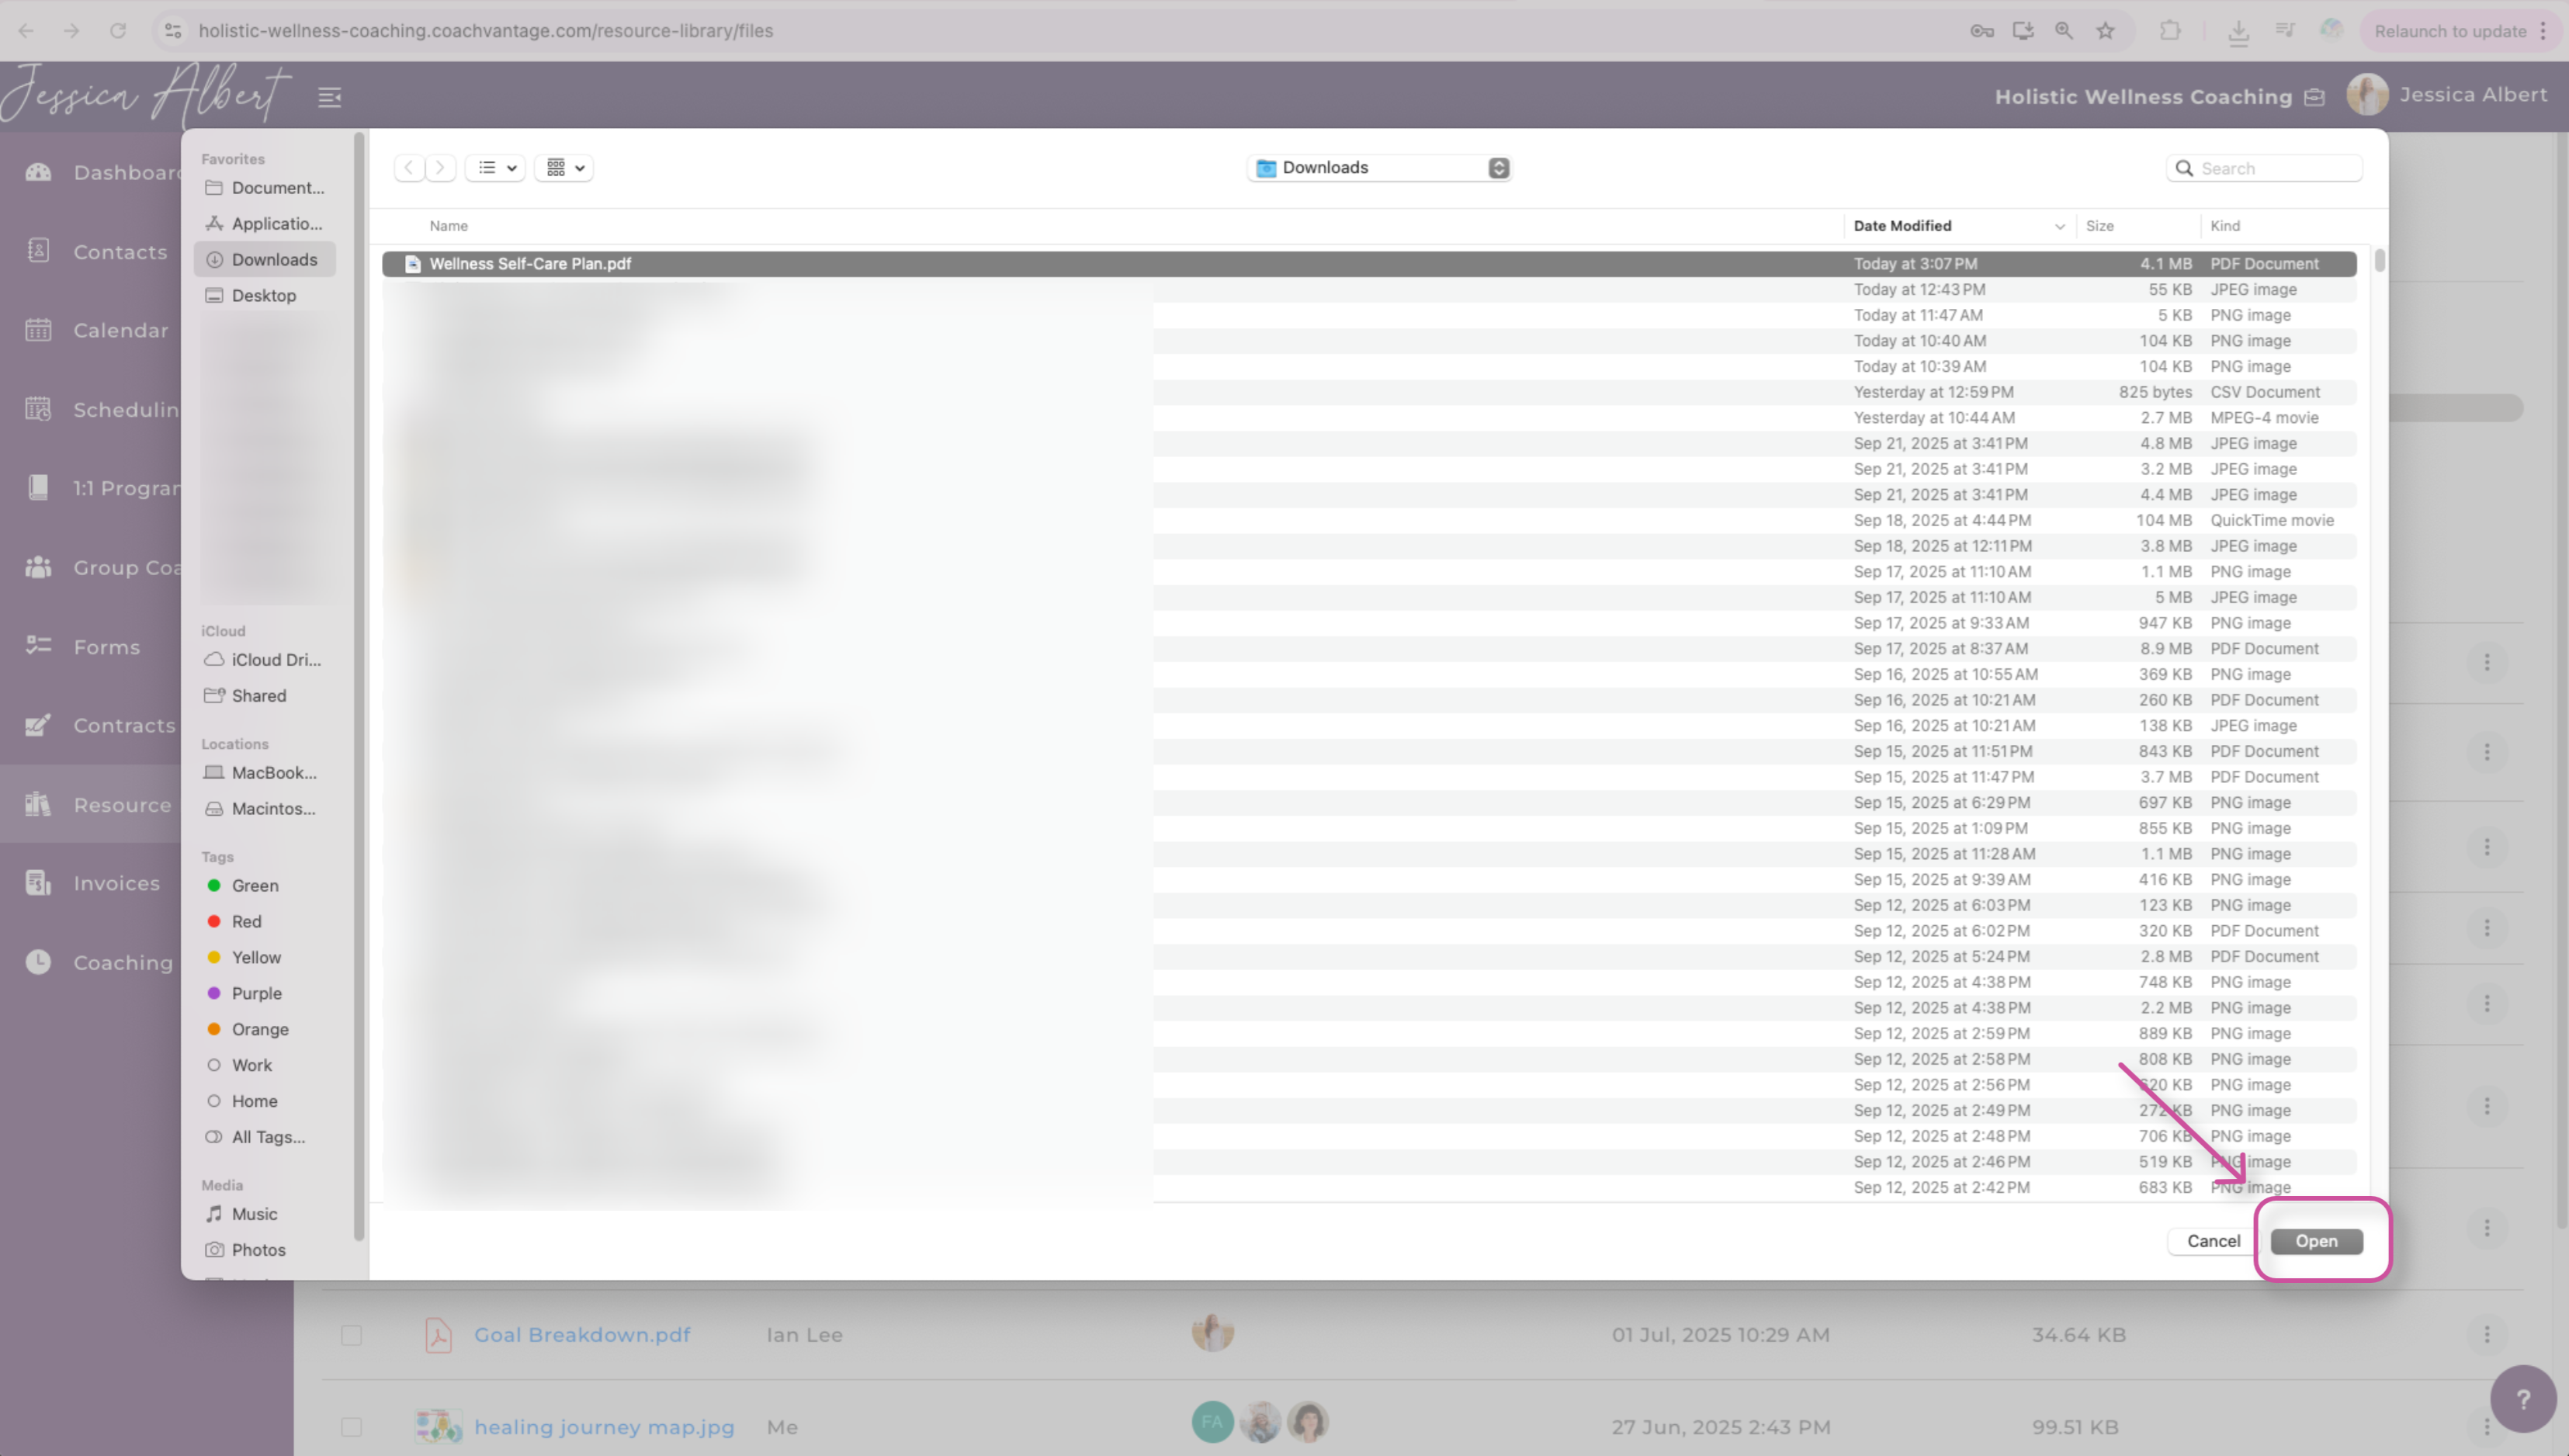
When you select, From Device, your files on your computer will be displayed and you then can find the file you would like to upload.
Identify the file you wish to upload, select it, and then click Open.
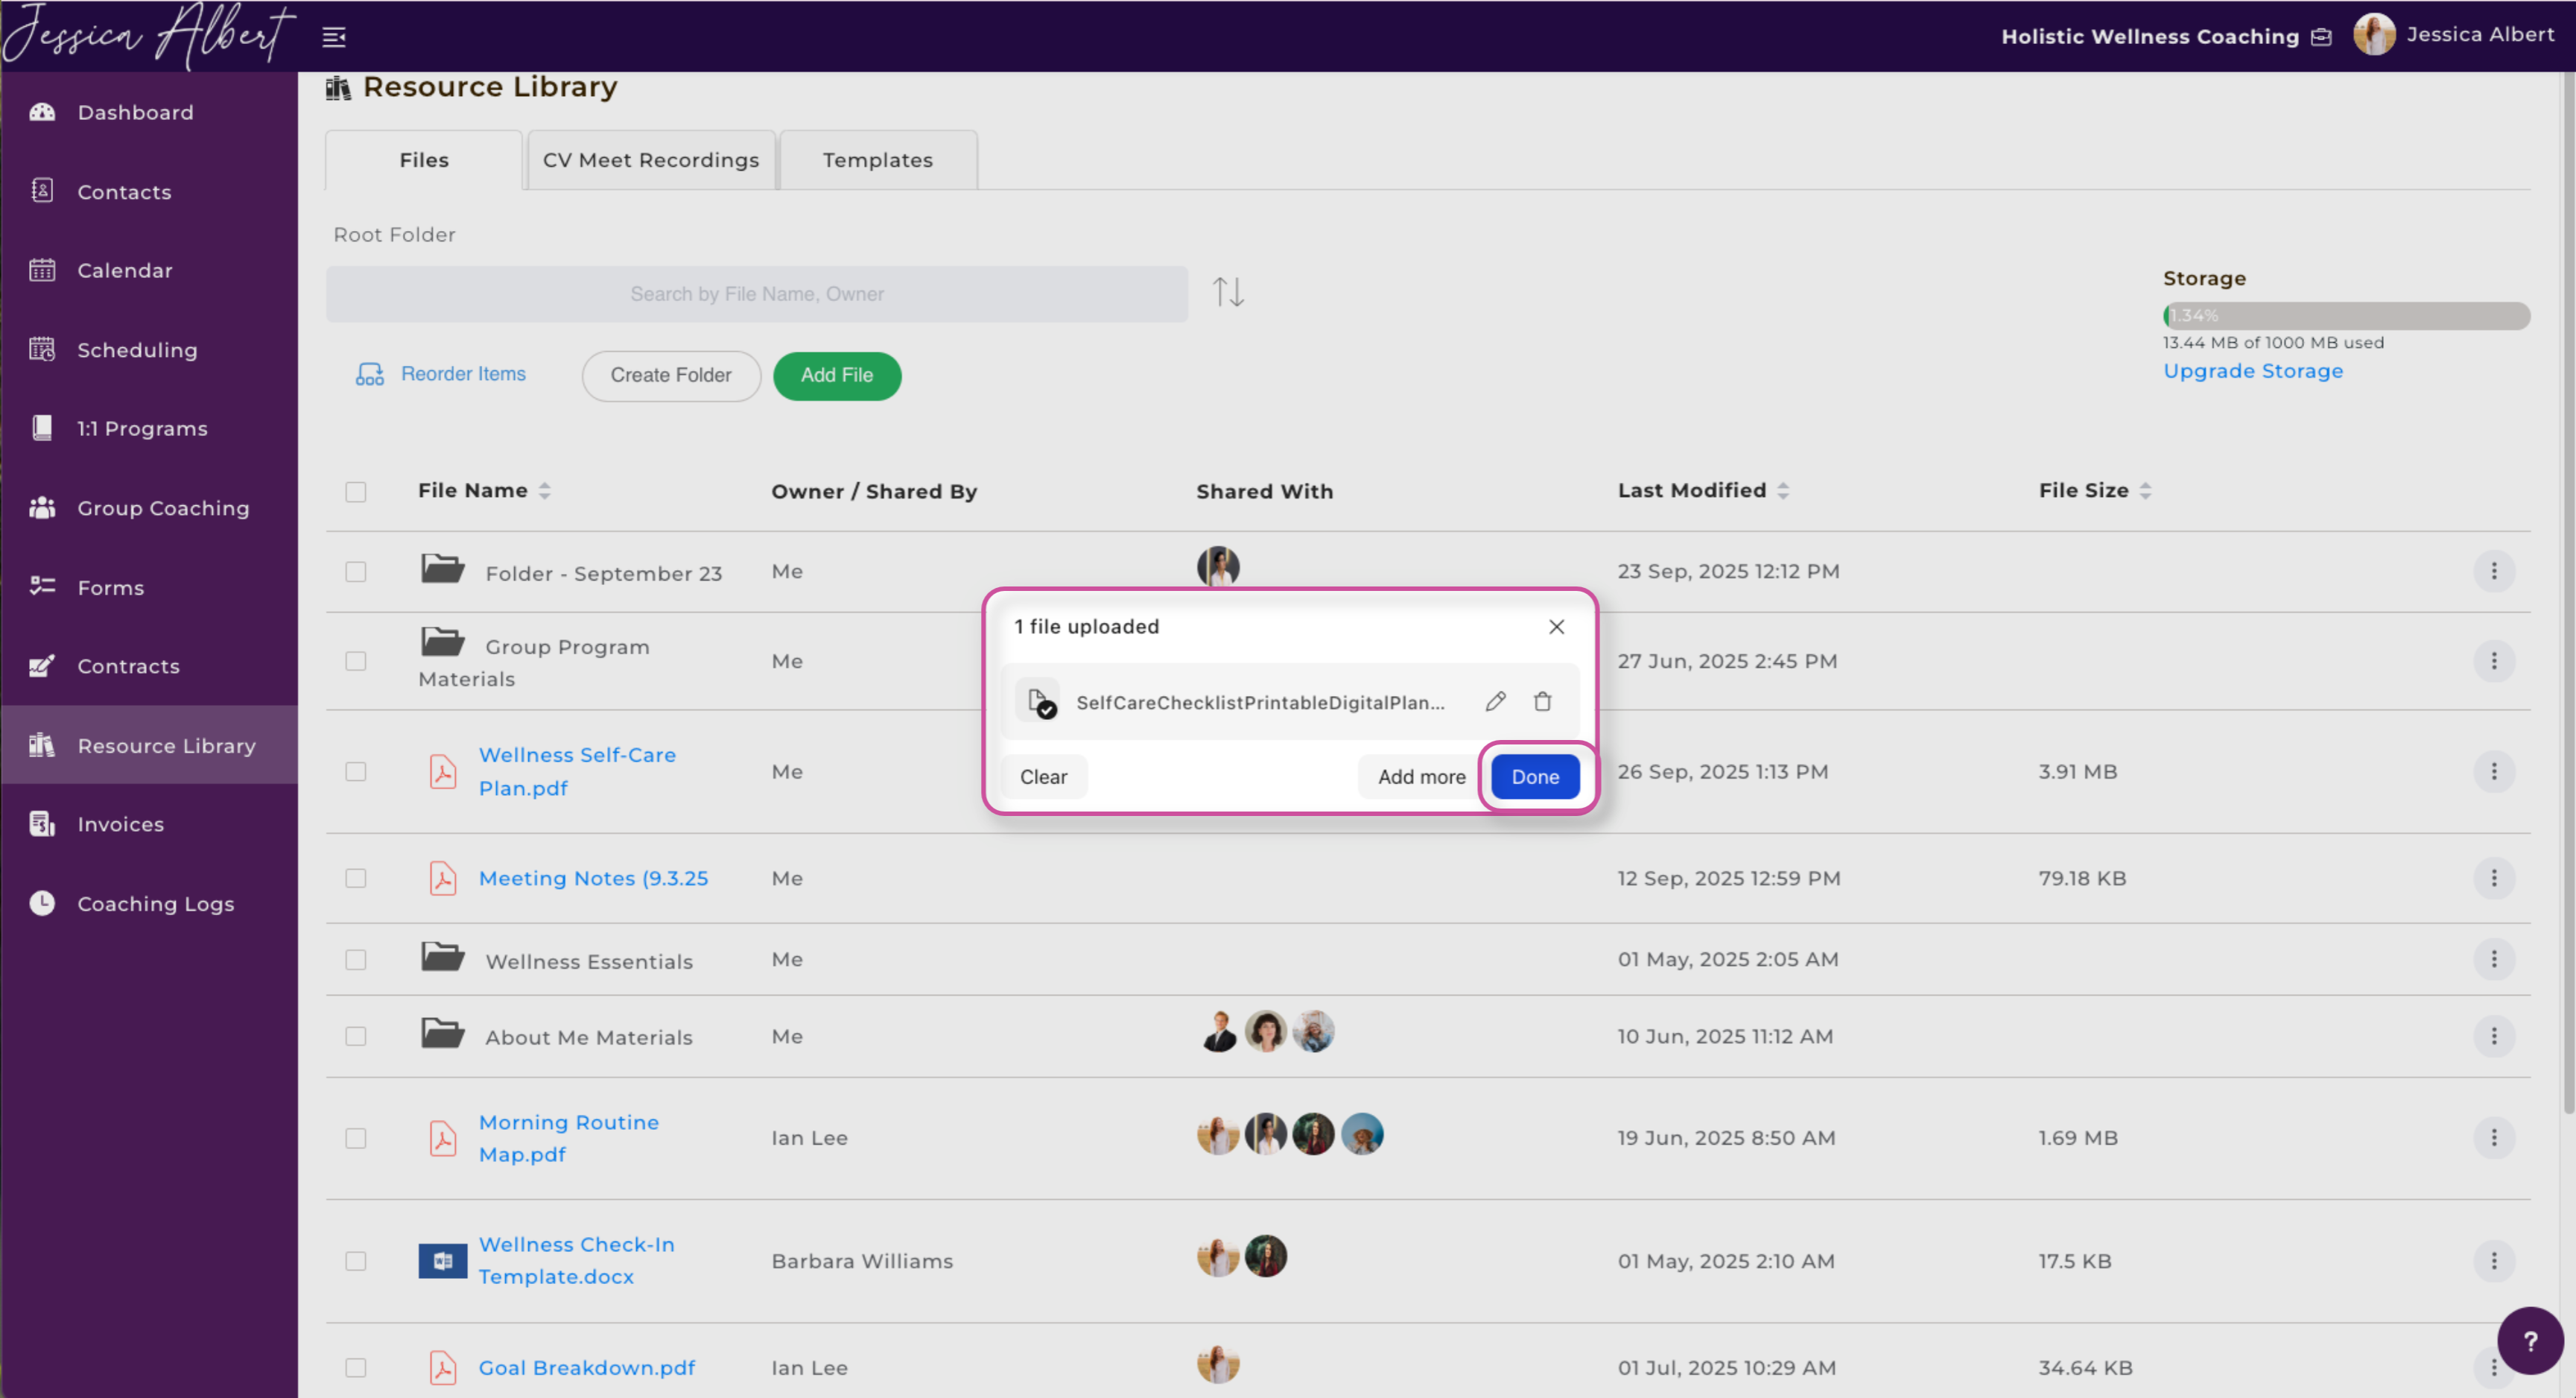
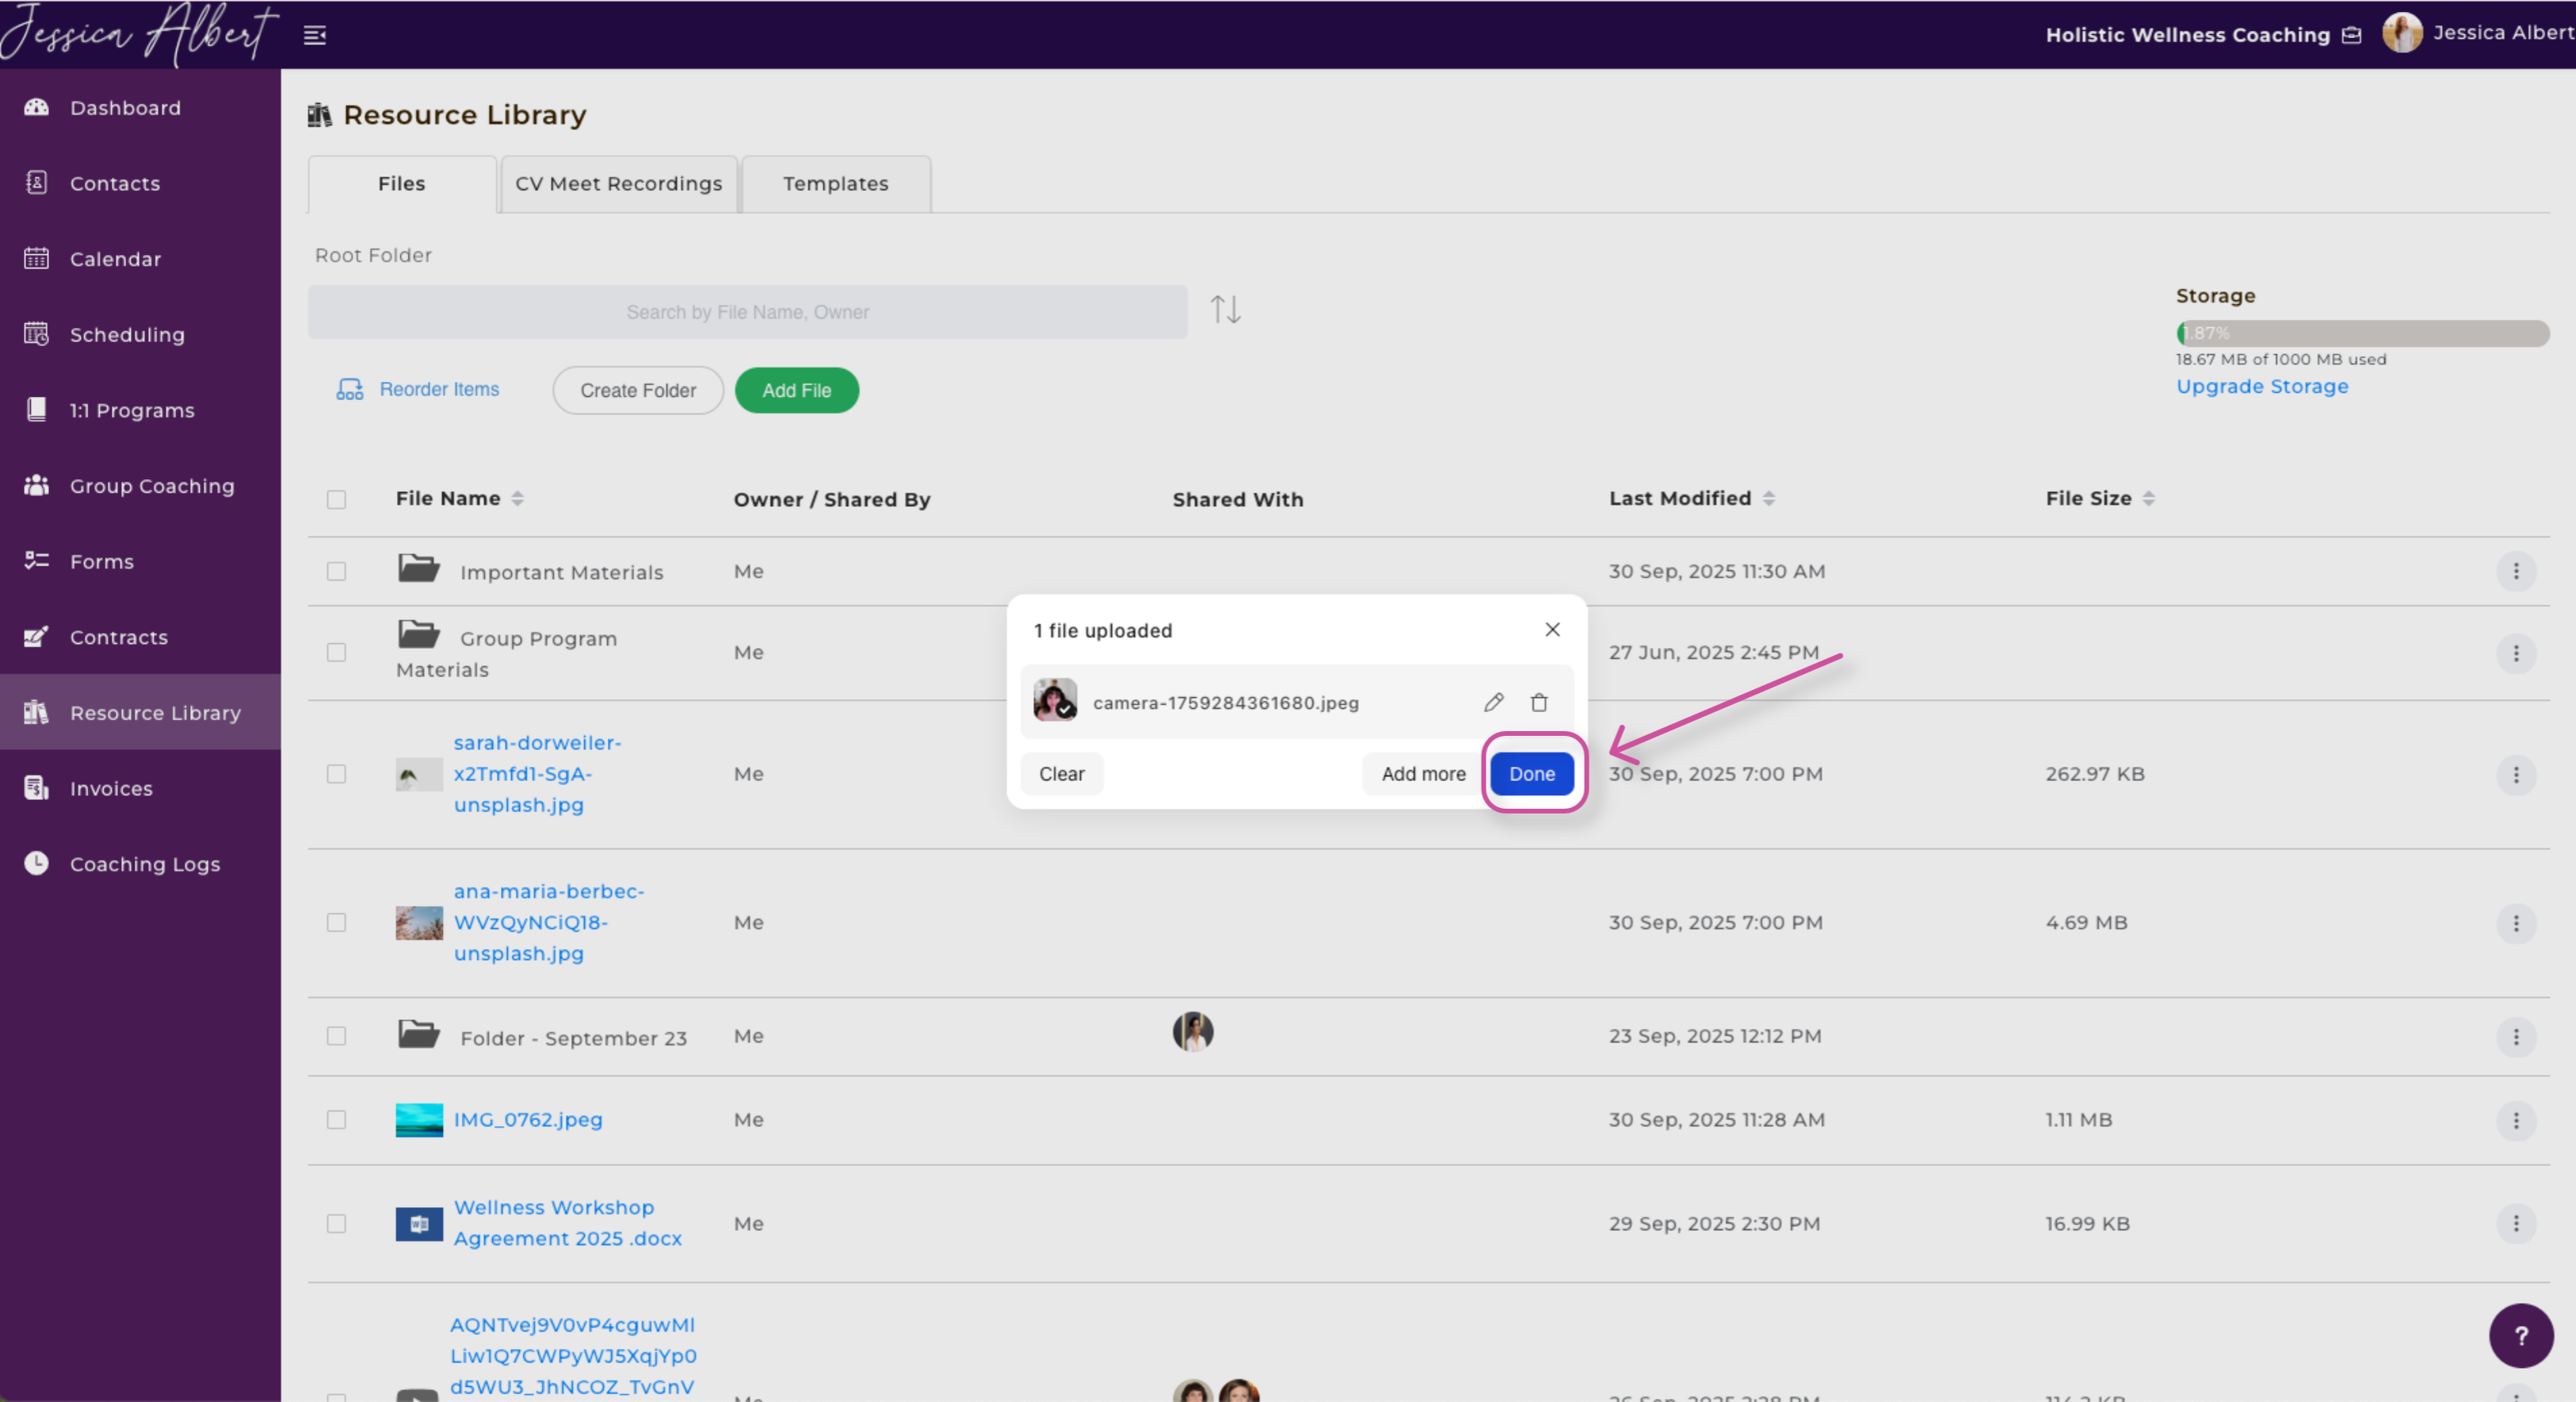
You will then see the file has been uploaded. Lastly, select Done to continue.
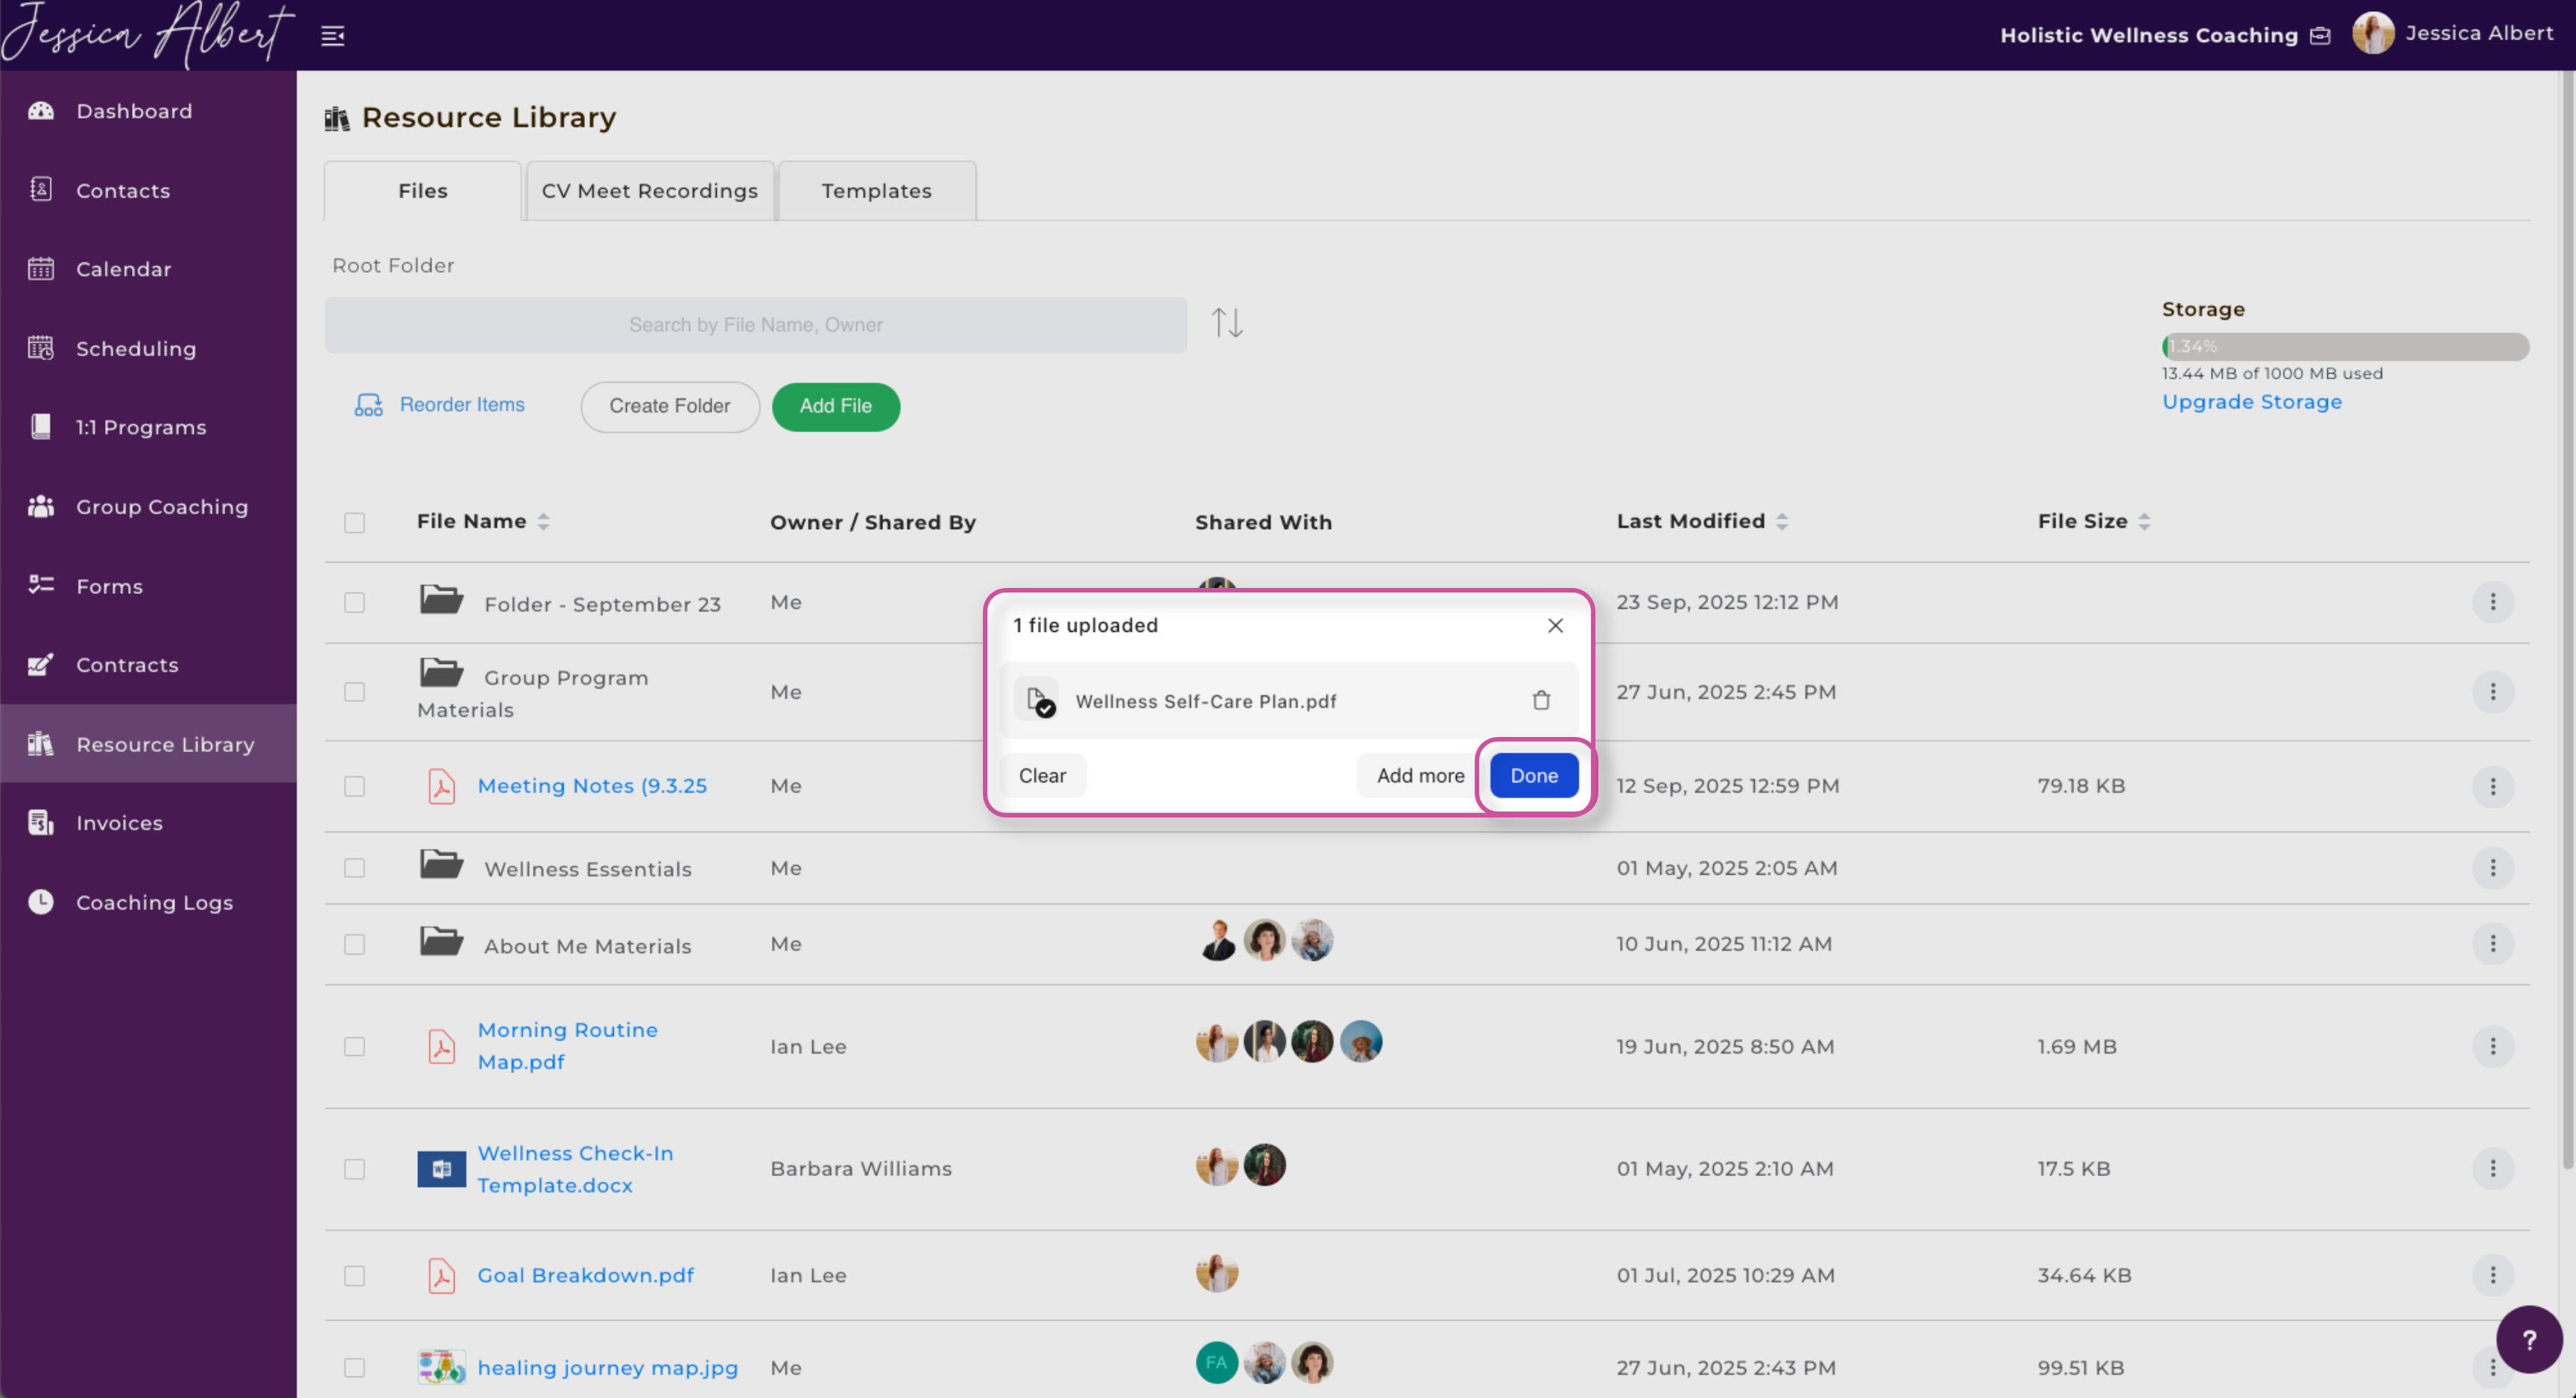
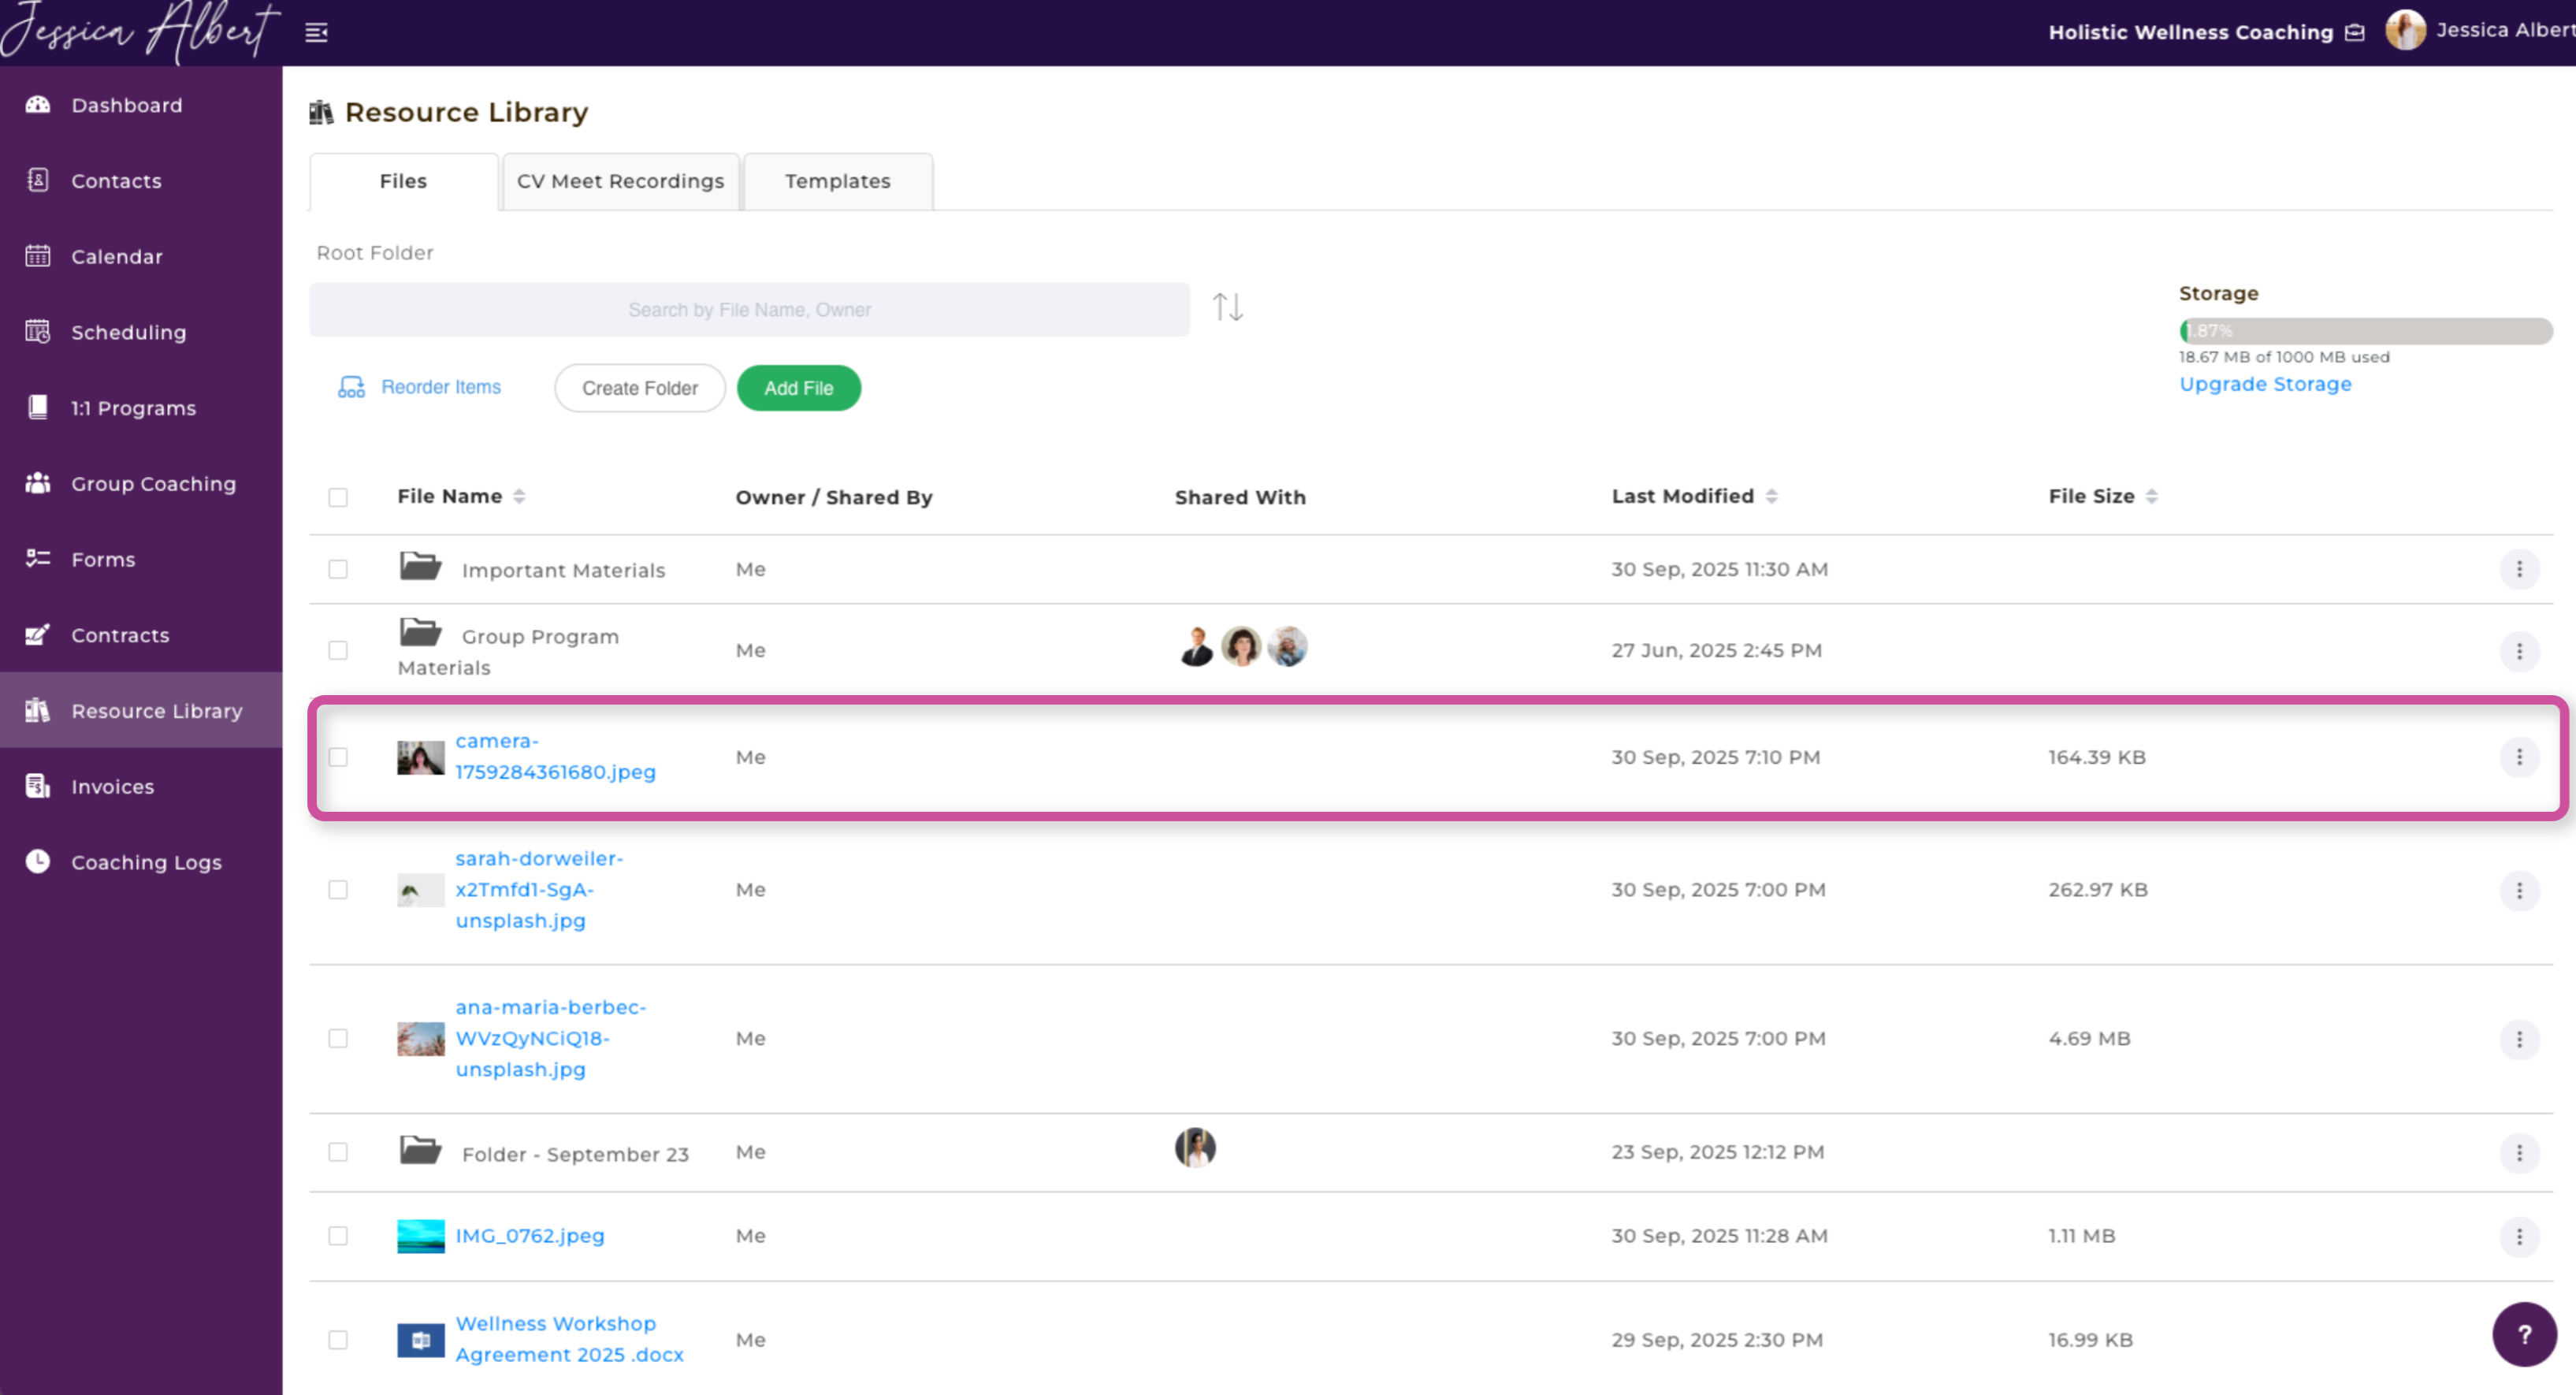
Fantastic! The file has been successfully uploaded.
2. From Link
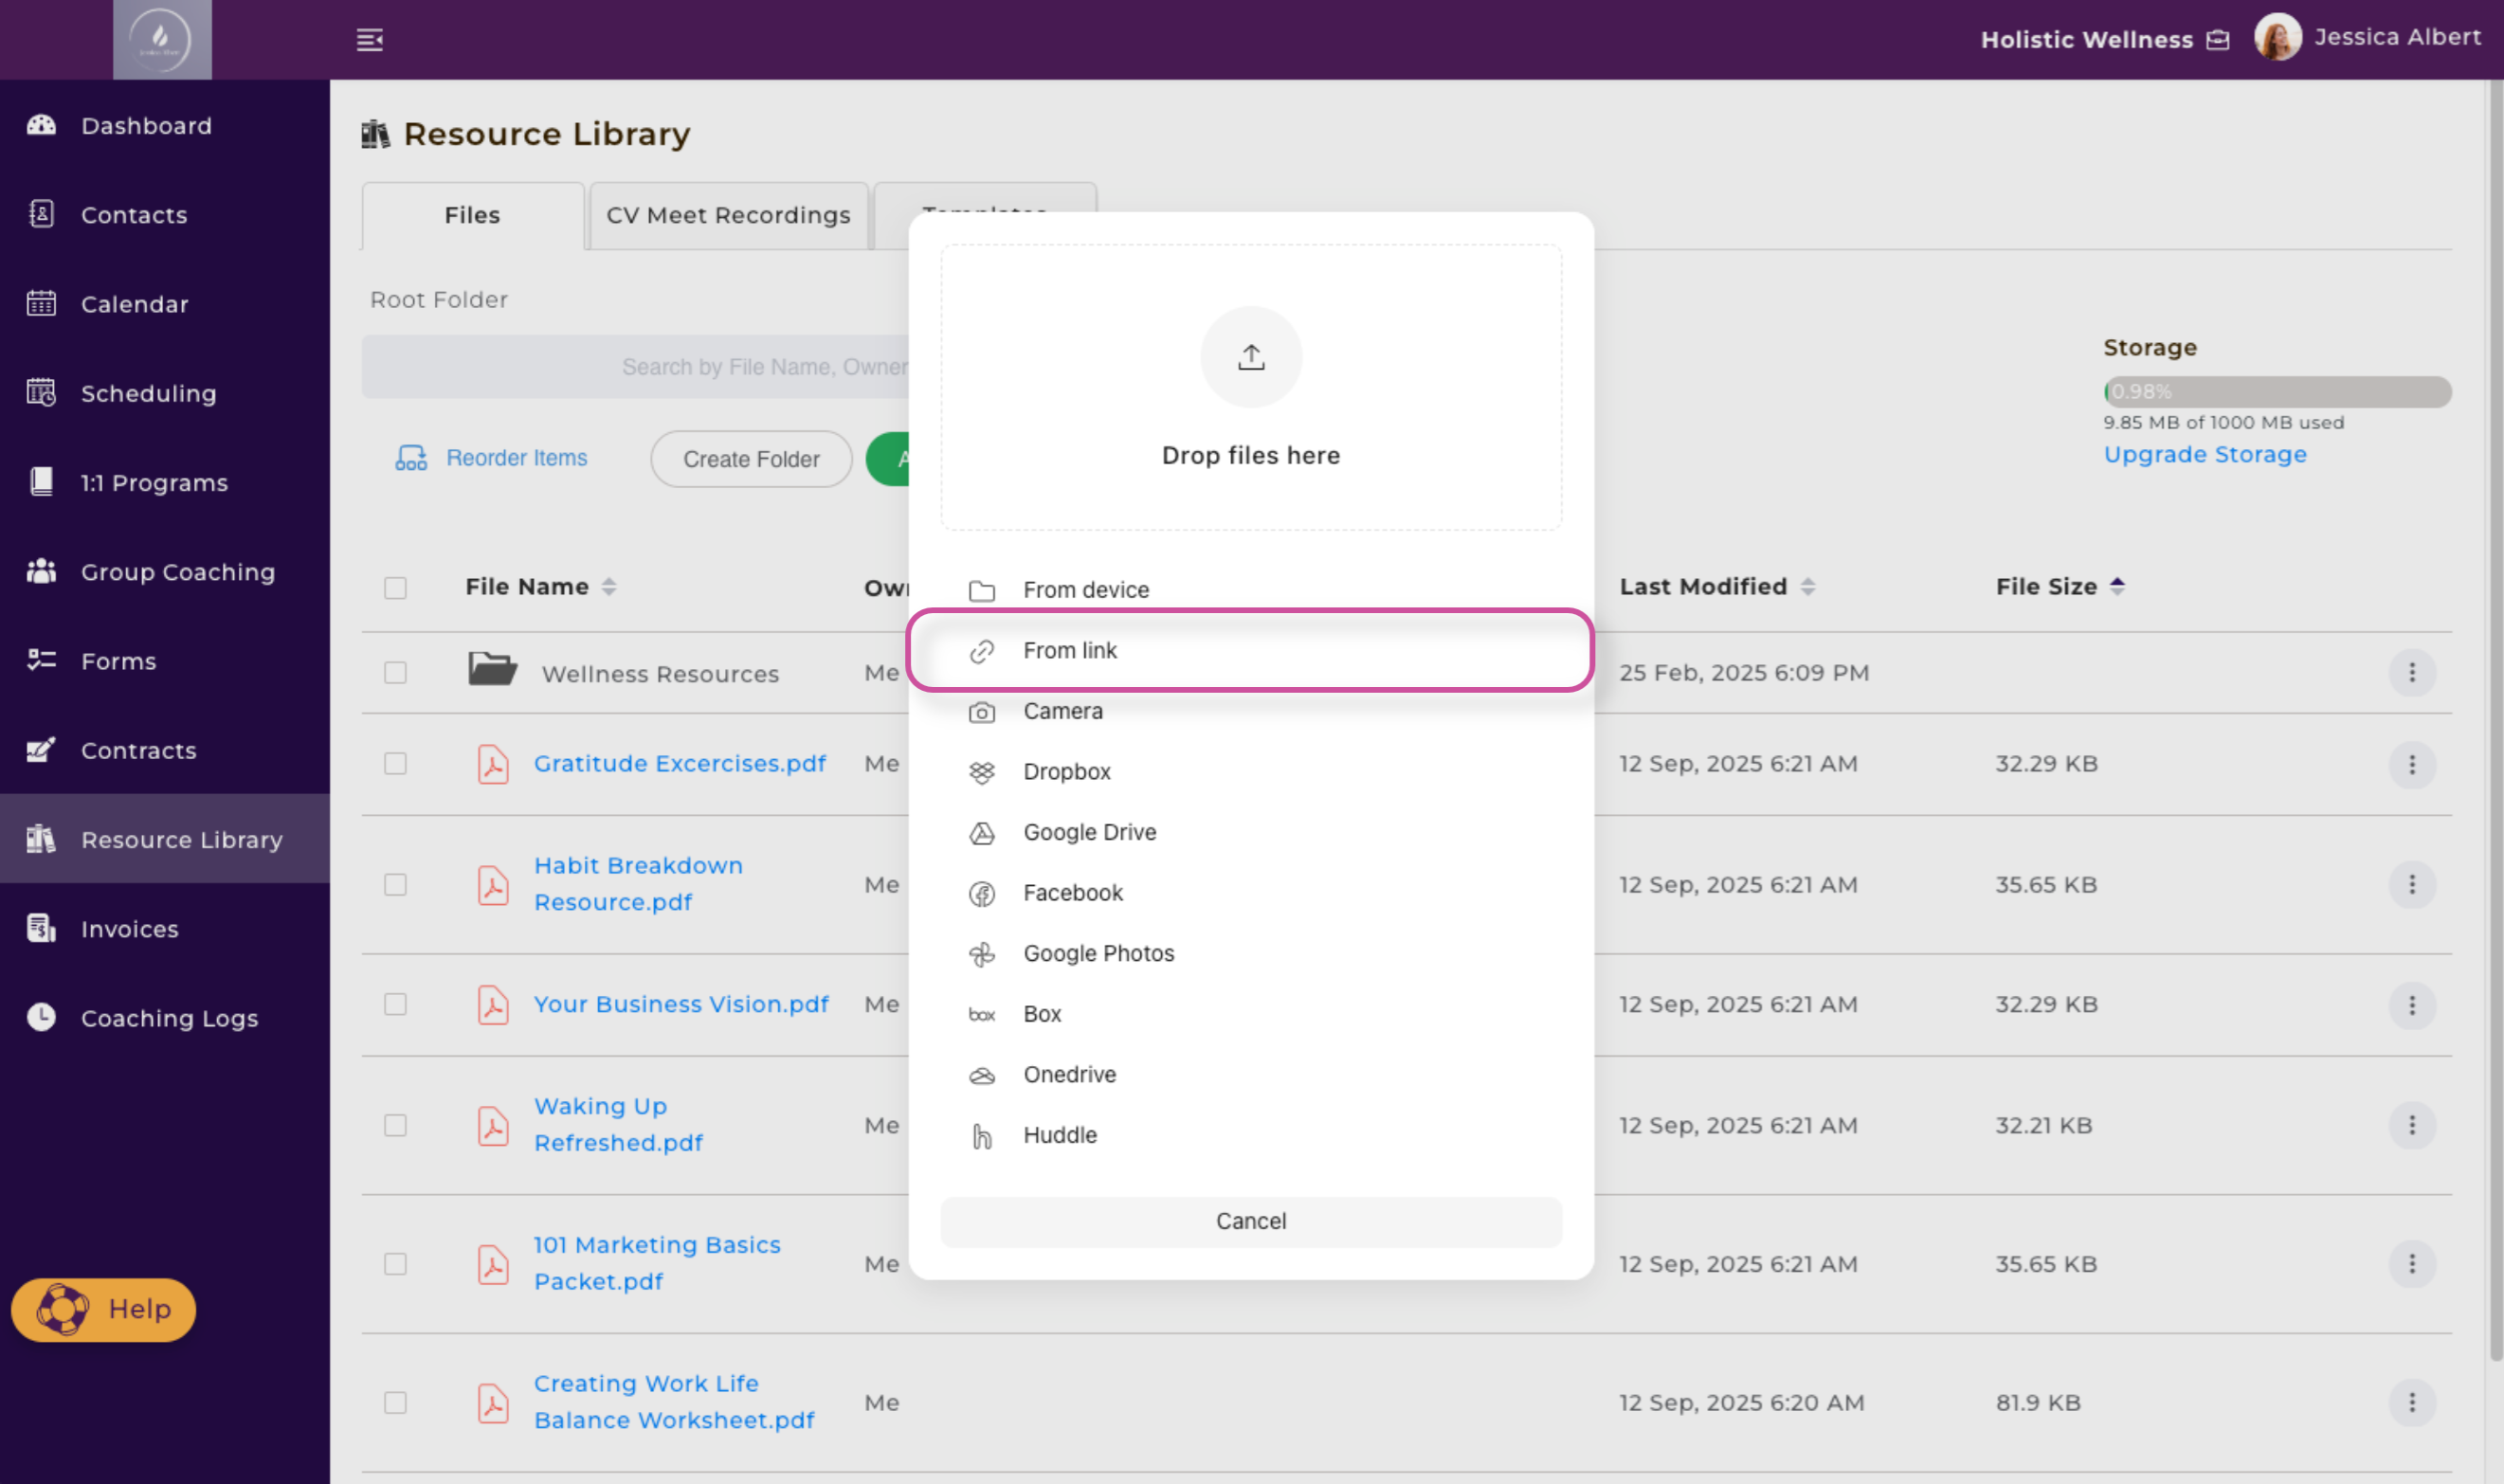
The From Link option is designed for uploading files using a direct file link from a cloud storage drive (such as Google Drive or Dropbox).
IMPORTANT: It does not support general webpage or media links, including YouTube or Vimeo videos, articles, or other website URLs.
Press Done to save the file to your Resource Library.
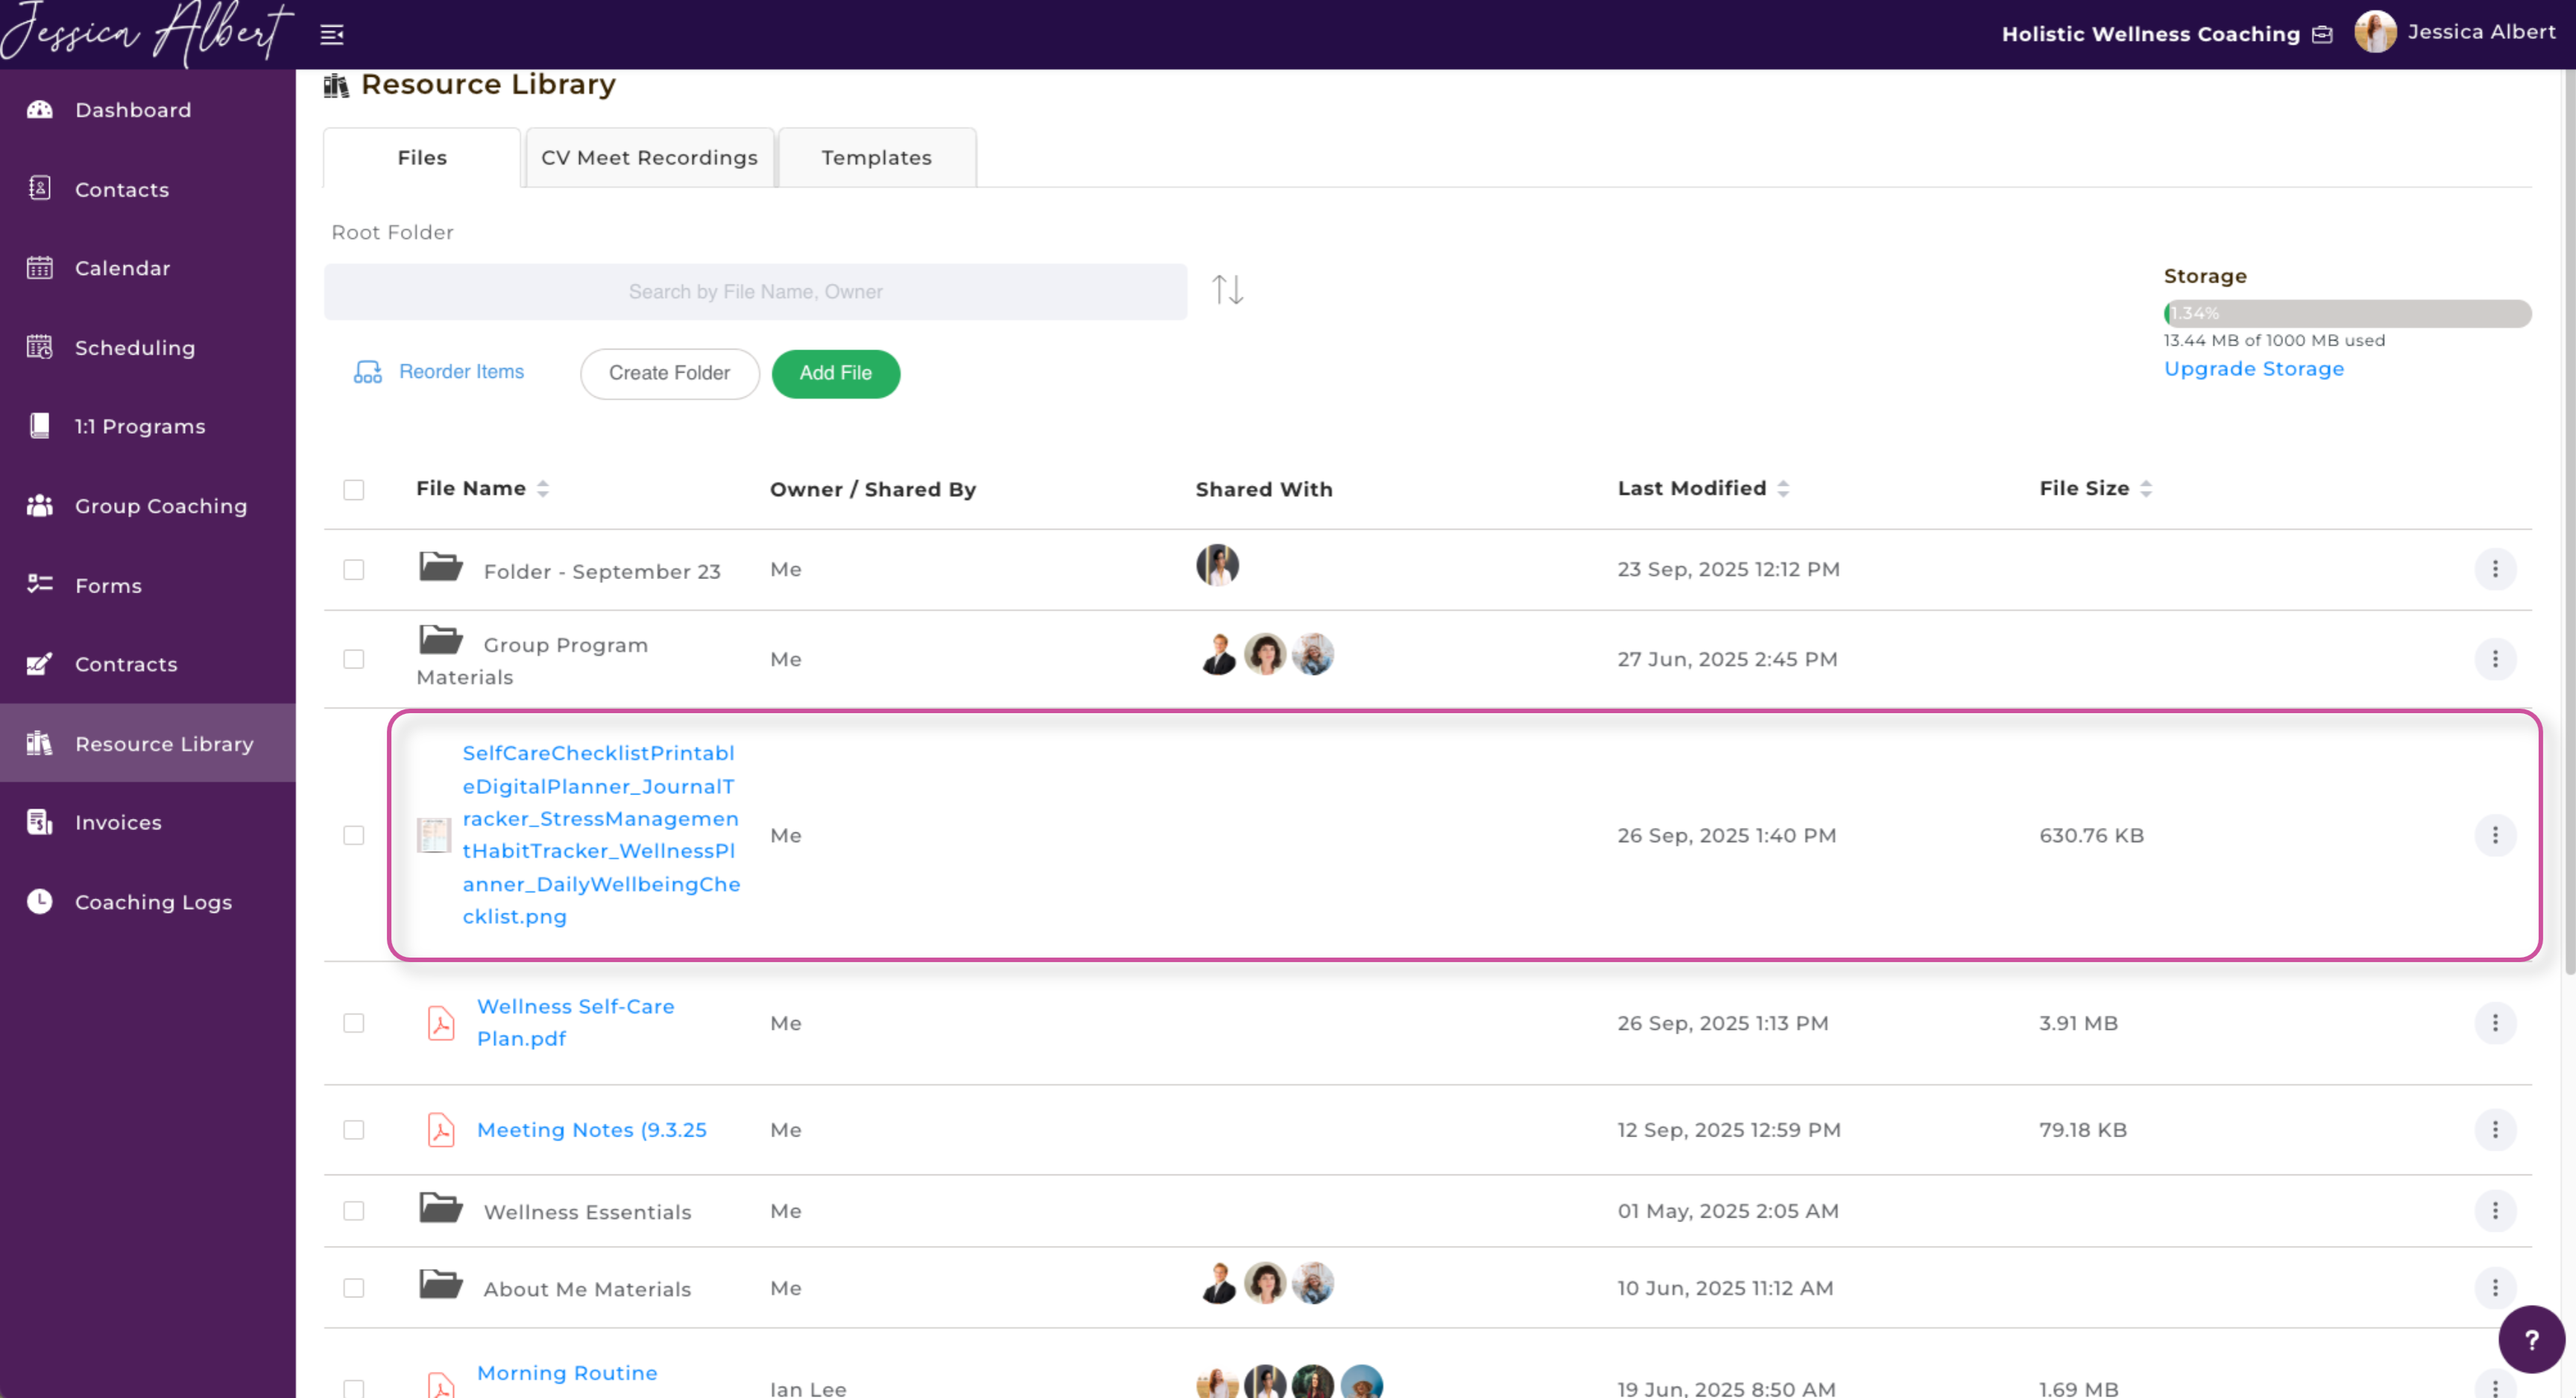
Upload complete!
3. Camera
When you select camera, you will be able to take either a video or photo from your web camera.

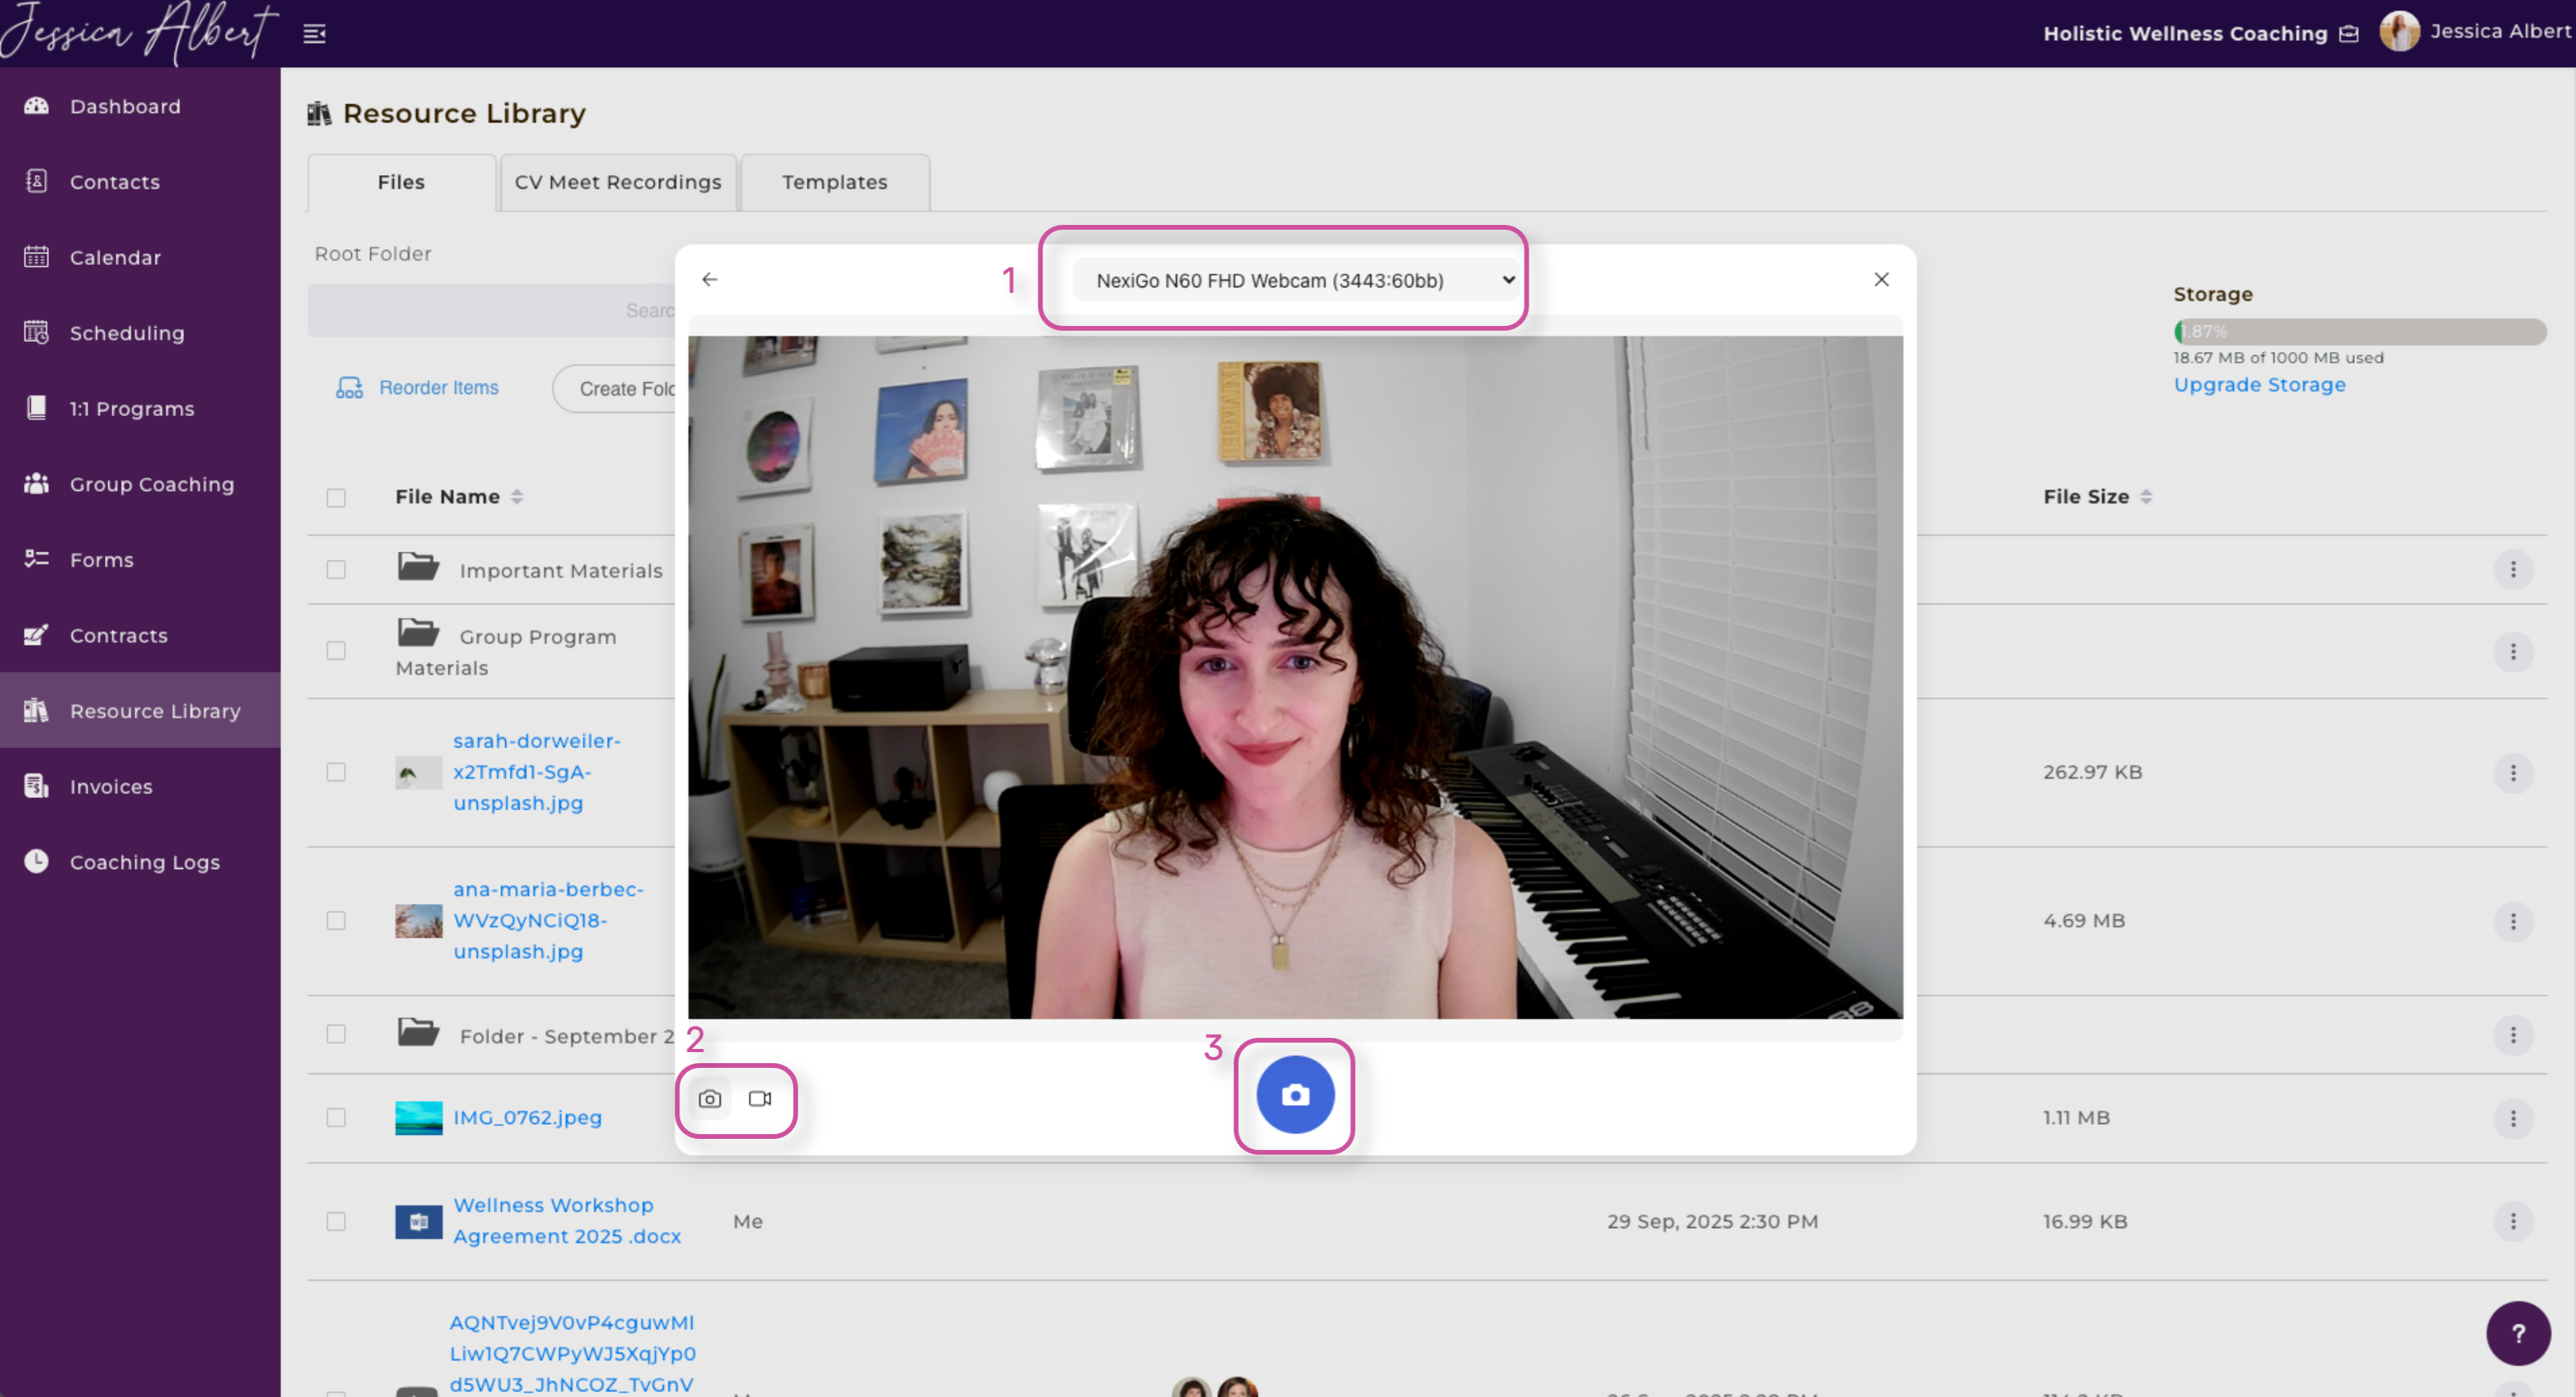
Make sure to grant permission for use of the camera and the camera window will appear.
1. Select which webcam you would like to use, if you have more than 1 option.
2. Select whether you would like to record a video or take a photo.
3. Press the blue camera or video icon in the middle to begin.
Recording a Video
If you wish to record a video, you will be prompted to select a microphone to capture the audio for your video.
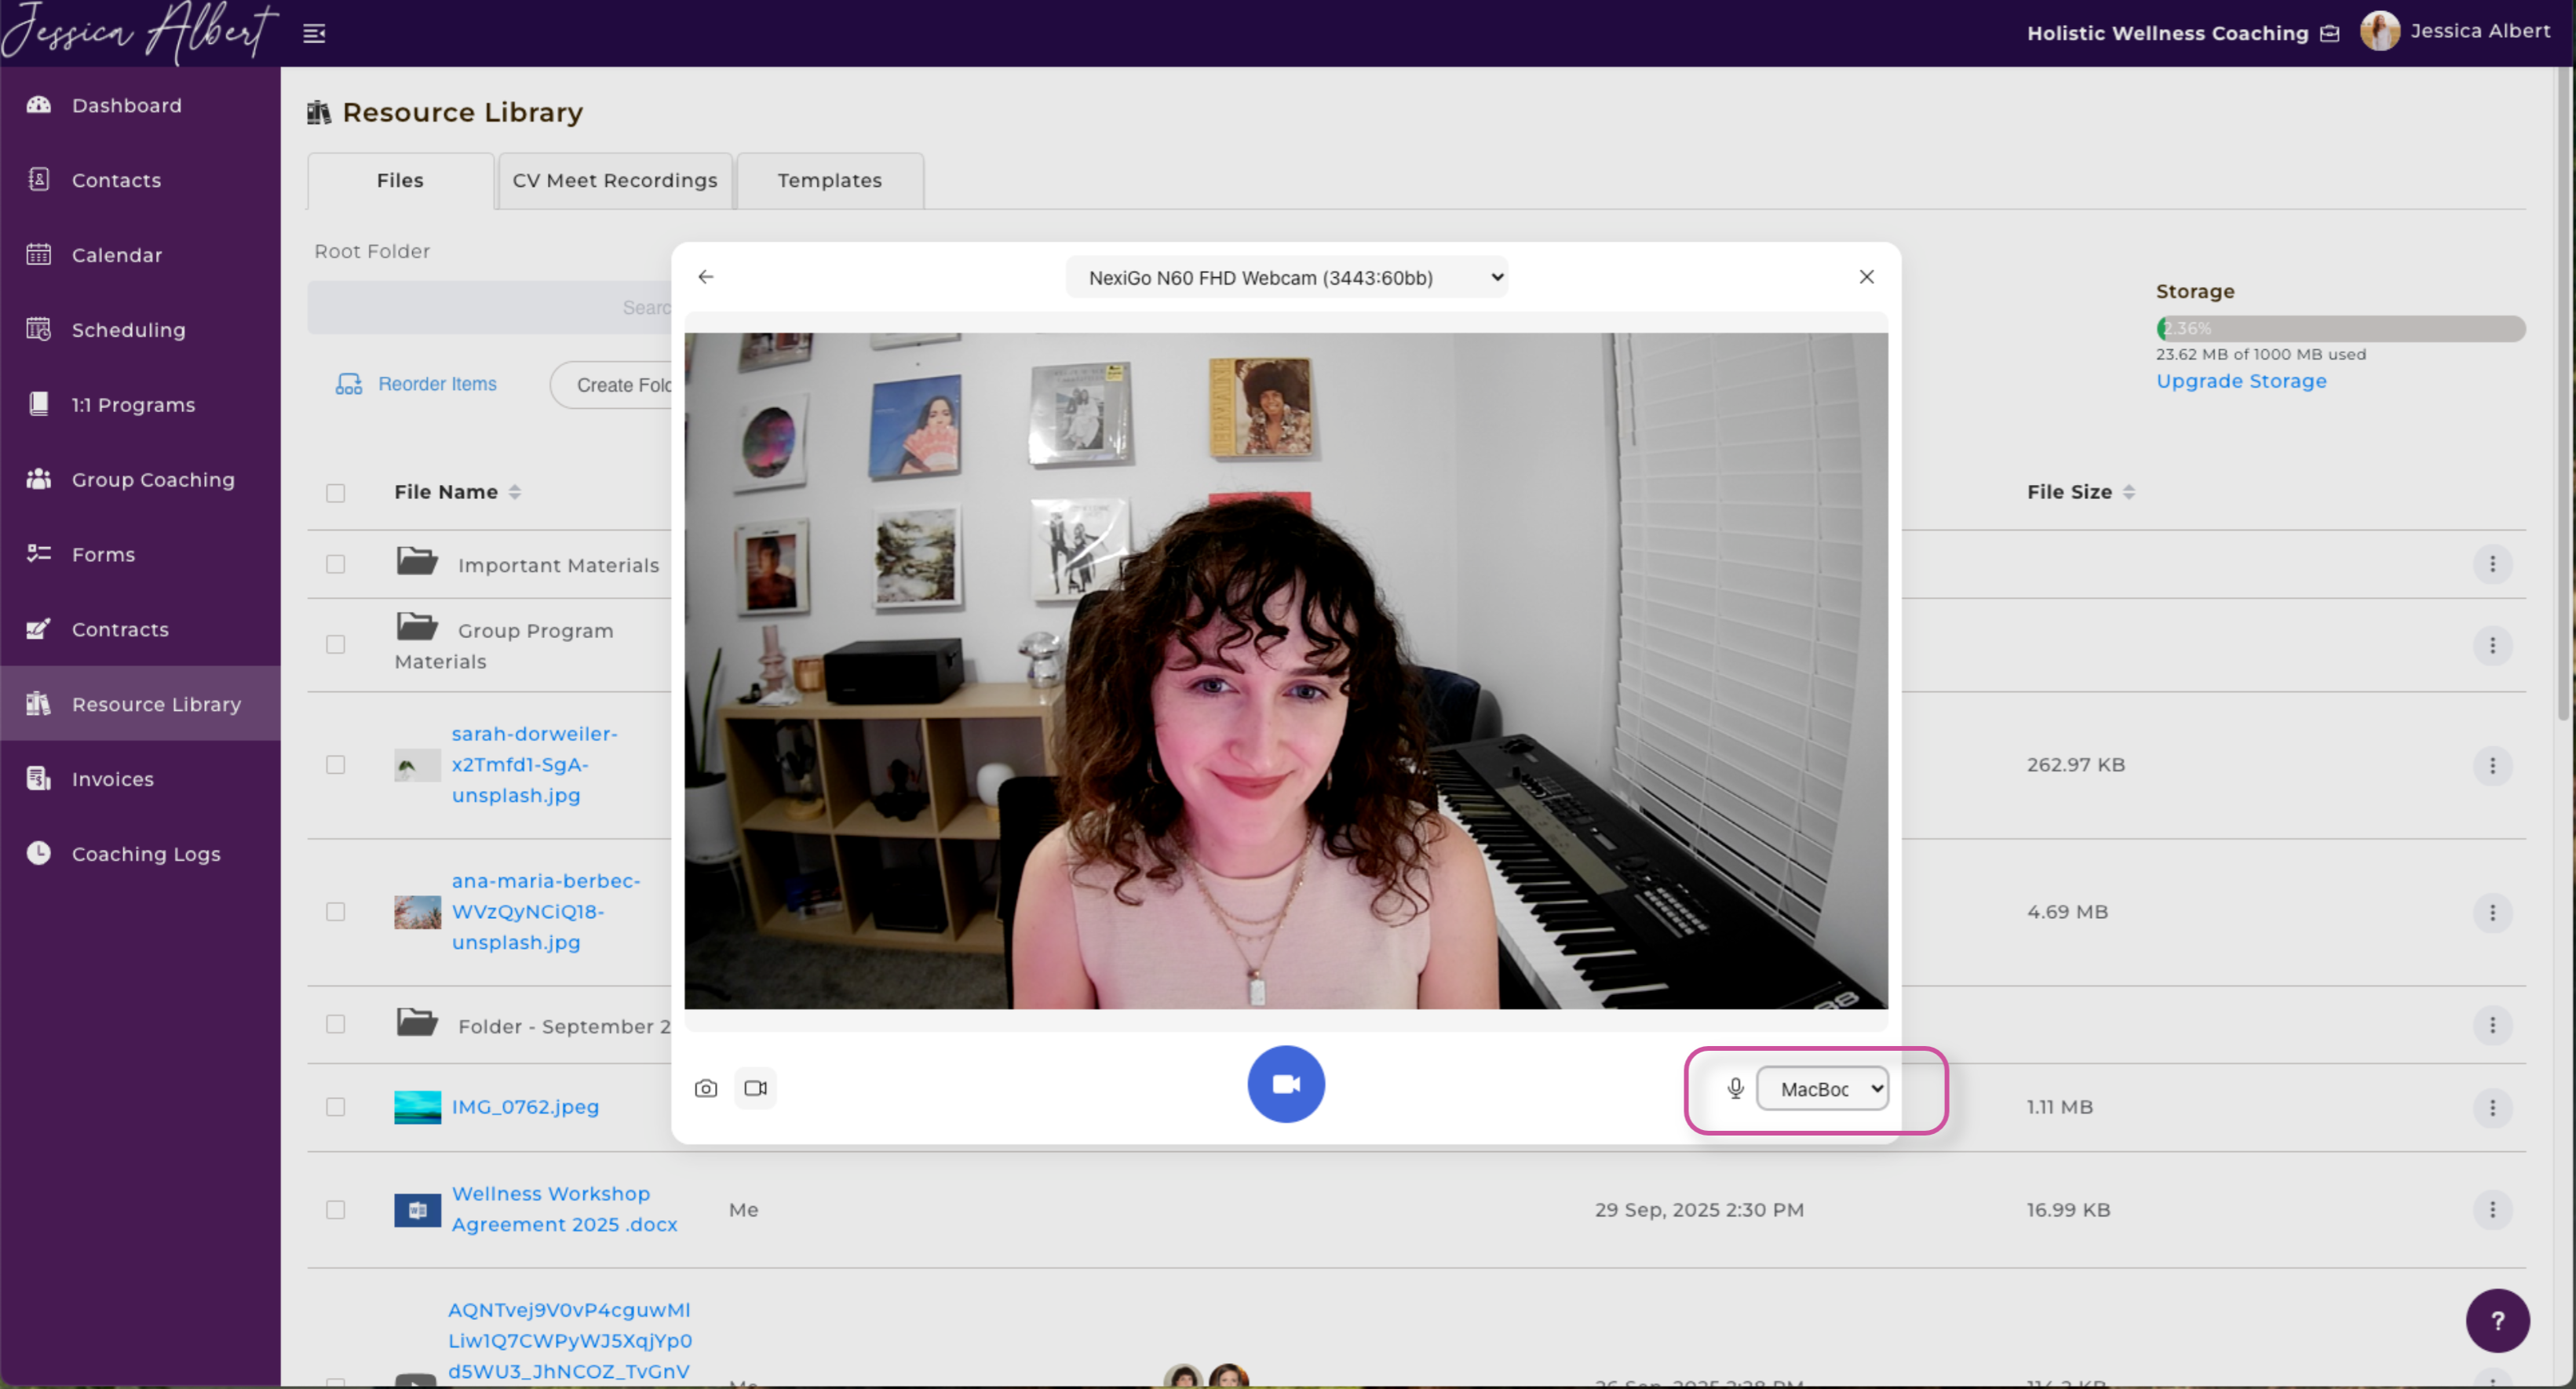
Press the blue video camera icon in the middle of the window to begin your recording.
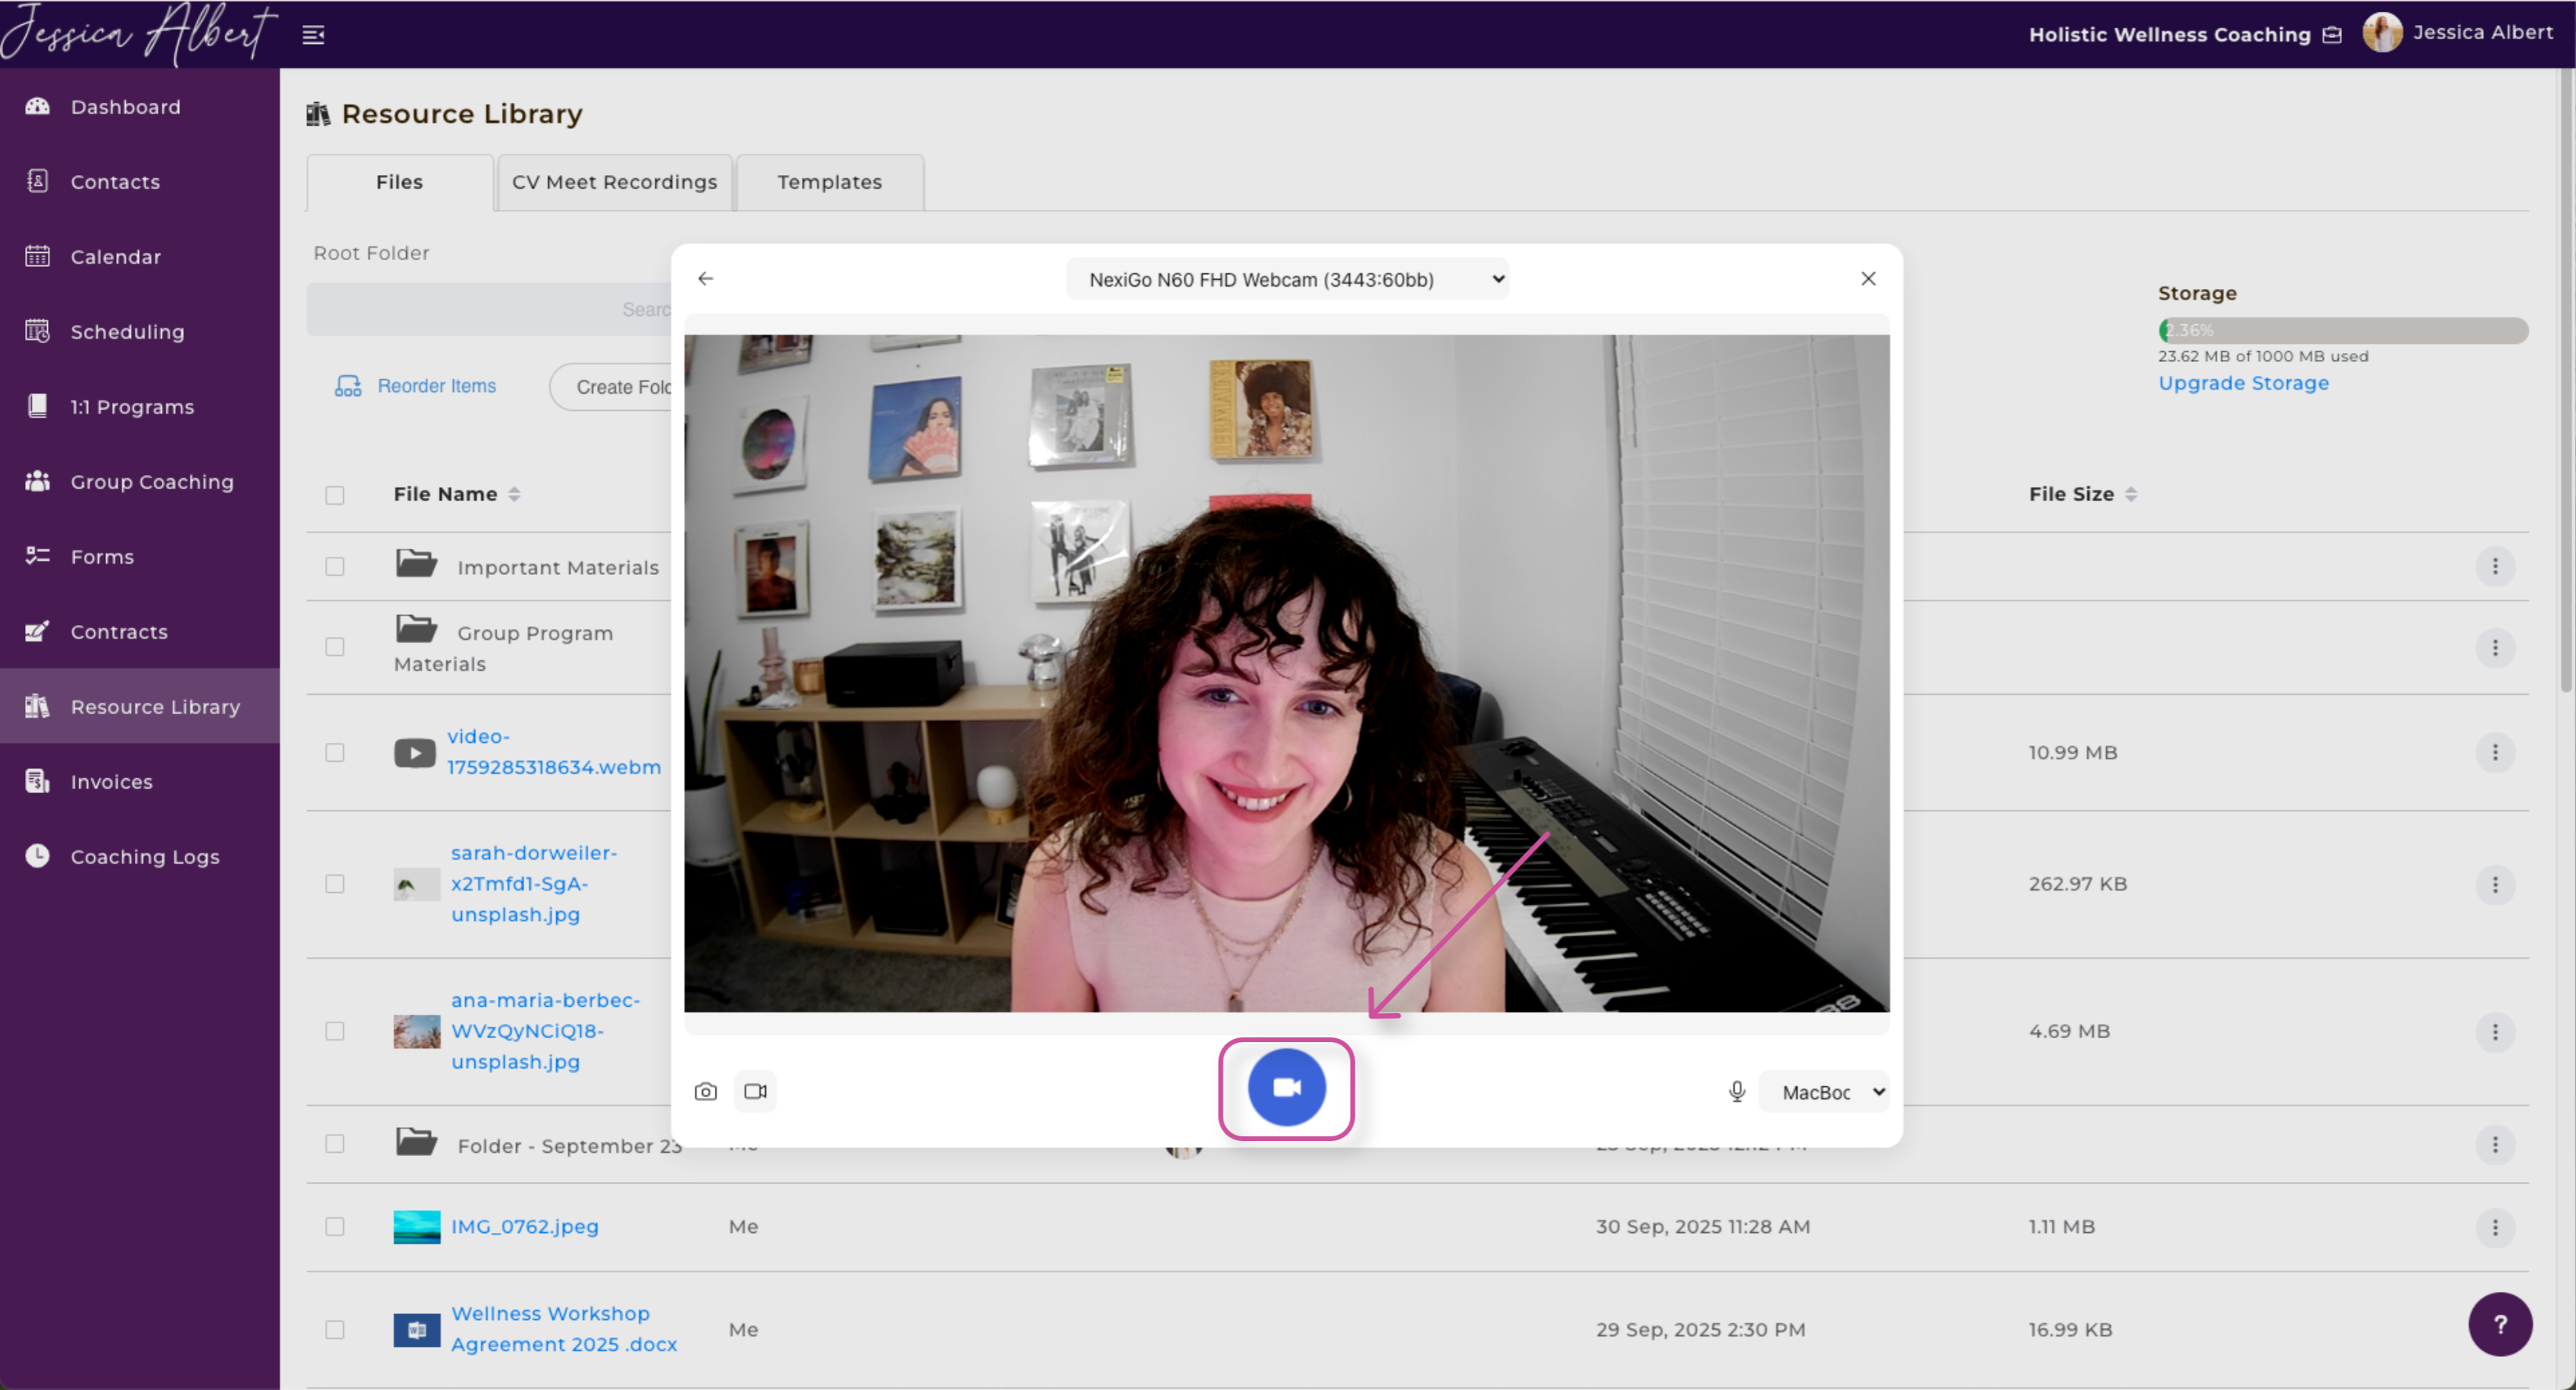
You will know that the recording is taking place when the blue icon changes to a red icon.
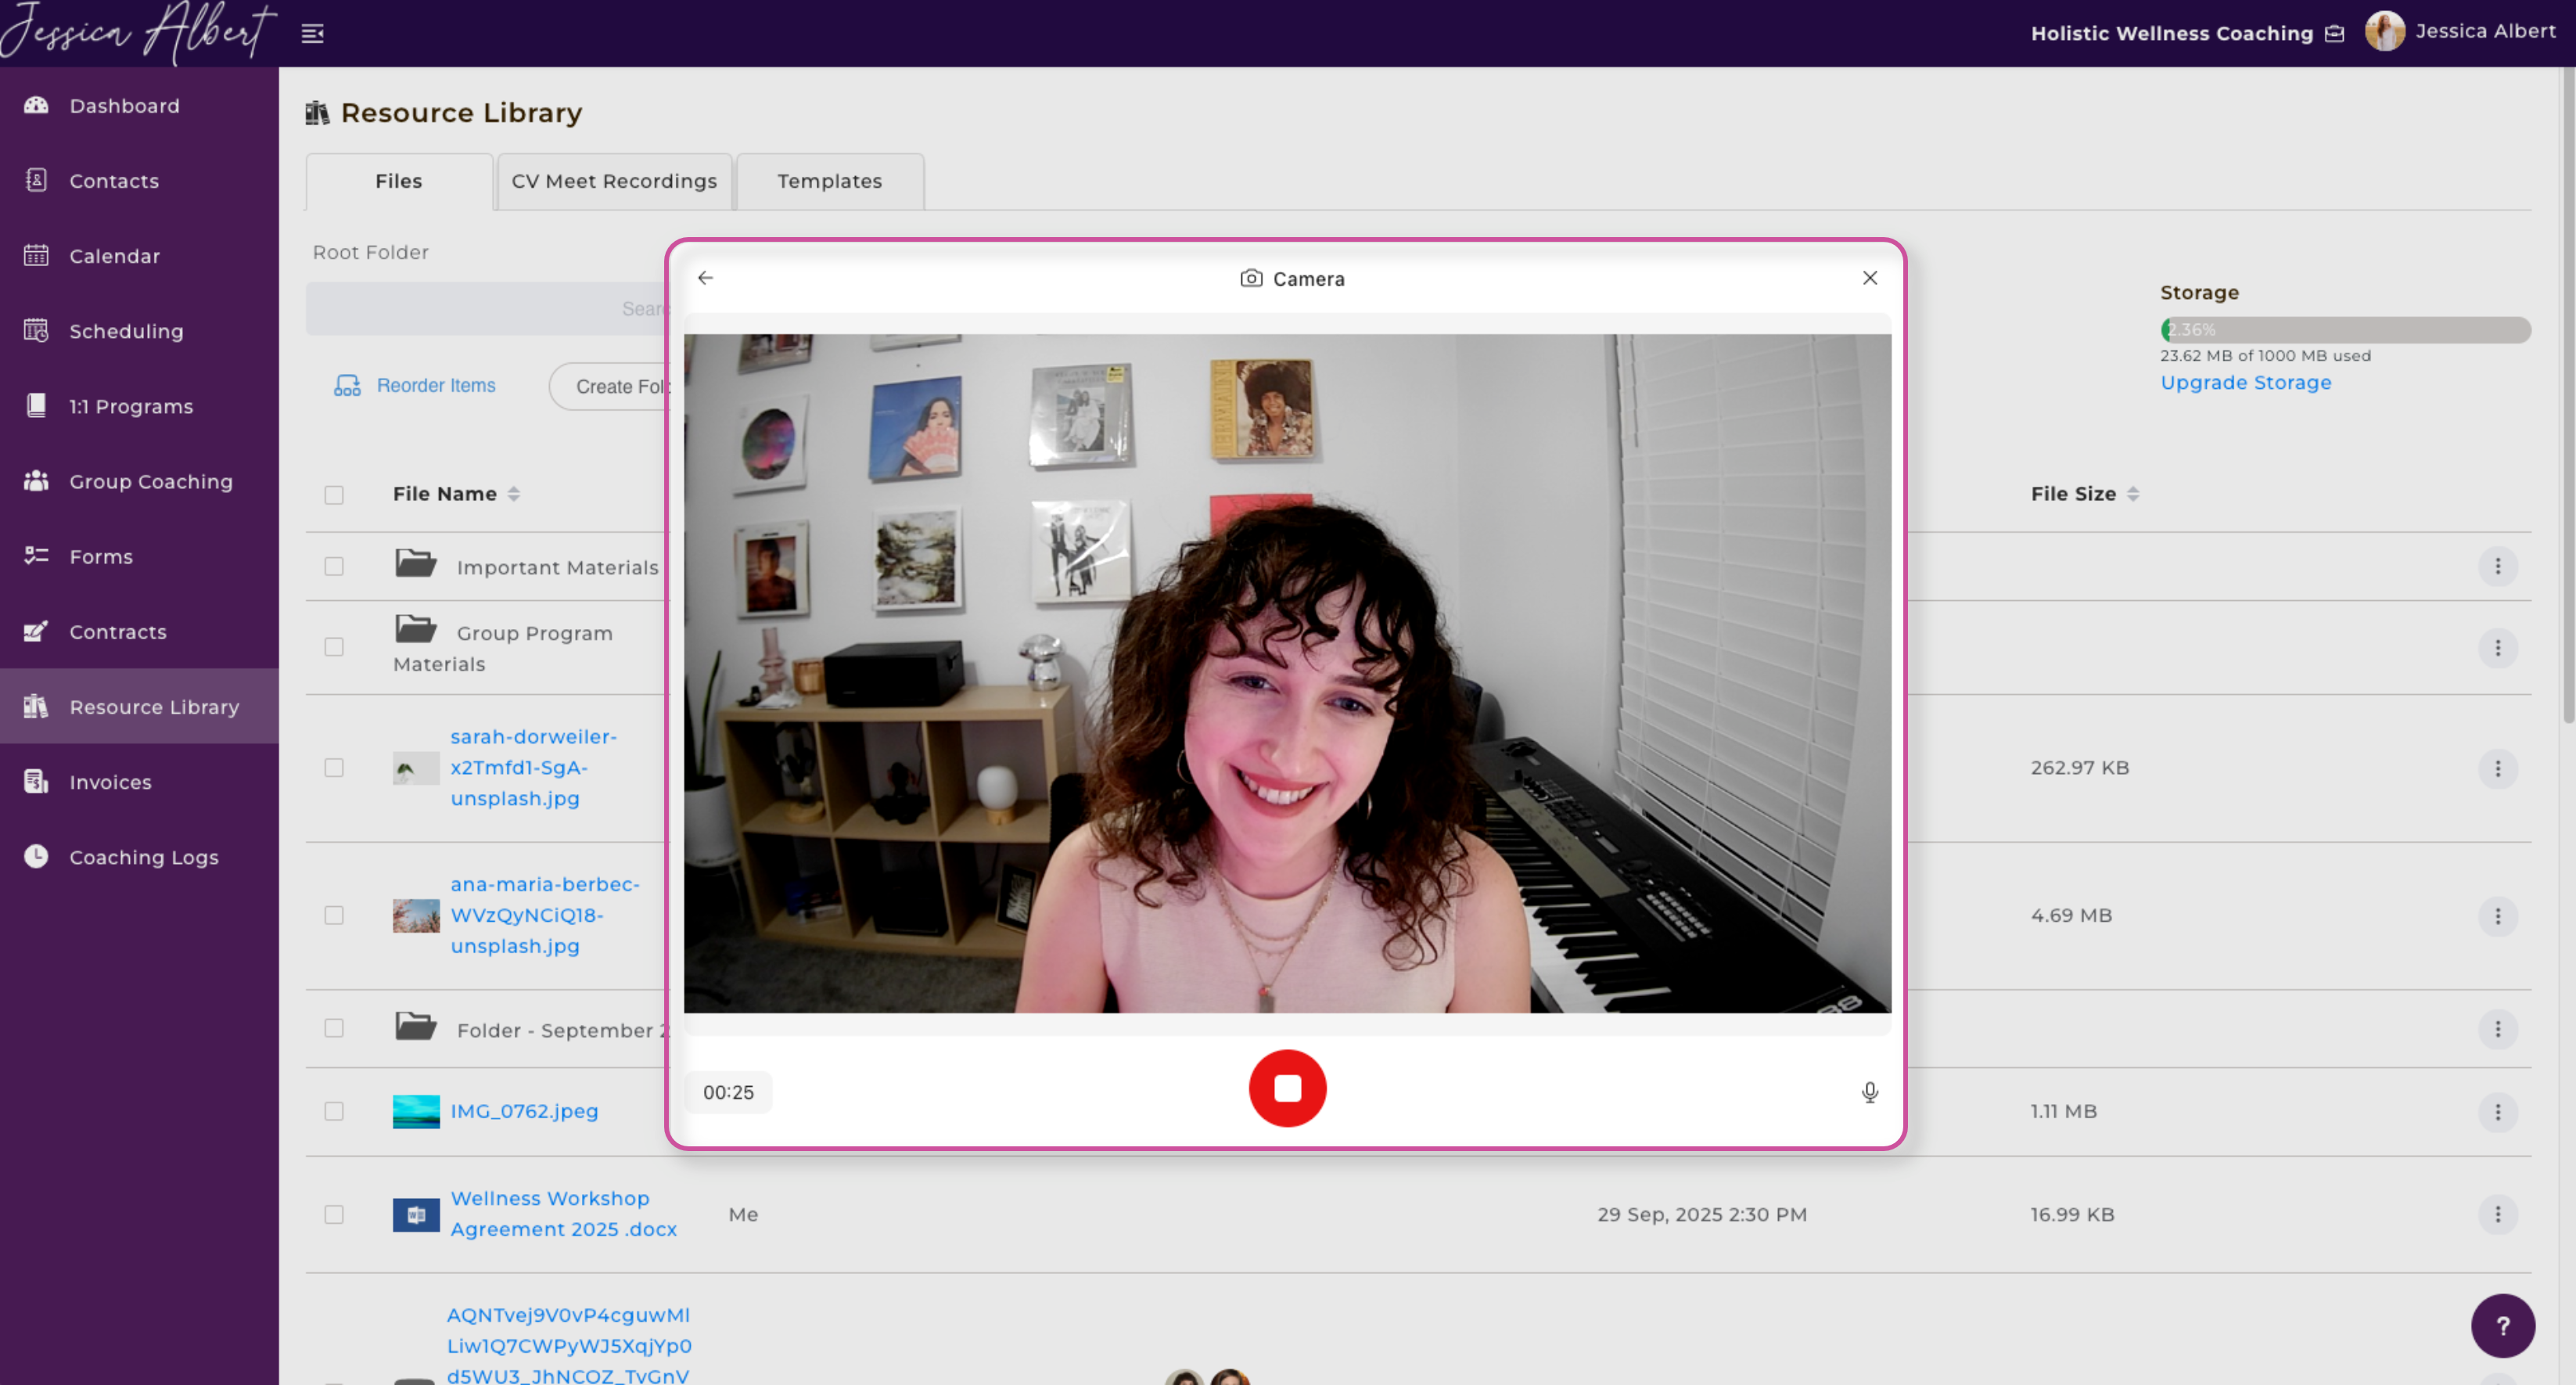
Once you've finished recording, you can re-watch your video and either select Retake or Accept.
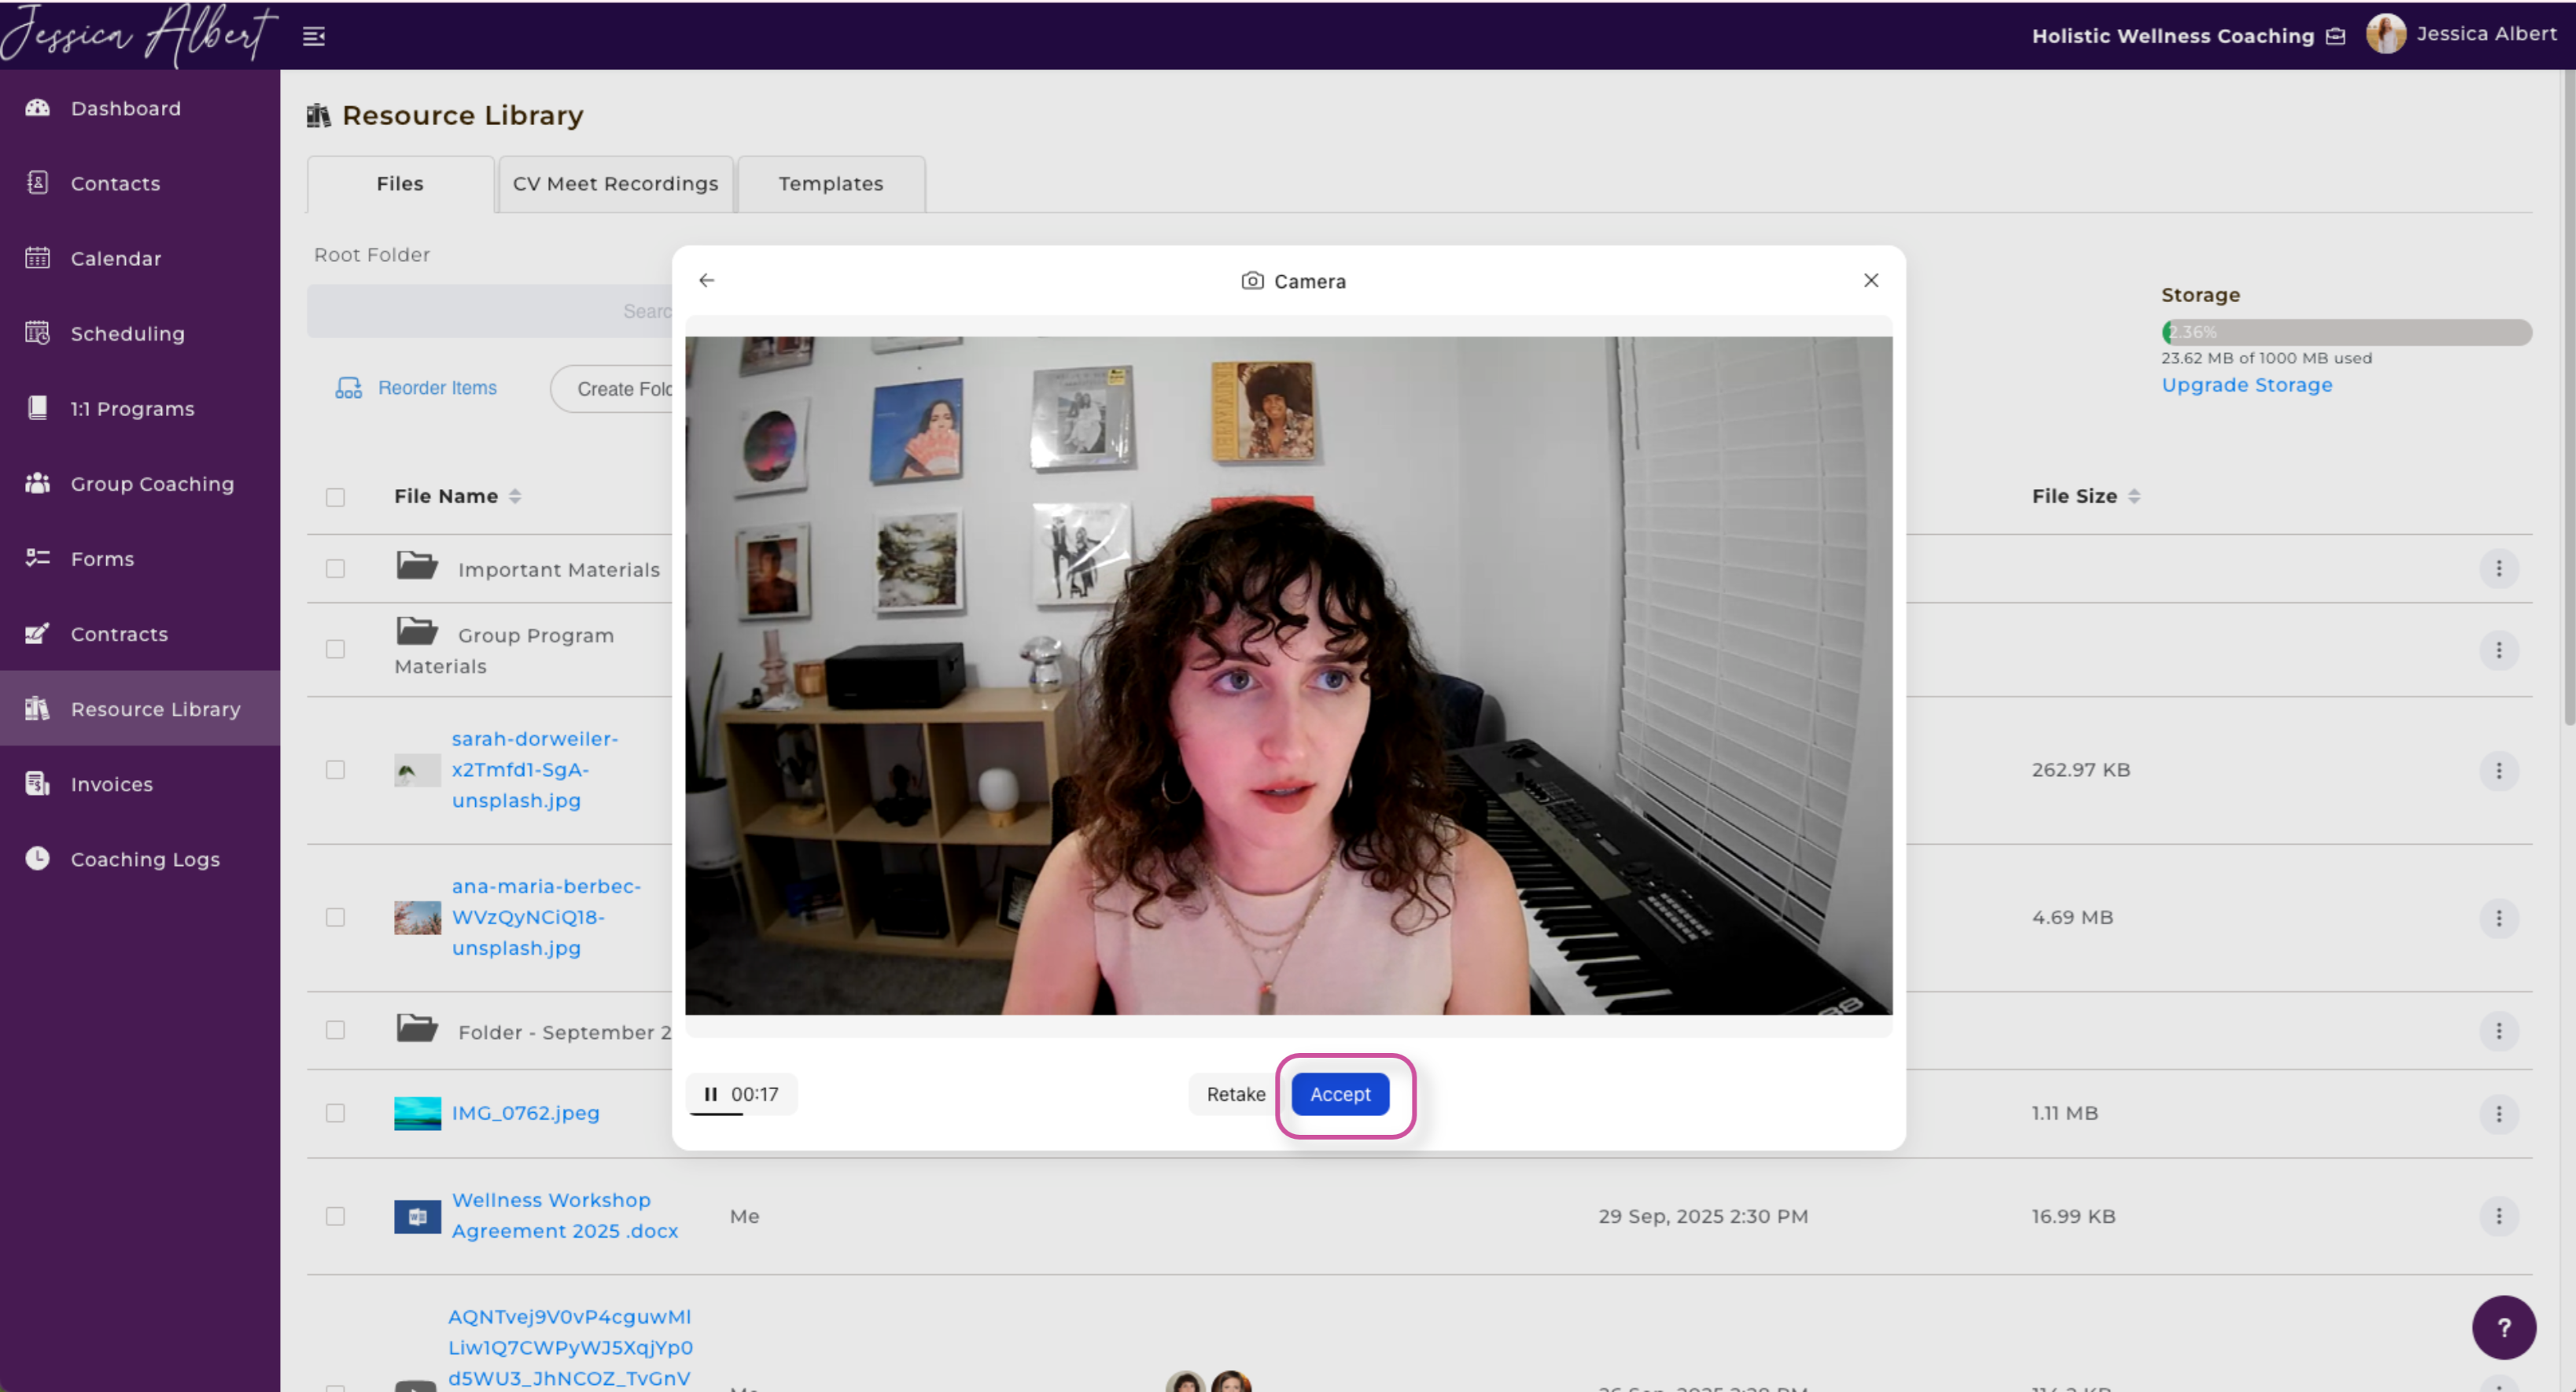
Once your video is uploaded, click Done to add it to your Resource Library.
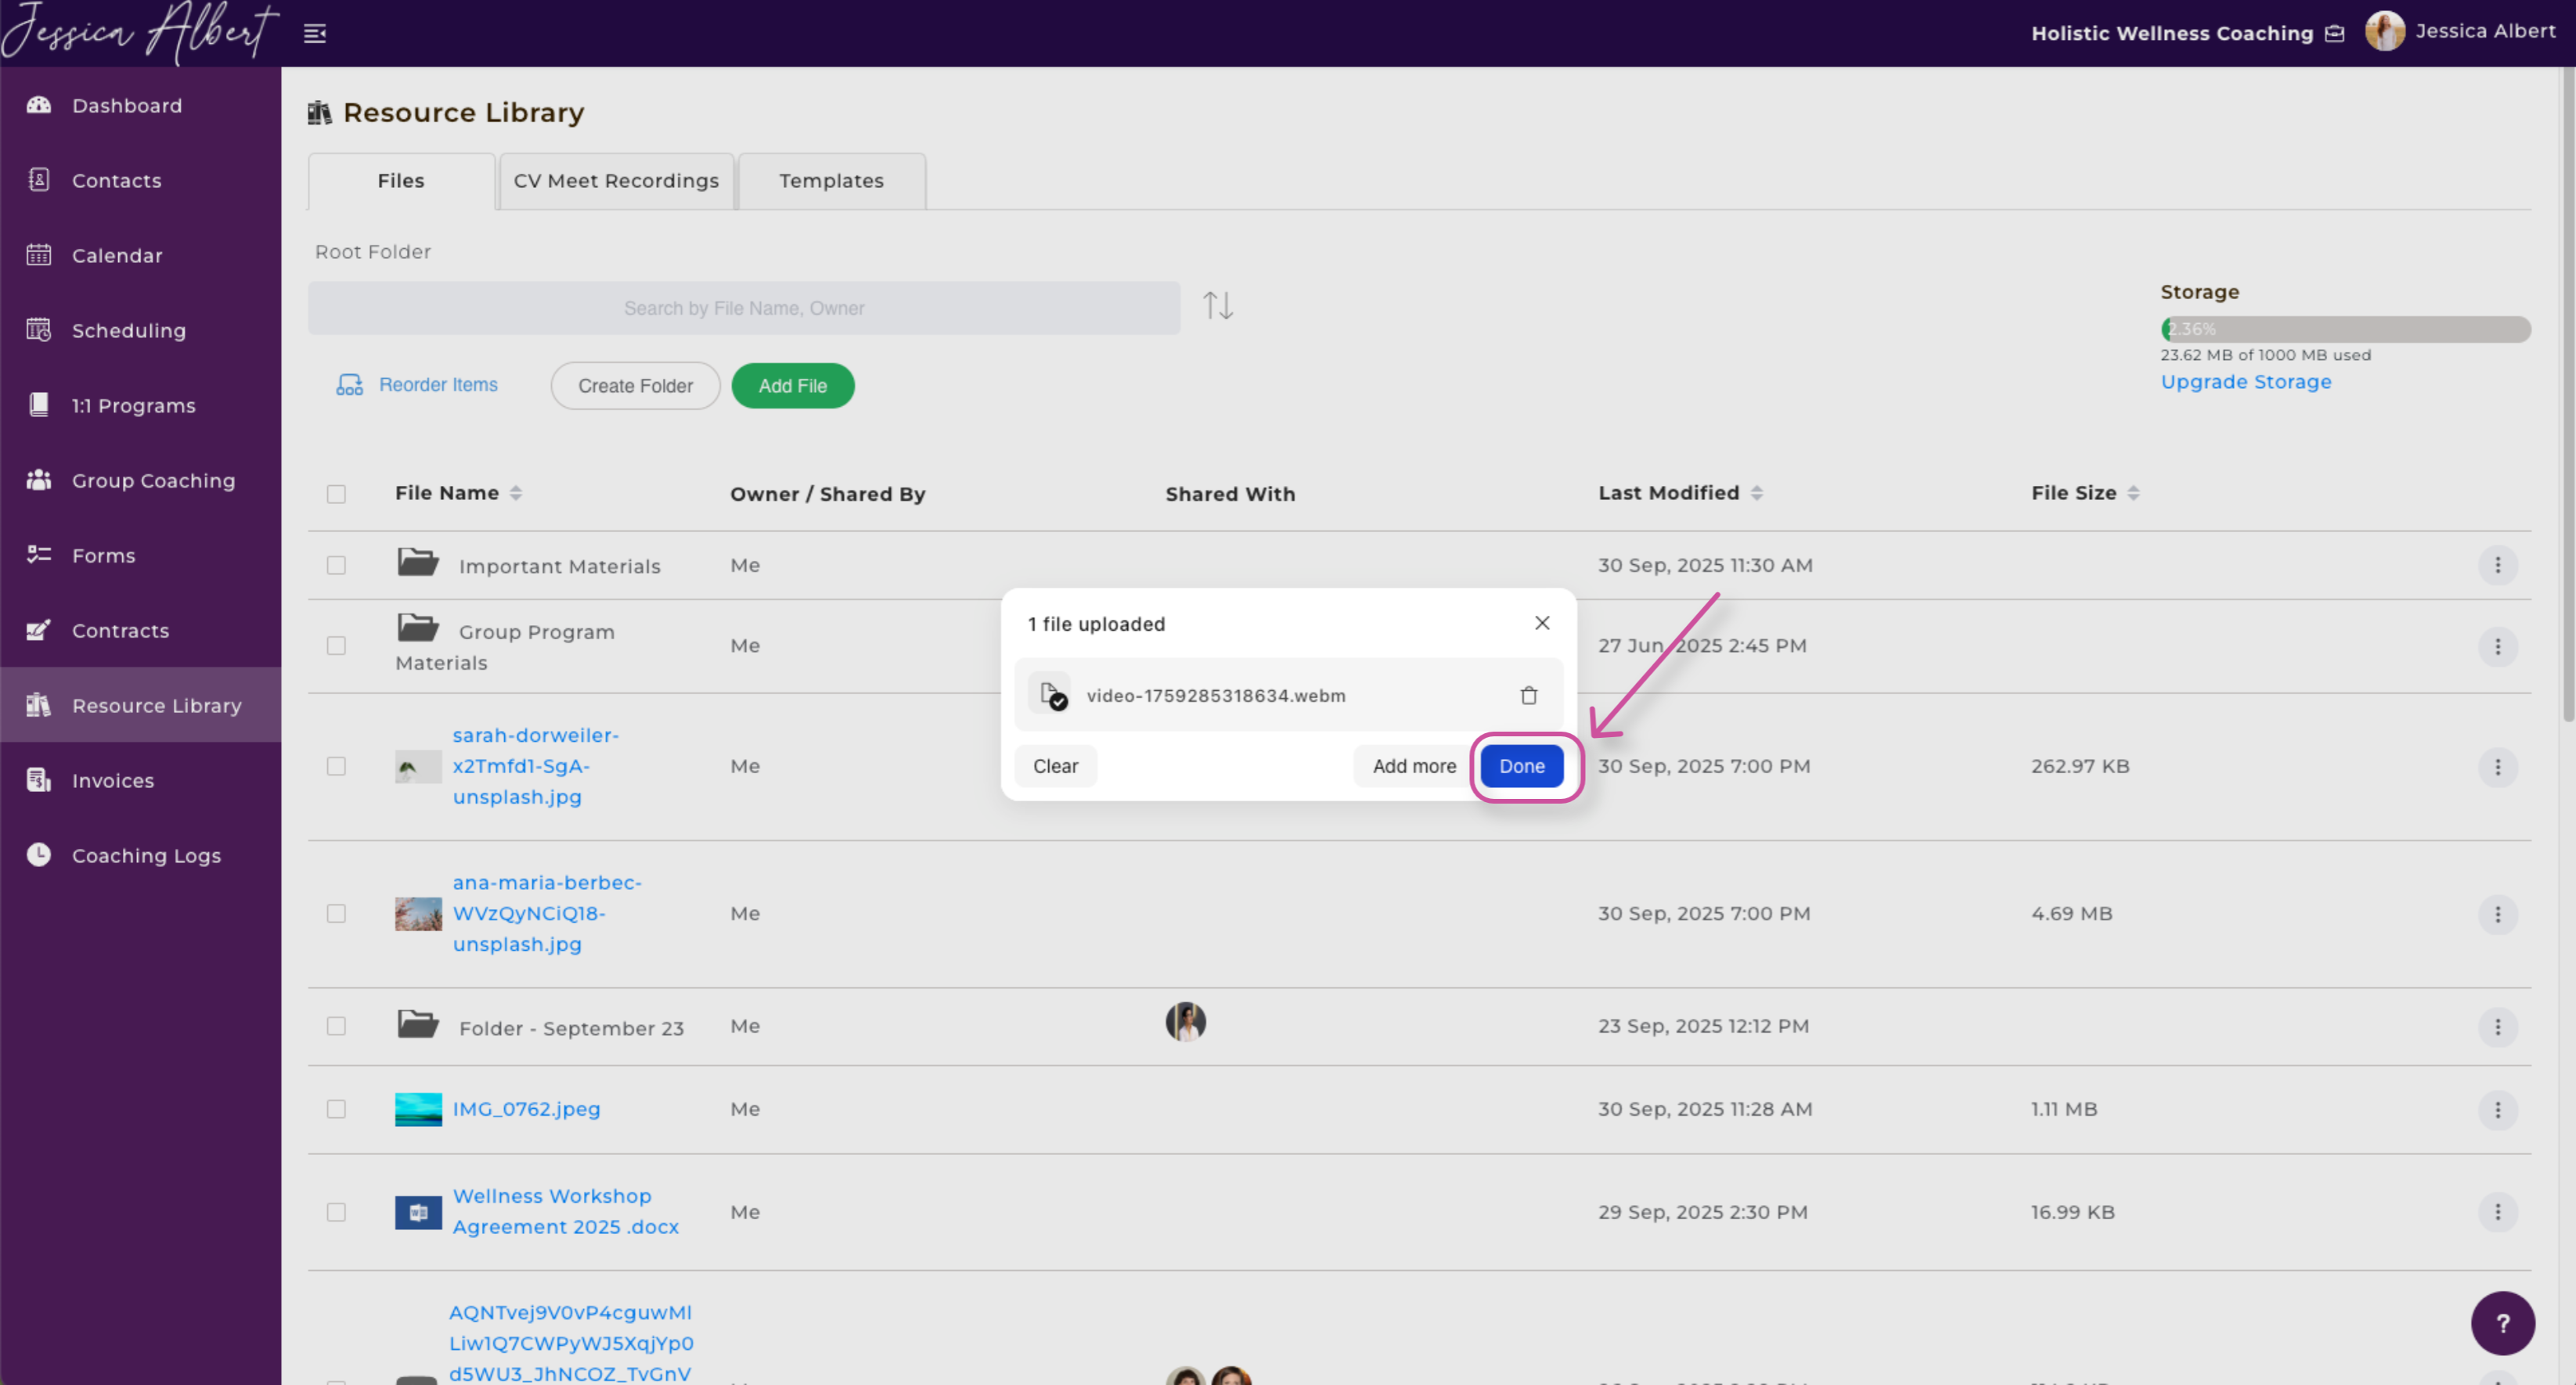
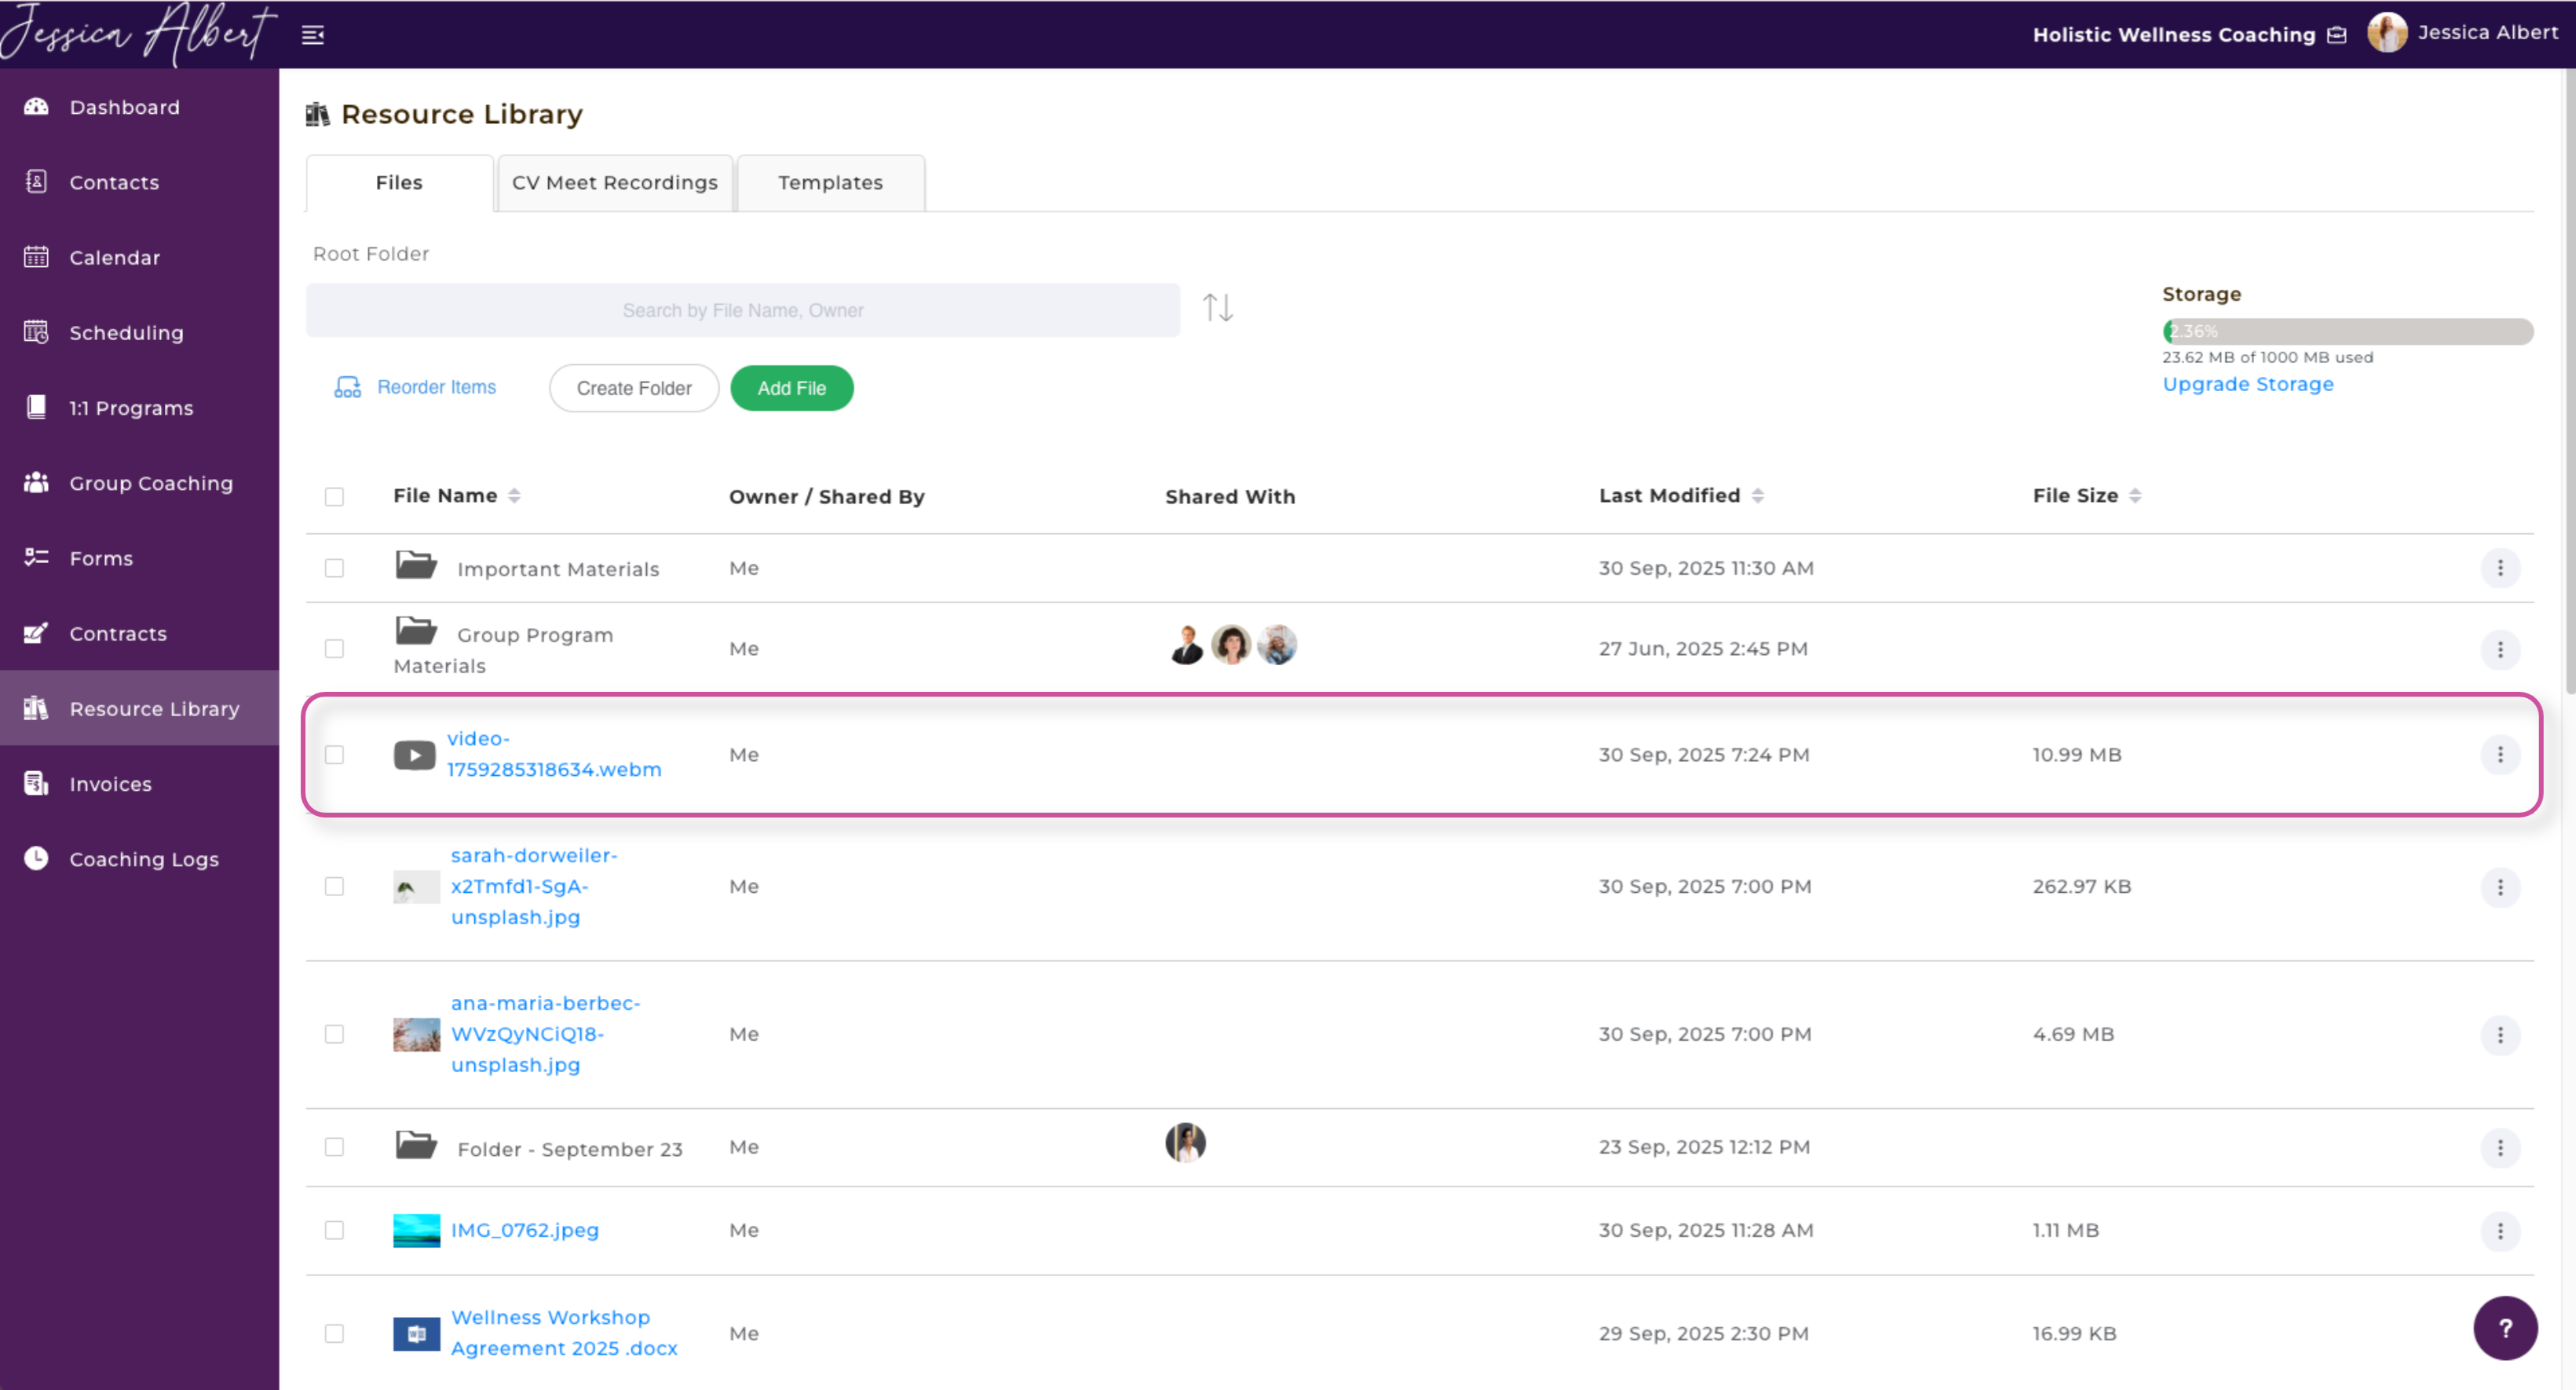
Success!
Taking a Photo
From this window, select the camera icon and then click the blue camera icon in the middle of the window to take a photo.

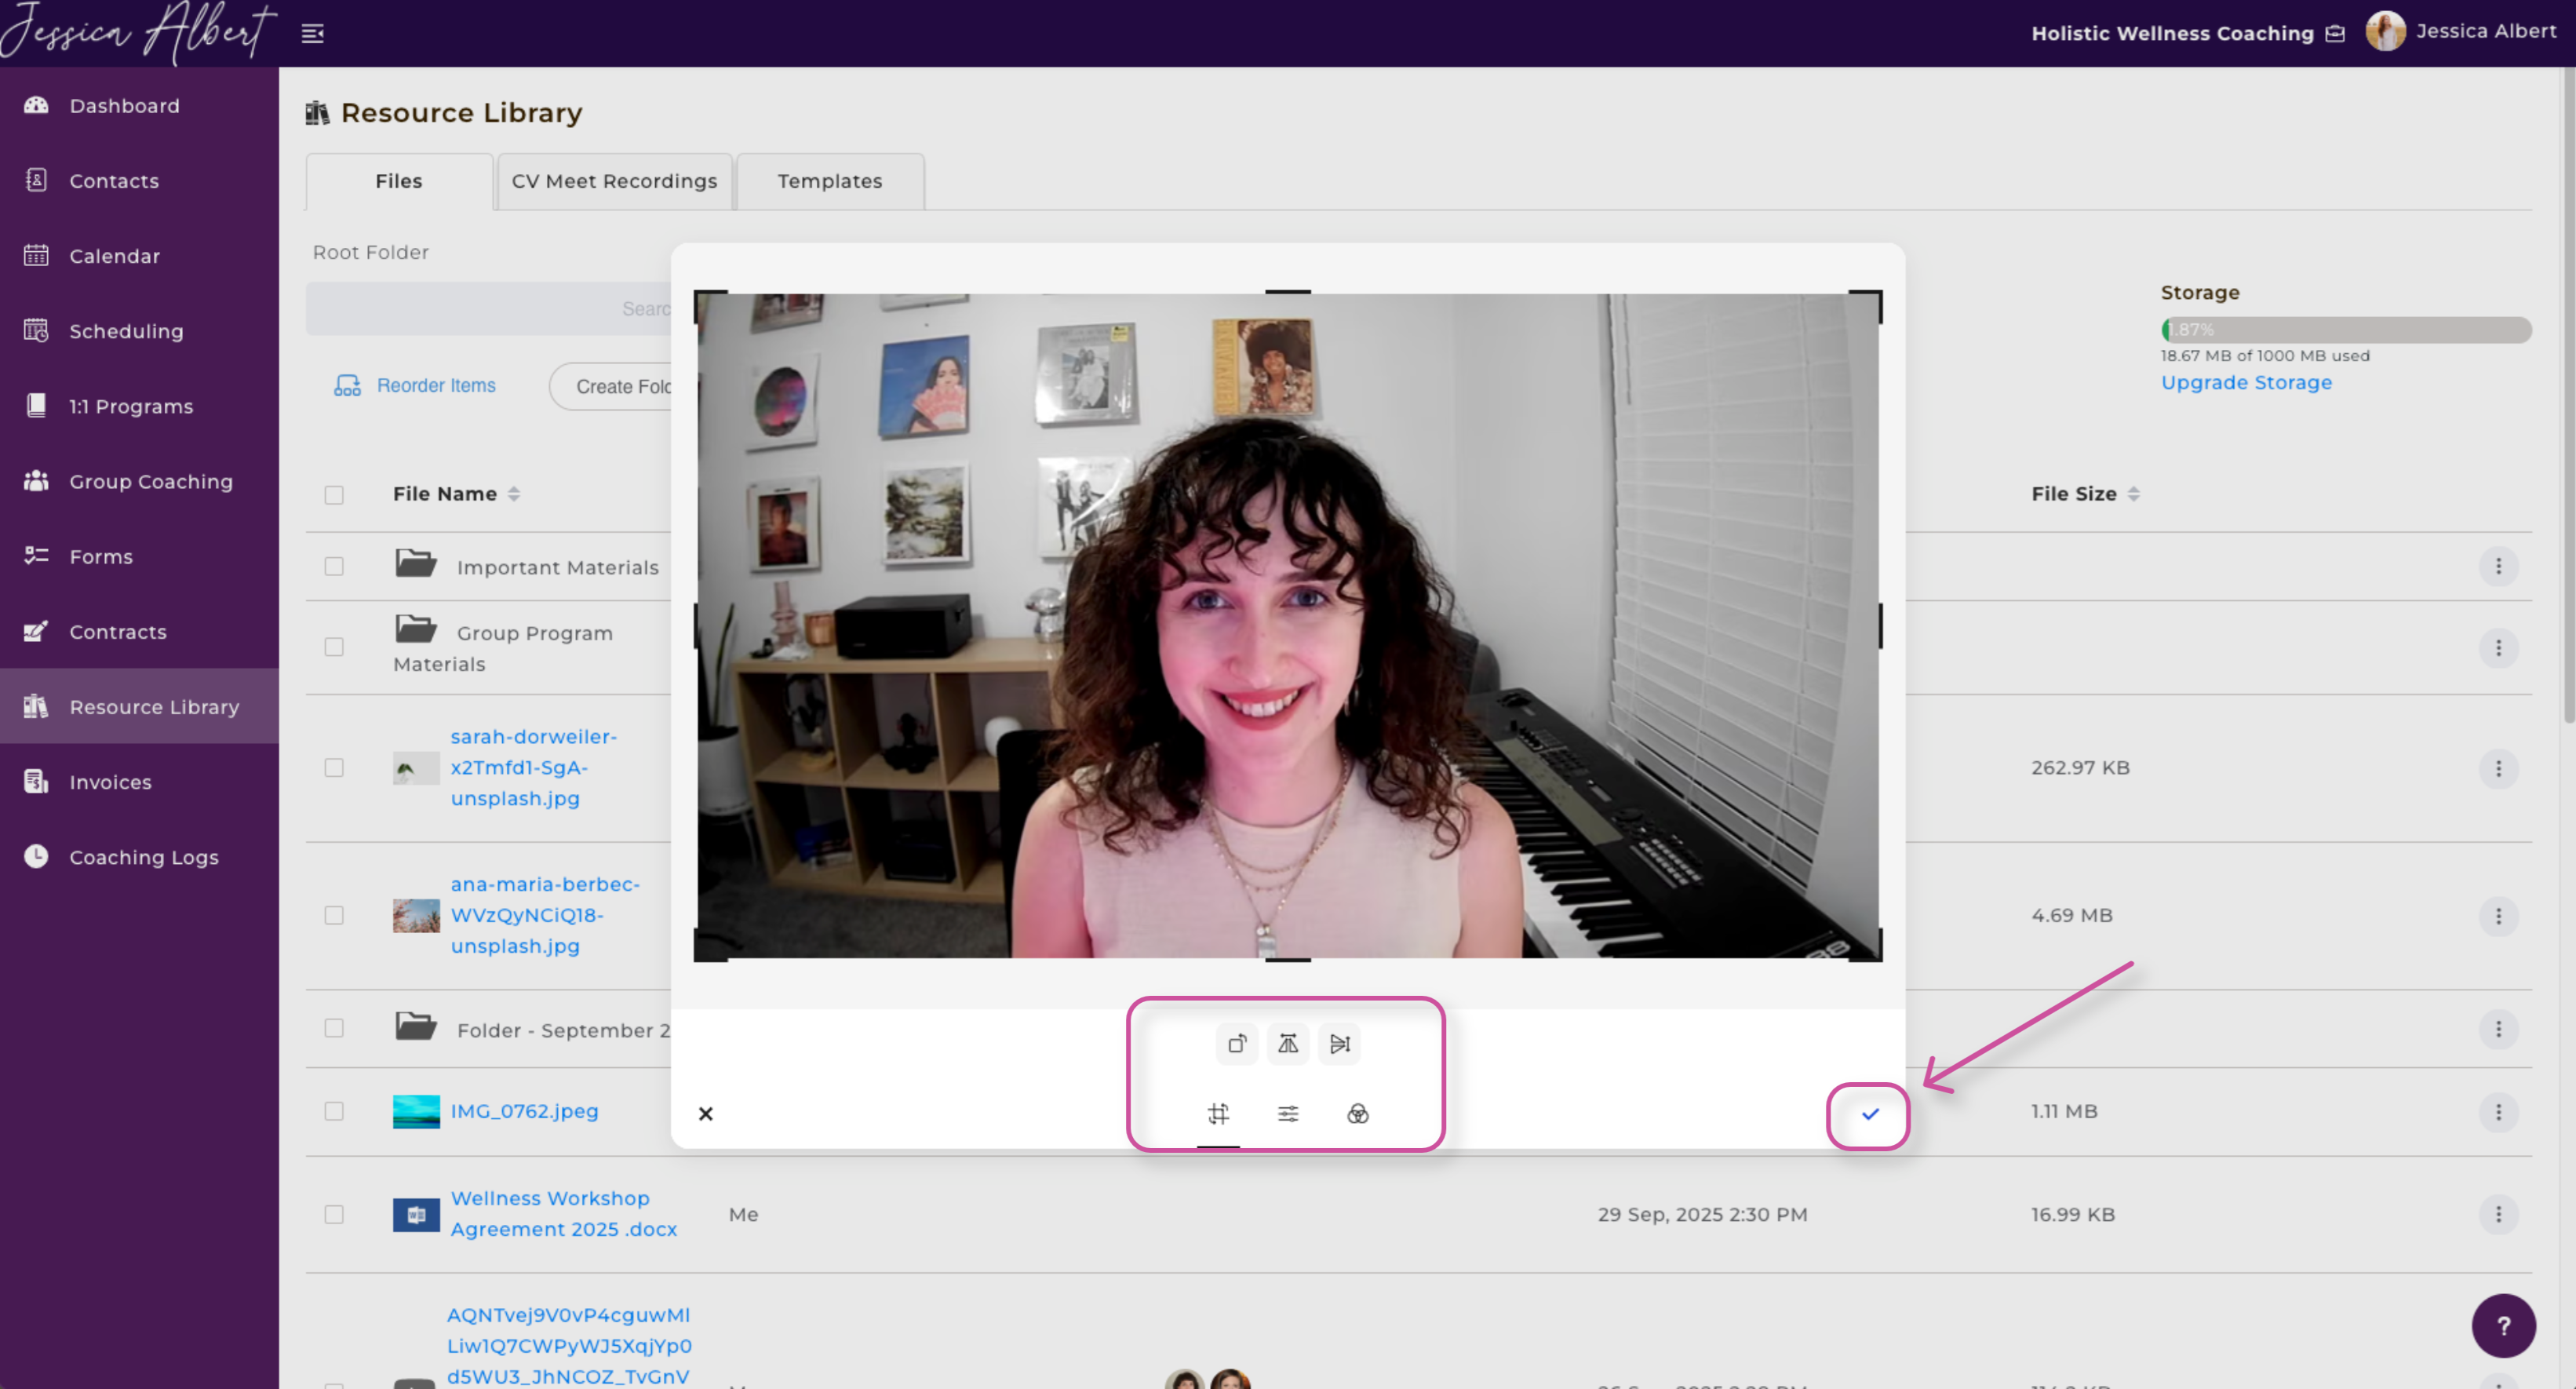
Once you take the photo or video, you can then either Retake or Accept it.

Next, you're able to edit the image (i.e crop it, add filters, re-orient it, etc.). If you're happy with it, press the check button at the bottom right-hand corner of the window.
Press Done to add the image to your Resource Library.
Success!
4. DropBox
If you decide to upload files from your DropBox, you will then be brought to a window where you will need to Connect to DropBox.
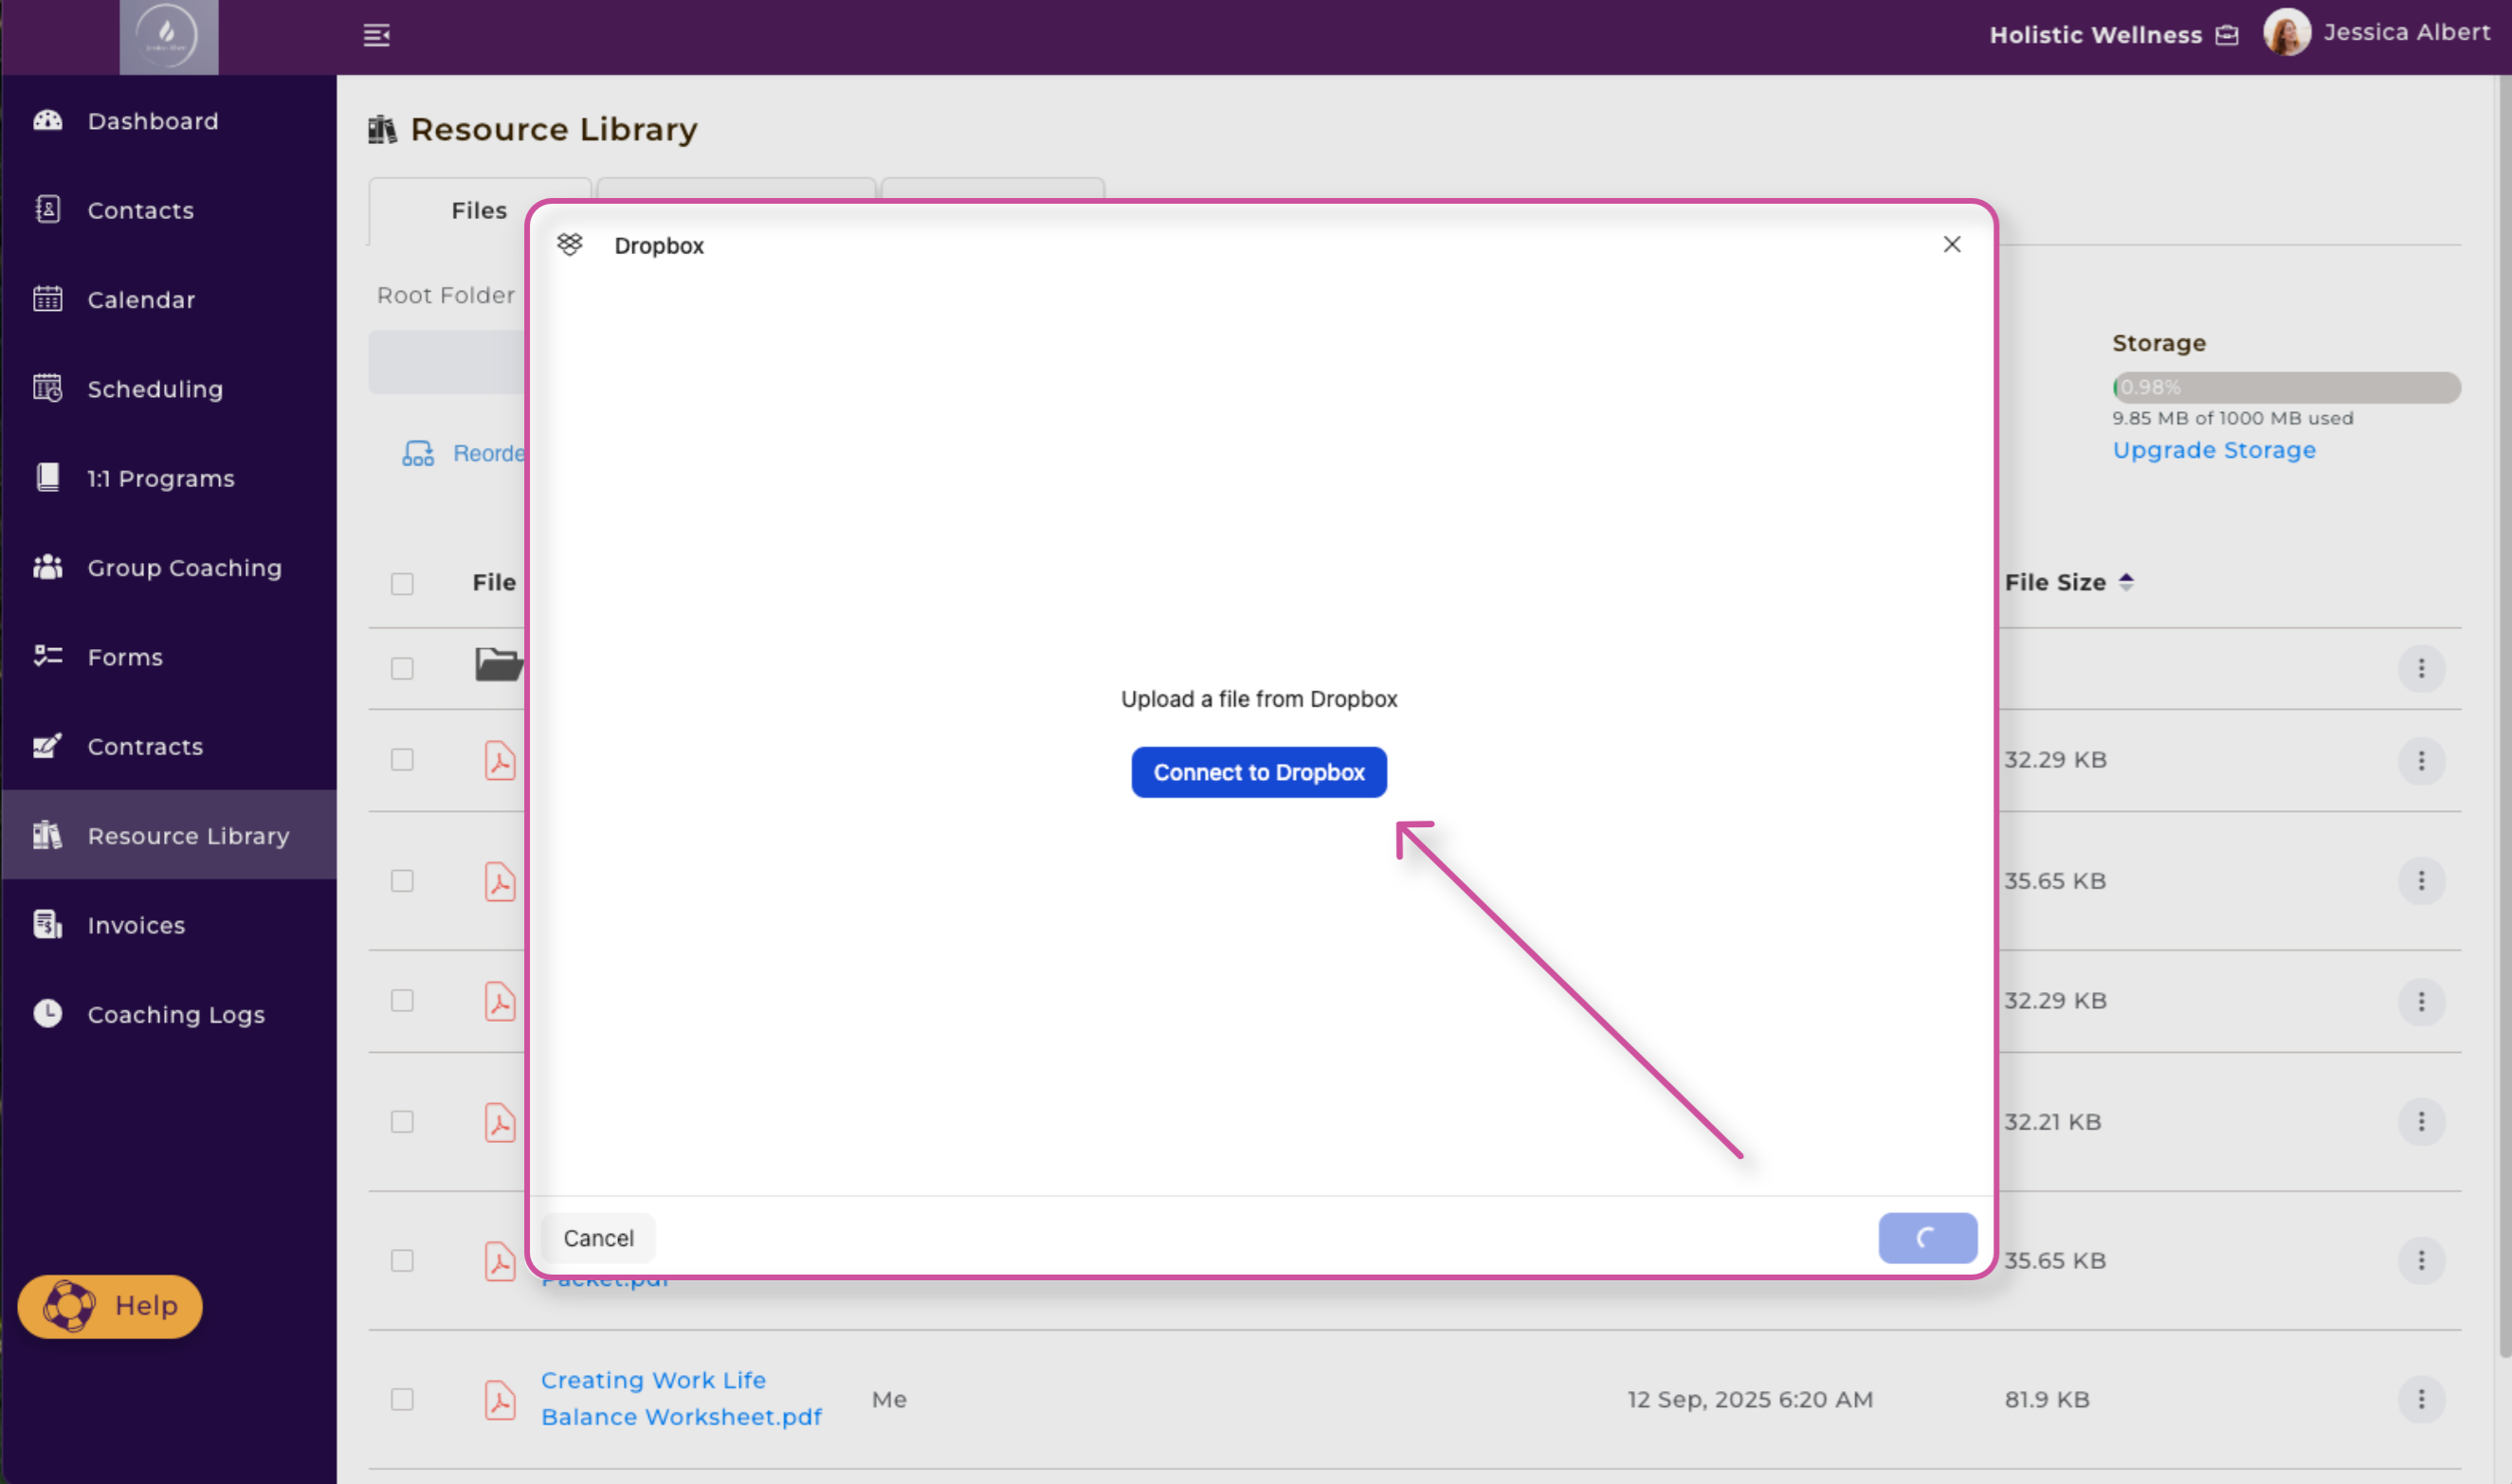
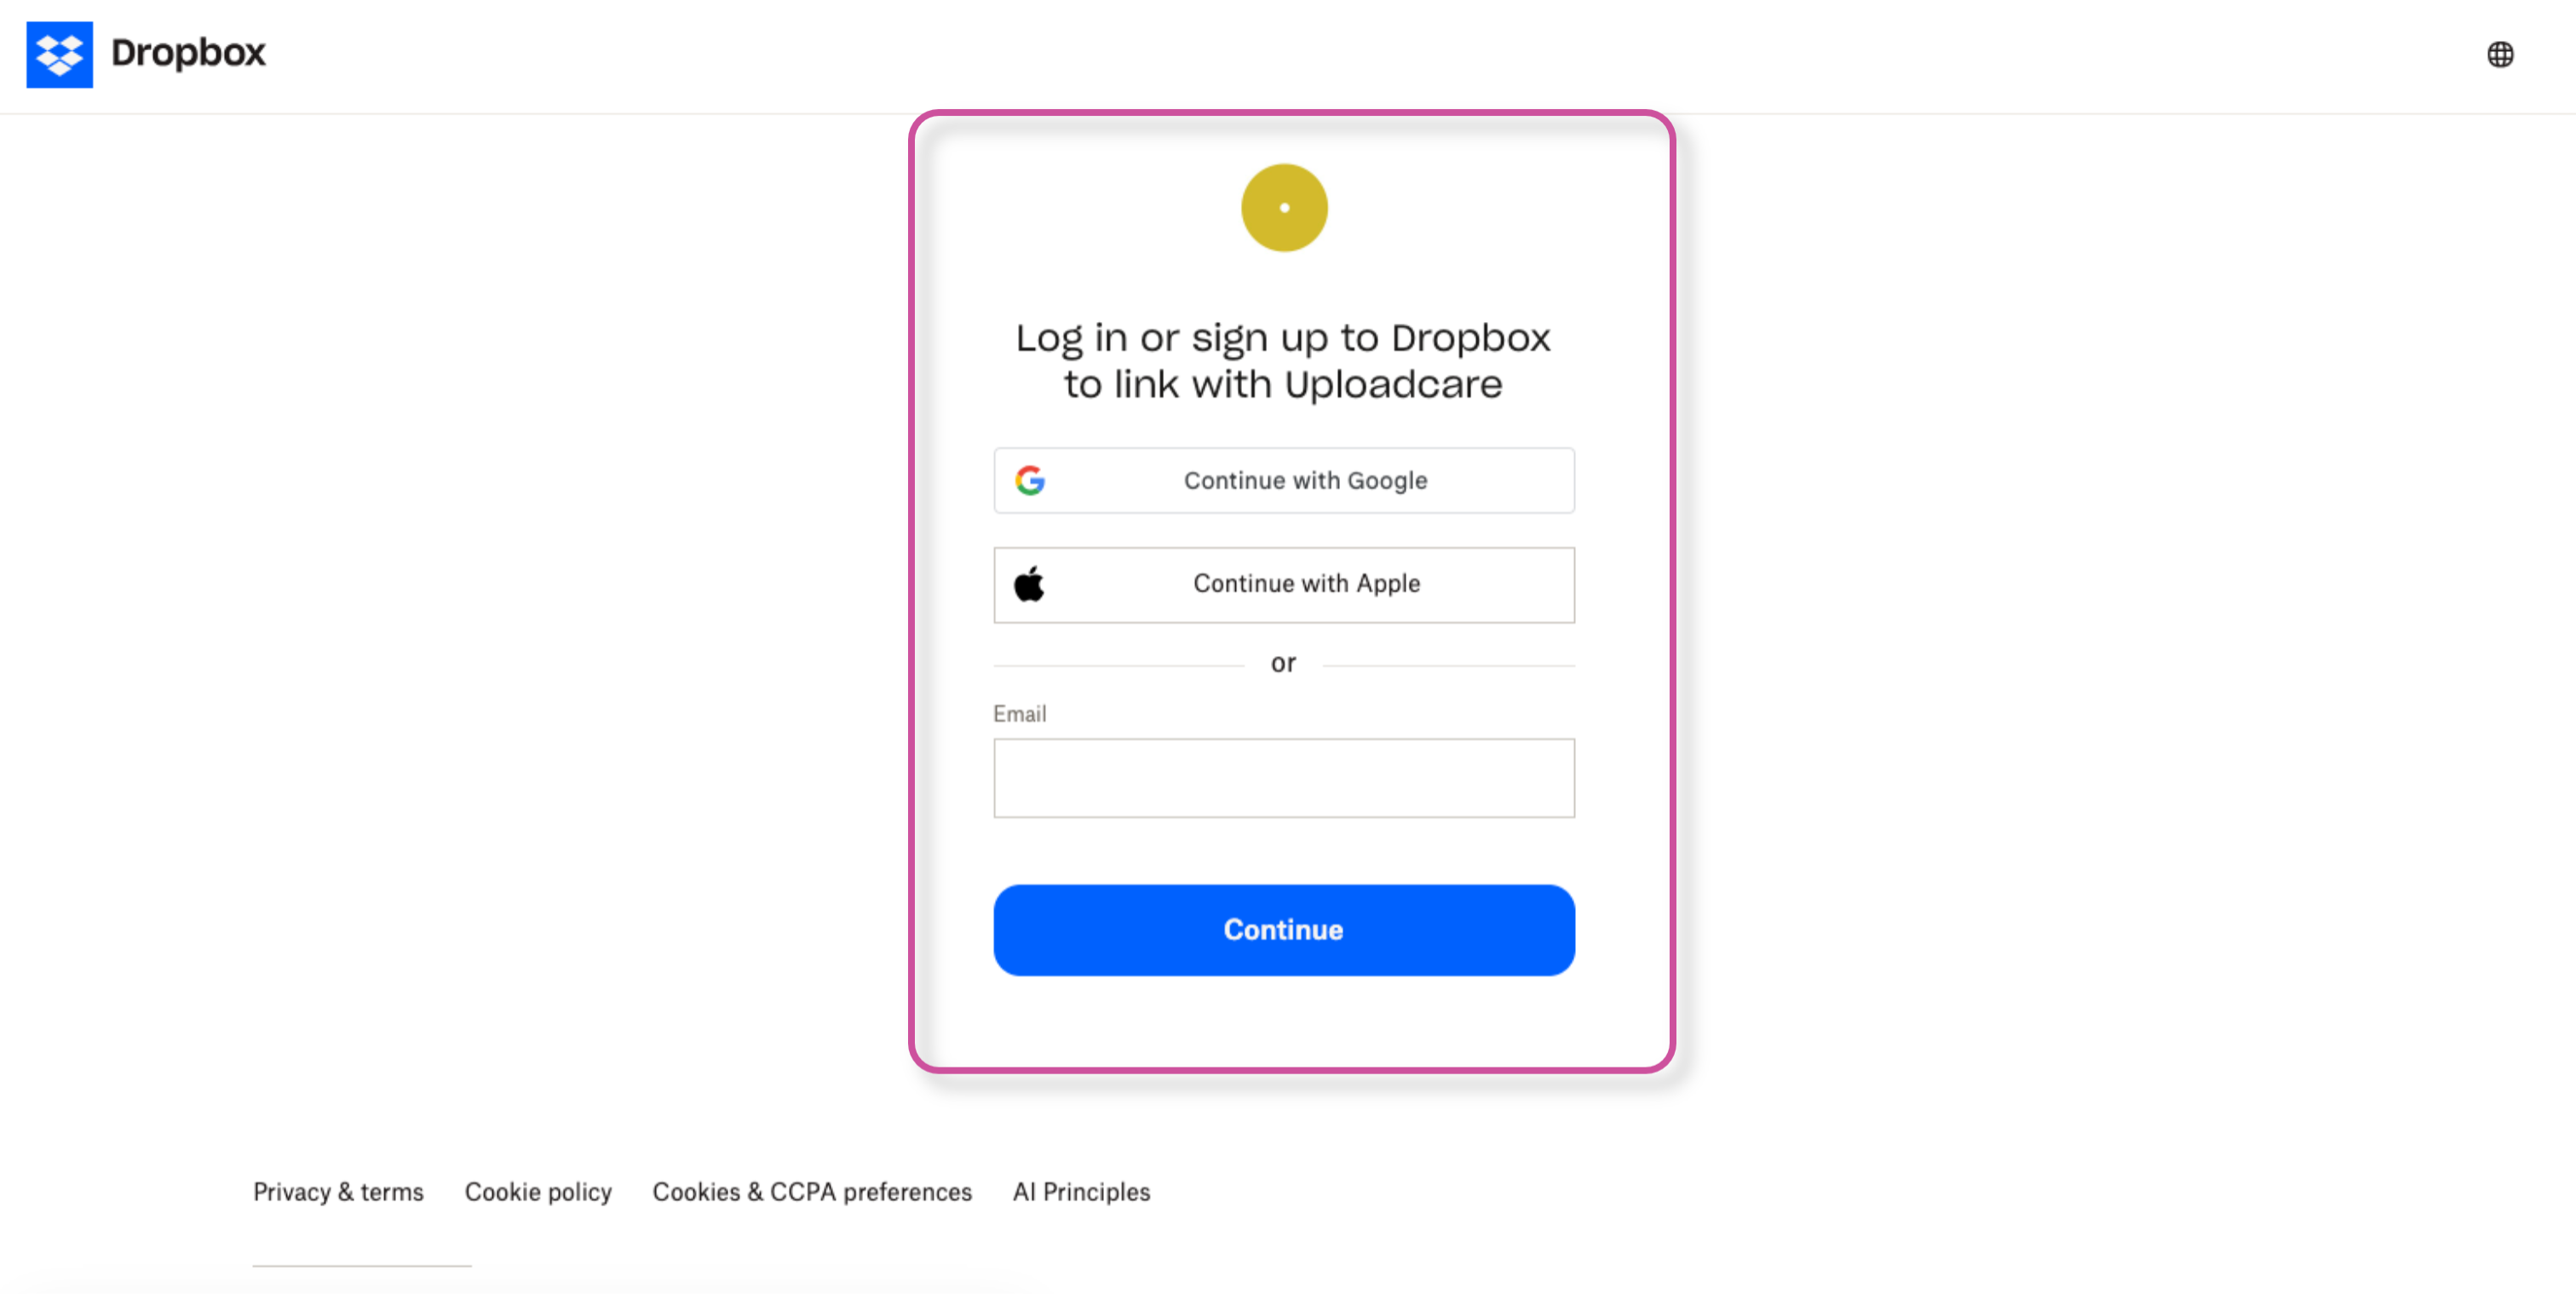
Next, you will be brought to a window where you can login to your DropBox account.
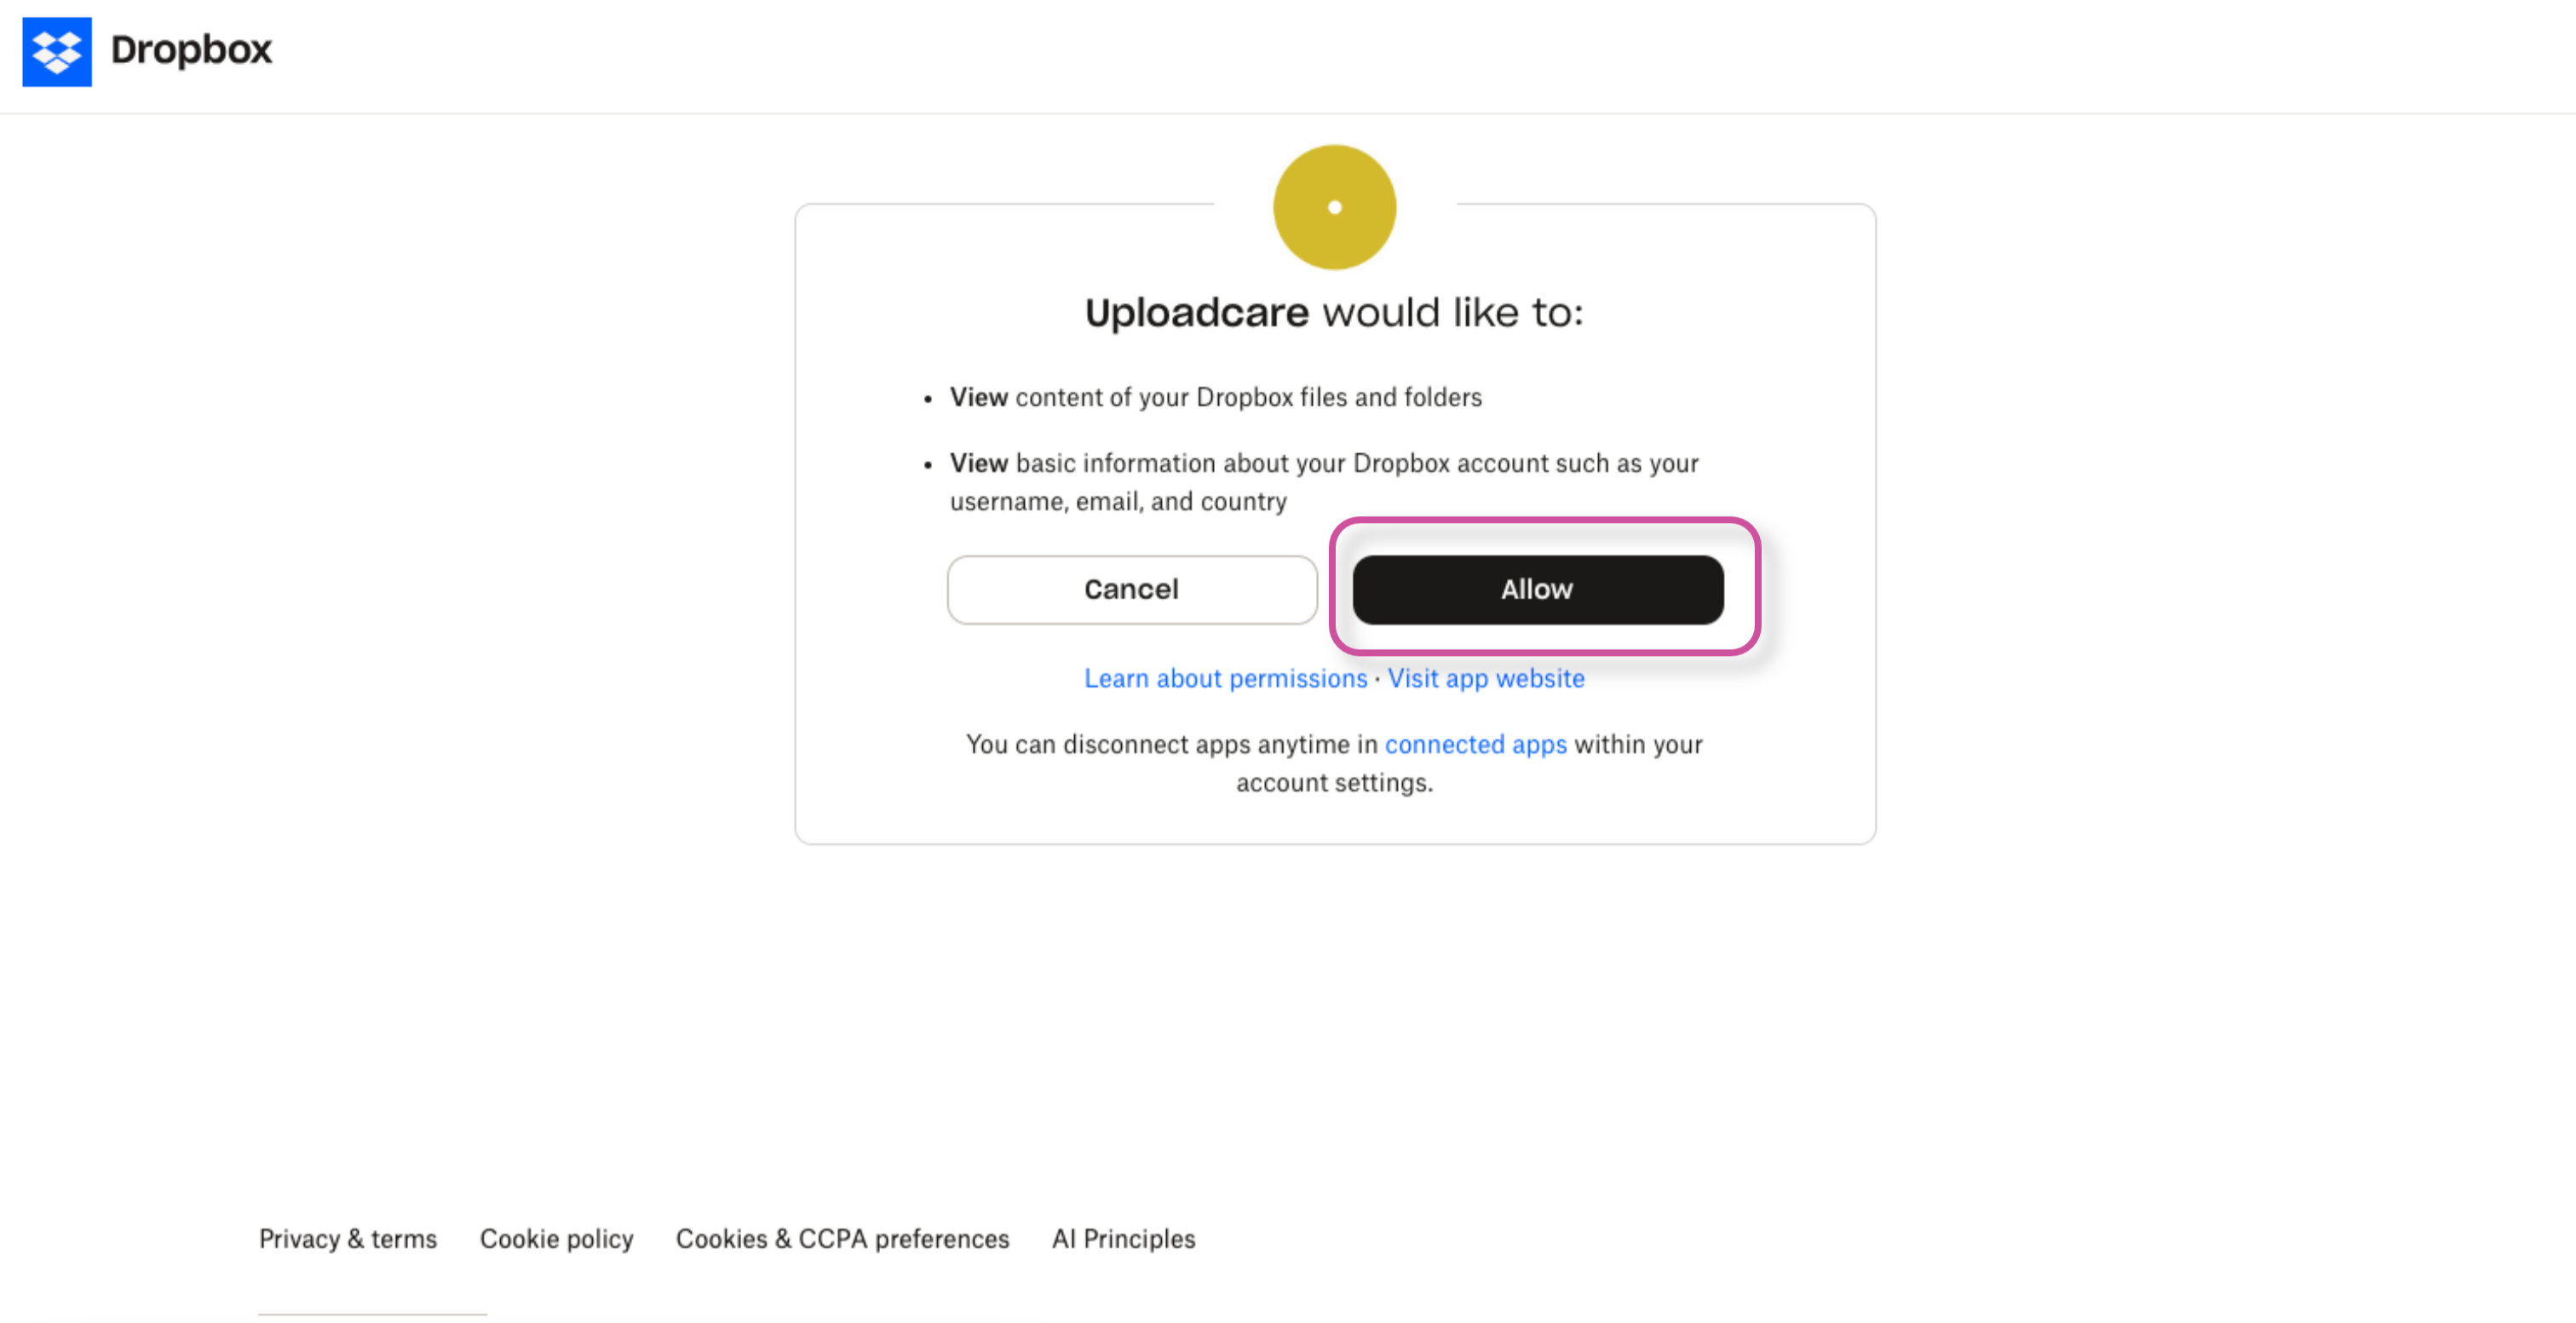
Be sure to give Uploadcare access to your DropBox account by pressing Allow.
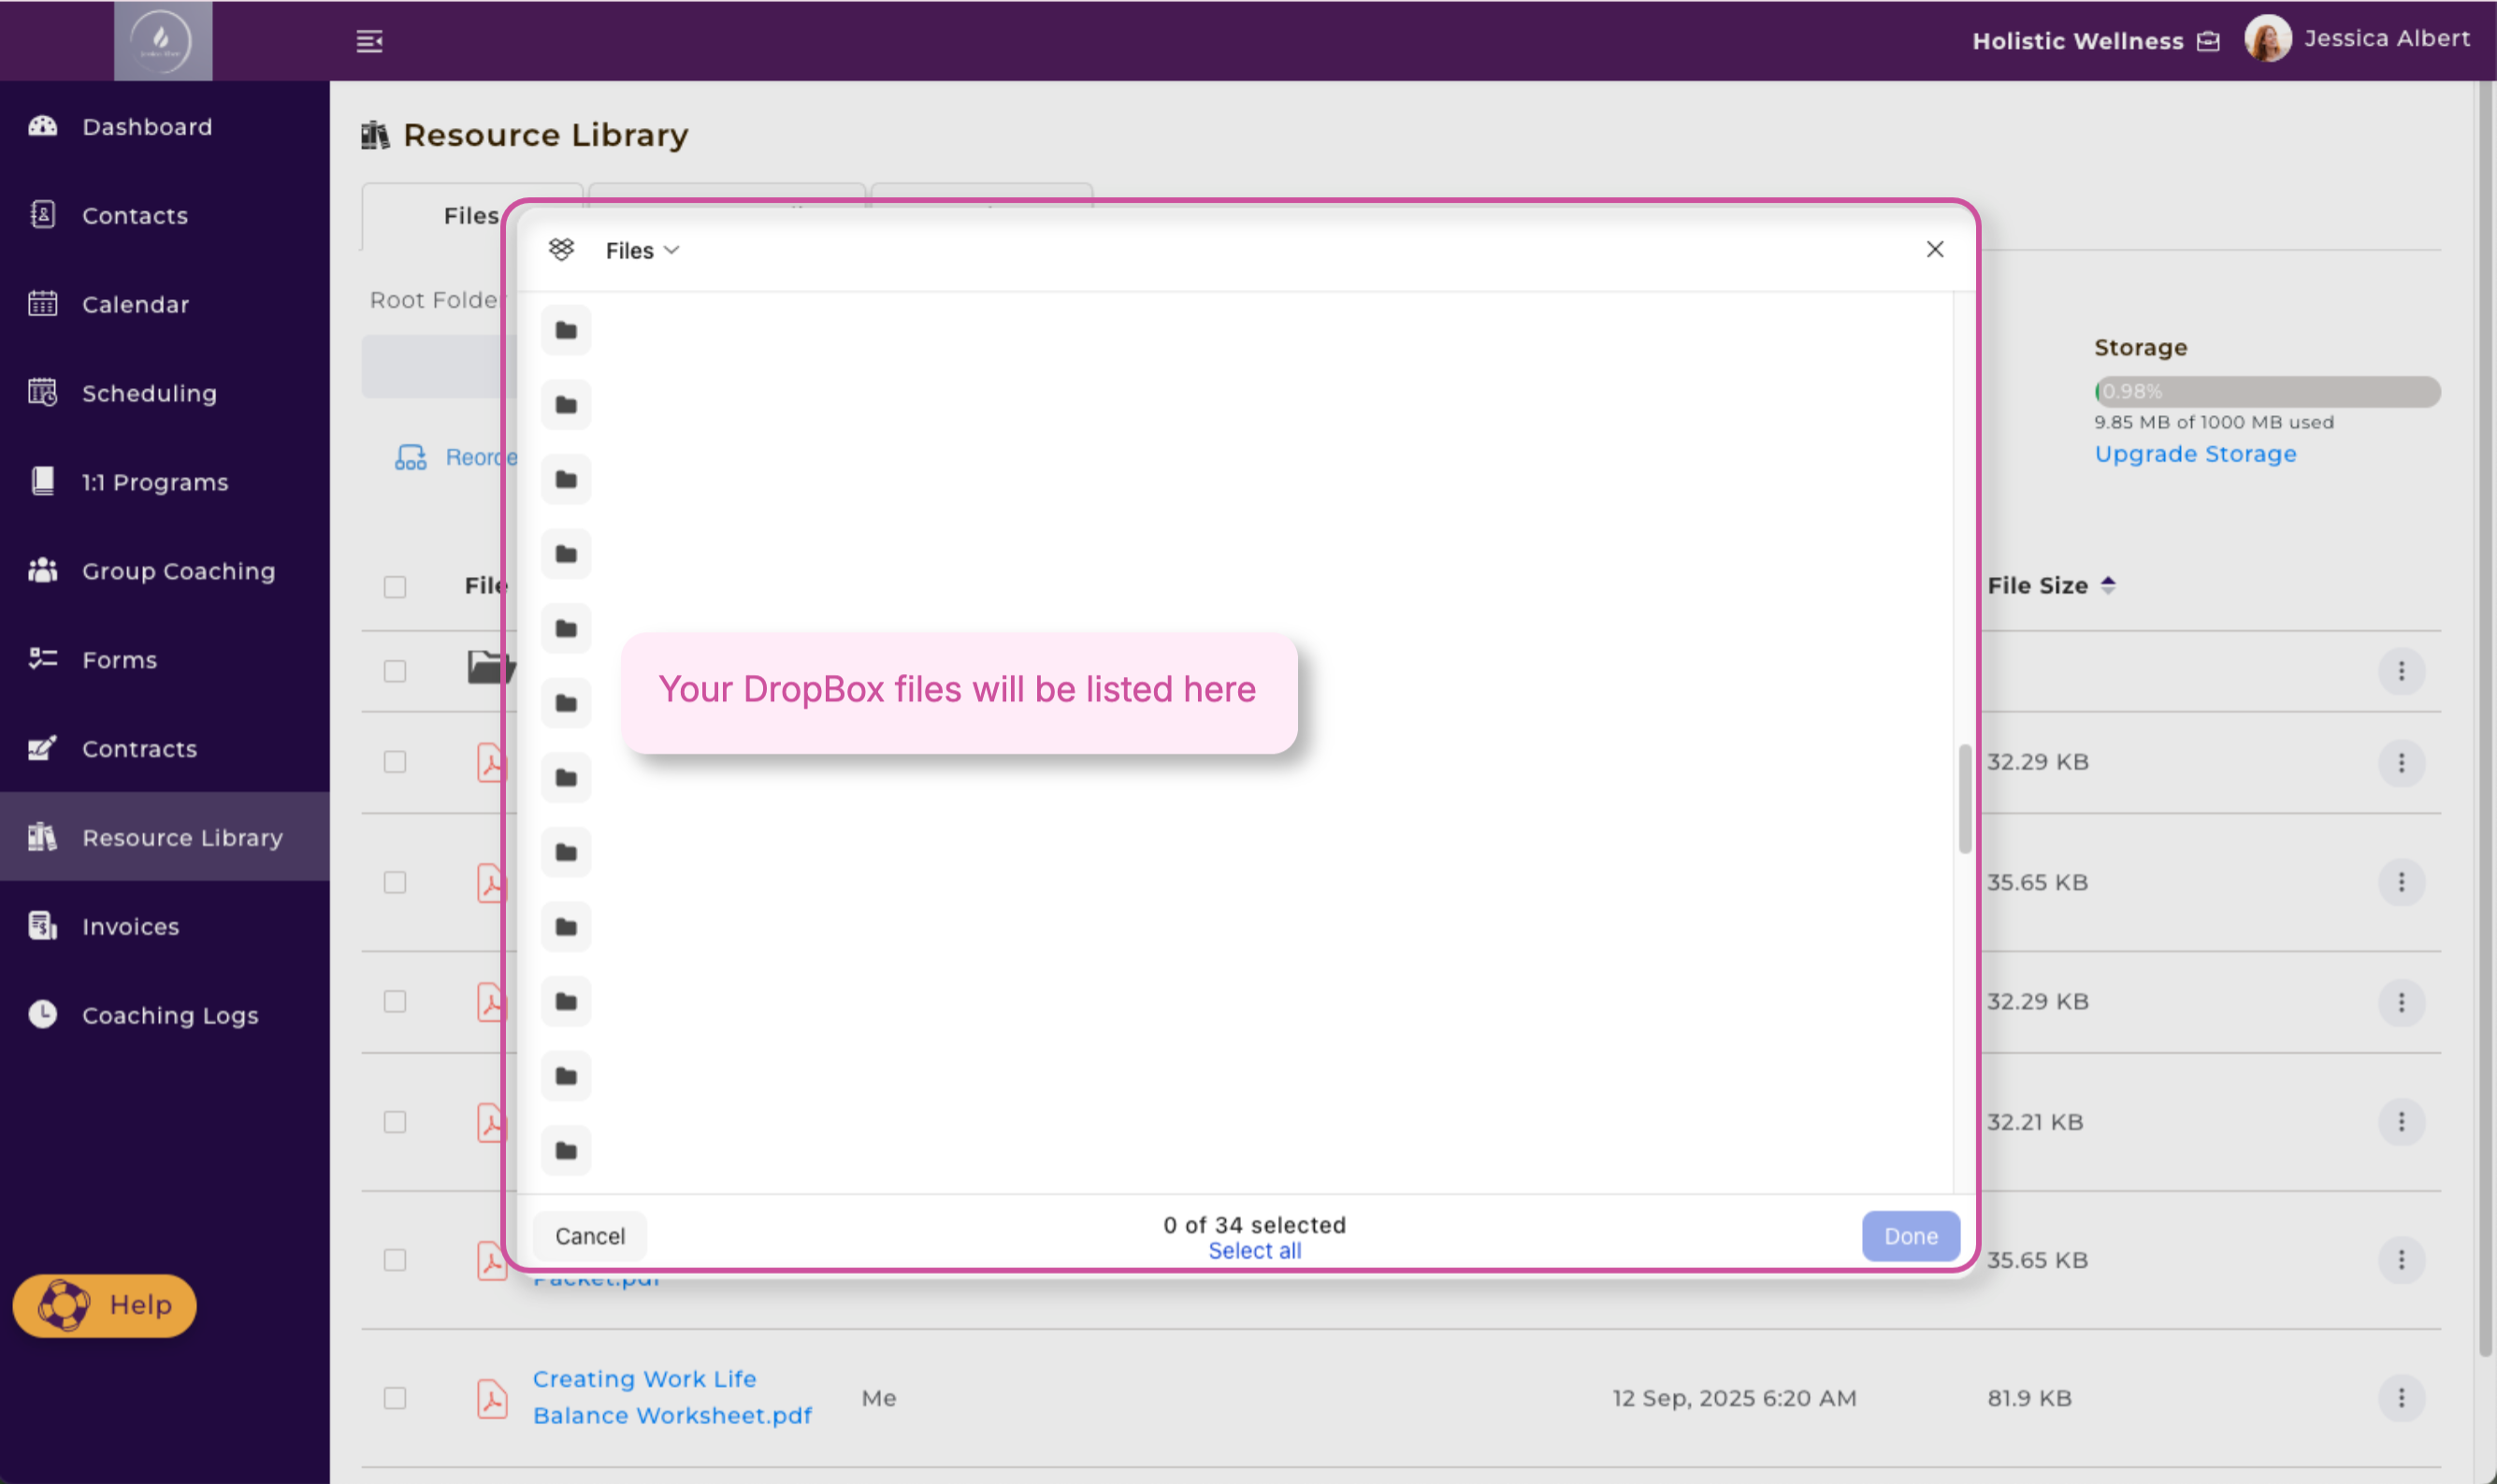
Your DropBox files will then be displayed.
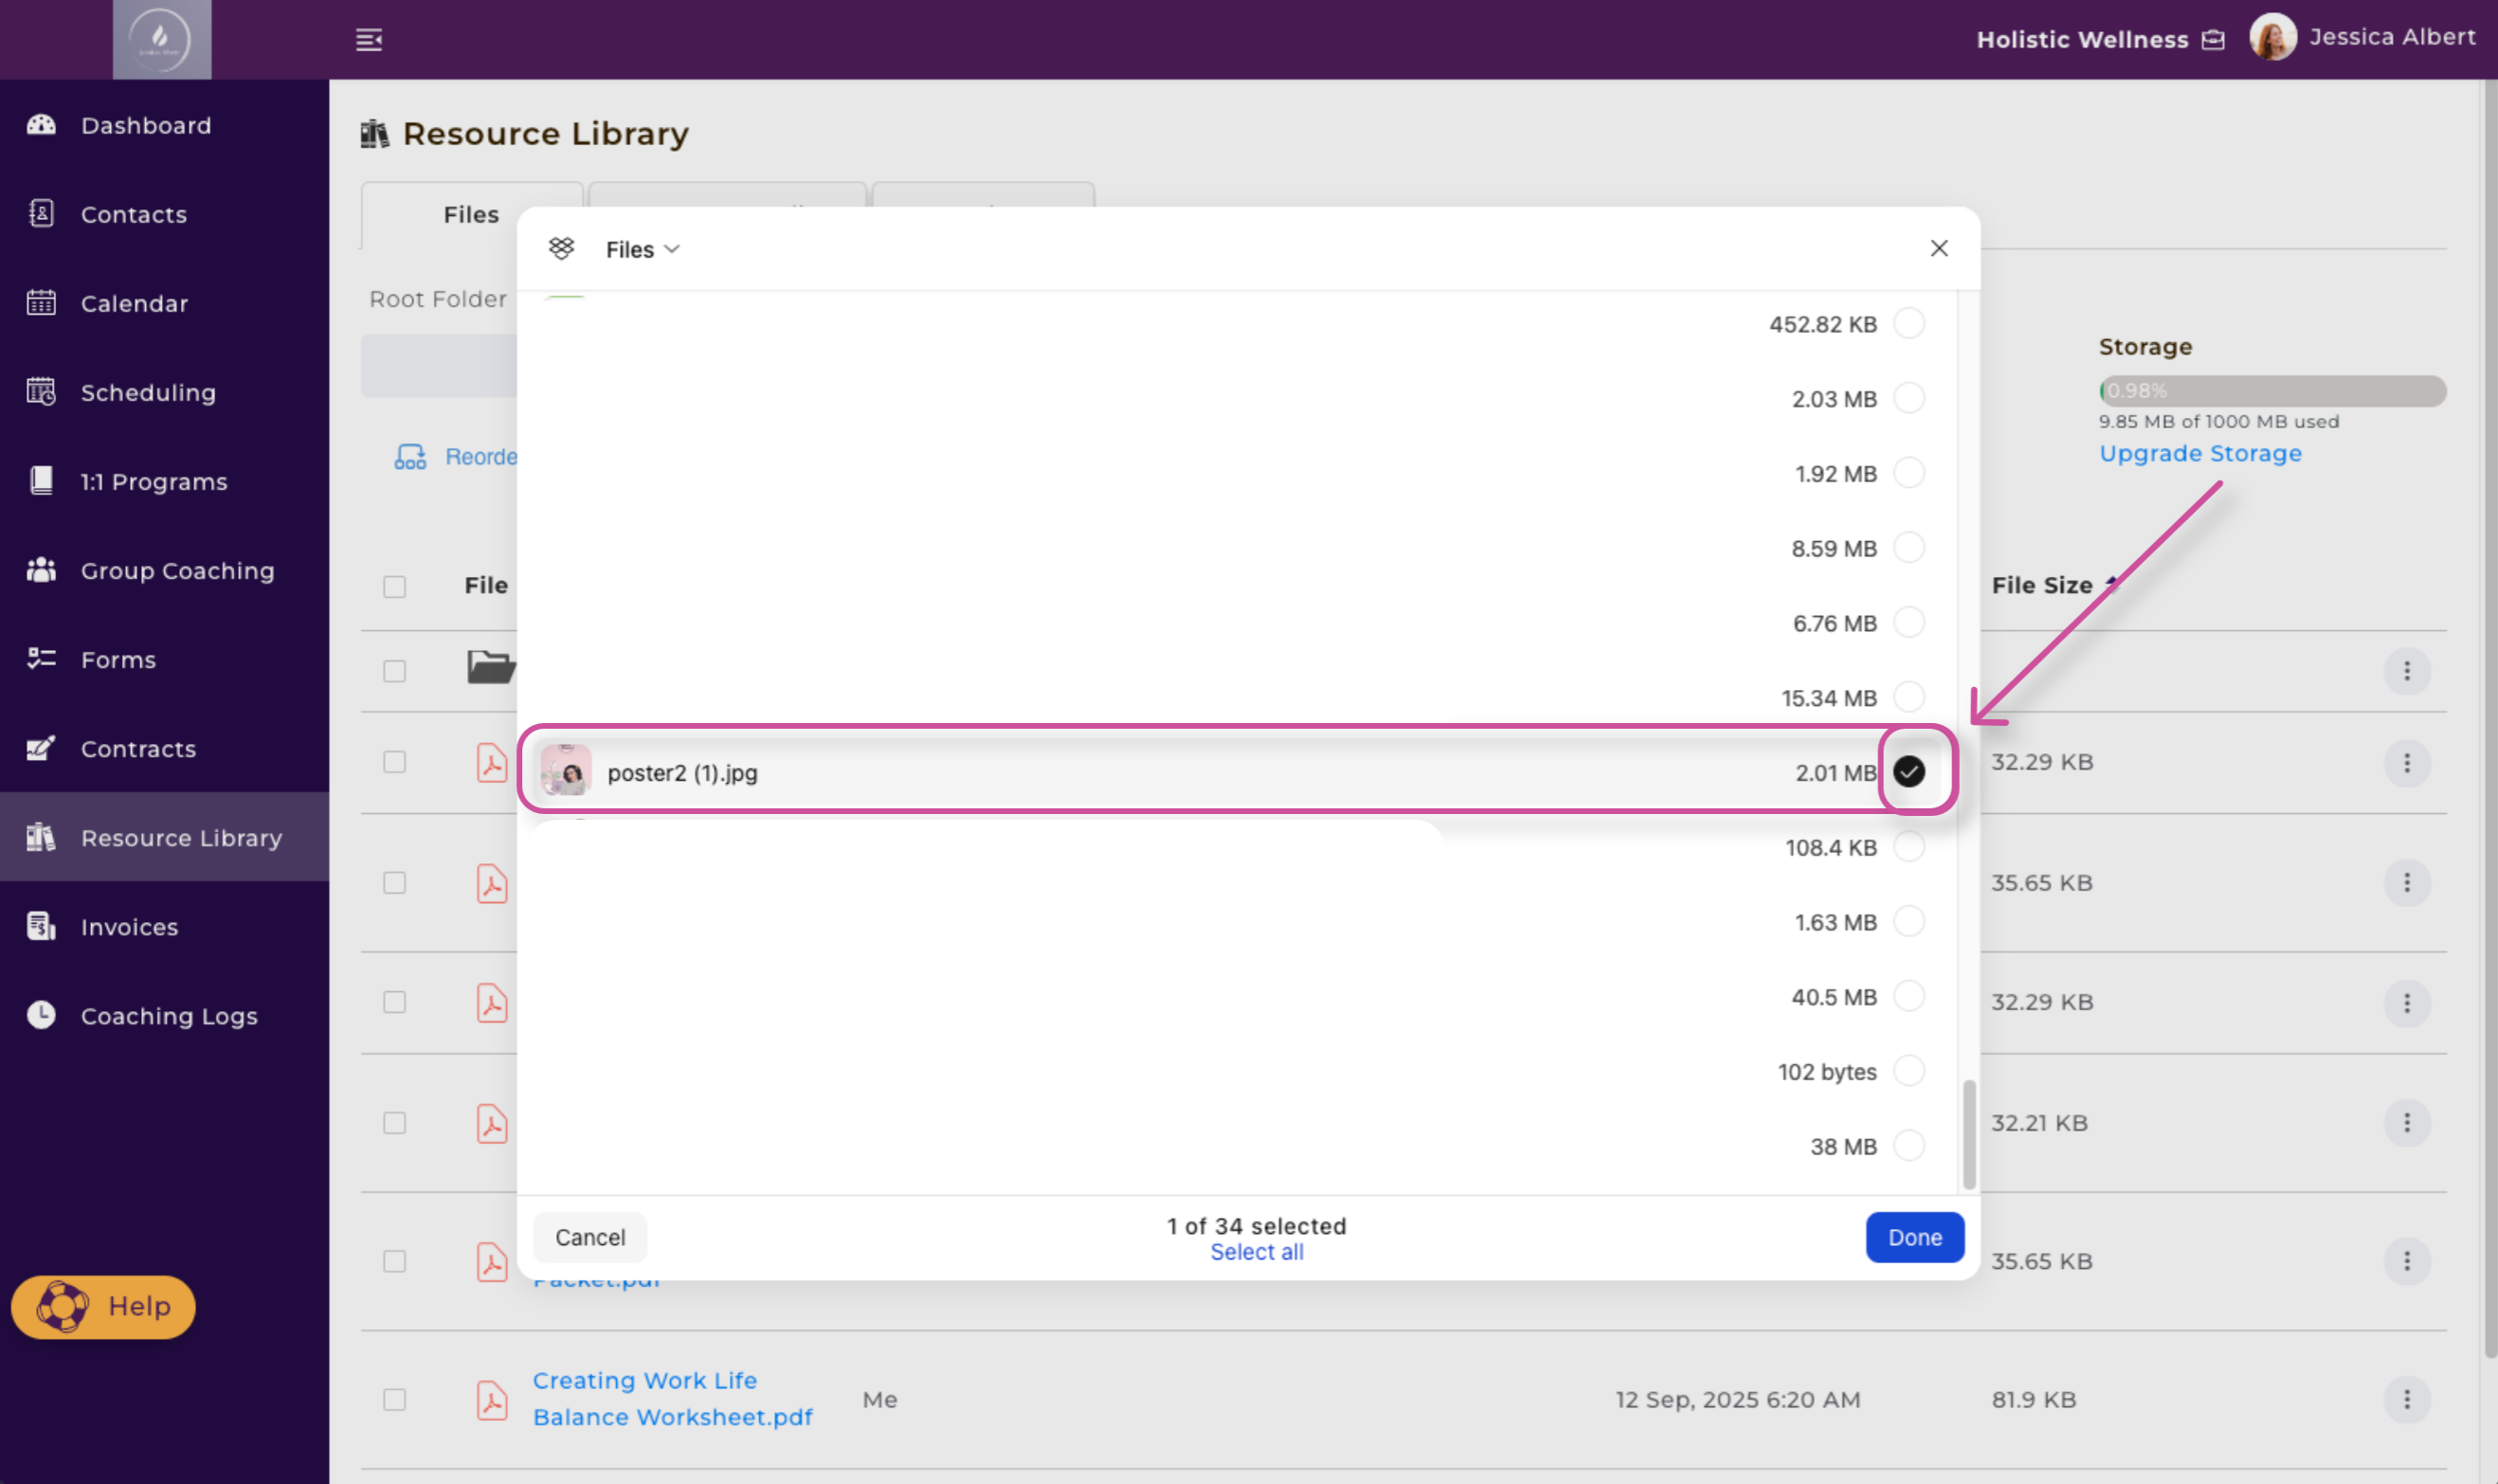
Select the DropBox file you wish to upload and then press Done.
The file you have chosen will be uploaded successfully.
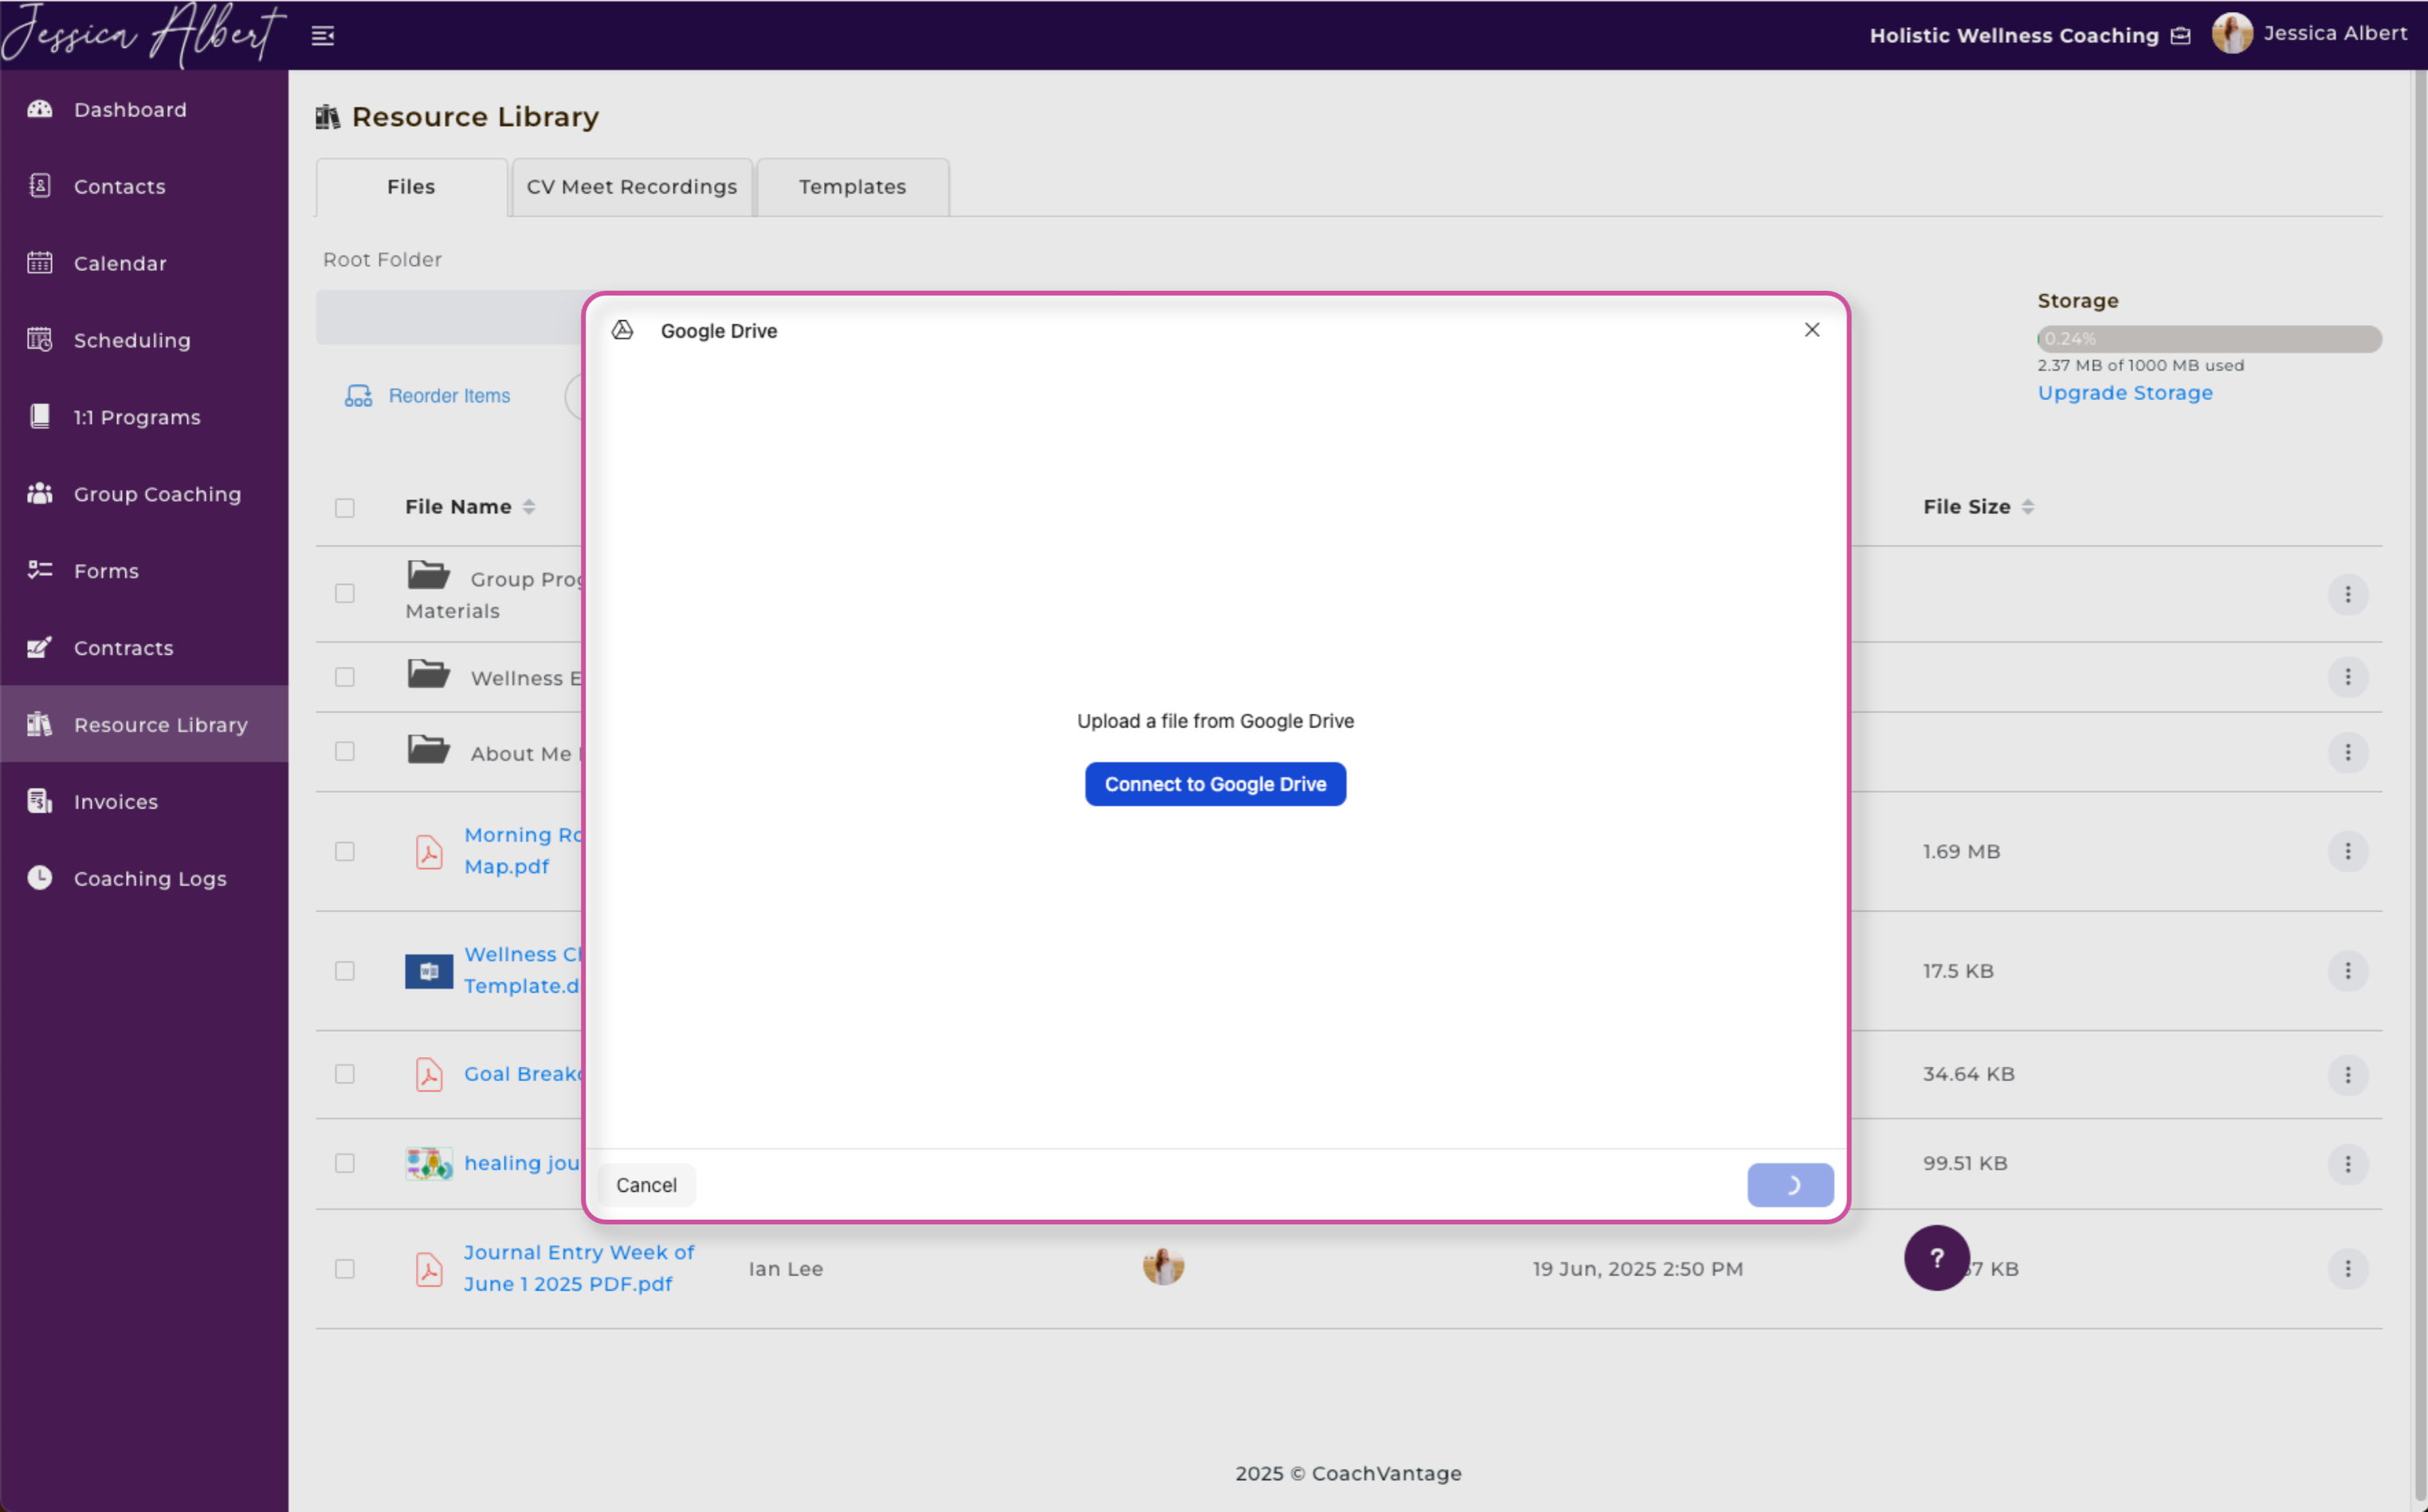
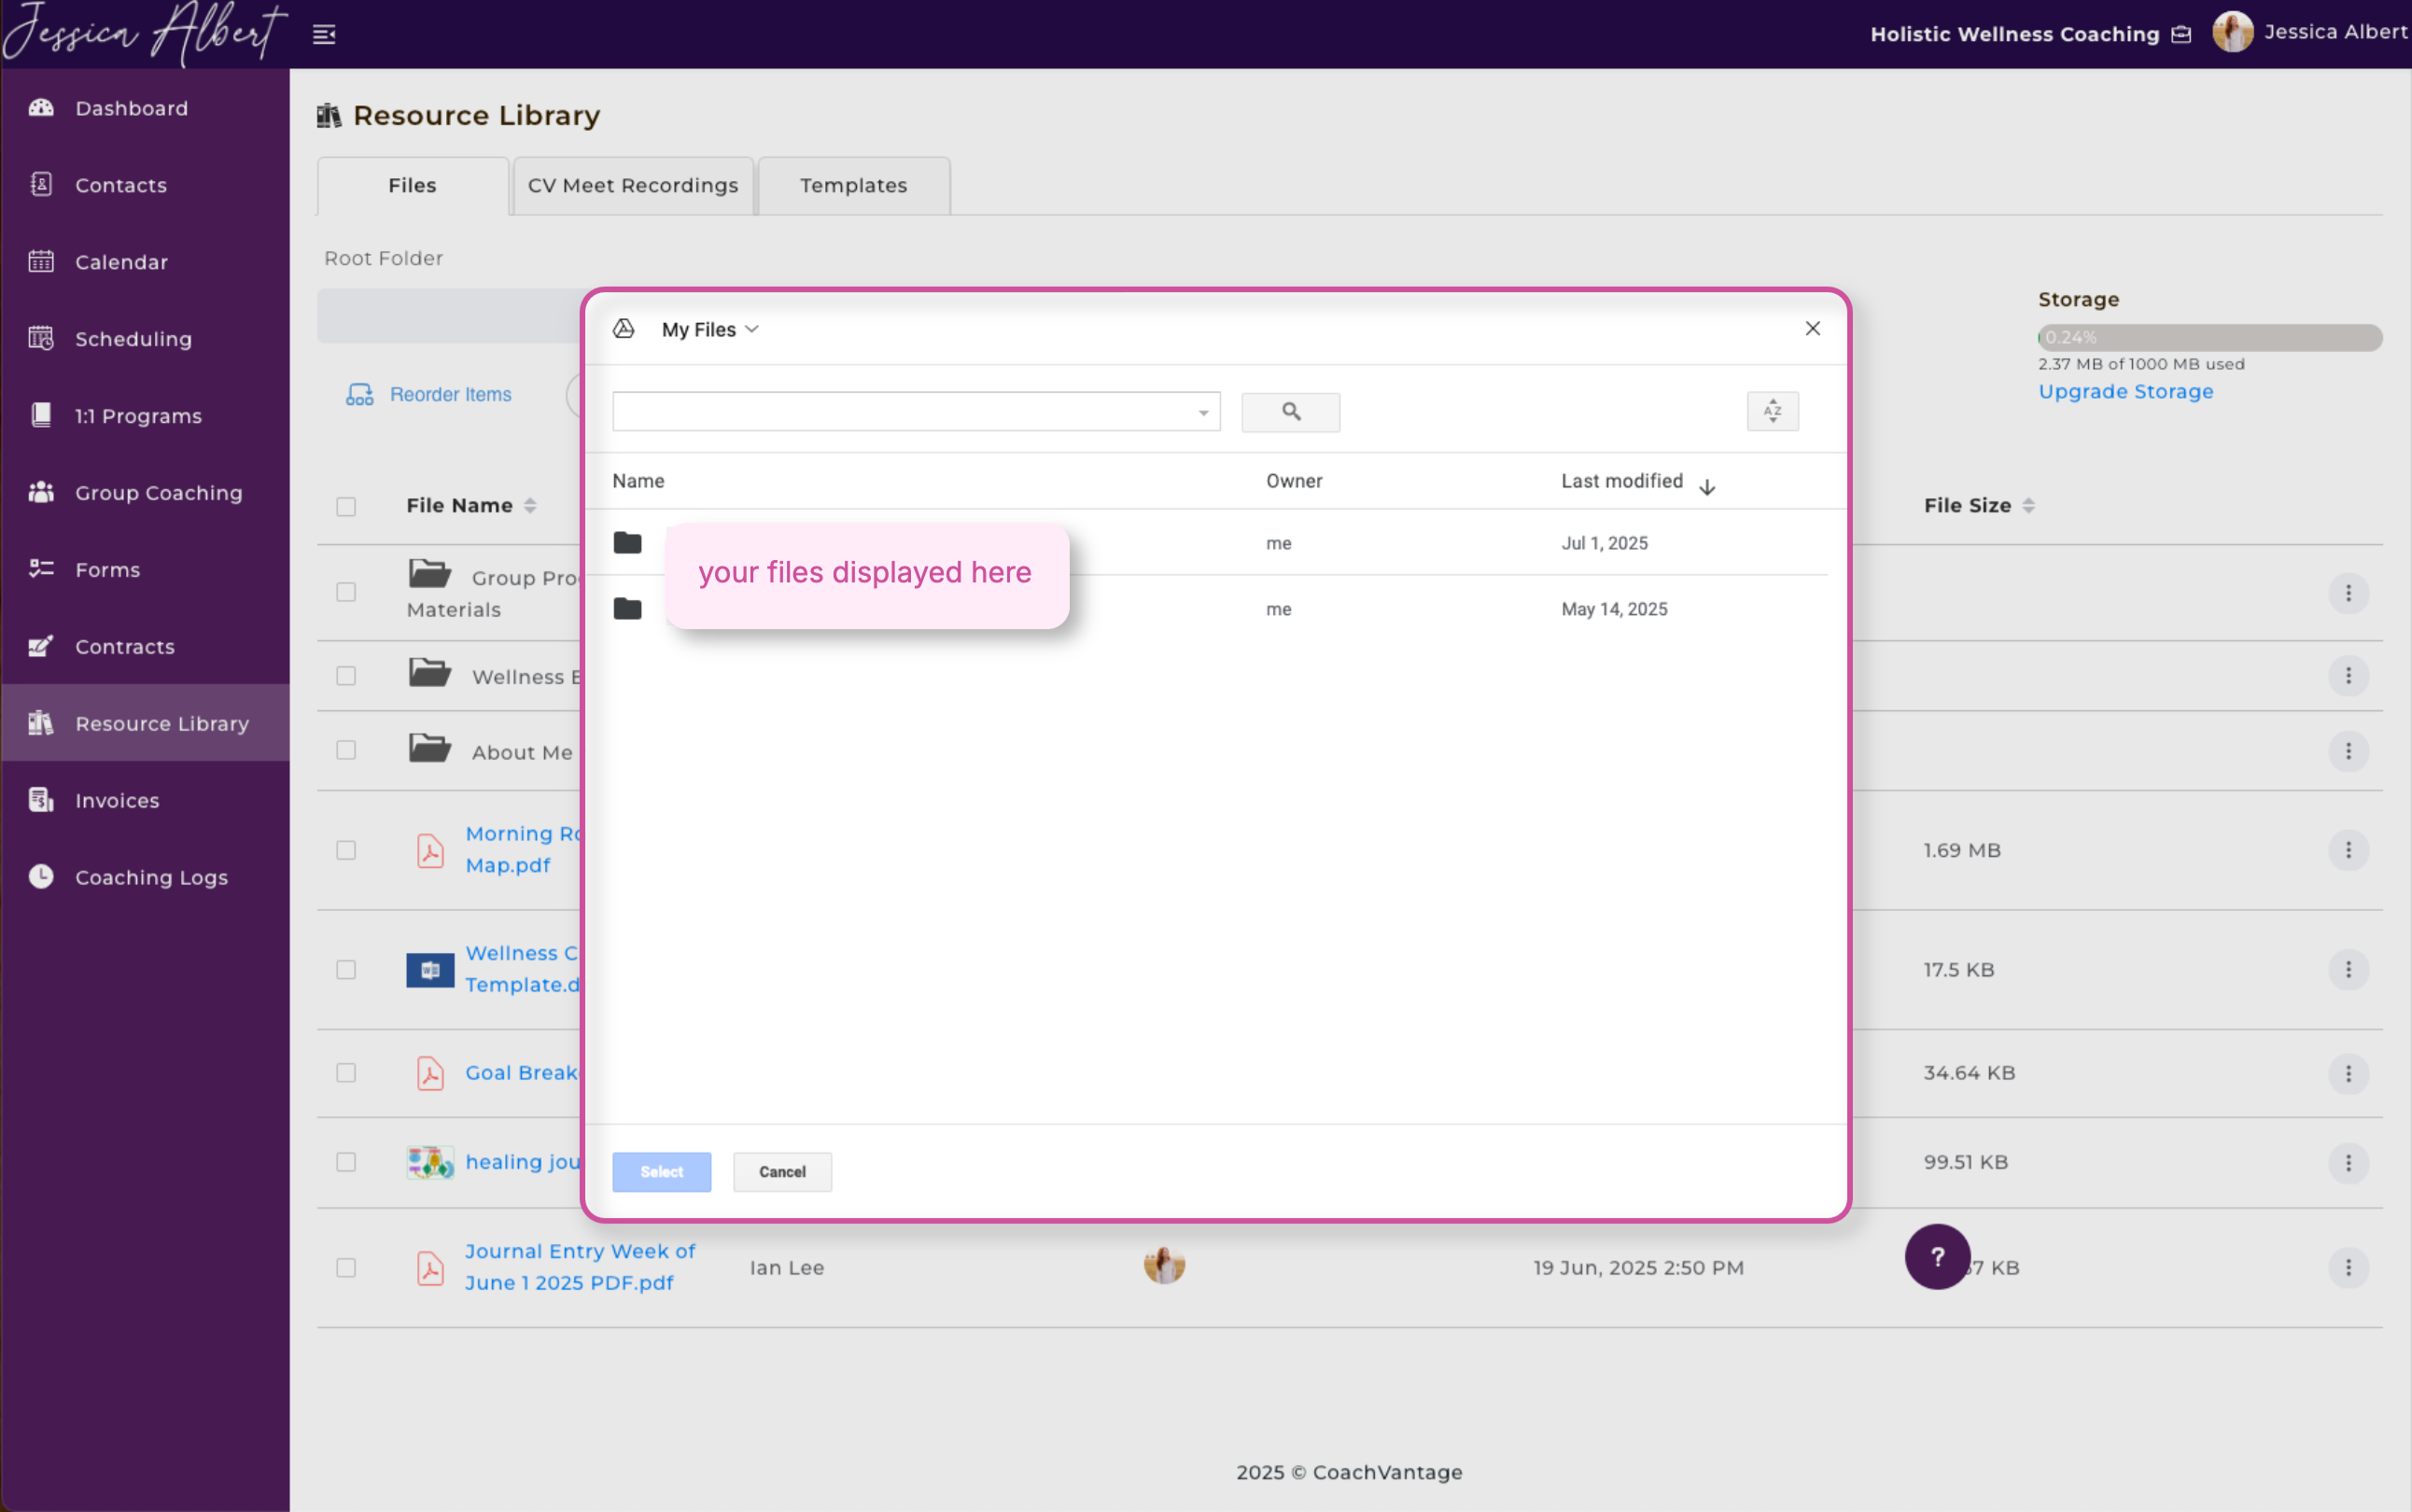
5. Google Drive
If you decide to upload files from your Google Drive, you will then be brought to a window where you will need to Connect to Google Drive.
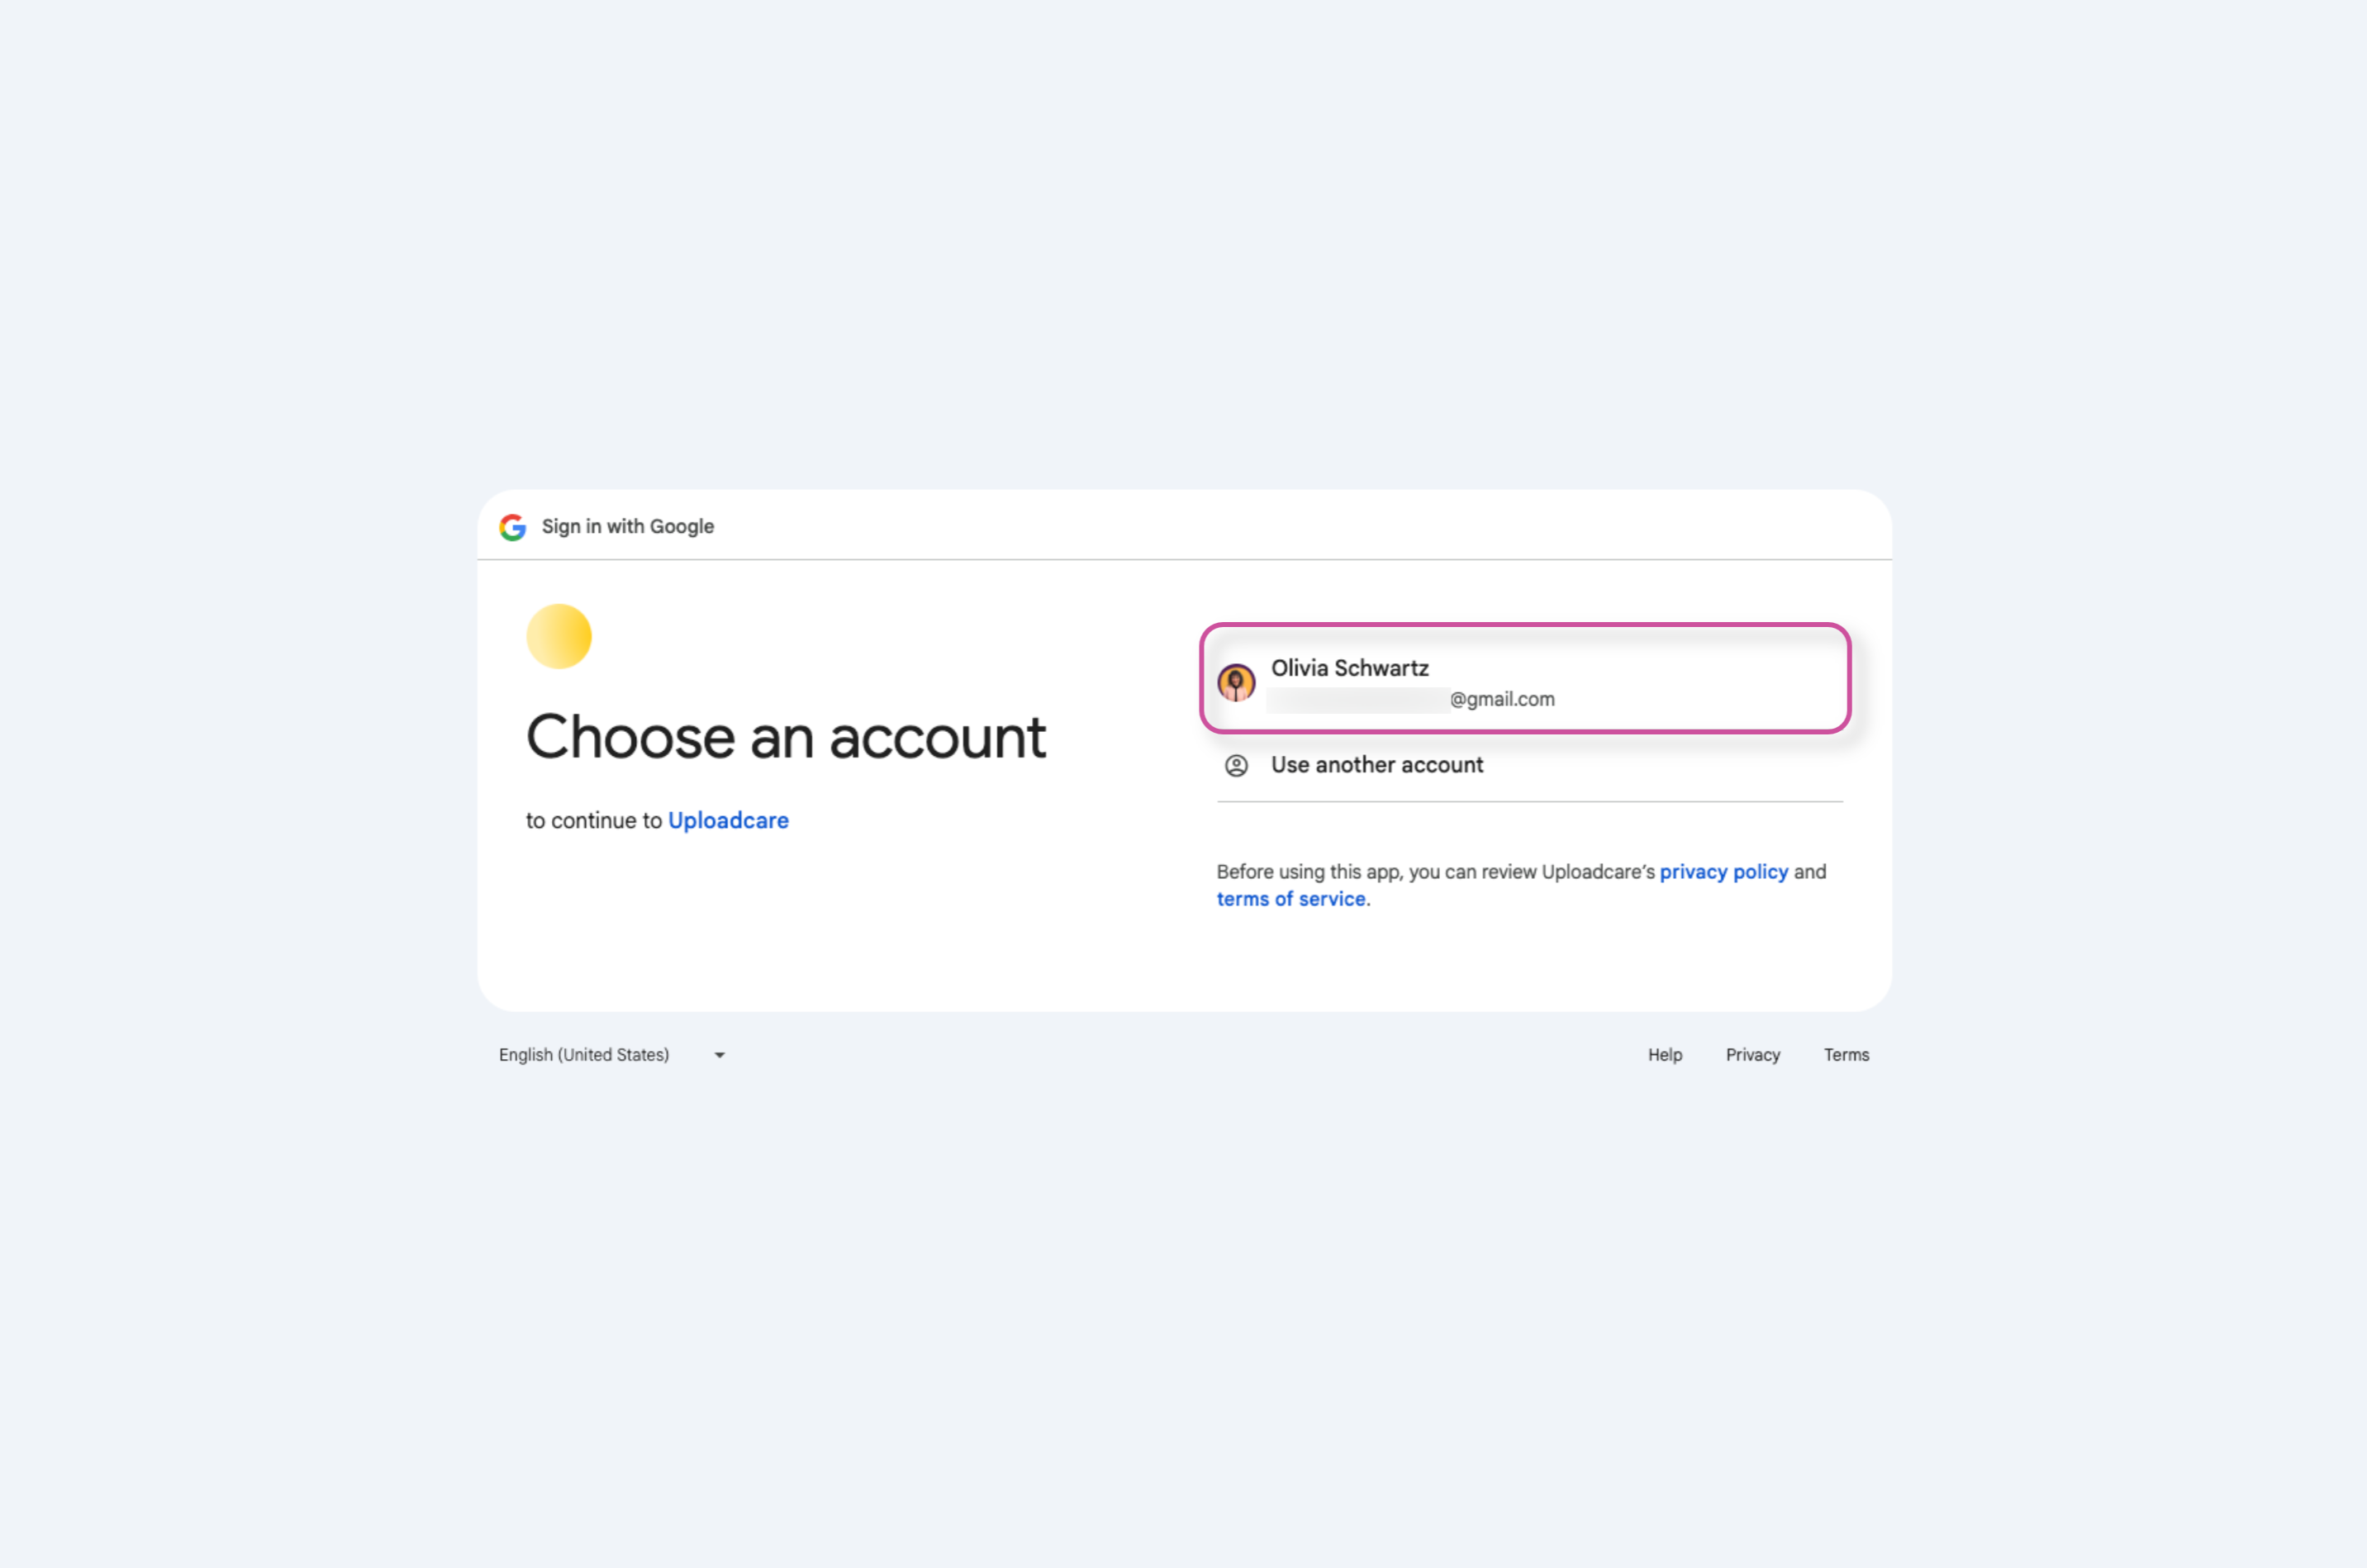
Choose which Google account you would like to connect to in order to upload files.
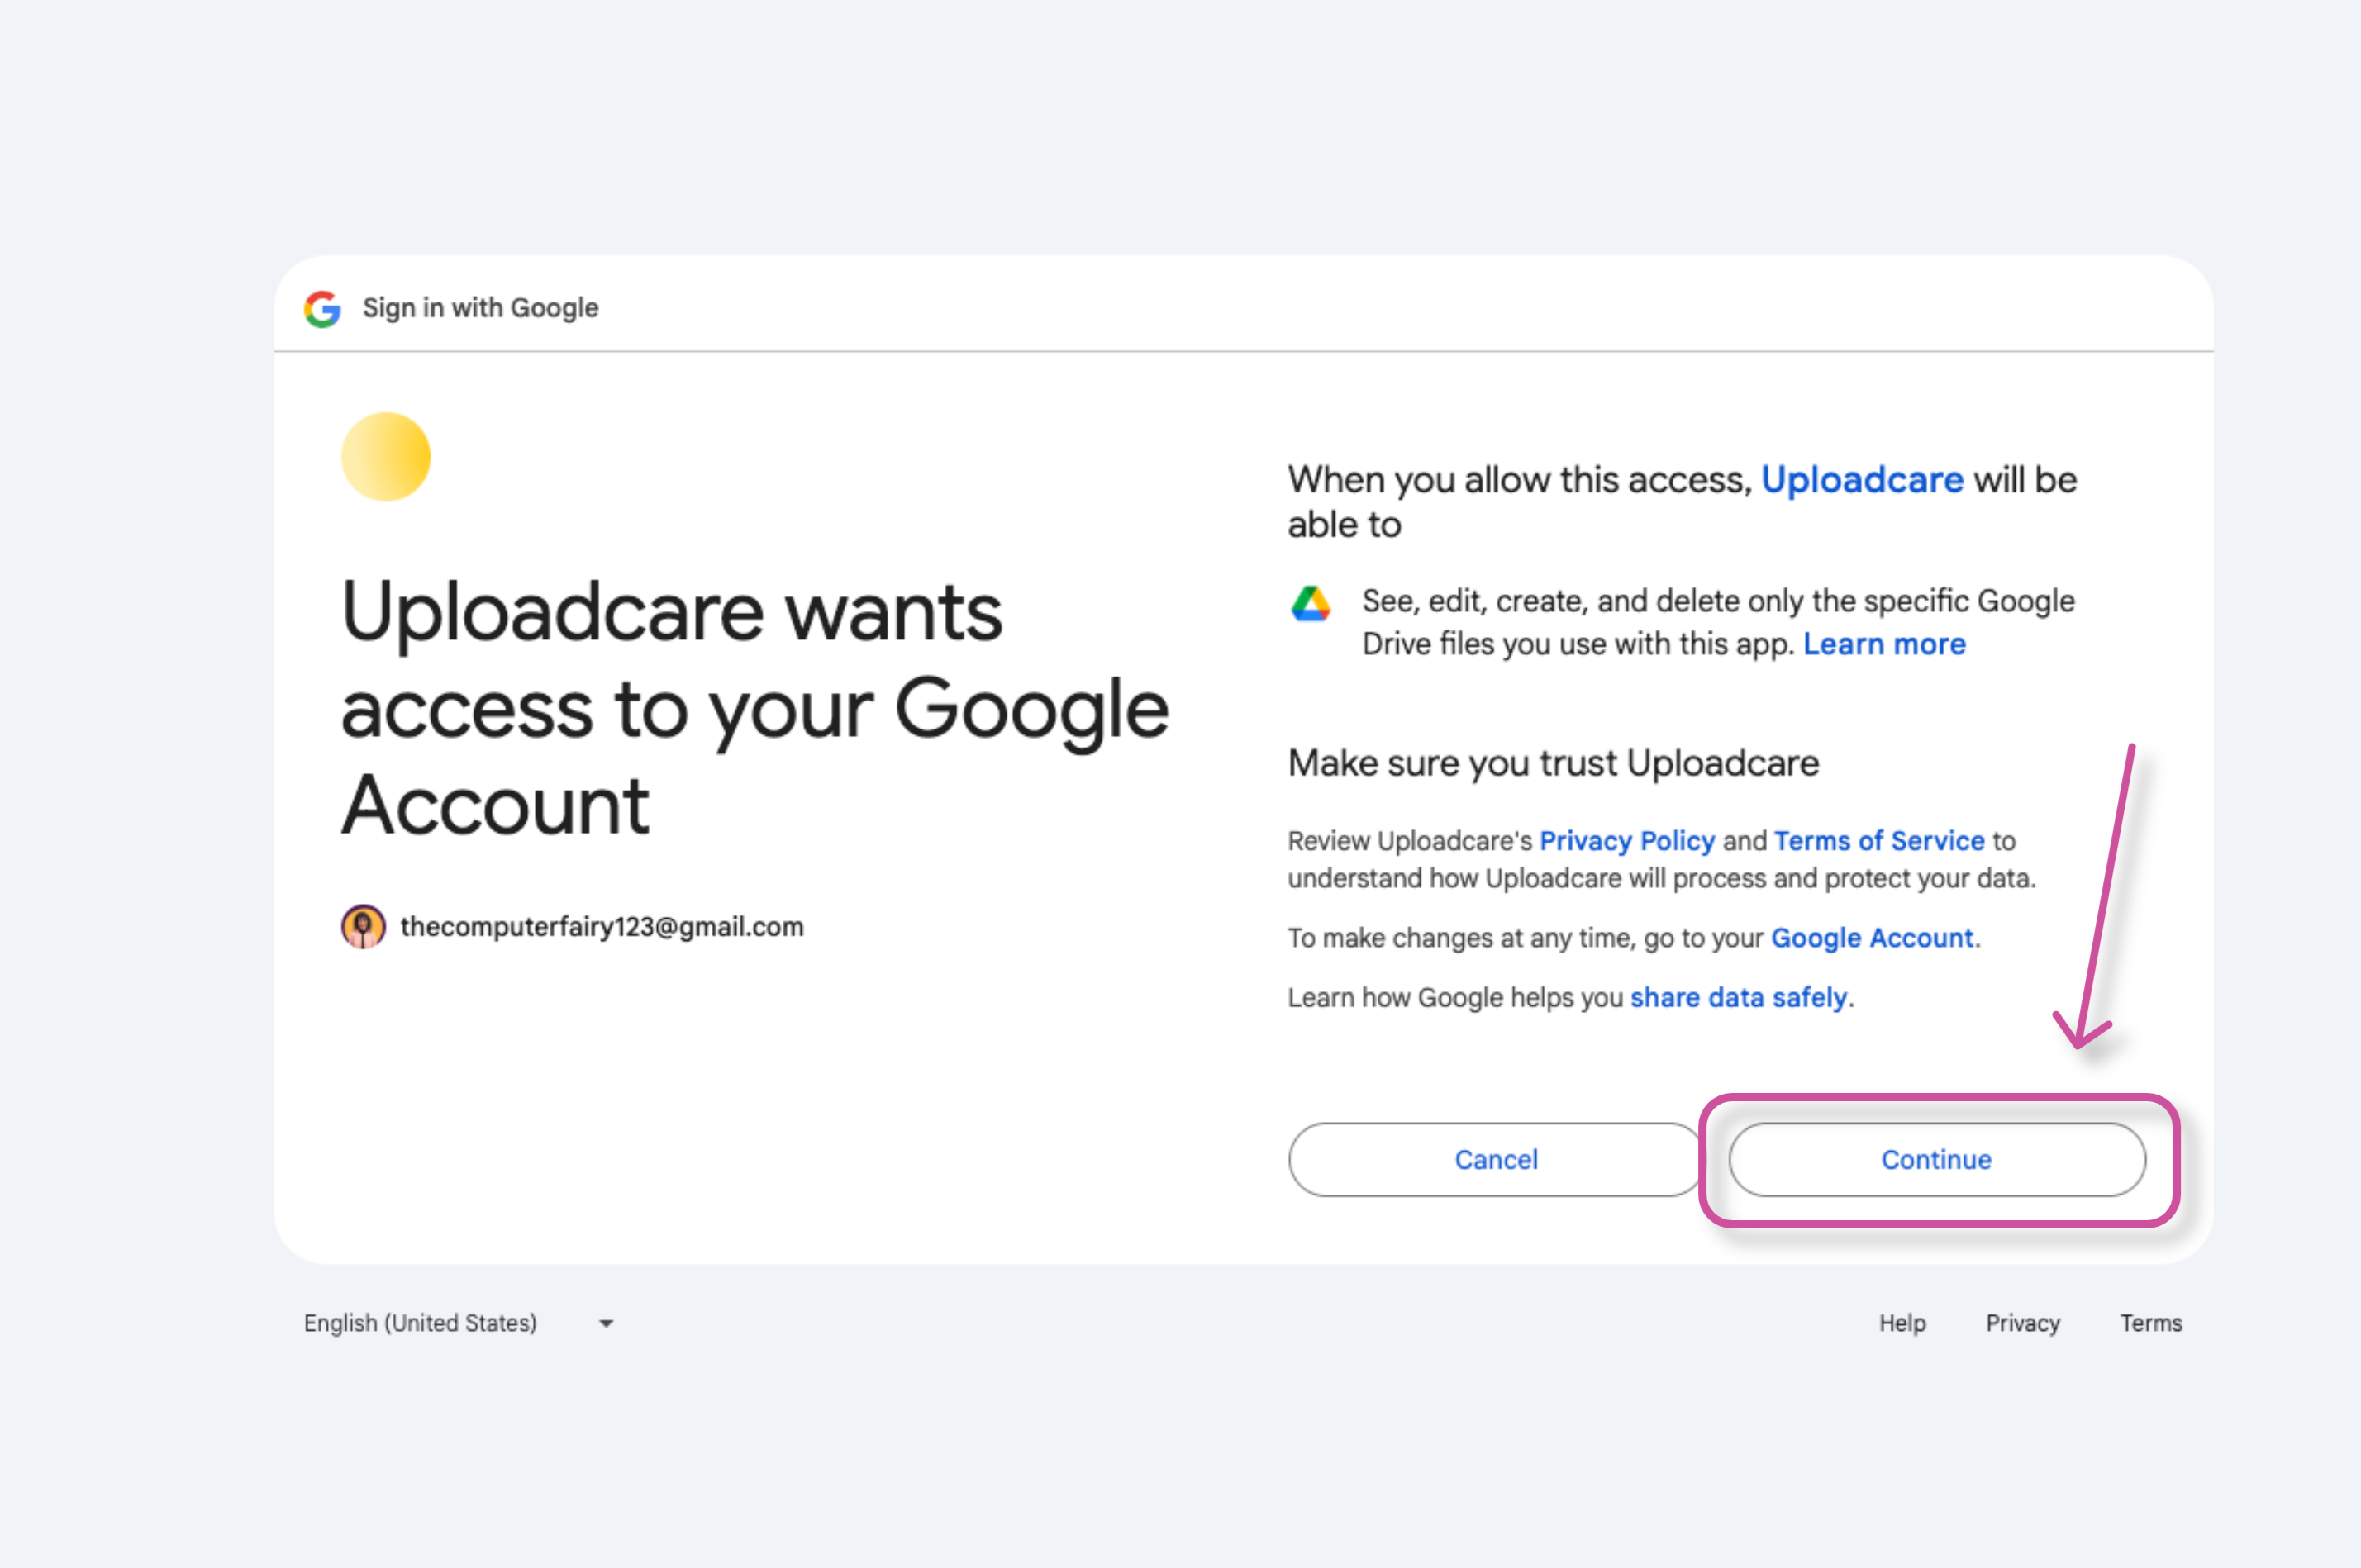
Give UploadCare access to your Google Account by pressing Continue.
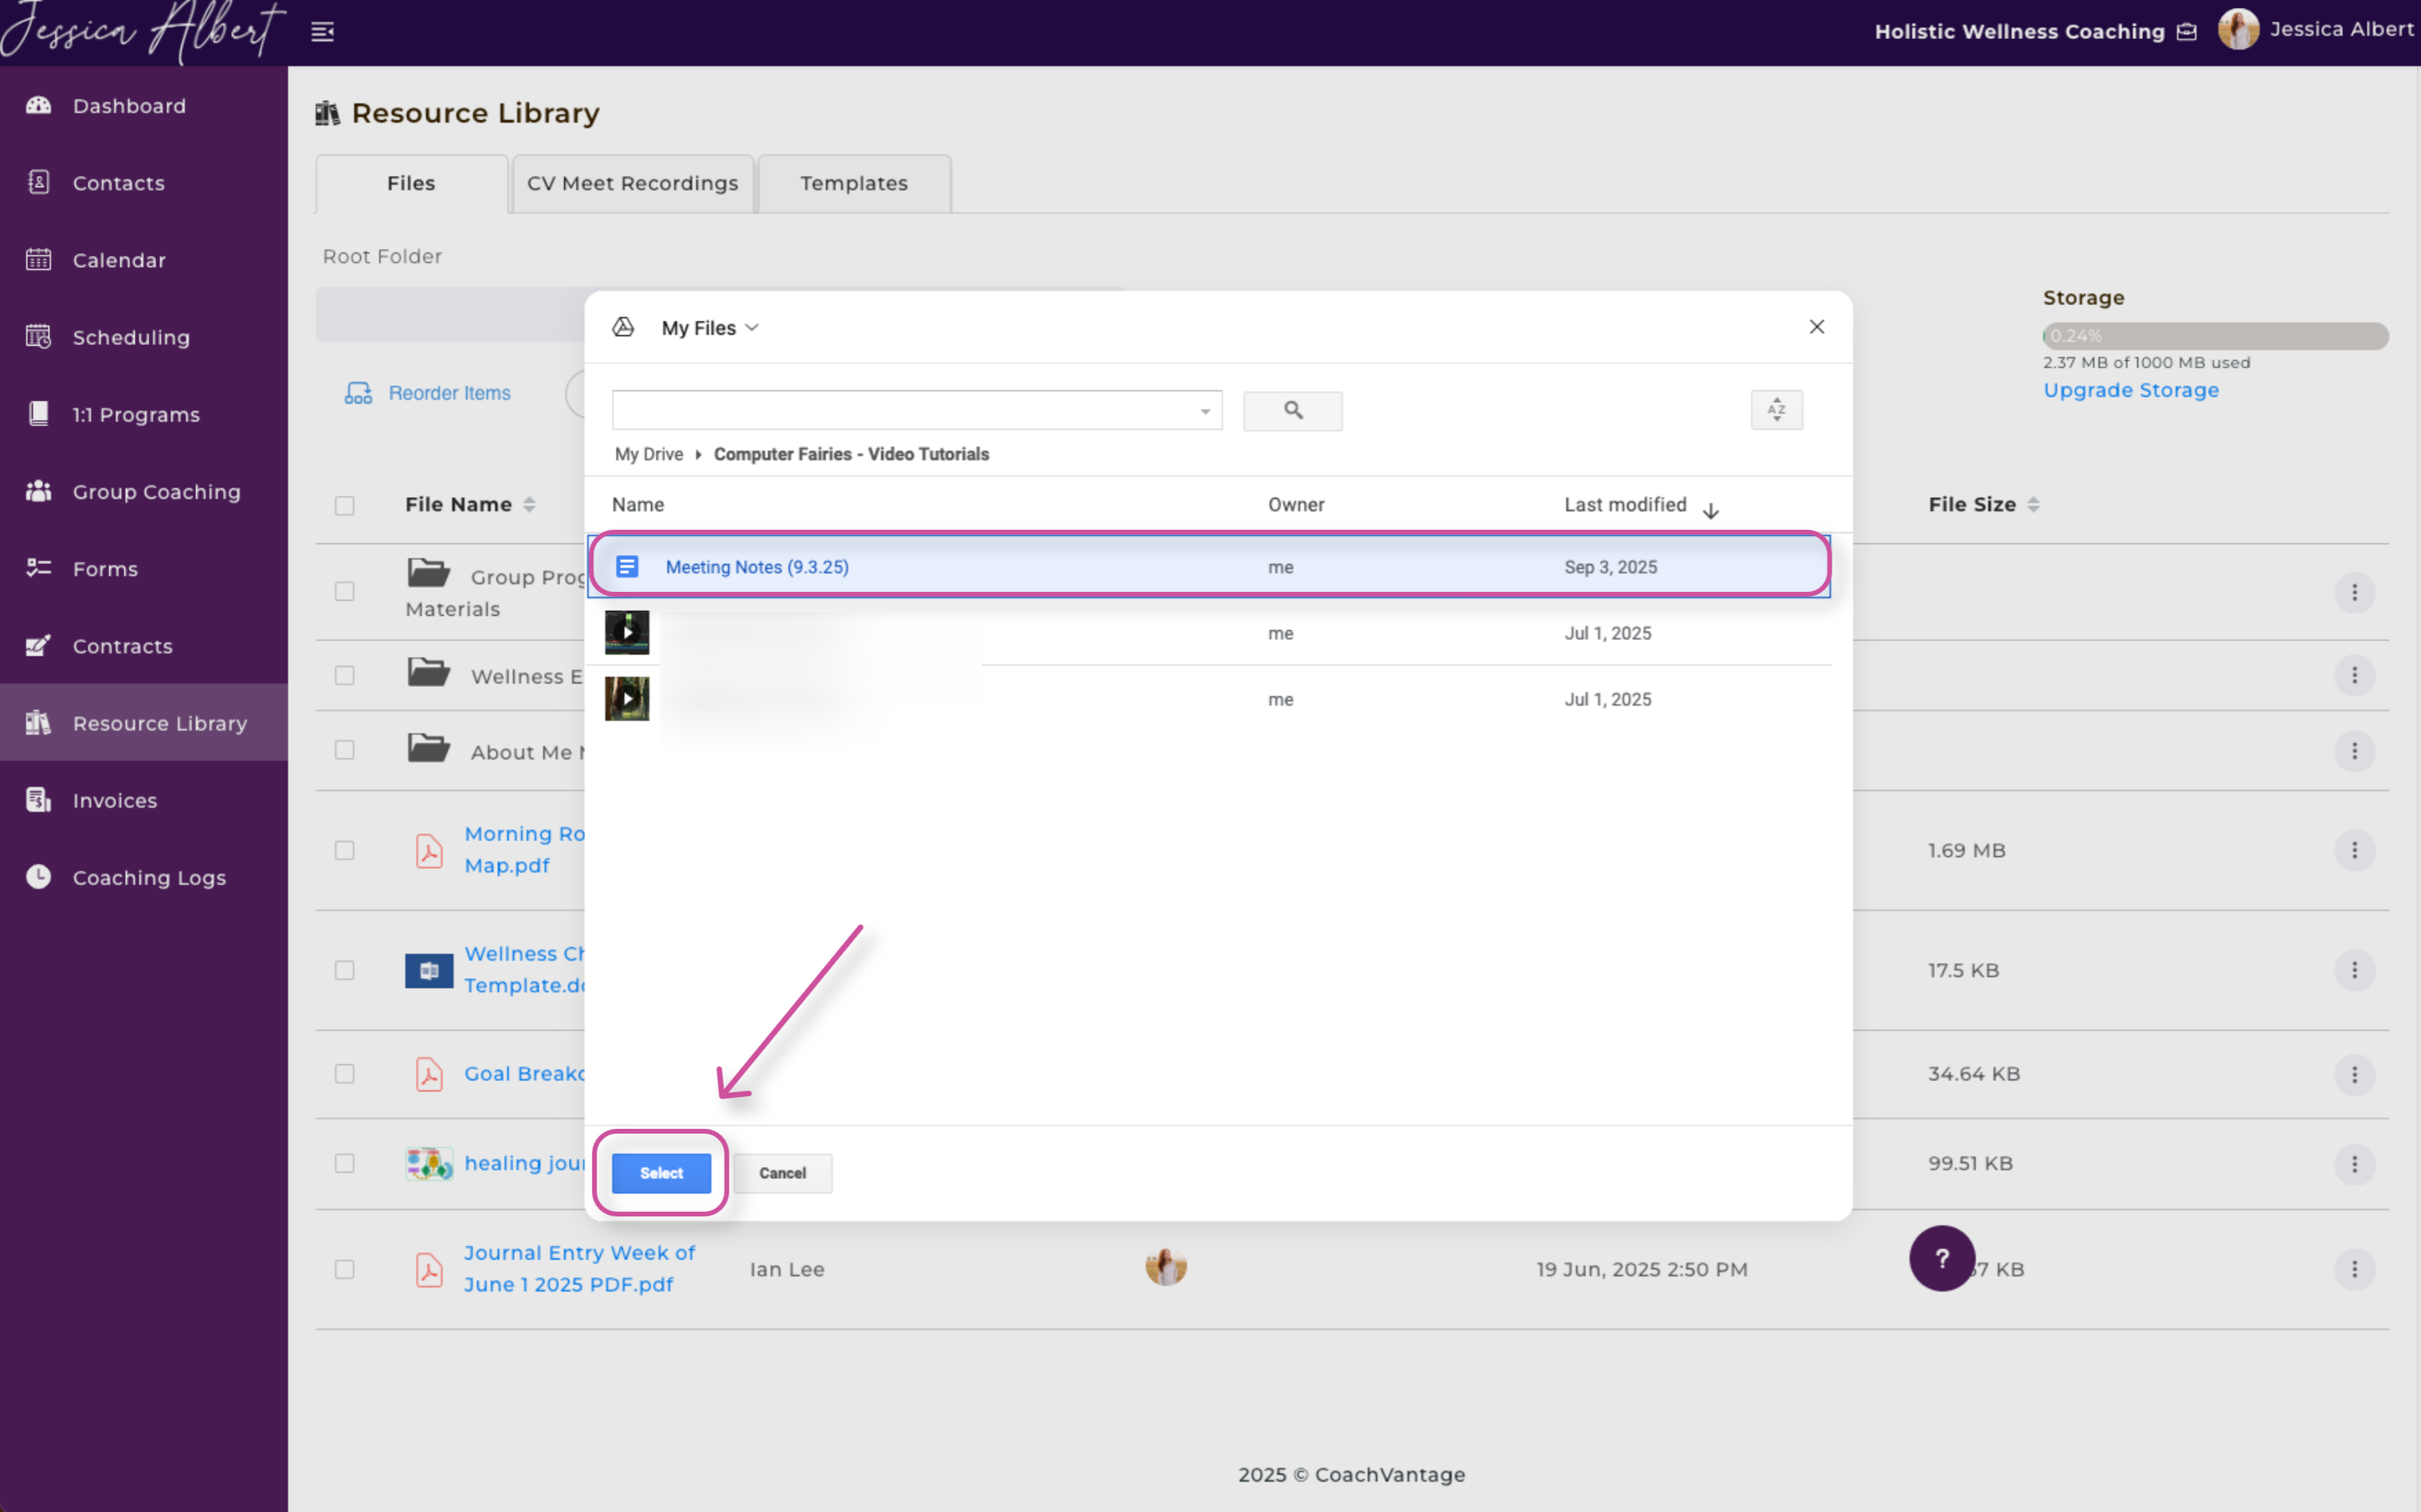
Your Google Drive files will be displayed.
Select the file from your Google Drive you wish to upload. Press Select.
Next, press Done.
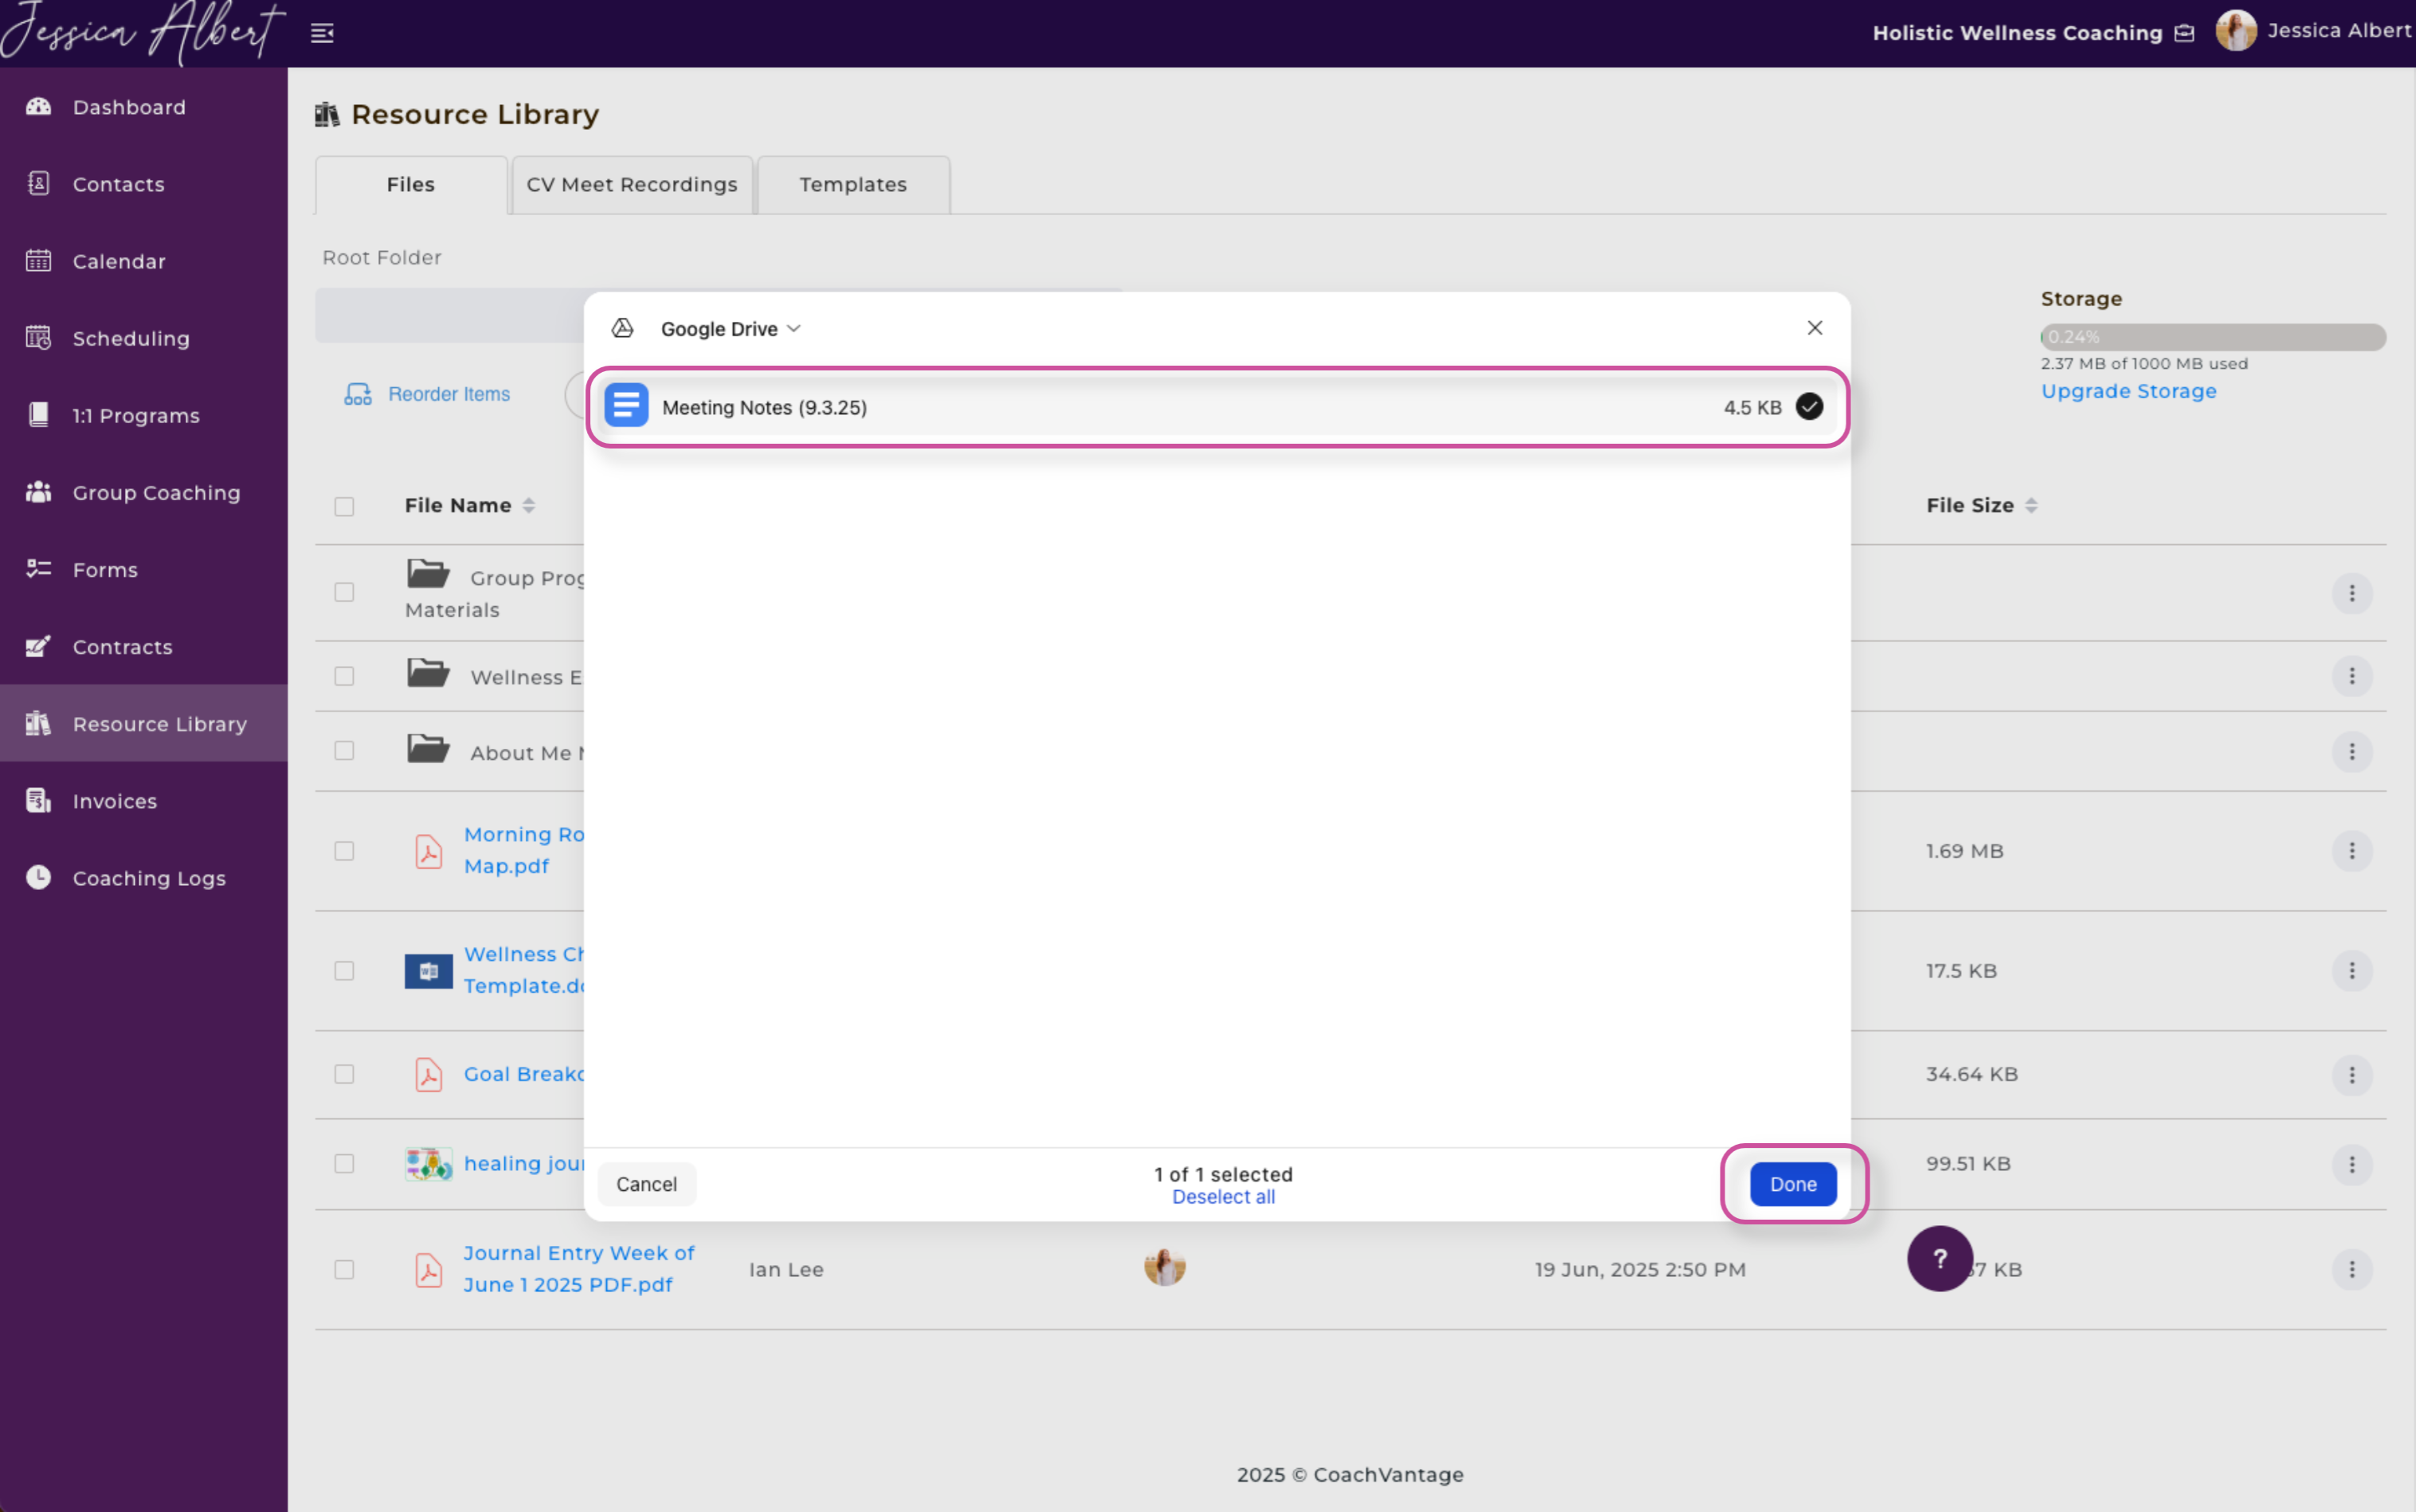
Press Done again to complete the upload process.
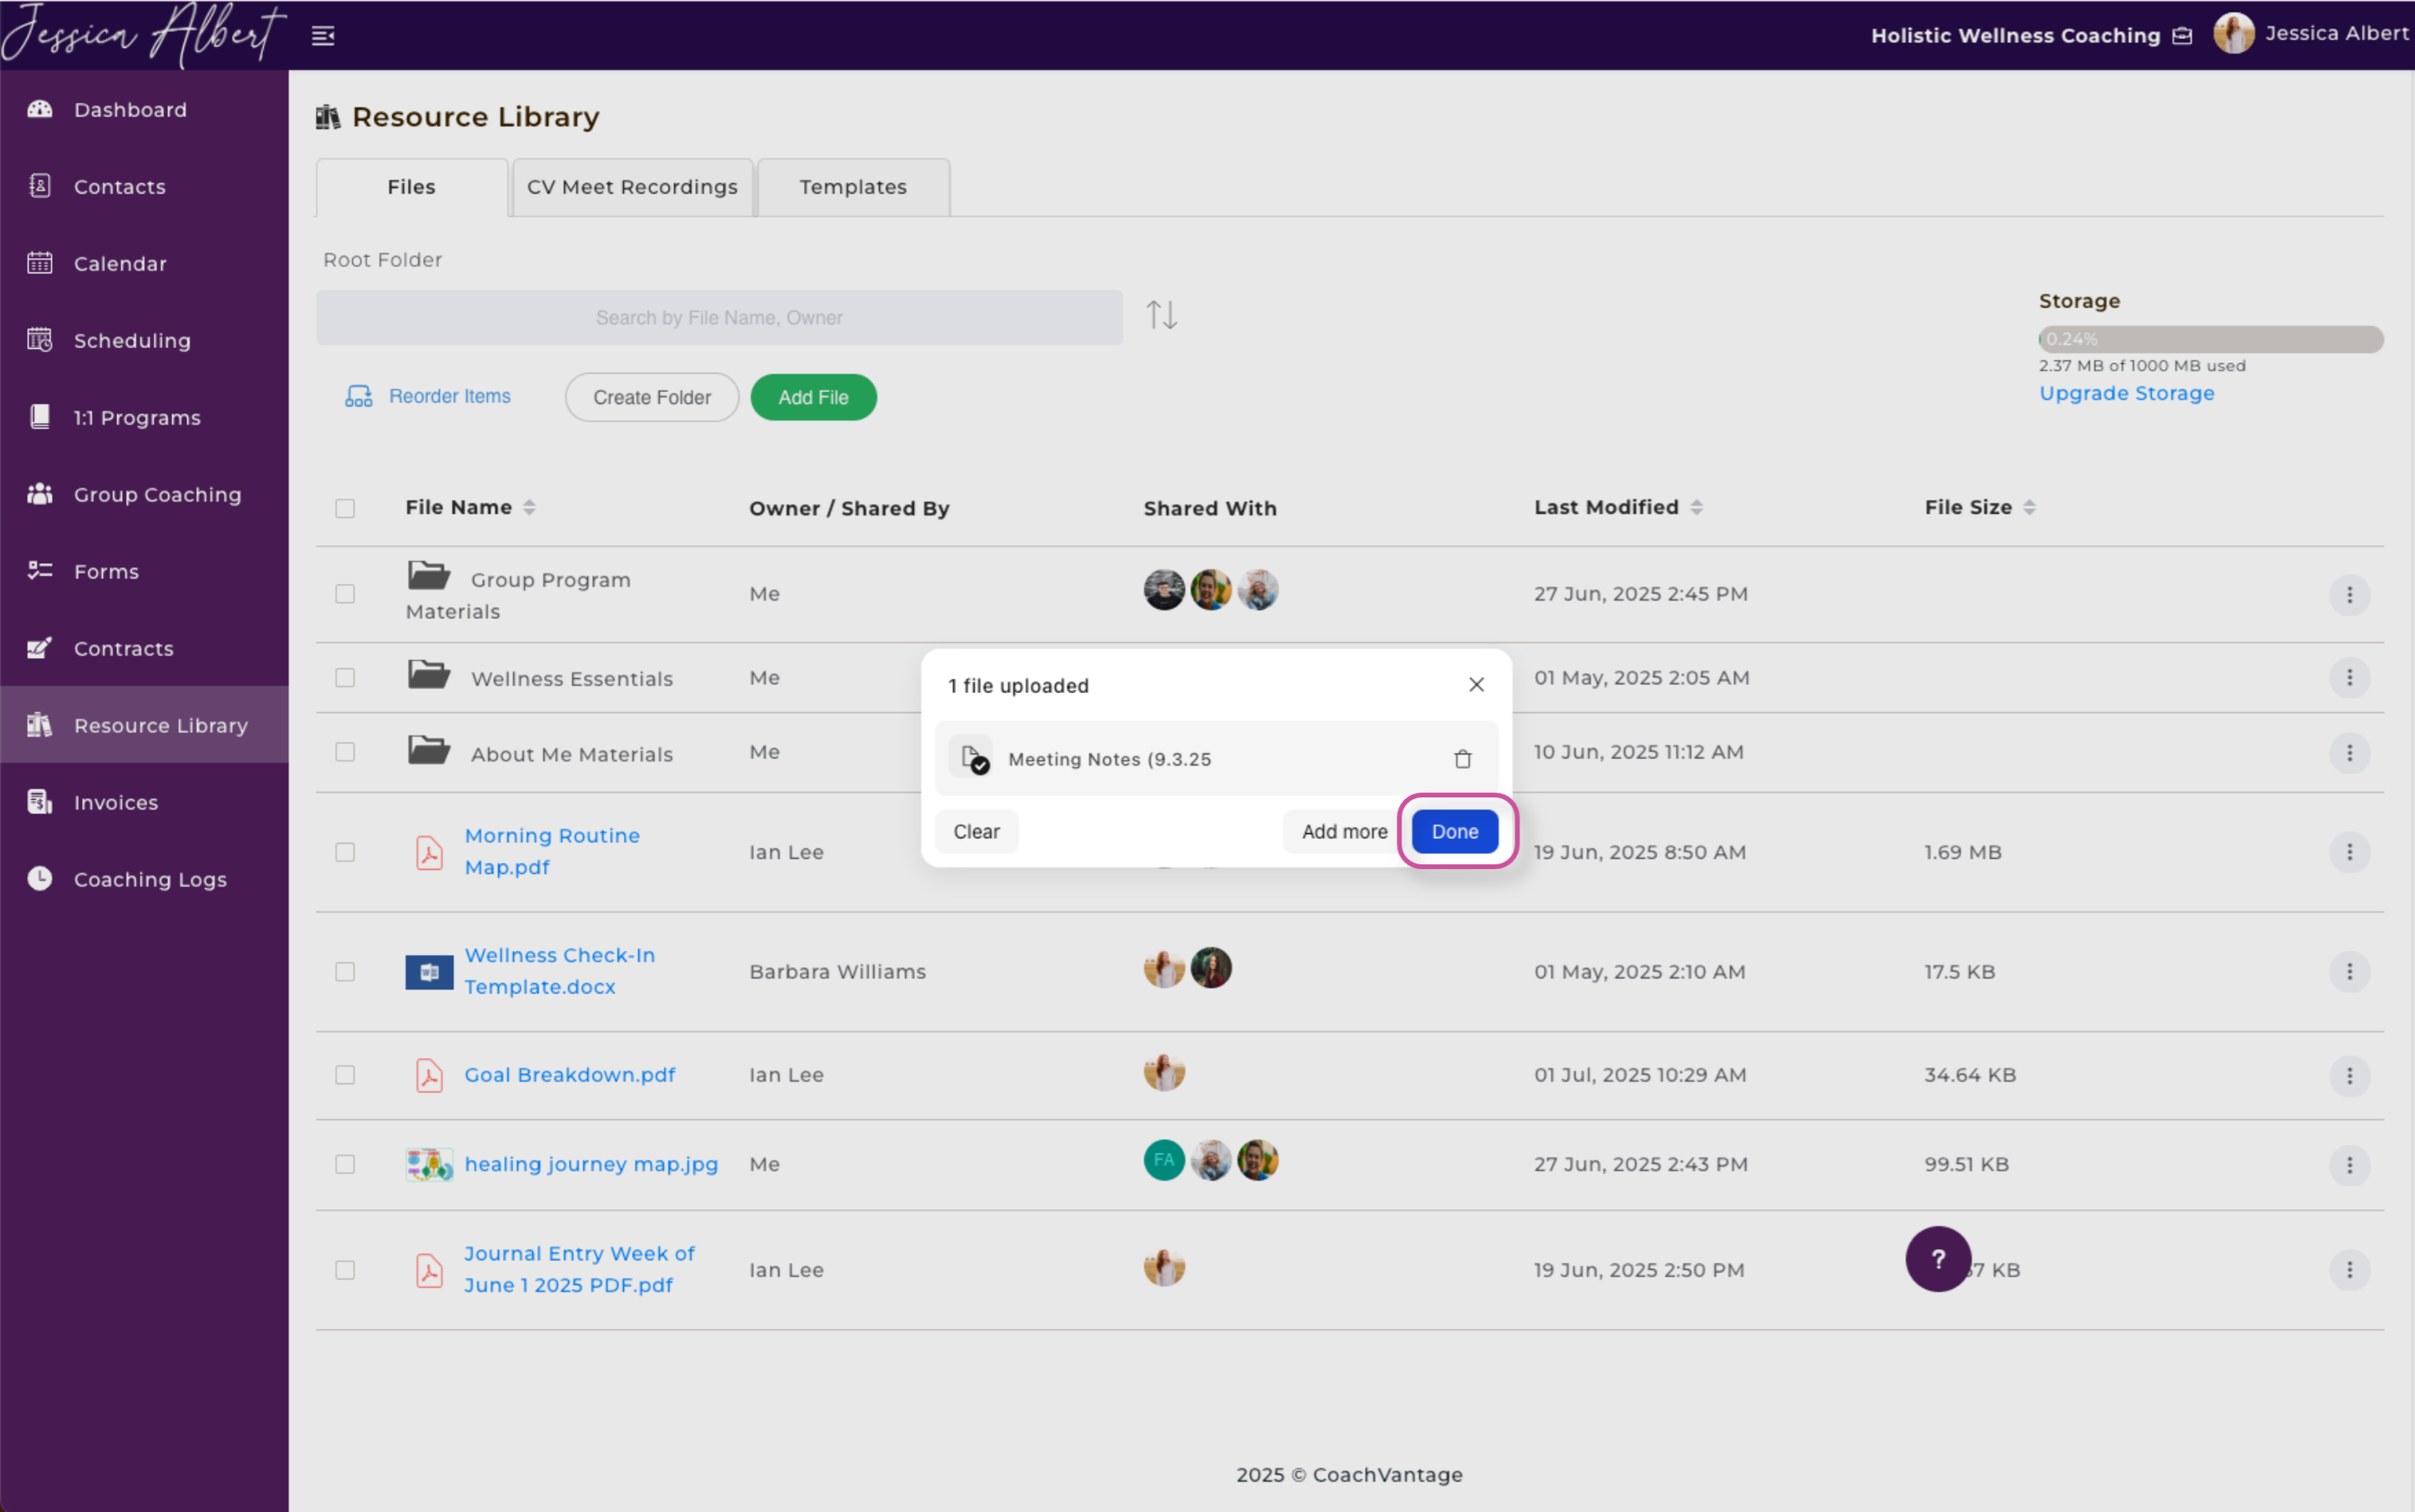
Wonderful! Your file has now successfully been uploaded from your Google Drive.
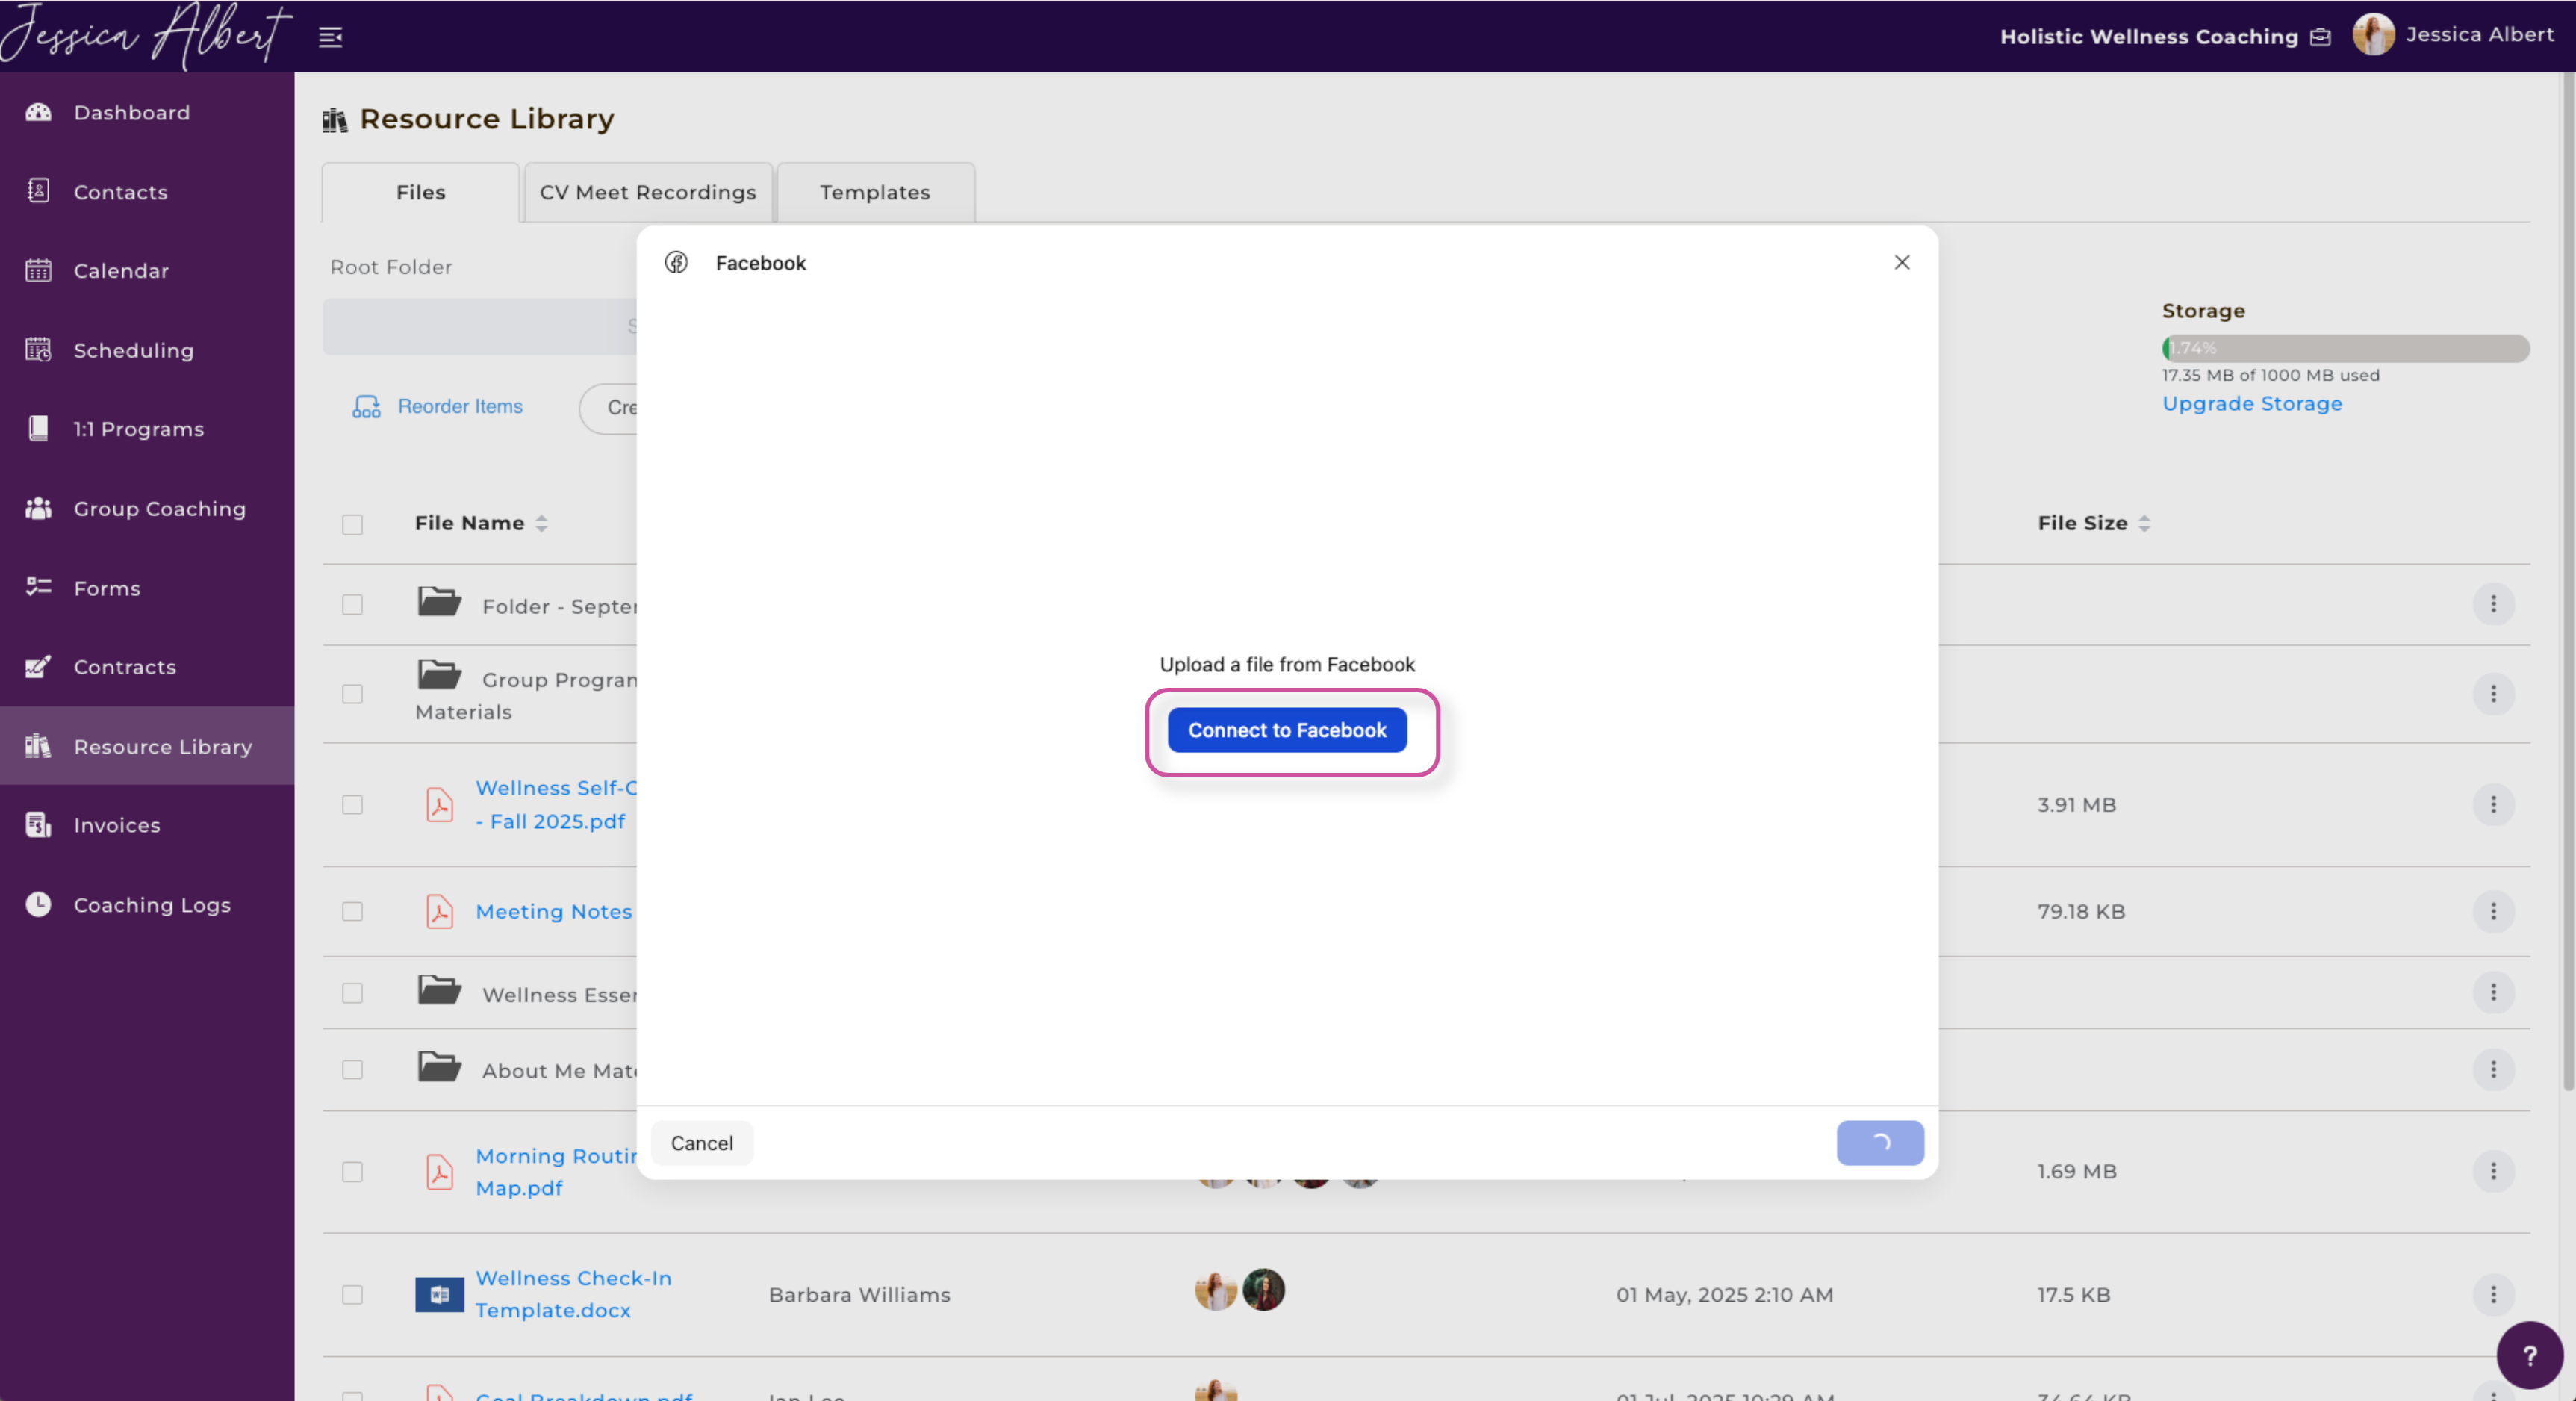
6. Facebook
Connect to Facebook.
A pop-up window will appear. Give Uploadcare access by selecting Continue as [Your Name].
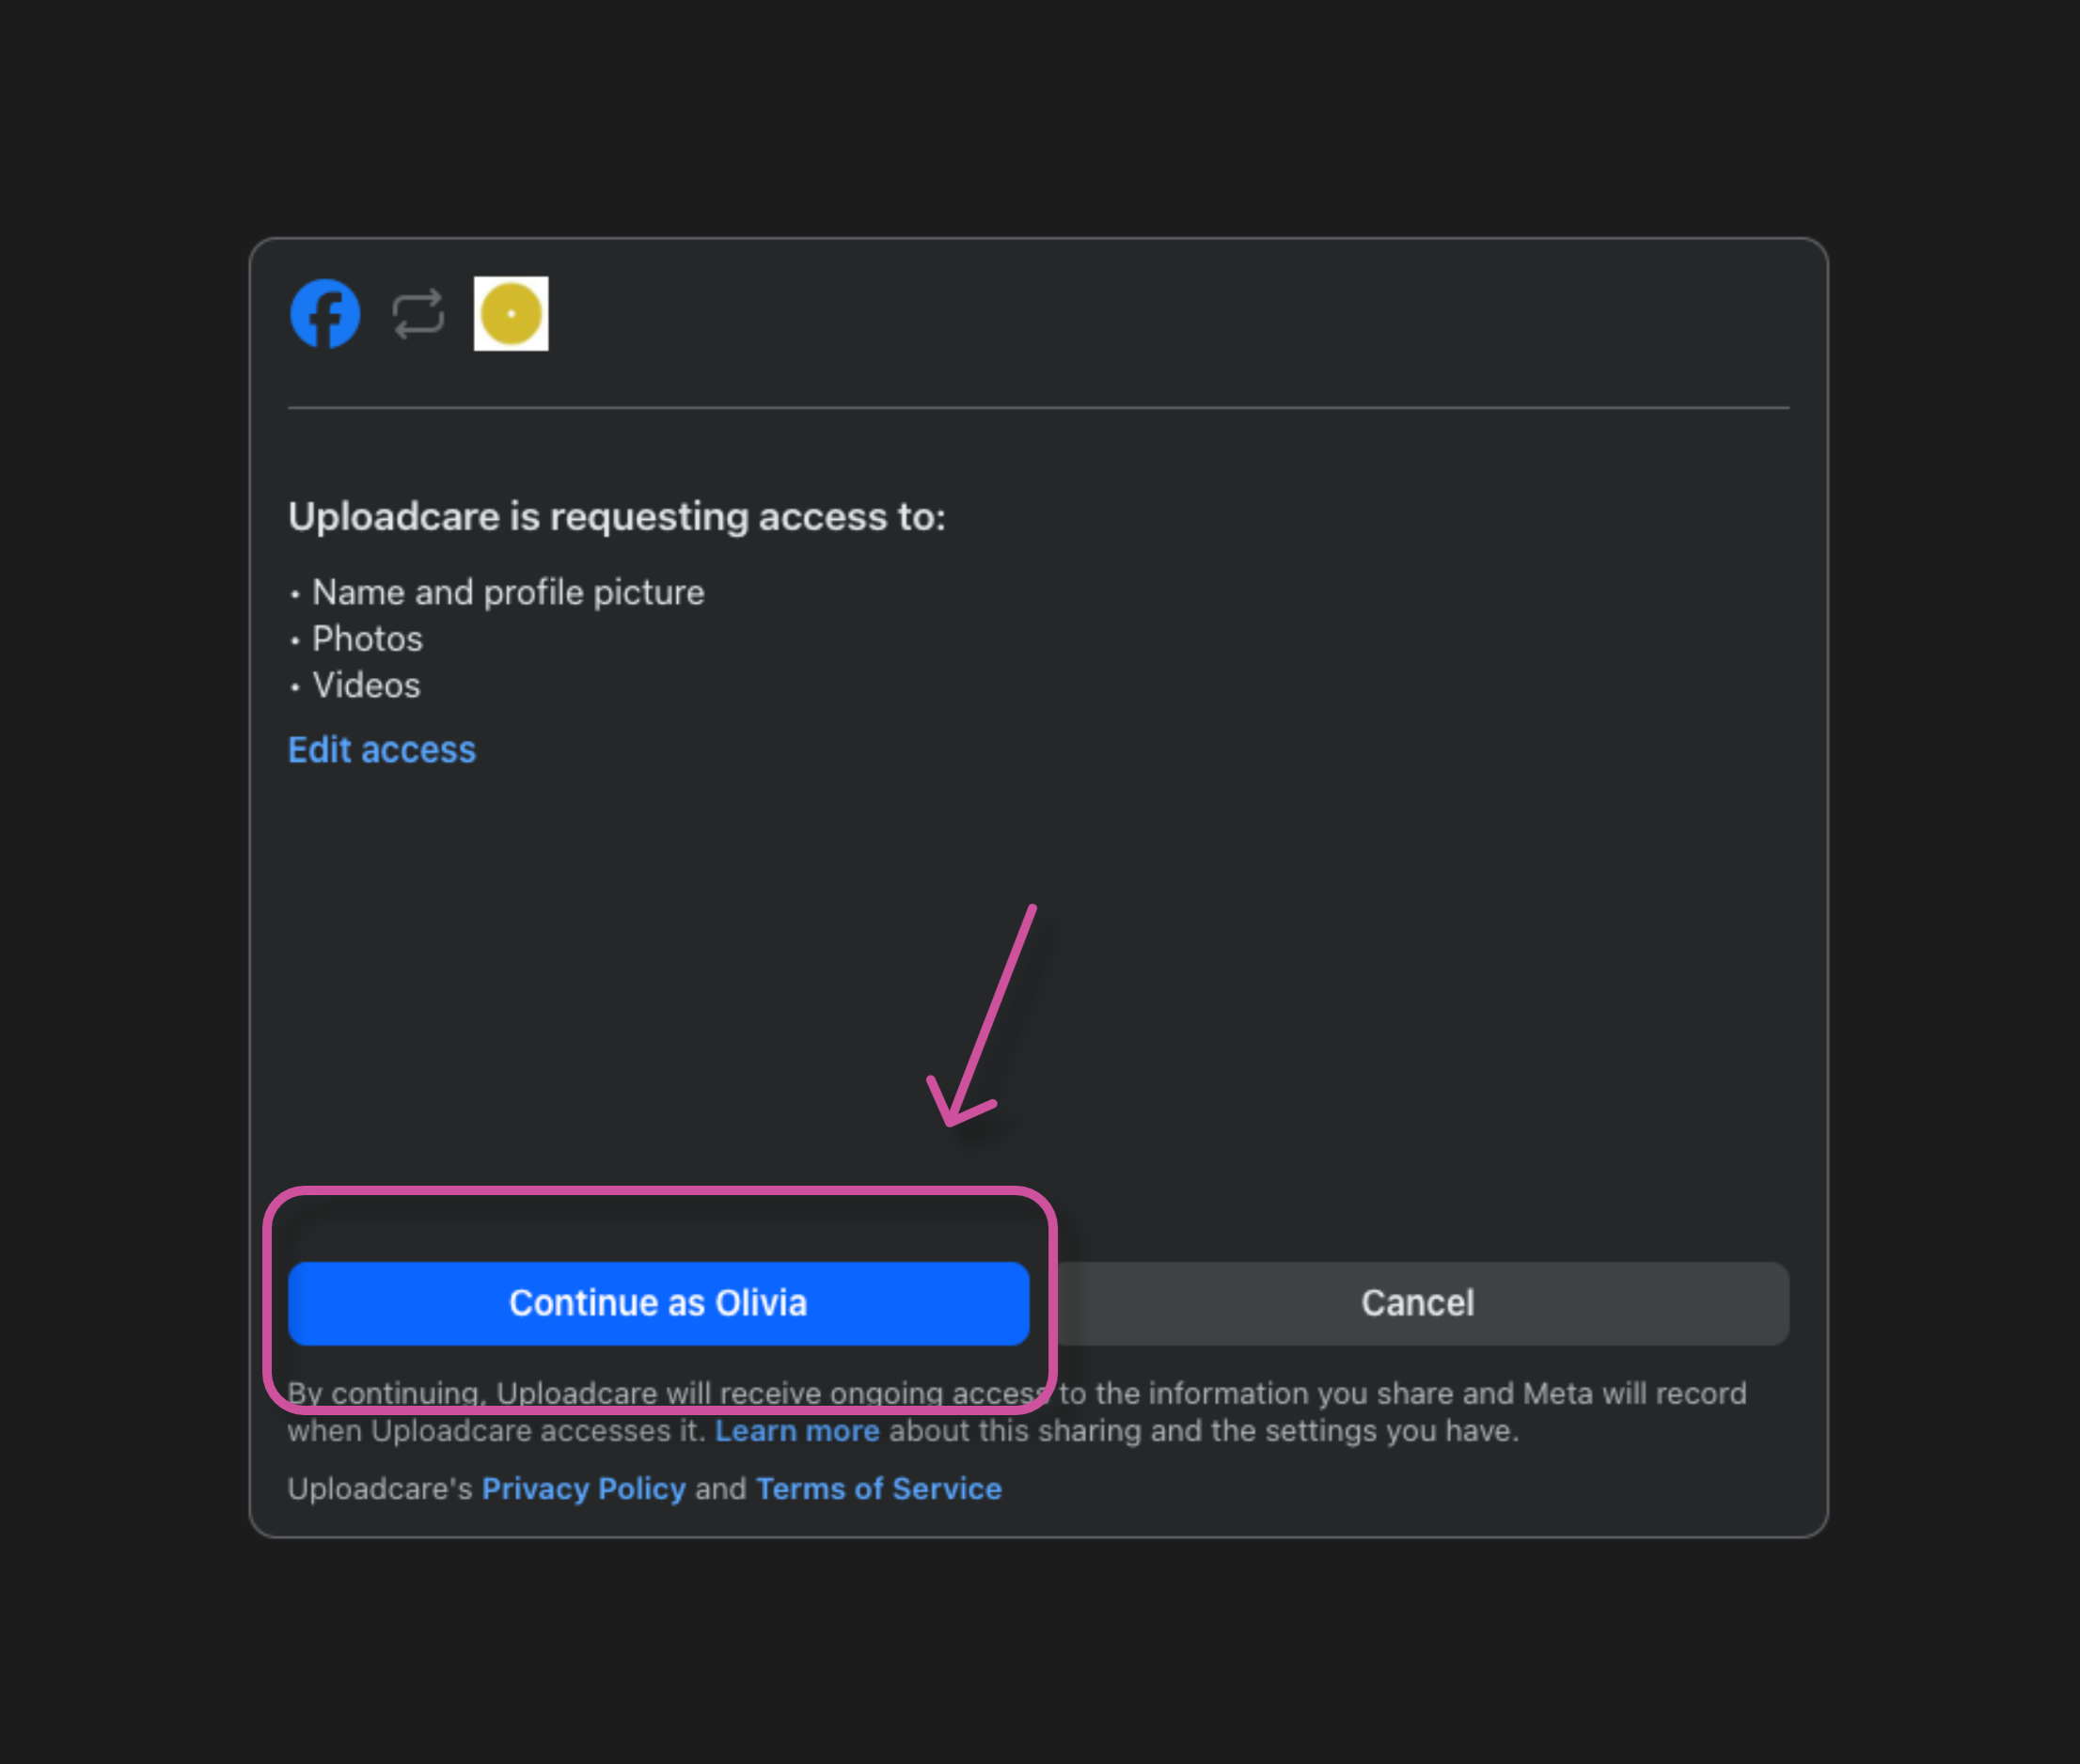
Your Facebook photos will appear.
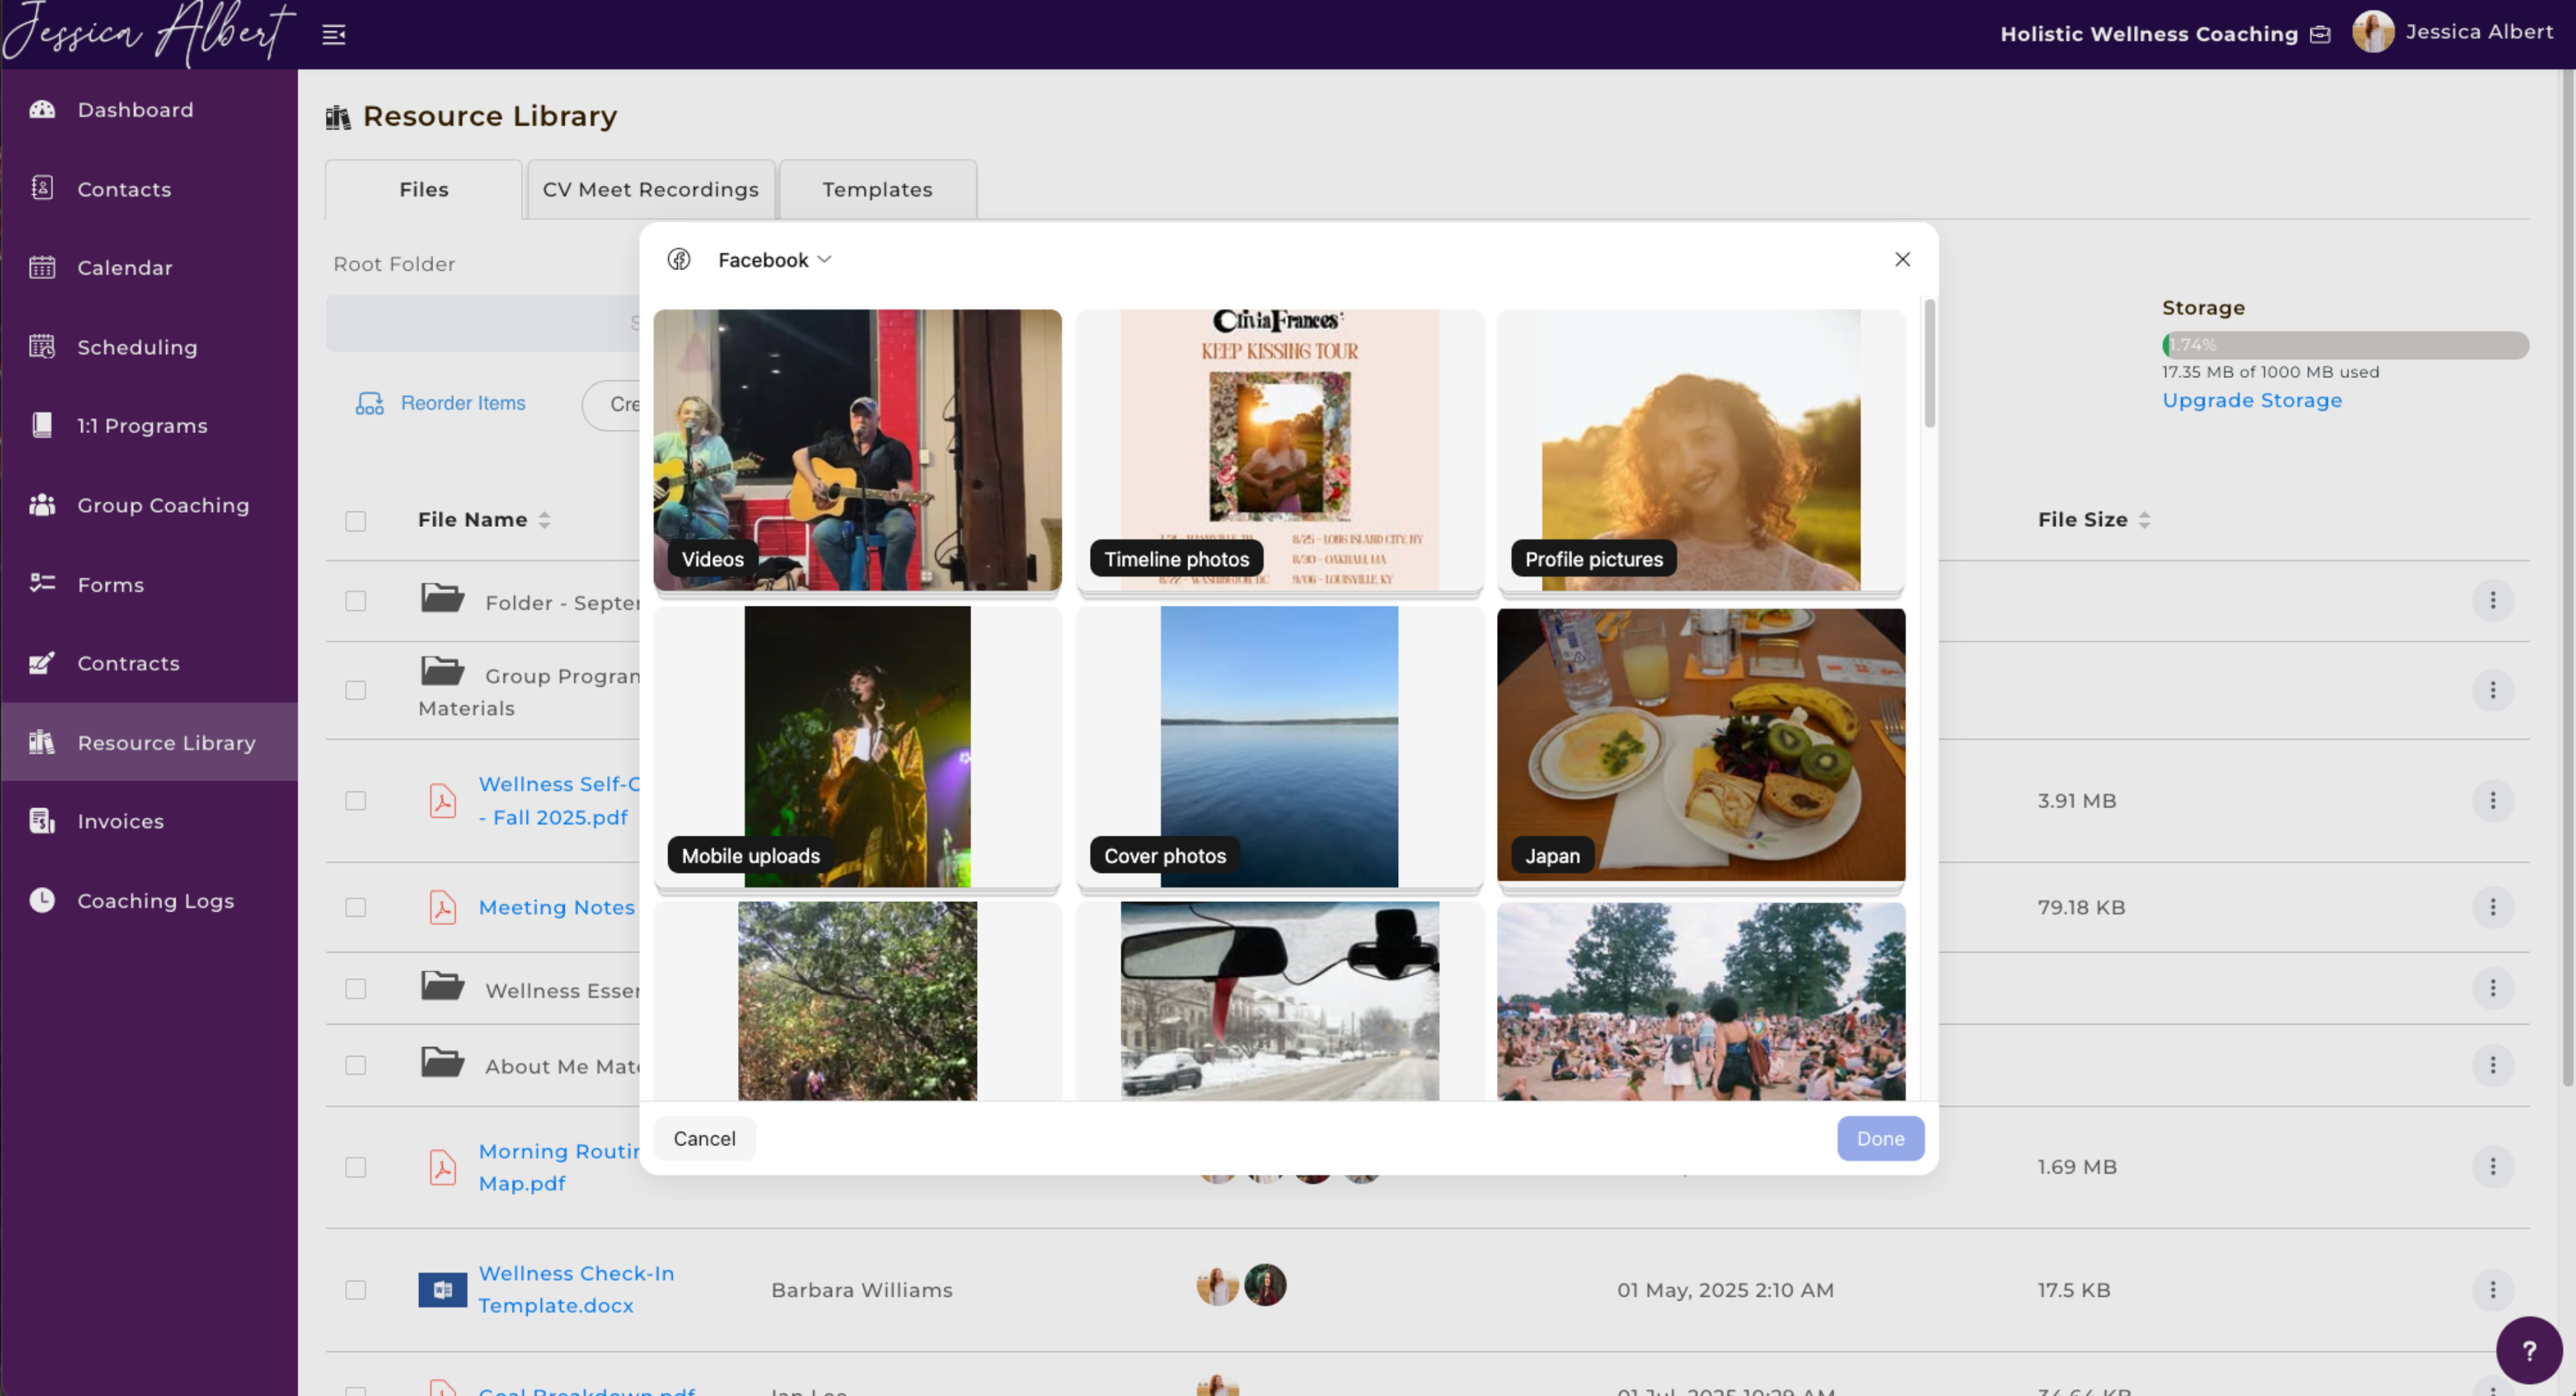
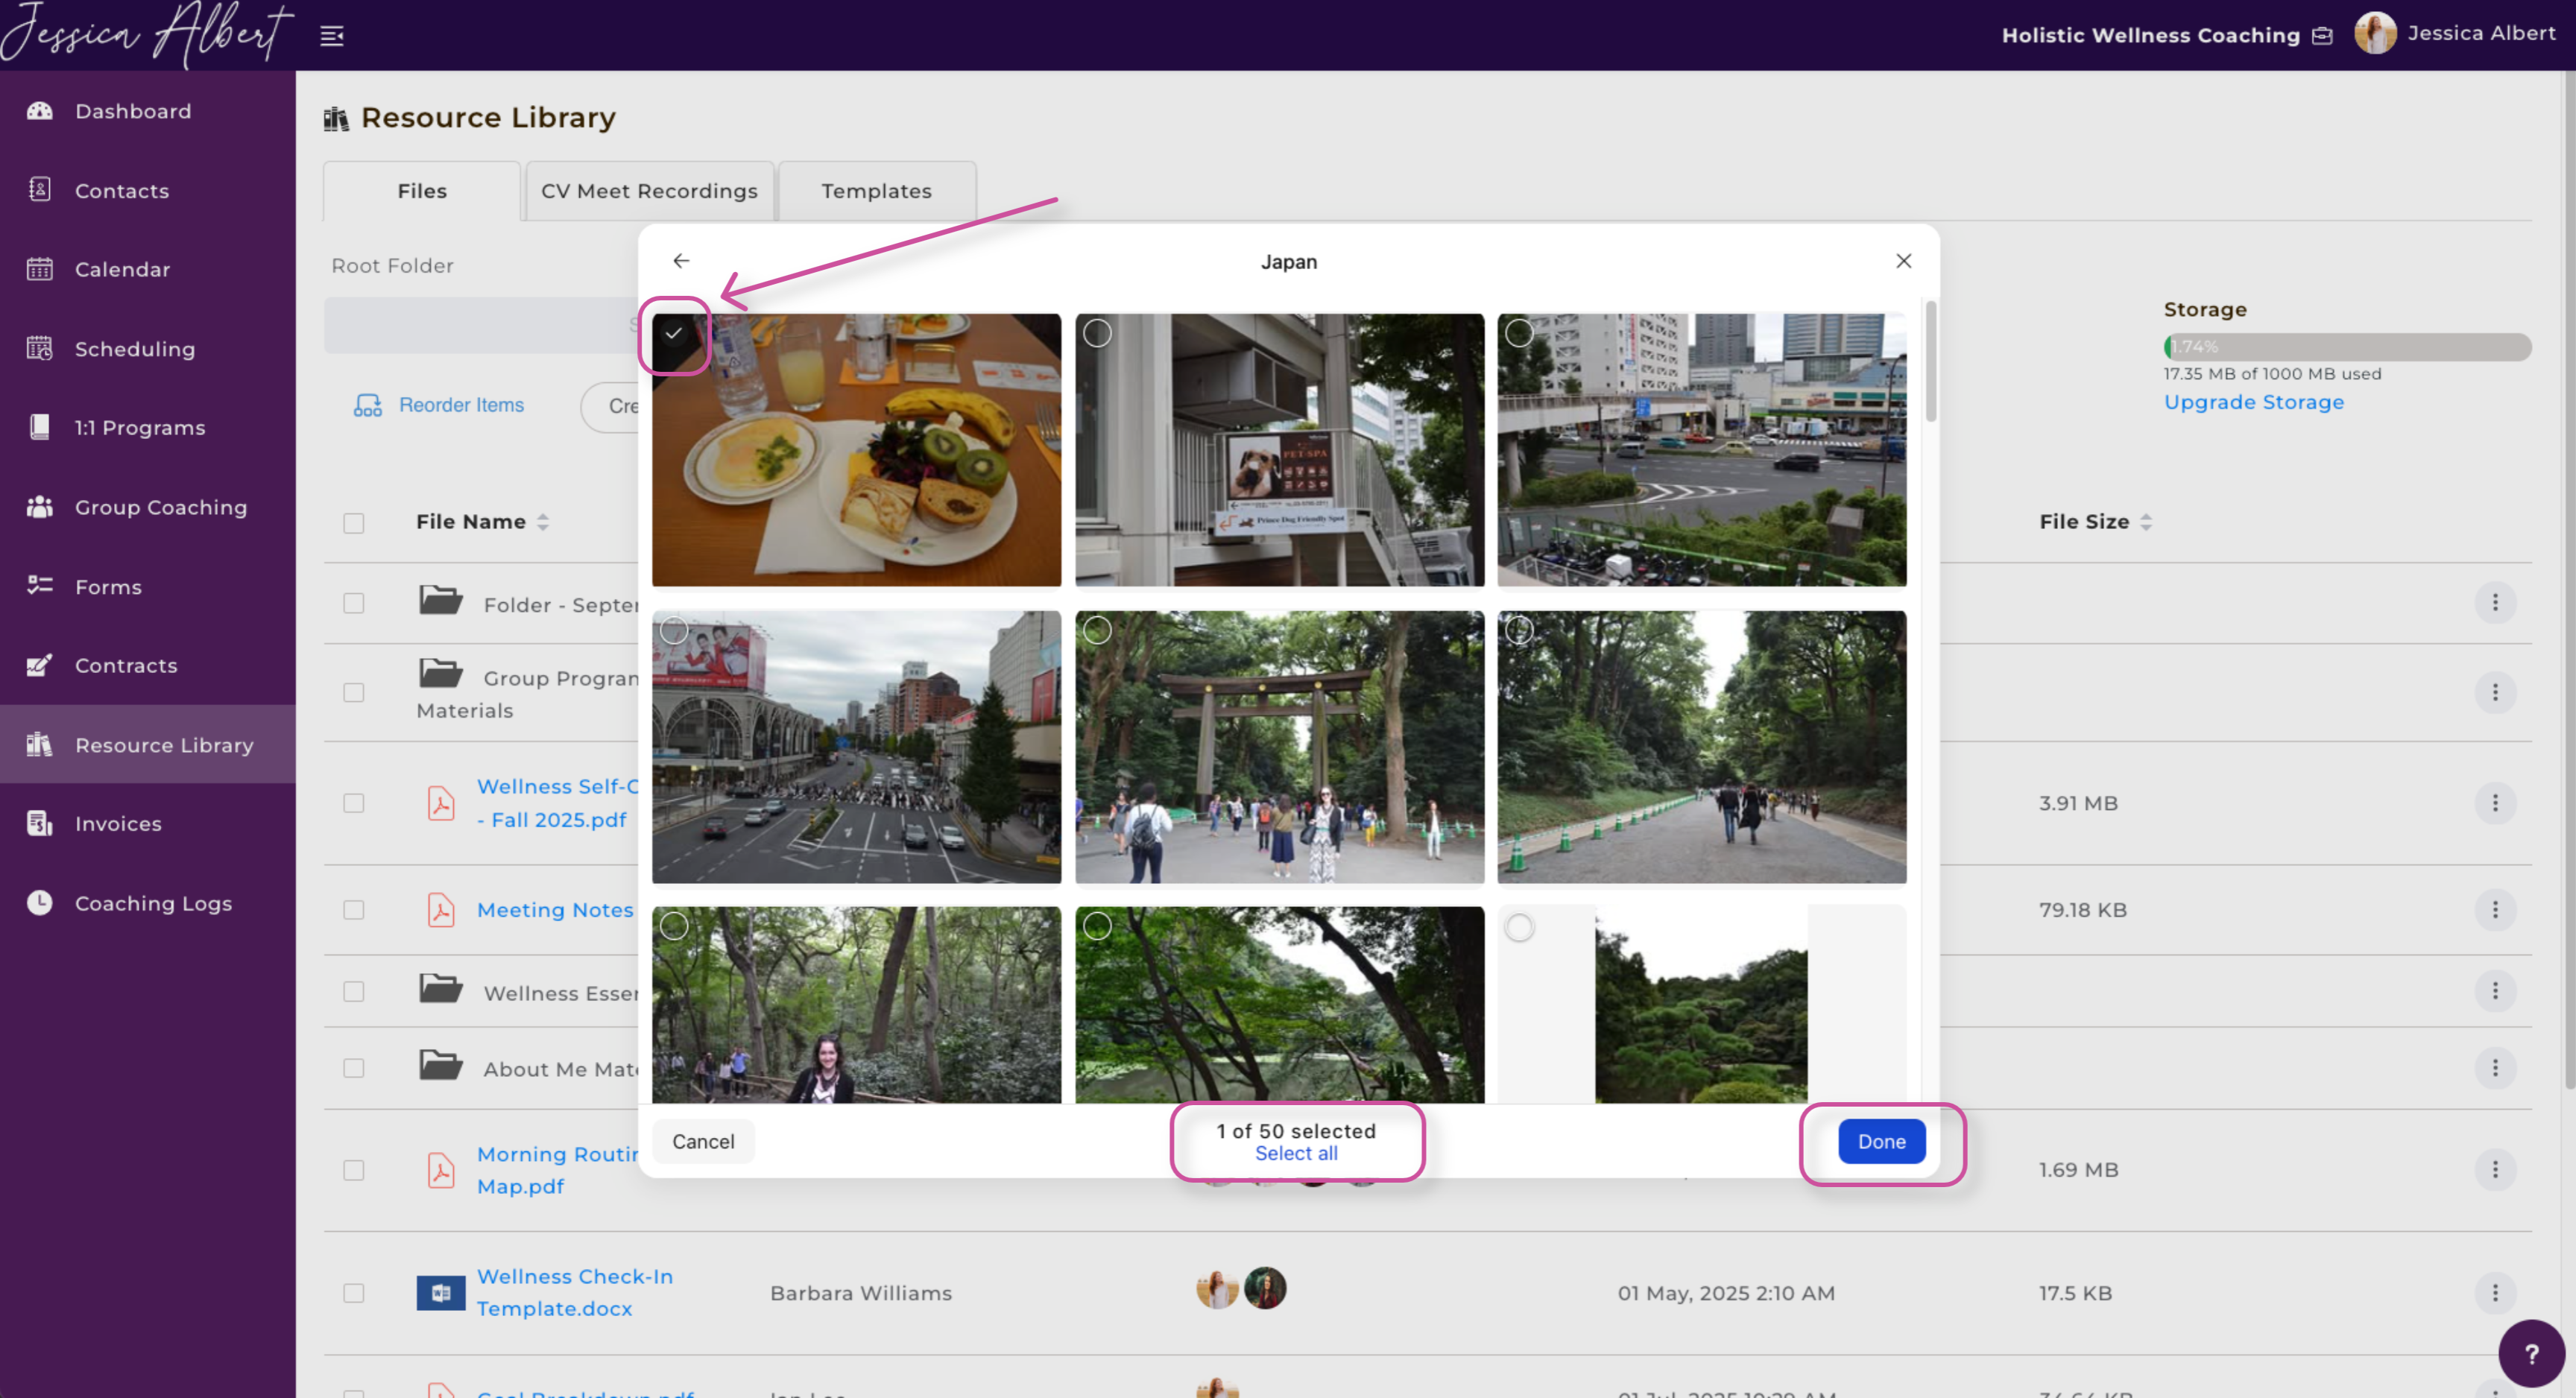
Find the photo(s) and/or video(s) you would like to upload. Then, select the check mark in the top left-hand corner of the media. You may select up to 50 pieces of media.
Press Done when finished.
Unlike a video, if you select an image, you can edit the image accordingly. You may crop, add saturation, increase the brightness, etc. When you are ready, press the check mark at the bottom right-hand corner of the screen to continue.
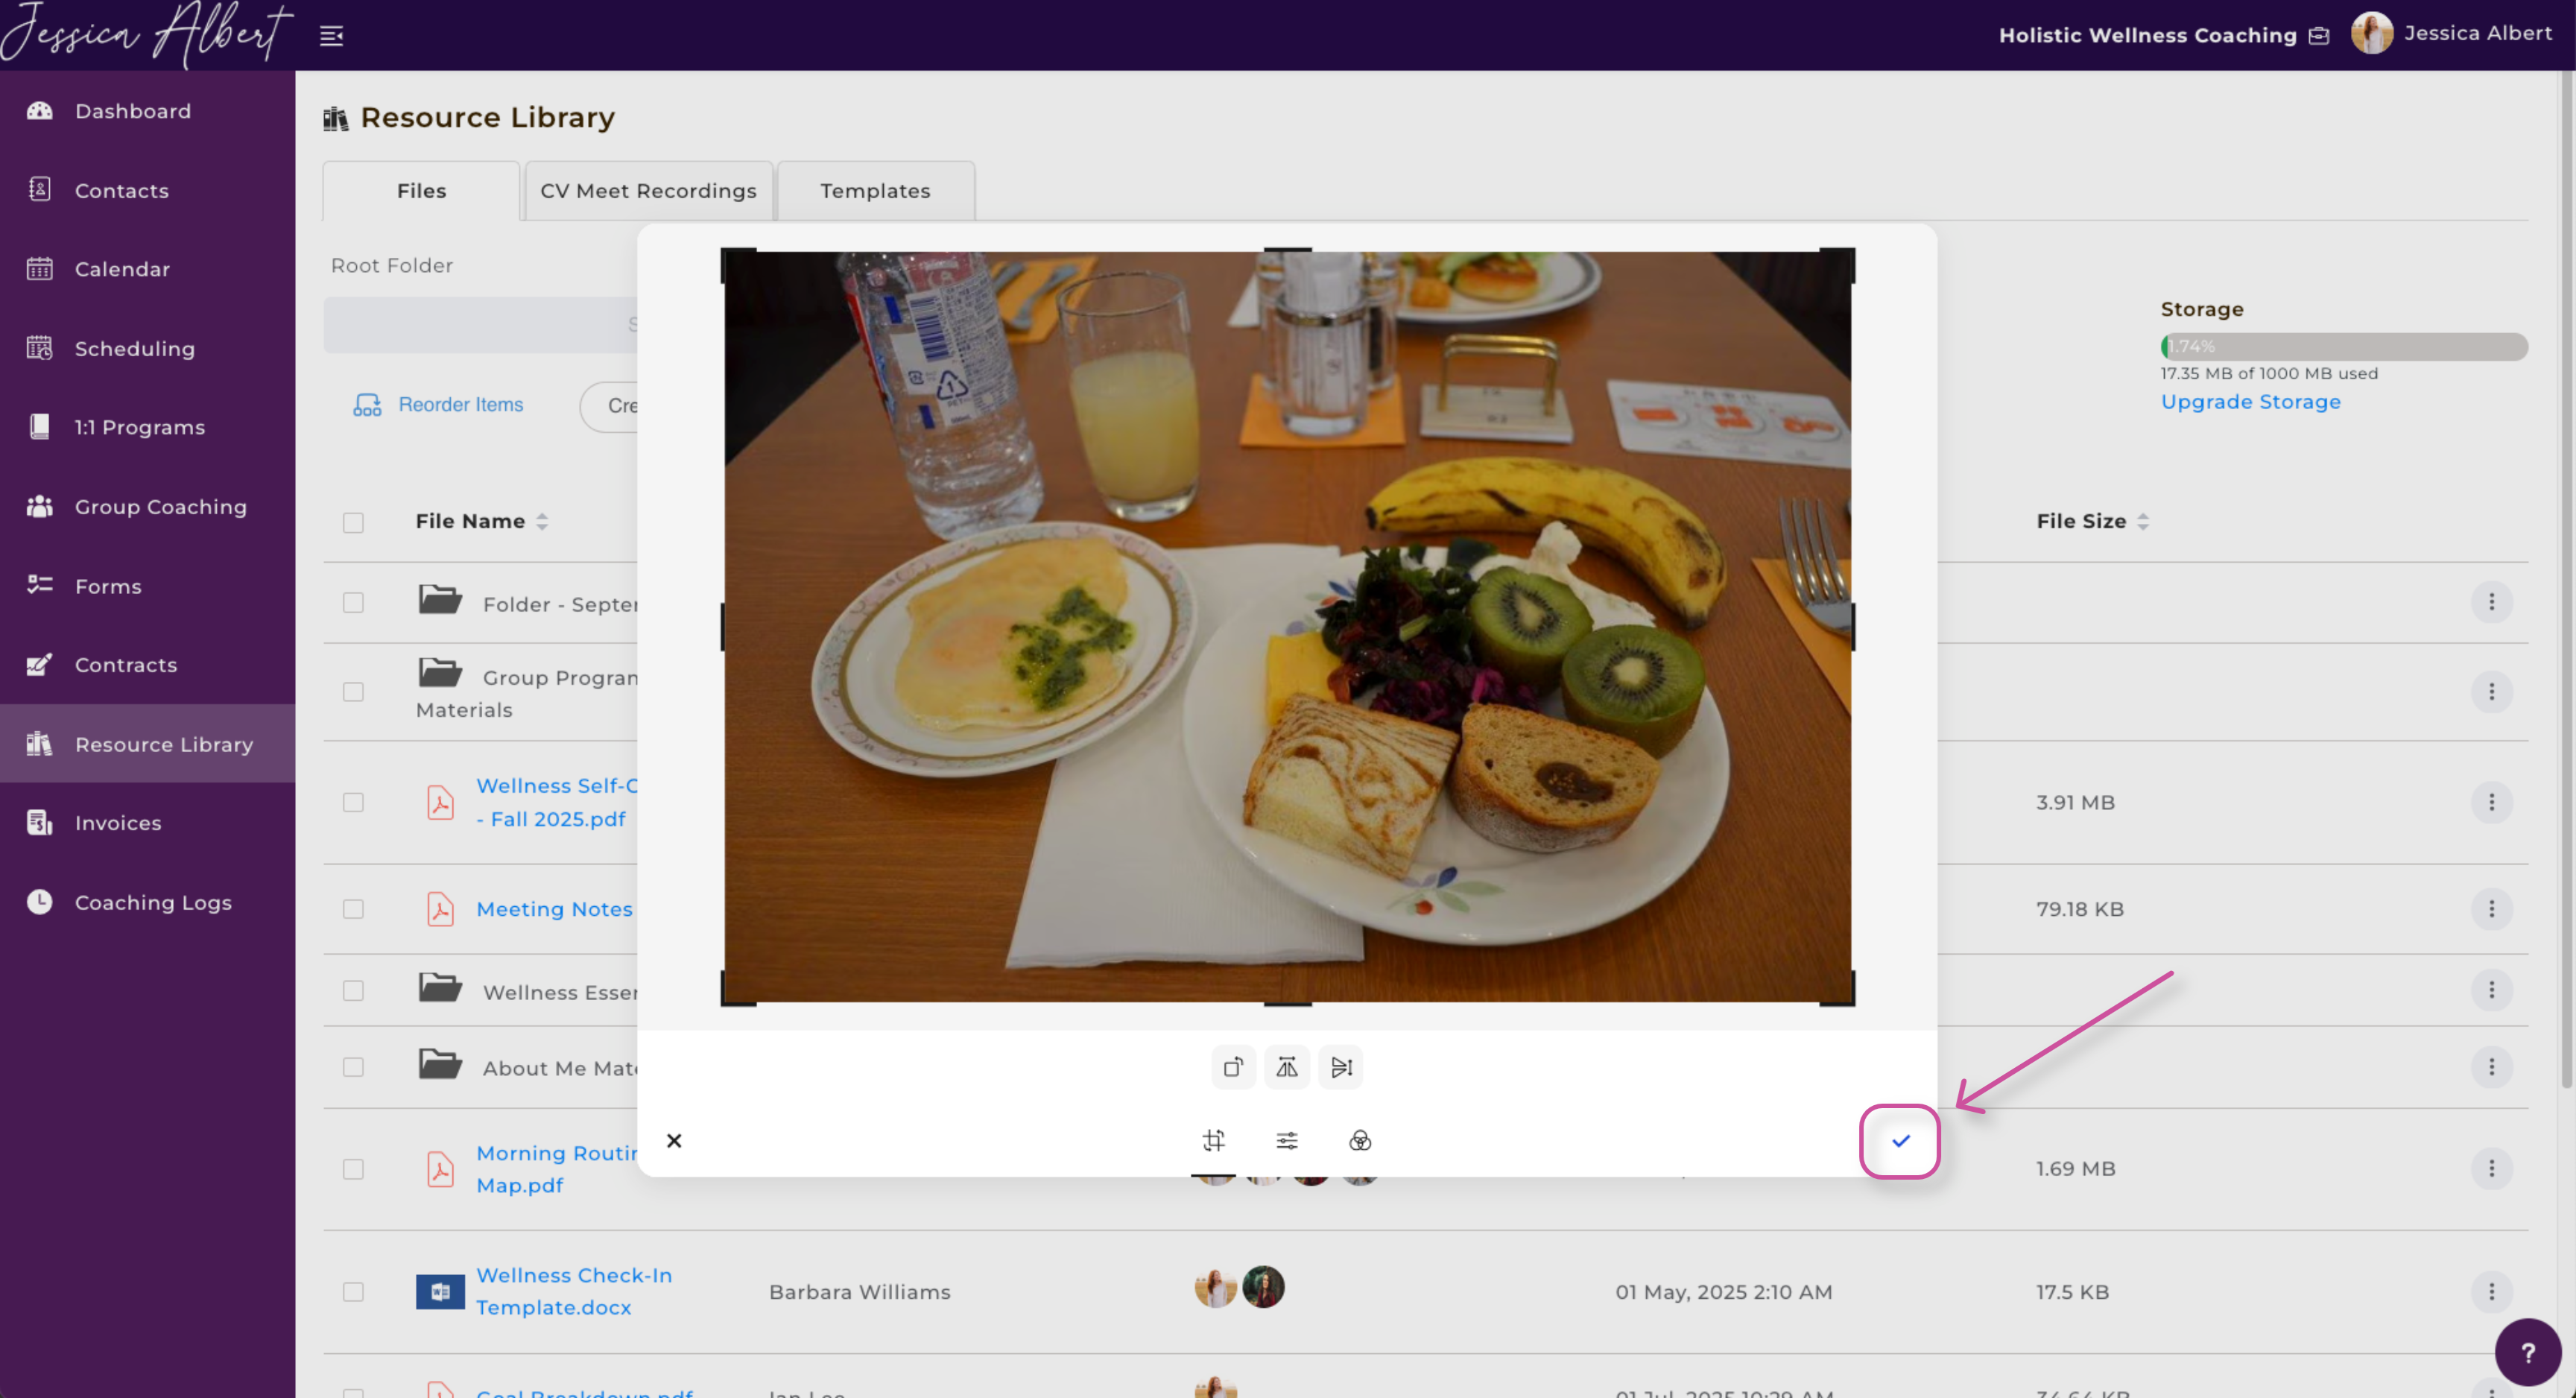
Press Done to continue.
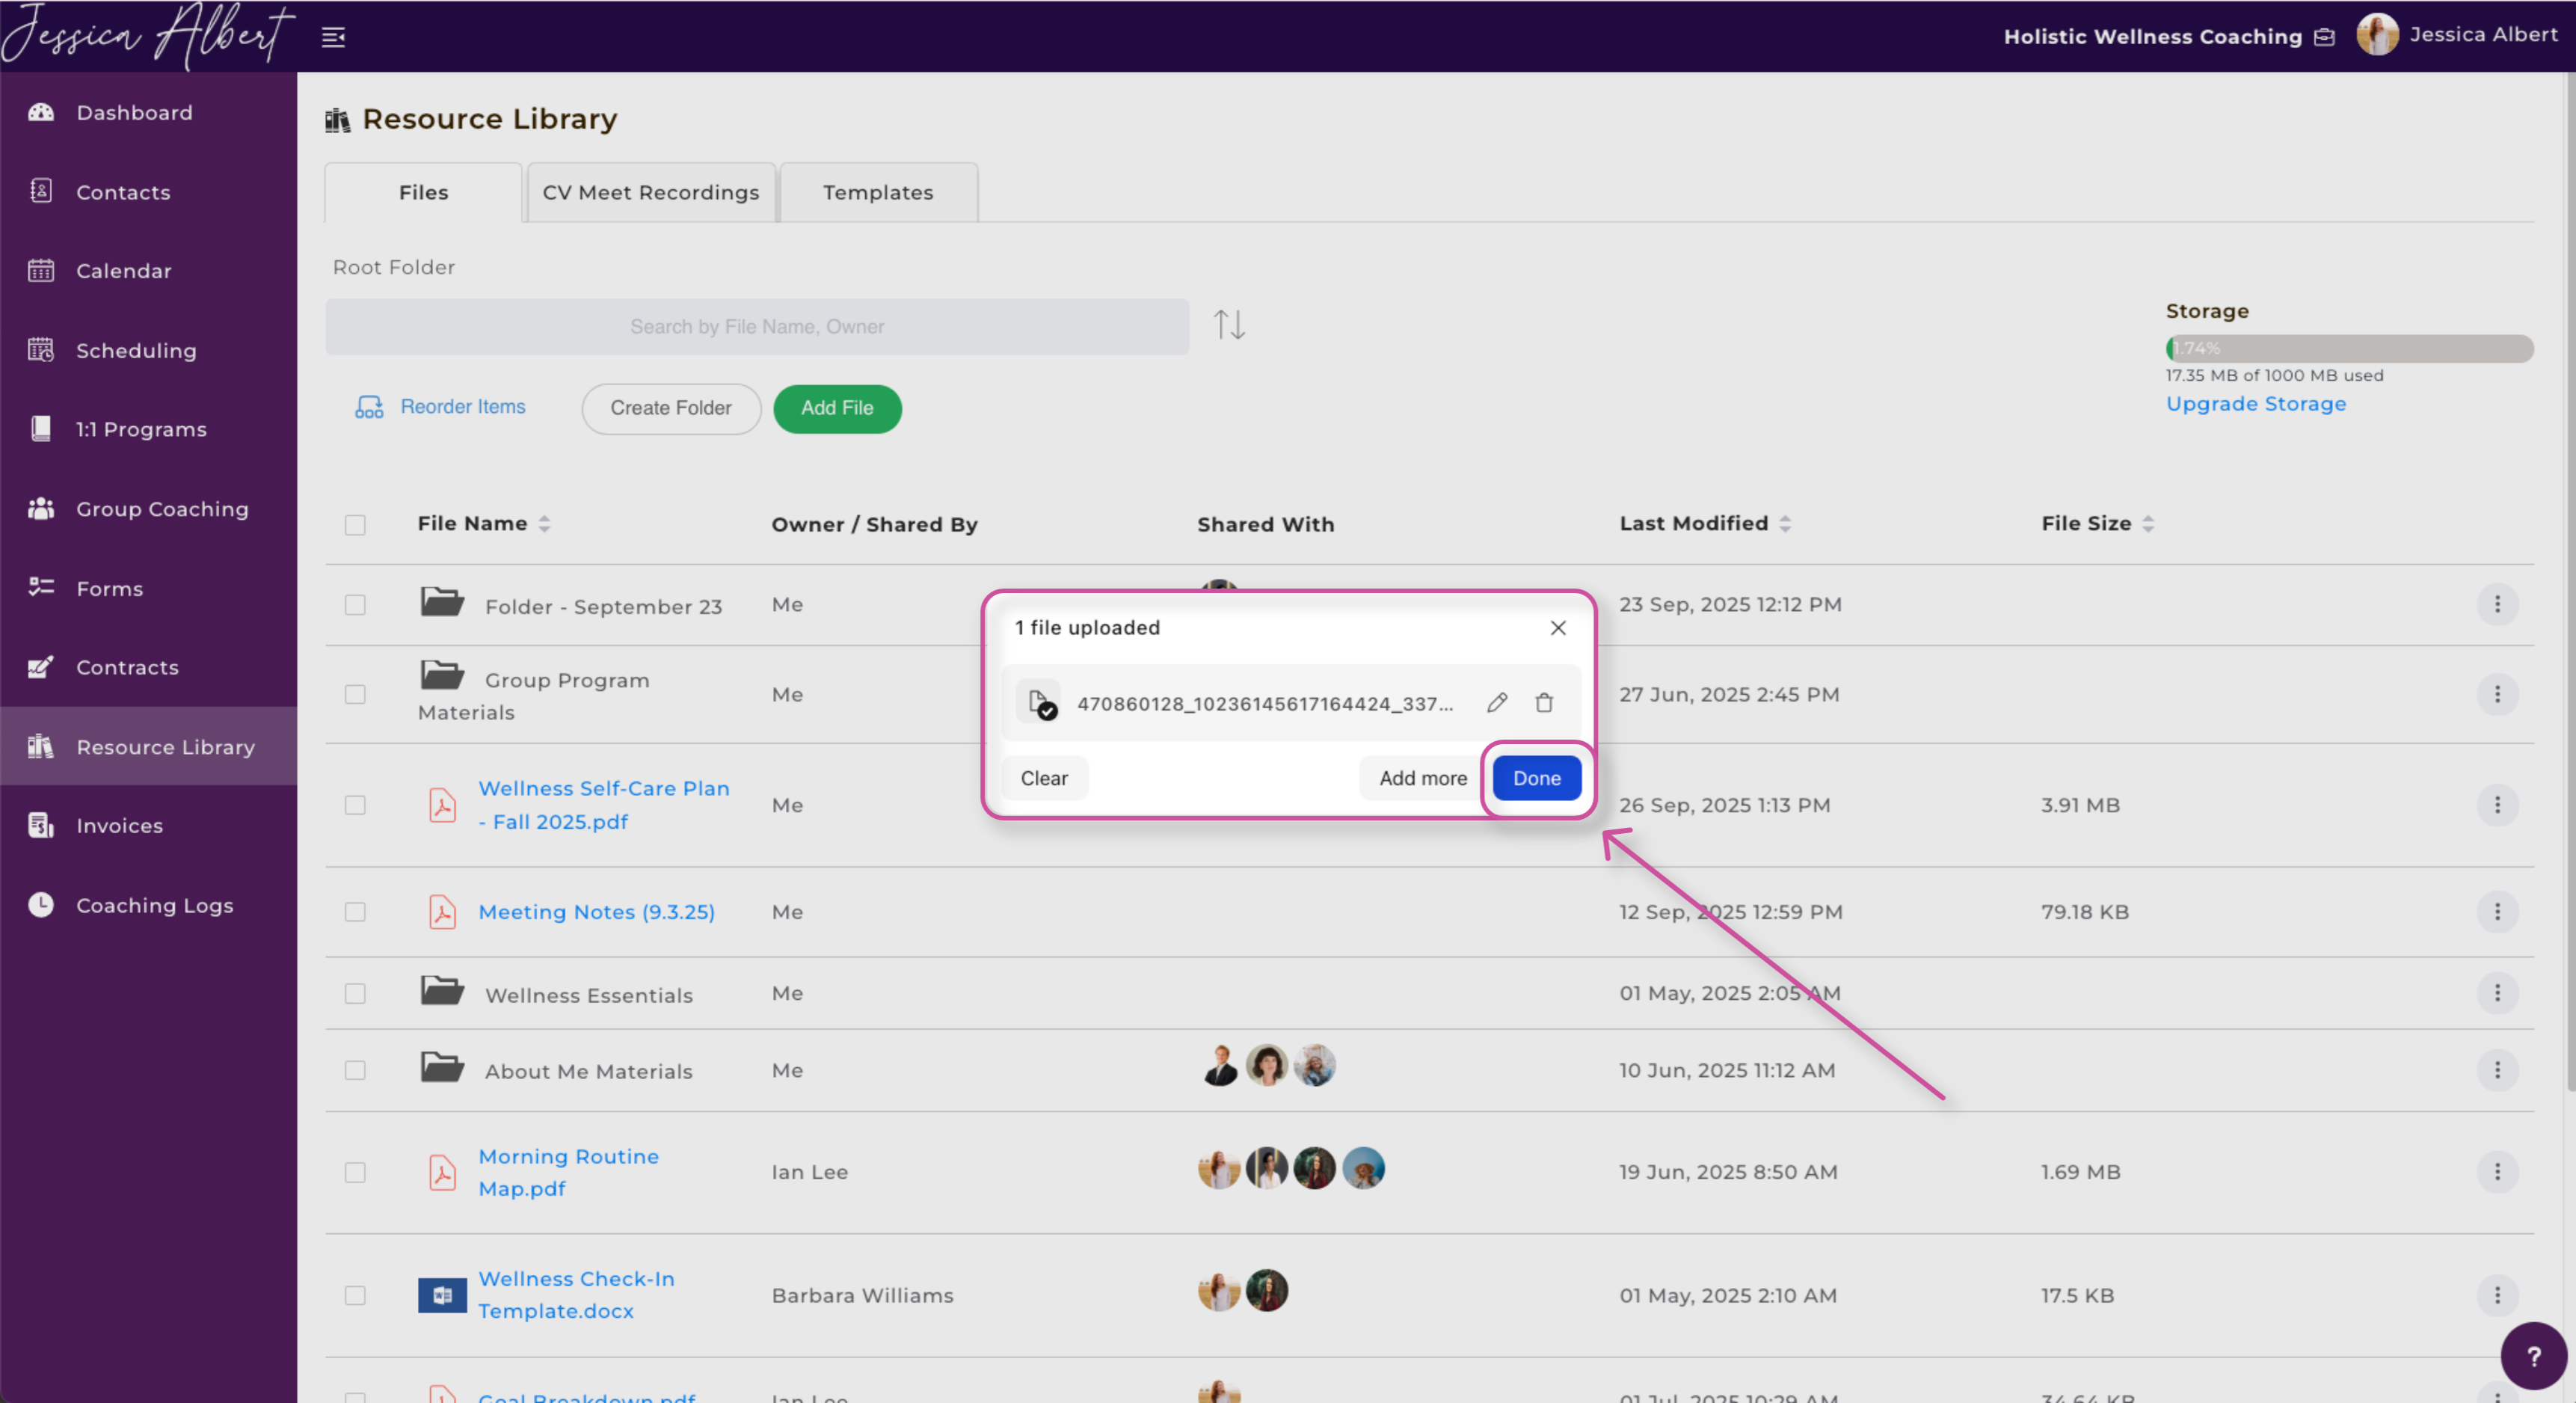
Congrats! Your photo from FaceBook has been uploaded successfully.

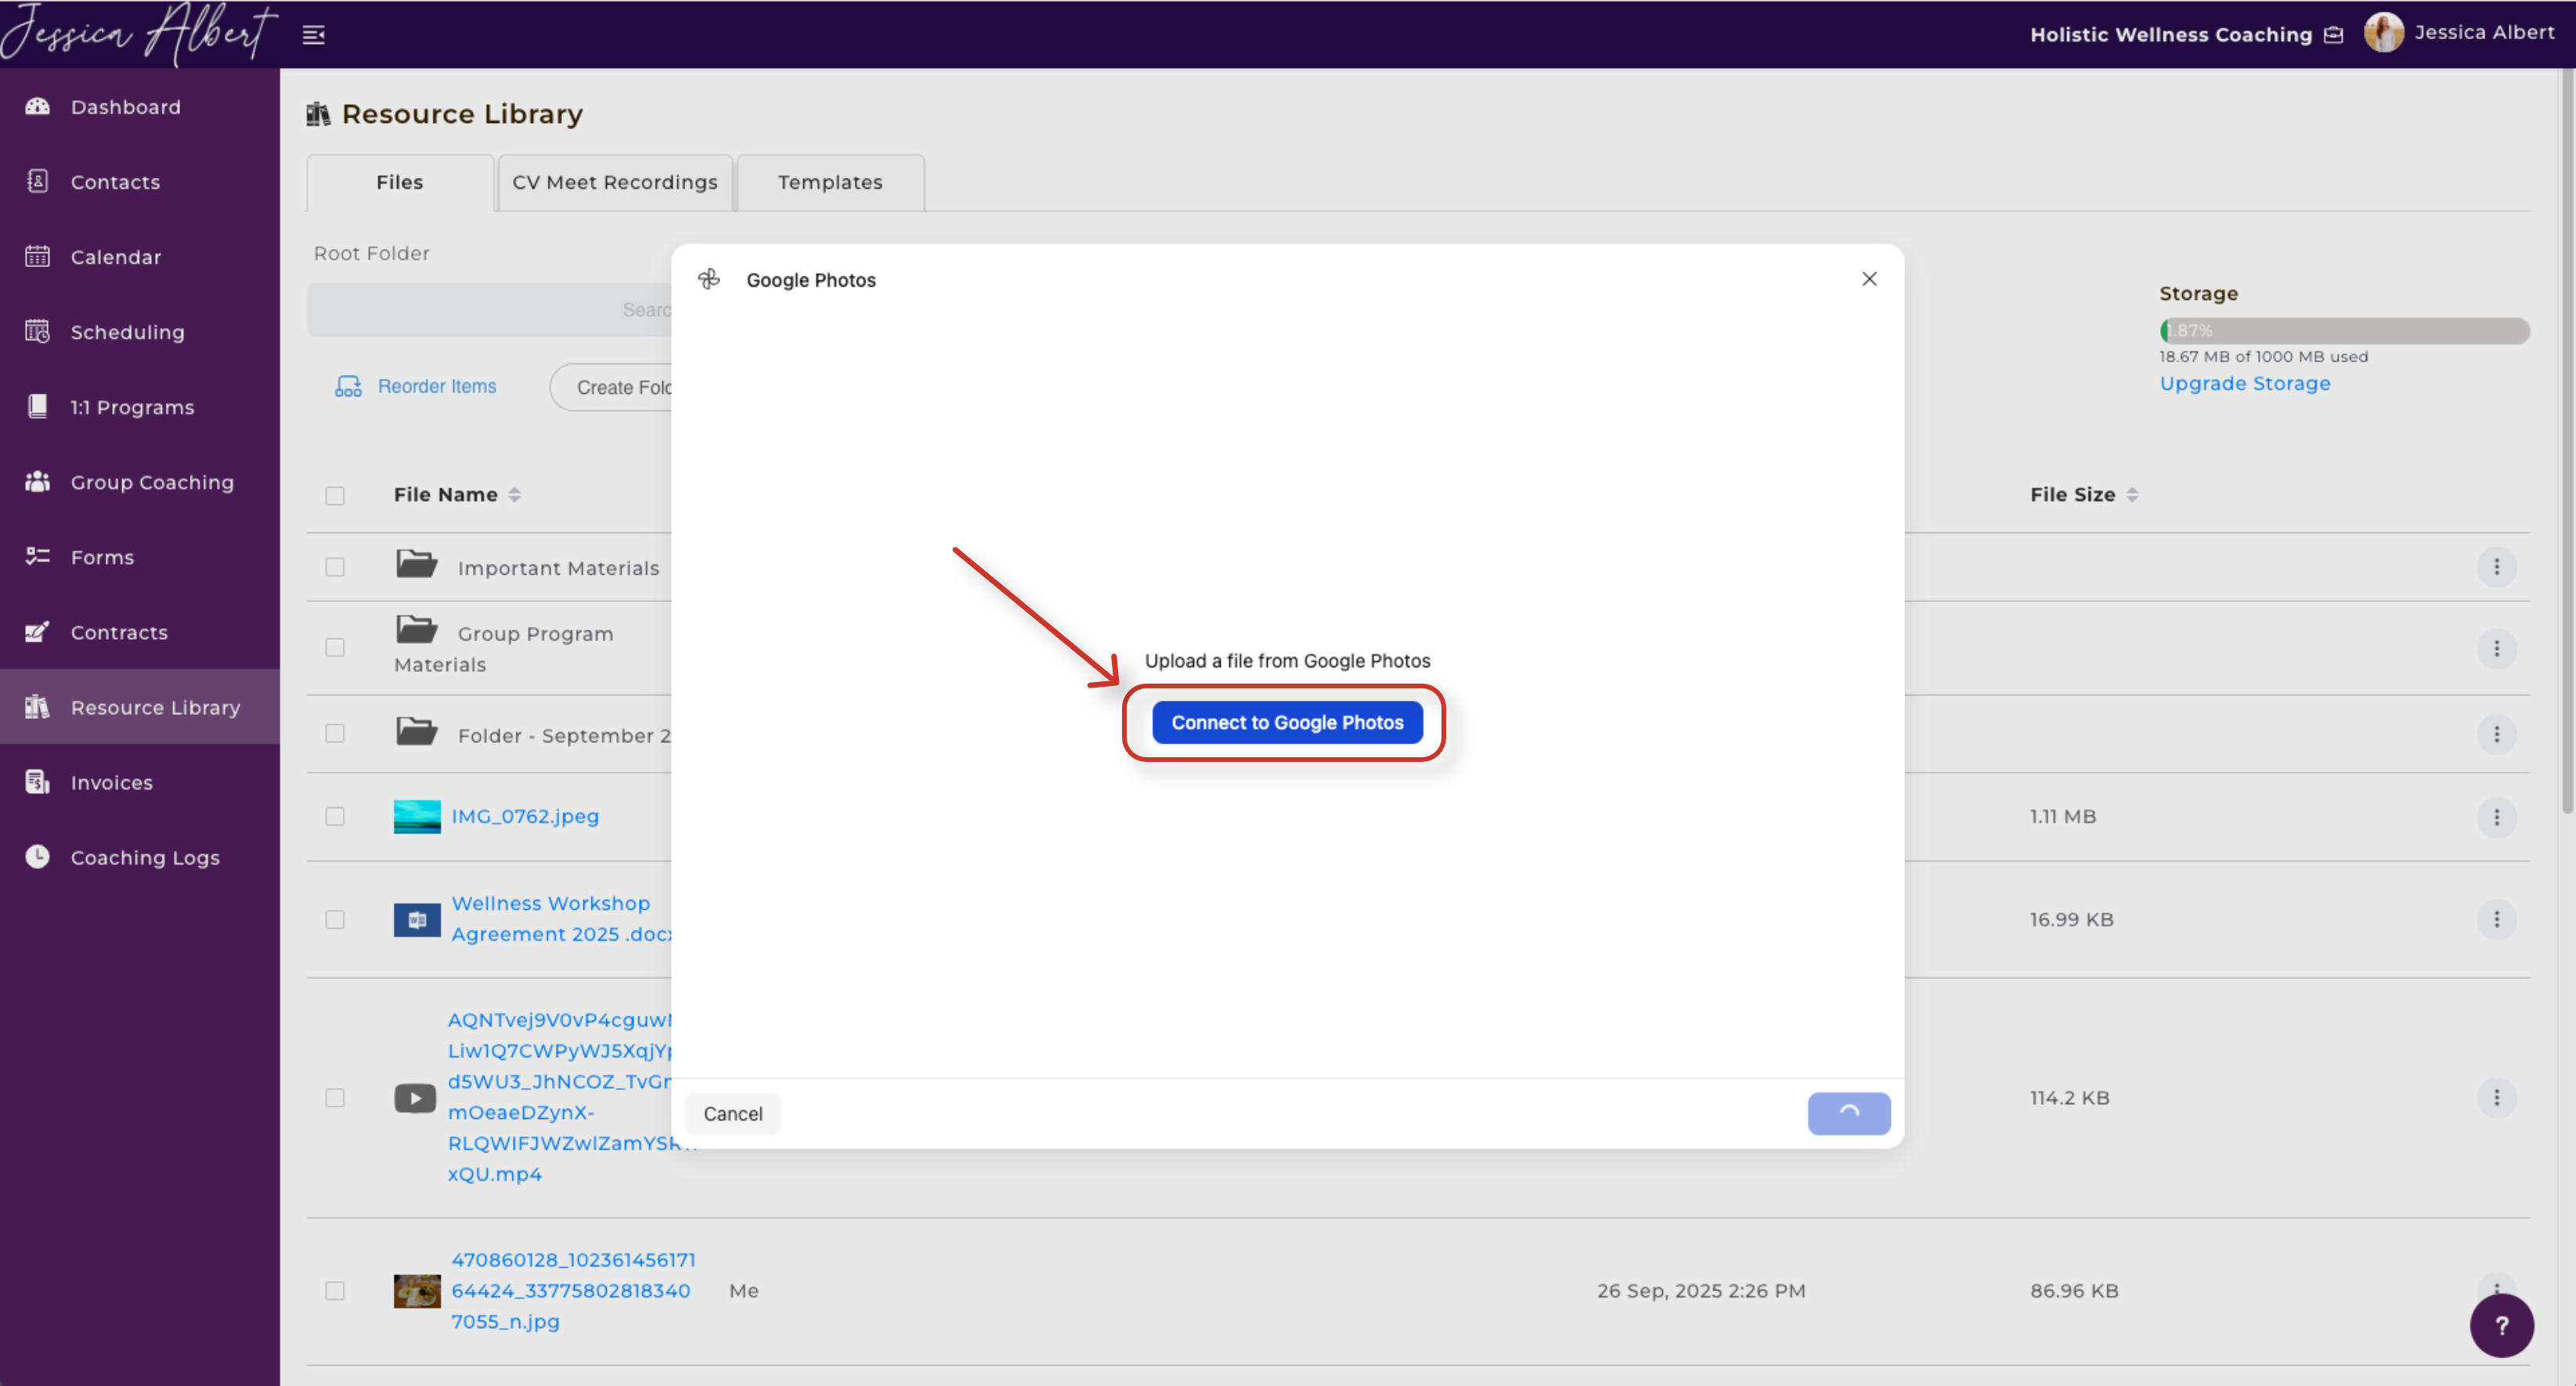
7. Google Photos
You also have the option to upload photos via your Google Photos.
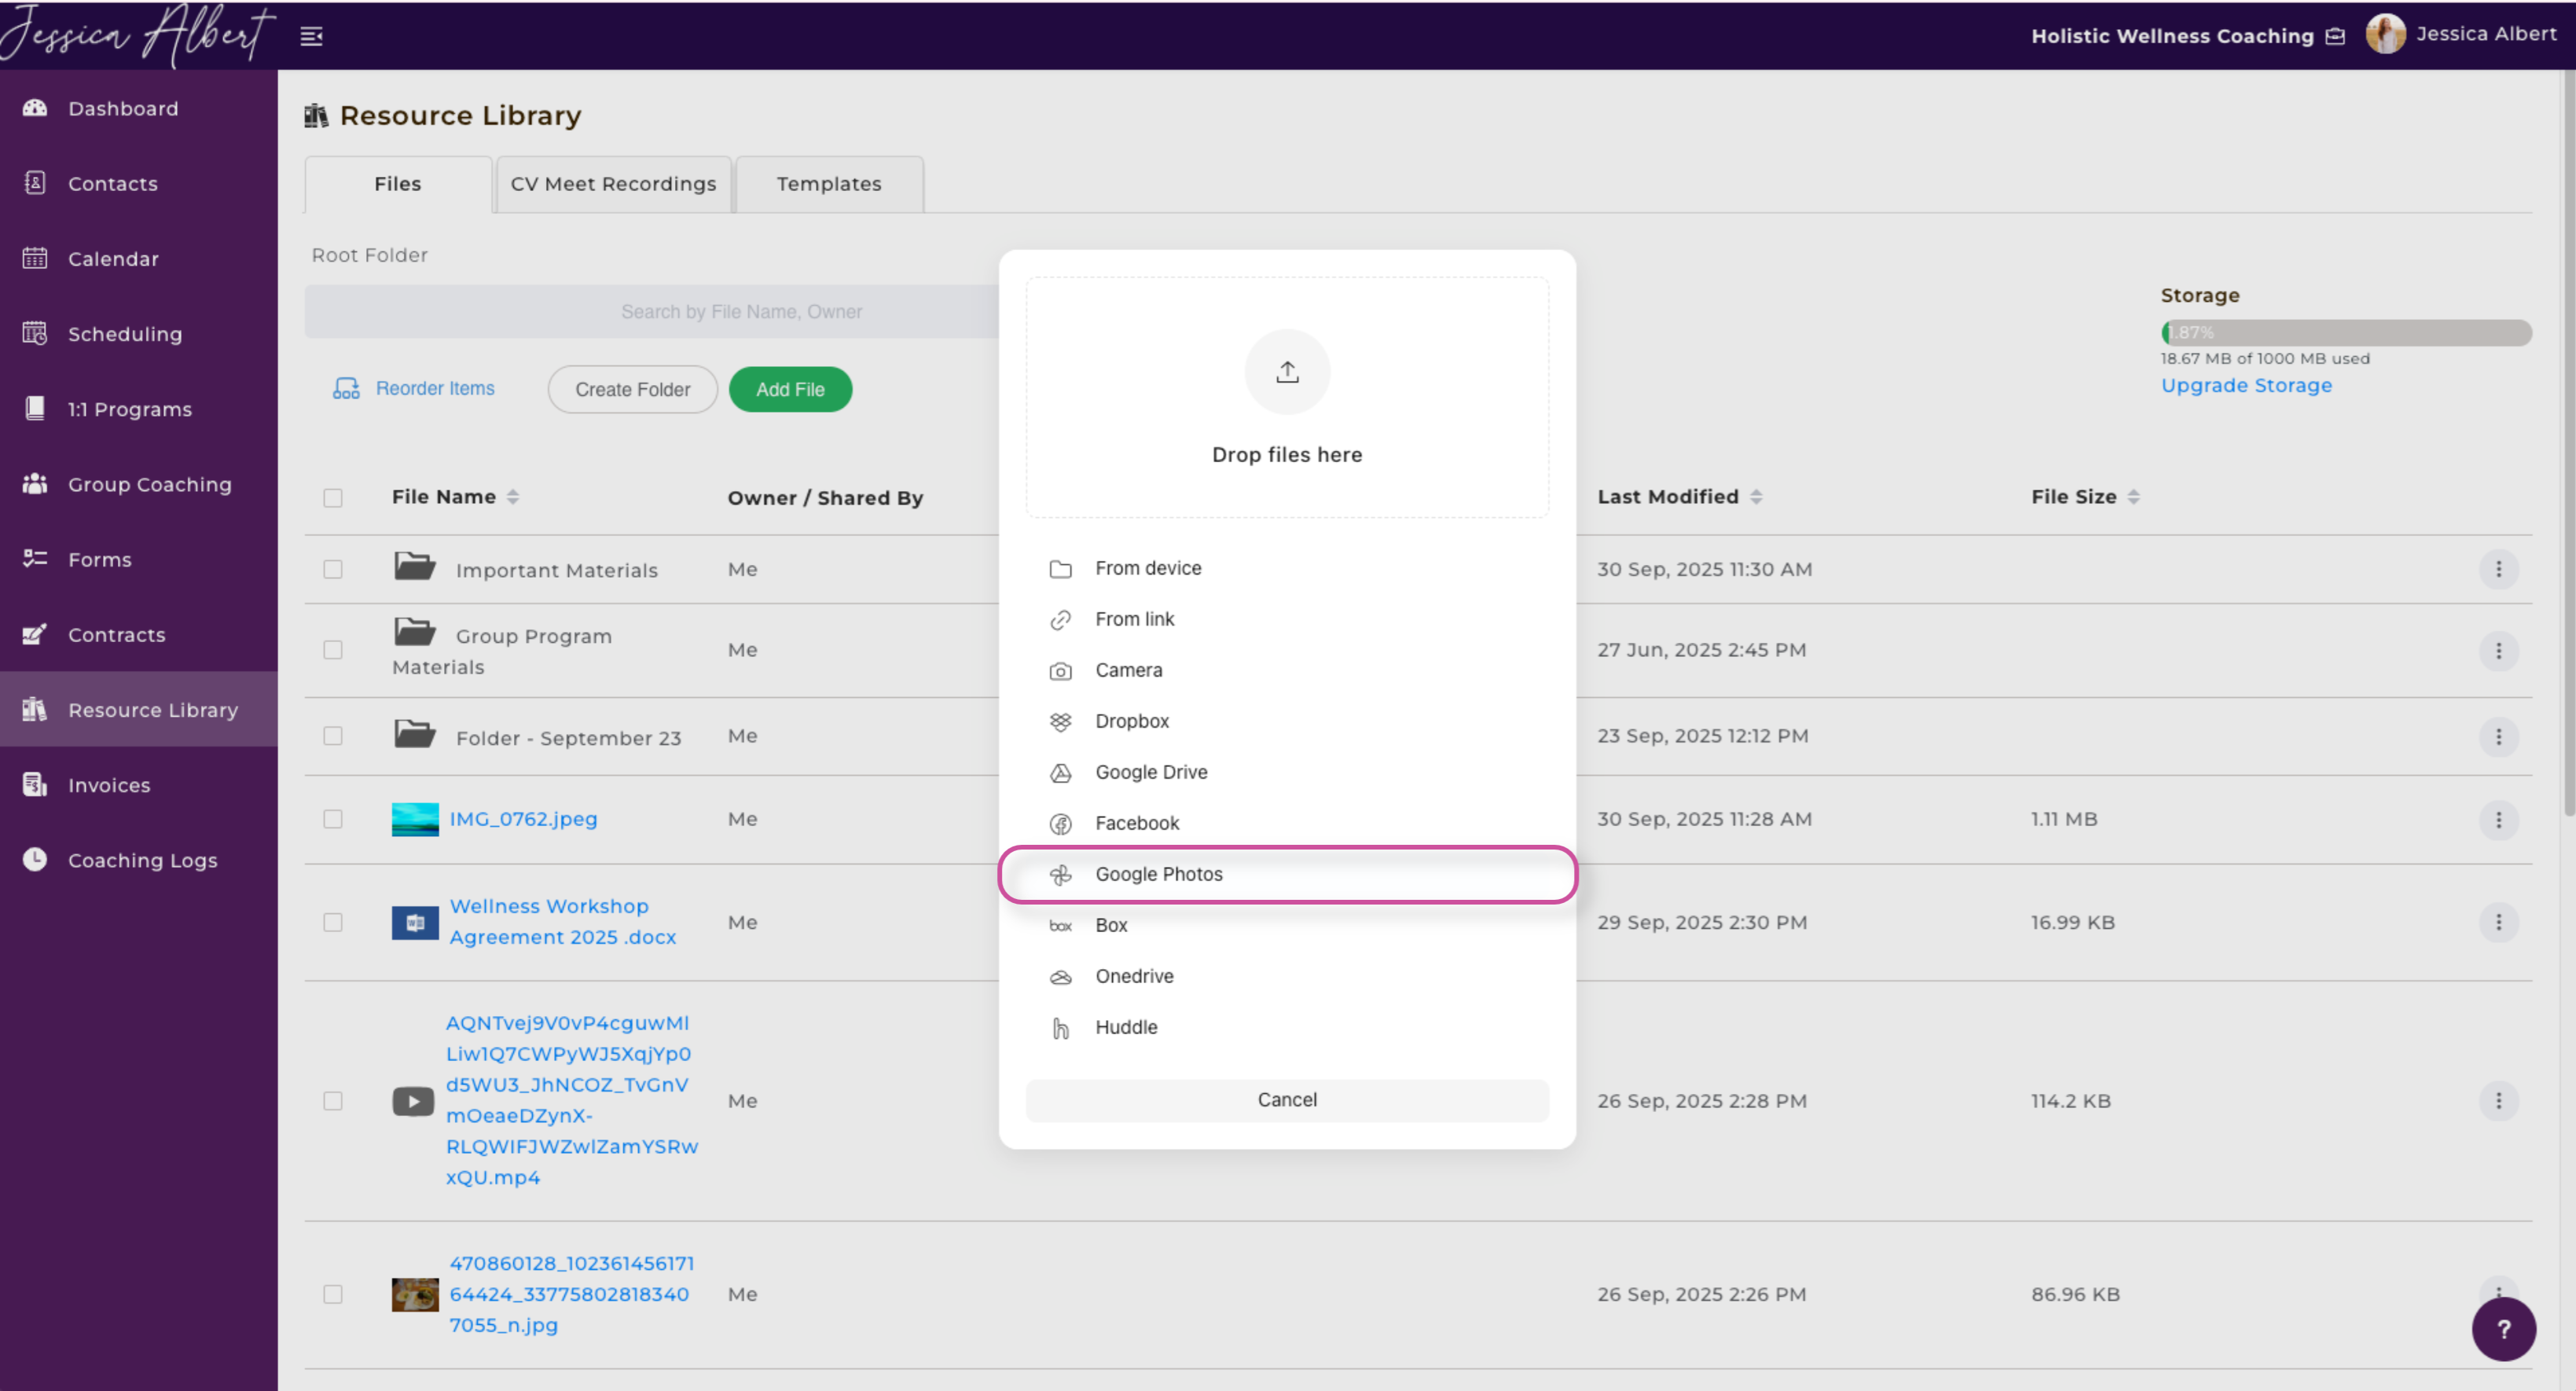
Click on the blue button that reads Connect to Google Photos.
Next, select the correlating Google account you wish to upload the photos from.
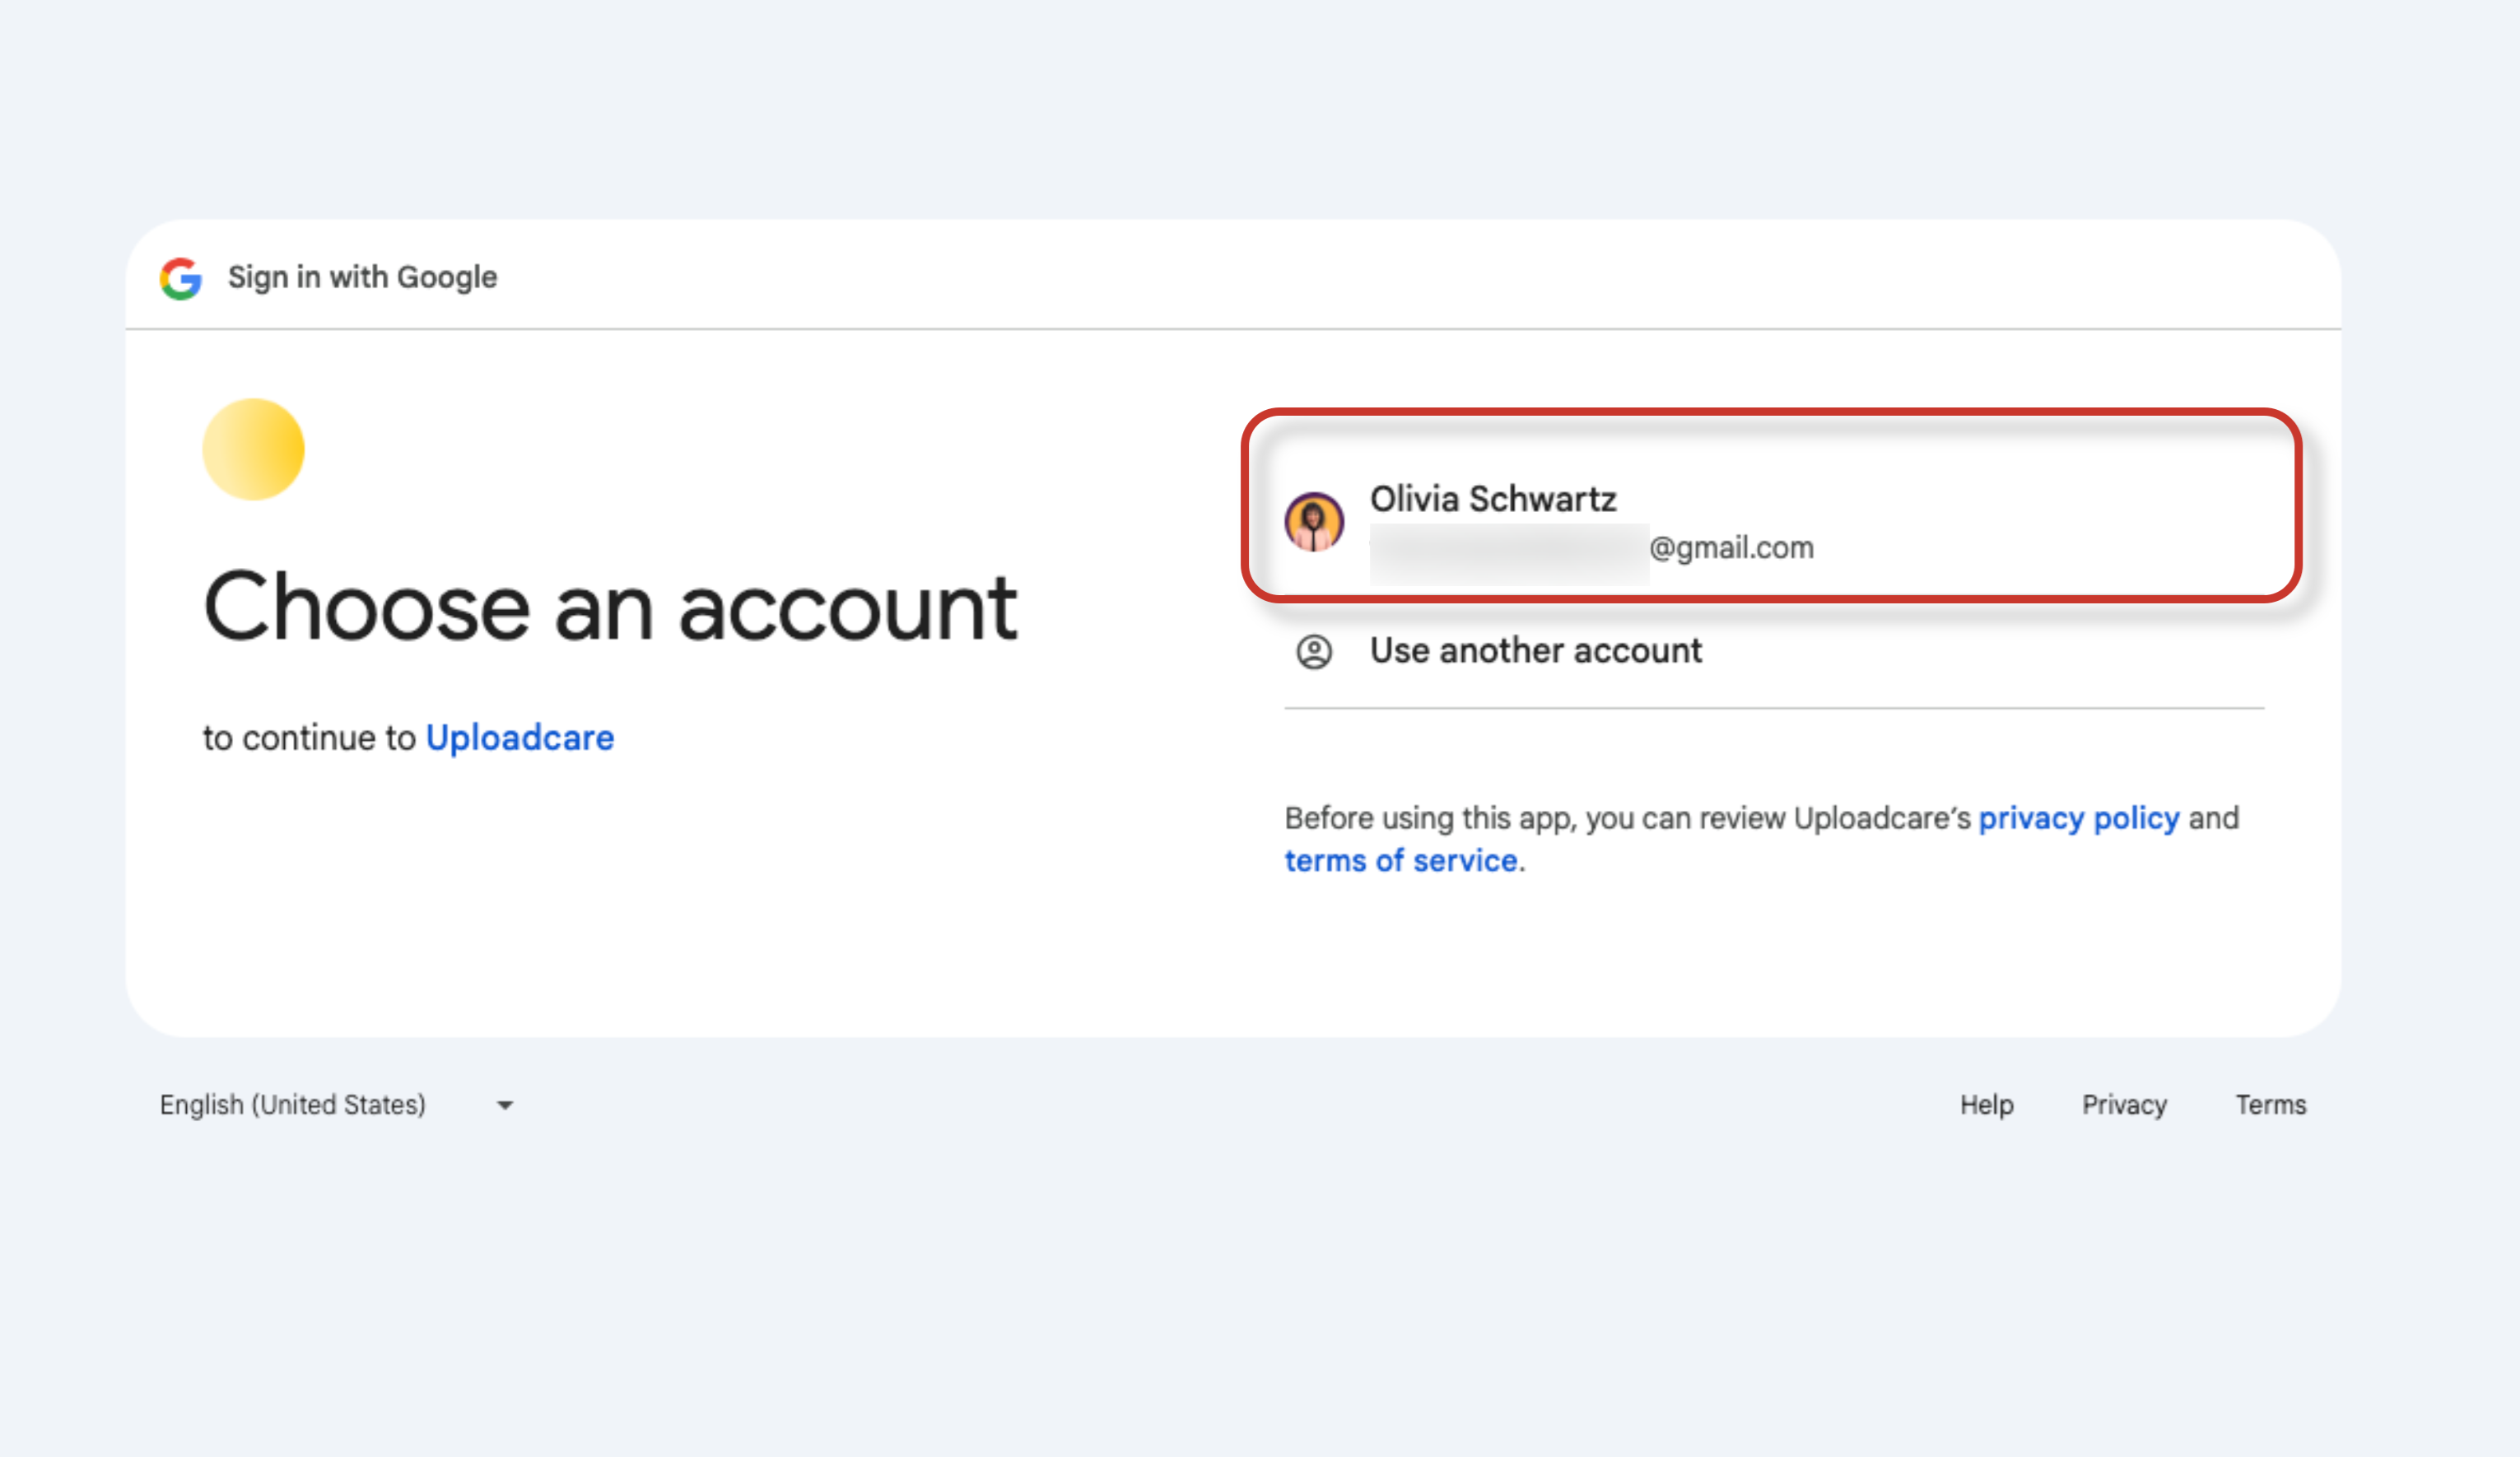
Then, click on Continue.
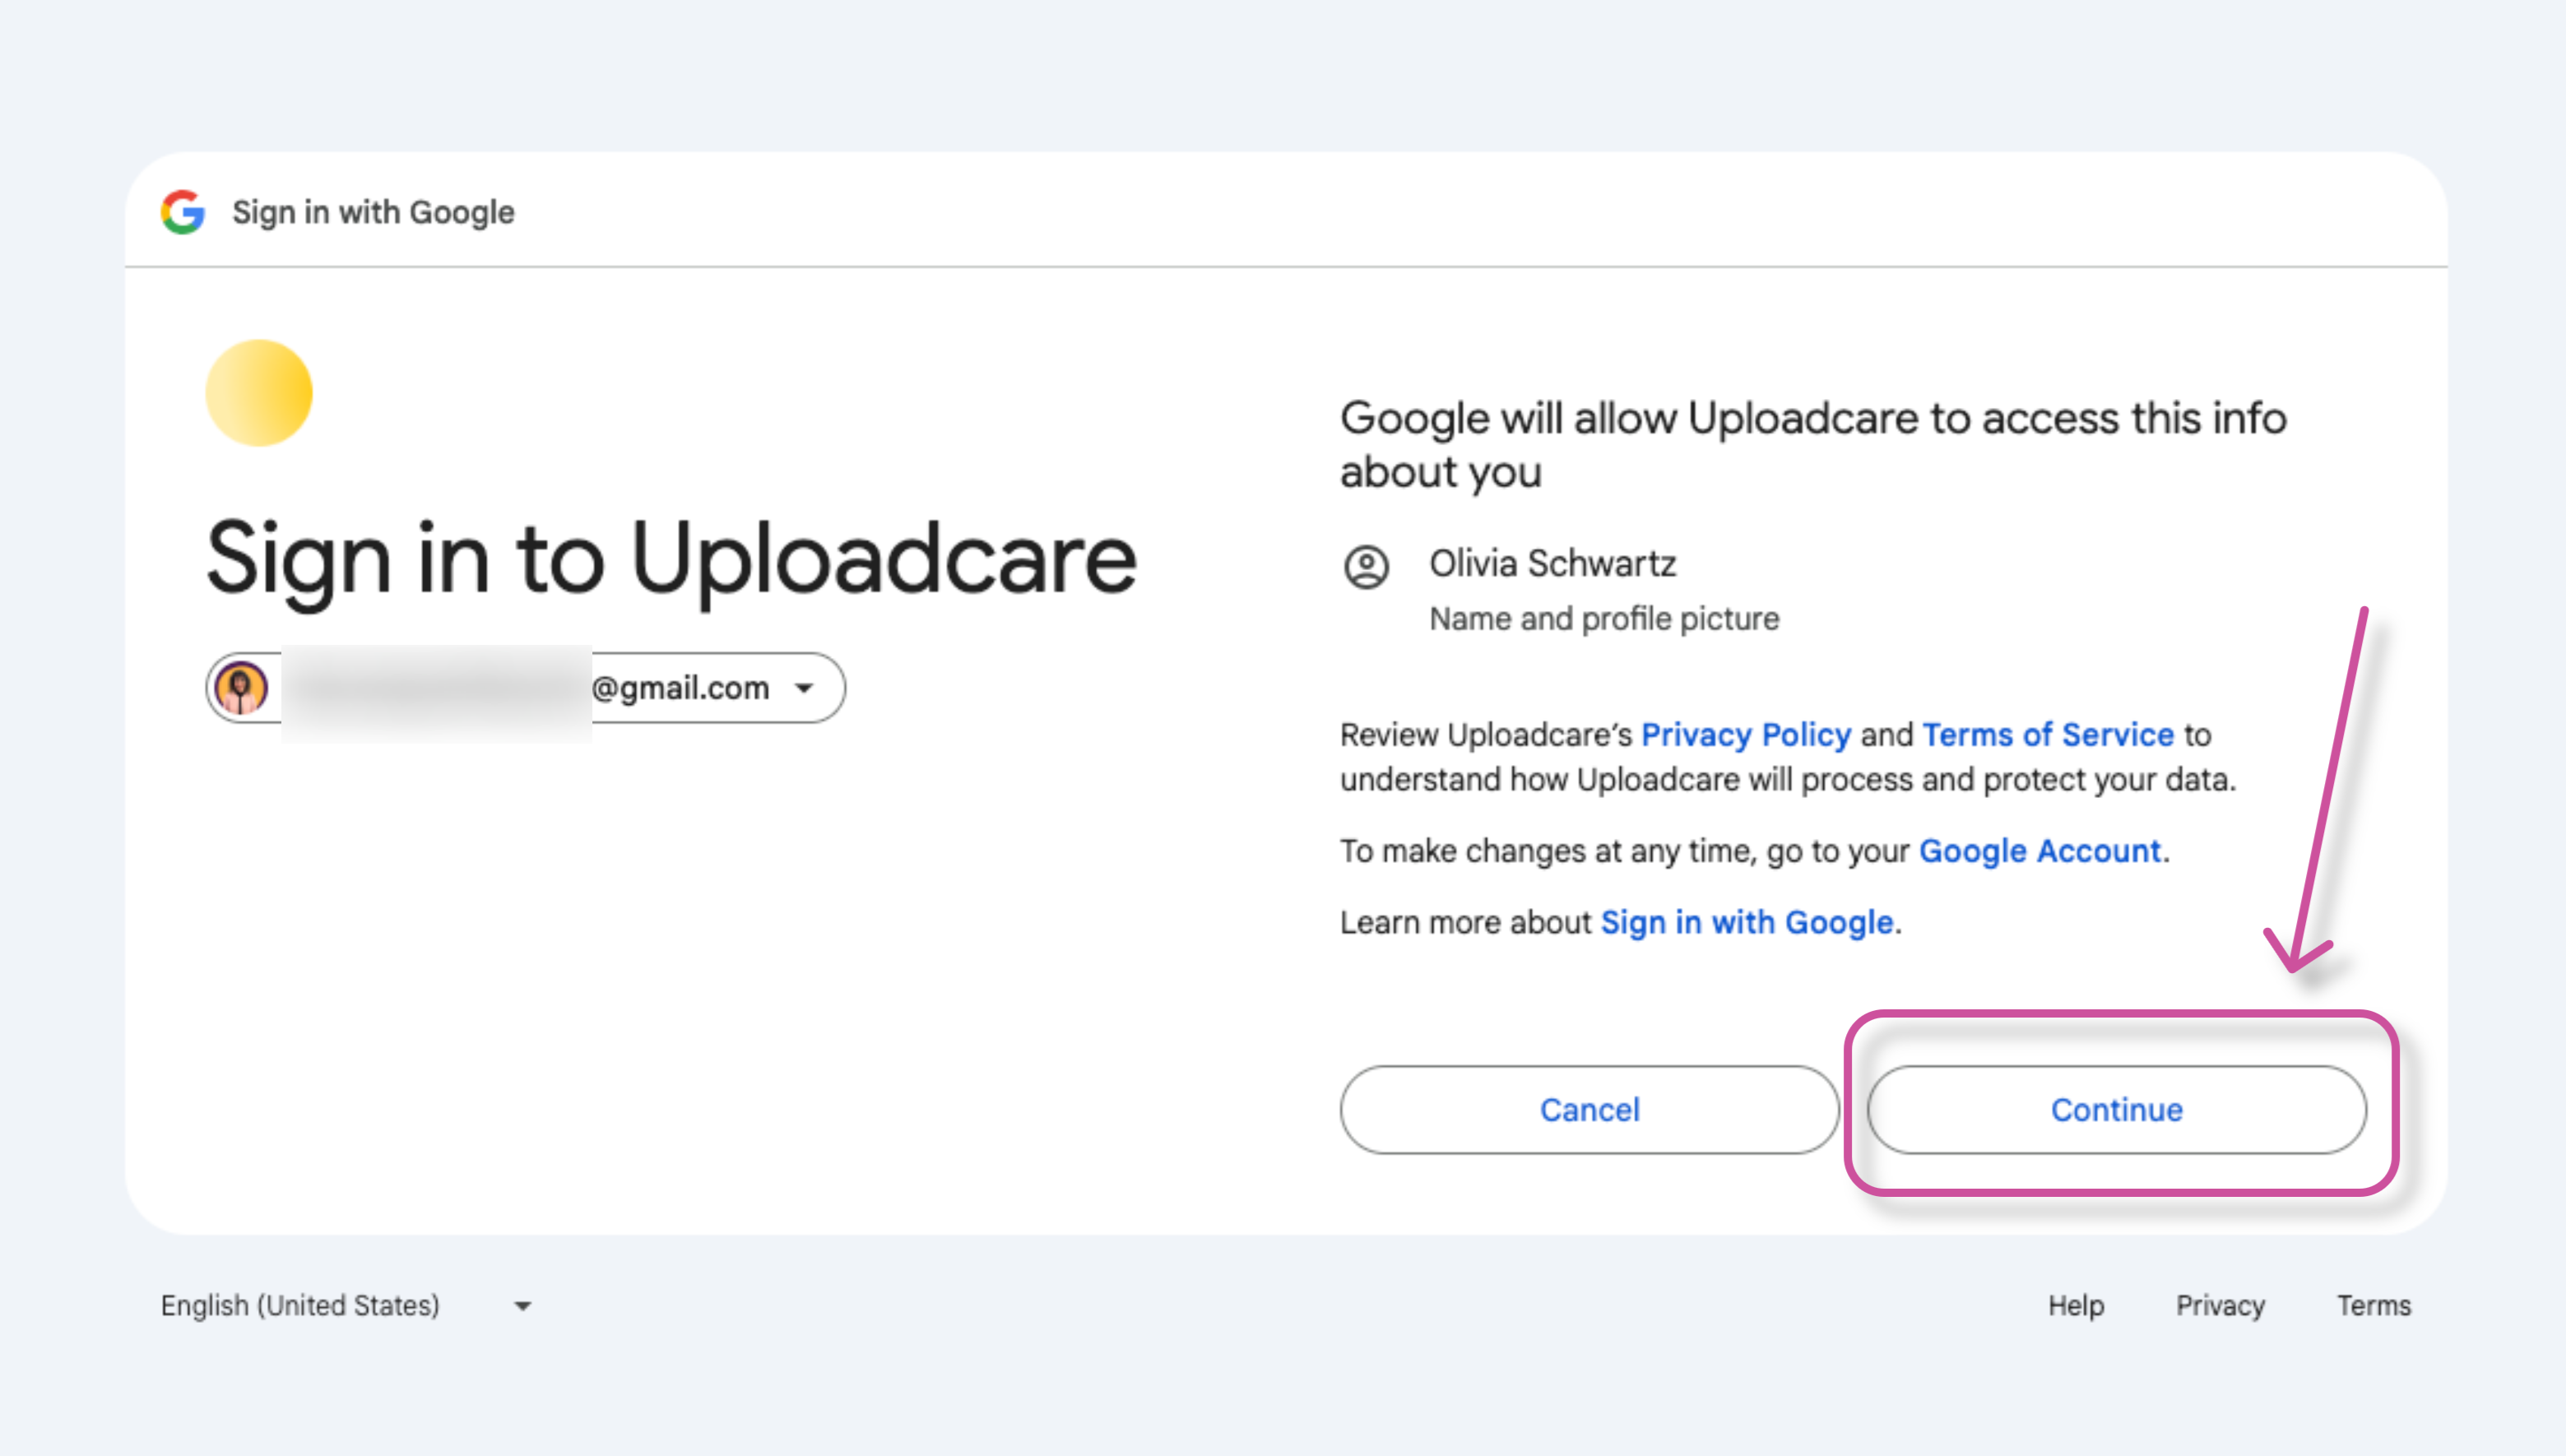
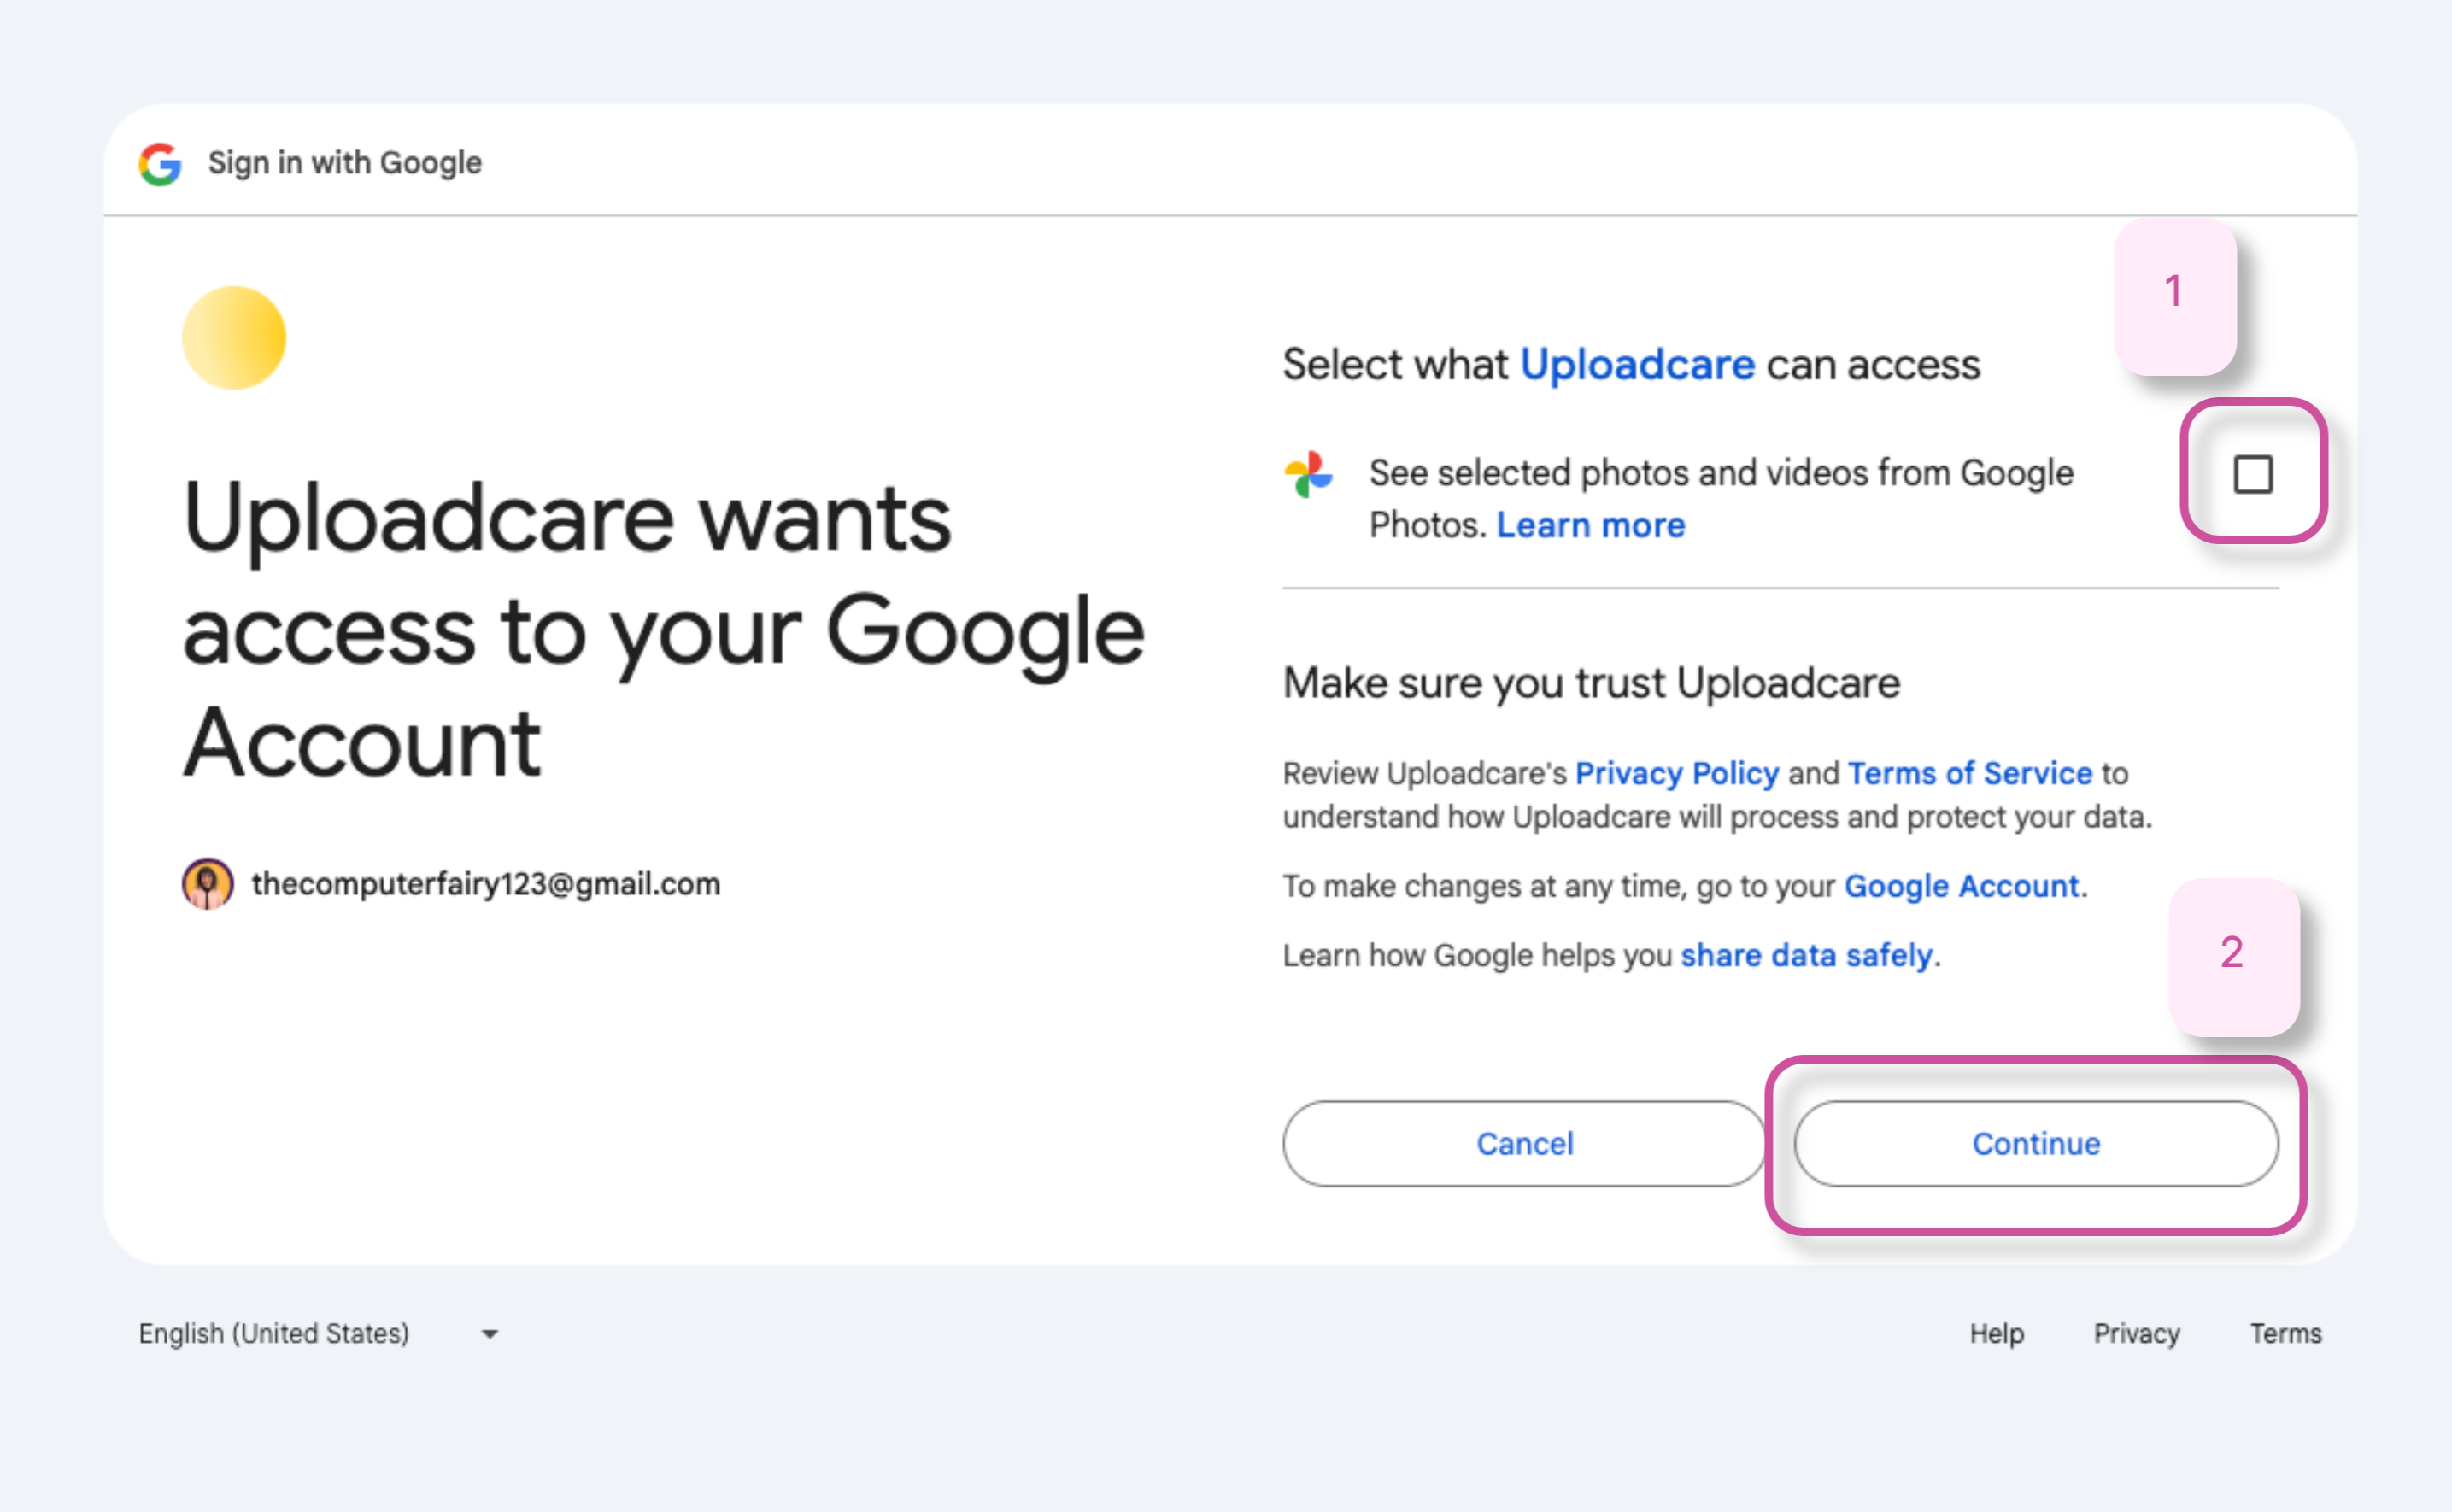
Select the checkbox option to provide access to your photos. Then, press Continue.
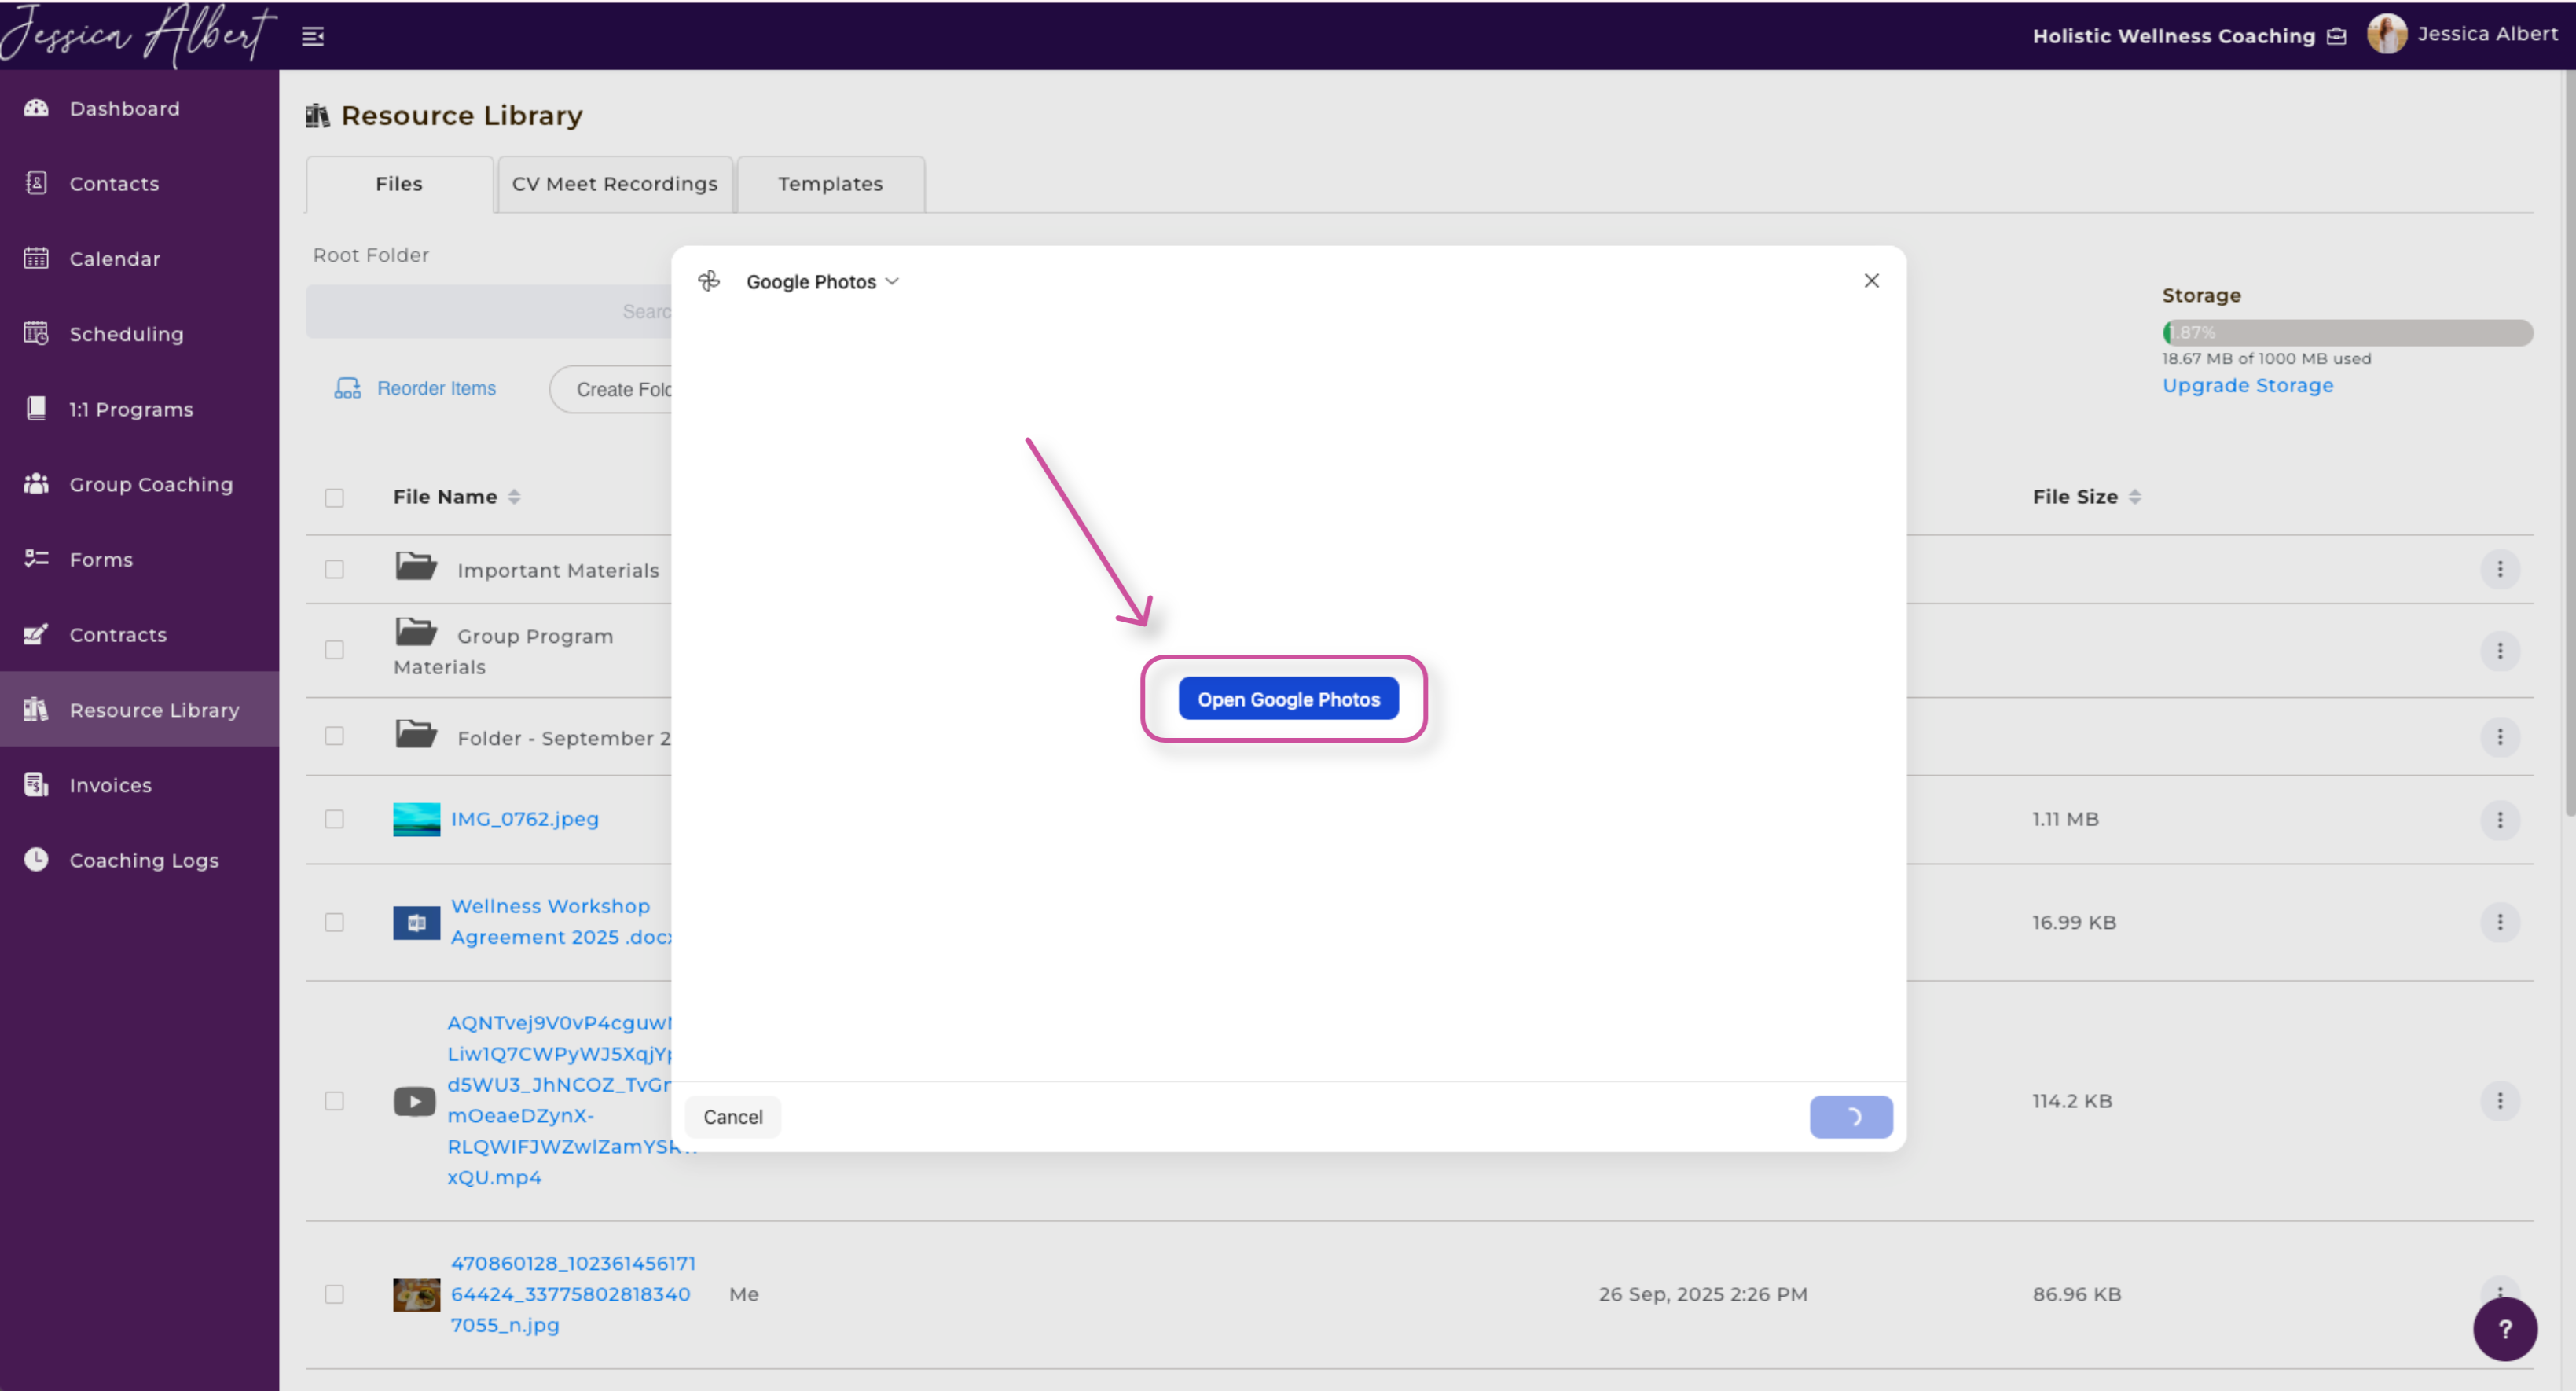
Now that you have granted access, select the Open Google Photos button.
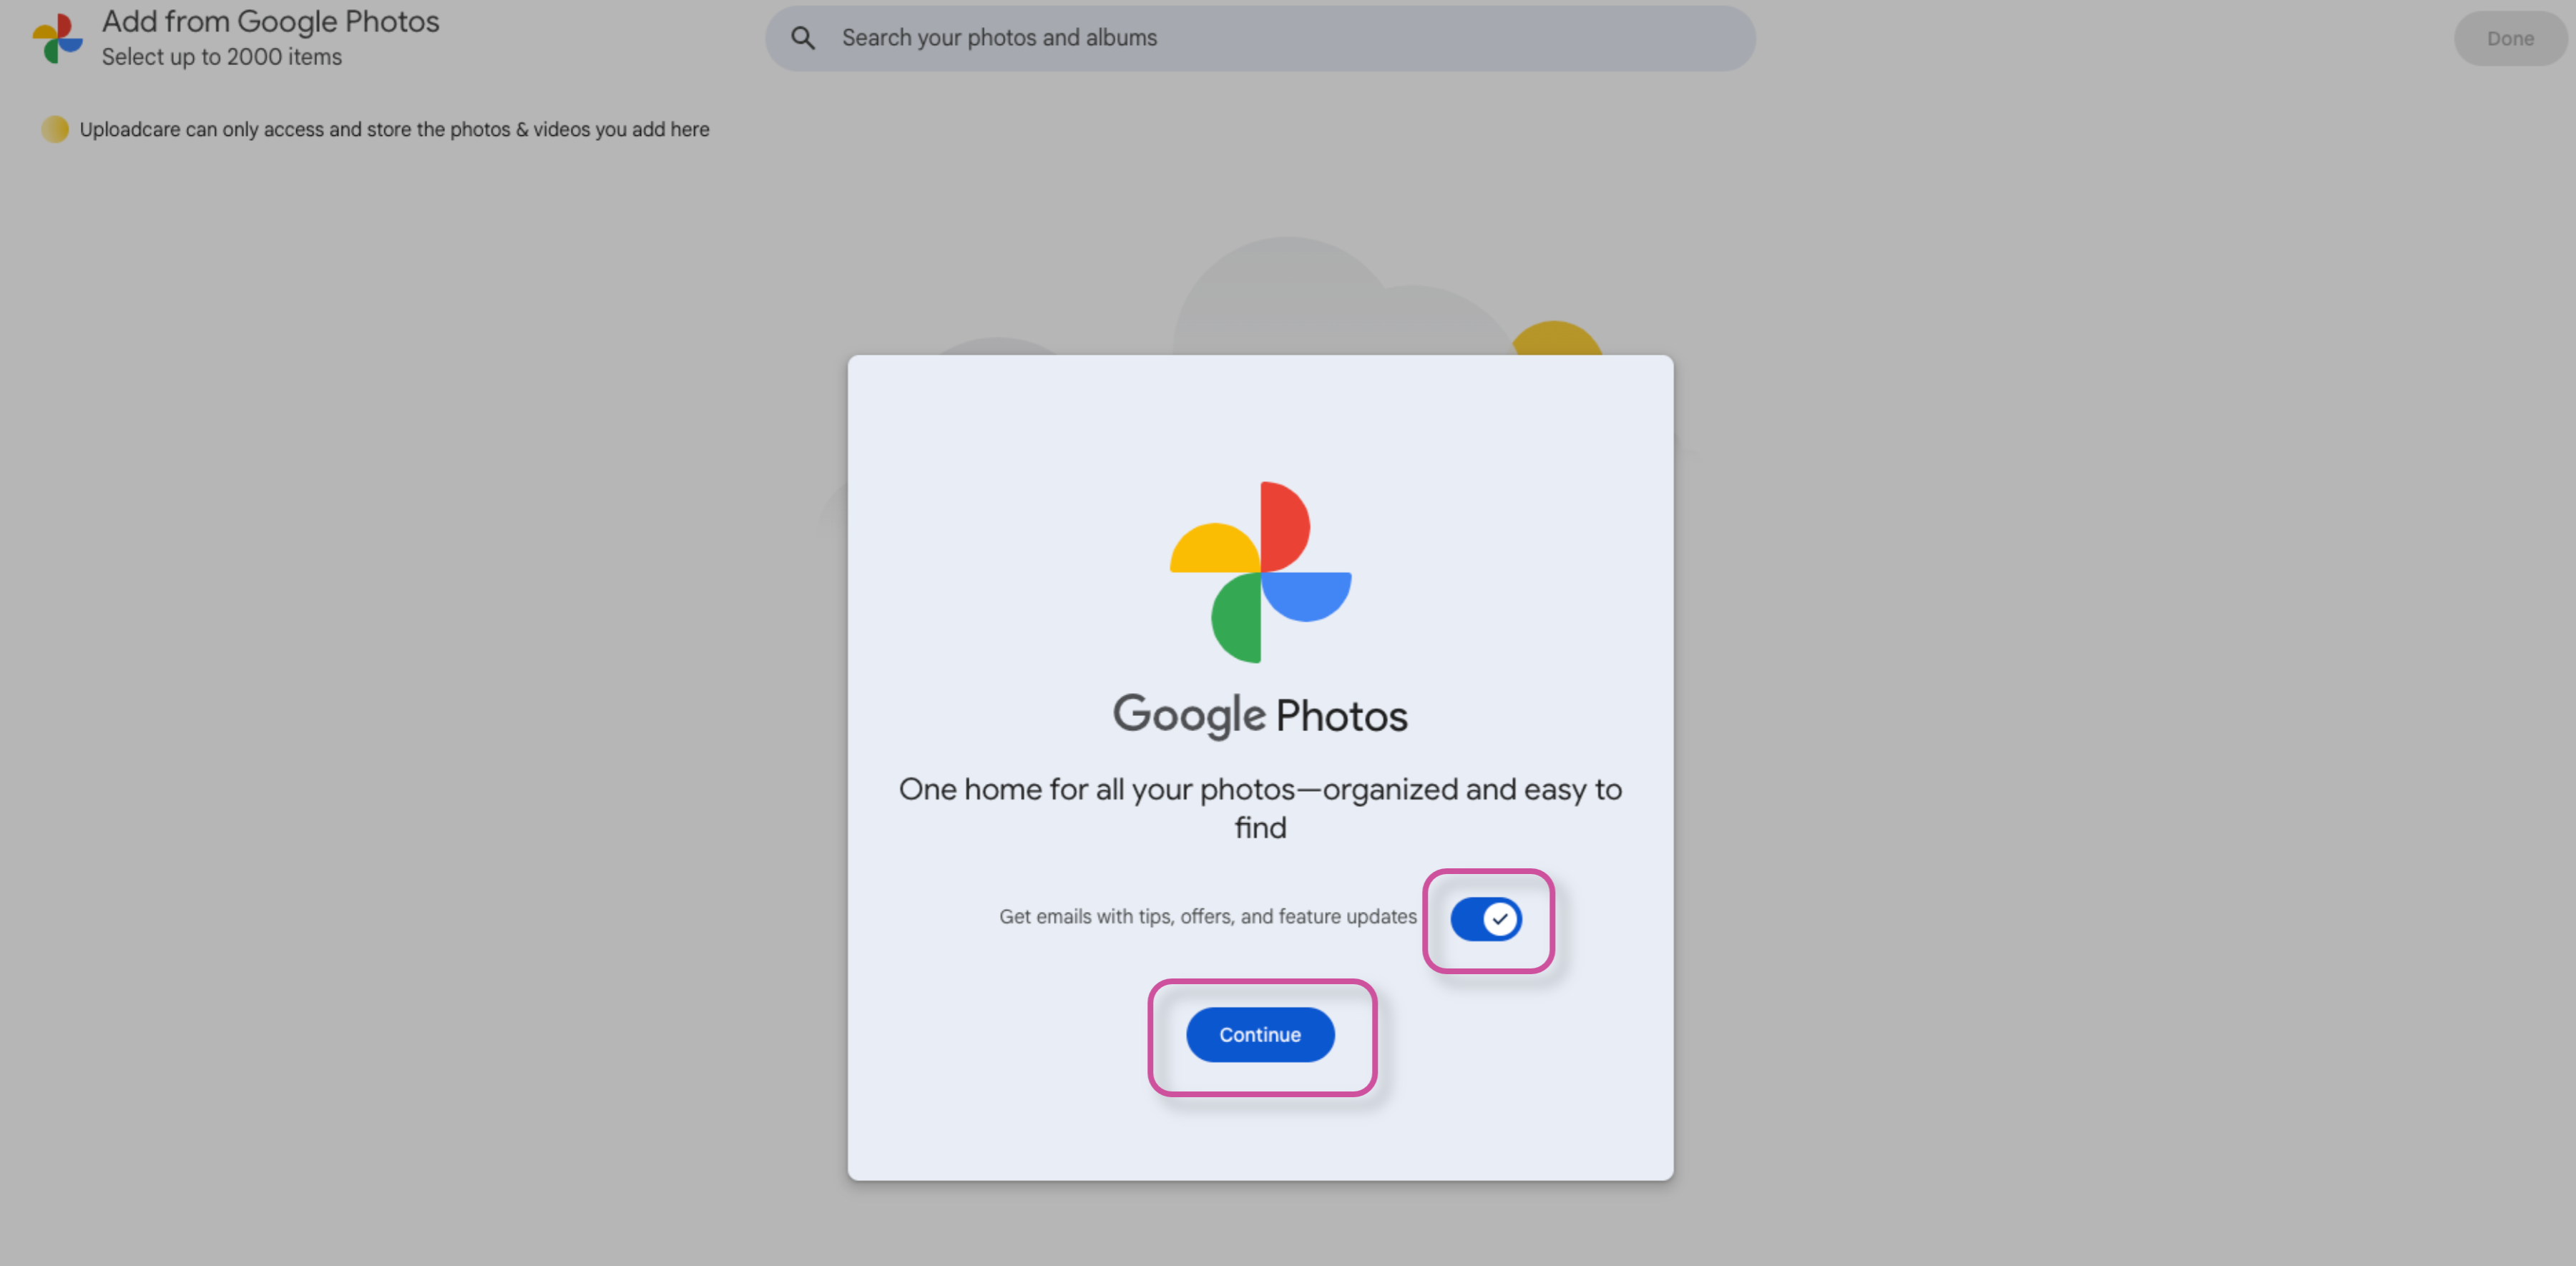
Select if you would like to get emails with tips, offers, and feature updates. Then, press Continue.
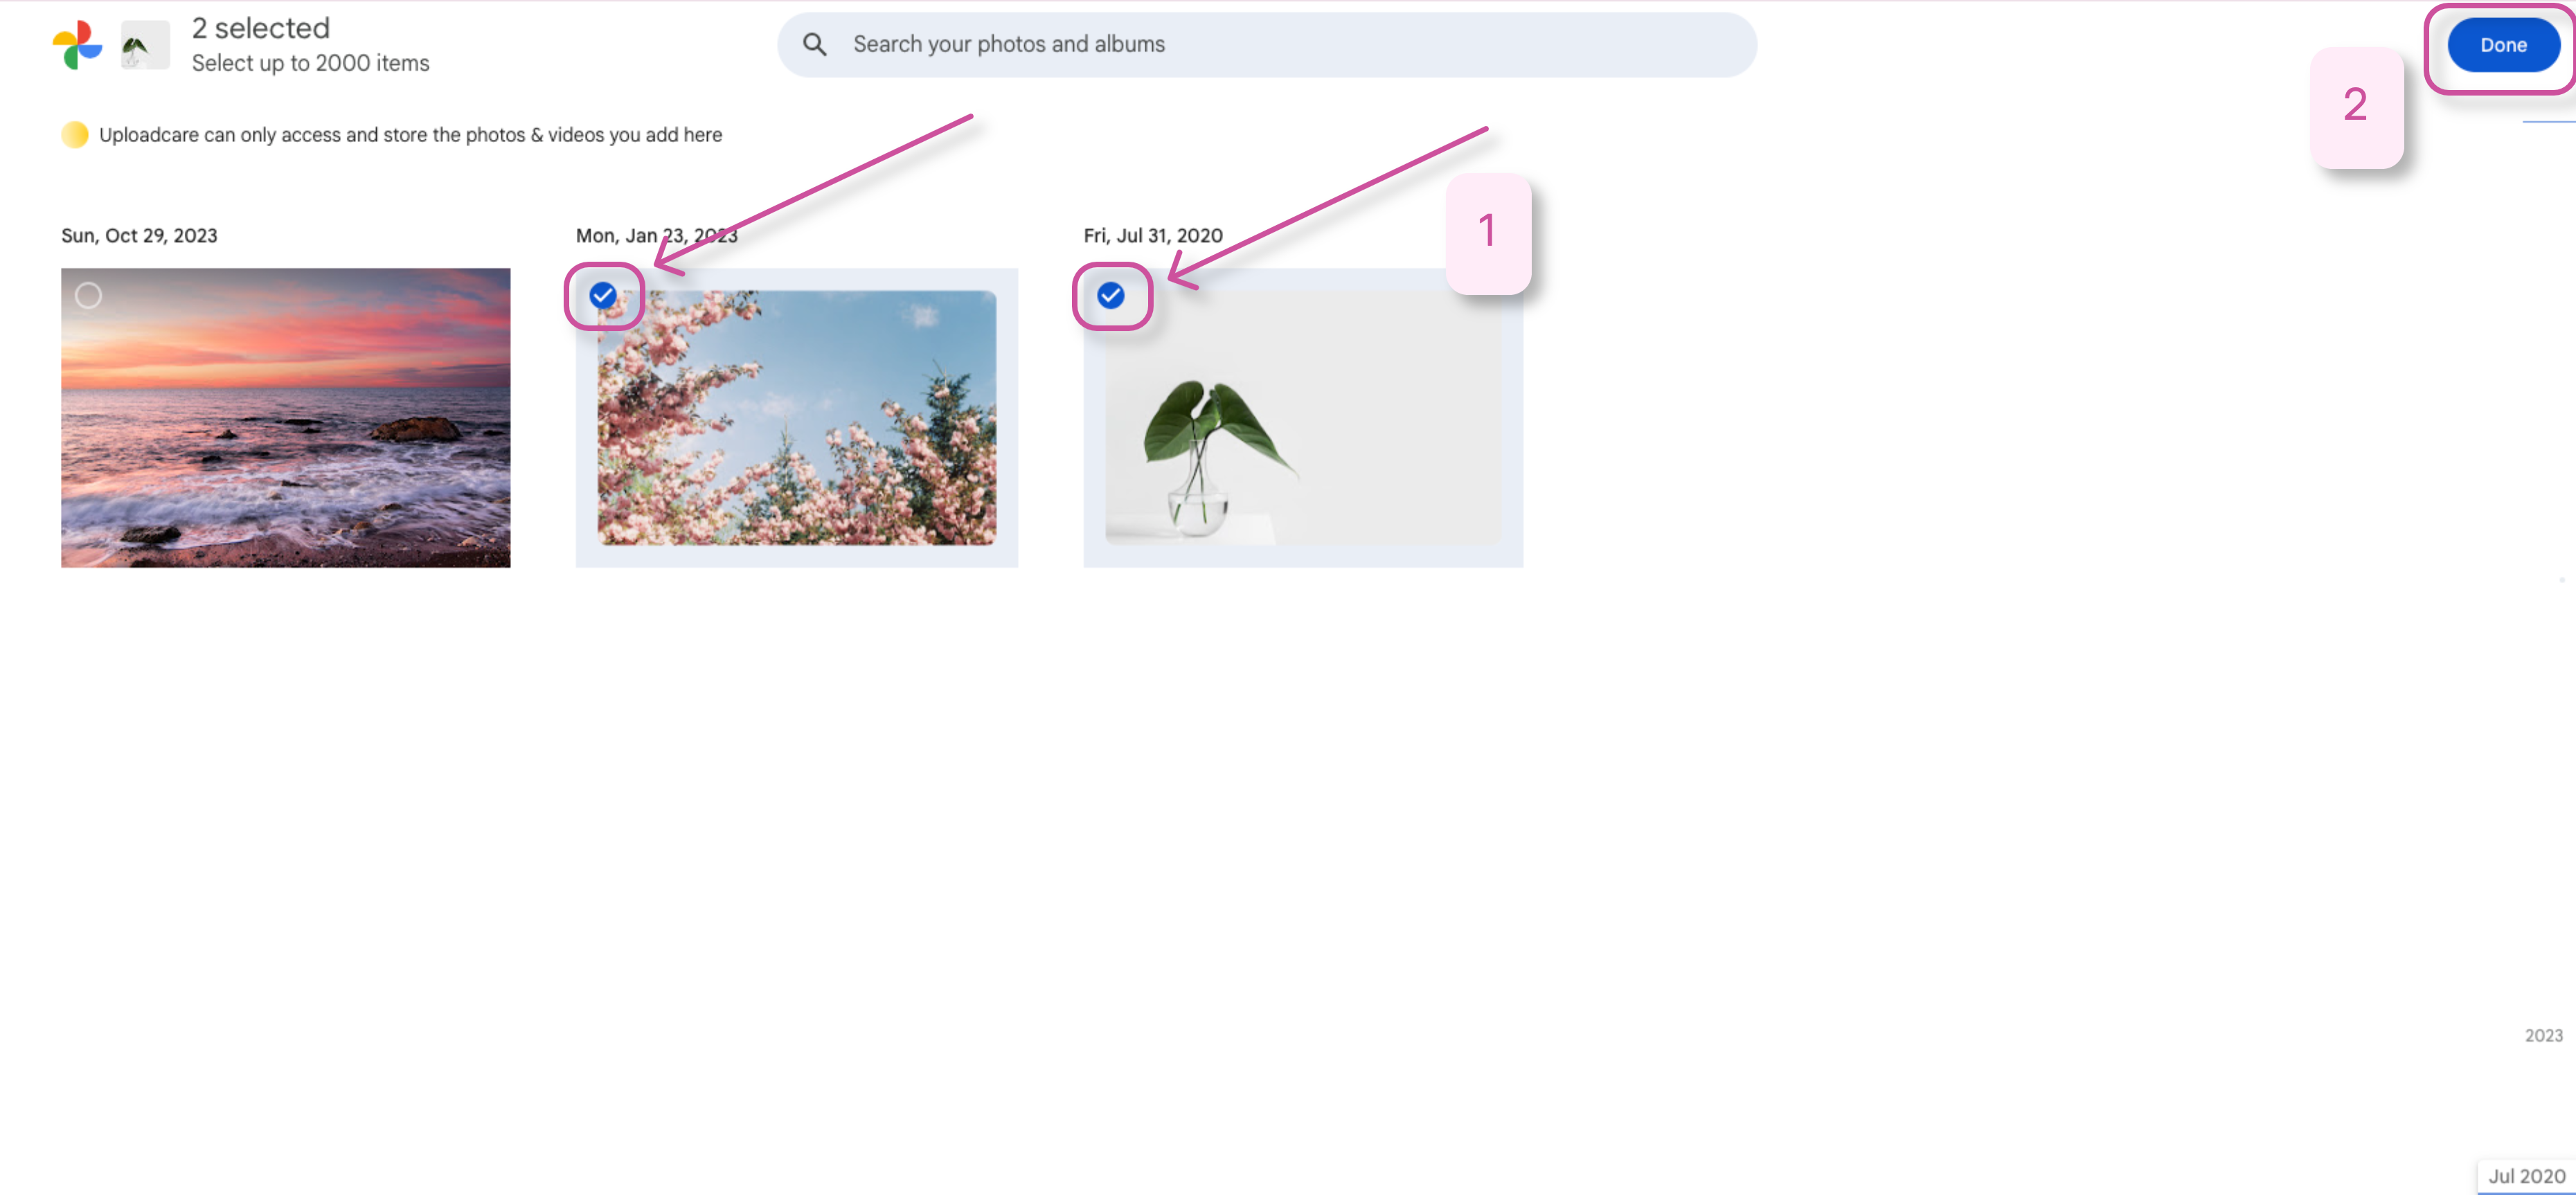
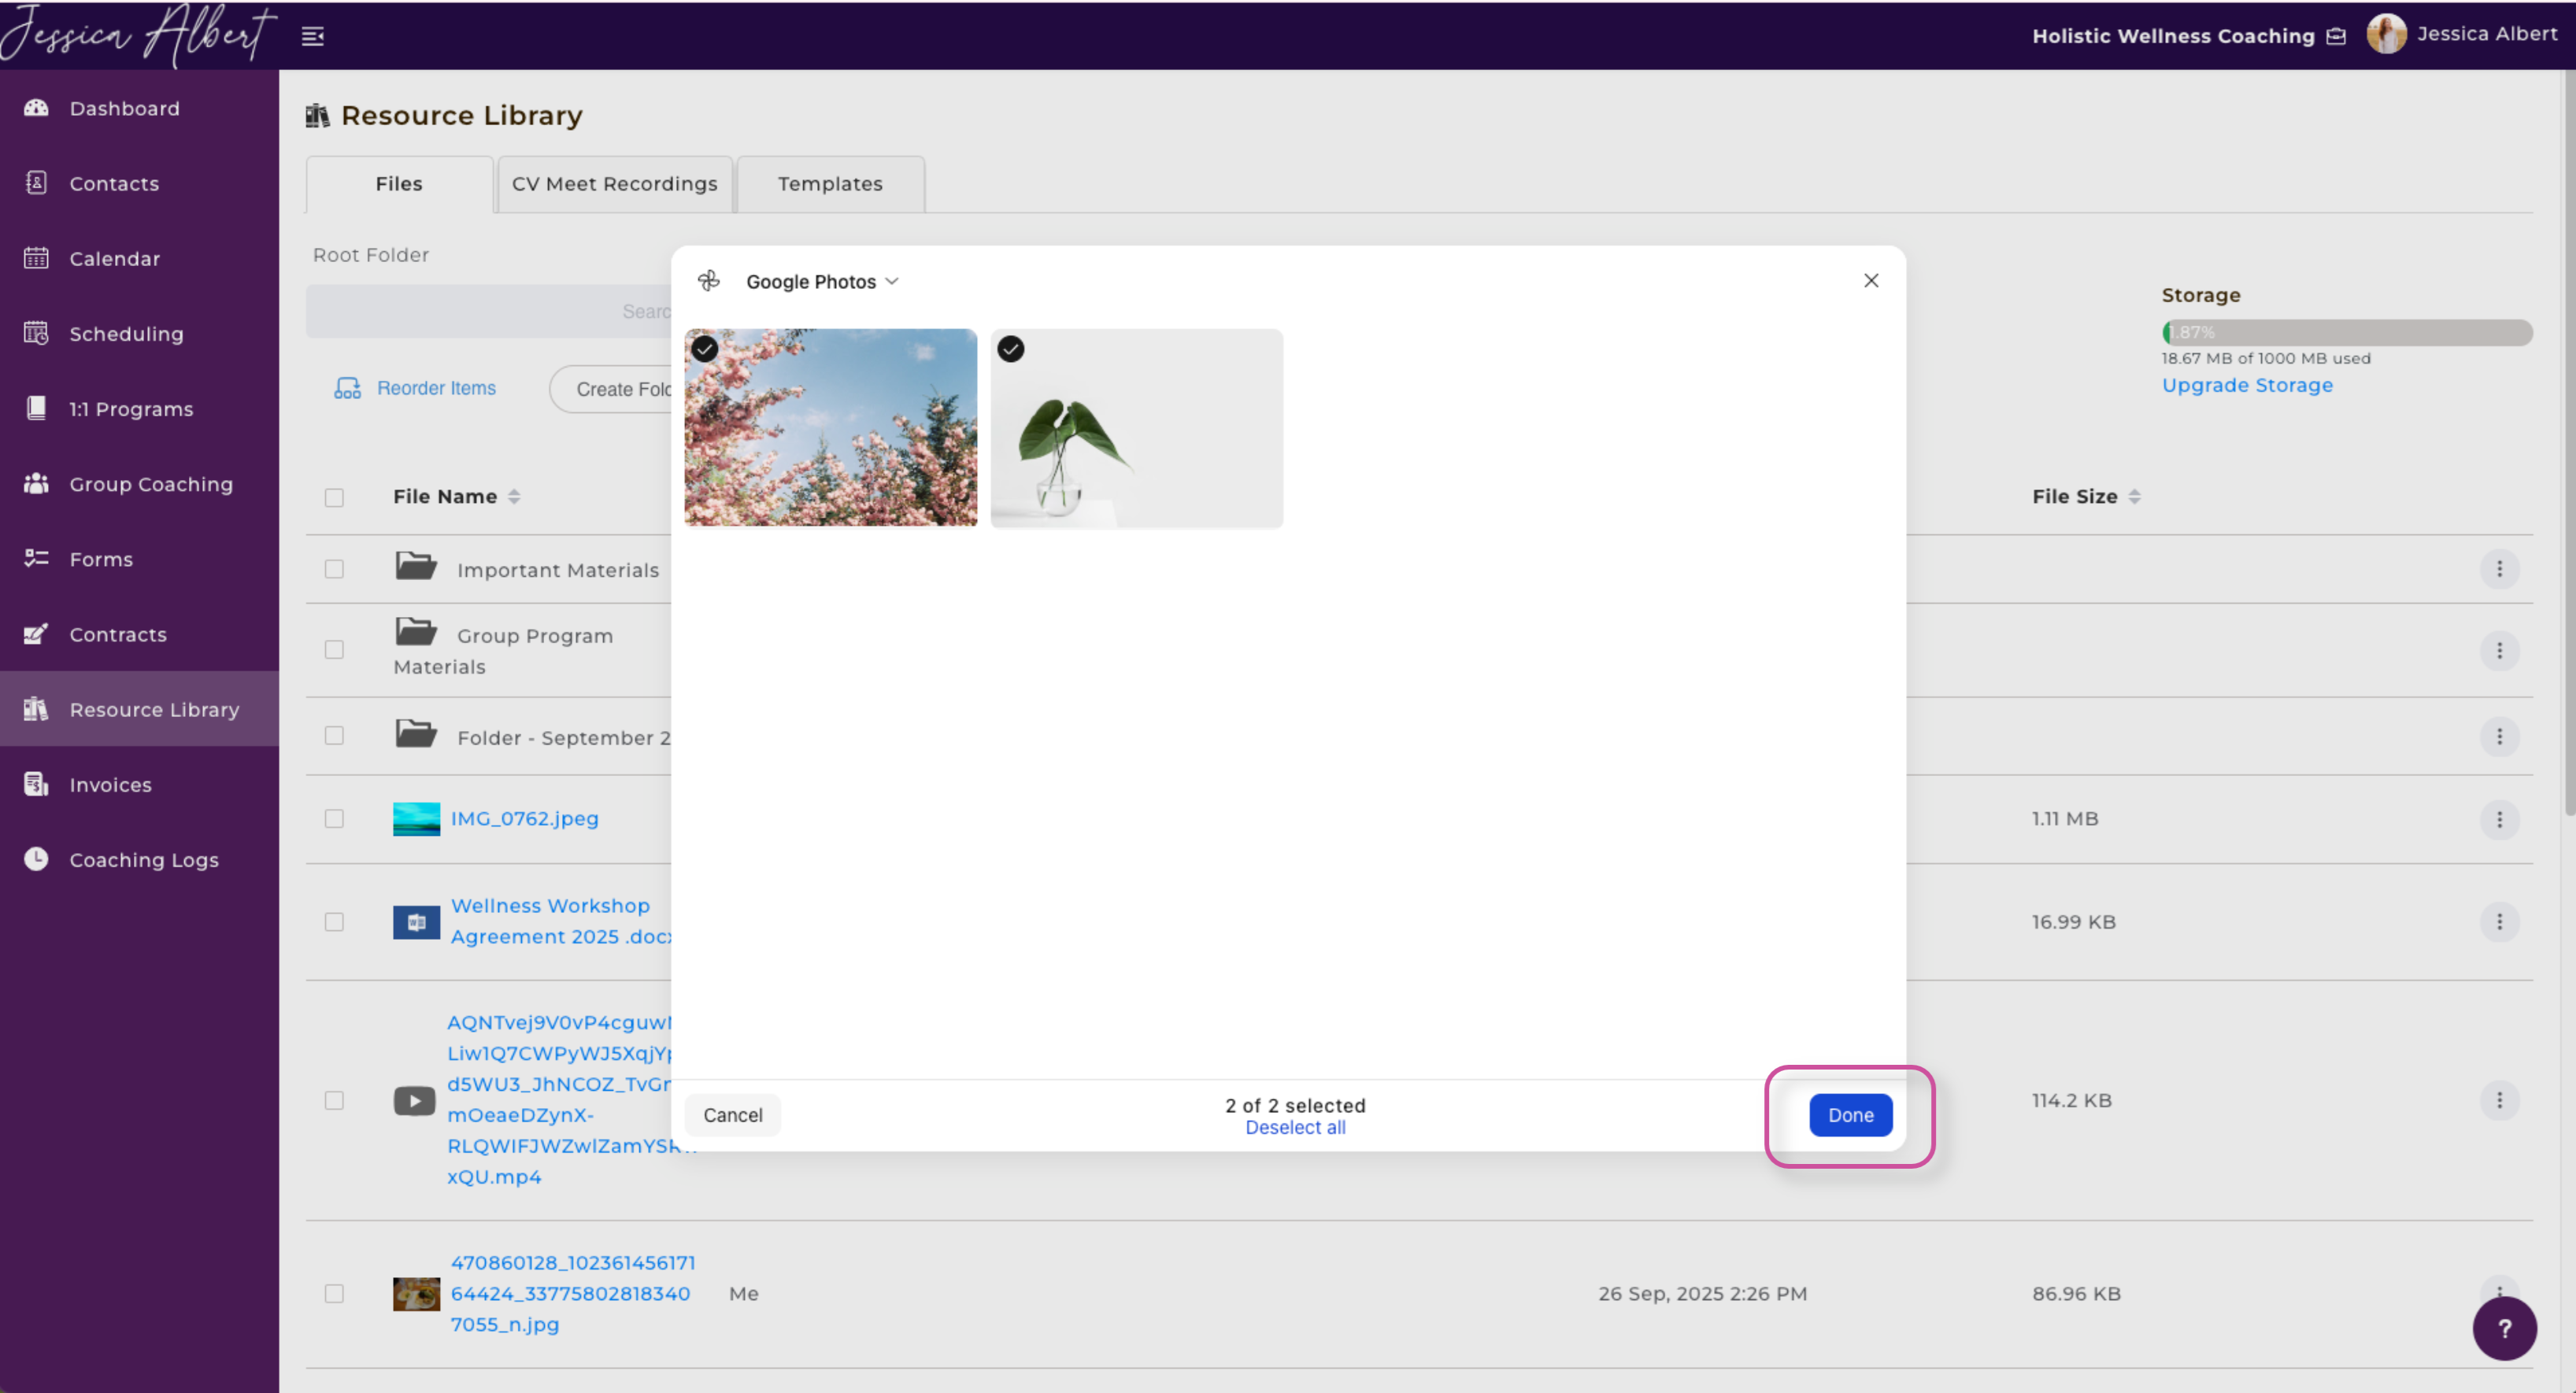
Voila! Your photos will appear. Now, select which photos you would like to upload and press Done in the top right-hand corner of the screen.
This message will appear. Now, go back to the CoachVantage window.
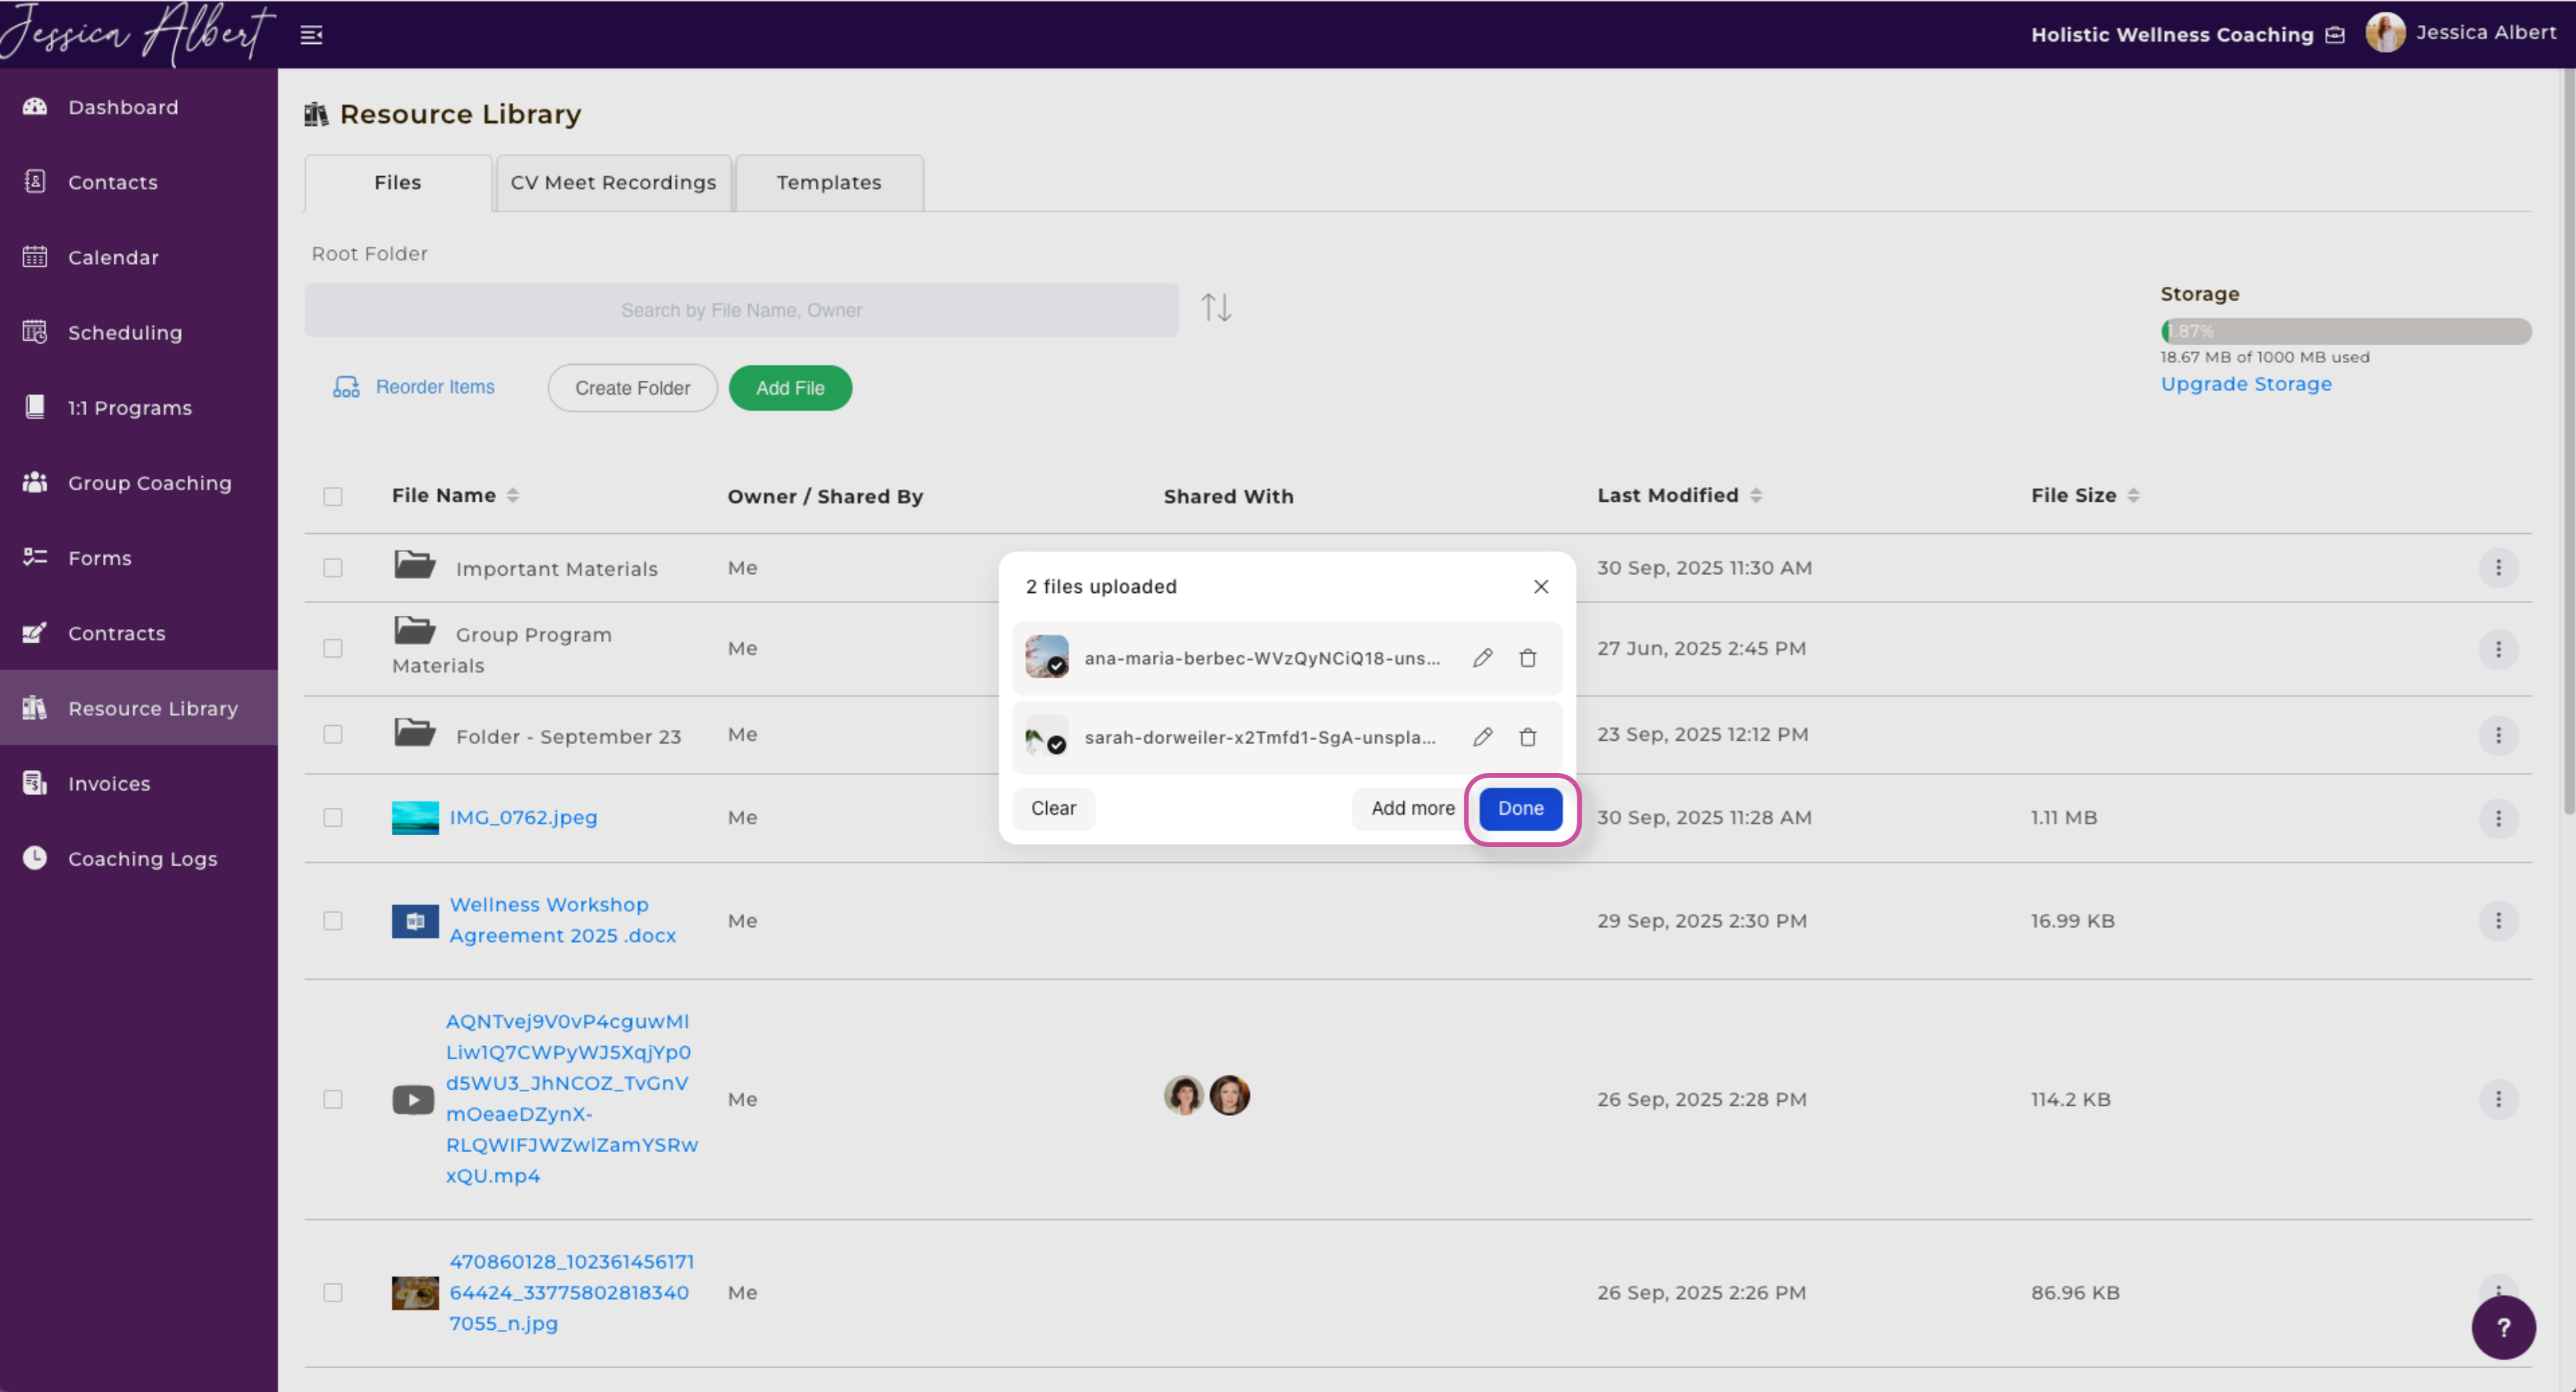
You will see the photos you have selected are ready to be uploaded to your CoachVantage account. To continue, press Done.
Click Done one final time.
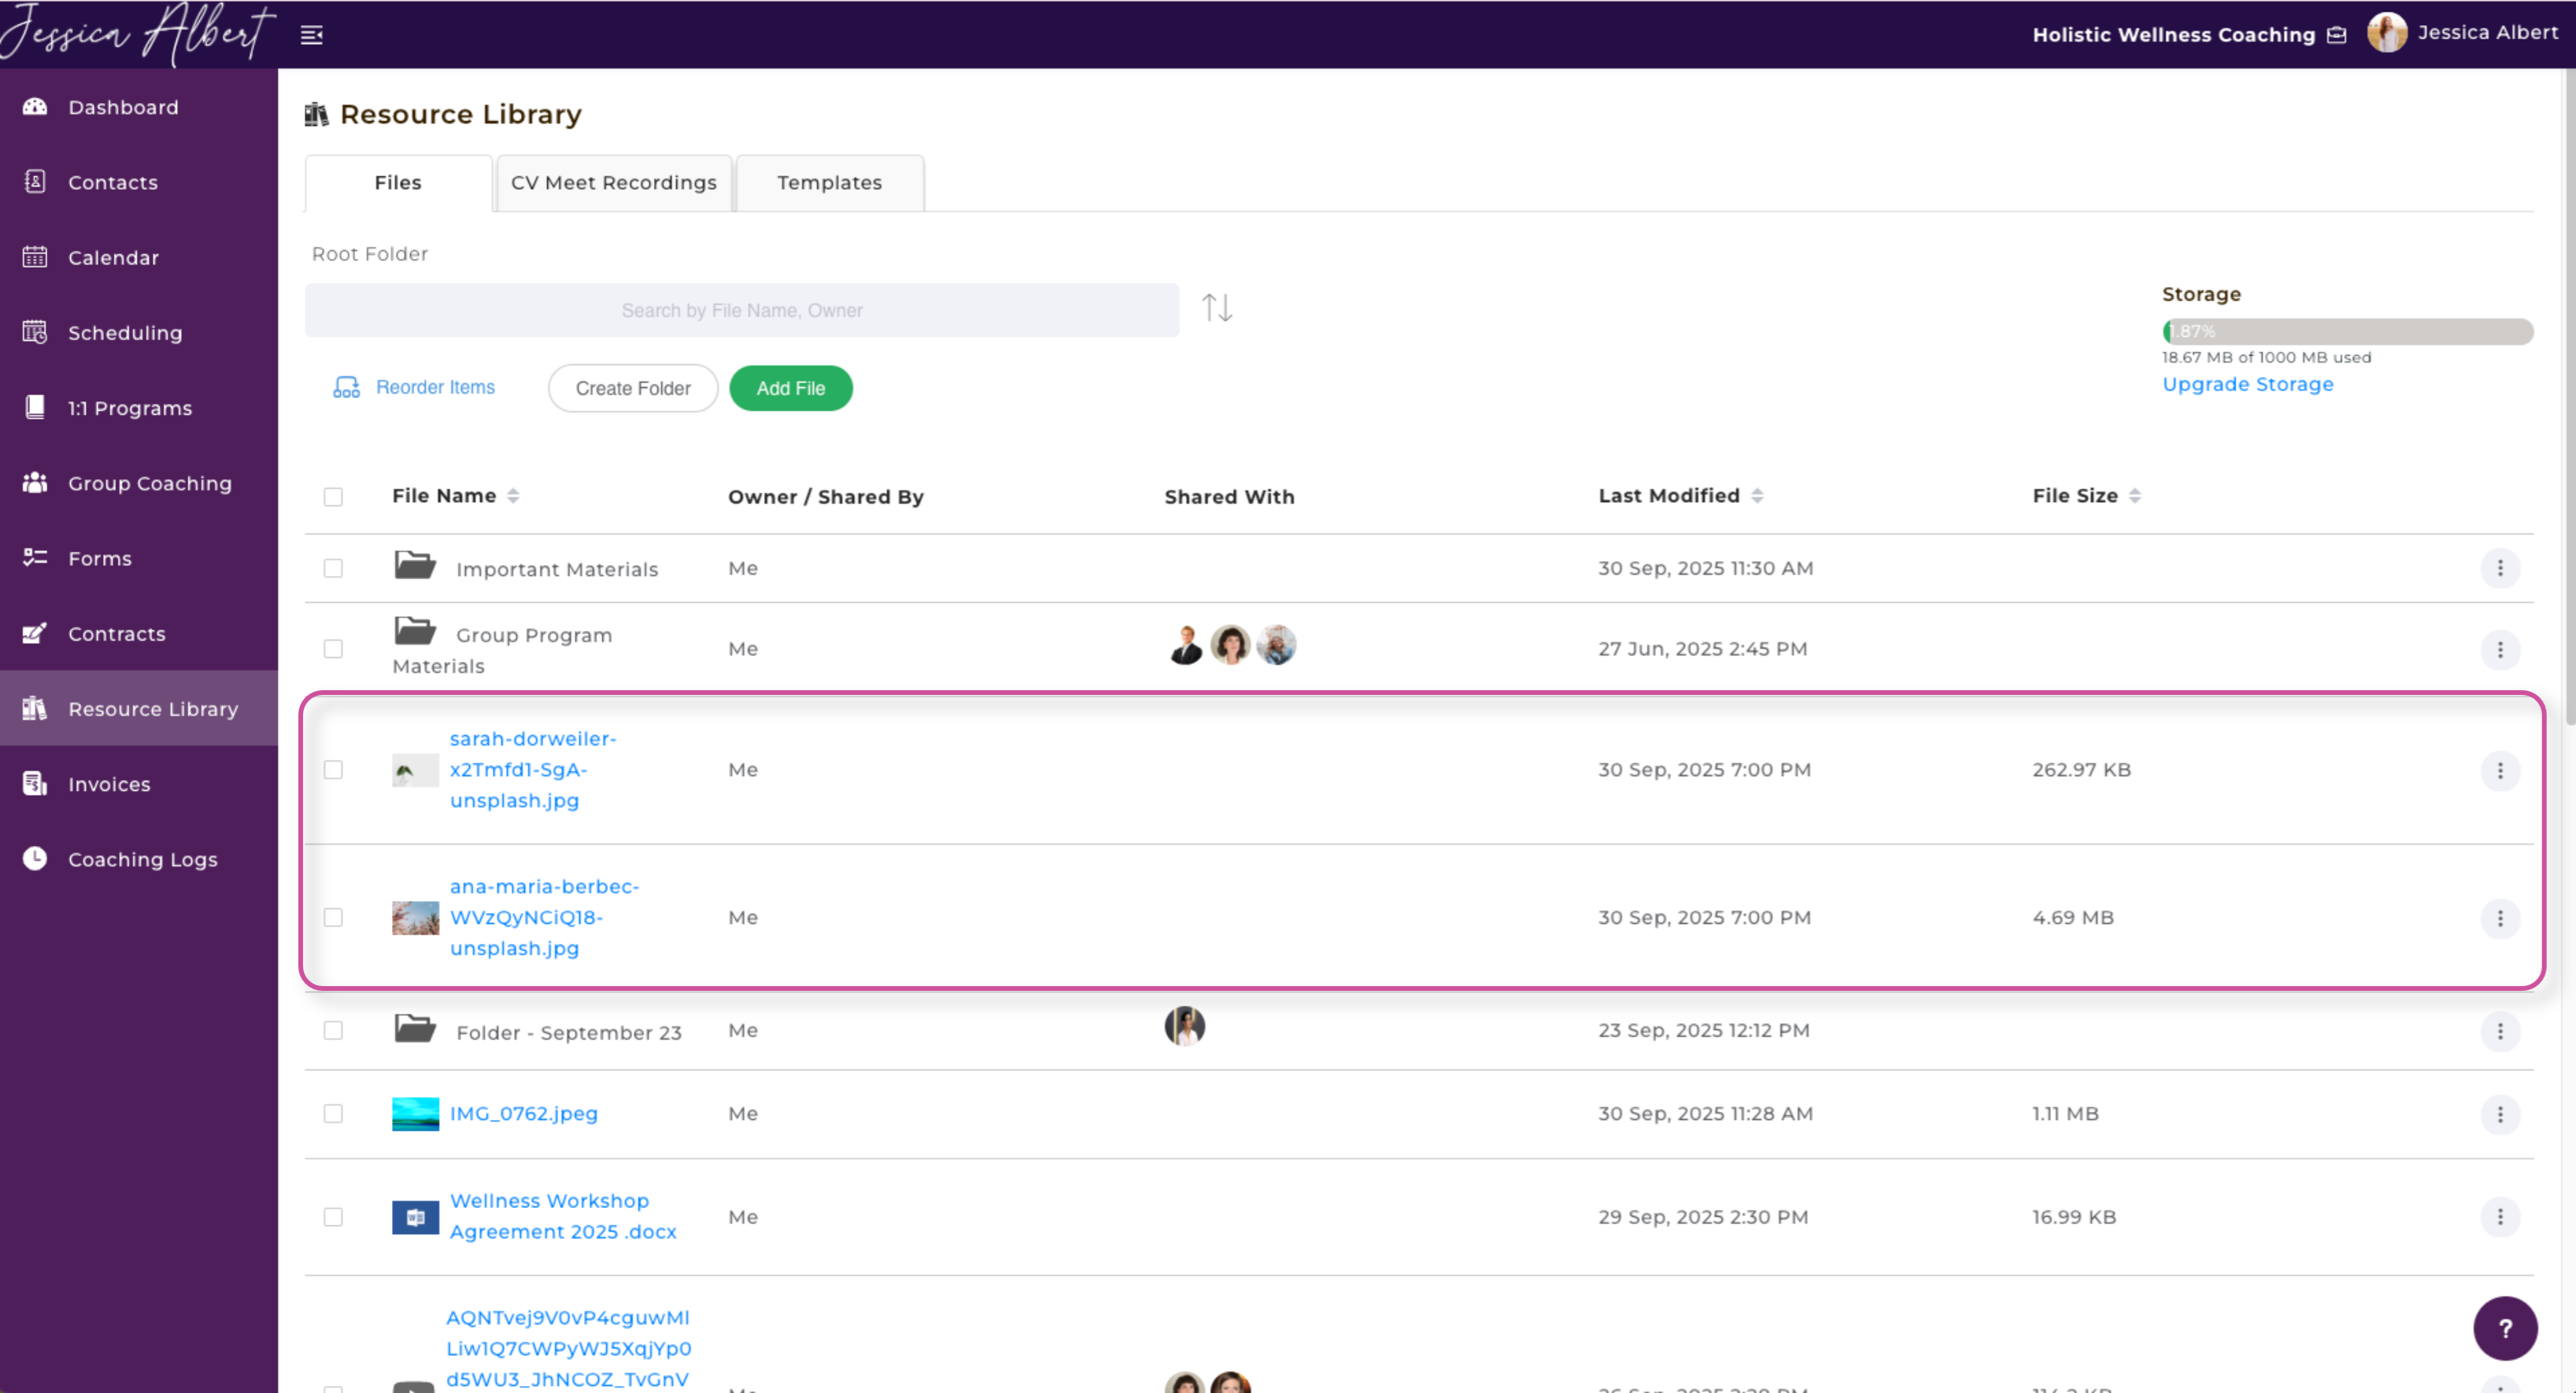
Success!
8. Box, OneDrive, Huddle
In order to upload files from these platforms, follow the steps that have been outlined above.